This classic no-bake chocolate Rice Bubble slice recipe is made with just FOUR ingredients... plus the kids just love to help prepare this super easy recipe!
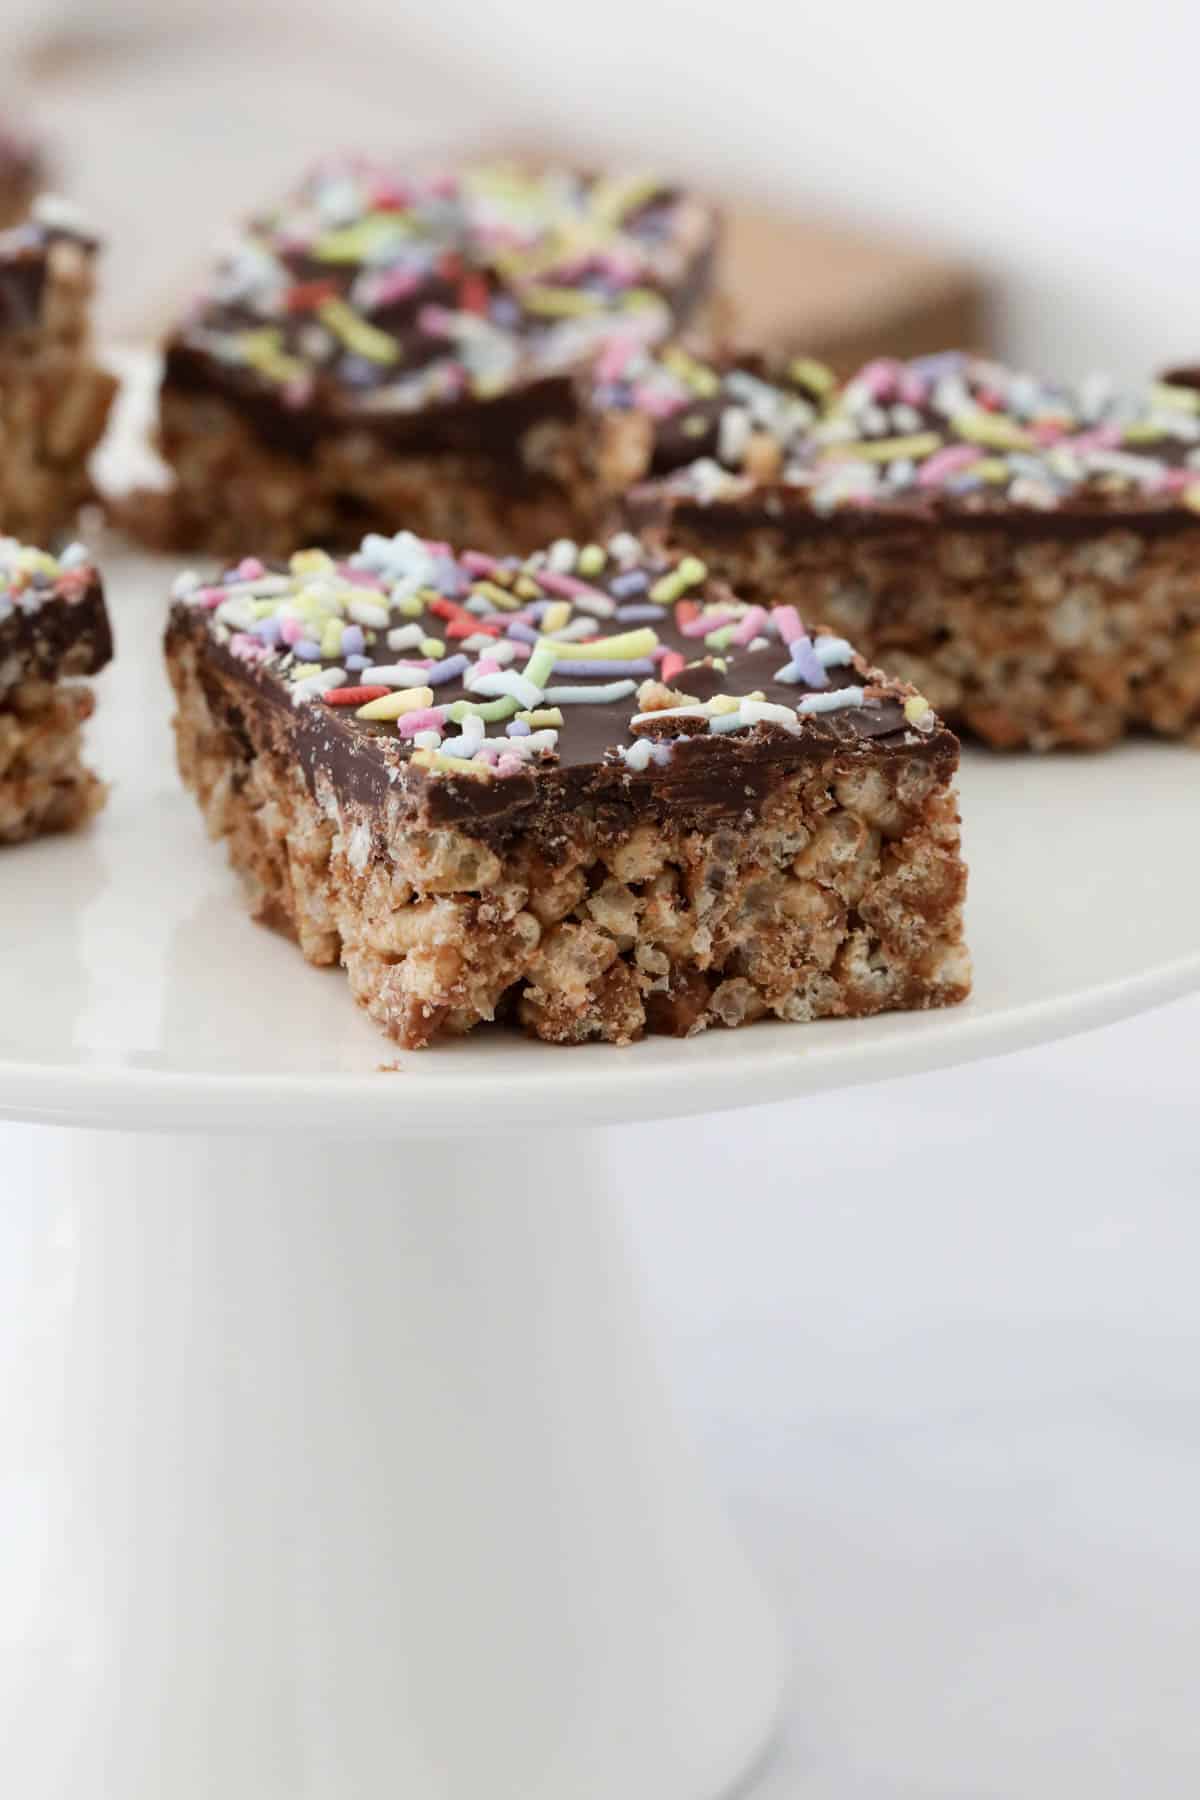
This no-bake chocolate rice bubble slice with a crunchy chocolate and puffed rice cereal base, topped with a layer of melted chocolate takes just 10 minutes to prepare! It is the perfect kids party food, and always popular at bake sales, picnics and in lunch boxes!
Rice bubble slices are always popular, from marshmallow rice bubble slice, Caramilk rice bubble slice, to Mars Bar slice, Snickers slice, and even Peanut Butter crunch bars. Like old-school chocolate crackles, there is something magical about them that makes them loved by young and old alike!
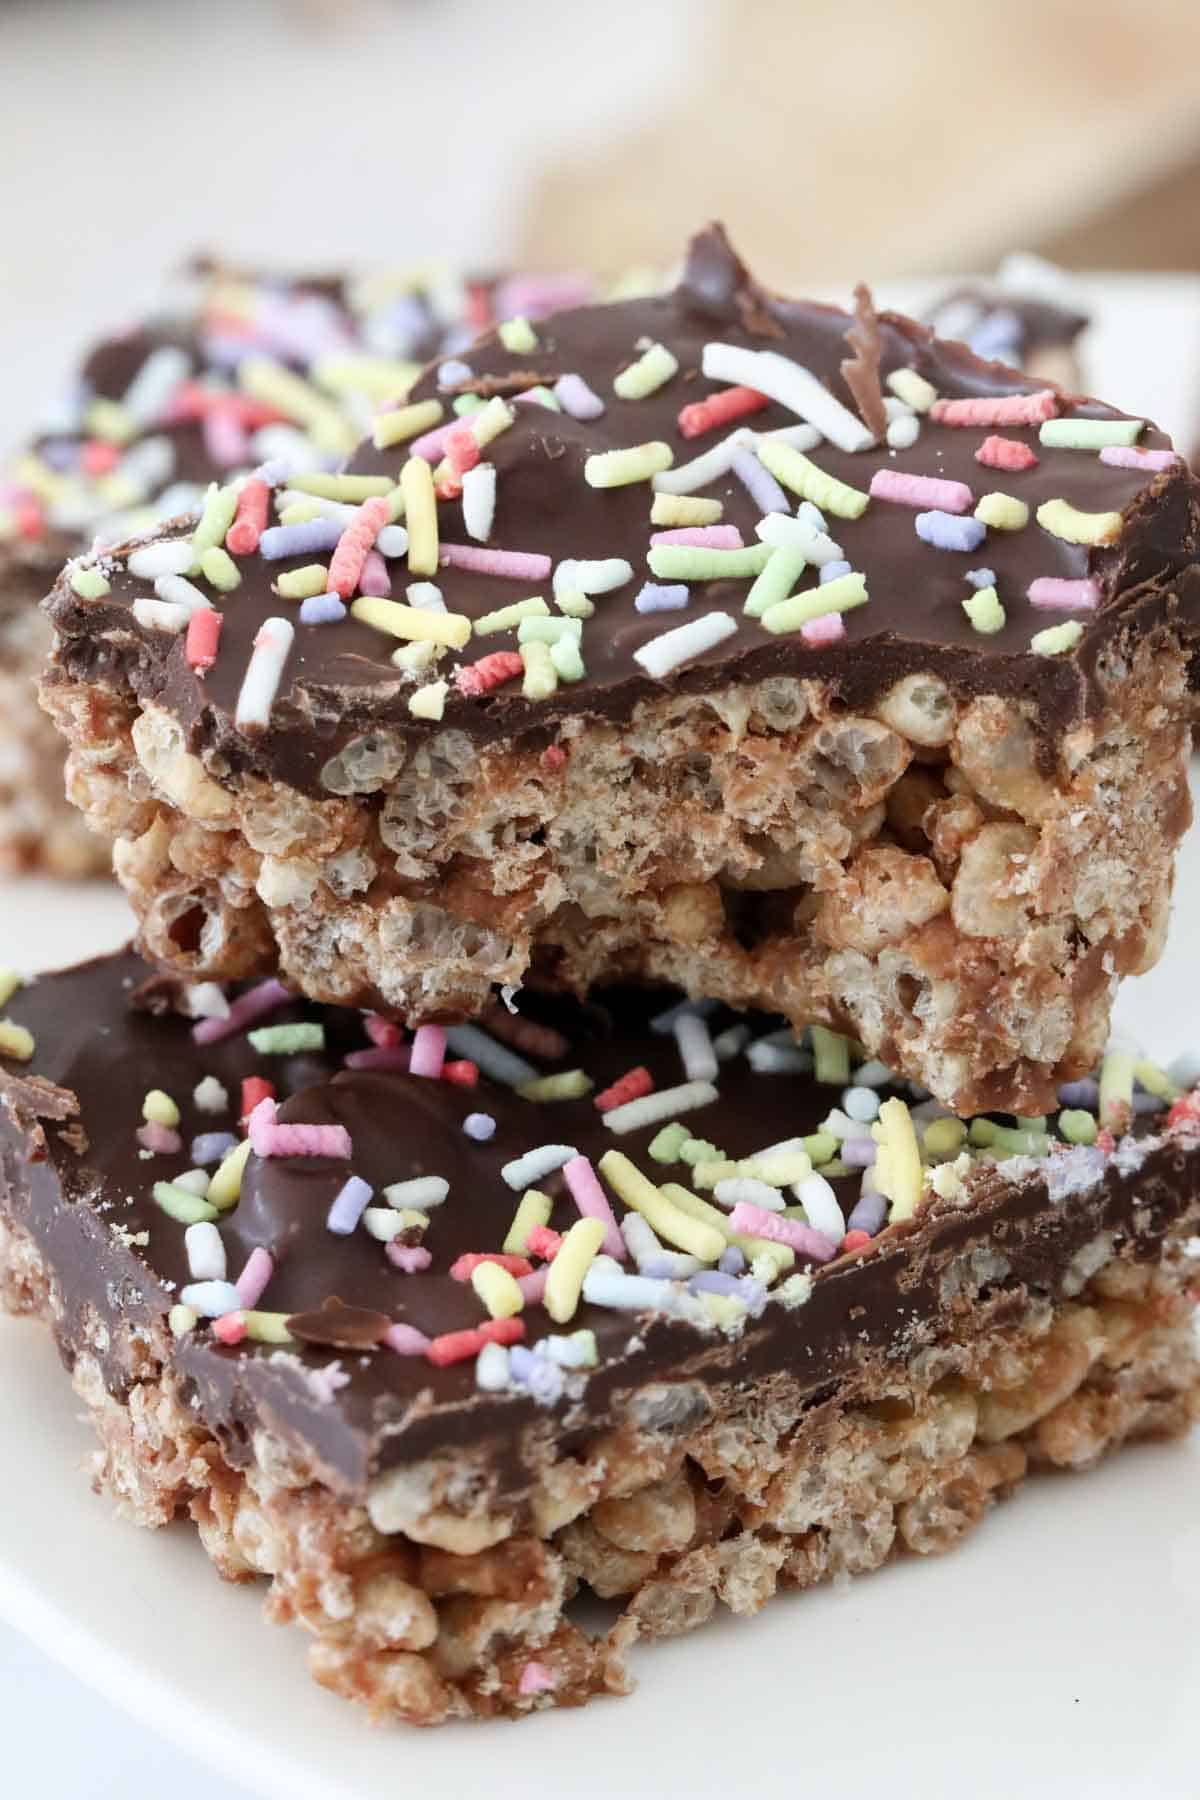
Why You're Going To Love This Recipe
- No bake - this rice bubble slice requires ZERO cooking!
- 4 ingredients - you just need butter, chocolate, golden syrup and Rice Bubbles to make the base of this slice. Add a layer of chocolate on top and sprinkles to finish it off!
- Kids can help make - this is the perfect kid-friendly recipe for getting kids in the kitchen!
- Conventional and Thermomix - both methods are written in the recipe card at the end of the post.
What You Need
You need just 4 basic main ingredients that you probably already have in your kitchen to make this no-bake rice bubble slice!
Note: Scroll to the recipe card at the bottom for the ingredients quantities and full detailed method.
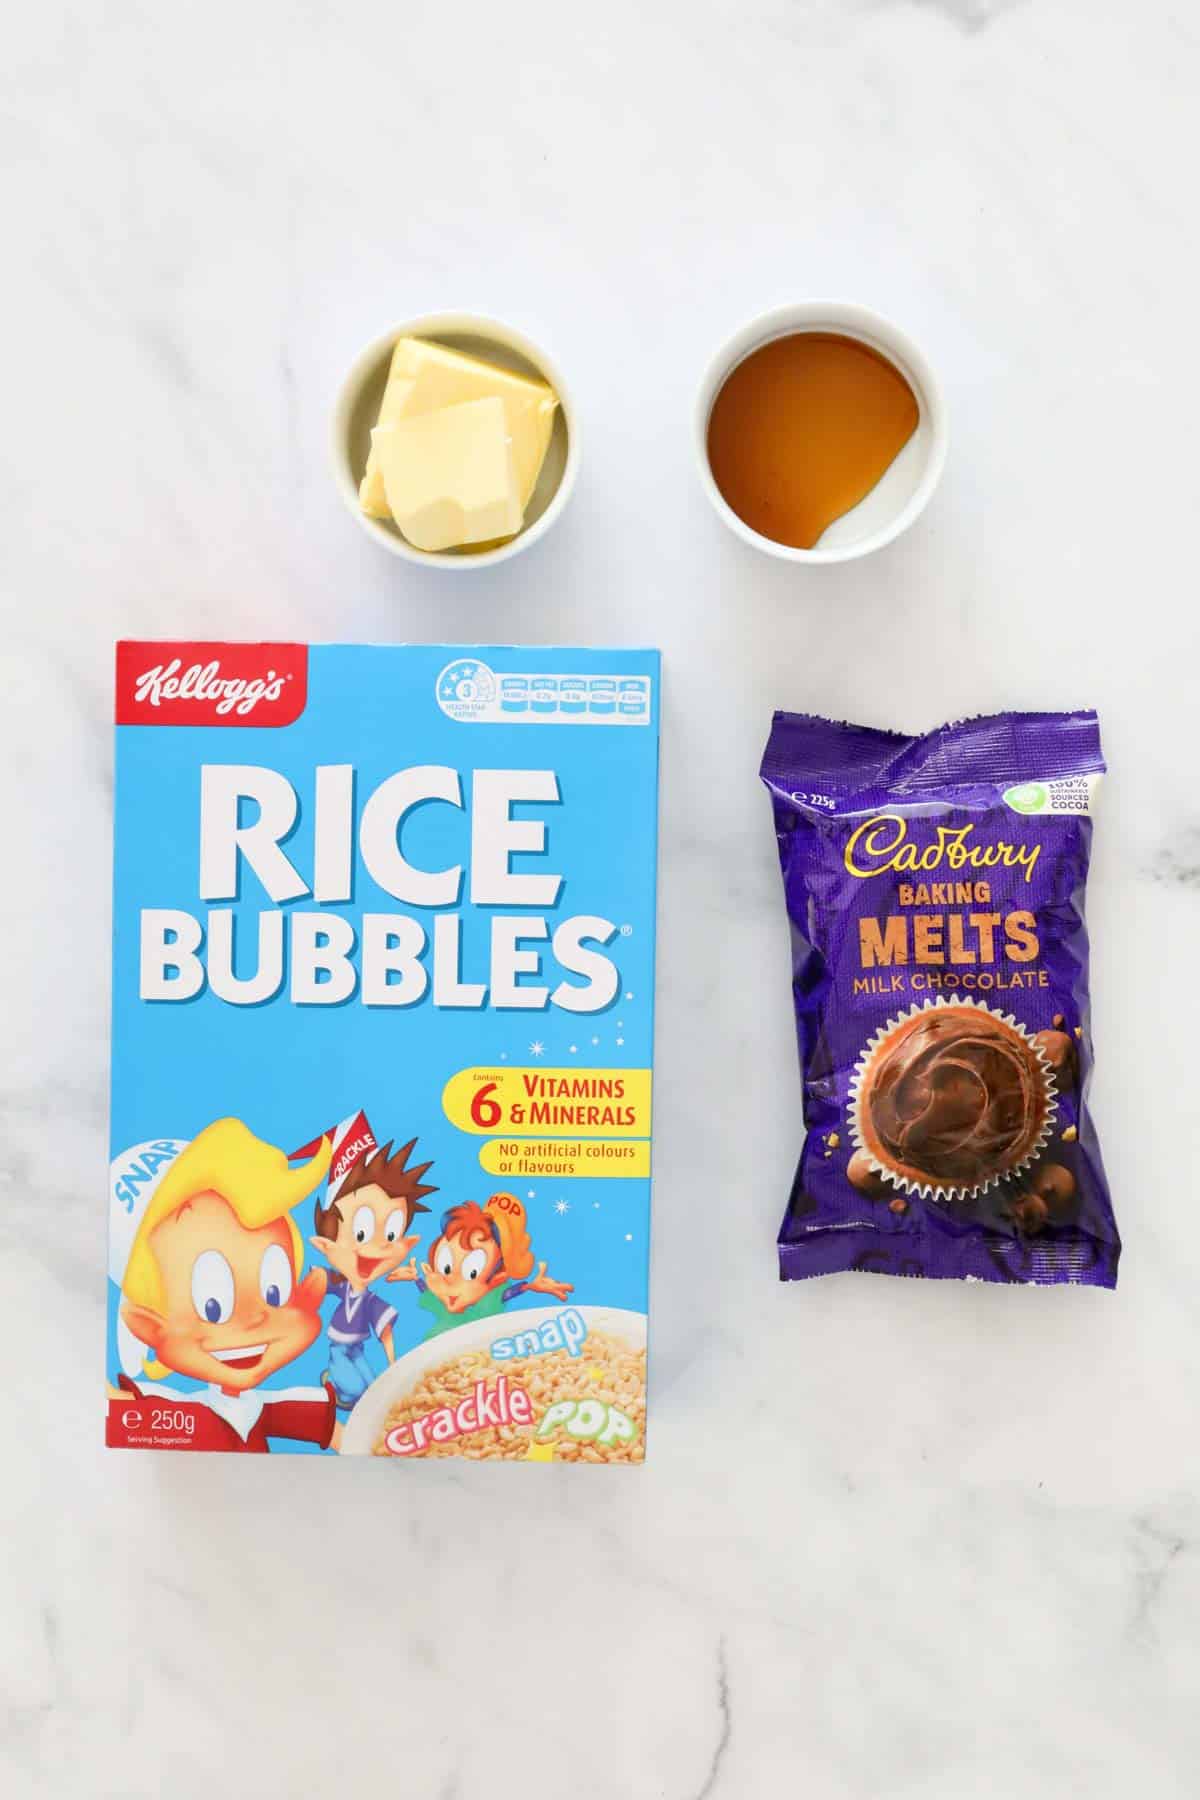
For The Base
- Butter - either unsalted butter or salted butter. I recommend using butter rather than margarine.
- Milk chocolate - I like to use baking melts or cooking chocolate as they melt easier than regular chocolate.
- Golden syrup - this helps hold the slice together as well as adding a sweetness to the slice. You can replace the golden syrup with corn syrup, honey or maple syrup.
- Rice Bubbles - also known as Rice Krispies, you can use any other brand of puffed rice cereal if you prefer.
For The Topping
- Milk chocolate - or dark chocolate.
- Coconut oil - or use a mild vegetable oil. This ingredient is optional, however it helps to prevent the chocolate topping from cracking when cut into slices.
- Sprinkles - for decorating (optional).
Equipment Required
You don't need any fancy equipment to make this chocolate slice, just:
- Slice tin - 18cm x 22cm (7" x 9") rectangular tin
- Microwave safe bowl or Thermomix.
- Serrated knife - for cutting the slice.
Step By Step Instructions
This no bake chocolate slice takes just 10 minutes to prepare, then leave in the fridge to firm up!
Note: Scroll to the recipe card at the bottom for the ingredients quantities and full detailed method.
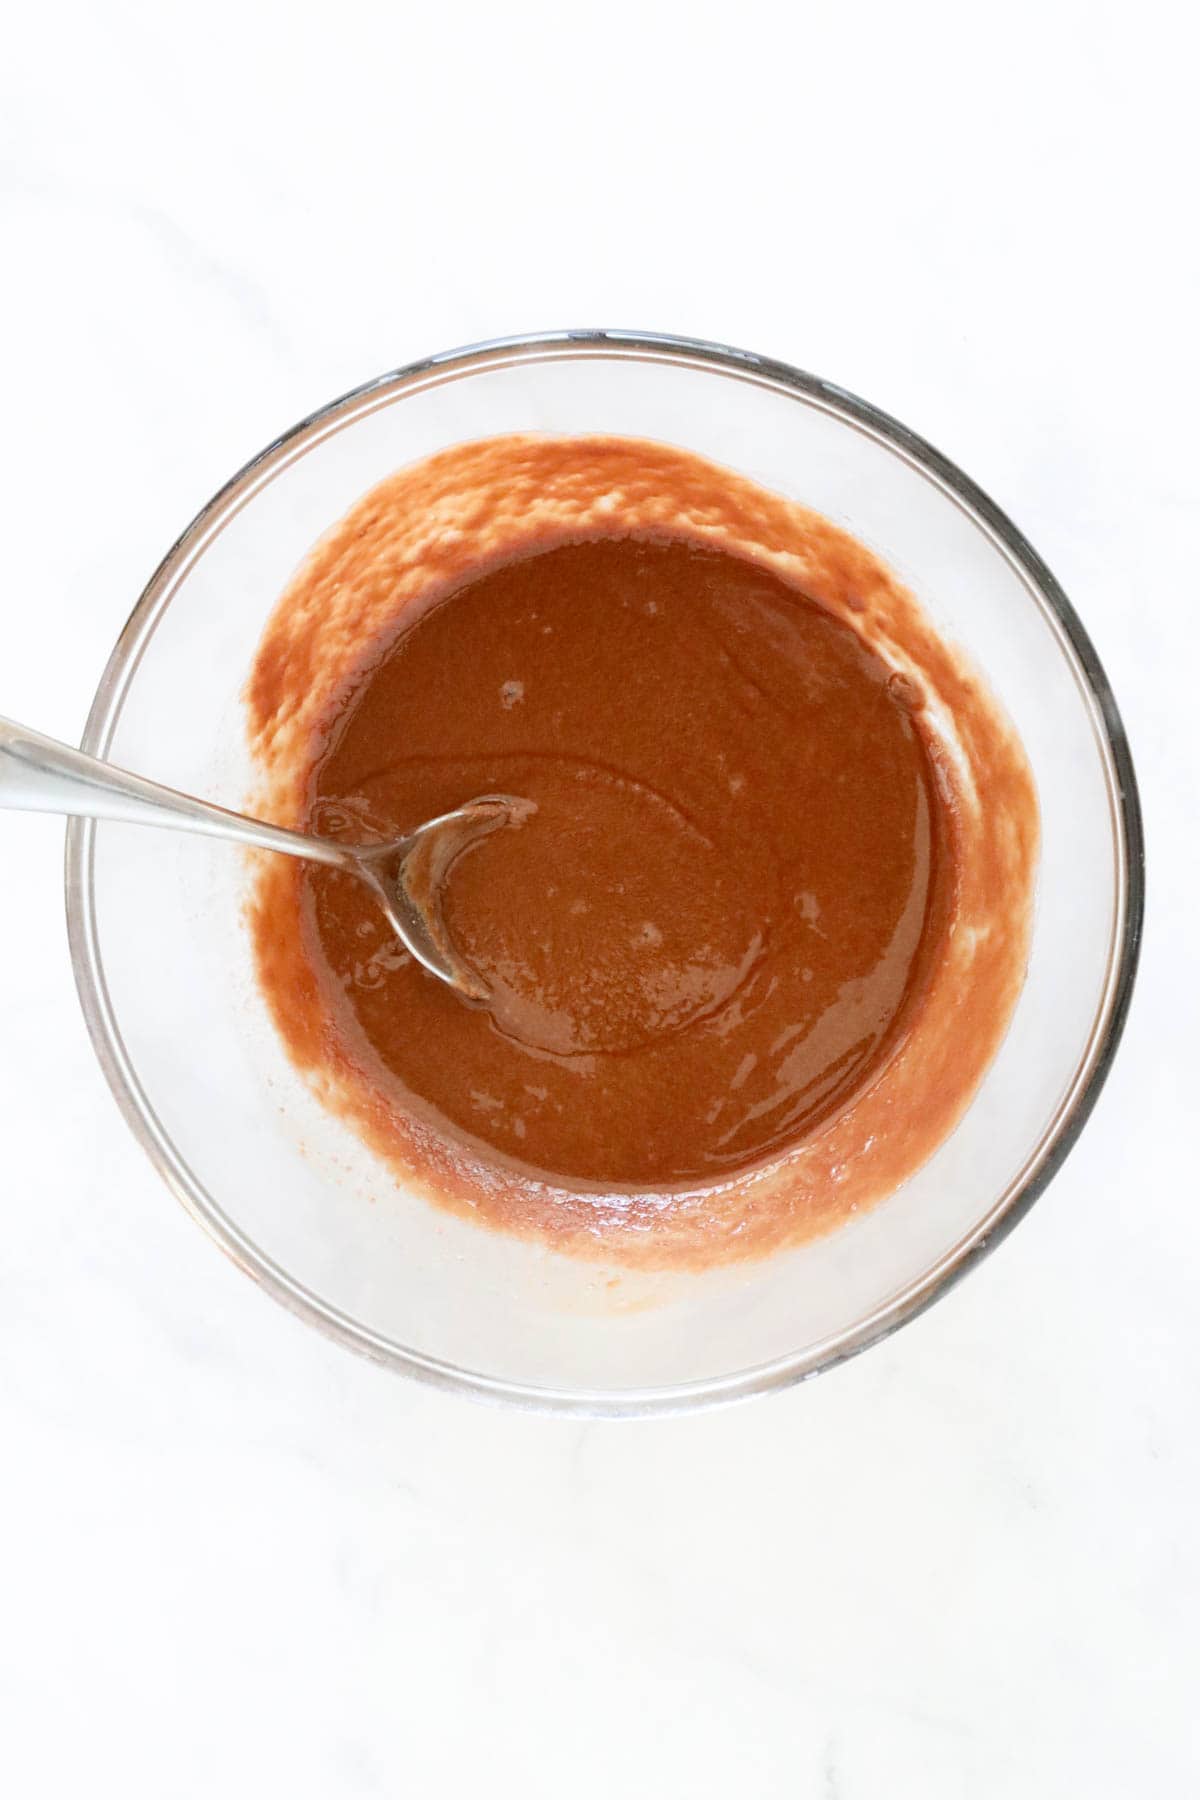
Step 1 - Melt The Butter, Chocolate And Golden Syrup
Grease and line a slice tin and place to one side.
Place the butter, milk chocolate and golden syrup in a microwave safe bowl.
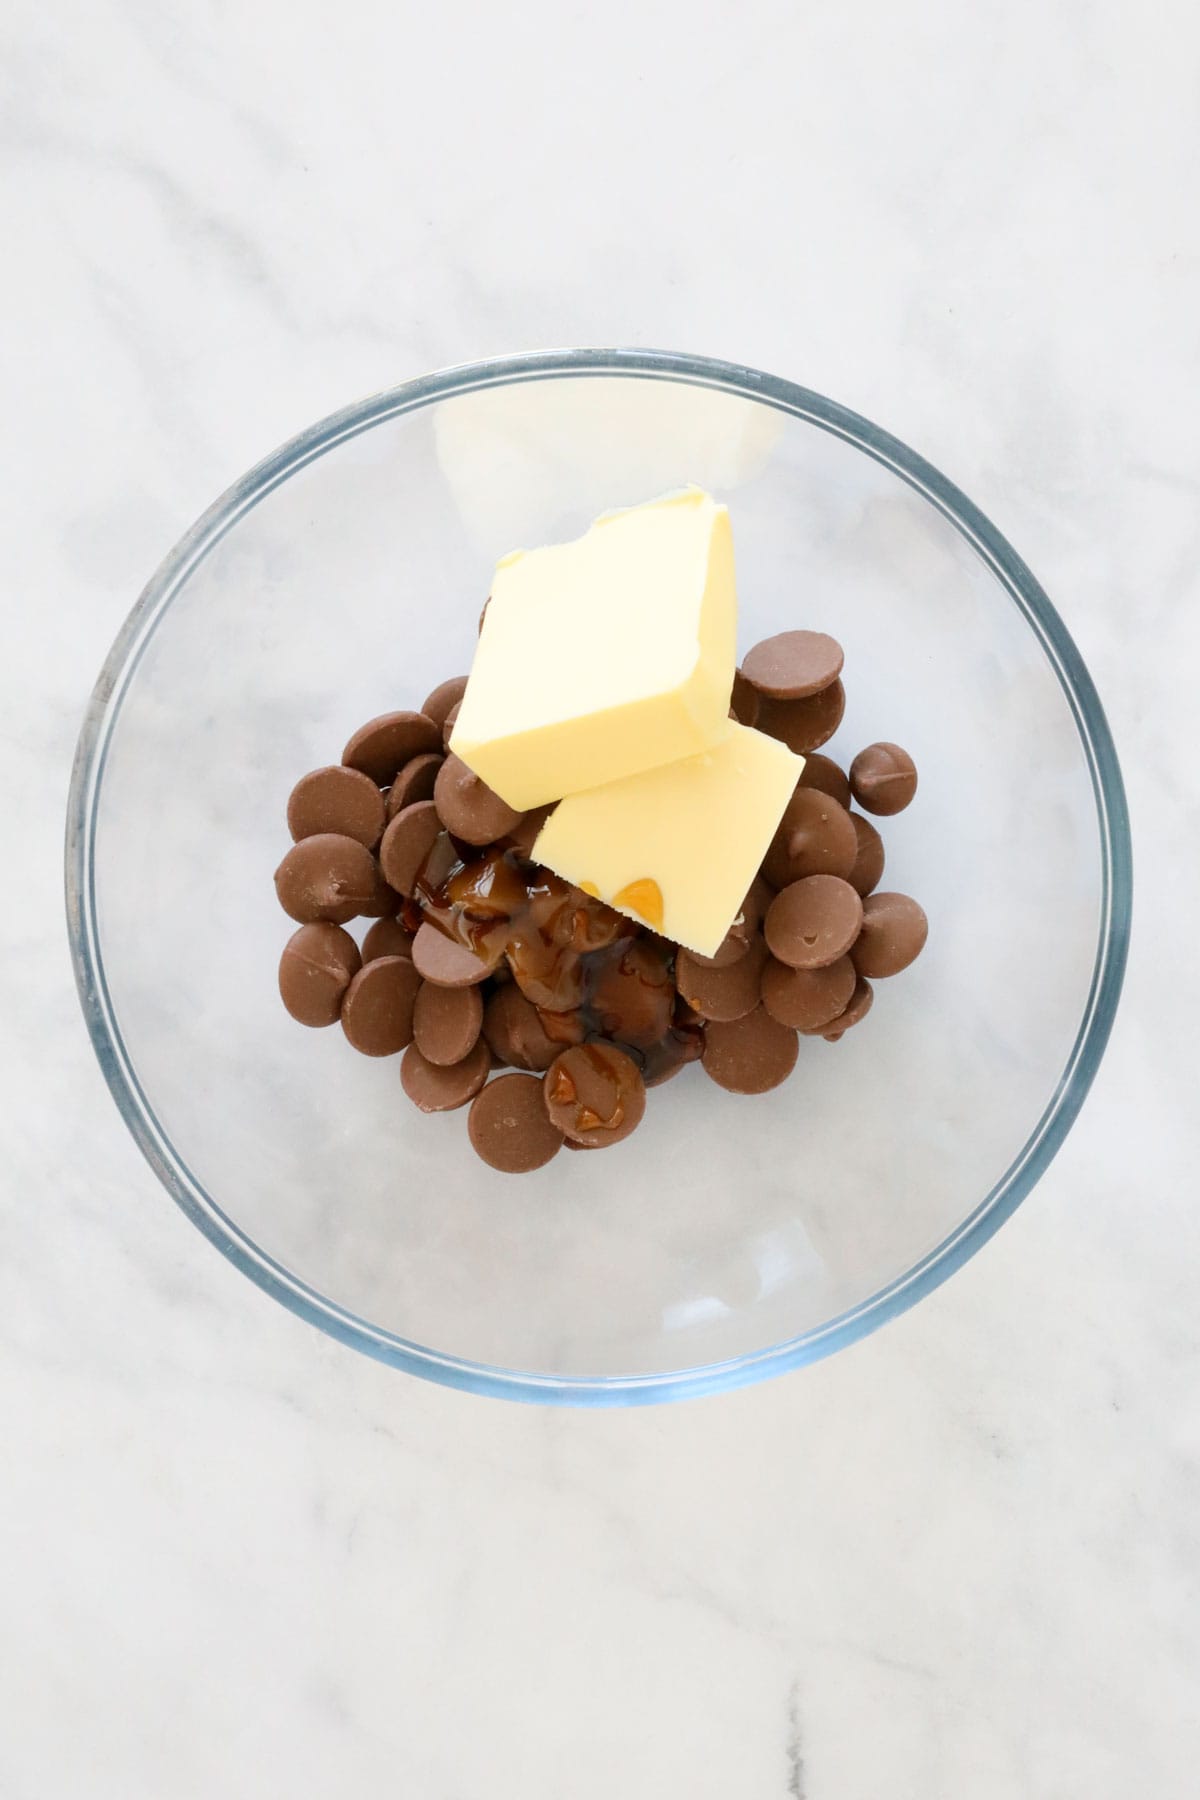
Place in the microwave on medium power and heat in 30 seconds burst, stirring each time, until melted.
Step 2 - Add The Rice Bubbles
Add the Rice Bubbles to the bowl.
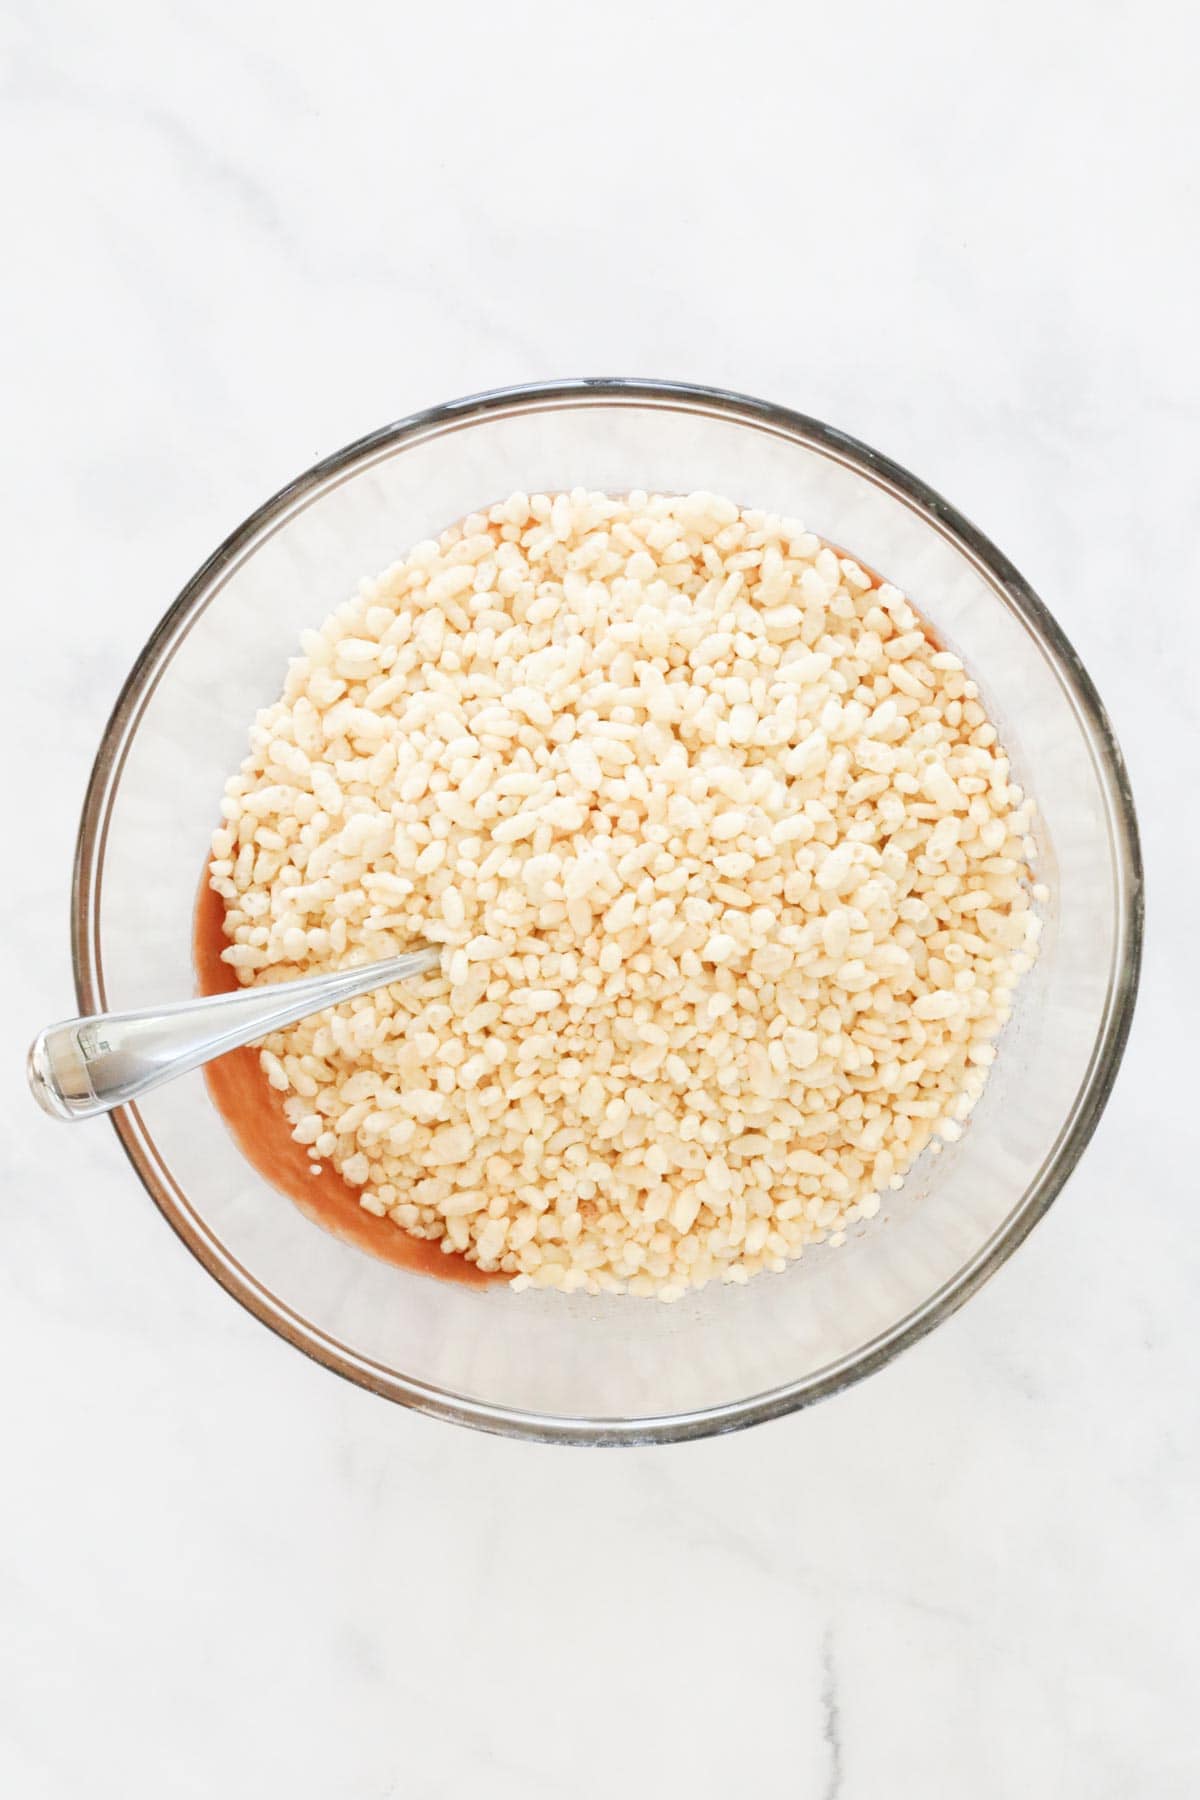
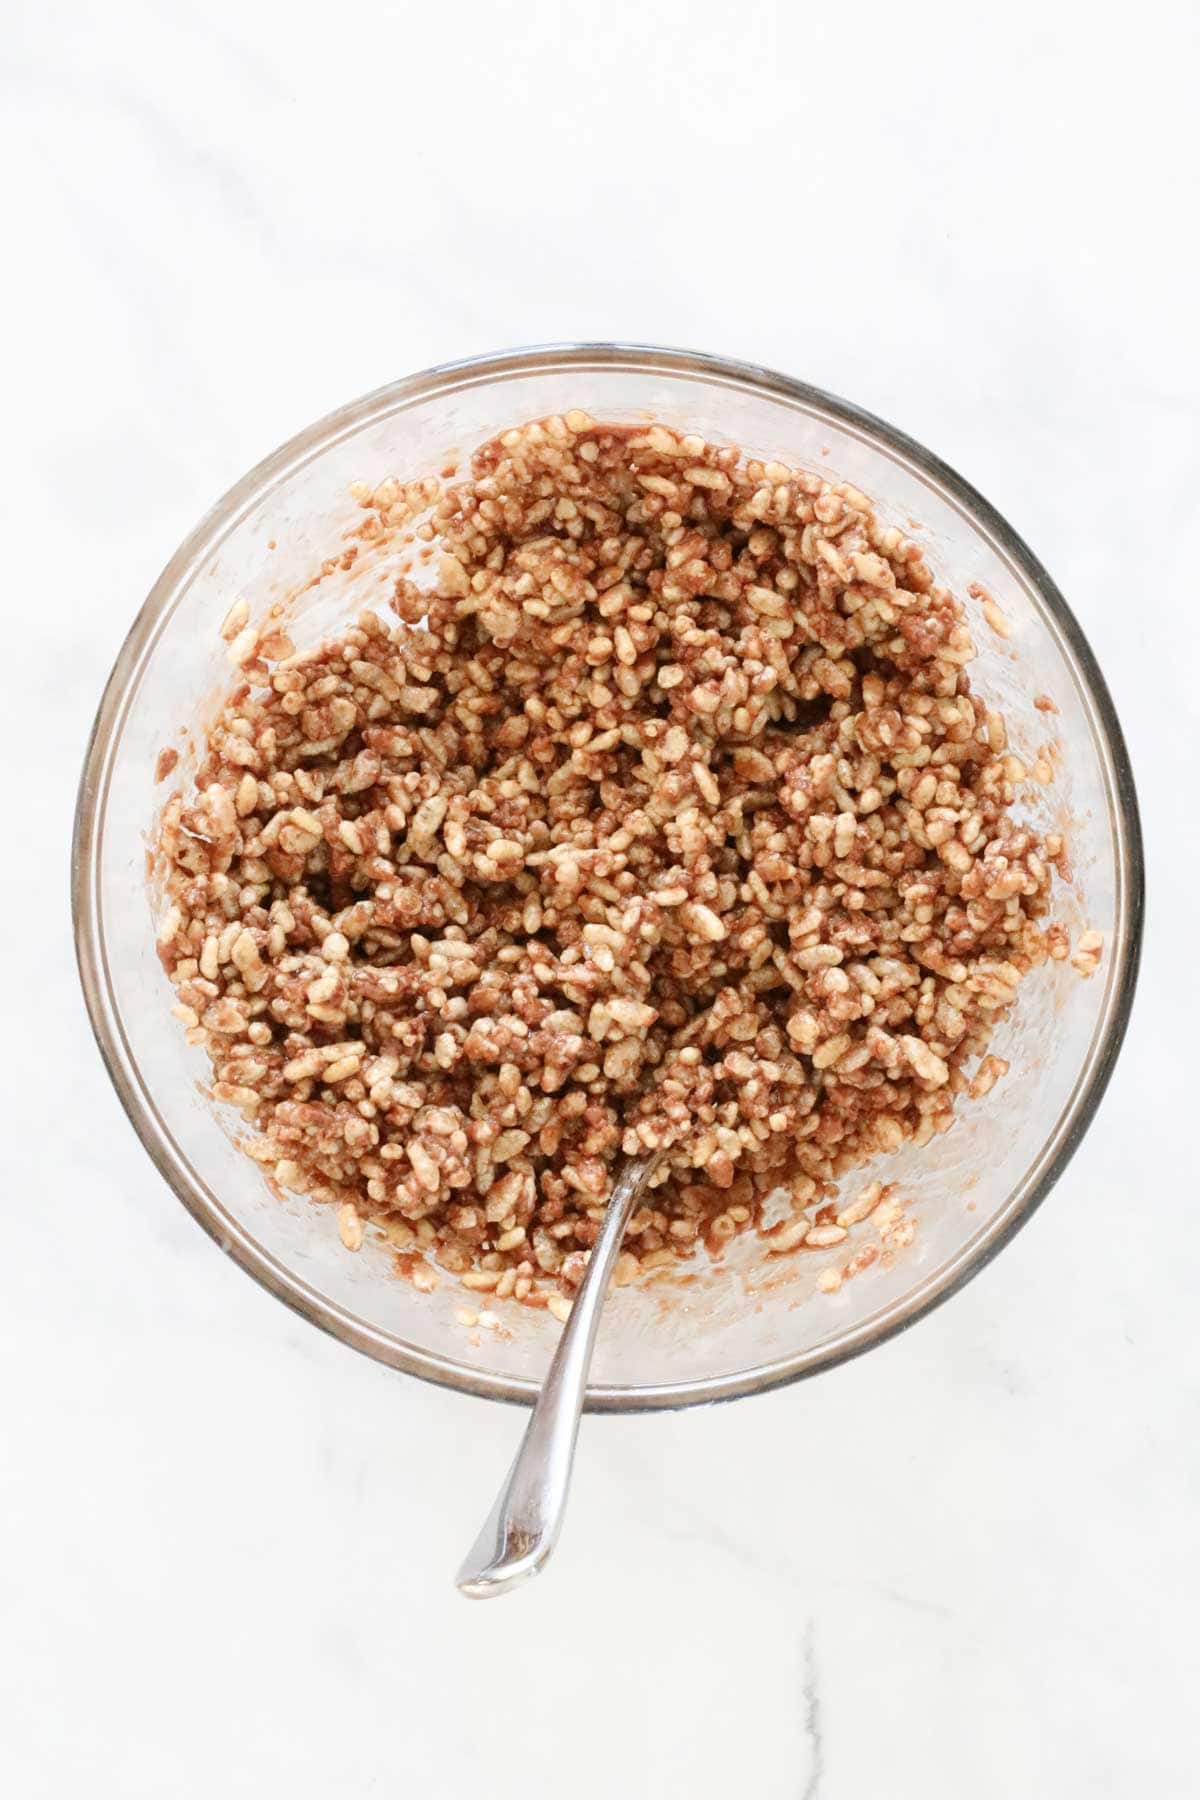
Stir Rice Bubbles into the chocolate mixture until thoroughly coated.
Step 3 - Press Mixture Into The Tin
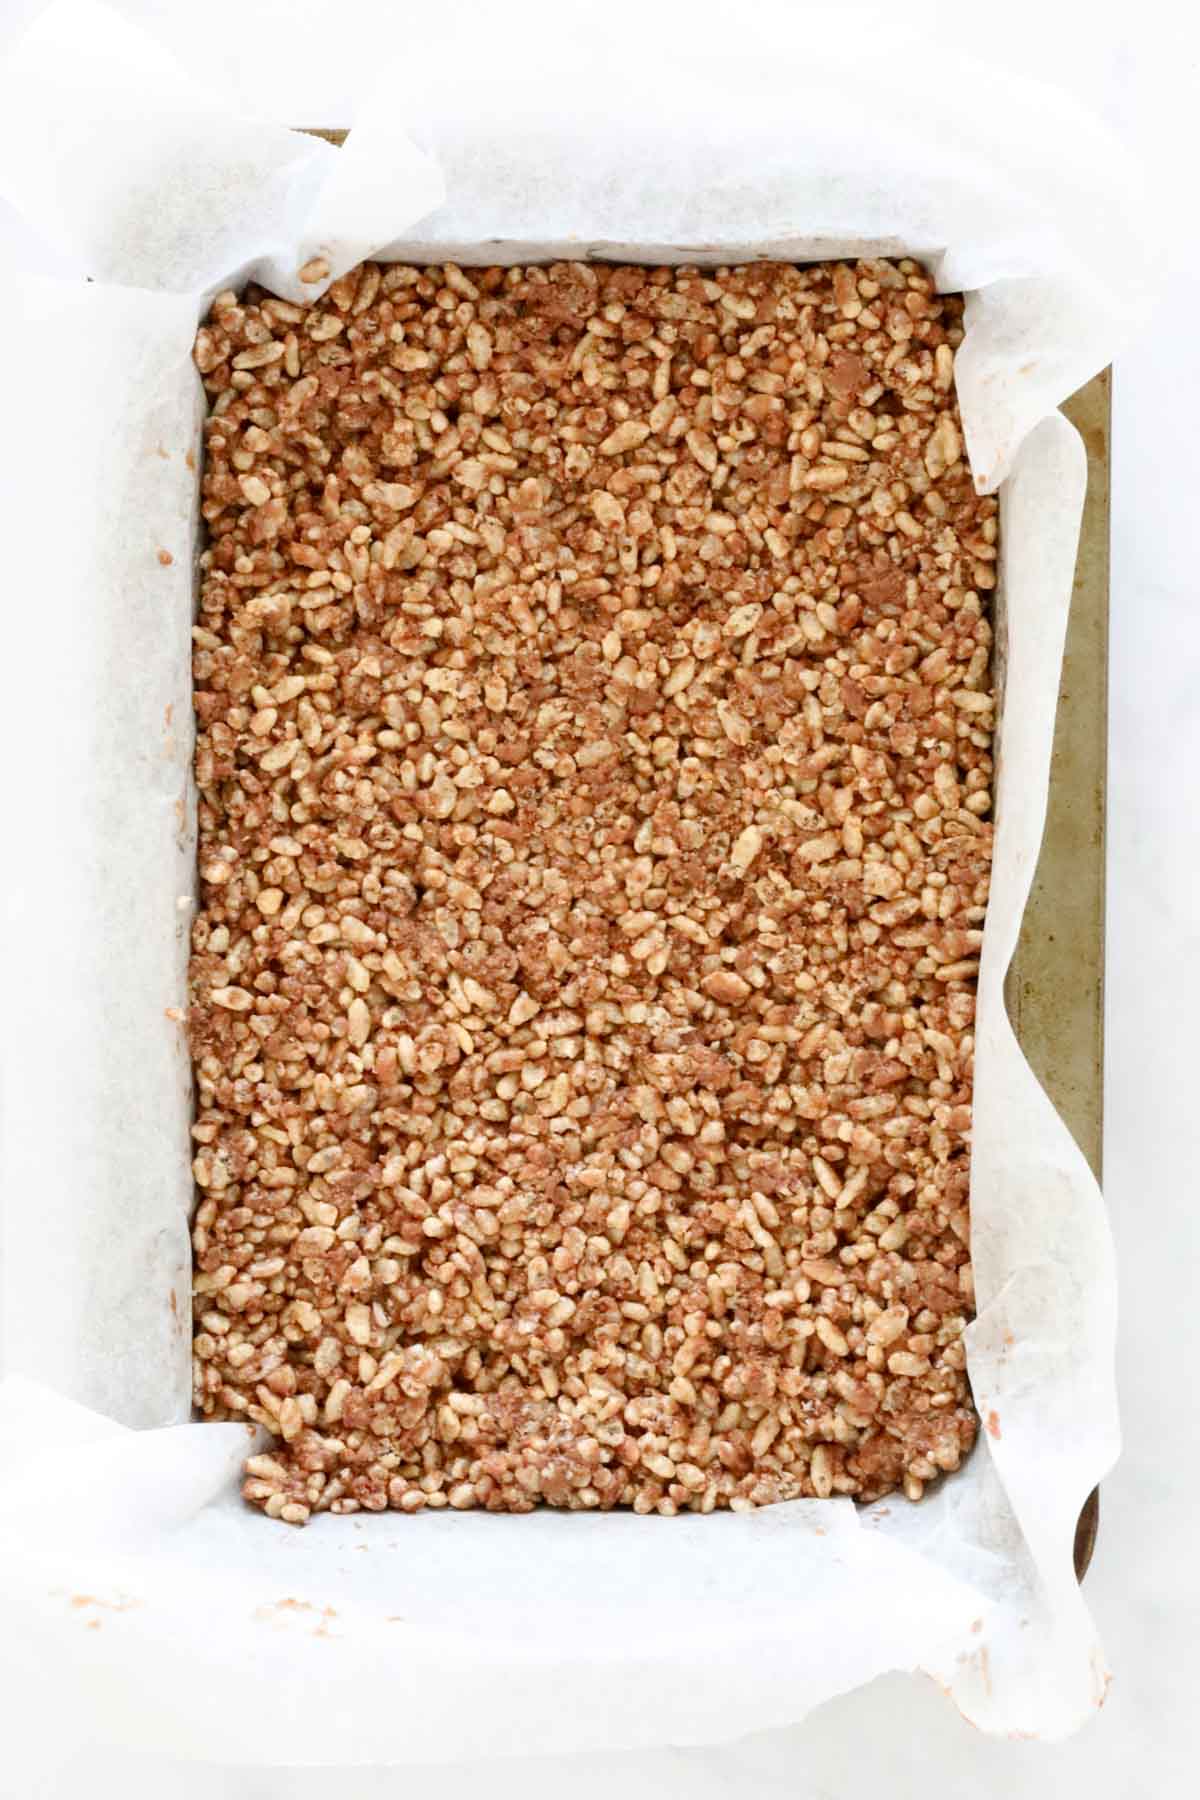
Press mixture very firmly into the prepared tin.
Note: It's important to press the mixture firmly into the tin so that it holds together when cut into pieces. Use a jug or round glass to press down firmly.
Step 4 - Make The Topping And Refrigerate
Place the milk chocolate and coconut oil, if using, in a microwave safe bowl. Microwave on 50% power until just melted, stirring every 30 seconds or so with a metal spoon.
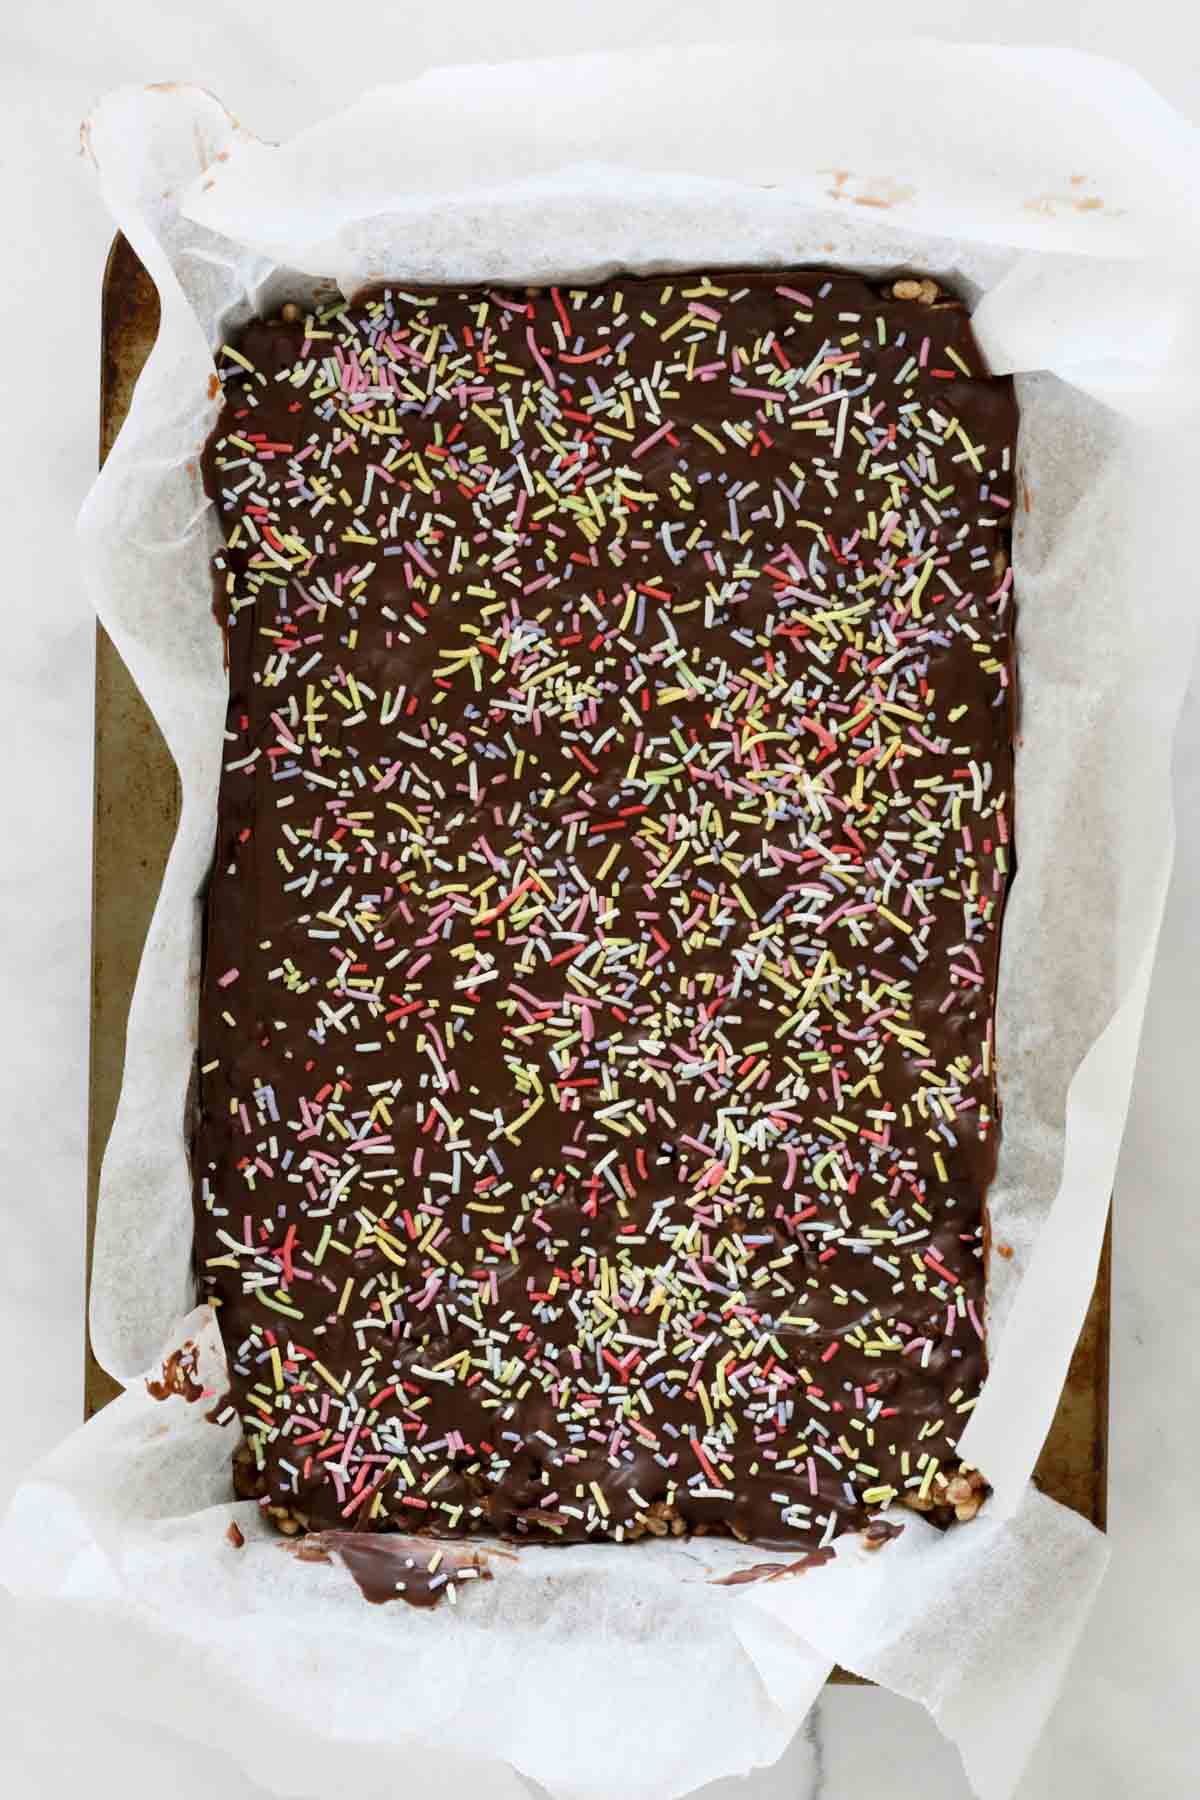
Once smooth, spread the melted chocolate over the slice, decorating with sprinkles if using. Place in the fridge and chill until firm, a minimum of 3-4 hours is recommended.
Step 5 - Cut The Slice
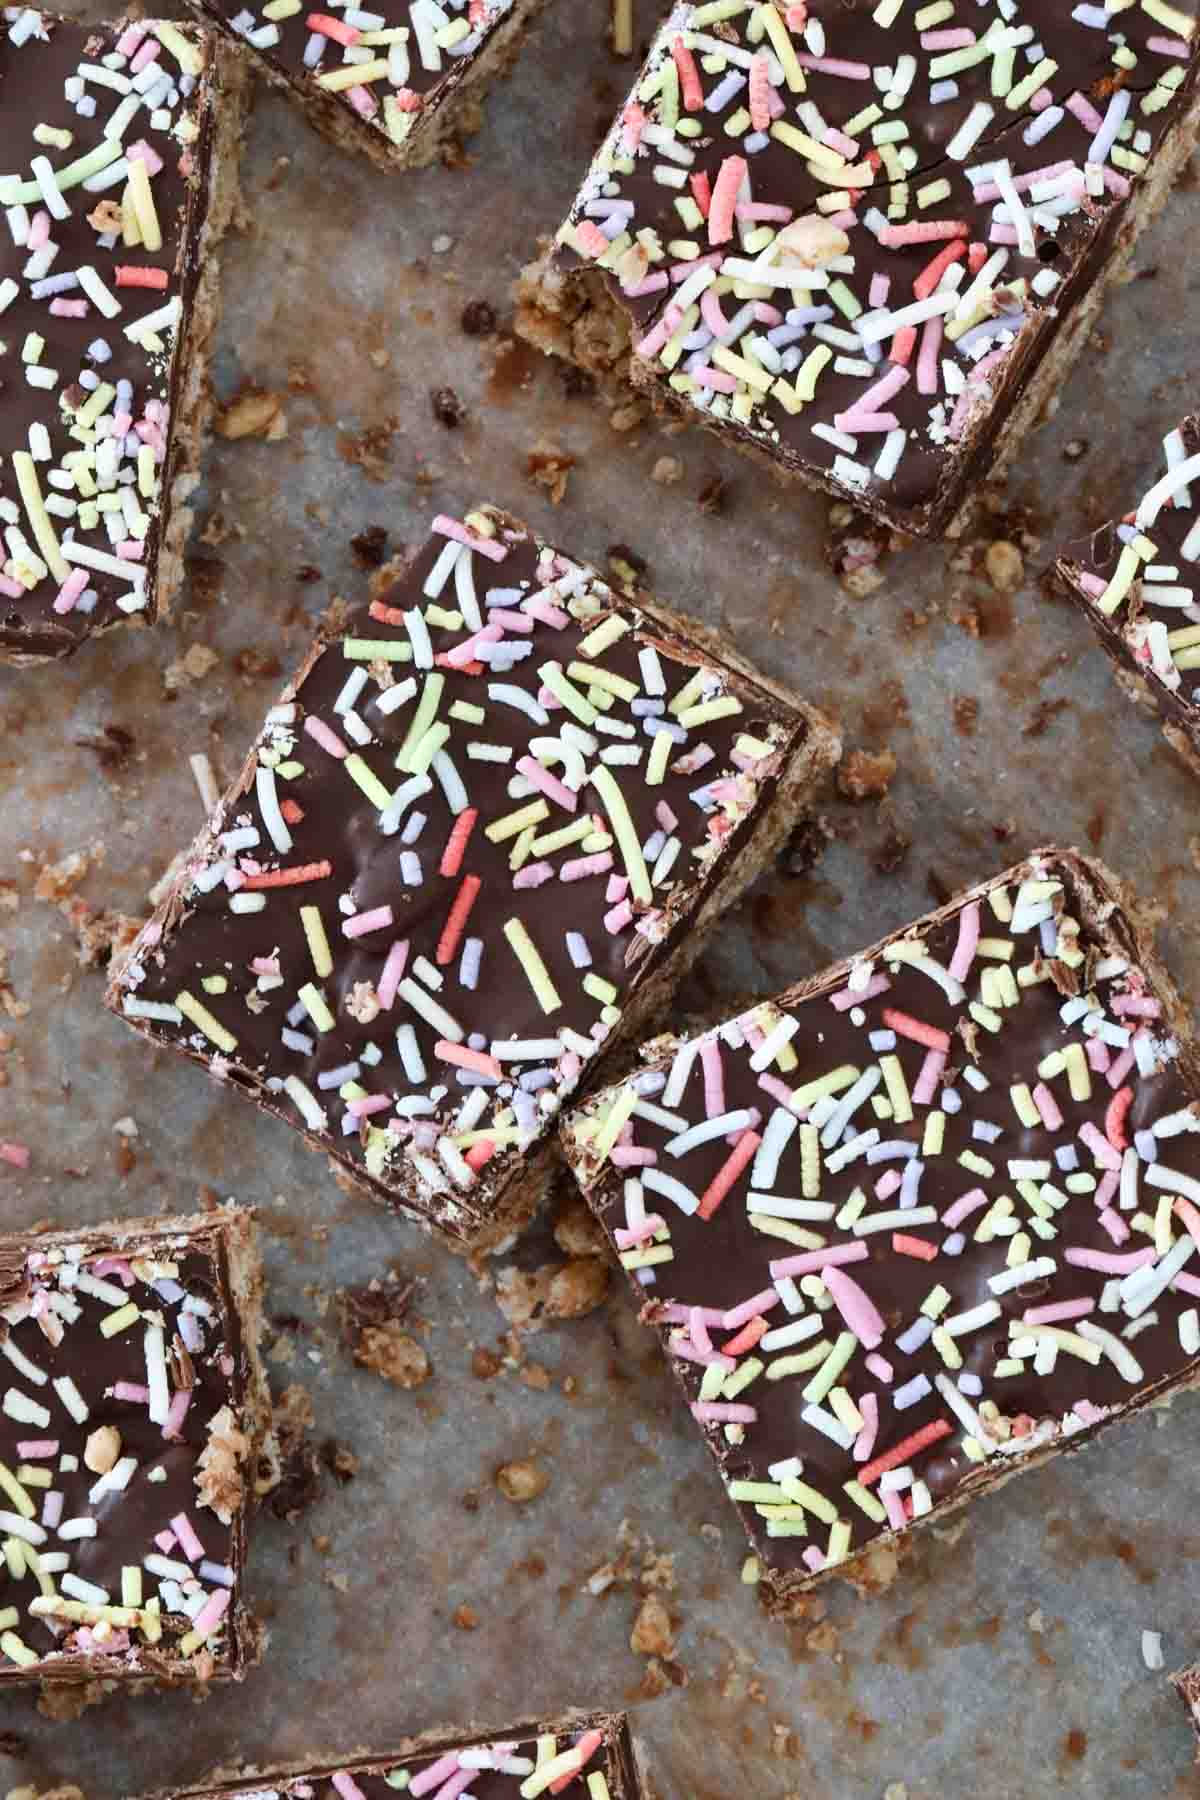
Remove the slice from the refrigerator about 30 minutes before cutting into squares, using a warm serrated knife.
Expert Tips
- Use a fresh box of Rice bubbles or Rice Krispies - this will ensure your slice is crispy and crunchy!
- If you don't want to use a microwave - you can also melt the chocolate and butter mixture in a saucepan on a low heat.
- Press the mixture VERY firmly into a greased and lined baking tin - the mixture needs to be pressed down very firmly so that it doesn’t break apart when you cut it.
- Chilling time - leave in the fridge to set for a minimum of 3-4 hours (overnight is best).
- Cutting the slice - take the slice out of the fridge 30 minutes before cutting to allow the chocolate to soften slightly. Use a small serrated knife to cut through the chocolate layer and then through the Rice Bubbles layer. For more tips on cutting slices see my detailed post on how to cut the perfect slices.
- Storing - chocolate rice bubble slice can be stored in an airtight container in the fridge for up to 1 week.
FAQs
Yes! Wrap the slice well and freeze for up to 1 month.
No, adding coconut oil to the chocolate topping is optional. However it helps prevent the chocolate topping layer from cracking when sliced.
This rice bubble slice can be gluten free - just make sure you buy gluten free Rice Bubbles.
Related Recipes
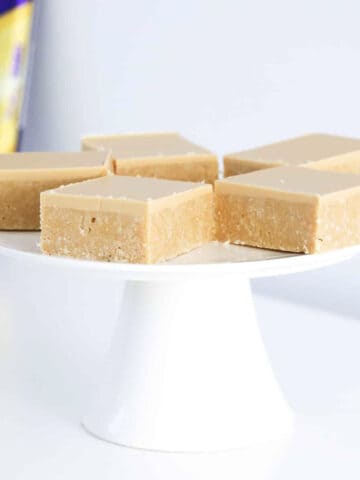
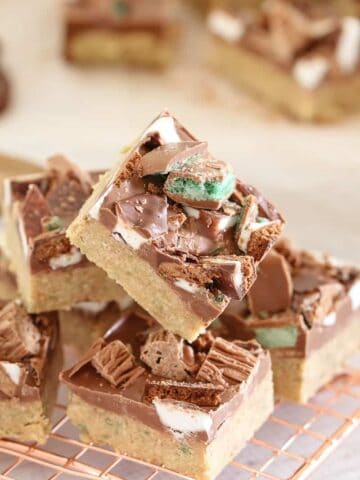
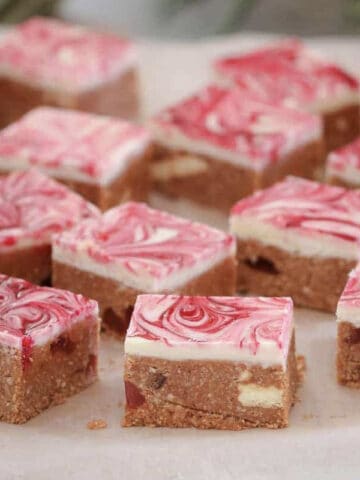
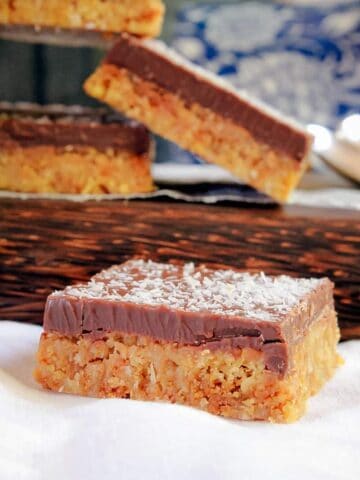
For more easy and delicious no-bake slices, here are some more of our most popular recipes:
WANT EVEN MORE DELICIOUS RECIPES? Subscribe to my newsletter or follow along on Facebook or Instagram. And if you love baking, then please come and join my Facebook cooking club group or subscribe to my YouTube channel.
Chocolate Rice Bubble Slice
Ingredients
For The Base
- 80 g (⅓ cup) butter
- 180 g milk chocolate chopped, or melts
- 40 g (2 tbs) golden syrup
- 90 g (3 cups) Rice Bubbles or any puffed rice
For The Topping
- 180 g milk chocolate chopped, or melts
- 20 g (1 tbs) coconut oil or mild vegetable oil (optional)
Instructions
- Grease and line a 18cm x 22cm rectangular slice tin with baking paper and set aside.
- Melt the butter, milk chocolate and golden syrup in a microwave safe bowl on medium power (50%) in 30 second bursts in the microwave (or on low heat in a saucepan) until melted.Please note: leaving some small lumps of chocolate is completely fine.If using a Thermomix: Place the milk chocolate, butter and golden syrup into the Thermomix bowl. Melt for 3 minutes, 60 degrees, Speed 2.
- Stir through the Rice Bubbles.If using a Thermomix: Add the Rice Bubbles and mix for 15 seconds, Reverse, Speed 2, or until completely combined.
- Press mixture very firmly into the prepared tin. Use a round glass or jug to press the mixture down as hard as you can (you'll hear some of the rice bubbles crushing).
- To make the topping, place the milk chocolate and coconut oil in a microwave safe bowl. Microwave on medium for 2-3 minutes at medium power (50%), or until just melted, stirring every 30 seconds with a metal spoon. Stir until smooth.If using a Thermomix: Place the milk chocolate and coconut oil into a clean Thermomix bowl. Melt for 3 minutes, 50 degrees, Speed 3 or until melted (scraping down the sides of the bowl occasionally).
- Spread over slice and refrigerate until firm (a minimum of 3-4 hours - or best overnight).
- Remove slice from the refrigerator about 30 minutes before cutting into squares with a warm serrated knife.
Notes
- Use a fresh box of Rice Bubbles or Rice Krispies - this will ensure your slice is crispy and crunchy!
- If you don't want to use a microwave - you can also melt the chocolate-butter mixture in a saucepan on a low heat.
- Golden syrup substitutions - you can replace the golden syrup with corn syrup, honey or maple syrup.
- Press the mixture VERY firmly into a greased and lined baking tin -the mixture needs to be pressed down very firmly so that it doesn’t break apart you you cut it.
- Adding coconut oil or vegetable oil to the milk chocolate - will prevent the chocolate topping layer from cracking when sliced.
- Chilling time - leave in the fridge to set for a minimum of 3-4 hours (overnight is best).
- Cutting the slice - take the slice out of the fridge 30 minutes before cutting to allow the chocolate to soften slightly. Use a small serrated knife to cut through the chocolate layer and then through the Rice Bubbles layer. For more tips on cutting slices see my detailed post on how to cut the perfect slices.
- Storing - chocolate rice bubble slice can be stored in an airtight container in the fridge for up to 1 week. It can also be frozen for up to 1 month.



Leave a Reply