

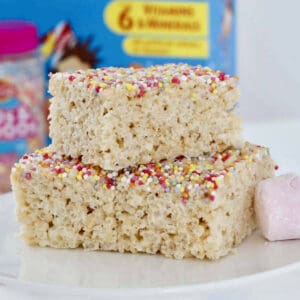
This Rice Bubble Marshmallow Slice takes 5 minutes, 3 ingredients, and zero baking skills.
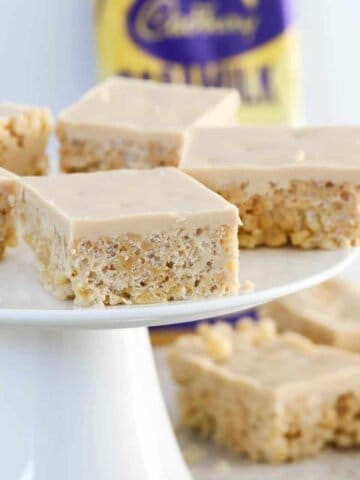
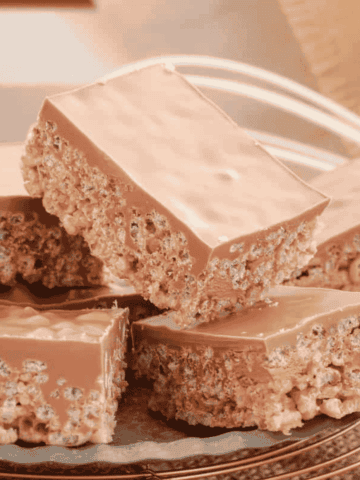
It's just as easy as my Caramilk Rice Bubble Slice and Snickers Slice, and it disappears from the tin just as fast too.
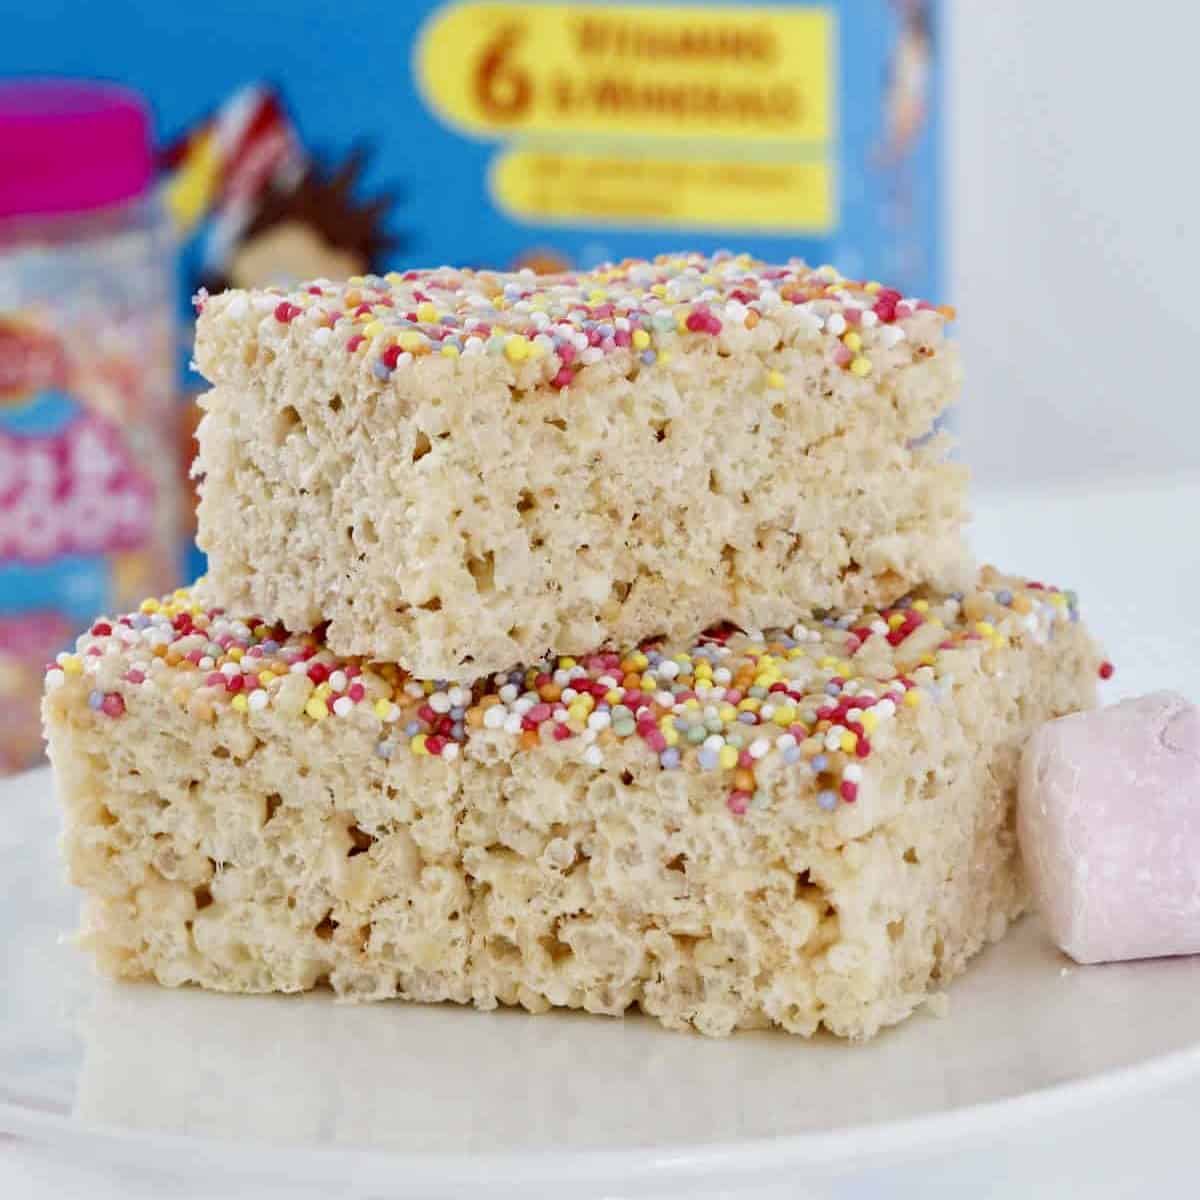
A Quick Look At The Recipe
✅ Recipe Name: Rice Bubble Marshmallow Slice
🕒 Ready In: 5 minutes prep + 2 hours chilling
👪 Serves: 20 serves
🔥 Calories: 285kcal per serve
🥣 Main Ingredients: rice bubbles, marshmallows, butter
🌿 Dietary Info: vegetarian, can be made gluten-free and dairy-free
⭐ Why You'll Love It: Just 3 ingredients, 5 minutes of prep, and it tastes just like the LCM bars from the school canteen.
SUMMARIZE & SAVE THIS CONTENT ON
Love this recipe! Made it several times and always a crowd pleaser.
- Jem
Once you've made a batch of this, you'll want to work your way through the rest of my lunchbox favourites.
Try my Honey Joys, Chocolate Crackles or my Homemade LCM Bars next.
Jump to:
Why You're Going To Love This Recipe
- Only 3 main ingredients - just butter, marshmallows and rice bubbles, that's it.
- 5 minutes prep - the fridge does all the hard work for you.
- Lunchbox friendly - stays crunchy in school lunch boxes all day (one of my kids' favourites!).
- Freezer-friendly - make ahead and freeze for up to 3 months.
Marshmallow Slice Ingredients
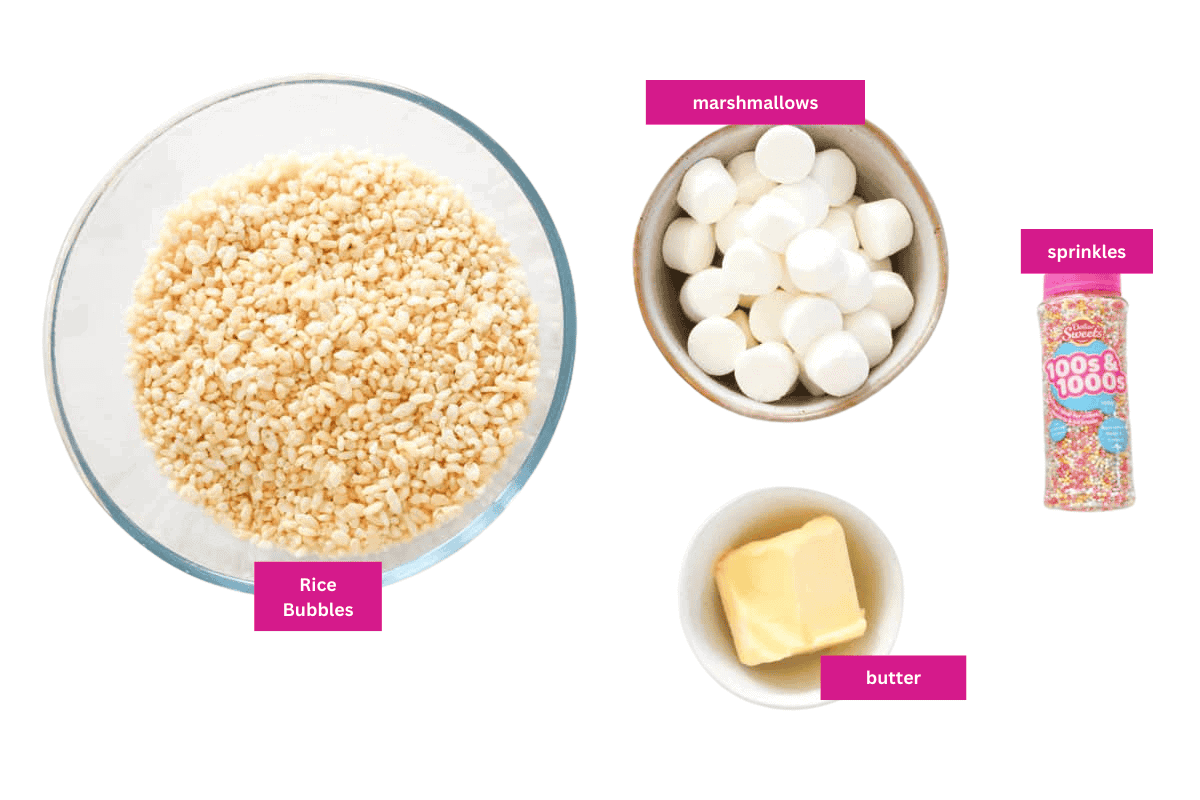
You only need three simple ingredients for this one. Here's what actually matters when you're picking them up at the shops.
- Rice Bubbles (Rice Krispies) - use a fresh, unopened box for maximum crunch. Stale cereal will make your slice soft and chewy instead of light and crispy.
- Marshmallows - regular-sized marshmallows melt more evenly than jumbo or mini marshmallows. White marshmallows give you the classic LCM look, while pink ones add a fun pastel colour.
Variations
- Gluten-Free Rice Bubble Slice - use a certified GF puffed rice cereal and double-check your marshmallows are gluten-free too.
- Dairy-Free Version - swap the butter for a dairy-free spread or coconut oil; it melts just the same and works a treat.
- Chocolate Drizzle - once set, drizzle with melted white, milk or dark chocolate.
- Mix-In Version - stir through mini choc chips, chopped peanut butter cups or dried fruit once the rice bubbles are coated.
- Birthday Party Slice - top with rainbow sprinkles or mini M&Ms before the slice sets.
- Halloween Rice Bubble Slice - stir in orange and black M&Ms or candy eyes, then drizzle with melted white chocolate tinted orange.
How To Make Rice Bubble Marshmallow Slice
This slice couldn't be simpler, three steps and you're done!
Note: Scroll to the recipe card at the bottom for the ingredient quantities and full detailed method (including the Thermomix version).
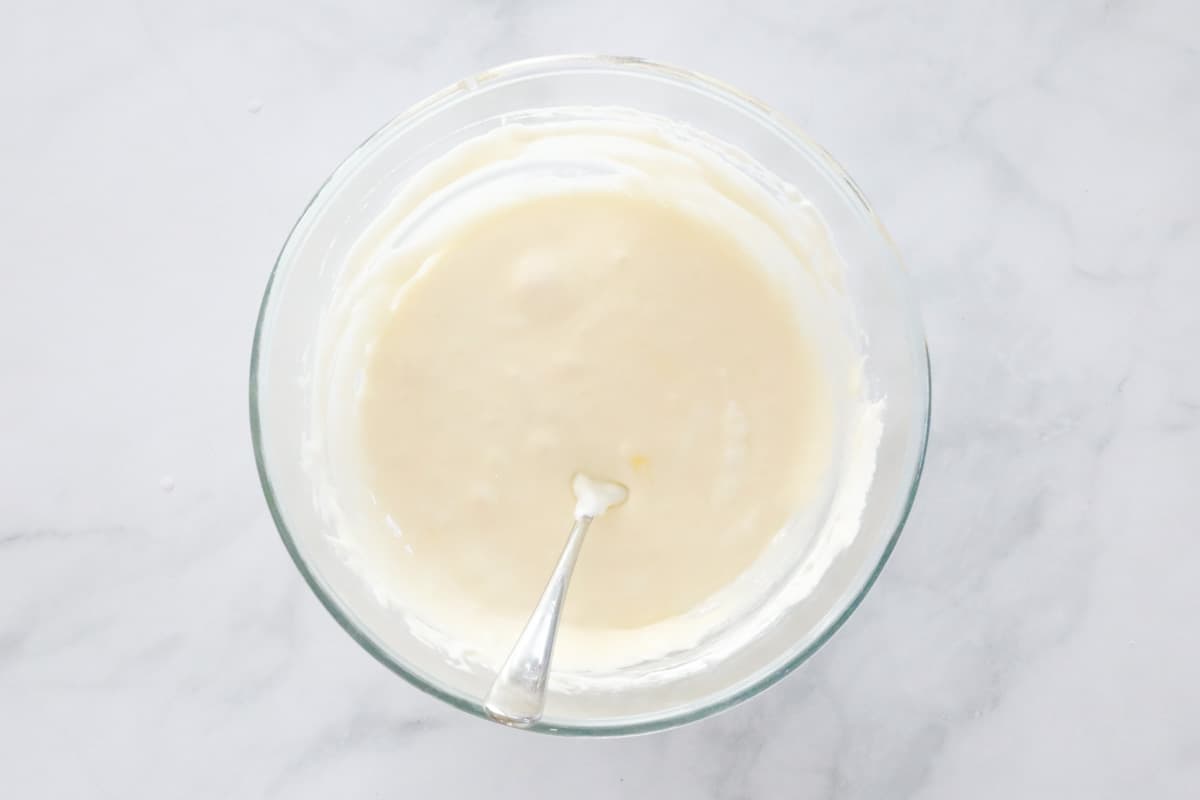
- Step 1: Melt the butter and marshmallows. Place the butter and marshmallows in a large microwave-safe bowl. Heat on 50% power, stirring every 30 seconds until smooth.
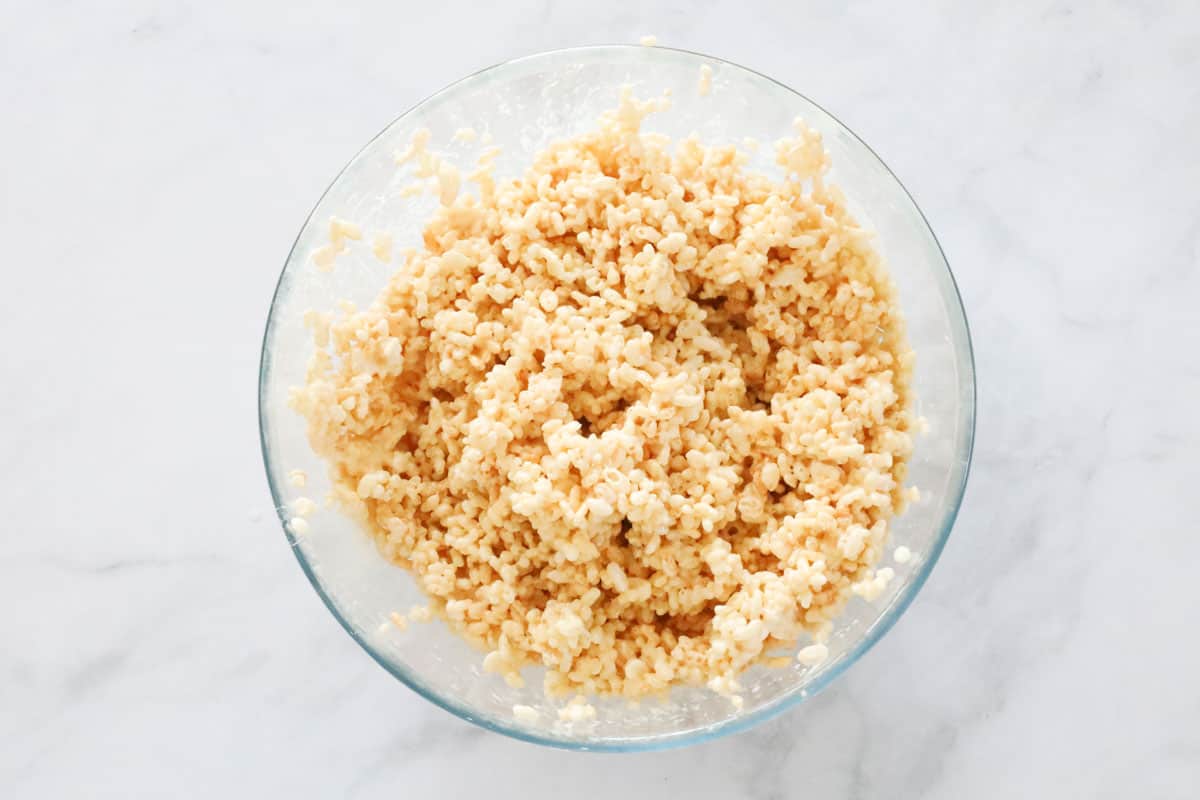
- Step 2: Add the rice bubbles. Add the rice bubbles to the marshmallow mixture and stir until they're completely coated.
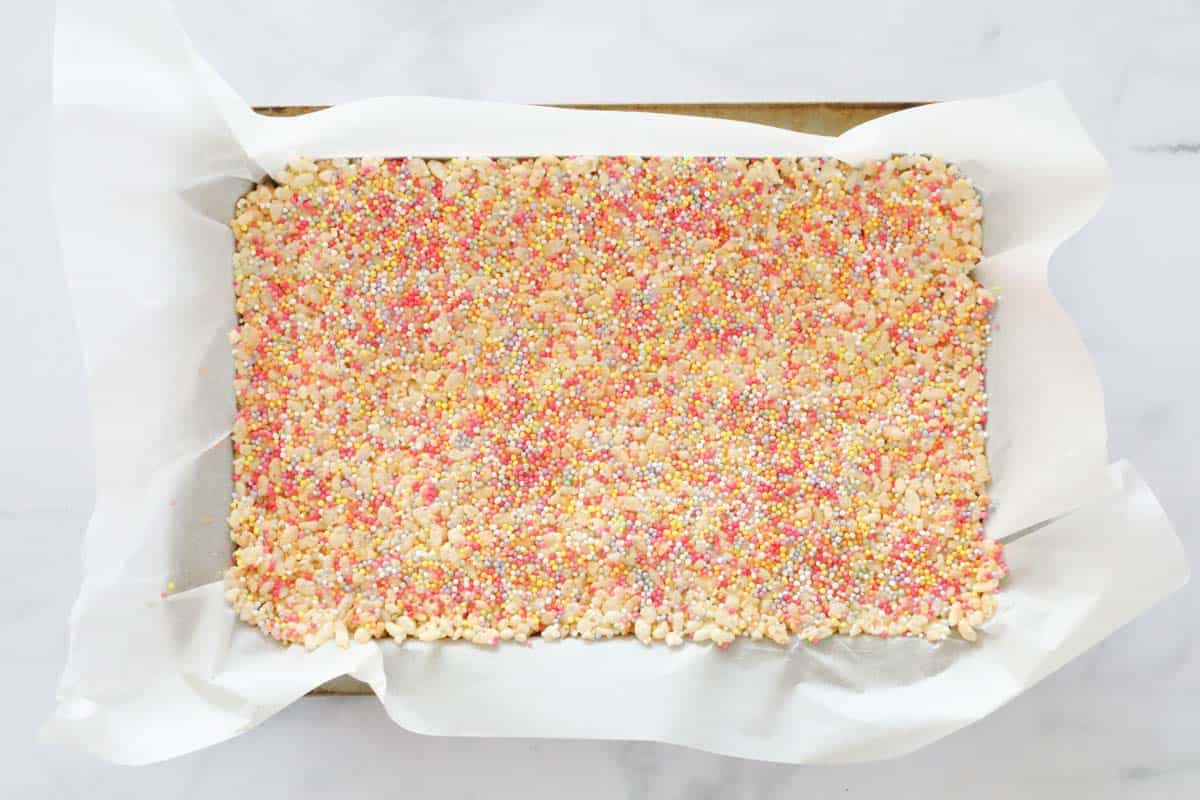
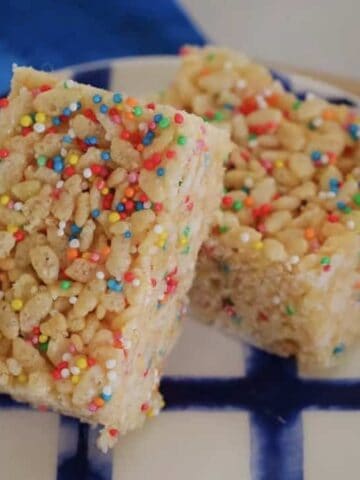
- Step 3: Press, top and chill. Press the mixture firmly into a lined baking tray or cake tin, scatter with 100s and 1000s, then refrigerate for at least 2 hours before slicing.
Recipe Tips
- Always use a new, unopened box of Rice Bubbles for maximum crunch.
- Work quickly when mixing the marshmallow mixture through the cereal; it sets fast.
- No microwave? Melt the butter and marshmallows in a saucepan over low heat instead, stirring constantly so it doesn't catch on the bottom.
- To stop sticking, grease your spatula or hands lightly with butter before pressing into the tin.
- Slice while still slightly soft (after chilling for 1-2 hours) for neat, clean edges.
- Storage - keep in an airtight container in the fridge for up to 1 week.
- Freezing - freeze individual portions in Ziploc bags for up to 3 months. Defrost in the fridge overnight, or pop straight into lunchboxes to thaw by recess.
Rice Bubble Marshmallow Slice FAQs
Yes! Just swap in a certified gluten-free puffed rice cereal and check that your marshmallows are gluten-free too.
Yep, just swap the butter for a dairy-free spread or coconut oil. It melts the same way and holds the slice together just as well.
It's totally normal for it to be sticky while warm. Press it into the tin using a piece of baking paper or a greased spatula for the best (and least messy) results.
Always store it in an airtight container. Using a fresh, unopened box of Rice Bubbles also makes the biggest difference to how crunchy it stays.
Absolutely. Stir through mini choc chips, chopped peanut butter cups or dried fruit once the rice bubbles are coated, or just scatter sprinkles, mini M&Ms or a chocolate drizzle over the top before it sets.
More Recipes Using Rice Bubbles
Rice bubbles aren't just for breakfast; they're a lunchbox legend in our house. Here are a few more of my favourite ways to use them up.
Rice Bubble Marshmallow Slice
Ingredients
- 200 g marshmallows see notes
- 75 g butter
- 165 g (5 cups) rice bubbles or any puffed rice
- 100s and 1000s/sprinkles to decorate, optional
Instructions
- Line the base and sides of an 18cm x 28cm (7 x 11 inches) rectangular slice with baking paper and set aside.
- Place the marshmallows and butter into a large microwave safe bowl. Melt in the microwave on 50% power for 2 minutes (or until just melted), stirring every 30 seconds. If using a Thermomix: Cook the marshmallows and butter for 4 minutes, 80 degrees, Speed 1 (scrape down the sides of the bowl after 2 minutes).
- Add the rice bubbles to the marshmallow mixture and stir until all of the rice bubbles have been coated in the marshmallows.If using a Thermomix: Add the rice bubbles to the bowl and mix for 1 minute 30 seconds, Speed 1, Reverse (using the spatula to help mix).
- Press the mixture into the prepared tin and sprinkle with 100s and 1000s.
- Chill in the fridge for a minimum of 2 hours.
Notes
- Always use a new, unopened box of Rice Bubbles for maximum crunch.
- Work quickly when mixing the marshmallow mixture through the cereal - it sets fast.
- To stop sticking, grease your spatula or hands lightly with butter before pressing into the tin.
- Use a piece of baking paper to press the mixture down firmly and evenly into the tin - it stops the mixture sticking to your spoon or hands and helps the slice hold together when cut.
- Slice the bars while still slightly soft (after chilling for 1-2 hours), for neat, clean edges.
- Store in an airtight container in the fridge for up to 1 week.
- Freeze in individual portions in ziplock bags for up to 3 months. Defrost in the fridge overnight or pop straight into lunchboxes to thaw by recess.
- For parties, cut into mini squares so you get more servings out of one batch
sammy says
yummiest thing ever
Wilson Deborah says
Absolutely love it
Jem says
Love this recipe! Made it several times and always a crowd pleaser.
Lucy says
Thank you so much!
Niah says
Opps found it thanks
Niah says
You never said how much butter you need to put into the slice
Niah says
Never mind i found it