
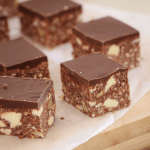
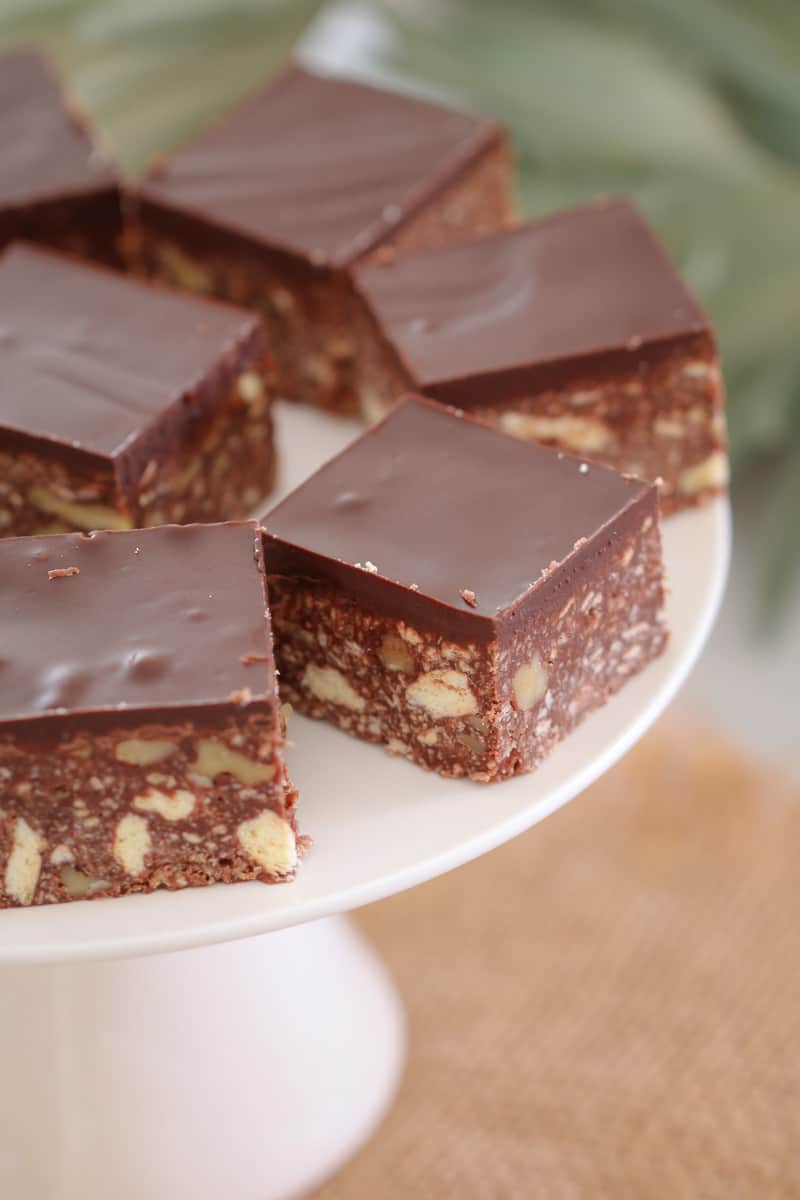
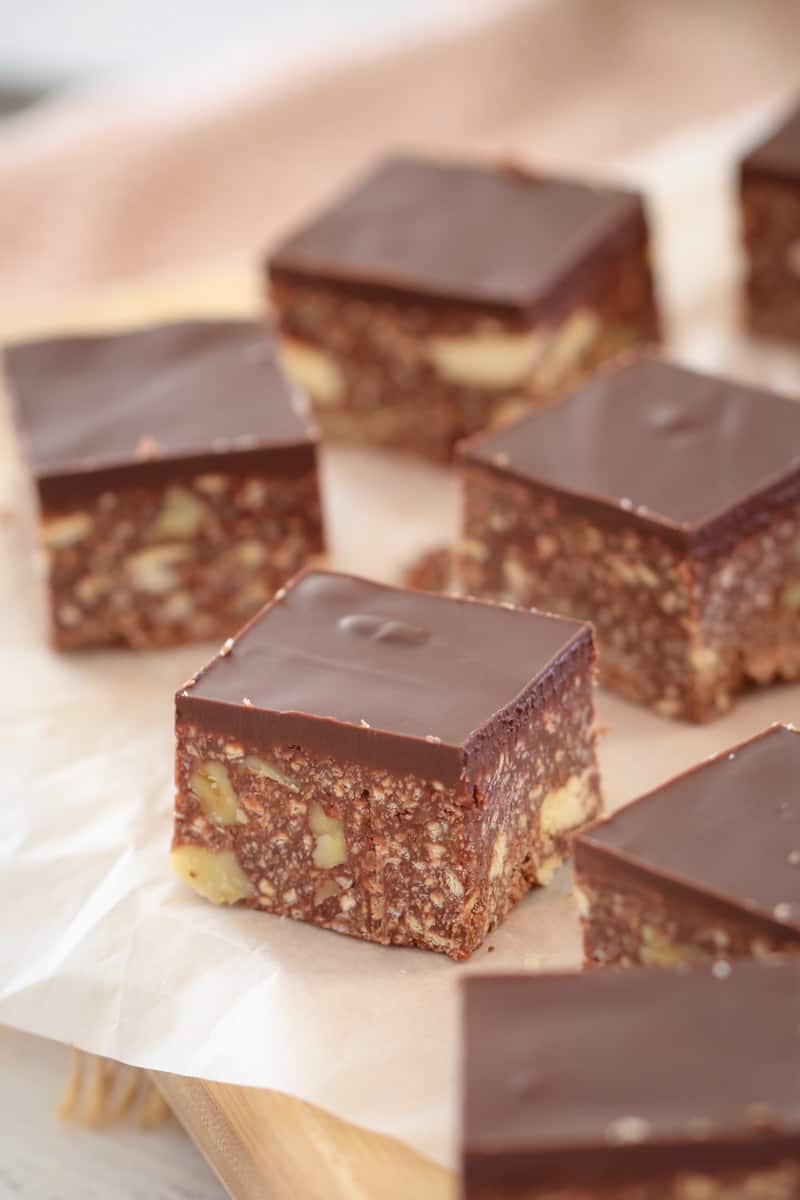
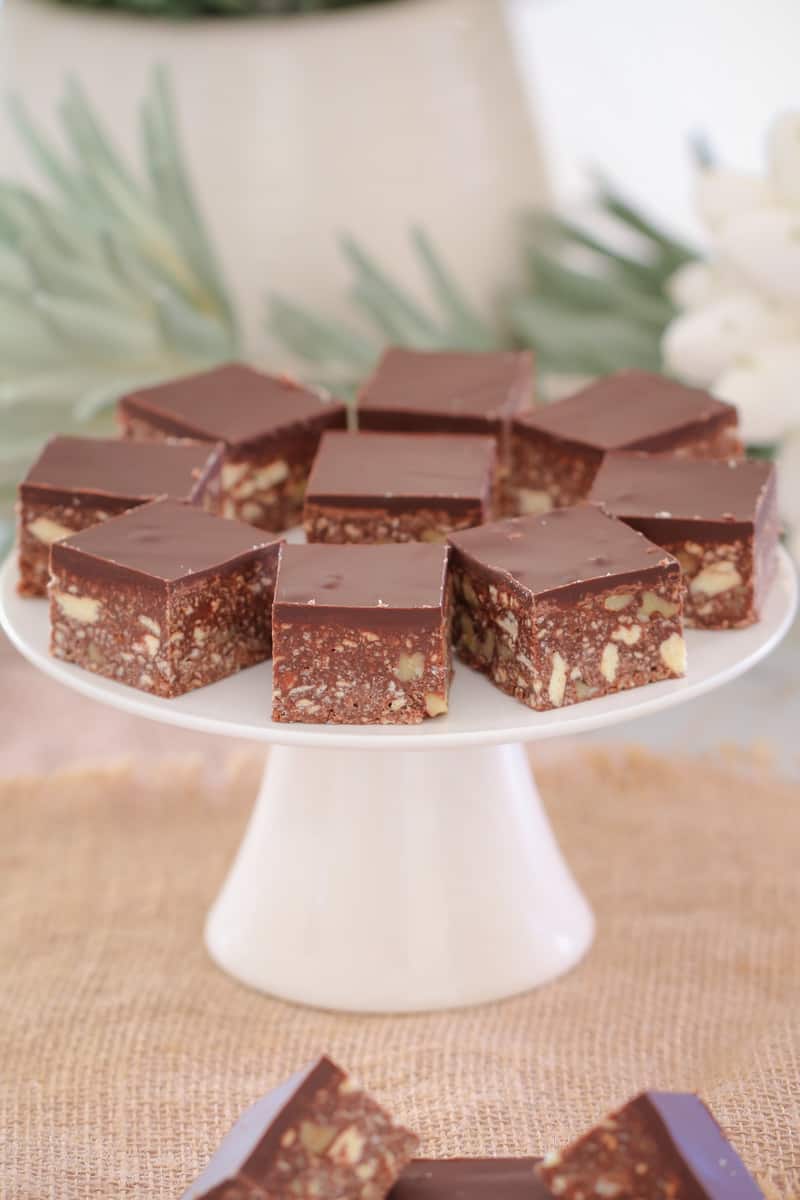
A classic no-bake chocolate hedgehog slice made with crushed biscuits, walnuts, coconut, sweetened condensed milk and melted chocolate that is so quick and easy! The most delicious melt-and-mix slice that takes just 15 minutes to prepare.
When it comes to easy no-bake slice recipes, they don't get much more old-fashioned than our classic chocolate hedgehog slice!
This chocolate hedgehog slice is one of my all-time most popular slice recipes - along with my Jelly Slice, Mars Bar Slice, Easy Chocolate Brownies, Vanilla Custard Slice, Peanut Butter Slice, ANZAC slice and Passionfruit Slice.
Why You're Going To Love This Recipe
There is SO much to love about this sweet and simple hedgehog slice!
- No-bake - there's no need to turn on the oven with this easy melt-and-mix recipe. Simply chill in the fridge and then cut into yummy little pieces.
- Quick & easy - just 15 minutes of prep time is all it takes to make a hedgehog slice.
- Freezer-friendly - this slice can be frozen in an airtight container for up to 3 months. Perfect for getting organised for lunch boxes or afternoon snacks.
- Classic recipe - chocolate hedgehog slice is such an old-fashioned favourite, and it's no wonder it's stood the test of time (when it's totally delicious!)
What You Need
My no-bake chocolate hedgehog slice recipe couldn't be any easier to make... and all you need is a few pantry staples:
Note: Please scroll to the recipe card at the bottom of the post for ingredient quantities and the full detailed method.
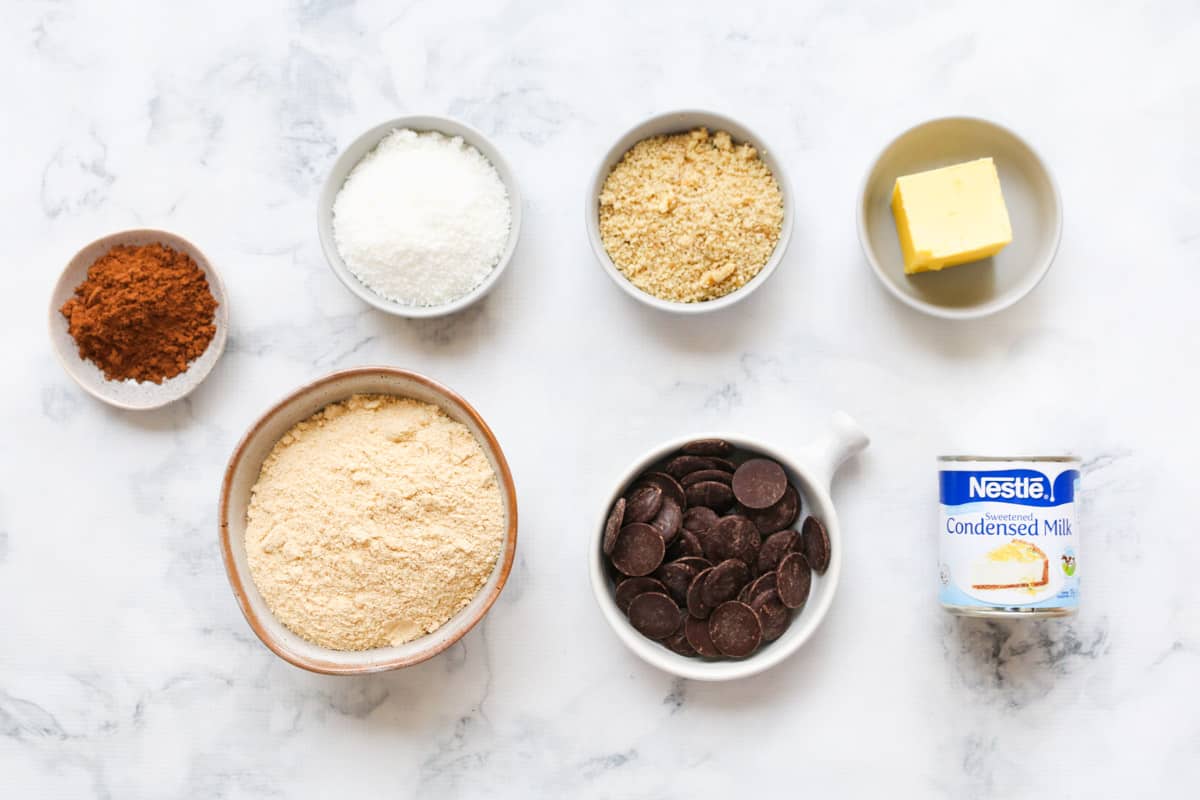
- Butter - either salted or unsalted butter is fine to use in this recipe
- Sweetened condensed milk - use full fat - not skim.
- Dark chocolate - choose any type of dark chocolate or dark chocolate melts (cooking chocolate). Alternatively, you can use milk chocolate if you prefer.
- Plain sweet biscuits - (known as cookies in the US). I generally use Arnott's Marie biscuits, but you can use any type of plain biscuits or cookies you like
- Desiccated coconut - which is finely shredded dried coconut
- Walnuts - omit for a nut-free version (see notes below)
- Cocoa powder - choose a cocoa powder from Cadbury, Hershey's, or Nestle.
- Vegetable oil or coconut oil is optional. This helps to prevent the chocolate layer from cracking when it is cut into pieces.
Equipment Required
To make this easy hedgehog slice, you will need:
- Food processor, blender, Thermomix or rolling pin for crushing the biscuits
- Large mixing bowl
- Microwave, stovetop or Thermomix for melting the chocolate
- Large spoon or wooden spoon for mixing the ingredients
- 18 x 28cm baking tin (7 x11 inch)
- Baking paper for linking the tin
Step By Step Instructions
With just 15 minutes of prep time and a few basic steps, this chocolate hedgehog slice recipe could not be easier, making it the perfect recipe for beginners through to experienced cooks.
Note: Please scroll to the recipe card at the bottom of the post for ingredient quantities and the full detailed method.
Step 1 - Melt
Grease and line a rectangular slice tin (18cm x 28cm).
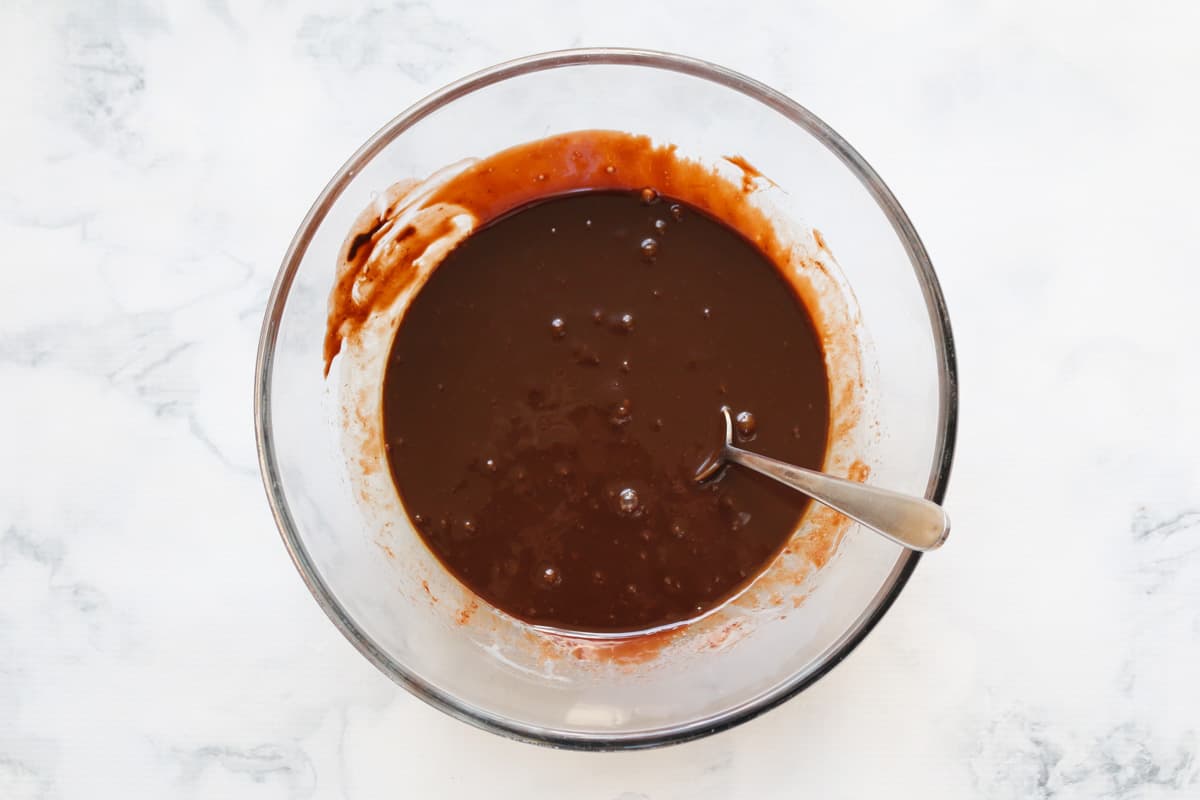
Melt the butter, chocolate and sweetened condensed milk in a large bowl in the microwave on low heat in 30 second burts (alternatively, you can melt the ingredients on a stove-top over low heat or in a Thermomix).

Stir the chocolate mixture until completely melted and combined.
Step 2 - Mix
Mix through the crushed biscuit crumbs, coconut, walnuts and cocoa powder.
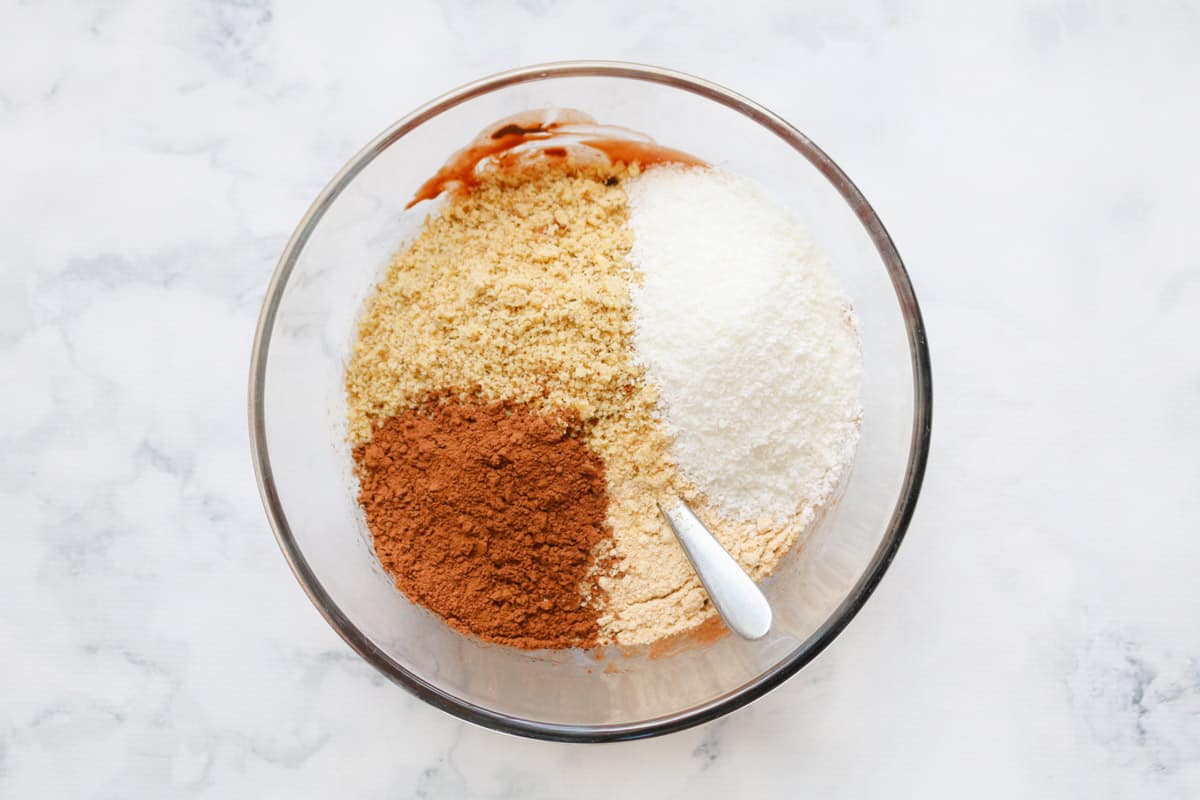
Stir until the dry ingredients are well-coated.
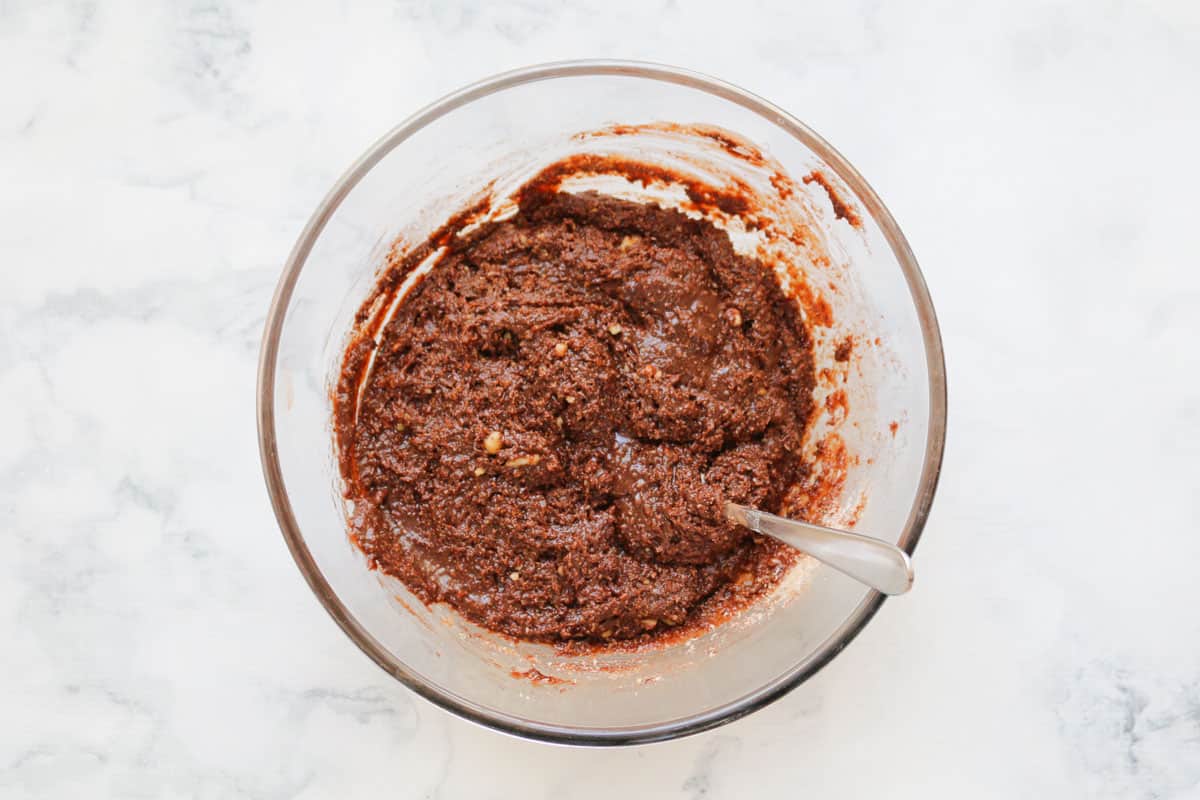
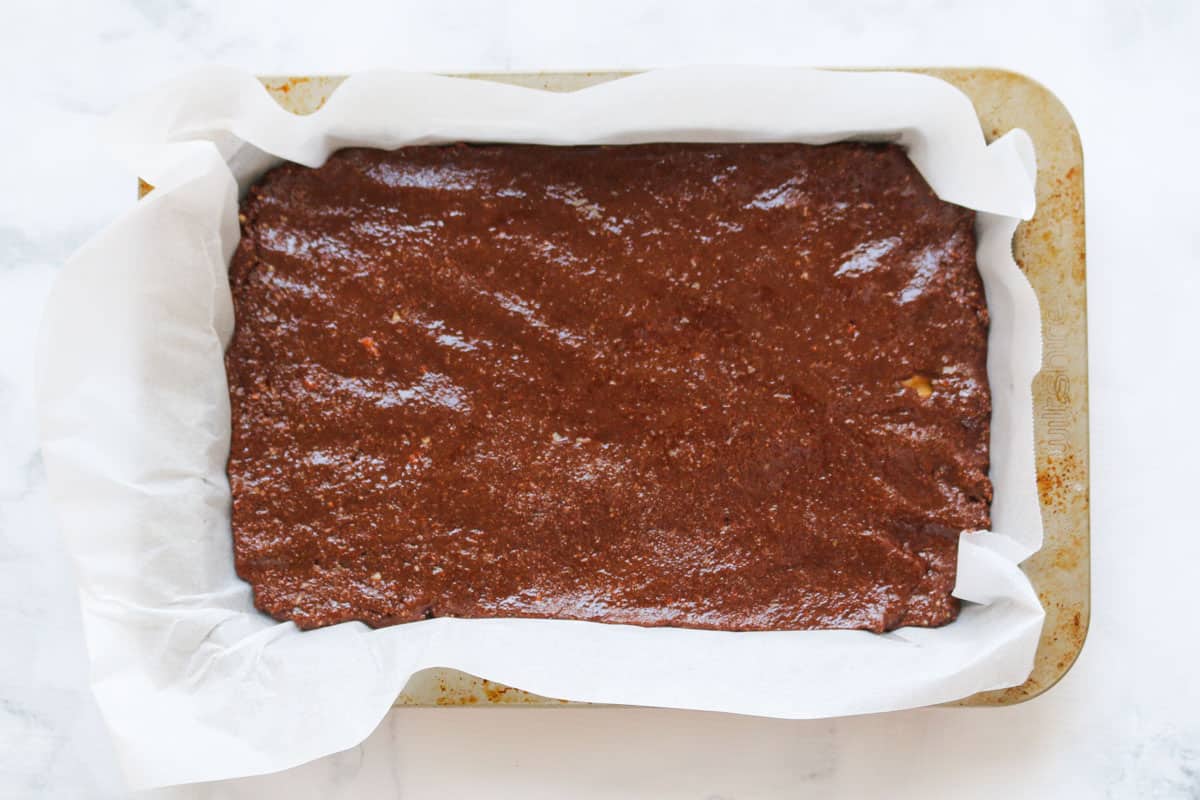
Step 3 - Press Into Tin
Press the mixture firmly into the prepared baking tin. Use the back of a spoon to evenly smooth the surface.
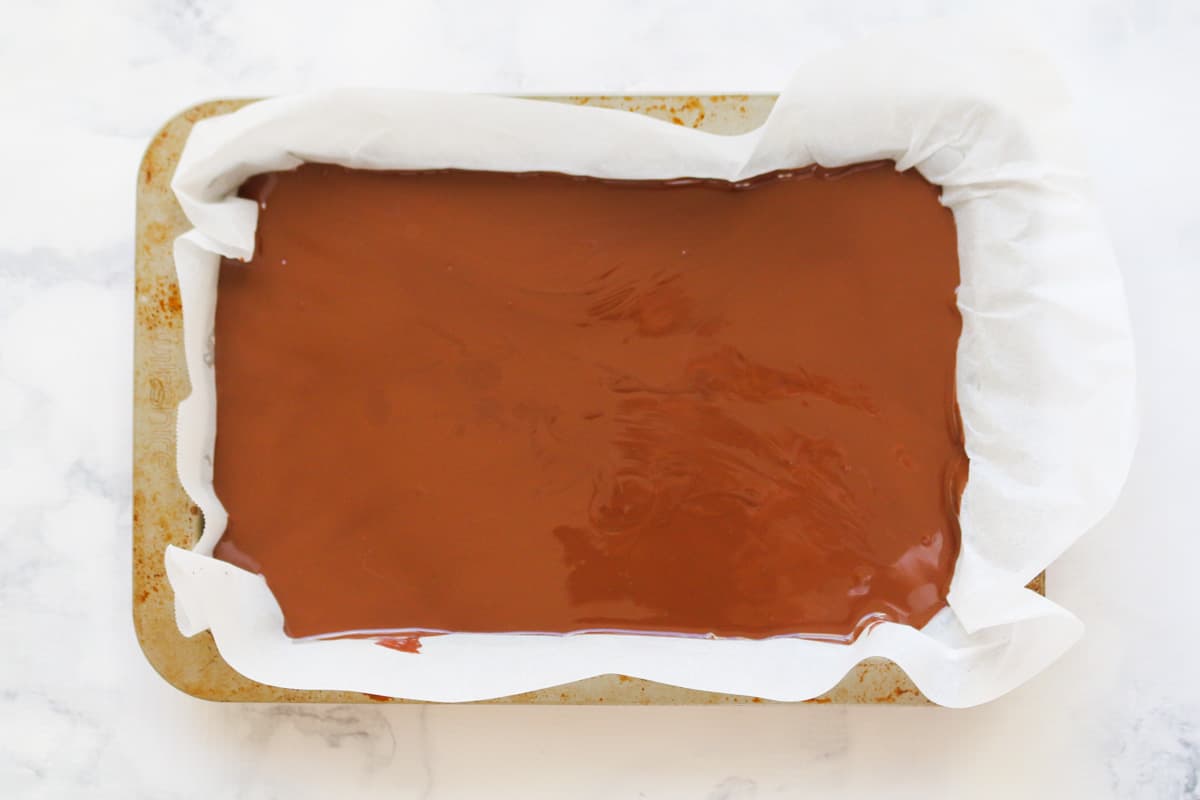
Step 4 - Top With Chocolate
Melt the extra dark chocolate mixed with coconut oil/vegetable oil (optional) and pour the chocolate topping over the slice.
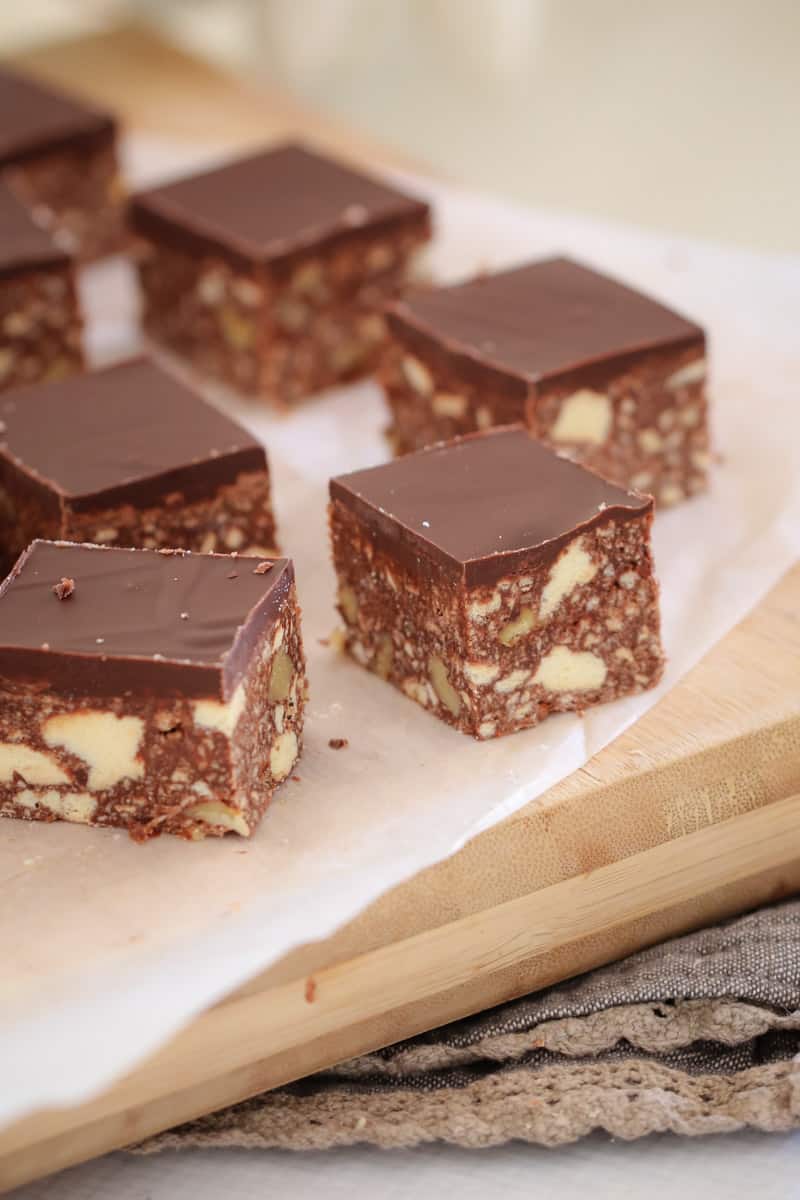
Chill in the fridge for at least 3 hours before cutting into small pieces.
Expert Tips
No bake hedgehog slice is so quick and easy to make and is the perfect sweet treat!
Here are a few tips for making it perfect every single time:
- Line the baking tin with baking paper and allow the paper to hang over the edges - this will make it much easier to remove from the tin once set.
- Use full-fat sweetened condensed milk instead of skim or light as it makes the slice set firmer.
- Nut free - You can omit the walnuts for a nut-free version - either replace them with sultanas or, if omitting them entirely, reduce the amount of sweetened condensed milk by approximately 50g.
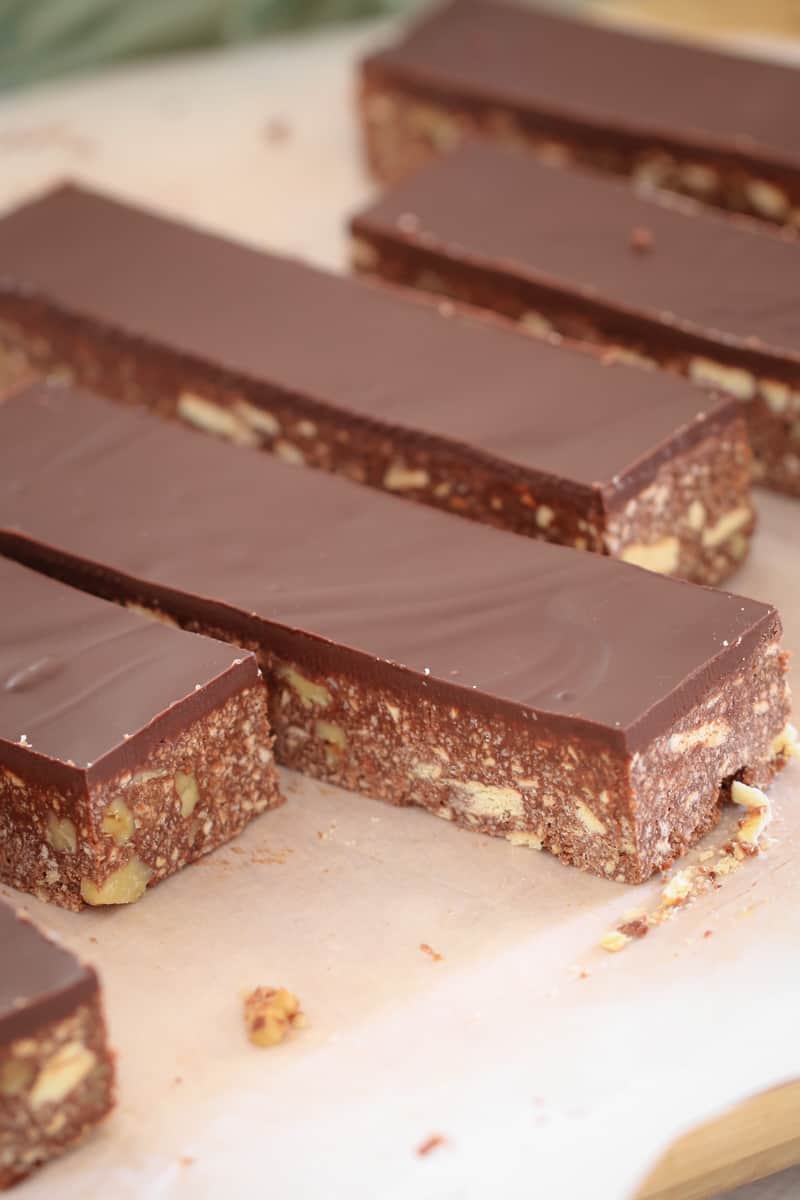
- Cutting the slice - Take your slice out of the fridge for at least 20 minutes before cutting it into pieces - this will help prevent the chocolate from cracking when cut.
- Storing & Freezing - Store the slice in an airtight container in the fridge for up to 5 days. Freeze the slice in an airtight container with greaseproof baking paper between each layer for up to 3 months.
FAQs
Adding a small amount of vegetable oil or coconut oil to the melted chocolate that is poured over the top of the slice will help it to stop cracking when cut into pieces. It is optional, but I find it really helpful.
Yes you can! I have included both the conventional method and the Thermomix method for preparing hedgehog slice in the recipe card below.
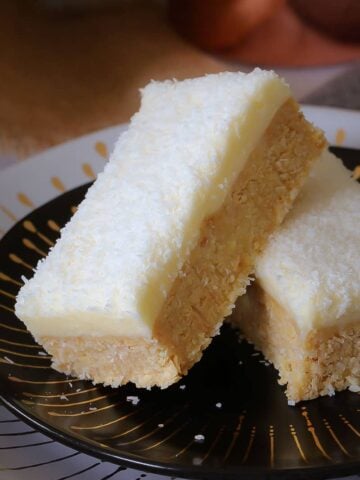
More No-Bake Slice Recipes
No-bake slices are an absolute speciality (and favourite) of mine!
I love how simple and no-fuss they are to prepare... and, of course, how well-loved they are!
Here are some more of my most popular no-bake slice recipes:


WANT EVEN MORE DELICIOUS RECIPES? Subscribe to my newsletter or follow along on Facebook or Instagram. If you love baking, please join my Facebook cooking club group or subscribe to my YouTube channel.

Chocolate Hedgehog Slice
Ingredients
- 100 g butter
- 395 g sweetened condensed milk
- 150 g dark chocolate melts or block
- 250 g plain sweet biscuits crushed (like Arnotts Marie)
- ½ cup (50g) desiccated coconut
- ½ cup (65g) walnuts roughly chopped
- 2 tbs cocoa powder
- 290 g extra dark chocolate melts or block
- 2 tbs vegetable oil or coconut oil optional
Instructions
Conventional Method
- Grease and line an 18cm x 28cm slice tin with baking paper and set aside.
- Place the butter, sweetened condensed milk and dark chocolate melts into a microwave-safe bowl. Heat on 50% power, 3-4 minutes, (stirring every 30 seconds), or until melted. Stir well.
- Add the crushed biscuits, coconut, walnuts and cocoa powder and mix together well.
- Spread the mixture evenly into the prepared tin, pressing down firmly.
- Melt the dark chocolate melts and vegetable oil (or coconut oil) in a microwave-safe bowl on 50% power, 3-4 minutes (stirring every 30 seconds), or until just melted. Alternatively, you can use a stove-top for this step.
- Pour the melted chocolate over the top of the slice and refrigerate for a mimimum of 3 hours.
- Cut into slices and store in an airtight container in the fridge for up to 5 days.
Thermomix Method
- Grease and line an 18cm x 28cm slice tin with baking paper and set aside.
- Crush the biscuits by pressing Turbo for 2-3 seconds. Set aside.
- Place the butter, sweetened condensed milk and dark chocolate melts into the Thermomix bowl. Melt for 3 minutes, 80 degrees, Speed 2.
- Add the crushed biscuits, coconut, walnuts and cocoa powder and mix for 5 seconds on Reverse, Speed 4. Scrape down the sides of the bowl and repeat for a further 5 seconds.
- Spread the mixture evenly into the prepared tin, pressing down firmly.
- Melt the dark chocolate and vegetable oil in a clean and dry Thermomix bowl for 3 minutes, 60 degrees, Speed 2. Pour the melted chocolate over the top of the slice and refrigerate for a mimimum of 3 hours.
- Cut into slices and store in an airtight container in the fridge for up to 5 days.
Notes
- butter - salted or unsalted butter are both fine to use
- sweetened condensed milk - use full fat, not skim, to set firmer
- dark chocolate - you can use any type of dark chocolate or dark chocolate melts (cooking chocolate). Alternatively, you can replace the dark chocolate with milk chocolate.
- plain sweet biscuits - (known as cookies in the US). I generally use Arnott's Marie biscuits, but you can use any type of plain biscuit/cookie you like
- desiccated coconut - is finely shredded coconut
- walnuts - you can omit the walnuts for a nut-free version - either replace with sultanas or if omitting entirely, reduce the amount of sweetened condensed milk by approximately 50g
- vegetable oil or coconut oil - adding a little vegetable oil or coconut oil to the melted chocolate that is poured over the top of the slice will help it to stop cracking when cut into pieces. This is optional.


Jen says
I can't use walnut but like the idea of puffed rice. How much should I add?
Lucy says
Hi there, I'd add 1/2 cup 🙂
Sigrid says
So easy and delicious!
sally says
my slice was very sticky 🙁
Any thoughts?
Lucy says
Hi Sally, once chilled overnight it should be fine!
Claudia says
It is the second time I make this recipe. It is soft/sticky and the chocolate on top cracks when I cut/ portion the slice. Both times I left in the fridge overnight.
Lucy says
Hi Claudia, to avoid the chocolate layer cracking, remove it from the fridge 20-30 mins before cutting and use a super sharp knife!
Ms Marion Harvey says
I have a question. Is there another nut that is suitable?
Lucy says
You could use any nuts you like! Or simply omit them!
Penny says
This is THE BEST hedgehog slice!!
Lucy says
Thank you so much!