

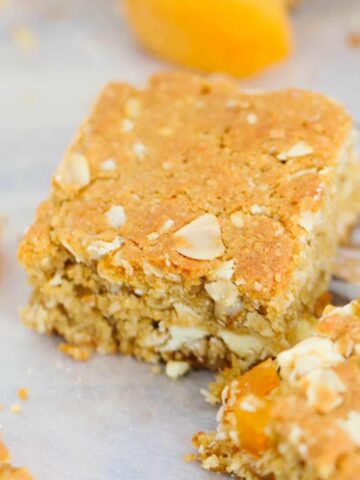
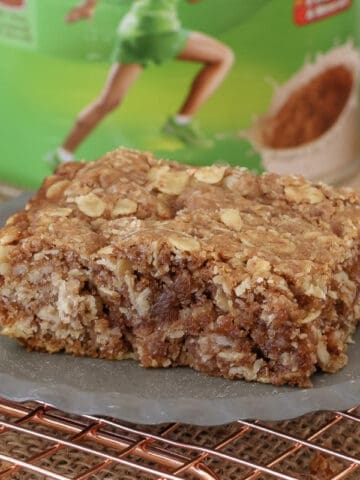
Weetbix Slice is a classic Aussie bake - chewy, chocolatey, and perfect for lunchboxes or after-school treats. Made from crushed Weet-Bix, cocoa, and coconut, then topped with smooth chocolate and Freckles, it's always a winner.
If your family loves old-school favourites like my Chocolate Caramel Slice or Mars Bar Slice, this one's a must-make!

Easy and delicious slice that's not too rich. I've made this dozens of times over the years and happy with coconut or freckles toppings. Beautiful recipe!
- Tracy
Crushed Weet-Bix, cocoa and coconut baked into a chewy base, then smothered in silky milk chocolate and topped with colourful freckles-this is the slice every Aussie mum keeps up her sleeve. It's a one-bowl wonder, ready in 30 minutes, and my recipe gives you both Thermomix and conventional instructions, so you can whip it up however you prefer.
Pop a piece into the kids' lunchboxes, enjoy one with a cuppa during nap time, or keep a stash in the freezer for those "I need chocolate now" moments. If you love a good slice as much as I do, make sure you check out my Marshmallow Weetbix Slice, Caramel Hedgehog Slice or classic Lemon and Coconut Slice too!
Why You're Going To Love This Recipe
- Five-minute prep, 20-minute bake - perfect for busy weekdays.
- One bowl (or one Thermomix bowl!) - minimal washing-up.
- Budget ingredients - pantry staples stretch a box of Weet-Bix.
- Lunch-box & freezer friendly - slice, wrap, freeze, done.
- Guaranteed kid appeal - freckles on top seal the deal!
Jump to:
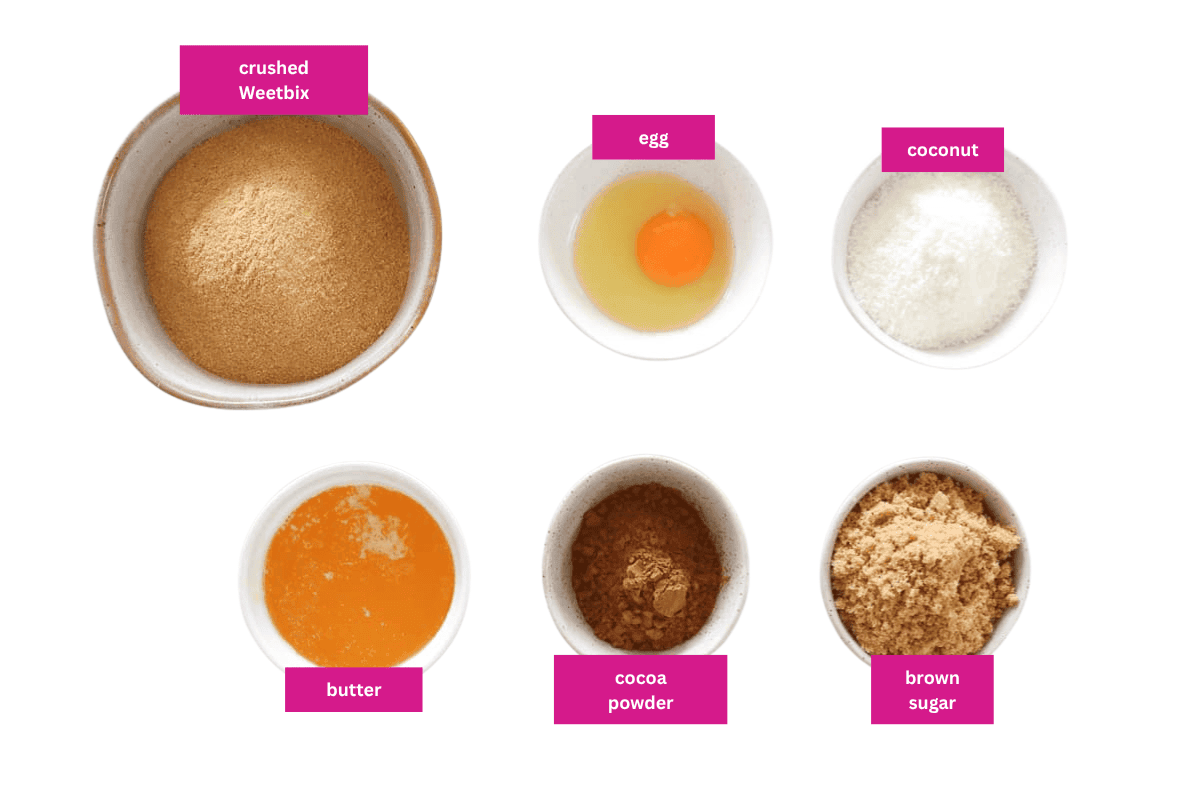
Slice Ingredients
A handful of pantry staples-just make sure these hero ingredients are on point:
Note: Scroll to the recipe card at the bottom for the ingredients quantities and full detailed method!
- Chocolate Freckles: Press them on while the chocolate's soft for that fun, speckled finish. Alternatively, use sprinkles, 100s and 1000s or coconut.
- Weet-Bix: Fresh (not the stale crumbs lurking at the bottom of the box) for maximum crunch.
- Cocoa powder: Use regular unsweetened cocoa, not drinking chocolate, for a rich cocoa hit.
Variations
- Gluten-Free - swap in GF Weet-Bix and add an extra egg to help bind.
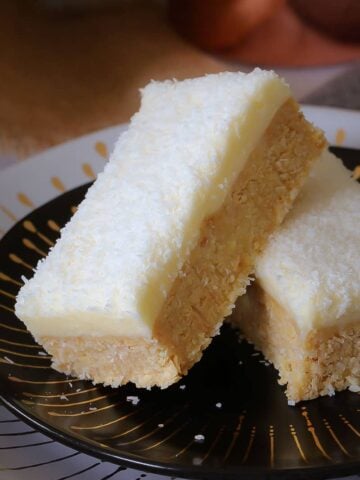
- Lemon-Iced Version - skip the chocolate top and finish with the lemon icing from my Lemon Weetbix Slice.
- Topping Options - sprinkle coconut, 100s and 1000s or sprinkles over the melted chocolate instead of using Freckles.
How To Make Chocolate Weetbix Slice
Grab a bowl (or your Thermie) and let's bake!
Note: Scroll to the recipe card at the bottom for the ingredients quantities and full detailed method!
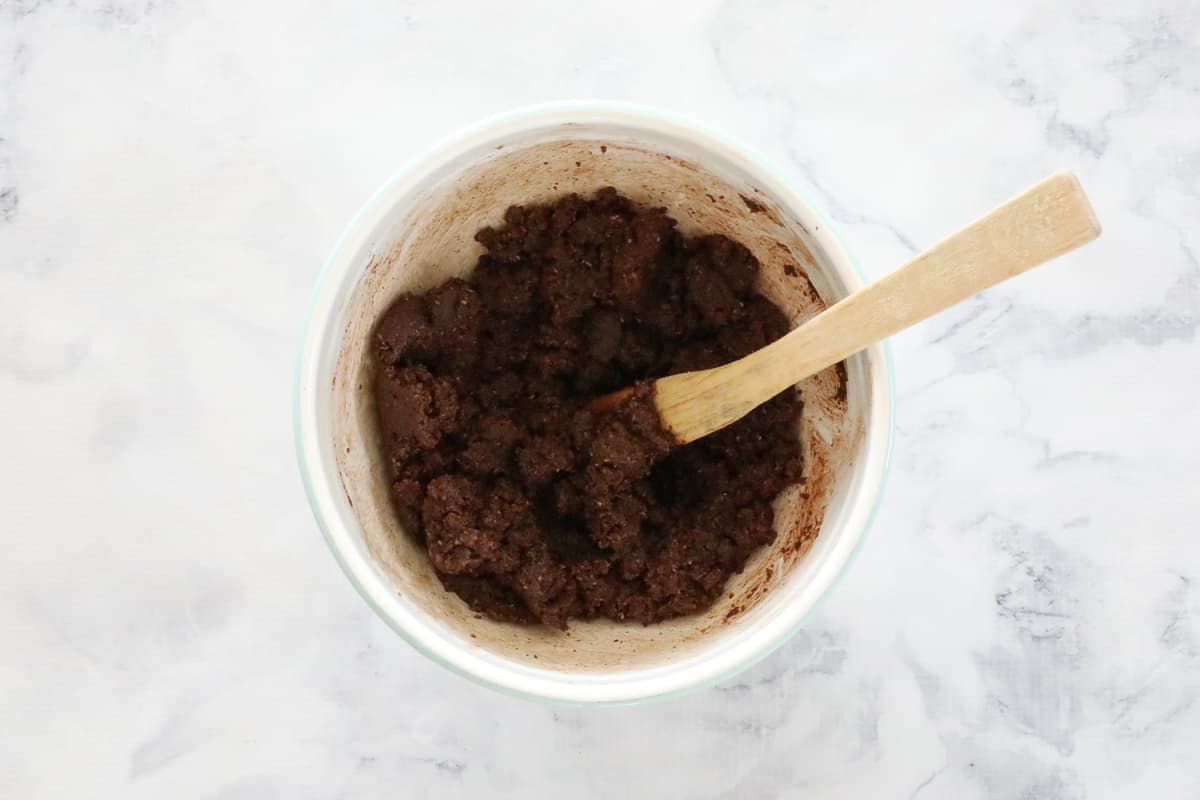
- Step 1: Mix. Combine crushed Weet-Bix, cocoa, brown sugar, melted butter, coconut and egg. Stir until evenly coated.
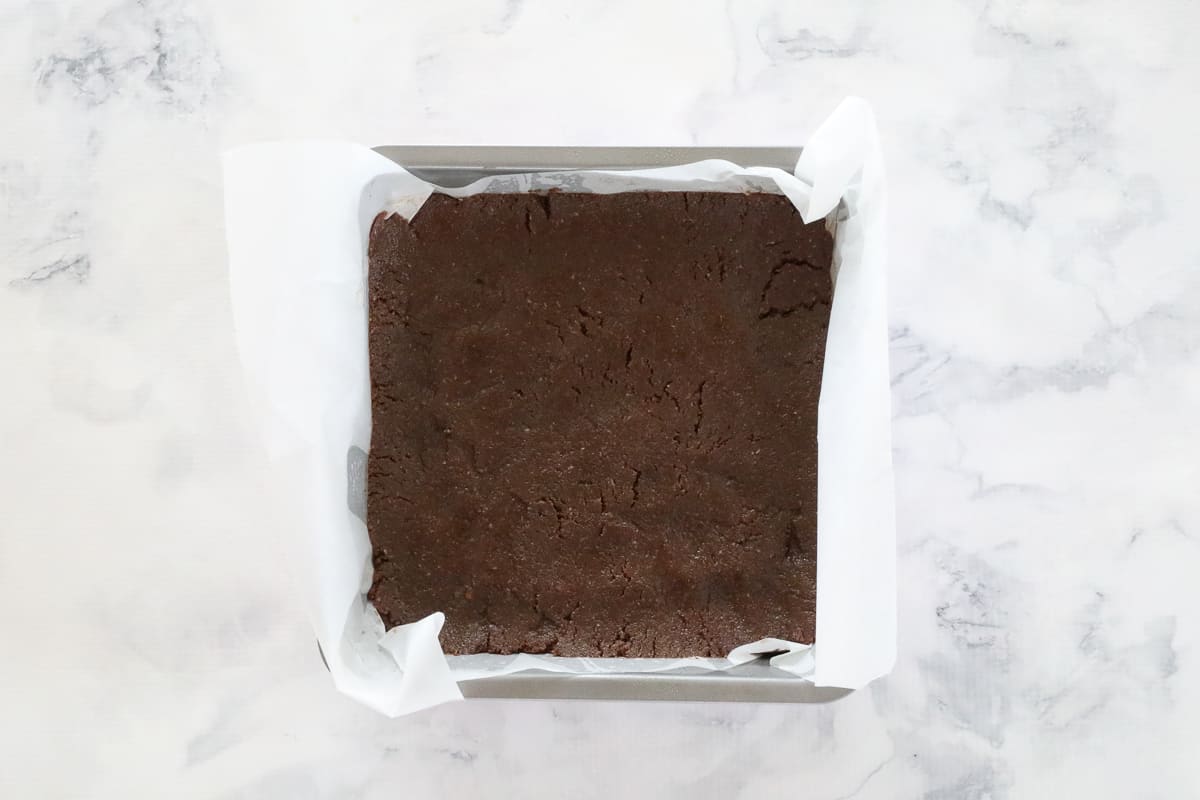
- Step 2: Bake. Press firmly into tin. Bake 15-20 min until the top springs back lightly. Cool completely.

- Step 3: Top. Melt chocolate (with coconut oil if using). Spread over slice and quickly decorate with Freckles.
Top Tip
Let the chocolate topping firm up in the fridge, but always bring the slice back to room temp before cutting-no more shattered chocolate!
Recipe Tips
- Press the base very firmly into the tin-loosely packed slice = crumbly squares.
- A fresh box of Weet-Bix keeps the texture light and chewy.
- Add coconut oil (or mild veg oil) to melted chocolate for café-style clean cuts.
- Slice with a serrated knife wiped in hot water between cuts.
- Storage: Airtight container in the fridge up to 1 week.
- Freezing: Wrap individual squares; freeze up to 1 month. Thaw in lunchboxes-too easy!

Weetbix Slice FAQs
Yes, you can! I would recommend adding an extra egg to keep it from crumbling.
Yes - replace the egg with 2 tablespoon milk. The slice will be a touch more crumbly but still delicious.
The coconut oil helps keep the chocolate slightly softer which makes it easier to cut without the chocolate layer cracking. It's optional, but I do find it makes slicing easier!
Usually from over-baking or using stale Weet-Bix. Bake until just firm and use a fresh box of Weet-bix.
More Easy Slice Recipes
Look no further for more easy slices that are just perfect for school lunchboxes...

WANT EVEN MORE DELICIOUS RECIPES? Subscribe to my newsletter or follow along on Facebook or Instagram. And if you love baking, then please come and join my Facebook cooking club group or subscribe to my YouTube channel.

Weetbix Slice
Ingredients
- 12 Weet-Bix finely crushed (approximately 220g)
- 25 g (¼ cup) cocoa powder sifted
- 150 g (¾ cup) brown sugar
- 200 g butter melted
- 45 g (½ cup) desiccated coconut
- 1 egg room temperature, lightly beaten
- 250 g milk chocolate melted
- 2 tbs coconut oil (optional)
- 120 g packet Chocolate Freckles
Instructions
Conventional Method
- Preheat oven to 160 degrees celsius (fan forced).
- Grease and line a 20cm x 20cm square cake tin with baking paper and set aside.
- Combine the finely crushed Weet-Bix, cocoa powder, brown sugar, melted butter, coconut and egg in a bowl. Mix well.
- Press mixture firmly into the prepared cake tin.
- Bake for 15 to 20 minutes or until firm to the touch.
- Allow to cool.
- Melt the chocolate and coconut oil (optional) and spread over the top of the slice.
- Working quickly, place the chocolate Freckles in lines.
- Allow to set in the fridge for 2 hours, then remove from fridge for 30 minutes before slicing.
Thermomix Method
- Preheat oven to 160 degrees celsius (fan forced).
- Grease and line a 20cm x 20cm square cake tin with baking paper and set aside.
- Place the Weet-Bix into the Thermomix bowl and crush for 10 seconds, Speed 8.
- Add the cocoa powder, brown sugar, melted butter, coconut and egg and mix for 5 seconds, Speed 4. Scrape down the sides of the bowl and repeat for a further 5 seconds.
- Press mixture firmly into the prepared cake tin.
- Bake for 15 to 20 minutes or until firm to the touch. Allow to cool.
- Melt the chocolate and coconut oil (optional) in a clean Thermomix bowl for 3 minutes, 60 degrees, Speed 3, (or until completely melted. Spread over the top of the slice.
- Working quickly, place the chocolate Freckles in lines.
- Allow to set in the fridge for 2 hours, then remove from fridge for 30 minutes before slicing.
Notes
- Press the base very firmly into the tin-loosely packed slice = crumbly squares.
- A fresh box of Weet-Bix keeps the texture light and chewy.
- Add coconut oil (or mild veg oil) to melted chocolate for café-style clean cuts.
- Slice with a serrated knife wiped in hot water between cuts.
- Storage: Airtight container in the fridge up to 1 week.
- Freezing: Wrap individual squares; freeze up to 1 month. Thaw in lunchboxes-too easy!


Joshua Poole says
I love the it so much it’s a 10/10 from me
H says
I used about 60 grams sugar and about 120 grams butter, turned out great, nice and crunchy and the chocolate on top makes it sweet enough!
Caitlin says
My girls can't stand weetbix. I didn't want to waste the whole box so I tried this slice without them knowing what's in it. They LOVED it! It's now a weekly school recess slice that I make for them. Super quick, easy, we use Gluten free weetbix and I use Monkfruit sweetener (1/4 cup to maybe 1/2 cup roughly depending how much I have on hand). I find it a very fulfilling slice as the girls eat alot! We just drizzle with dark choc on top mixed with coconut oil and coconut on half the other half plain. 🙂
Vanessa says
Delicious and easy
Tracy Wilkinson says
Easy and delicious slice that’s not too rich. I’ve made this dozens of times over the years and happy with coconut or freckles toppings. My TM6 makes this even easier with it in the oven in moments! Beautiful recipe ❤️❤️
Lucy says
Thank you so much!