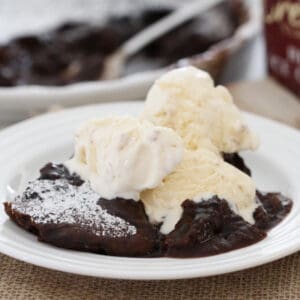
A simple and classic old fashioned chocolate self-saucing pudding recipe made from just 7 basic ingredients and ready to eat in 40 minutes.
Rich chocolate cake smothered with a smooth chocolate sauce... the perfect winter comfort food!
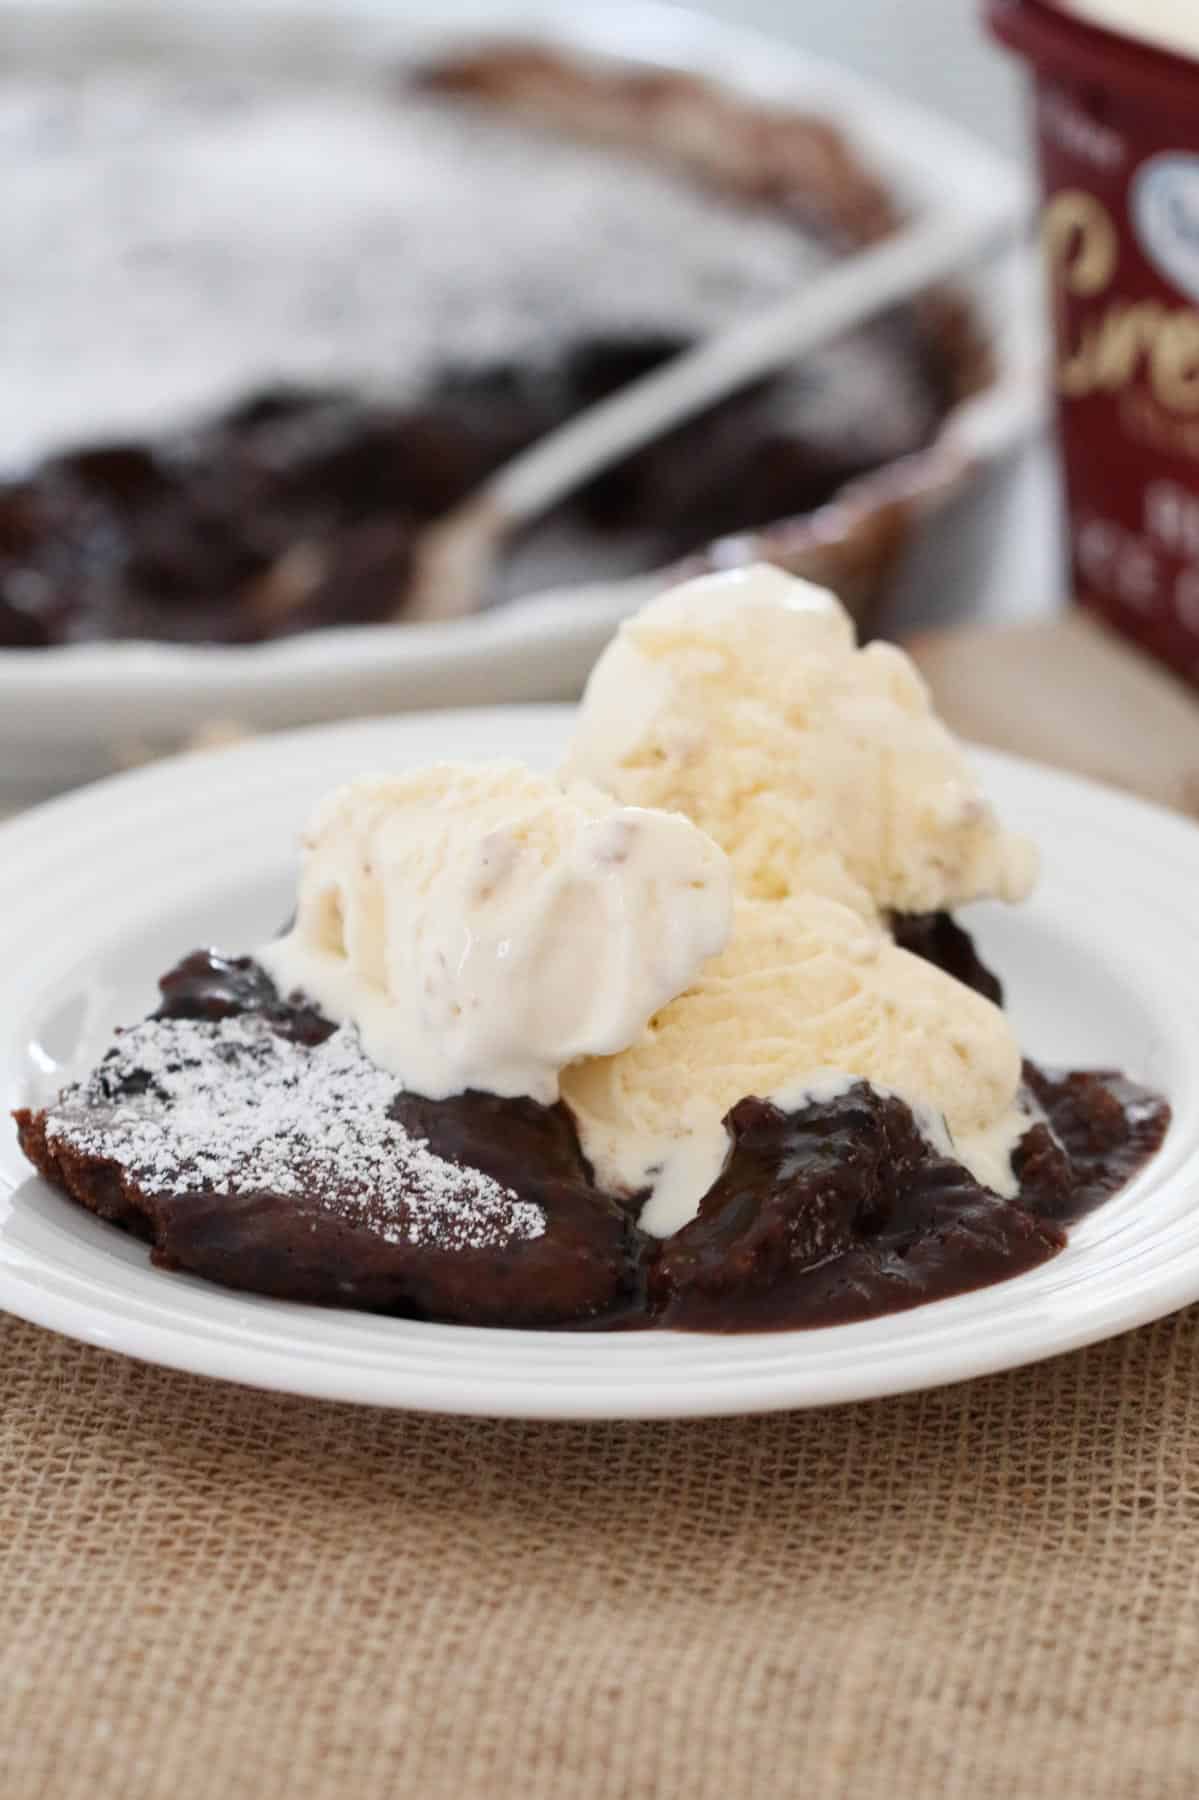
Everyone knows that the best thing about winter is all of the delicious comfort food desserts!
When it's windy, cold and rainy outside... it's all about hot puddings, crumbles and pies inside!
So have this hot chocolate pudding on the table in just 40 minutes, add a big scoop of ice-cream, a dollop of custard or a drizzle of cream and enjoy the pure yumminess.
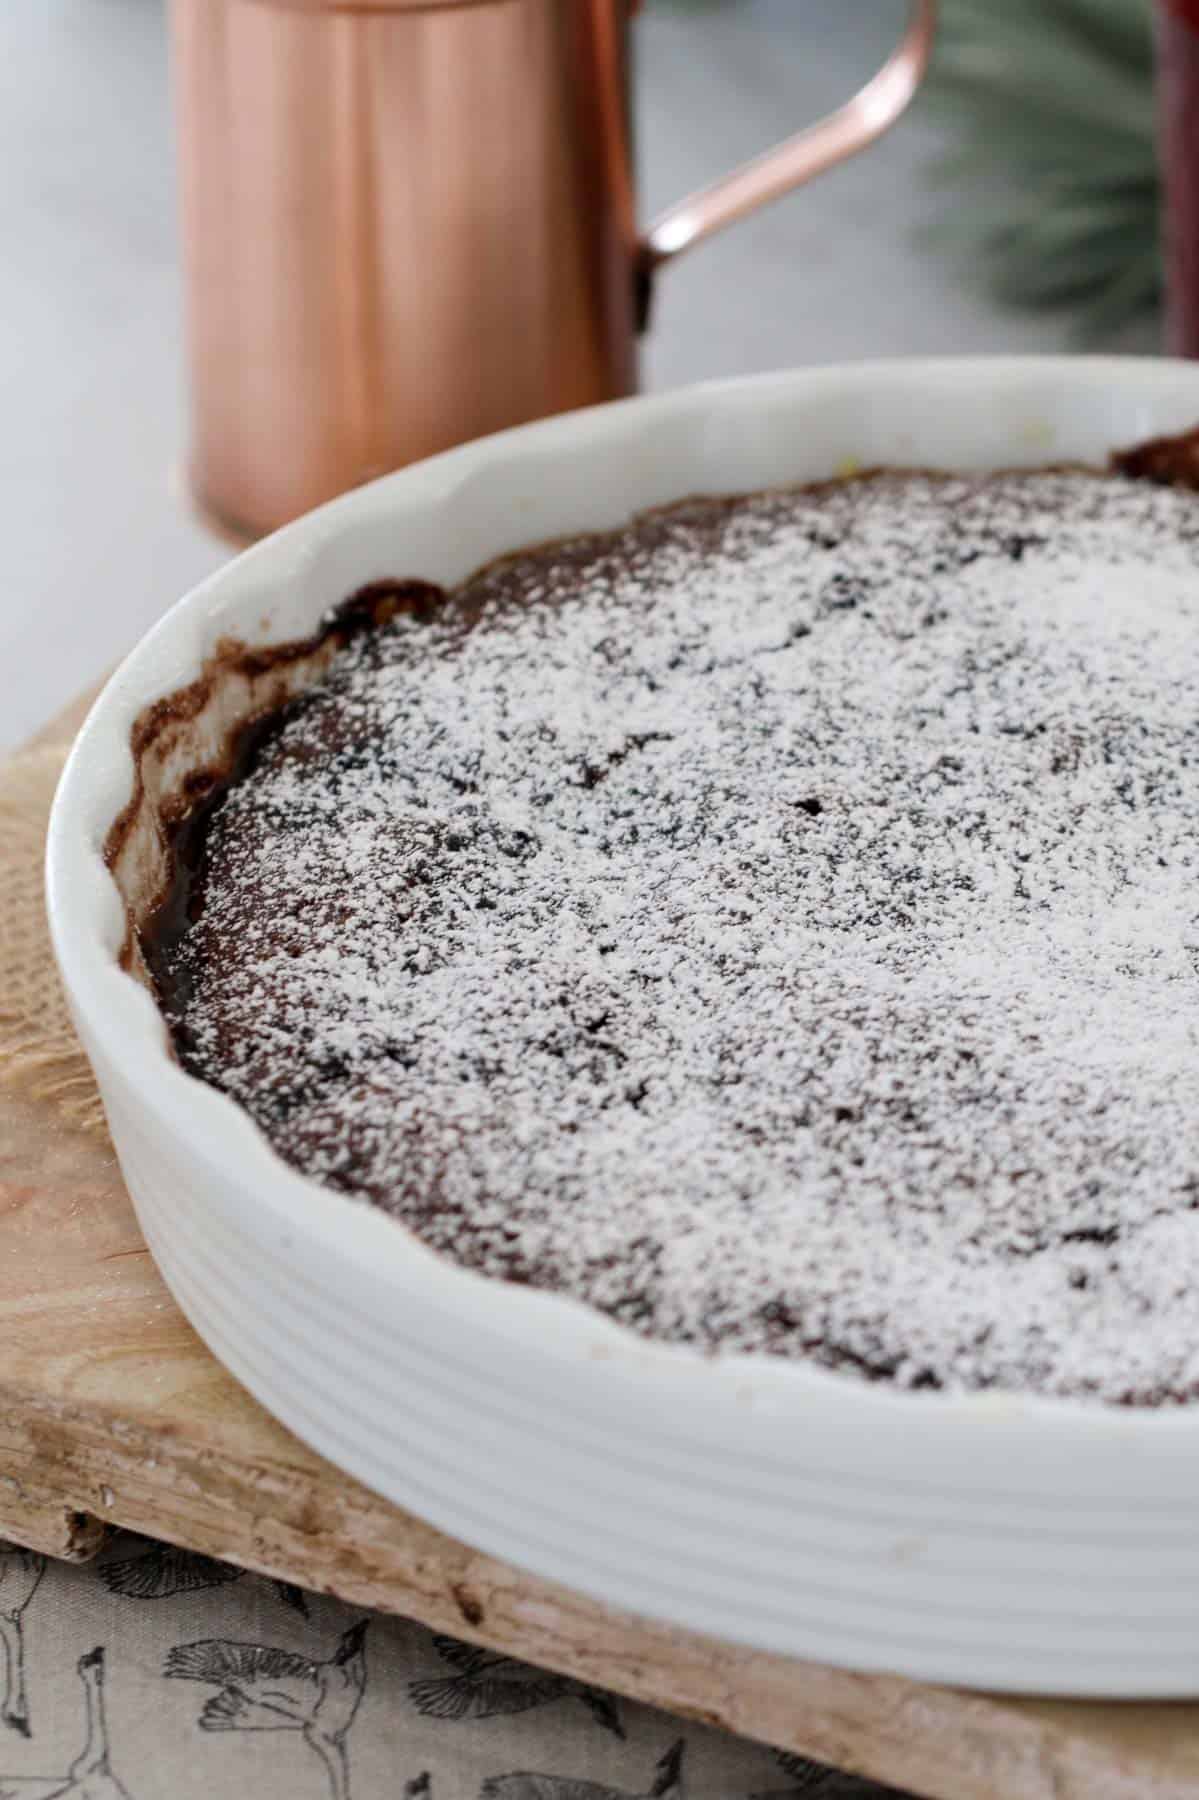
What Is A Self-Saucing Pudding?
Self saucing puddings get their name from the way in which the dessert creates it's own sauce under the cake-like batter when baking.
A self-saucing pudding has two layers:
- a cake-like baked pudding on top
- a rich, sweet sauce on the bottom
Once baked, the cake rises to the top while the sauce forms at the bottom.
TIP: It's important NOT to overcook the chocolate self-saucing pudding or the amount of sauce will reduce (and we want LOTS of chocolate sauce!)....
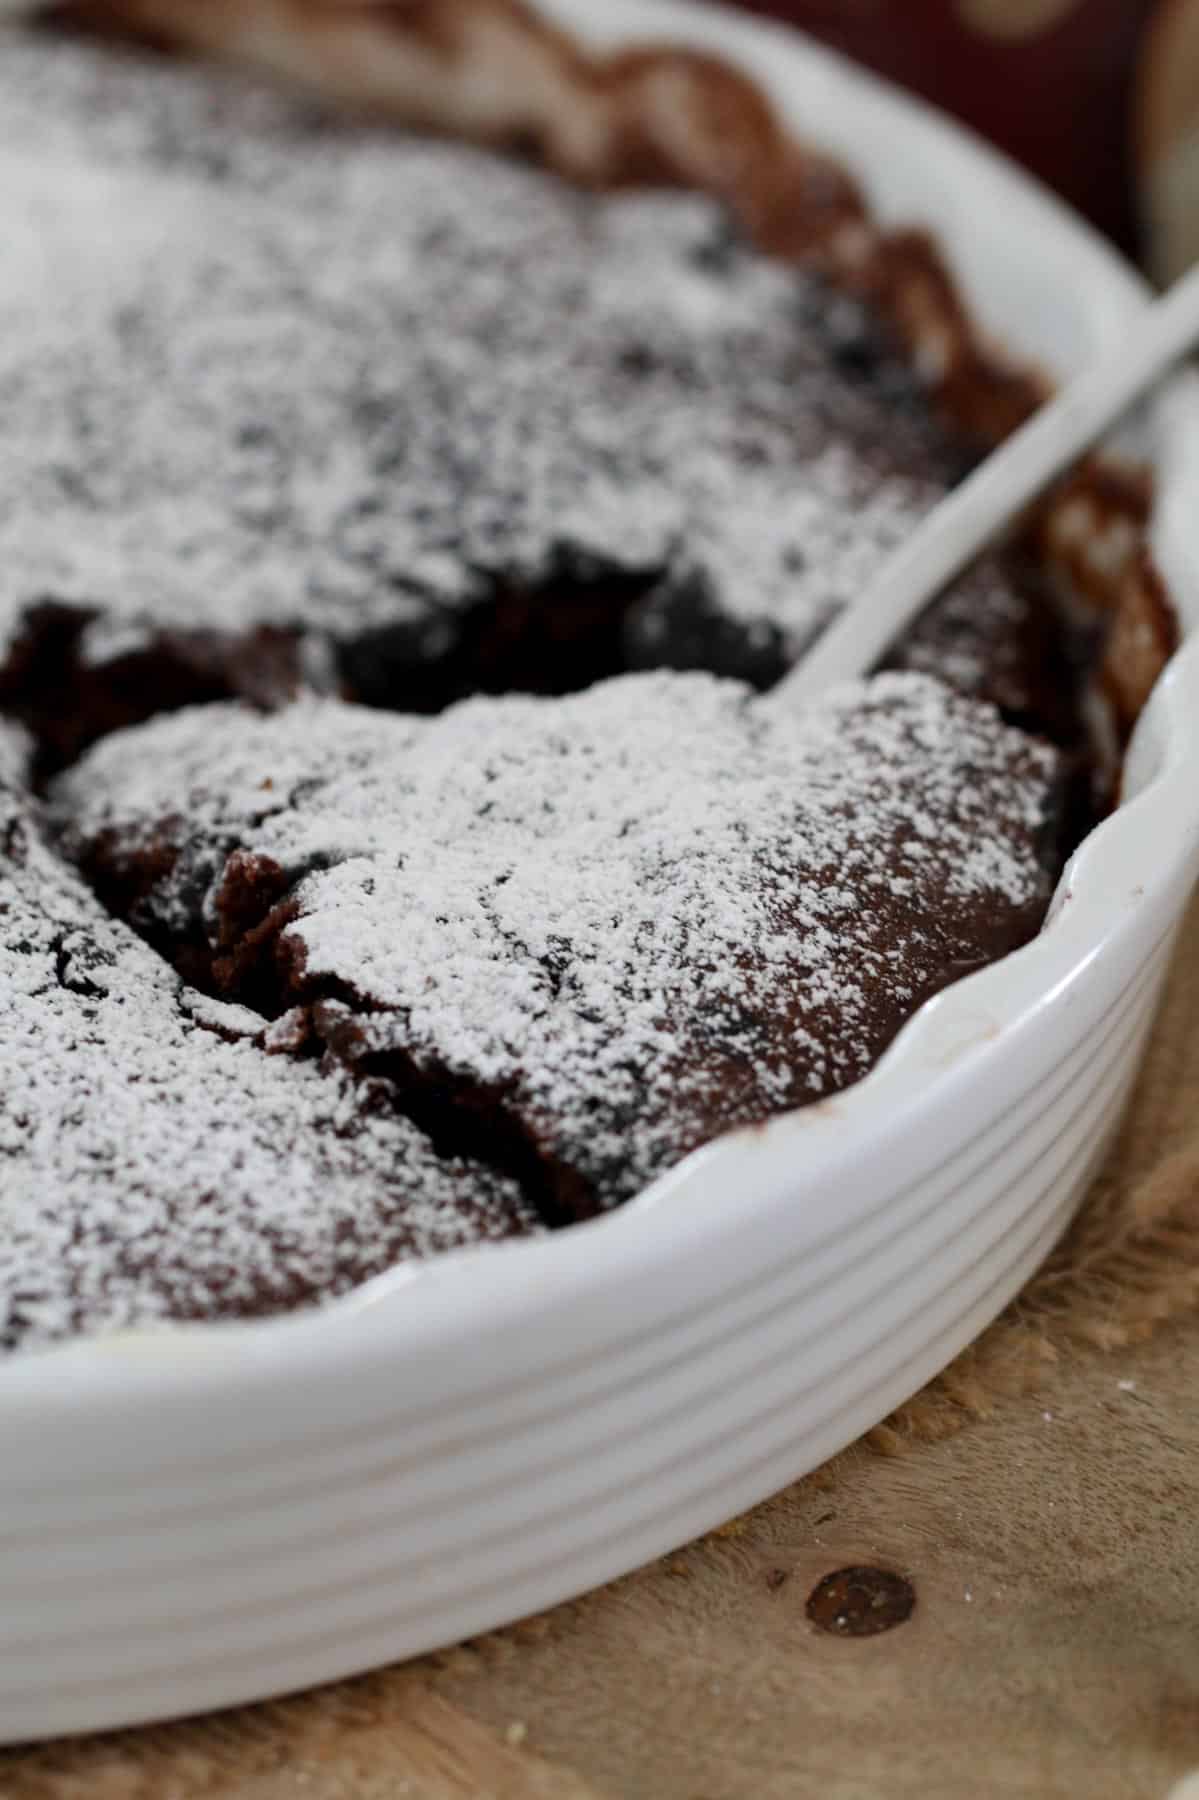
Why You're Going To Love This Recipe
Everyone's favourite winter dessert is simply delicious...
- Budget-friendly - made from just a handful of basic ingredients, this entire dessert costs just $1-2 to make.
- Quick & easy - just 10 minutes prep time and 30 minutes cooking time means that dessert will be ready in no time at all.
- Make ahead of time - the pudding batter can be prepared ahead of time. Simply wait until just before baking to add the cocoa powder and caster sugar for the sauce, and to pour over the boiling water.
- Thermomix or Conventional Methods - my chocolate self saucing pudding recipe can be prepared in a Thermomix or the good old fashioned way in a mixing bowl. Both methods are included in the recipe card at the end of the post.
Equipment Required
There's no fancy equipment required to make this easy chocolate pudding!
- You'll need a microwave, stove-top or Thermomix to melt the butter.
- Plus a sieve, whisk and mixing bowl for mixing the ingredients.
- A kettle/jug is needed to boil the water.
- And of course.. an oven and baking dish for cooking the pudding.
What You Need
This budget-friendly chocolate self-saucing pudding recipe is made from pantry and fridge staples, so it's perfect for whipping up at the last minute!
Note: Scroll to the recipe card at the bottom for the ingredients quantities and full detailed method.
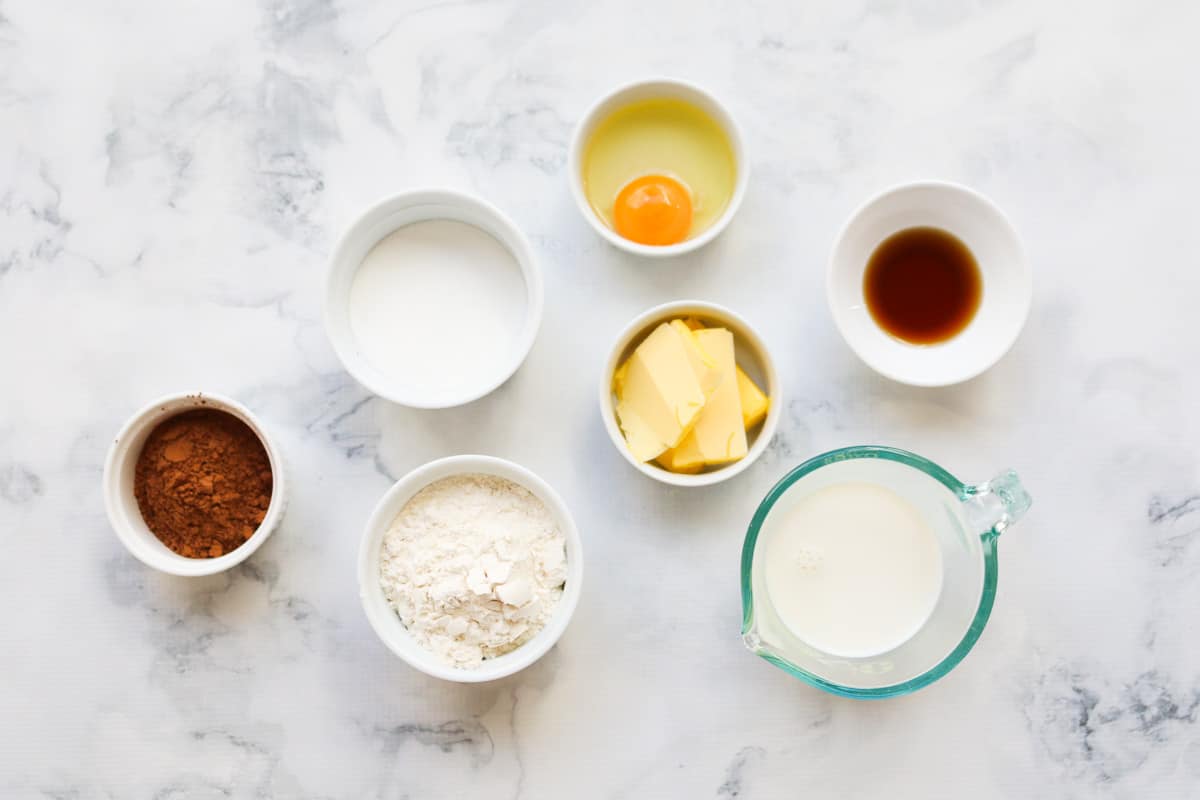
For The Chocolate Cake
- Butter - salted or unsalted butter is fine to use in this pudding.
- Milk - I recommend using full fat milk rather than skim or light milk.
- Vanilla extract - or vanilla essence.
- Egg - have your egg at room temperature
- Self-raising flour - use store-bought self-raising flour or make your own by sifting 2 teaspoons baking powder through every 1 cup of plain flour
- Cocoa powder - I recommend you use a good quality cocoa powder such as Cadbury or Nestle.
- Caster sugar - also known as superfine sugar.
For The Chocolate Sauce
- Cocoa powder - choose a good quality regular unsweetened cocoa powder.
- Caster sugar - to mix with the cocoa powder.
- Boiling water - for pouring over the top of the pudding mix, and forms the sauce in the base of the pudding.
Step By Step Instructions
It couldn't be quicker or easier to make this delicious chocolate self-saucing pudding.
Note: Scroll to the recipe card at the bottom for the ingredients quantities and full detailed method.
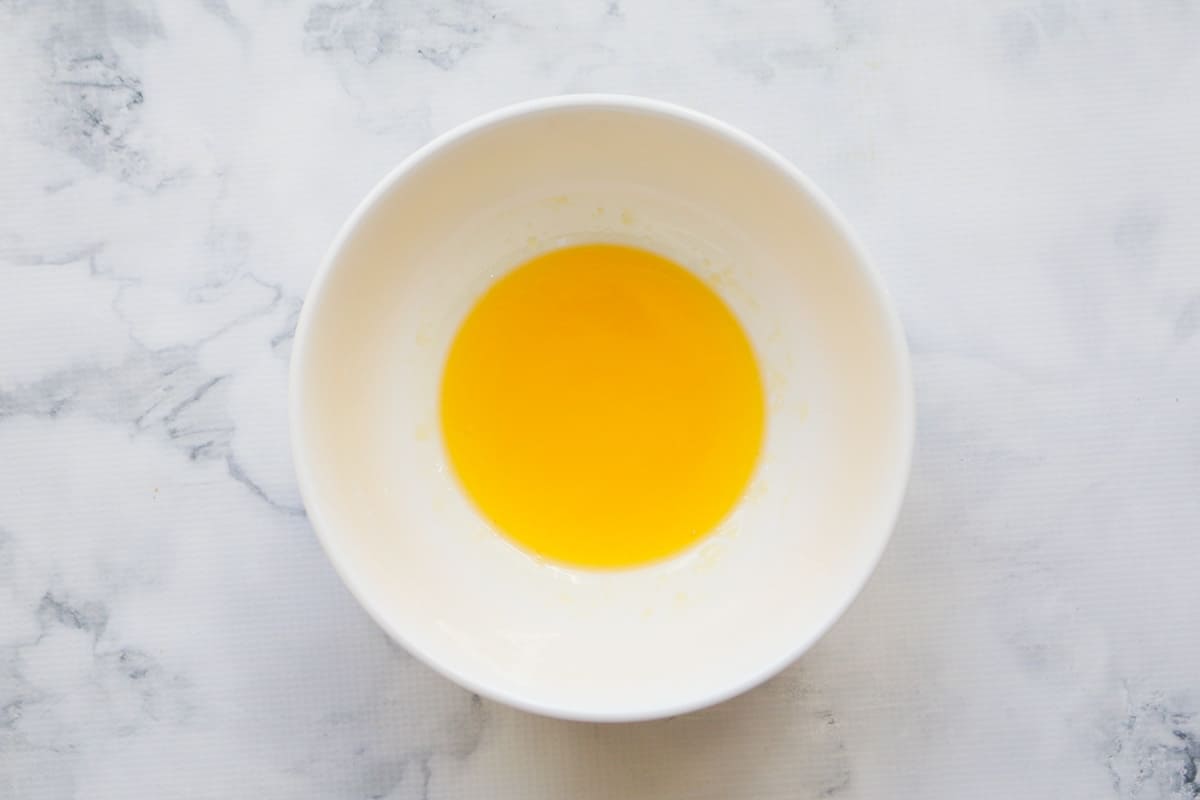
Step 1 - Melt The Butter
Place the butter into a microwave-safe bowl and melt for 2 minutes, 50% power, in so second bursts, or until melted.
TIP: Alternatively you can melt the butter on the stove-top or in a Thermomix.
Step 2 - Whisk
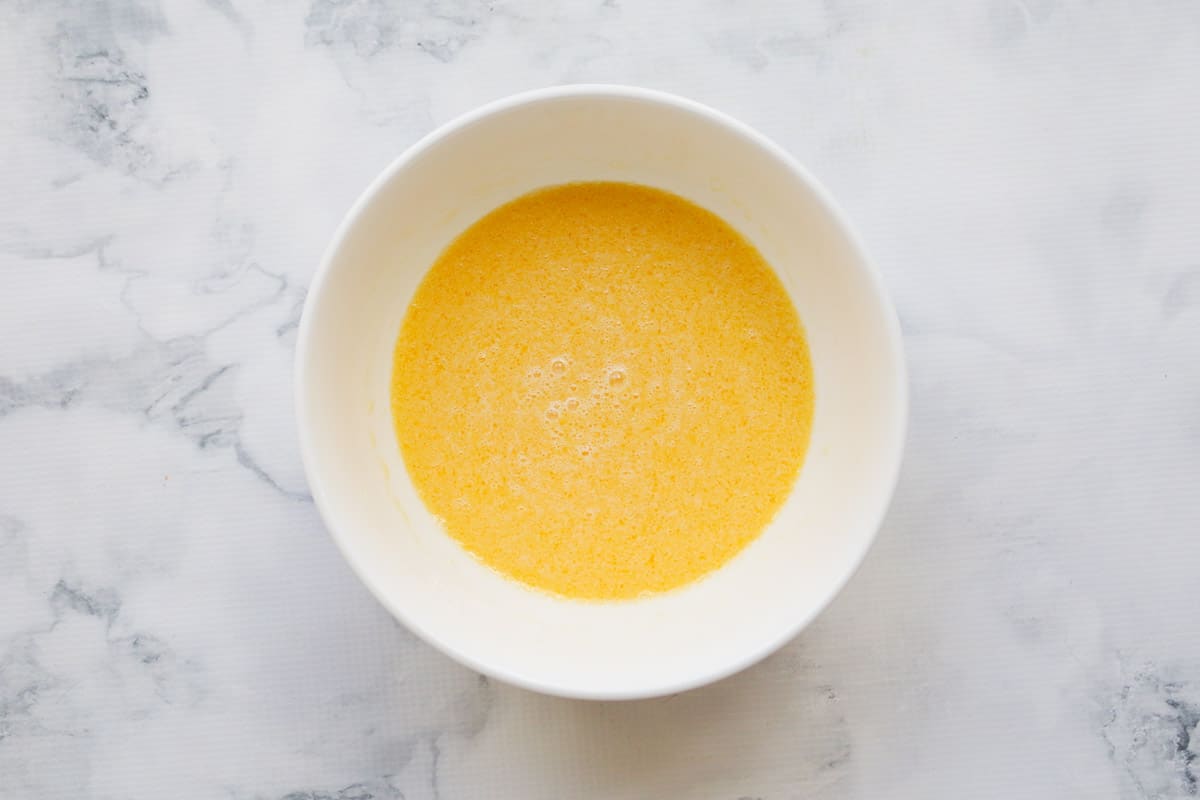
Add the milk, vanilla extract and egg to the melted butter.
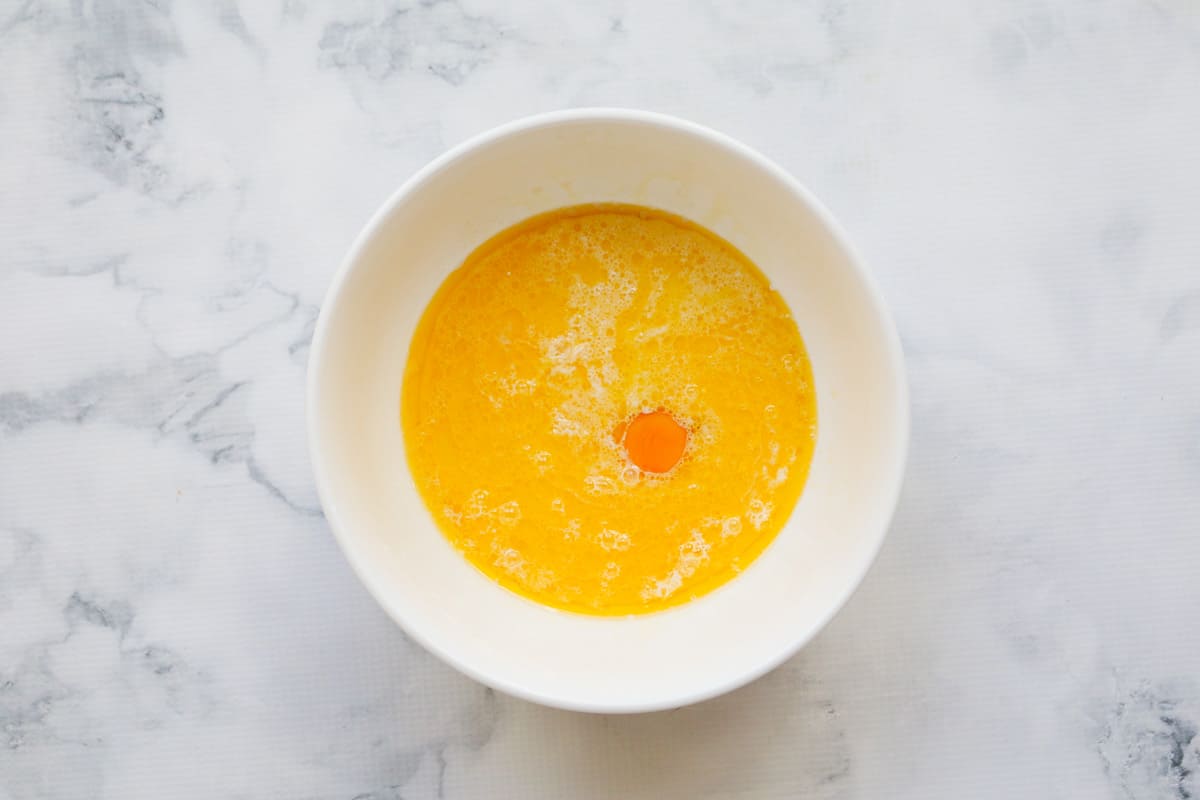
Whisk together until well combined.
Step 3 - Add The Dry Ingredients
Add the self-raising flour, cocoa powder and caster sugar to the wet ingredients.
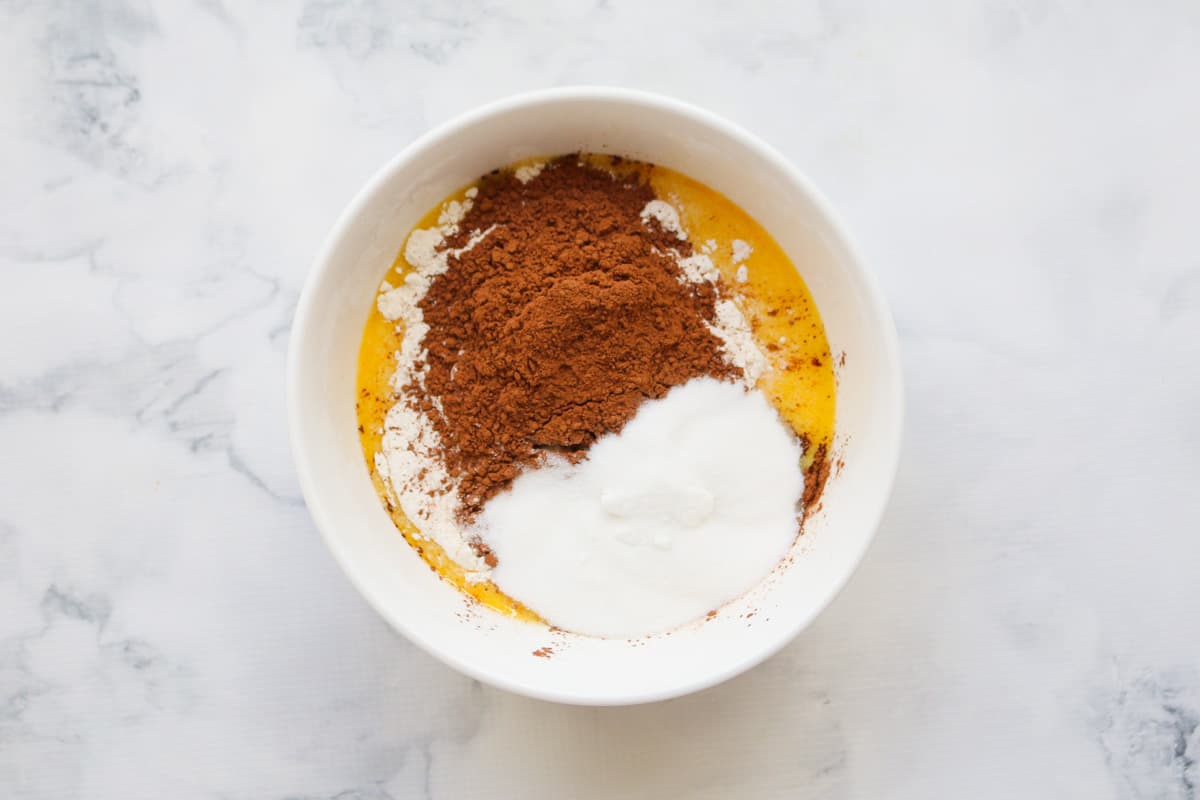
Whisk until smooth and combined.
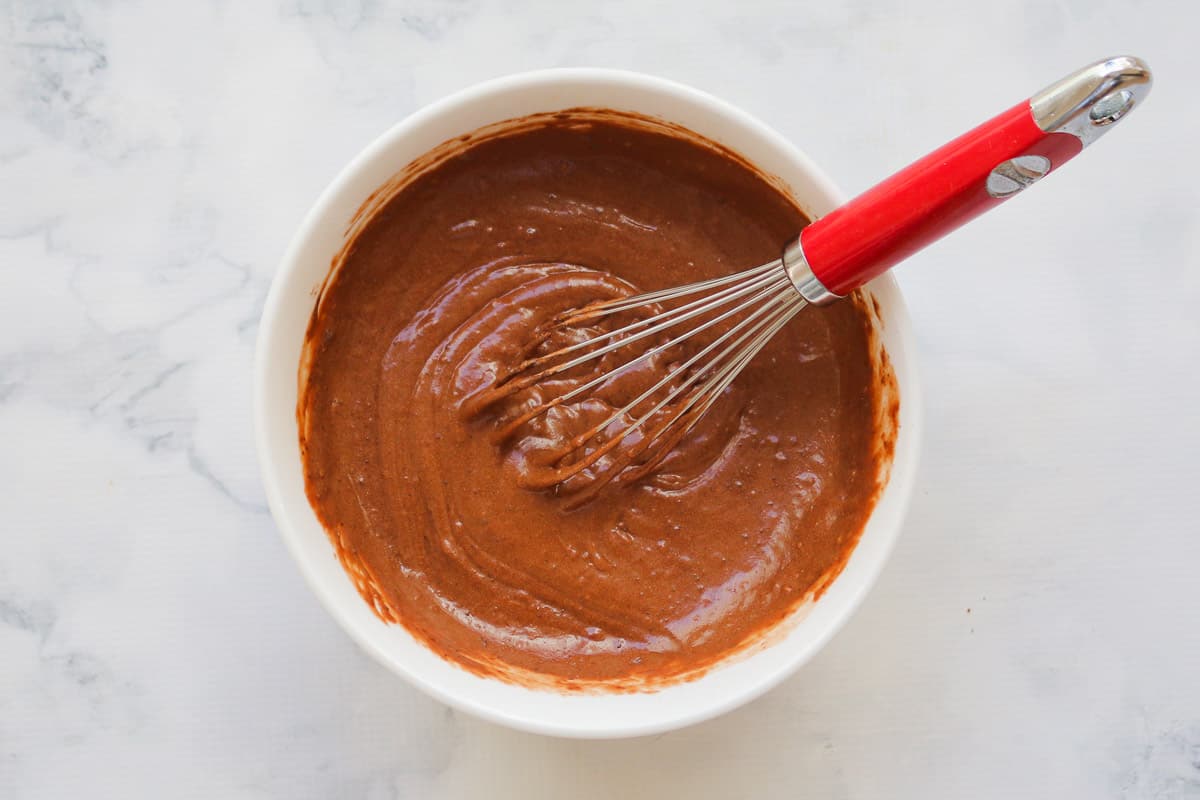
Step 4 - Pour Into Prepared Dish
Pour the batter into a greased 6 cup capacity baking dish. Set aside.
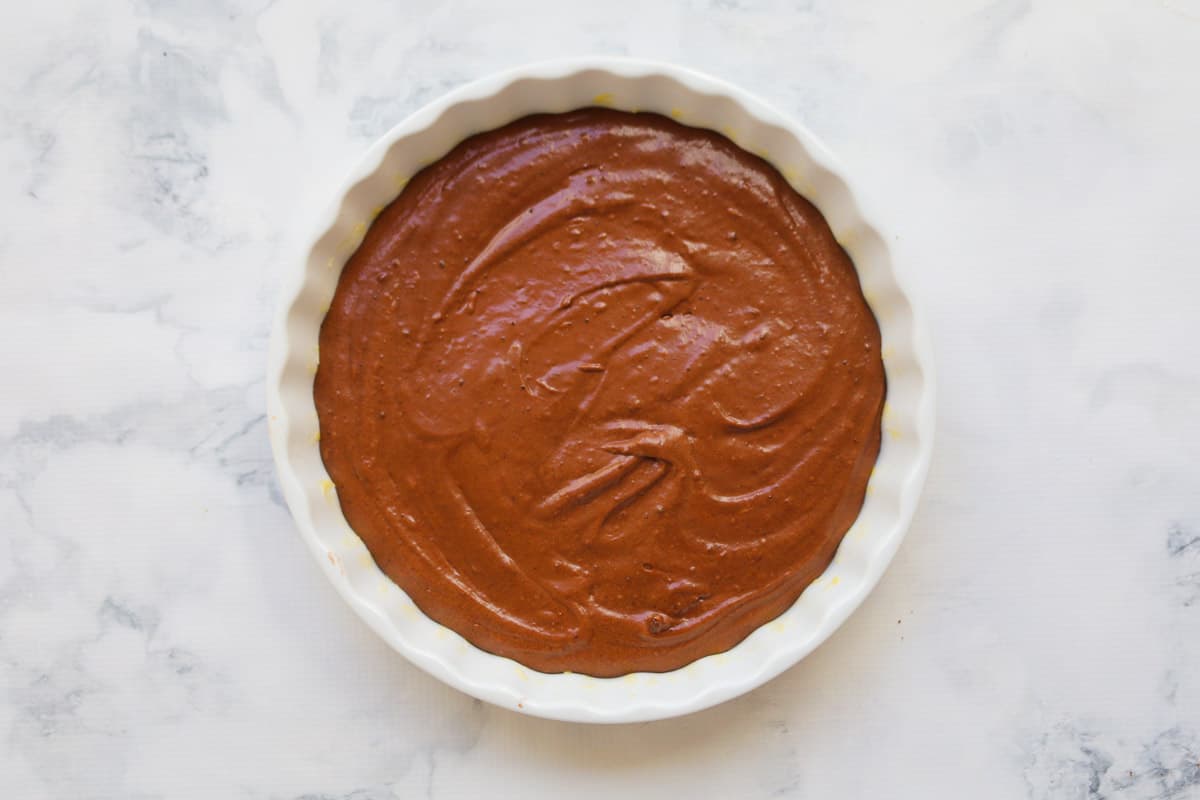
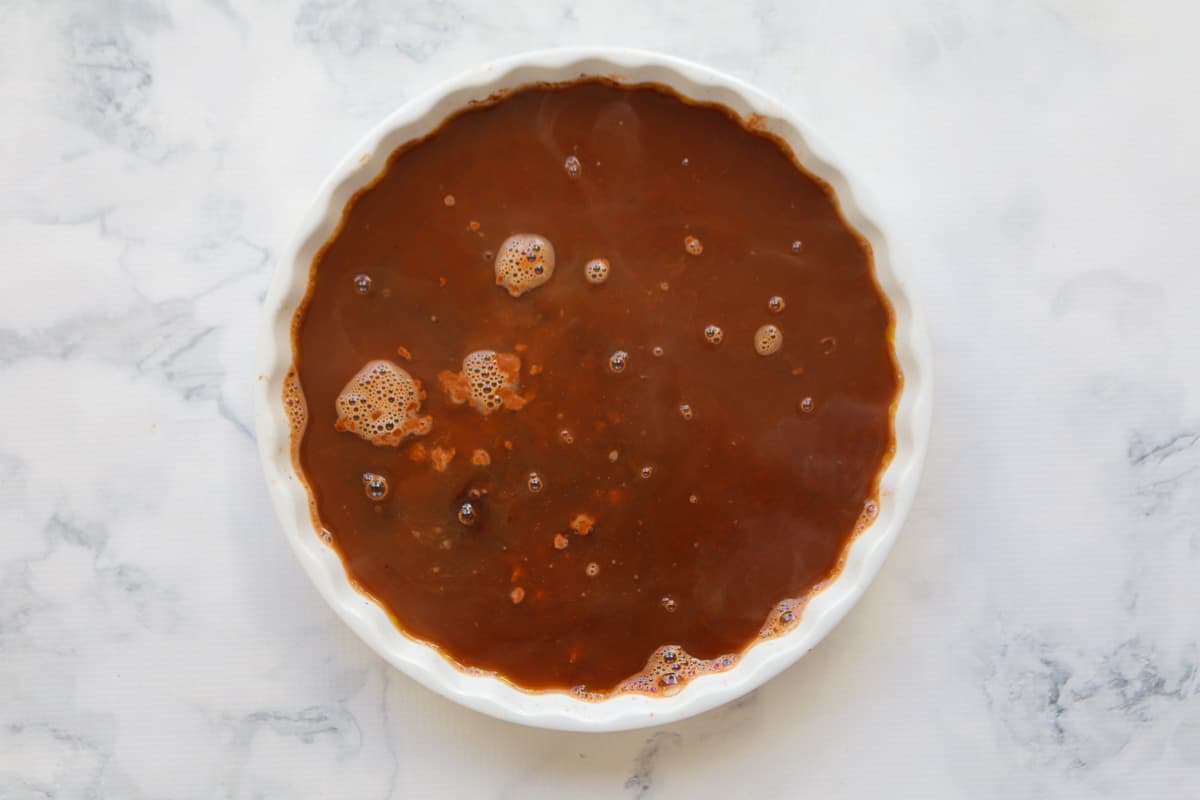
Step 5 - Make The Sauce
Mix together cocoa powder and caster sugar.
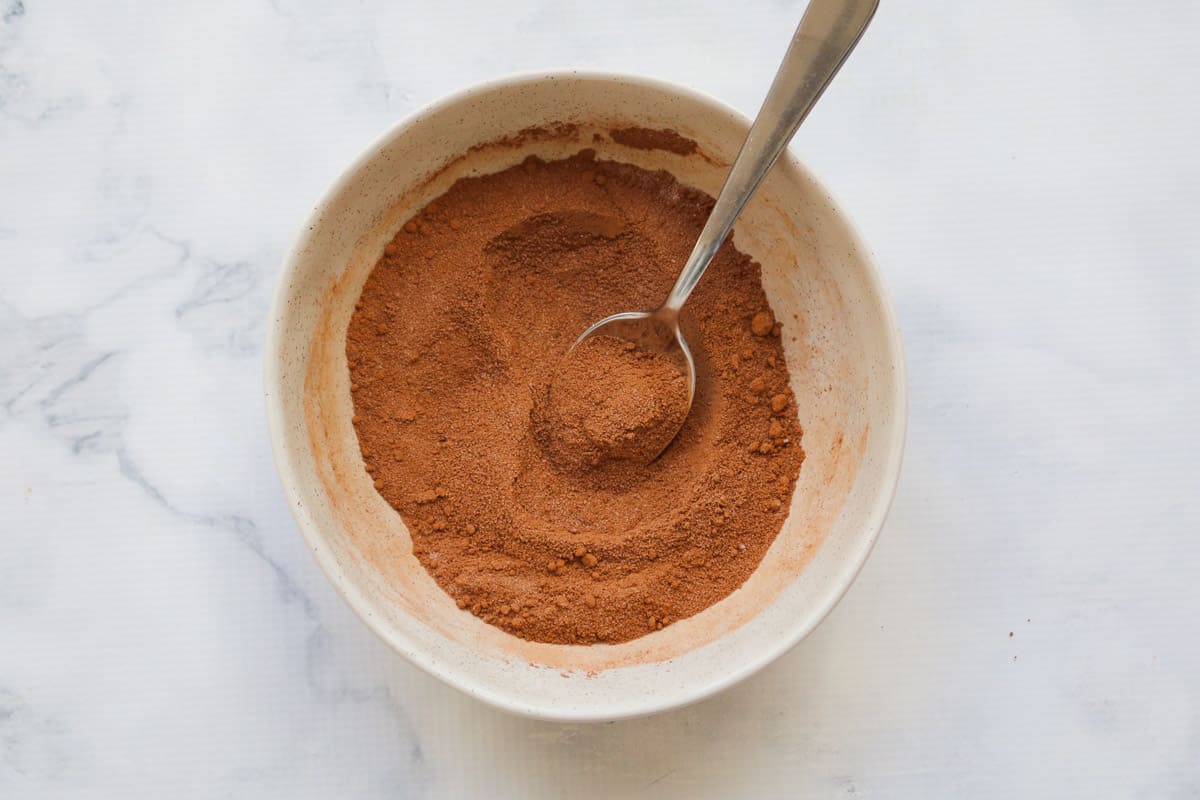
Sprinkle the cocoa and sugar mix over the chocolate pudding mixture in the baking dish.
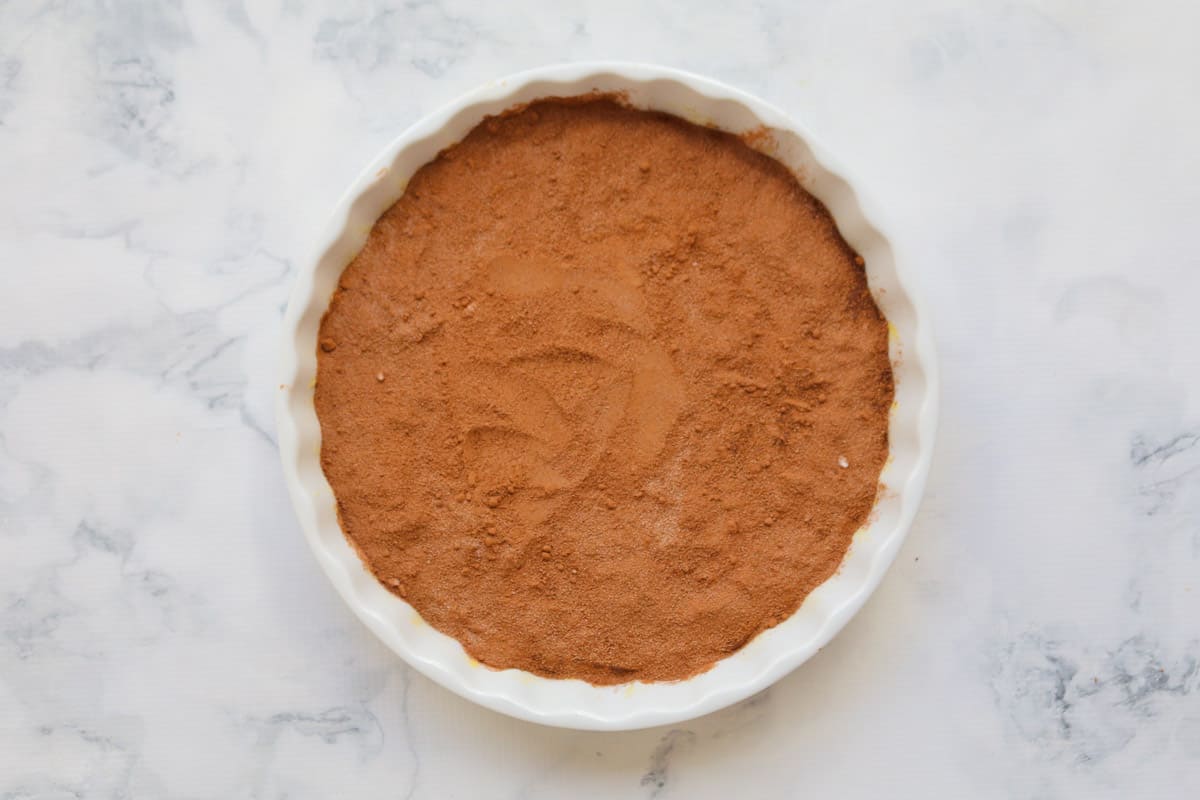
Gently pour over the boiling water.
TIP: Use a small jug and pour the boiling water very slowly over the back of a large spoon, allowing the boiling water to slowly and gently drip down onto the pudding.
Step 6 - Bake
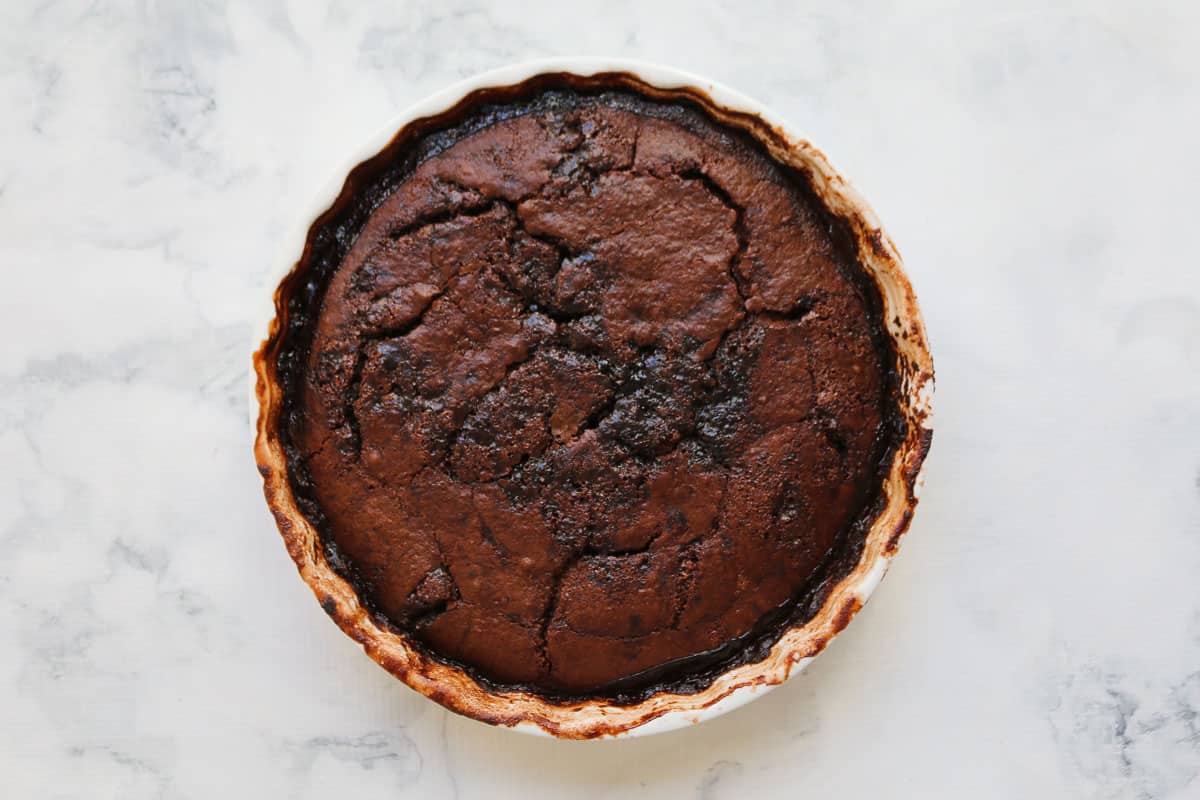
Bake the pudding for 30 minutes or until the cake-like top has cooked through but the pudding is still very wobbly (because of the sauce underneath).
TIP: Do NOT overcook the pudding otherwise you won't have as much sauce remaining.
FAQ's
All your self-saucing pudding questions answered...
Yes, you can make the batter ahead of time, however, it's important to wait until just before baking to sprinkle over the cocoa/sugar and add the boiling water.
For a pudding with LOTS of sauce, ensure that you don't overcook the dessert. Only cook the pudding until the cake-like top is just cooked through and the dessert is VERY wobbly (thanks to the sauce underneath).
Yes! However, you will have less sauce once the pudding has been reheated as it will soak into the pudding layer.
Expert Tips
- Baking dish - use a 6 cup capacity baking dish that has been well greased with butter.
- Making the sauce - to ensure even distribution of the cocoa and caster sugar, mix them together in a bowl until combined before sprinkling over the top of the cake batter.
- Place the baking dish onto a baking tray - place the baking dish onto a large flat baking tray (this makes it easier to move the pudding in and out of the oven and also catches any spills or overflows of the sauce!)
- Pouring over the boiling water - it's important to very gently pour the boiling water over the top of the pudding without creating any 'dent's in the pudding. I like to use a small jug and pour the boiling water very slowly over the back of a large spoon, allowing the boiling water to slowly and gently drip down.
- Don't over-bake - it's important not to over-bake the pudding as you want the sauce to remain liquidy! Once the top of the chocolate cake is cooked to the touch, it's ready. Note: the pudding will feel very wobbly (as the sauce is underneath).
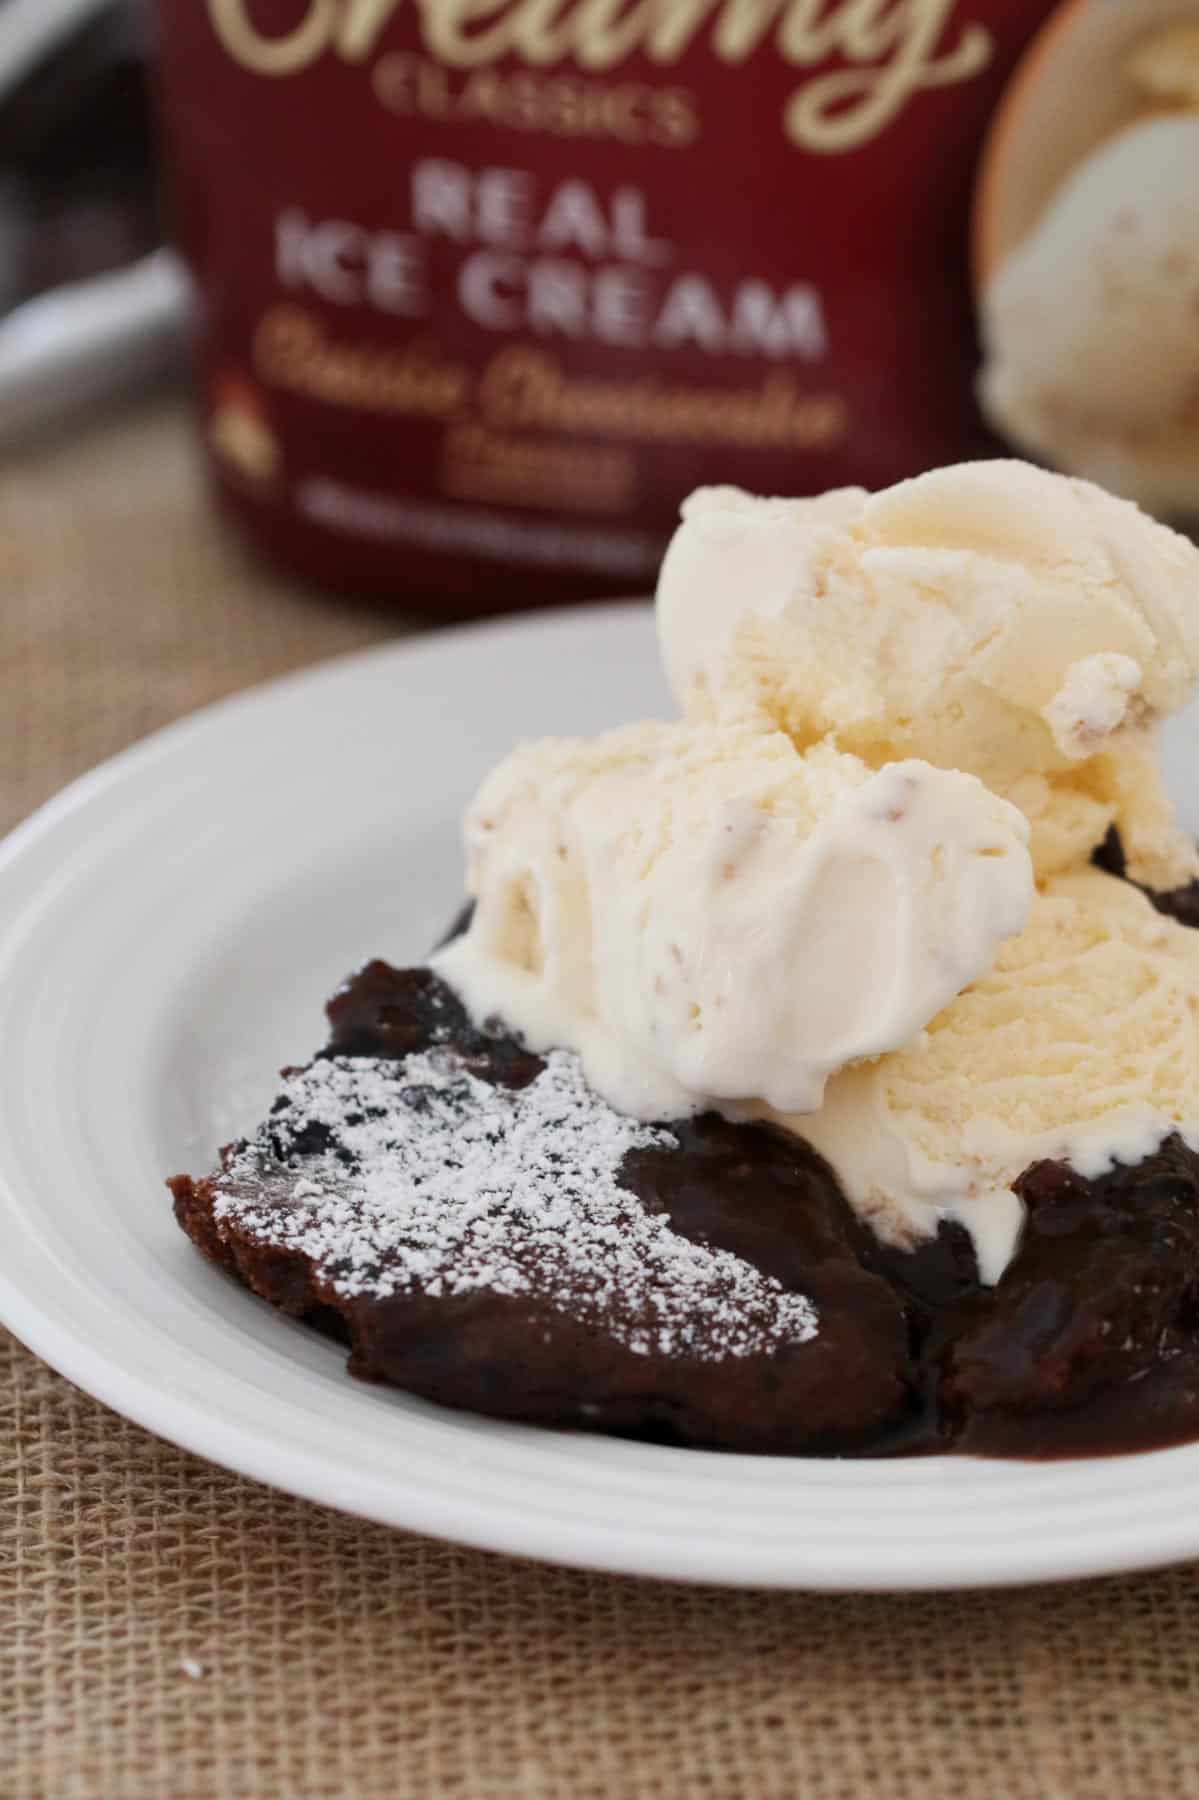
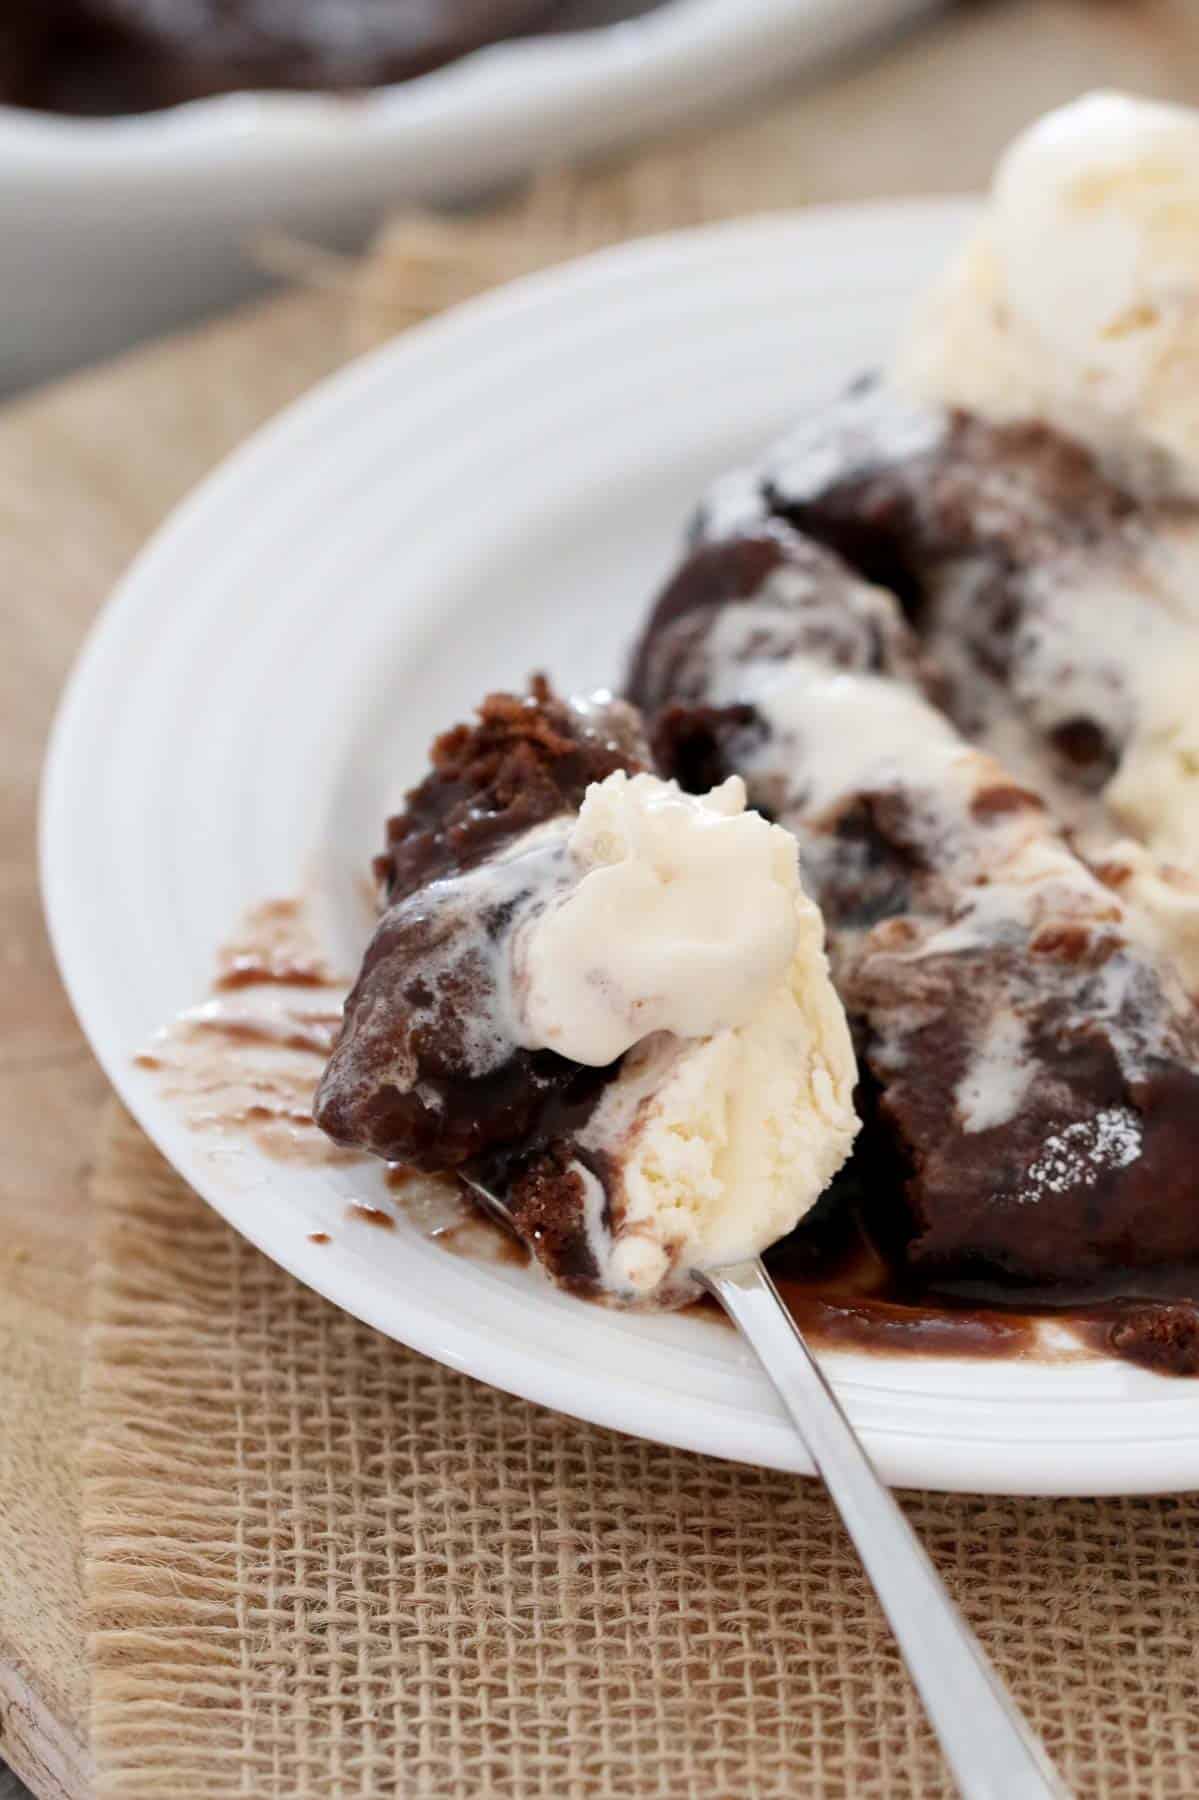
- Serving - chocolate self-saucing pudding is best when baked and served immediately. I like to serve my pudding with either ice-cream, cream or custard.
- Storing - you can store self-saucing pudding in the fridge for up to 2 days and reheat. Once reheated, you will have less sauce remaining than when the pudding is straight out of the oven. You can freeze as well, but again, the sauce is absorbed into the top pudding layer when reheated.
More Pudding Dessert Recipes
When it comes to winter desserts, it doesn't get any more delicious than my comfort food collection!
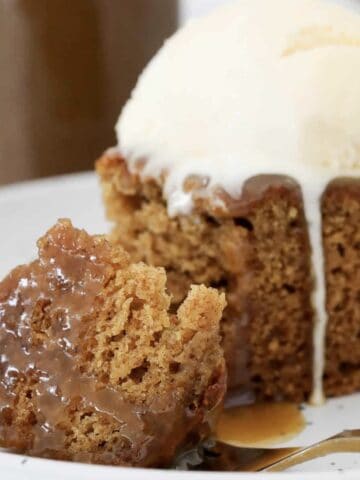
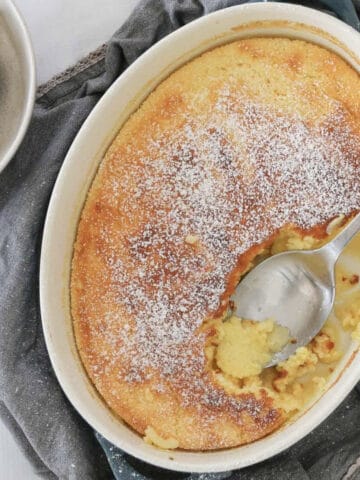
From Sticky Date Puddings with Caramel Sauce, Lemon Delicious Pudding, Butterscotch Pudding and more...
So grab a blanket, snuggle up on the couch with a movie and enjoy ALL of the yummy desserts this winter.
Chocolate Self-Saucing Pudding
Ingredients
- 60 g butter
- 125 g (½ cup) milk
- 2 tsp vanilla extract or vanilla essence
- 1 egg lightly beaten, room temperature
- 150 g (1 cup) self-raising flour
- 25 g (¼ cup) cocoa powder
- 110 g (½ cup) caster sugar
For the sauce
- 25 g (¼ cup) cocoa powder extra
- 110 g (½ cup) caster sugar extra
- 450 ml water boiling
Instructions
Conventional Method
- Preheat oven to 160 degrees celsius (fan-forced).
- Grease a large (6 cup capacity) baking dish and set aside.
- Melt the butter in the microwave and allow to cool slightly.
- Add the milk, vanilla extract and egg and whisk together.
- Sift the self-raising flour and cocoa powder over the liquid mixture. Add the caster sugar and whisk together until combined.
- Pour the mixture into the prepared baking dish.
- Sprinkle the extra cocoa powder and caster sugar over the pudding mixture.
- Carefully pour over the boiling water.
- Bake for 30 minutes or until firm on the top (but VERY wobbly underneath - as this is the sauce).
- Allow to cool slightly, then dust with icing sugar. Serve immediately.
Thermomix Method
- Preheat oven to 160 degrees celsius (fan-forced). Grease a large oven baking dish (6 cup capacity) and set aside.
- Sift the self-raising flour and cocoa by pressing Turbo 5-10 times. Set aside in a separate bowl.
- Place butter into the Thermomix bowl and melt for 2 minutes, 100 degrees, Speed 1. Allow to cool slightly.
- Add the milk, vanilla extract and egg and mix for 20 seconds, Speed 4.
- Add the self-raising flour, cocoa powder and caster sugar and mix for 5 seconds on Speed 4. Scrape down the sides of the bowl and mix for a further 10 seconds or until smooth.
- Pour the mixture into the prepared dish.
- Sprinkle the extra cocoa powder and caster sugar over the pudding mixture.
- Carefully pour over the boiling water.
- Bake for 30 minutes or until firm on the top (but VERY wobbly underneath - as this is the sauce).
- Allow to cool slightly, then dust with icing sugar. Serve immediately.
Notes
- Baking dish – use a 6 cup capacity baking dish that has been well greased with butter.
- Making the sauce – to ensure even distribution of the cocoa and caster sugar, mix them together in a bowl until combined before sprinkling over the top of the cake batter.
- Pouring over the boiling water – it’s important to very gently pour the boiling water over the top of the pudding without creating any ‘dent’s in the pudding. I like to use a small jug and pour the boiling water very slowly over the back of a large spoon, allowing the boiling water to slowly and gently drip down.
- Place the baking dish onto a large flat baking tray – this makes it easier to move the pudding in and out of the oven and also catches any spills or overflows of the sauce!
- Don’t over-bake – it’s really important not to over-bake the pudding as you want plenty of sauce to remain and not soak into the top pudding layer. Once the top of the chocolate cake is cooked to the touch, it’s ready. Note: the pudding will feel very wobbly (as the sauce is underneath).
- Serving – chocolate self-saucing pudding is best when baked and served immediately. I like to serve my pudding with either ice-cream, cream or custard.
- Storing – you 'can' store self-saucing pudding in the fridge for up to 2 days and reheat but it's best served and eaten immediately after baking.



Taylor
H there,
Can this self saucing chocolate cake be made in individual portions.
Thanks.
Lucy
It can but you'd need to reduce the cooking time significantly.
Ann
Hi Lucy
Love your recipes!
Just wondering why this chocolate self saucing pudding doesn’t cook in a water bath like the lemon self saucing pudding is
Thanks
Ann
Lucy
Hi Ann, they are quite different recipes so this one doesn't need one!
Betty
My sauce was sugary on side of dish does this mean oven was not hot enough
Lucy
Hi Betty, you may get a little bit of sugar on the side but as long as you try to cover it with the boiling water evenly, you shouldnt have too much sugar.
Kelsie
Love this recipe!!
This was almost identical to my old school recipe that I’ve had for years (except this made double the amount of sauce) which is JUST what it needed!! I also found it took more like 45-50 minutes in the oven to cook through to the middle. Next time I might cover it from the start with a lid or foil tent to ensure even cooking and to keep it moist on top.
Thanks so much for sharing! And awesome to have the Thermomix method too
Lucy
Oh that's amazing to hear! Thank you so much for the great feedback (and I agree... more sauce is the BEST!)
Rosie Rose
Yum easy sweet, tastes like home xx