Is there anything better than a warm batch of chocolate chip cookies? This easy, chewy, chocolate-packed recipe is perfect for lunchboxes, after-school treats, or baking with the kids—and you can make it in the Thermomix or the traditional way!
Love classic cookie recipes? Don’t miss my Classic ANZAC Biscuits or Jam Drops for more old-fashioned faves.
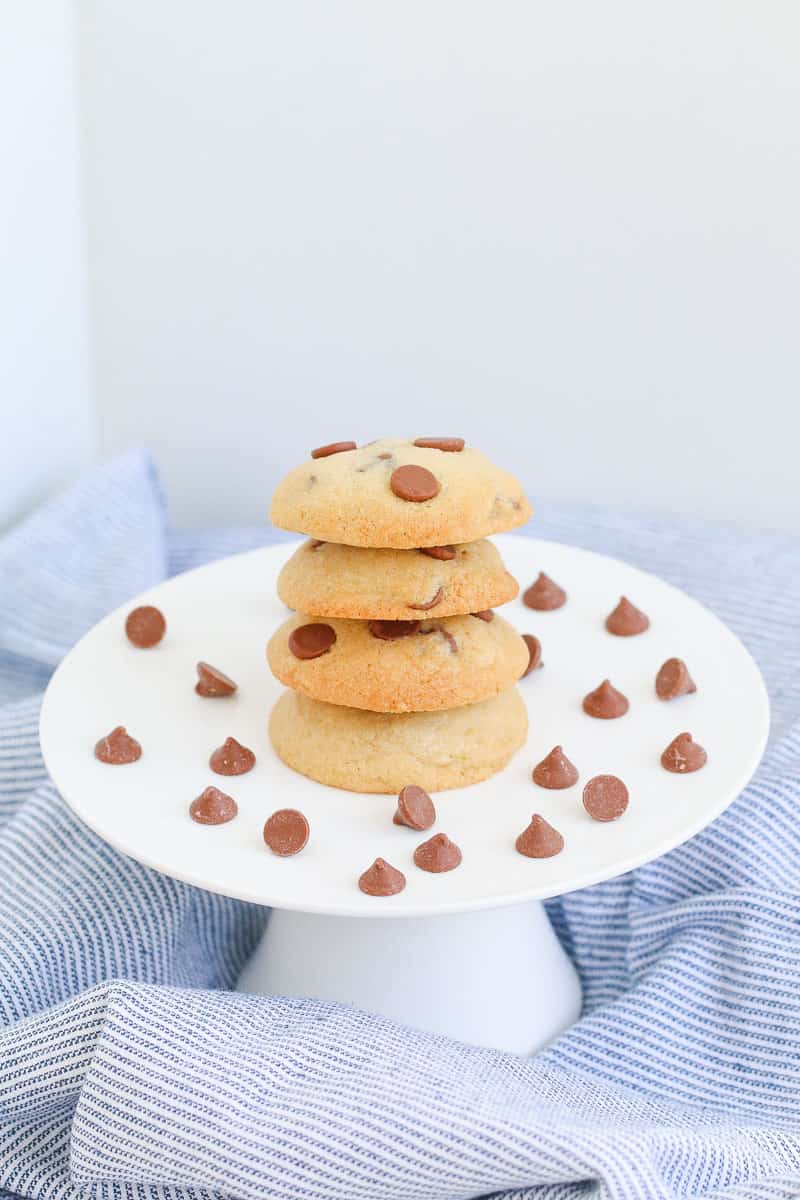
The best chocolate chip cookies ever! The 1st time I cooked them for 10 minutes. They were delicious. The 2nd time, I didn’t cook as long, and they were better than Subway cookies!! Thanks for a new family favourite recipe xx
- Charmaine
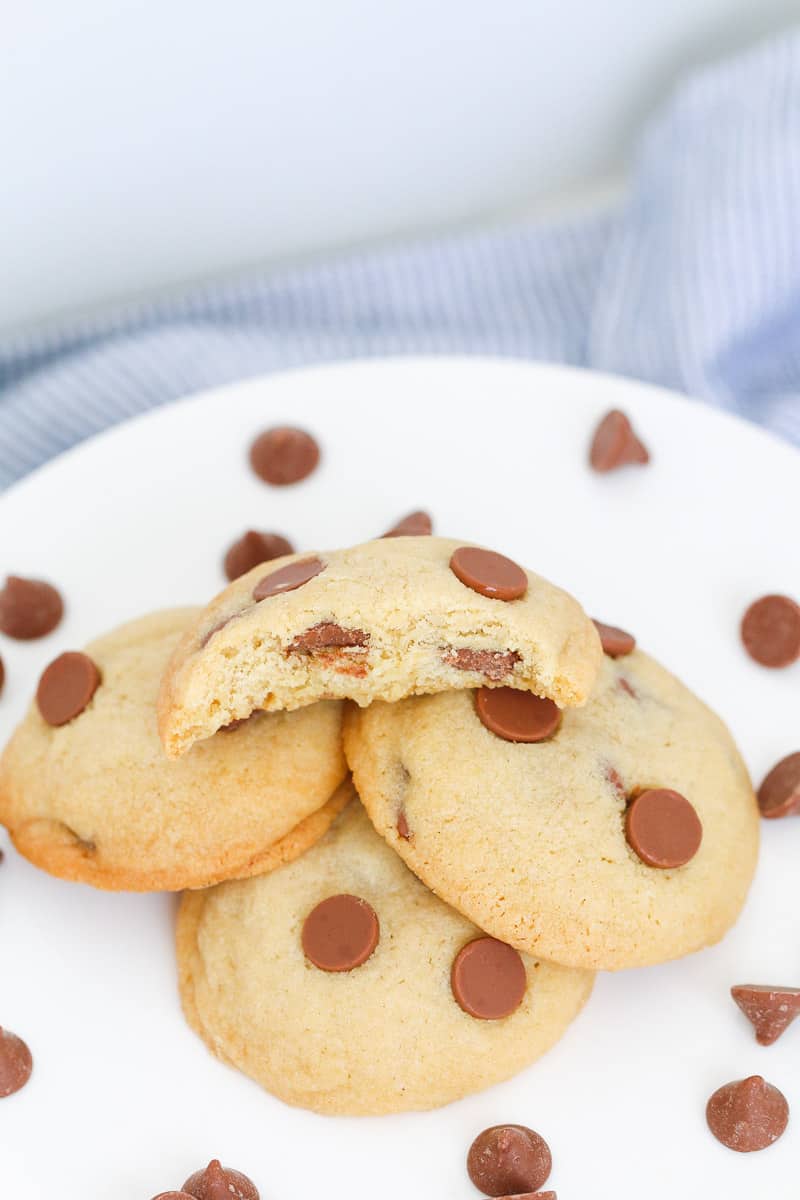
These chocolate chip cookies are soft in the middle, lightly crisp on the edges, and packed with chocolate—just like Nana made, but even easier. The combo of brown sugar and caster sugar gives the perfect chewy-crunchy balance.
No time? You can skip the chill. And with both Thermomix and conventional methods, they're as fuss-free as it gets.
Love choc chip baking? Try my Double Chocolate Chip Cookies, Nutella Chocolate Chip Cookies, or M&M Peanut Butter Cookies.
Why You're Going To Love This Recipe
✔️ No electric mixer needed (unless you want to use one!)
✔️ Thermomix + conventional methods included
✔️ Ready in just 30 minutes
✔️ Perfect texture—soft, chewy, and chocolatey
✔️ A freezer-friendly dough you can batch and bake later
✔️ An easy recipe to make with the kids
Jump to:
Cookie Ingredients
Forget about making an extra trip to the supermarket... you probably already have all of the ingredients sitting in your pantry or fridge!
Note: please scroll to the recipe card at the bottom for ingredient quantities and the full detailed method.
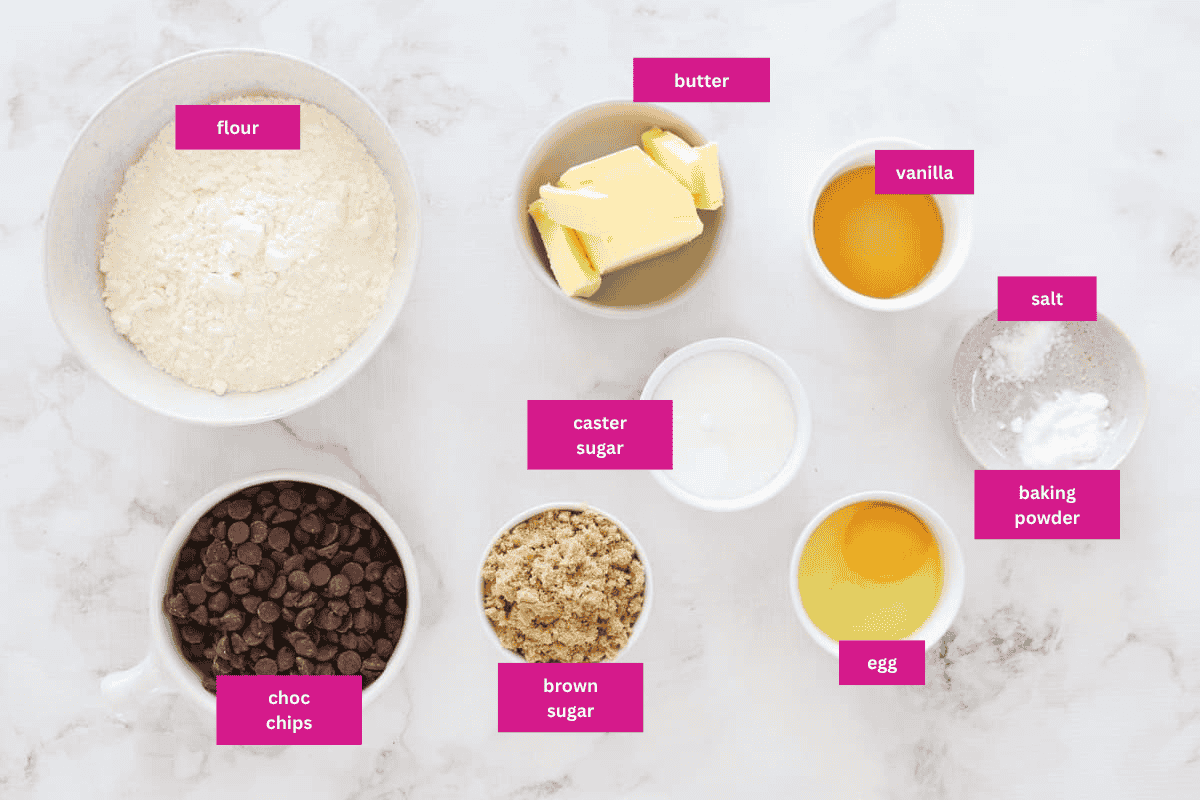
Brown Sugar – This is the secret to a soft, chewy cookie texture.
Bi-Carbonate Soda – Helps the cookies rise just the right amount—don’t skip it!
Chocolate Chips – Use dark, milk, or a mix of both. I go heavy-handed here for max choc impact.
Variations
- Gluten-Free Option – Use a good-quality gluten-free plain flour blend in place of regular flour.
- Chunky Choc Lovers – Swap chocolate chips for chopped chocolate blocks for gooey pockets.
- Nutty Twist – Add ½ cup chopped walnuts or pecans to the dough.
- Double Chocolate – Stir in 2 tablespoons of cocoa powder and use white choc chips instead.
How To Make Chocolate Chip Cookies
Have you got a spare 5 minutes? That's all it takes to prepare these delicious chocolate chip cookies (...they really are the BEST!)
Note: please scroll to the recipe card at the bottom for ingredient quantities and the full detailed method.
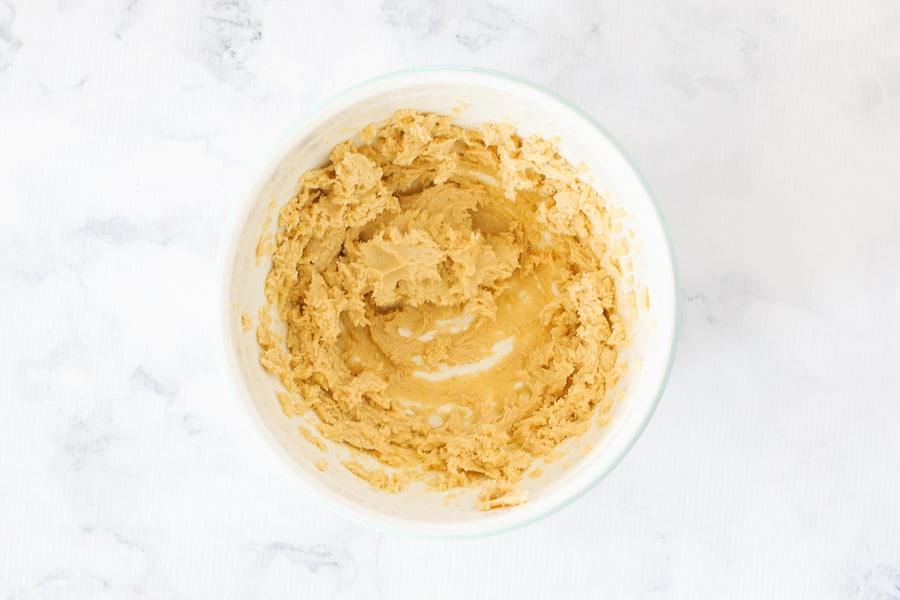
- Step 1: Cream butter and both sugars until pale and fluffy.
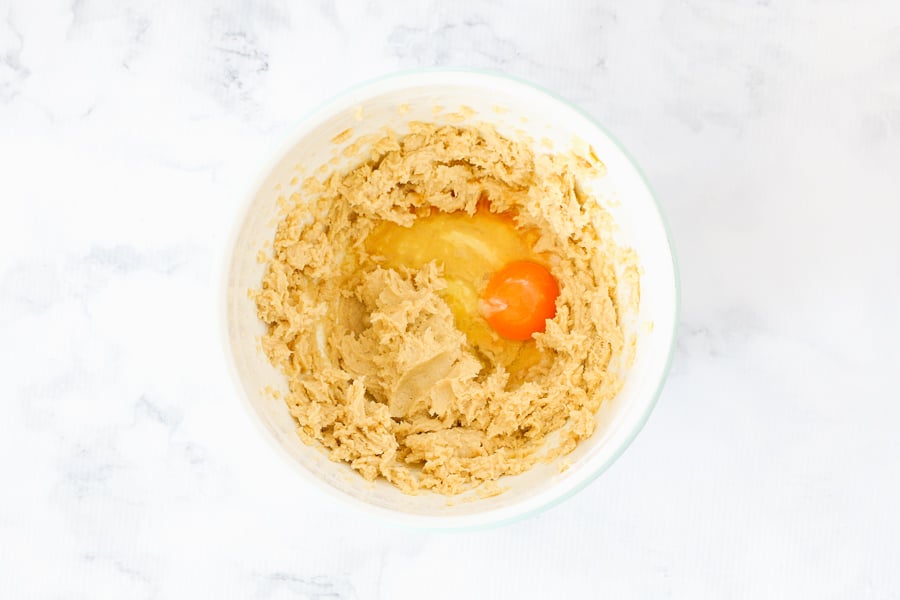
- Step 2: Beat in the egg and vanilla, then stir in the salt.
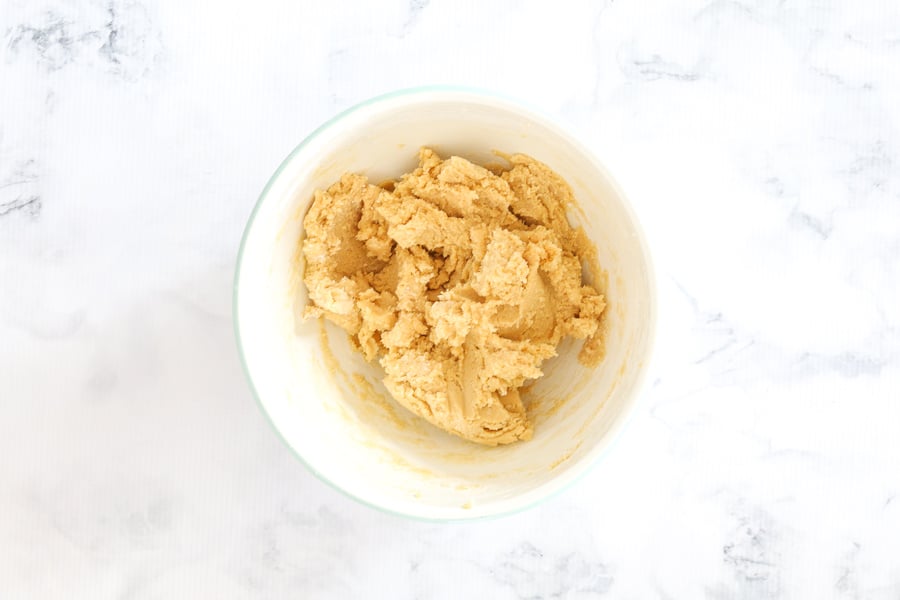
- Step 3: Sift the flour and bicarbonate of soda over the mixture. Fold together until just combined.
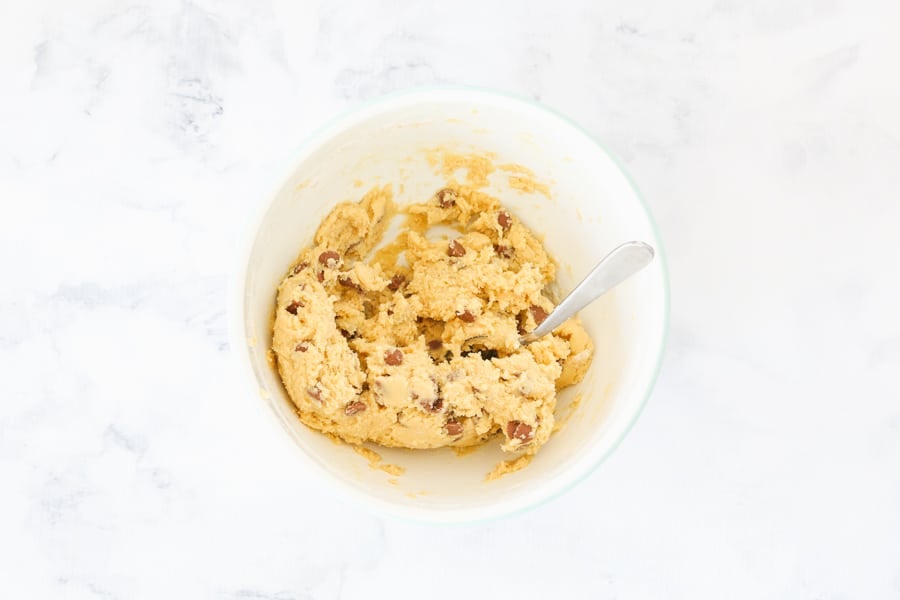
- Step 4: Stir through the choc chips.
Optional: Chill dough for 15 minutes.
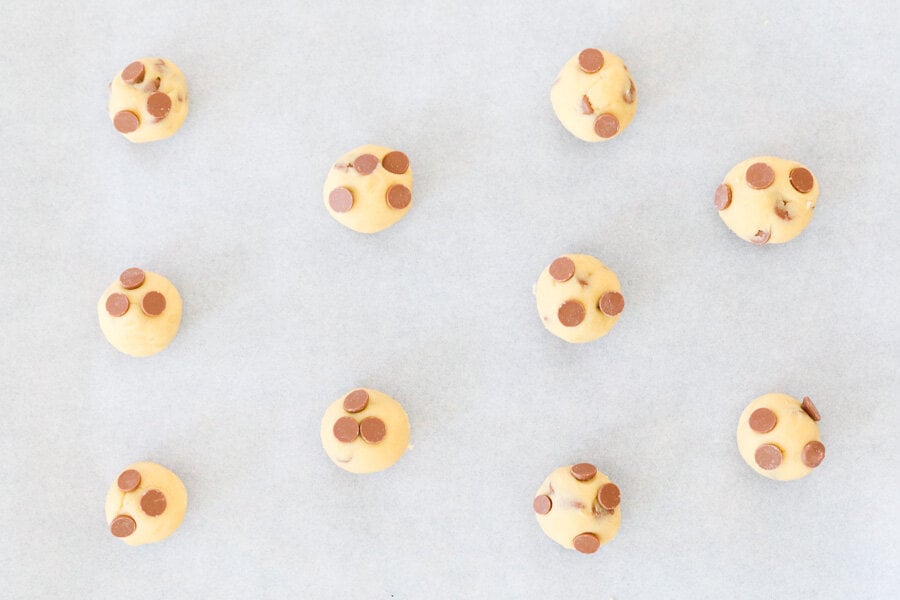
- Step 5: Roll into heaped teaspoon-sized balls and place on trays, spaced apart.
Bake for 8–10 minutes until lightly golden.
Top Tip
Chilling the dough for just 15–20 minutes helps the cookies hold their shape and gives you thicker, chewier centres with less spreading—totally worth the wait if you’ve got the time!
Recipe Tips
✅ Don’t skip the brown sugar – it’s key for that soft, chewy texture.
✅ Chill the dough if you want thicker cookies that don’t spread as much.
✅ Don’t overbake – they should be just golden on the edges.
✅ Space the cookies out on the tray—they spread!
✅ Use baking paper or silicone mats to prevent sticking.
✅ Want them extra gooey? Eat them slightly warm 🤤
✅ Store in an airtight container for up to 5 days.
✅ Freeze the cookie dough balls in a ziplock bag for up to 3 months. Bake from frozen—just add 1–2 extra mins to the baking time.
Chocolate Chip Cookies FAQs
Yes! Roll into balls, freeze on a tray, then pop into a ziplock bag. Bake straight from frozen.
You might be over-creaming the butter or your dough is too warm—try chilling it for 15 mins before baking.
Yes, but the texture will change slightly. All caster sugar makes them crispier and less chewy.
Butter gives the best flavour and texture, but you can substitute margarine if needed.
More Classic Cookie Recipes
If you need some more inspiration to fill up your cookie tin, look no further than these chocolate chip cookie recipe varieties!
WANT EVEN MORE DELICIOUS RECIPES? Subscribe to my newsletter or follow along on Facebook or Instagram. And if you love baking, then please come and join my Facebook cooking club group or subscribe to my YouTube channel.

Chocolate Chip Cookies
Ingredients
- 150 g butter softened
- 80 g (⅓ cup) caster sugar
- 80 g (½ cup) brown sugar
- 1 egg
- 2 teaspoon vanilla extract or essence
- ¼ teaspoon salt
- ½ teaspoon bi-carbonate soda
- 225 g (1 ½ cups) plain flour
- 220 g chocolate chips
Instructions
Conventional Method
- Preheat oven to 170 degrees celsius (fan-forced). Line two large baking trays with greaseproof paper and set aside.
- In a large bowl, beat the softened butter, caster sugar and brown sugar until pale and creamy.
- Add the egg and vanilla extract and continue to beat until well combined. Add the salt.
- Sift the bi-carbonate of soda and plain flour over the top of the mixture and fold through.
- Add the chocolate chips and stir through.
- Place the dough into the fridge for 15 minutes (optional).
- Roll into heaped teaspoon sized balls and place onto the prepared trays (leave a gap between each cookie to allow for spreading).
- Cook for 8-10 minutes or until just lightly golden.
- Allow to cool slightly on the baking trays before transferring to a wire rack to cool completely.
Thermomix Method
- Preheat oven to 170 degrees celsius (fan-forced). Line two large baking trays with greaseproof paper and set aside.
- Insert the Butterfly into the Thermomix bowl. Add the softened butter, caster sugar and brown sugar and mix for 20 seconds, Speed 4. Scrape down the sides of the bowl and mix for a further 40 seconds, Speed 4 (or until pale and creamy).
- Reduce to Speed 2 and with the Butterfly still turning, add the egg and vanilla extract through the MC hole. Increase to Speed 4 for 20 seconds. Remove the Butterfly.
- Add the salt, bi-carbonate of soda and plain flour to the bowl. Mix for 10 seconds, Speed 4. Scrape down the sides of the bowl and repeat for a further 10 seconds.
- Add the chocolate chips and mix for 10 seconds, Reverse, Speed 1 (using the spatula to help mix).
- Chill the dough in the fridge for 20 minutes. Roll into heaped teaspoon sized balls and place onto the prepared trays (leave a 5cm gap between each cookie to allow for spreading).
- Cook for 8-10 minutes or until just lightly golden. Do not overcook.Allow to cool for 10 minutes on the baking trays before transferring to a wire rack to cool completely.
Notes
- Don’t skip the brown sugar – it’s key for that soft, chewy texture.
- Chill the dough if you want thicker cookies that don’t spread as much.
- Don’t overbake – they should be just golden on the edges.
- Space the cookies out on the tray—they spread!
- Use baking paper or silicone mats to prevent sticking.
- Want them extra gooey? Eat them slightly warm
- Store in an airtight container for up to 5 days.
- Freeze the cookie dough balls in a ziplock bag for up to 3 months. Bake from frozen—just add 1–2 extra mins to the baking time.


Zoey says
I made these with my mother and they were AMAZING and my brothers ate it in one day (I only got 3)
Lucy says
Hehehe! You'll need to make another batch!