

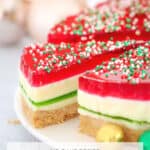
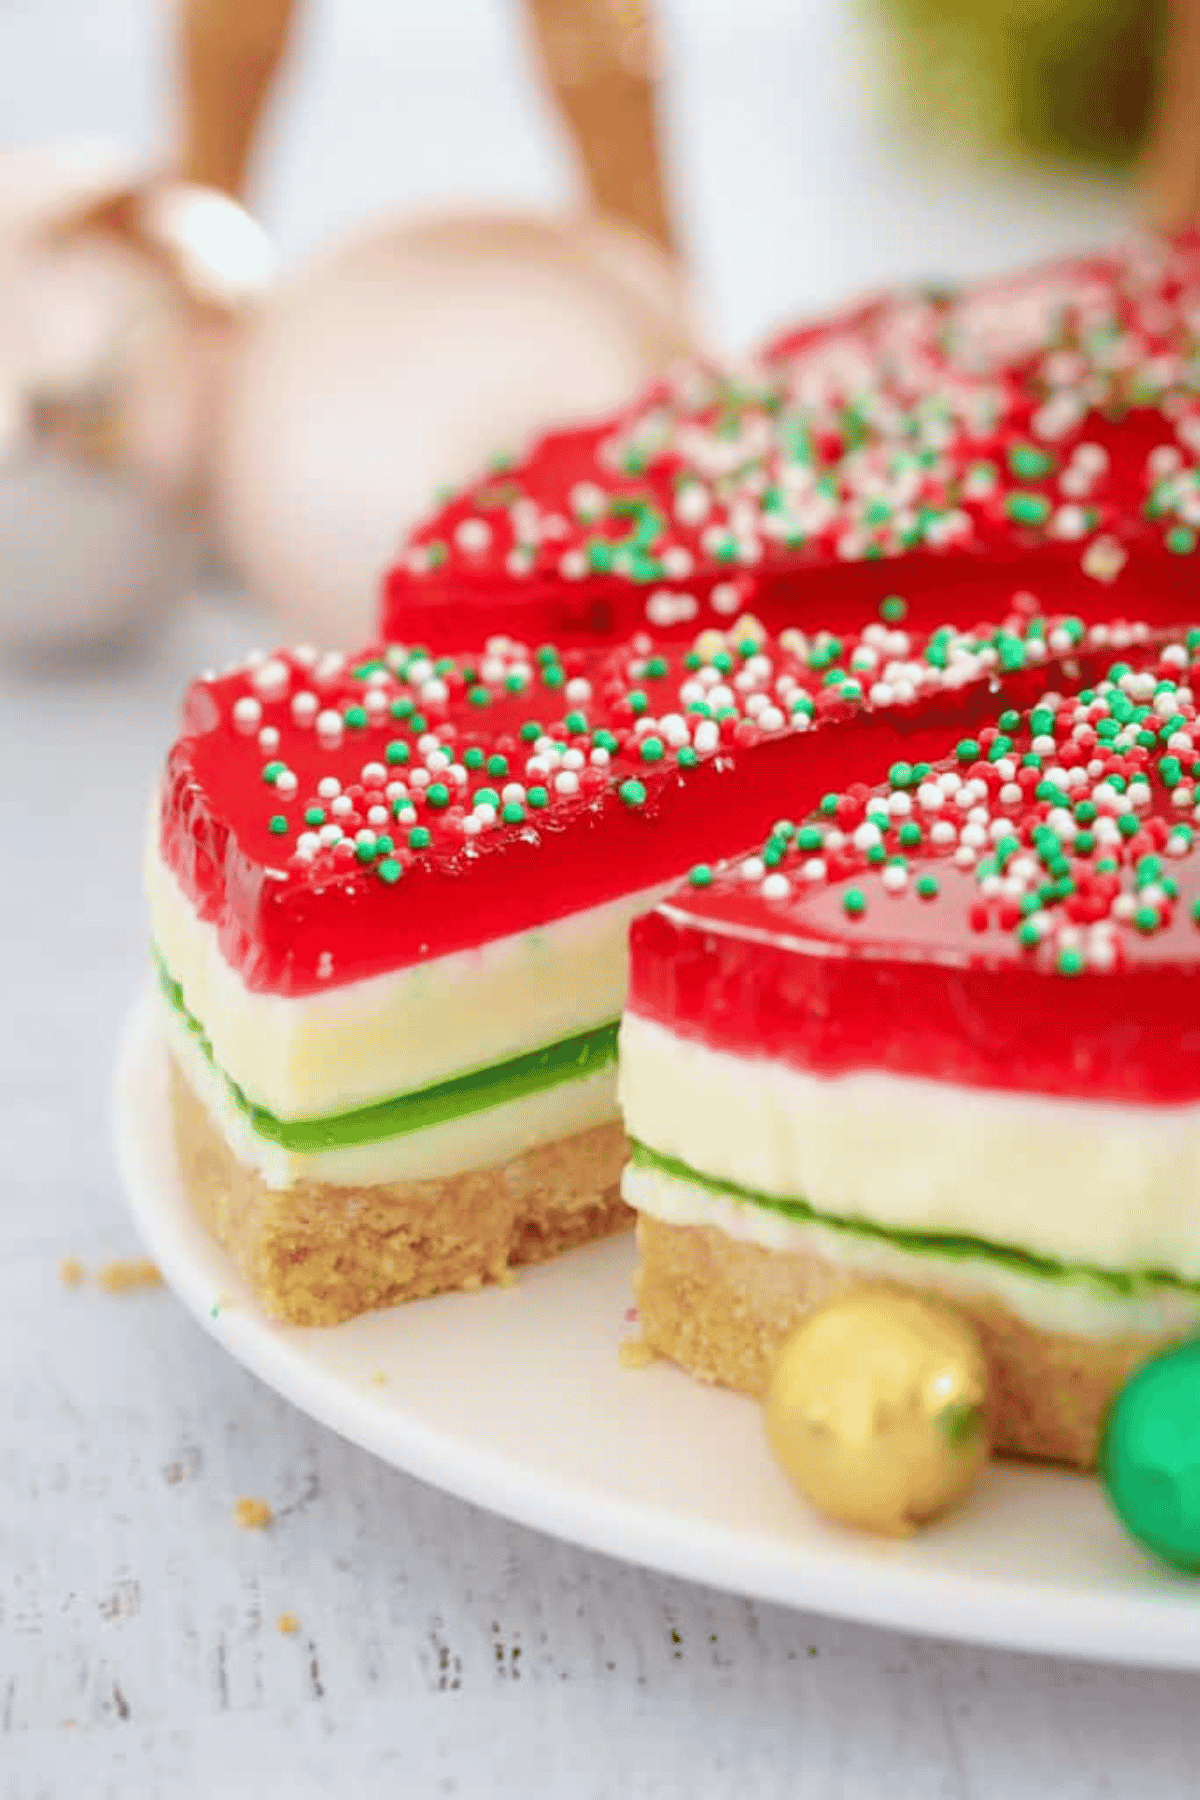
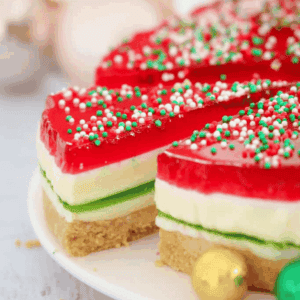
Christmas in Australia means one thing: it's HOT. This Christmas Jelly Cake is the no-oven-required, wobbly, ridiculously pretty dessert that saves the day.
It's a five-layer, fridge-set showstopper that needs zero baking and can be made well ahead of the big day - perfect alongside the rest of my Christmas dessert recipes, or if you want something even cooler for a stinking hot Christmas Day, my Mango Cheesecake is another chilled, no-fuss option.
A Quick Look At The Recipe
🎄 Recipe: Christmas Jelly Cake
⏰ Ready In: 30 minutes prep + at least 6 hours chilling (best made the day before)
🍽️ Serves: 16
🔥 Calories: 345kcal per serve
🧾 Main Ingredients: plain biscuits, butter, sweetened condensed milk, gelatine, lemon juice, red & green jelly crystals
🥄 Dietary Info: vegetarian base recipe (contains gelatine, dairy & gluten), Thermomix method included
❤️ Why You'll Love It: no oven, make-ahead, kid-friendly and looks like you tried way harder than you did
SUMMARIZE & SAVE THIS CONTENT ON
"I reviewed this recipe 6 years ago and it's still a favourite. So yummy and so easy! I just love it."
Bree, 5 star review
Six years and still on high rotation - that's the kind of feedback that makes my whole Christmas.
It really is one of those "look impressive, taste amazing, barely any effort" jobs, a bit like my everyday Jelly Slice, my Chocolate Christmas House or my White Christmas Slice - just dressed up in its Christmas best.
Jump to:
Why You're Going To Love This Recipe
- No oven means no heating up the kitchen on the one day of the year you really don't want to
- You make it the day before, so it's one less thing on your Christmas Day list
- The kids can help pour the layers (and take way too much credit for it)
- It looks like a proper bakery effort but it's genuinely hard to stuff up
Christmas Jelly Cake Ingredients
- Crushed biscuits - any plain sweet biscuit works (cookies, if you're American). I like Arnott's Marie or Scotch Finger biscuits.
- Sweetened condensed milk - use the full fat version, not the skim one, as it sets a lot firmer.
- Gelatine powder - this is what sets the condensed milk layers, so don't skip it or swap the amount.
- Lemon juice - fresh or bottled both work fine, it just cuts through the sweetness a bit.
- Red and green jelly crystals - I use Aeroplane jelly. Any brand is fine, just make sure the packet size matches so it sets properly.
Variations
- Dairy-free swap: a reader named ChristineAnne made this for a lactose intolerant guest by swapping the condensed milk for coconut cream and using tropical flavoured jellies instead of red and green - she said it was "a massive hit" and people were asking for the recipe. Worth trying if dairy is an issue at your table.
- Not into gelatine? You can try a vegetarian setting agent like agar agar powder instead, just follow the conversion on the packet since agar sets differently (and firmer) than gelatine, so don't use a straight 1:1 swap.
- Swap the red and green for whatever colours suit the occasion - pastels for Easter, or your kid's favourite colours for a birthday. Once you've dropped the Christmas colours it's basically my regular Jelly Slice recipe with a fancy round shape.
- Want individual serves instead of one big cake? Layer everything into small cups or jars for a cute, no-cutting-required party dessert - great for kids' parties.
- If you're a jelly-and-cream-cheese fan rather than condensed milk, my Jelly Cheesecake or Raspberry & Cream Jelly Cakes are worth a look too.
How To Make Christmas Jelly Cake
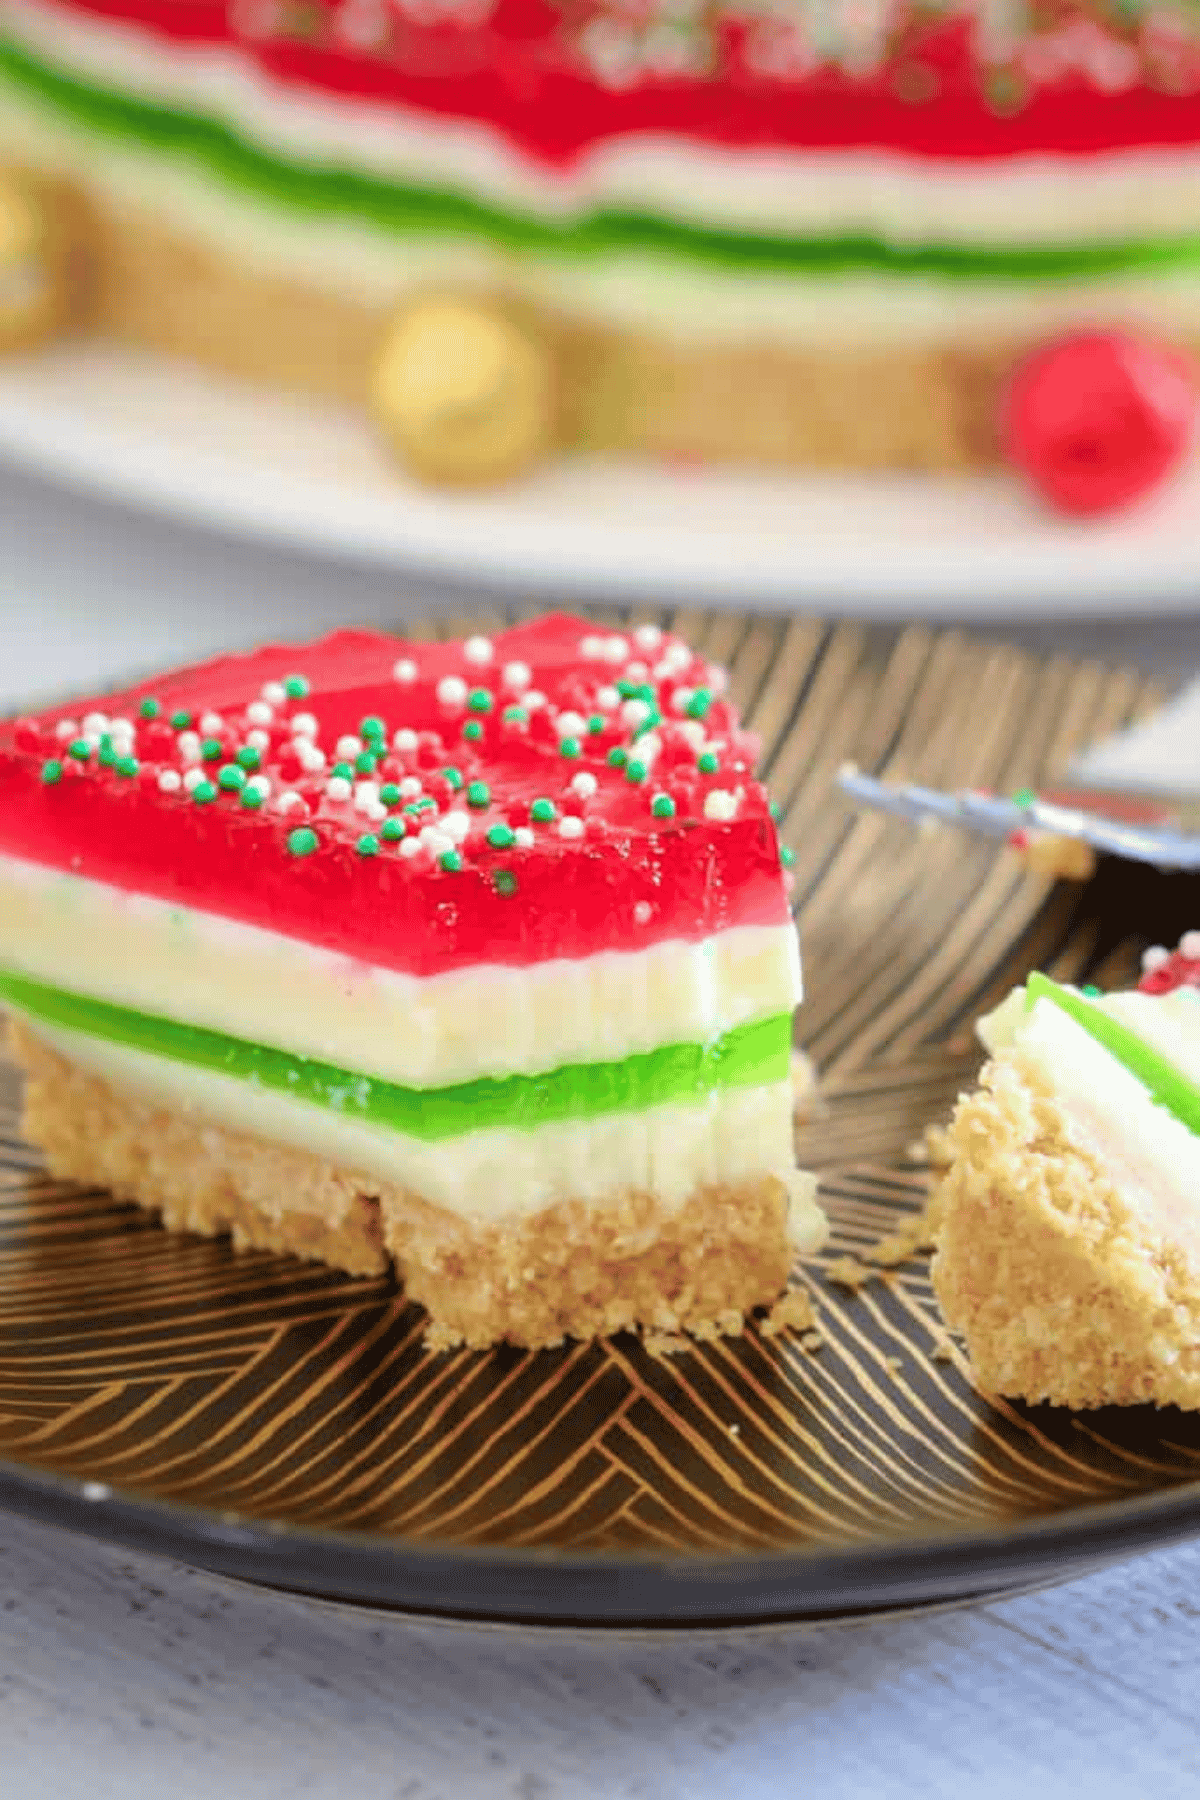
This Christmas Jelly Cake needs to be made the day before you need it, because there are 5 layers and each one has to set before you add the next. Sounds fiddly, but honestly it's just "pour a layer, go do something else, come back in an hour or two, pour the next layer." I usually make mine while I'm wrapping presents.
- Step 1: Make the biscuit base. Grease and line a 23cm round springform tin. Crush the biscuits and mix with melted butter, then press firmly into the base of the tin and pop it in the fridge.
- Step 2: Make the green jelly. Prepare the green jelly according to the packet directions and leave it on the bench to cool to room temperature - don't put it in the fridge yet or it'll set too soon.
- Step 3: Pour the first condensed milk layer. Mix the dissolved gelatine, condensed milk and lemon juice, then pour over the biscuit base. Chill until set (an hour or two).
- Step 4: Add the green jelly layer. Once the condensed milk layer has set, gently pour the cooled green jelly over the top (pour it over the back of a spoon so it doesn't punch holes in the layer below) and chill until set.
- Step 5: Repeat with the red layers. Make the red jelly and leave to cool. Mix up the second condensed milk layer and pour it over the set green jelly, chill until set, then gently pour over the cooled red jelly and chill again.
- Step 6: Unmould and decorate. Once fully set (best left overnight), run a knife around the edge, release the springform ring, and scatter with sprinkles just before serving.
Recipe Tips
- Storage: keep it covered in the fridge and eat within 3 days. This one is not freezer friendly - the jelly and condensed milk layers go watery and separate when thawed.
- Pour each jelly layer over the back of a spoon rather than straight from the bowl. It slows the pour down and stops you punching holes through the set layer underneath.
- Make sure each jelly has properly cooled to room temperature before you pour it on - if it's still warm it'll melt the condensed milk layer straight into it and you'll lose that clean line between colours.
- In a hurry? You can pop each layer in the freezer for 15-20 minutes instead of the fridge to speed things along, just keep an eye on it so it doesn't over-set or crack.
- A round springform tin (one with a removable base) is what I always use, but a square springform will work in a pinch too - it just won't have that classic round layered look.
Christmas Jelly Cake FAQs
Yes, and honestly you have to - it needs to be made at least the day before serving since each of the 5 layers needs time to set before the next one goes on. Making it the day before Christmas while you're doing other jobs around the house works a treat.
No, this one isn't freezer friendly. The jelly and condensed milk layers go watery and separate once thawed, so keep it in the fridge and eat it within 3 days instead.
You really do need a springform tin (one with a removable base) so you can get the whole thing out in one piece once it's set. I always use a round one, but a square springform will work too if that's what you've got - it just won't have that classic rounded layered look.
Two likely culprits. Either the jelly was still warm when you poured it (let it cool to room temp first), or it was poured too fast straight onto the layer below. Pouring slowly over the back of a spoon fixes this almost every time.
For dairy-free, one of my readers swapped the condensed milk for coconut cream (with tropical jellies instead of red and green) for a lactose intolerant guest and said it was a massive hit. For vegetarian, gelatine is an animal product, so you'd need to try a vegetarian setting agent like agar agar instead - just check the packet for the right conversion since it sets differently to gelatine.
More No-Bake Christmas Treats
If you're building out a whole no-oven Christmas dessert table (smart move in an Aussie summer), here are a few more that fit right in:

Christmas Jelly Cake
Ingredients
Layer 1 (Base)
- 250 g plain sweet biscuits (like Arnotts Marie)
- 180 g butter, melted
Layer 2
- 2 teaspoon gelatine powder (dissolved in ⅓ cup water)
- 400 g sweetened condensed milk
- 1 tbs lemon juice
Layer 3
- 85 g packet green jelly crystals
Layer 4
- 2 teaspoon gelatine powder (dissolved in ⅓ cup of water)
- 400 g sweetened condensed milk
- 1 tbs lemon juice
Layer 5
- 85 g packet red jelly crystals
Instructions
Conventional Method
- Grease and line a 23cm round springform tin with baking paper and set aside.
- Make the green jelly according to the packet instructions and set aside on the bench to cool - do not place it in the fridge as you don't want it to set just yet.
- Crush the biscuits in a food processor and place into a separate bowl. Add the melted butter and mix until well combined.
- Firmly press the mixture into the bottom of the prepared tin and then place it into the fridge.
- Dissolve gelatine powder (see notes).
- Place the condensed milk and lemon juice into a separate bowl. Add the dissolved gelatine mixture and mix until completely combined.
- Pour the mixture over the prepared base and place into the fridge until set.
- Gently pour the cooled green jelly over the top of the slice and place into the fridge until set.
- Make the red jelly according to the packet instructions and set aside on the bench to cool - do not place it in the fridge as you don't want it to set just yet.
- Dissolve gelatine powder in the cold water (see notes).
- Place the condensed milk and lemon juice into a separate bowl. Add the dissolved gelatine mixture and mix until completely combined.
- Carefully pour the mixture over the set green jelly and place back into the fridge until set.
- Gently pour the cooled red jelly over the top of the slice and place into the fridge until set.
Thermomix Method
- Grease and line a 23cm round springform tin with baking paper and set aside.
- Make the green jelly according to the packet instructions and set aside on the bench to cool - do not place it in the fridge as you don't want it to set just yet.
- Place the butter into the Thermomix bowl and melt for 2 minutes, 80 degrees, Speed 2. Add the biscuits and press Turbo until crushed and combined (you may need to scrape down the sides of the bowl partway through).
- Firmly press the mixture into the bottom of the prepared tin and then place it into the fridge.
- Dissolve gelatine powder (see notes section).
- Place the condensed milk and lemon juice into a clean Thermomix bowl. Add the dissolved gelatine mixture and mix for 15 seconds, Speed 4.
- Pour the mixture over the prepared base and place into the fridge until set.
- Gently pour the cooled green jelly over the top of the slice and place into the fridge until set.
- Make the red jelly according to the packet instructions and set aside on the bench to cool - do not place it in the fridge as you don't want it to set just yet.
- Dissolve gelatine powder in the cold water (see notes section). Place the condensed milk and lemon juice into a clean Thermomix bowl. Add the dissolved gelatine mixture and mix for 15 seconds, Speed 4.
- Carefully pour the mixture over the set green jelly and place back into the fridge until set.
- Gently pour the cooled red jelly over the top of the slice and place into the fridge until set.

Christine says
Do you need 1 tin of condensed milk or 2?
Each white layer says to empty a tin of condensed milk.
Lucy says
Hi Christine - you need a total of 2 tins (1 for each white layer) 🙂
Erin says
Hi. Do you think this recipe would work with coconut condensed milk? And what could I use instead of butter to make it dairy free? I’m guessing it wouldn’t set hard using Nuttelex. Thanks.
Lucy says
Hmm I have never made this using coconut condensed milk! Nuttelex 'should' be fine though!
Shani says
Hi, can you tell me if the condensed milk should be used thick straight from the tin without mixing with water?
Lucy says
Hi Shani, you mix the condensed milk (straight from the tin) with the dissolved gelatine powder and the lemon juice (please refer to the recipe card at the bottom of the post for details). xx
Ruby Thompson says
Definitely the Christmas day treat for the littlies (and perhaps some biggies also)
Lucy says
Fantastic!
Carolyn says
Recipe says to dissolve gelatine in 1/4 cup water but in ‘ special notes’ says 1/3 cup
Lucy says
Hi Carolyn, either is fine 🙂
Melissa Harris says
Im in the process of making this and it seems the white layer has not set. Maybe I poured the green jelly on too quickly as its a bit mixed but then I noticed in your usual jelly slice theres 3 tsp of geletin in the white layer and this one theres 2. Just wanted to query the difference?
Lucy says
Hi Melissa, 2 tsp is enough to set the white layer in this cake. The white layer does need to be set really firm before pouring on the jelly though, xx