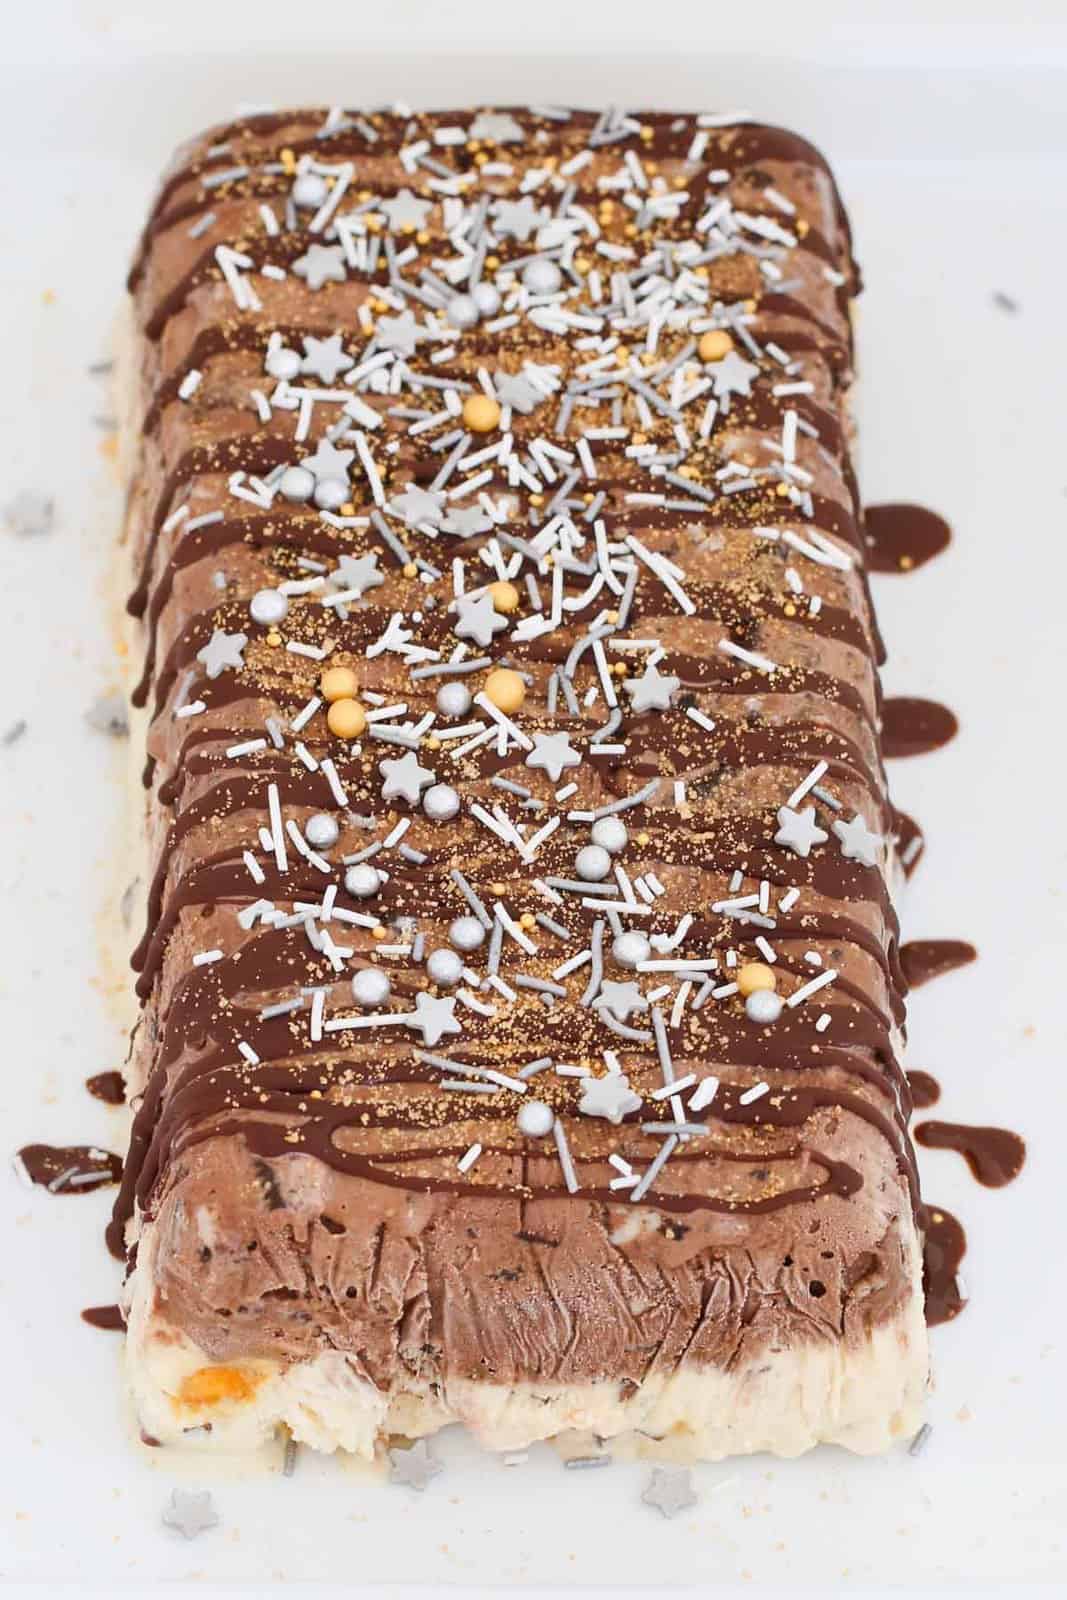
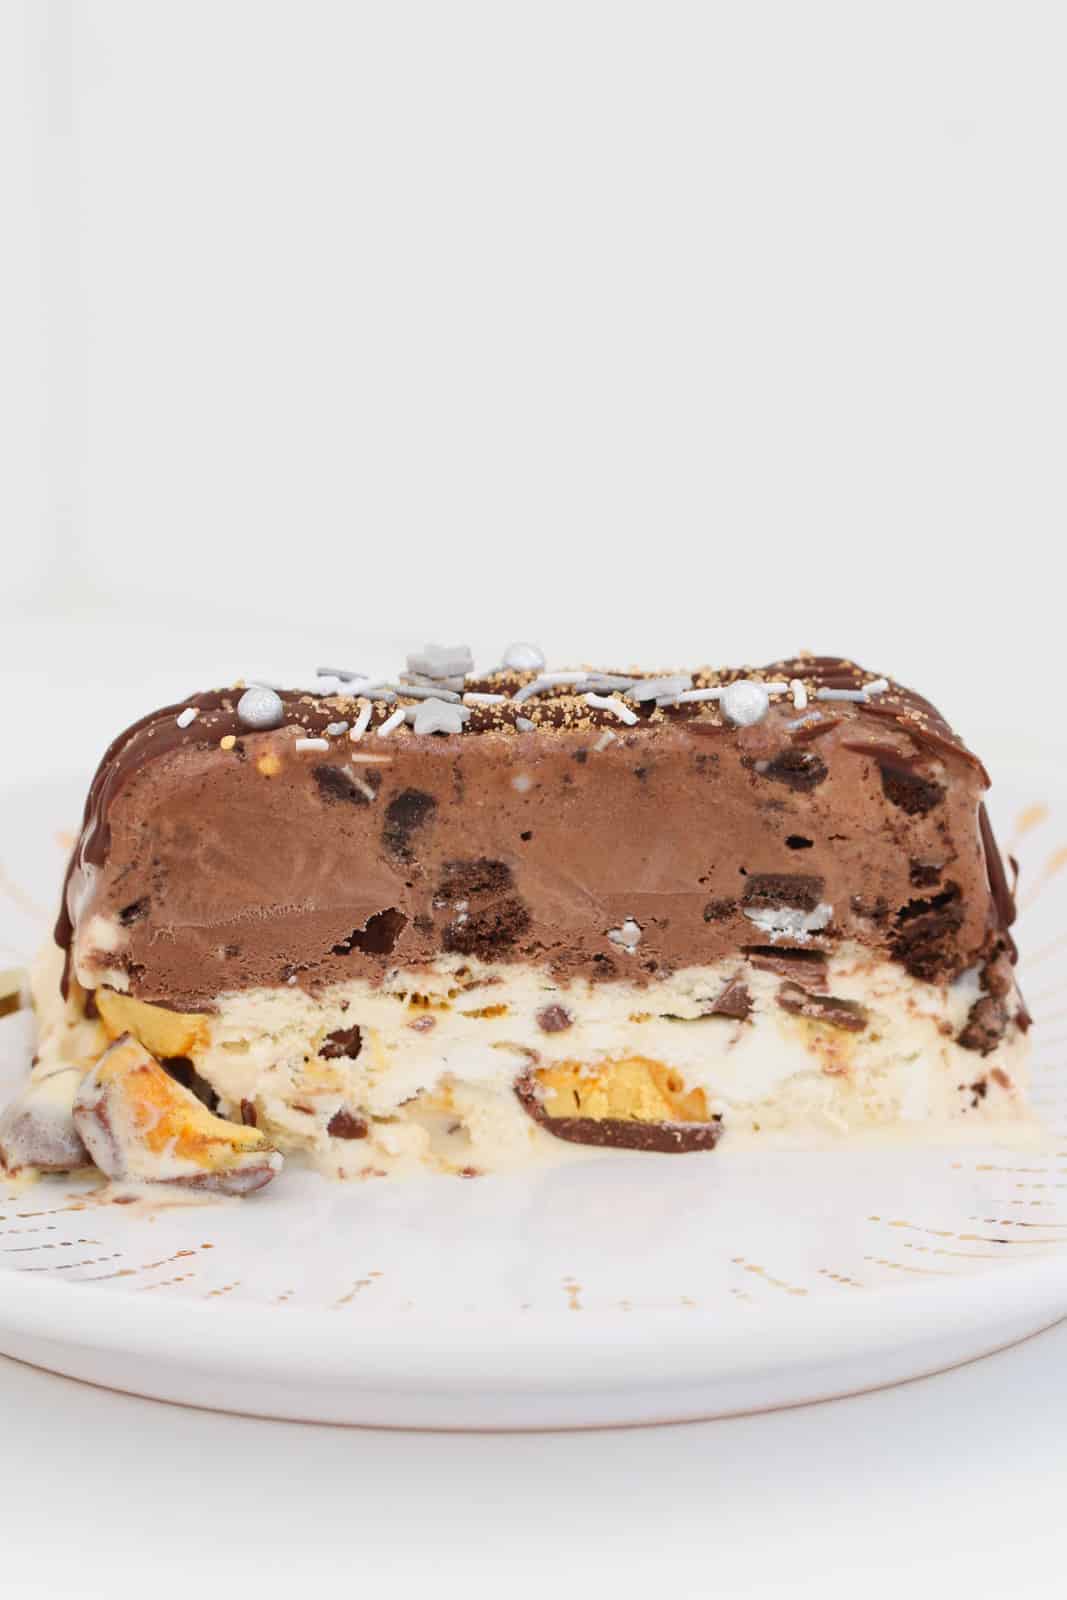
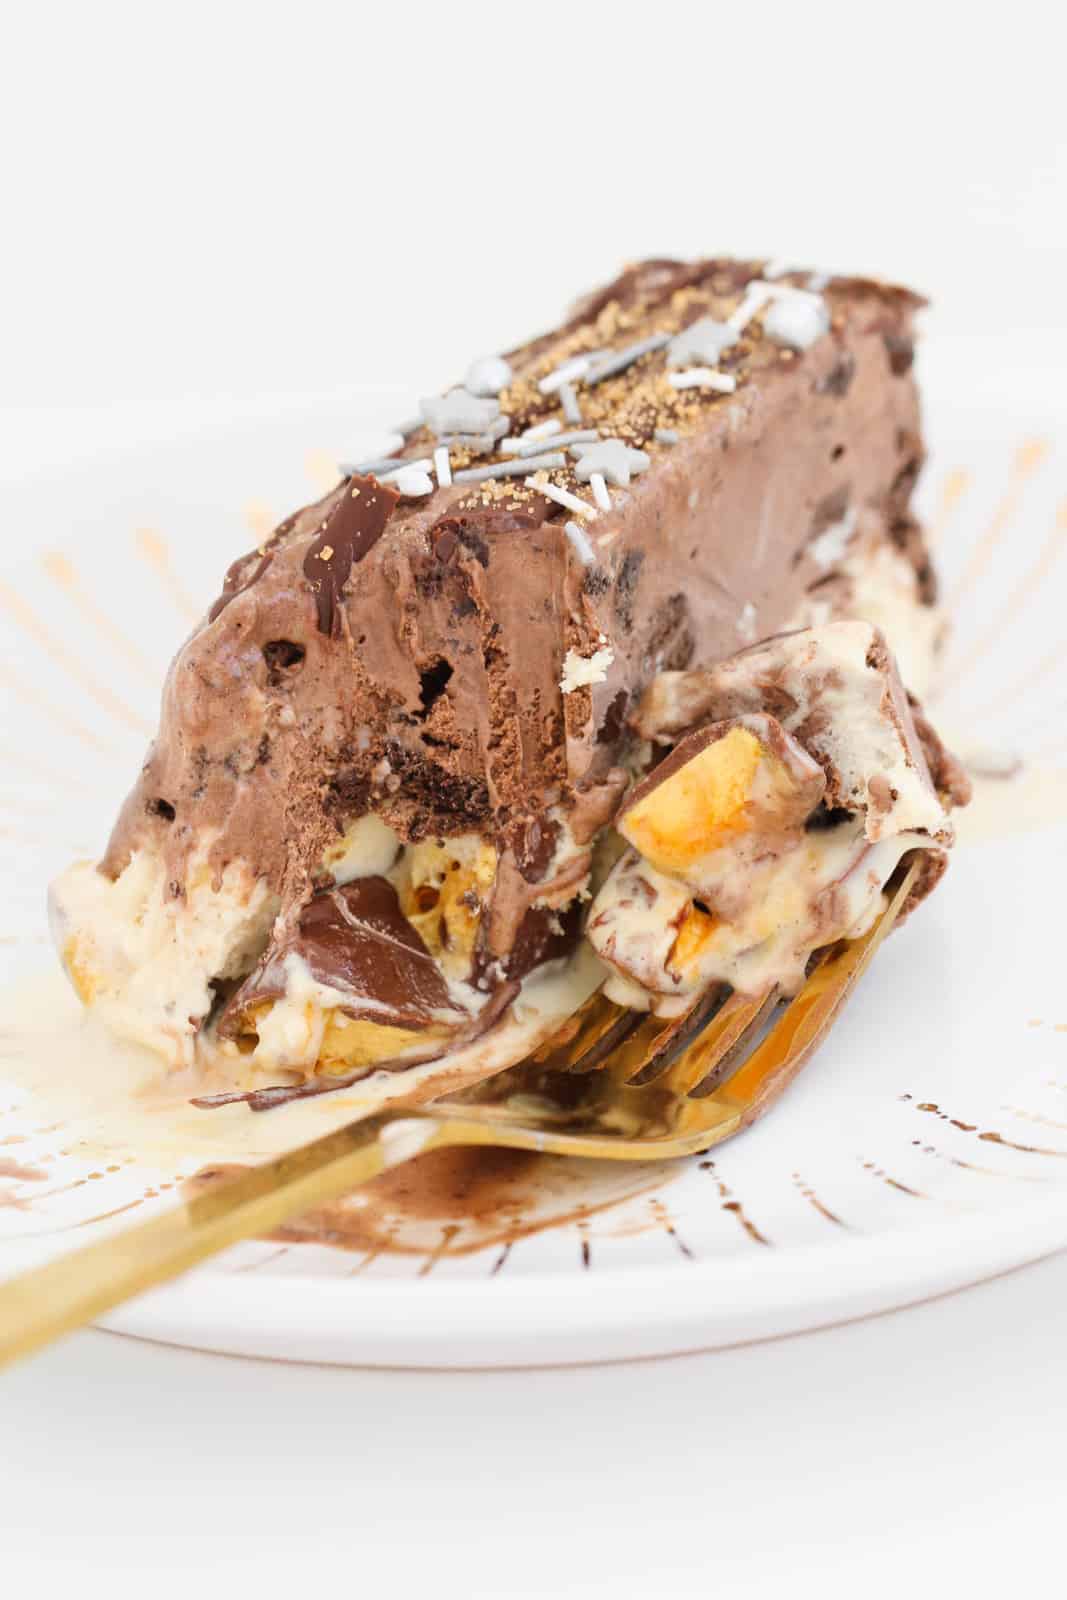
A delicious two layer honeycomb & chocolate ice-cream cake that is the perfect summer dessert. With chunks of gooey honeycomb and crunchy pieces of Oreo cookies... this simple ice cream cake is always a favourite.
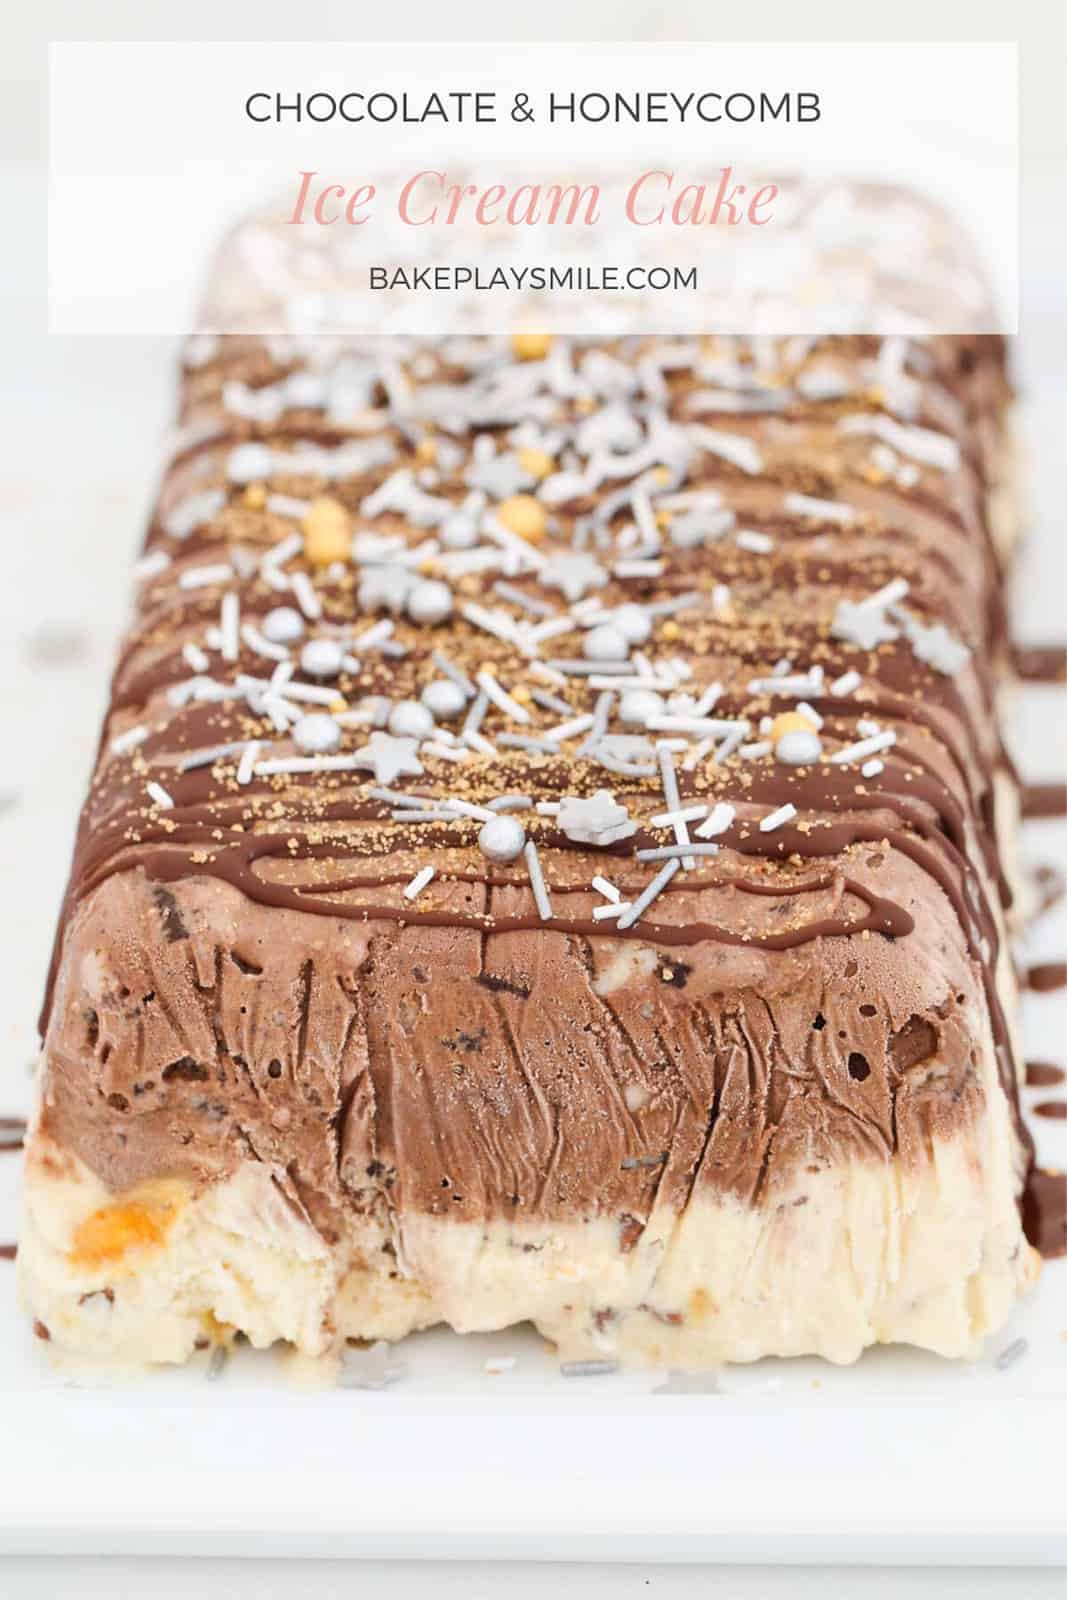
When it comes to summer desserts, it's hard to beat an ice cream cake!
Loved by kids and adults alike, this chocolate and honeycomb ice cream cake will keep you cool while enjoying a sweet and delicious dessert.
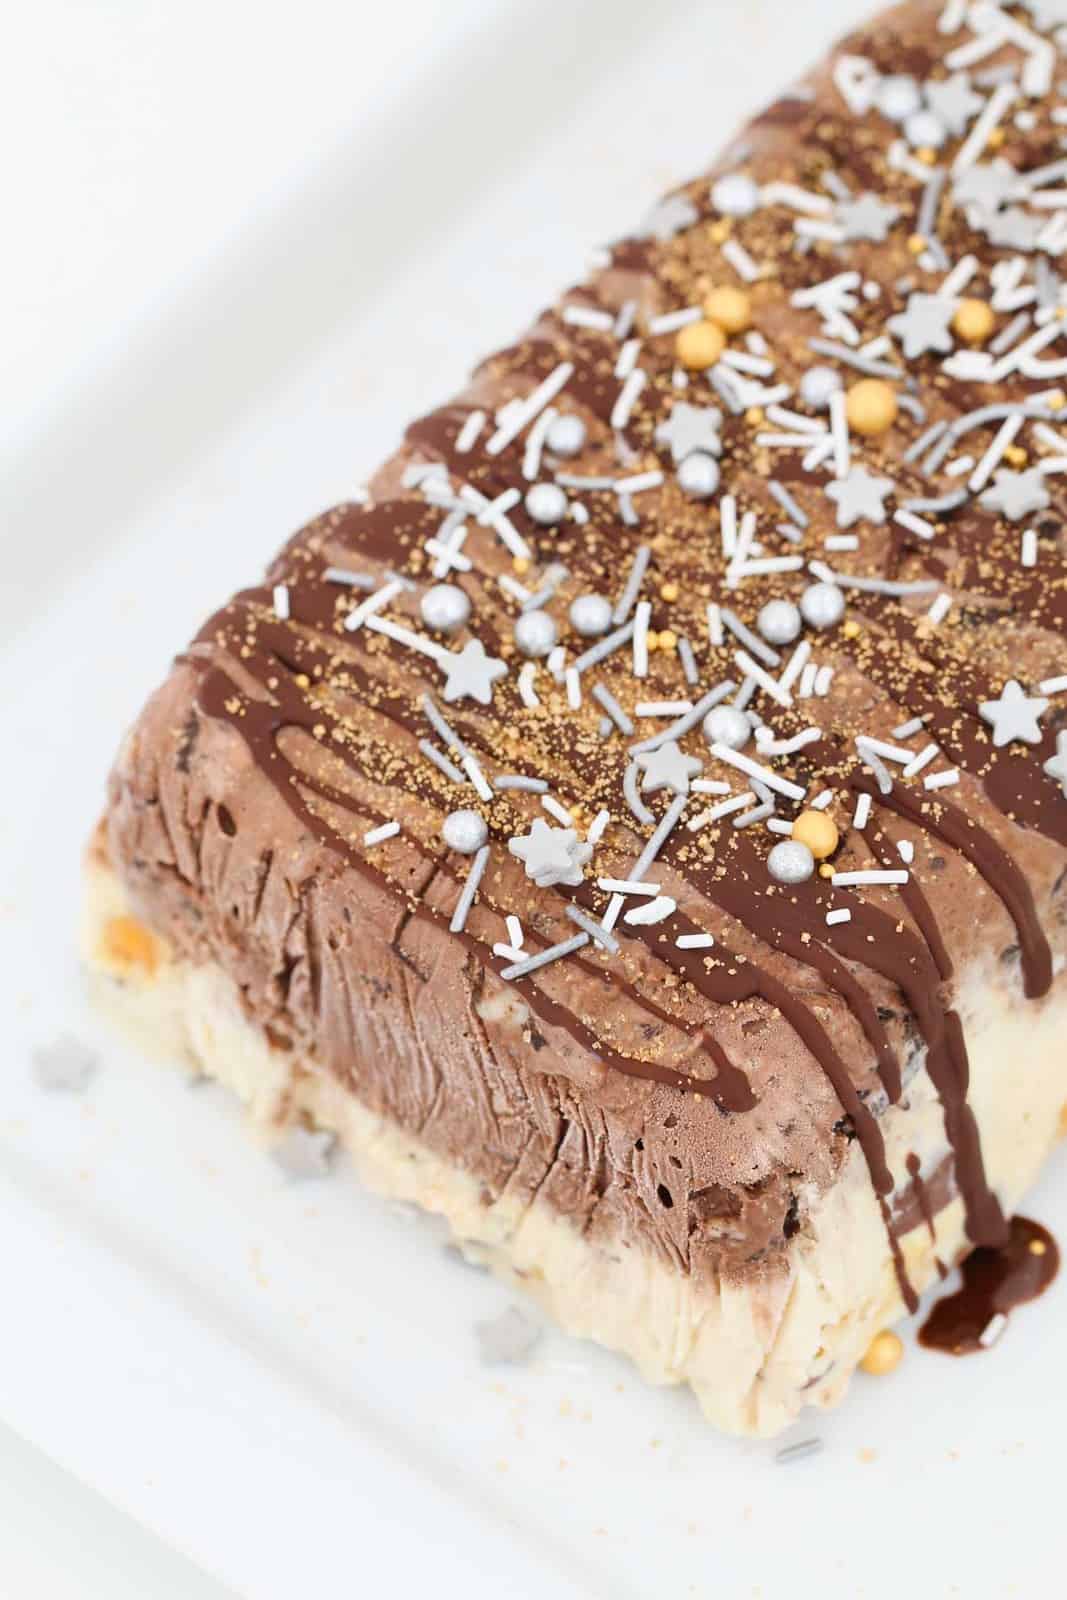
Why You're Going To Love This Recipe
No-Bake - forget about turning the oven on! All you need is a freezer and a mixing bowl!
Great kids recipe - this is a fantastic recipe for kids to make all on their own!
Perfect for Christmas - I LOVE making an ice-cream cake at Christmas. It makes the perfect accompaniment to other Christmas desserts too!
Make ahead of time - this can be made up to 2 weeks ahead of time (perfect if you're prepping for the festive season).
What You Need
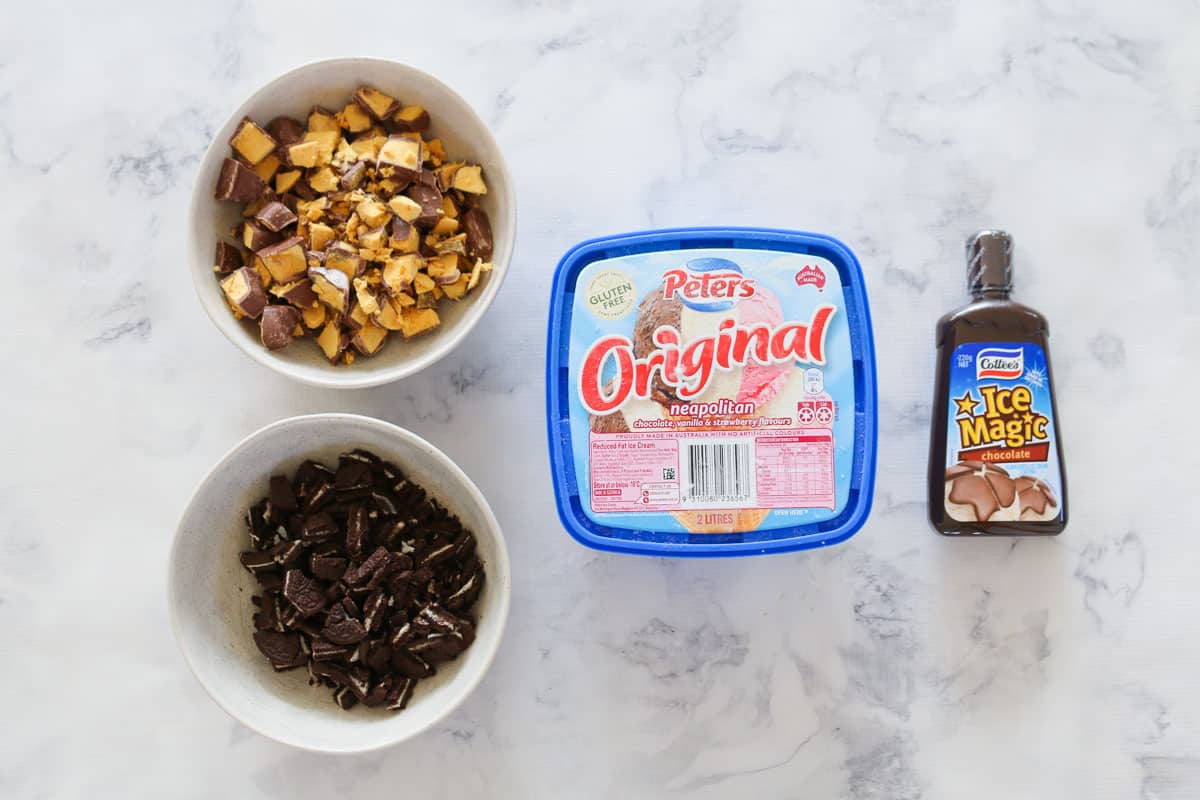
Just 4 ingredients!! That. Is. It!
Note: please scroll to the recipe card at the bottom of the post for ingredient quantities and the full detailed method.
- Neapolitan ice-cream - I recommend using a 2 litre tub of neapolitan ice-cream for this recipe. A tub contains strawberry, chocolate and vanilla ice-cream (for this recipe we won't be using the strawberry ice-cream)
- Oreos - you can use Oreos or substitute for any other chocolate cookies.
- Chocolate honeycomb - roughly chop chocolate honeycomb into smaller chunks. You can buy bags of chocolate honeycomb at the supermarket (or you can use Crunchie bars)
- Ice Magic - (also known as Magic Shell) is a chocolate sauce sets firm when poured over ice cream and is used to decorate the cake.
How To Make A Honeycomb & Chocolate Ice Cream Cake
It takes just 3 simple steps to make this sweet and creamy ice cream cake.
Note: please scroll to the recipe card at the bottom of the post for ingredient quantities and the full detailed method.
Step 1 - Divide The Ice Cream
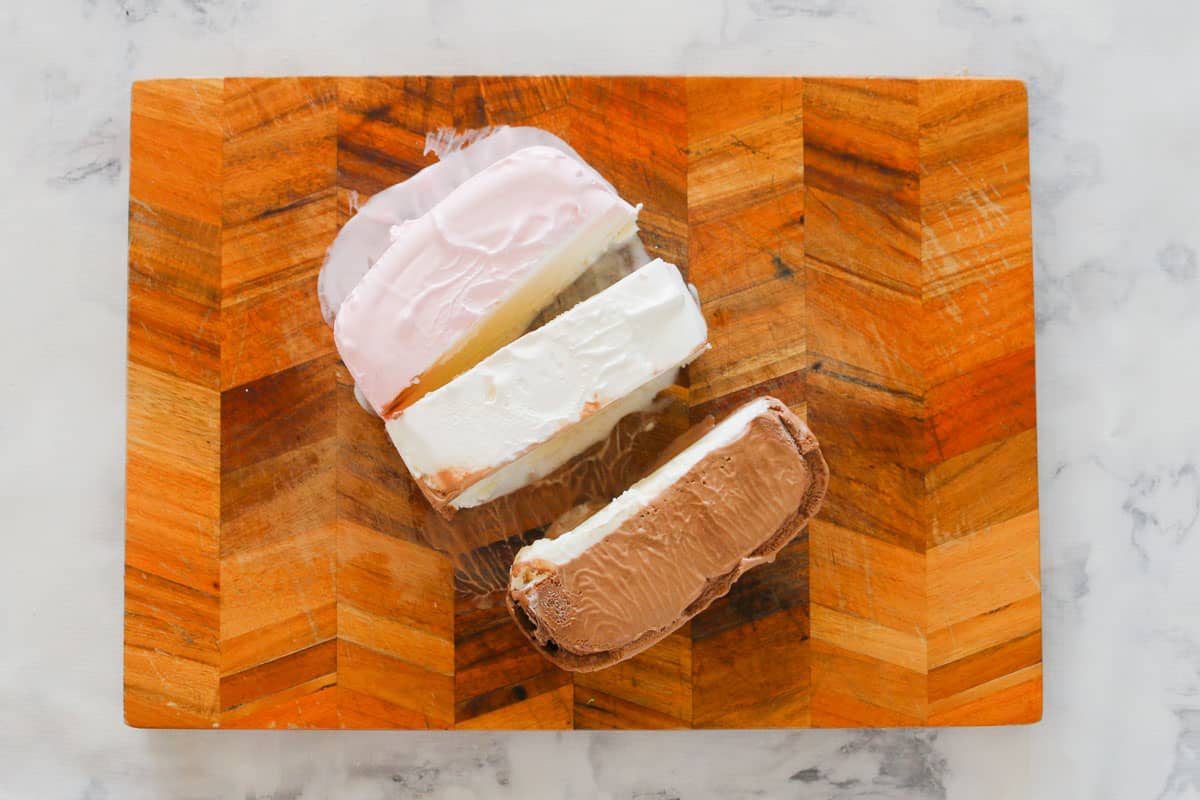
Cut the neapolitan ice-cream into three sections - strawberry, chocolate and vanilla.
Place the strawberry ice-cream back into the tub and return to the freezer (we don't need the strawberry section for this recipe).
Place the vanilla ice-cream and the chocolate ice-cream into separate bowls.
Step 2 - Prepare The Chocolate Layer
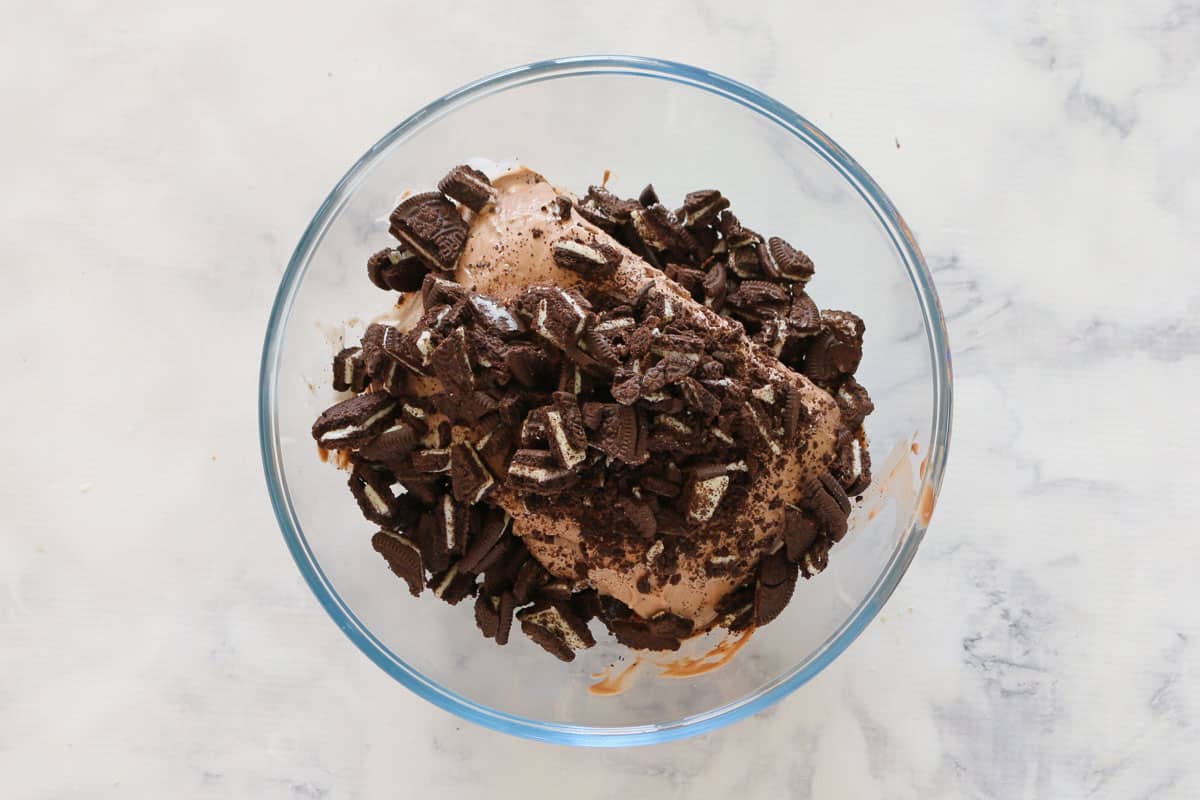
Add chopped Oreos to the chocolate ice cream and mix together until combined.
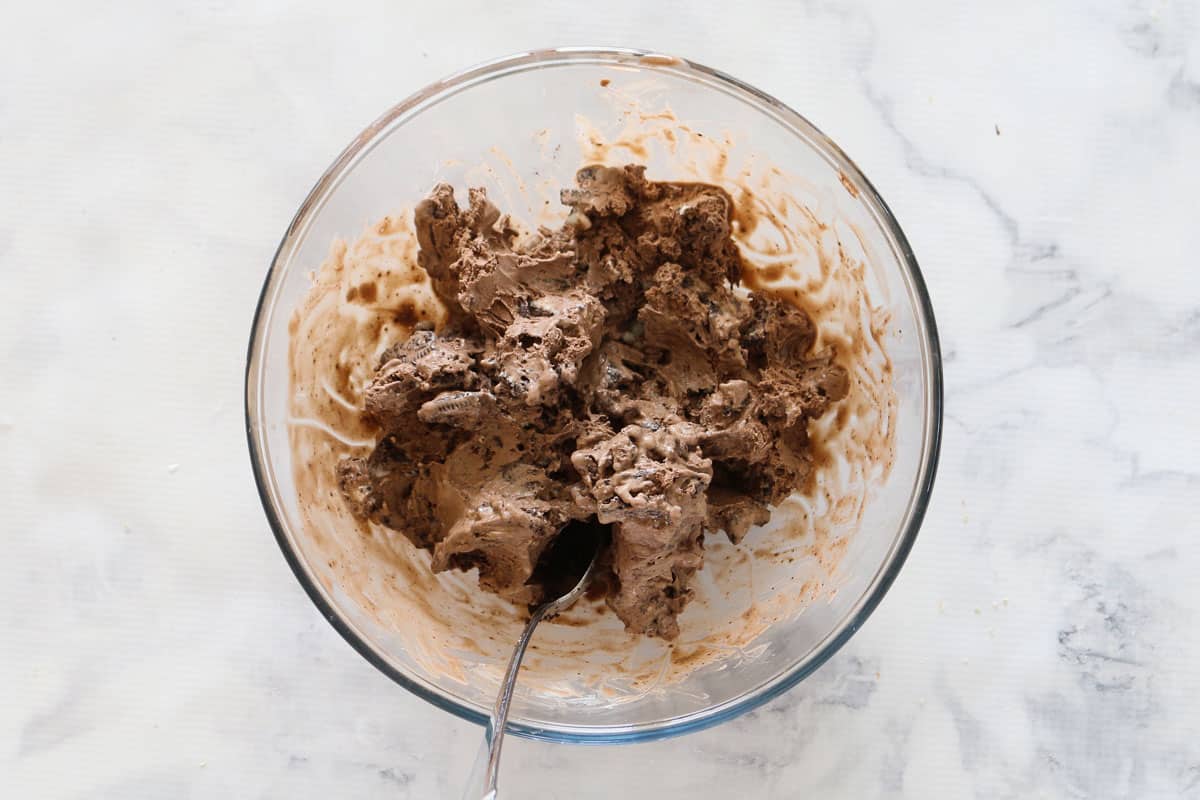
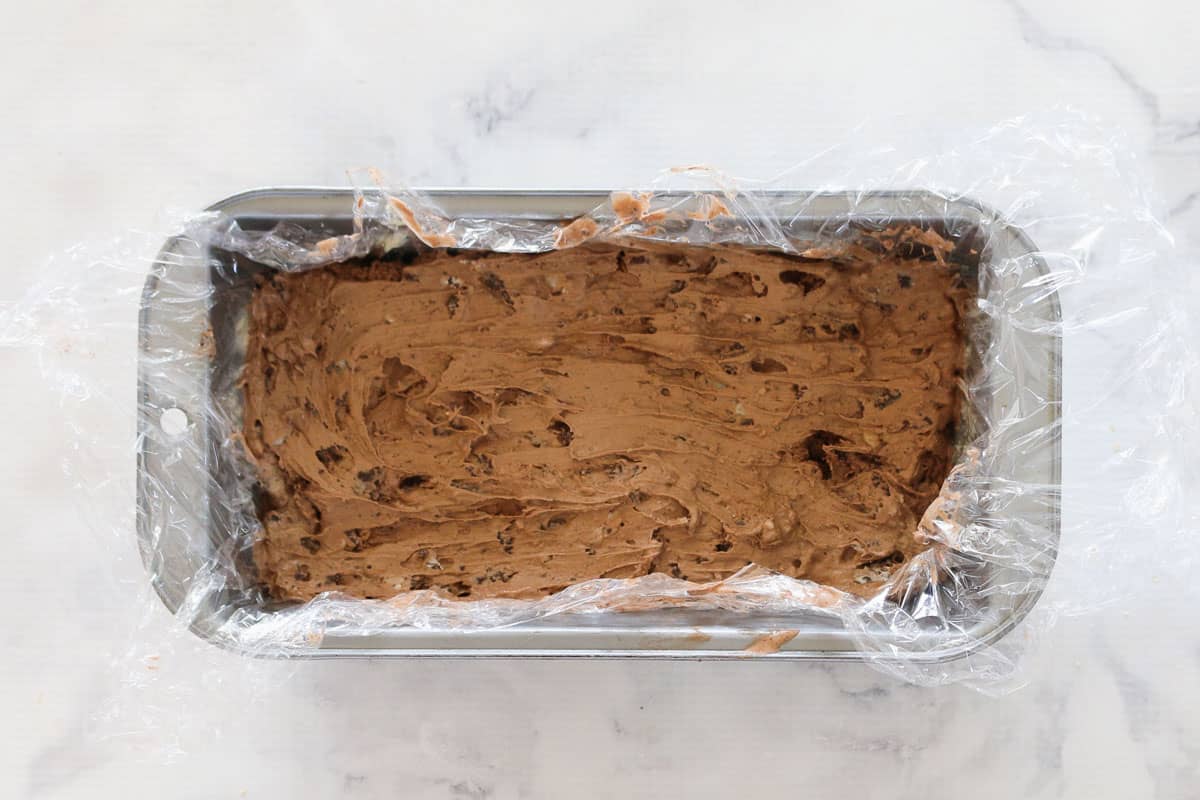
Spread into the base of a prepared loaf tin (see tips below) and place into the freezer while you prepare the vanilla layer.
Step 3 - Prepare The Vanilla Layer
Add chopped honeycomb to the vanilla ice-cream and stir to combine.
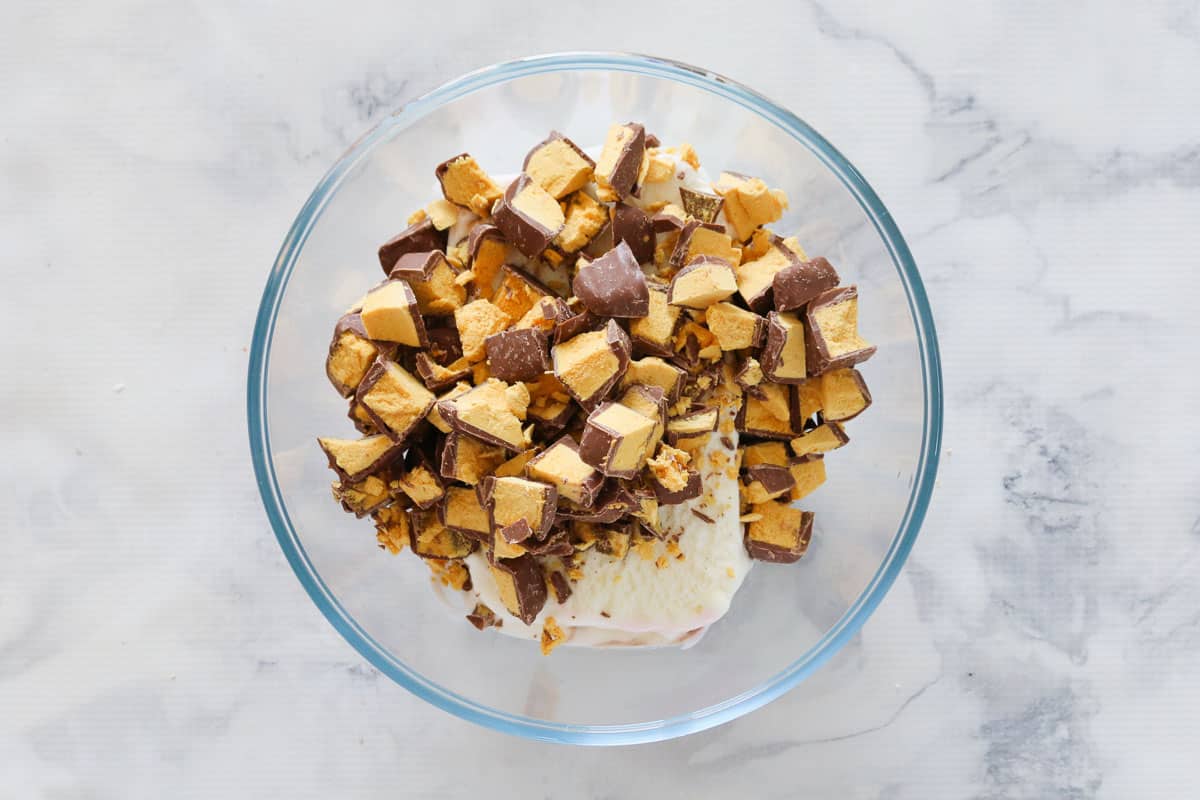
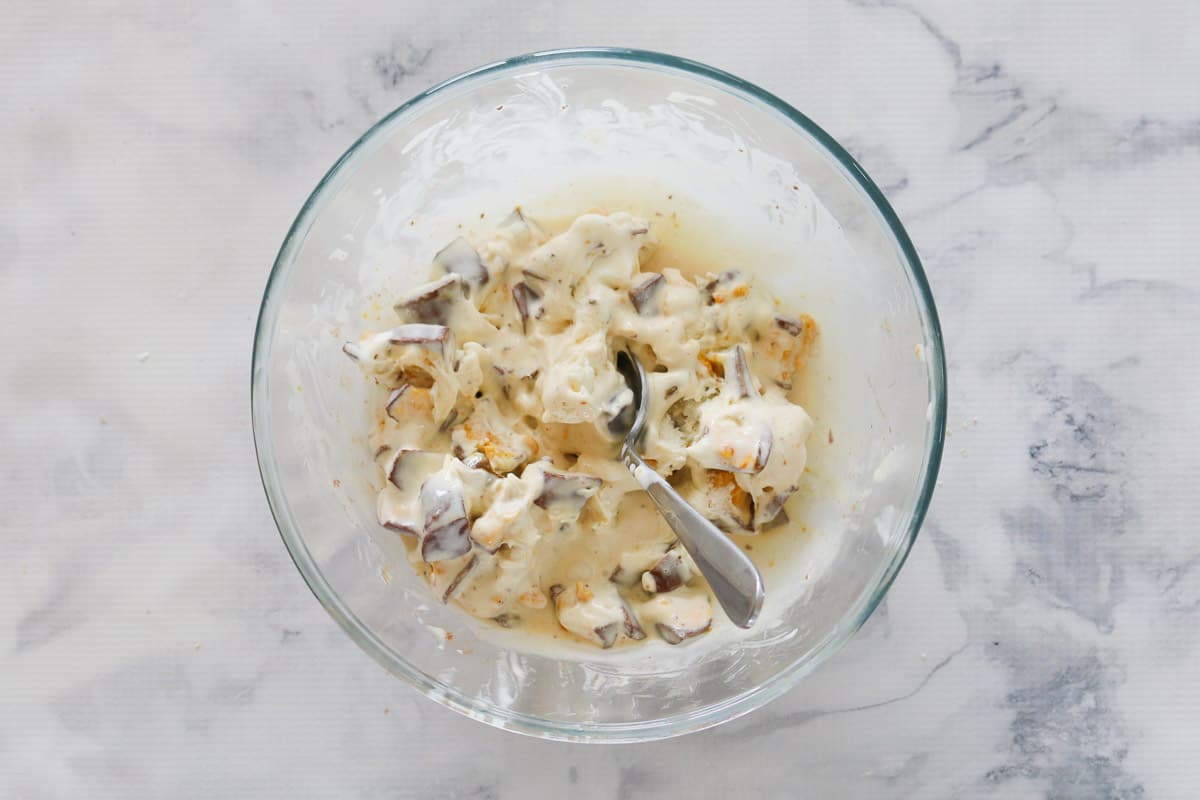
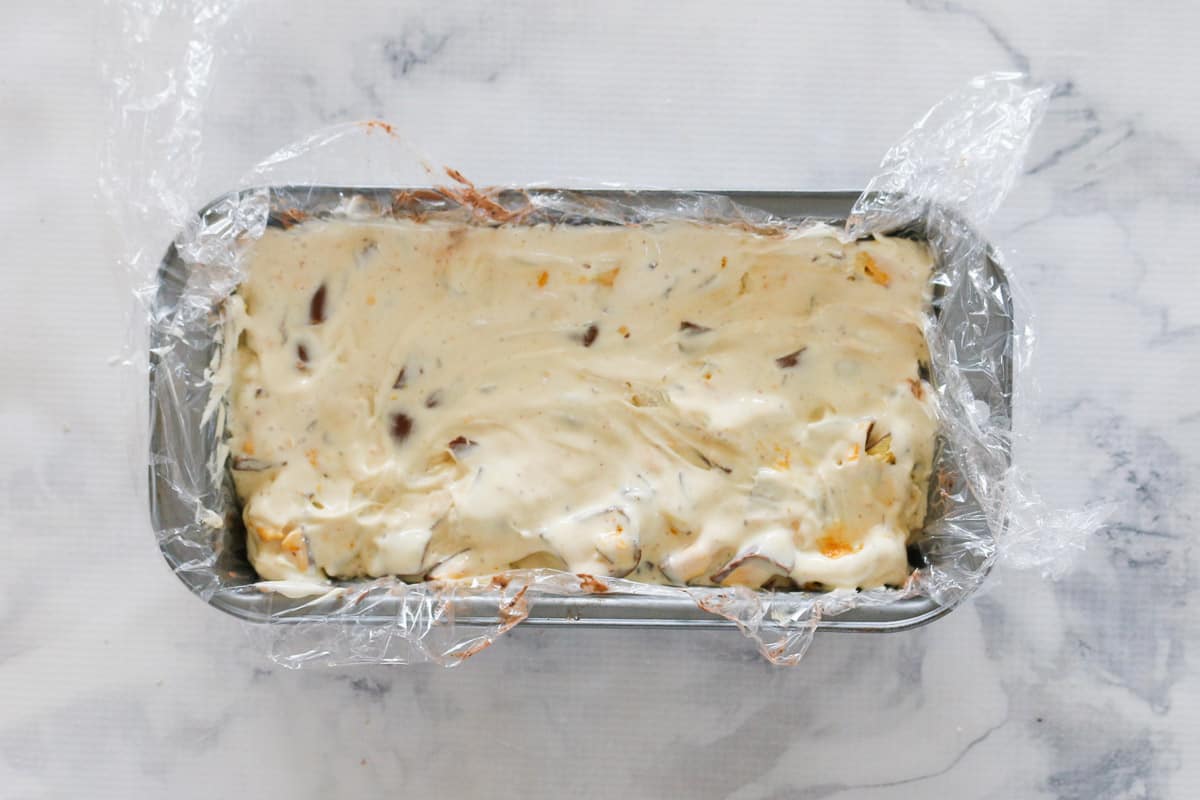
Spread on top of the chocolate layer and place back into the freezer to firm.
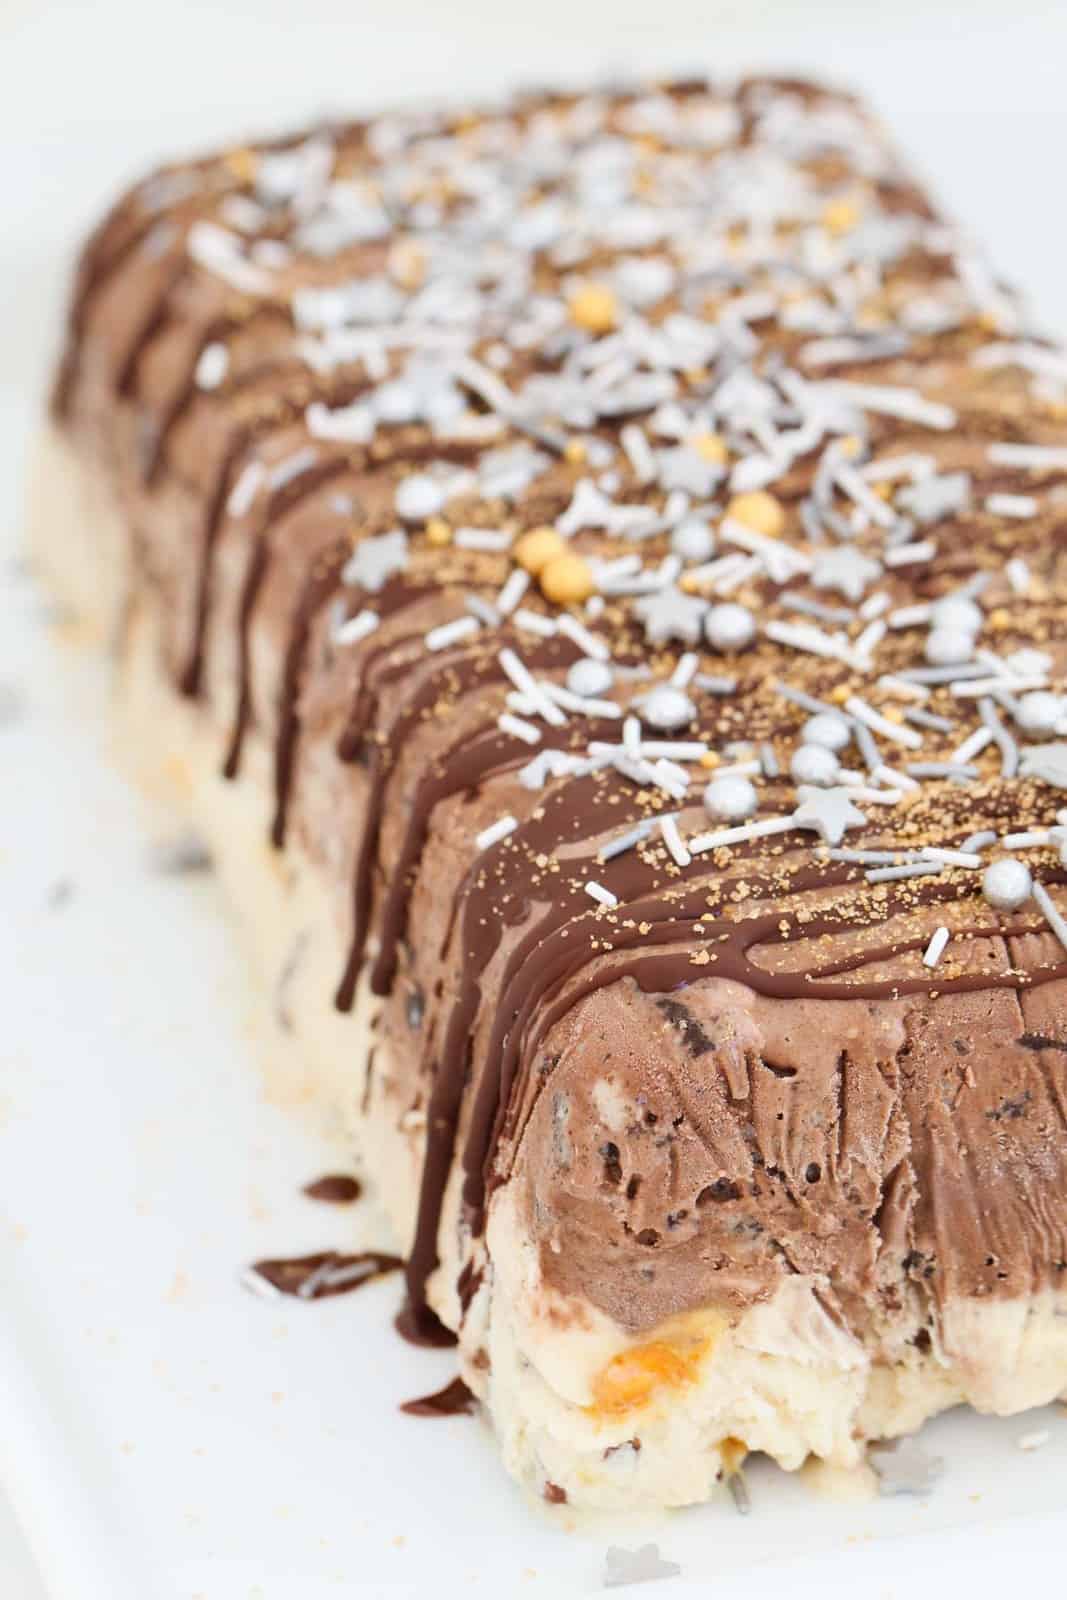
When ready to serve, turn the ice-cream cake out onto a flat board and decorate with Ice Magic.
How To Store This Ice Cream Cake
Making Ahead Of Time
This ice-cream cake can be made up to 2 weeks ahead of time. After adding the second layer, cover the entire top of the ice-cream cake (in the tin) with plastic wrap. Then cover with a tight layer of foil.
When ready to serve, turn the ice-cream cake out onto a serving plate or board and decorate with Ice Magic and whatever else you choose.
Freezing Leftovers
If you have any leftover ice-cream cake, simply place it into an airtight container and put back into the freezer.
This ice-cream cake is best consumed within 2 weeks.
Recipe Tips & FAQ
Yes! Absolutely! You can use any flavours you like. I sometimes also add a third layer and use the strawberry ice-cream too (like in this Triple Layer Ice-Cream Pudding recipe).
A minimum of 6 hours is recommended, however, overnight is best as this allows the Oreos to go deliciously soft and the honeycomb to become oozy and gooey! YUM!
Allow the ice-cream to soften (but not melt) before stirring through the Oreos and honeycomb. Softening the ice-cream makes it far easier to mix.
I recommend using a small rectangular loaf tin - approximately 12cm x 24cm. If you don't have a loaf tin, you can use a small round cake tin instead.
To allow the ice-cream cake to be easily removed, line the tin with overhanging sheets of plastic wrap (Glad Wrap). When you're ready to remove it, simply lift the sheets of plastic wrap up and the ice-cream cake will come out.
You can decorate the honeycomb & chocolate ice-cream cake with absolutely anything you like. I generally like to use sprinkles and Ice Magic but you could add shaved chocolate, fresh berries, chopped honeycomb... anything you like!
More Ice Cream Cake Recipes
There's just something SO delicious about an ice-cream cake, isn't there?
Plus they're perfect for a simple dessert, entertaining during the festive season, summer BBQs and more!
Here's a few more of my favourite ice-cream cake recipes:
- Christmas Ice-Cream Pudding - perfect for Christmas (or anytime of the year!)
- Mint Chocolate Ice-Cream Pudding - an absolute showstopper of a dessert
- Raspberry, Chocolate & Meringue Ice-Cream Cake - a light and summery dessert that everyone loves
WANT EVEN MORE DELICIOUS RECIPES? Subscribe to my newsletter or follow along on Facebook or Instagram. And if you love baking, then please come and join my Facebook cooking club group or subscribe to my YouTube channel.
Honeycomb & Chocolate Ice Cream Cake
Ingredients
- 2 litres neapolitan ice cream
- 150 g Oreos chopped
- 150 g chocolate honeycomb chopped
- Ice Magic and sprinkles to decorate
Instructions
- Line a 12cm x 24cm rectangular loaf tin with two sheets of plastic wrap, allowing the sides to overhang.
- Take the neapolitan ice-cream out of the freezer and leave it for about 5 minutes to soften slightly.
- Squeeze the sides of the container to loosen and then overturn onto a chopping board.
- Cut the ice-cream into 3 separate slices - chocolate, vanilla and strawberry. Place the strawberry back into the tub (you wont need it for this dessert) and place the vanilla and chocolate sections into separate containers and pop back into the freezer.
- Take the chocolate ice-cream out of the freezer and allow it to soften (but not melt).
- Add the chopped Oreos and stir to combine.
- Spoon into the bottom of the lined loaf tin, smooth the top and place into the freezer for 30 minutes or until firm.
- Take the vanilla ice-cream out of the freezer, mix in the chopped chocolate honeycomb and spread evenly over the top of the chocolate layer.
- Place it back into the freezer and cover the top with plastic wrap.
- Leave for a minimum of 6 hours (preferably overnight).
- When you're ready to serve the ice cream cake, take it out of the freezer, remove the plastic wrap and turn onto a plate (you might need to wipe off any little ice-cream smears!)
- Squeeze the Ice Magic in lines all over the cake, allowing it to drip down the sides (you won't need the entire bottle). Decorate with sprinkles (optional).
- Place back into the freezer for 20 minutes to firm up. Serve.

Jess says
Would definitely recommend the 4L Neapolitan for an average loaf tin. Started with the 2L and chocolate layer barely covered the bottom so if you want a taller cake go the 4L
Carly says
Absolutely delicious!
Lucy says
Thank you!
Karen Palmer says
Can't wait to try out
Lucy Mathieson says
Thank you!!
Grandy 2-6 says
Your recipes are AMAZING!!! but I've gotta ask...do you get a commission from the Tooth Fairy? 🙂
Lucy Mathieson says
Hahahahaha oh I wish!!