

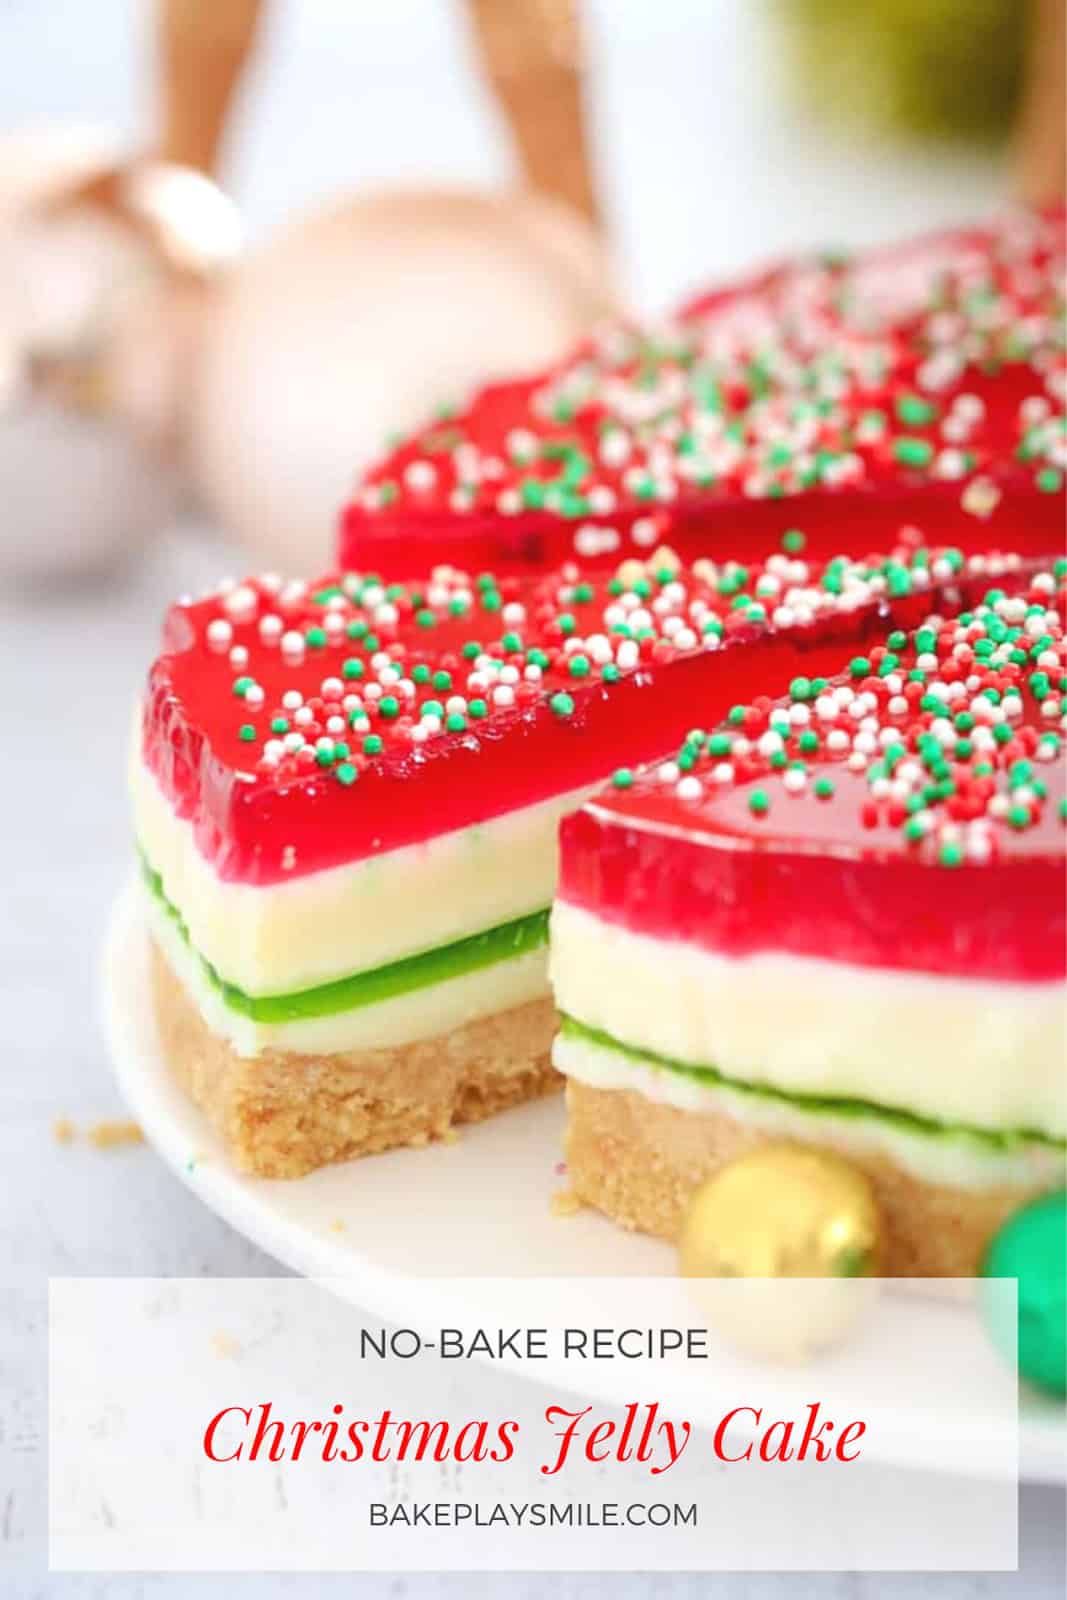
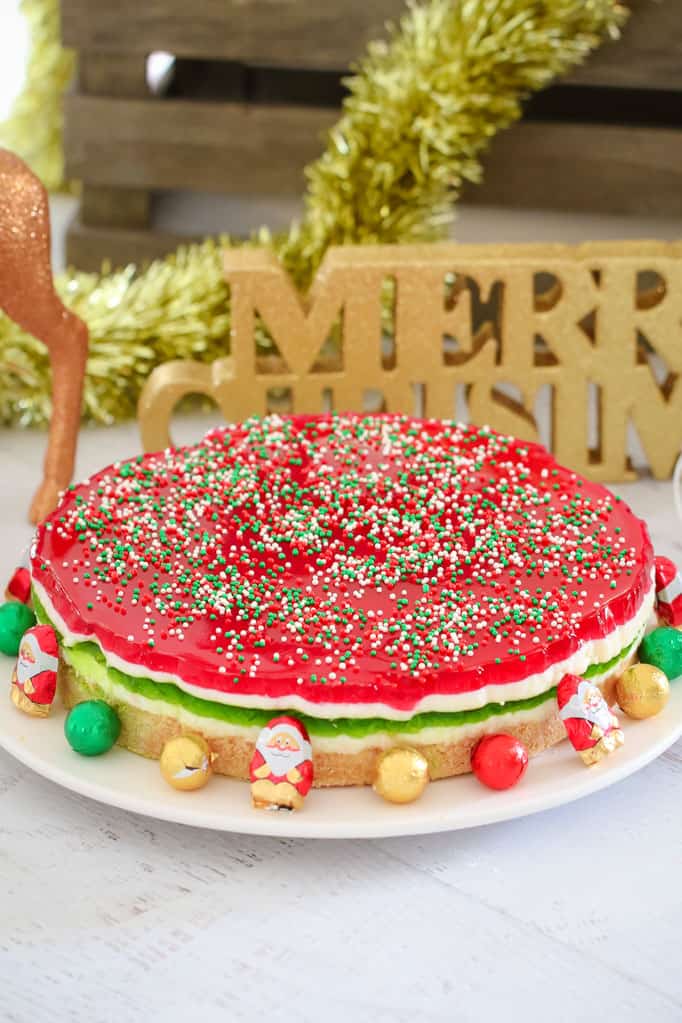
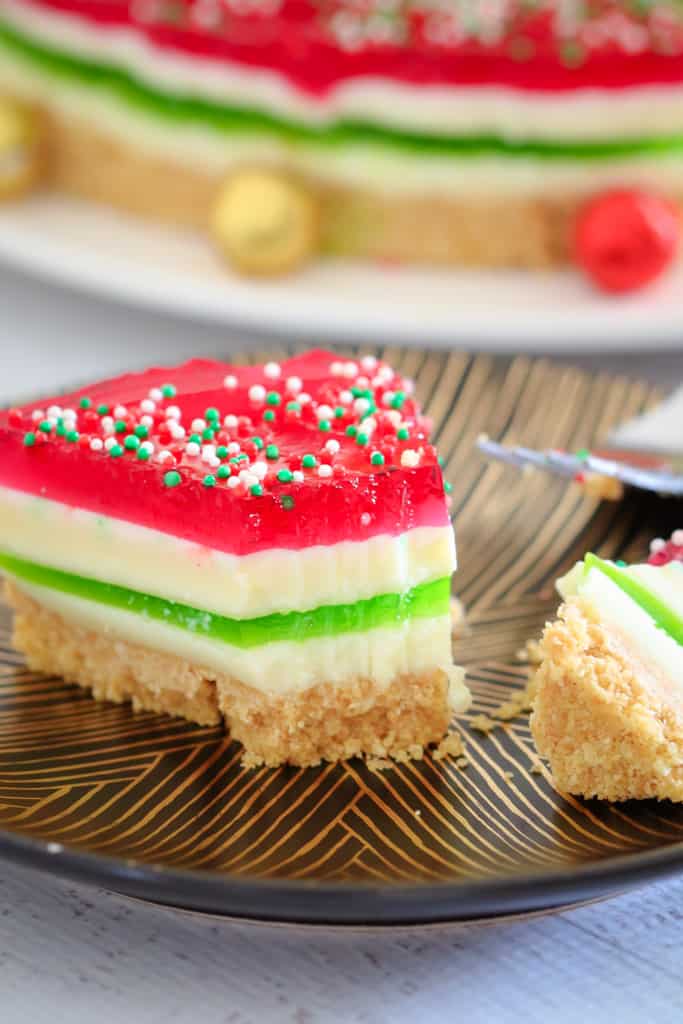
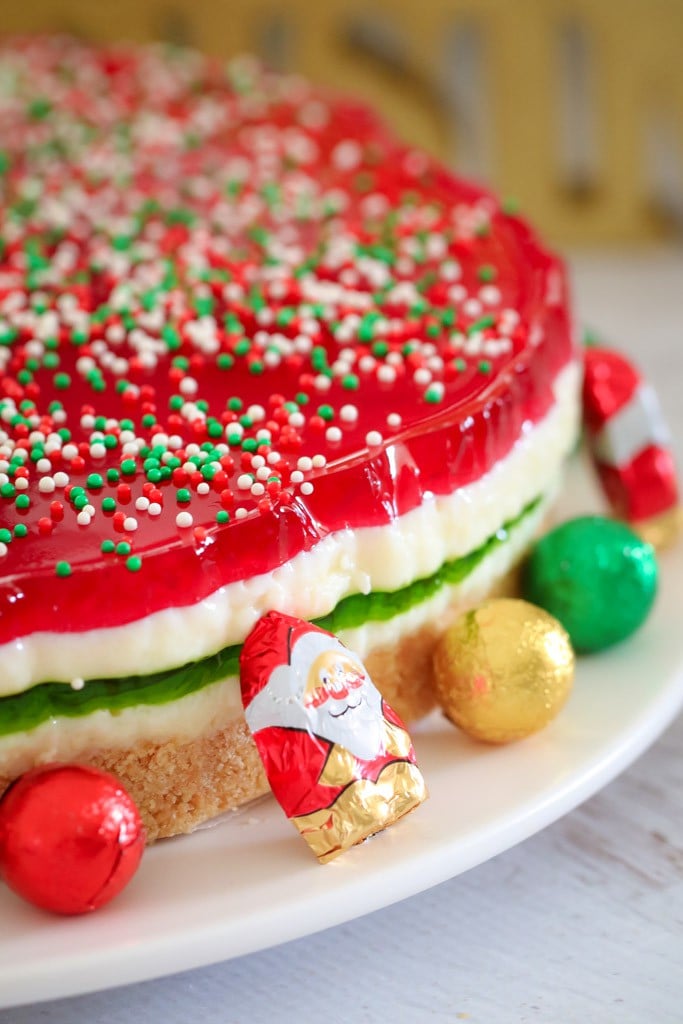
A delicious, fun and colourful Christmas Jelly Cake that makes the perfect no-bake dessert for the festive holidays.
Here in Australia, Christmas falls in the middle of summer... which means that it's usually hot, hot, HOT!!!
And as much as I love a traditional Christmas dessert, if the forecast for Christmas Day is a warm one, I'm all for chilled desserts that will cool you down... like ice-cream cakes, no-bake cheesecakes... and of course, this chilled no-bake jelly cake.
No-Bake Christmas Desserts
Forget about turning the oven on! There are SO many delicious Christmas desserts that require absolutely no baking at all.
And this Christmas Jelly Cake is exactly that - a simple, no fuss dessert that LOOKS AND TASTES AMAZING.
It's a fun variation on everyone's favourite classic jelly slice - but with a festive twist!
While this recipe involves no baking, it does need a bit of chilling time - so make sure you give yourself time for each layer to set (see below for details).
Make The Day Before
This Christmas Jelly Cake needs to be made the day before you need it as it requires quite a bit of chilling time for each layer.
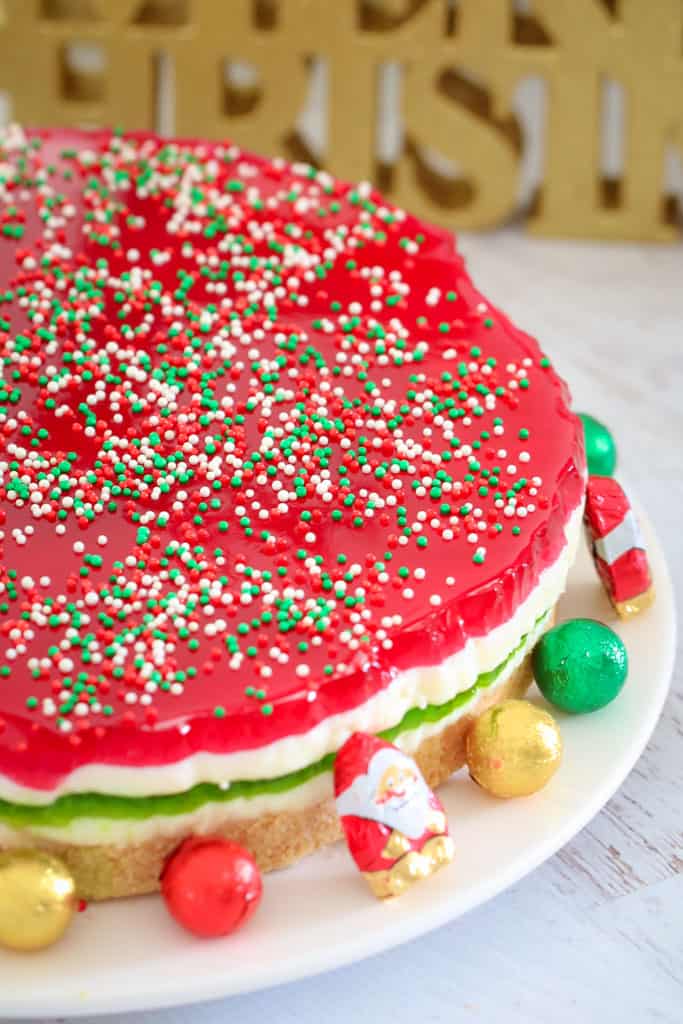
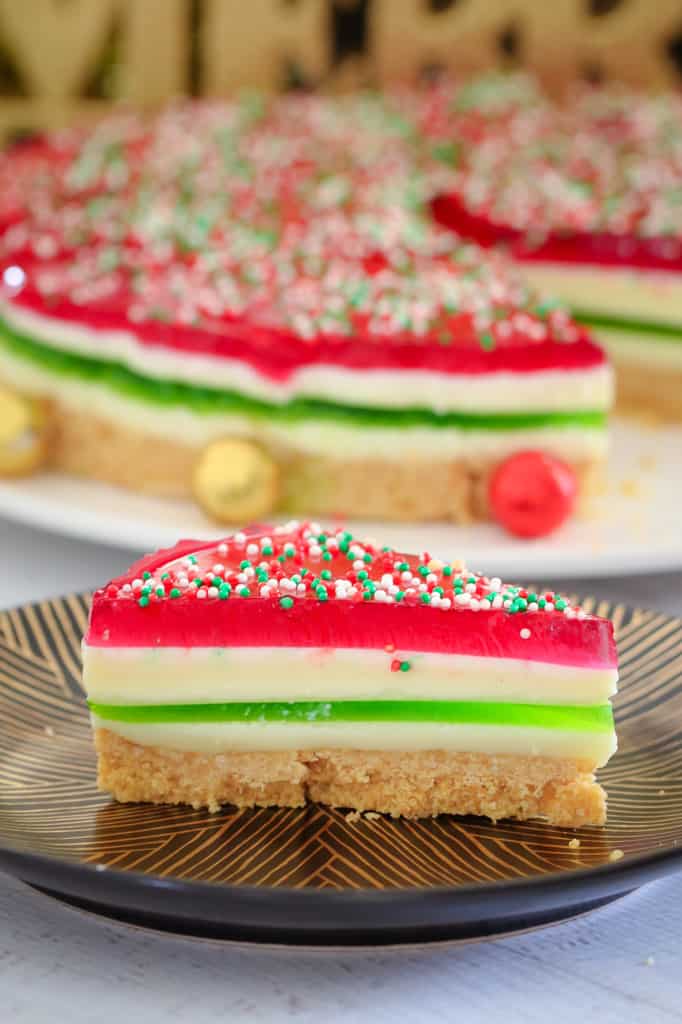
There are 5 layers to this dessert and each needs to set before adding the next layer.
I absolutely LOVE making this jelly cake the day before Christmas because I can make one layer, go off and wrap presents, make another layer, tidy the house, make another layer, finish prepping for the big day, make another layer... you get the idea!
It's certainly not a recipe that you need to stand in the kitchen waiting for - just pop in every couple of hours and pour the next layer over the top and place back into the fridge to chill. EASY!!
Ingredients Information
This simple no-bake Christmas dessert needs just a few basic ingredients (and is so budget-friendly):
Note: please scroll to the recipe card at the bottom for ingredient quantities and the full detailed method
- crushed biscuits - you can use absolutely any brand of plain sweet biscuit (known as cookies in the US). I like to use Arnott's Marie or Scotch Finger biscuits.
- butter - either salted or unsalted butter is fine to use.
- sweetened condensed milk - use full fat sweetened condensed milk as it sets firmer than skim condensed milk
- gelatine powder - to set the condensed milk layer
- lemon juice - fresh or store-bought lemon juice can be used
- red and green packets of jelly crystals - such as Aeroplane jelly or a similar brand
Making The Jelly Cake Layers
While this 5 layer Christmas Jelly Cake may look complicated, it couldn't be easier. The hardest part is waiting for each layer to set!
The Biscuit Base
This is the first layer and requires no setting time (yay!) The crushed biscuits crumbs and melted butter are mixed together and then pressed into a round springform tin.
It's important to use a springform tin to allow for easy removal of the jelly cake.
Note: ensure you smooth down the biscuit layer evenly with the back of a spoon. This helps the top layers to be evenly distributed.
The Condensed Milk Layers
The sweetened condensed milk layers go on top of the biscuit base and between the two different coloured jelly layers.
The sweetened condensed milk is mixed with dissolved gelatine powder and lemon juice.
The Jelly Layers
Prepare the two jelly packets (red and green) according to the instructions on the packet.
Set aside on the bench (at room temperature) while you prepare the other layers.
Recipe Notes & Tips
A round springform tin is needed for this recipe. This allows for easy removal of the jelly cake once set. Grease and line it with baking paper before using.
No, this recipe needs to be made at least the day before as each layer requires chilling time before the next layer can be added.
This can be stored in the fridge and consumed within 3 days. This is not freezer friendly.
You'll need a food processor, a Thermomix or a rolling pin to crush the biscuits. And of course, a fridge!
More Christmas Recipes
If you're still after some festive dessert inspiration, then please have a browse through my collection of the most popular Christmas desserts... with everything from a traditional Christmas fruit cake to kids recipes, cheesecake recipes, ice-cream cakes and more!

WANT EVEN MORE DELICIOUS RECIPES? Subscribe to my newsletter or follow along on Facebook or Instagram. And if you love baking, then please come and join my Facebook cooking club group or subscribe to my YouTube channel.
Christmas Jelly Cake
Ingredients
Layer 1 (Base)
- 250 g plain sweet biscuits (like Arnotts Marie)
- 180 g butter, melted
Layer 2
- 2 teaspoon gelatine powder (dissolved in ¼ cup water)
- 400 g sweetened condensed milk
- 1 tbs lemon juice
Layer 3
- 85 g packet green jelly crystals
Layer 4
- 2 teaspoon gelatine powder (dissolved in ¼ cup of water)
- 400 g sweetened condensed milk
- 1 tbs lemon juice
Layer 5
- 85 g packet red jelly crystals
Instructions
Conventional Method
- Grease and line a 23cm round springform tin with baking paper and set aside.
- Make the green jelly according to the packet instructions and set aside on the bench to cool - do not place it in the fridge as you don't want it to set just yet.
- Crush the biscuits in a food processor and place into a separate bowl. Add the melted butter and mix until well combined.
- Firmly press the mixture into the bottom of the prepared tin and then place it into the fridge.
- Dissolve gelatine powder (see notes).
- Place the condensed milk and lemon juice into a separate bowl. Add the dissolved gelatine mixture and mix until completely combined.
- Pour the mixture over the prepared base and place into the fridge until set.
- Gently pour the cooled green jelly over the top of the slice and place into the fridge until set.
- Make the red jelly according to the packet instructions and set aside on the bench to cool - do not place it in the fridge as you don't want it to set just yet.
- Dissolve gelatine powder in the cold water (see notes).
- Place the condensed milk and lemon juice into a separate bowl. Add the dissolved gelatine mixture and mix until completely combined.
- Carefully pour the mixture over the set green jelly and place back into the fridge until set.
- Gently pour the cooled red jelly over the top of the slice and place into the fridge until set.
Thermomix Method
- Grease and line a 23cm round springform tin with baking paper and set aside.
- Make the green jelly according to the packet instructions and set aside on the bench to cool - do not place it in the fridge as you don't want it to set just yet.
- Place the butter into the Thermomix bowl and melt for 2 minutes, 80 degrees, Speed 2. Add the biscuits and press Turbo until crushed and combined (you may need to scrape down the sides of the bowl partway through).
- Firmly press the mixture into the bottom of the prepared tin and then place it into the fridge.
- Dissolve gelatine powder (see notes section).
- Place the condensed milk and lemon juice into a clean Thermomix bowl. Add the dissolved gelatine mixture and mix for 15 seconds, Speed 4.
- Pour the mixture over the prepared base and place into the fridge until set.
- Gently pour the cooled green jelly over the top of the slice and place into the fridge until set.
- Make the red jelly according to the packet instructions and set aside on the bench to cool - do not place it in the fridge as you don't want it to set just yet.
- Dissolve gelatine powder in the cold water (see notes section). Place the condensed milk and lemon juice into a clean Thermomix bowl. Add the dissolved gelatine mixture and mix for 15 seconds, Speed 4.
- Carefully pour the mixture over the set green jelly and place back into the fridge until set.
- Gently pour the cooled red jelly over the top of the slice and place into the fridge until set.


Bree says
I reviewed this recipe 6 years ago and it’s still a favourite. So yummy and so easy! I just love it.
Lucy says
Thank you so much!
Heather says
In the ingredients you say to use 1/4 cup water to dissolve gelatine but in the notes you say 1/3 cup of water
Lucy says
Either is fine!
Alisa says
Hi,
Can i use a square tin for this or must be round?
Thanks
Lucy says
Hi Alisa, it really needs to be a round springform tin (which has a removable base) so that you can get it out after it's set!
ChristineAnne says
Thanks for the inspiration for this dessert
I had to alter it slightly for a lactose intolerant person so I used coconut cream and used tropical flavoured jellies. It was a massive hit and I’ve people asking for the recipe.
Lucy says
Fantastic!
Michelle Frost says
I love the idea of the coconut cream . . I think that would make it super tasty!