

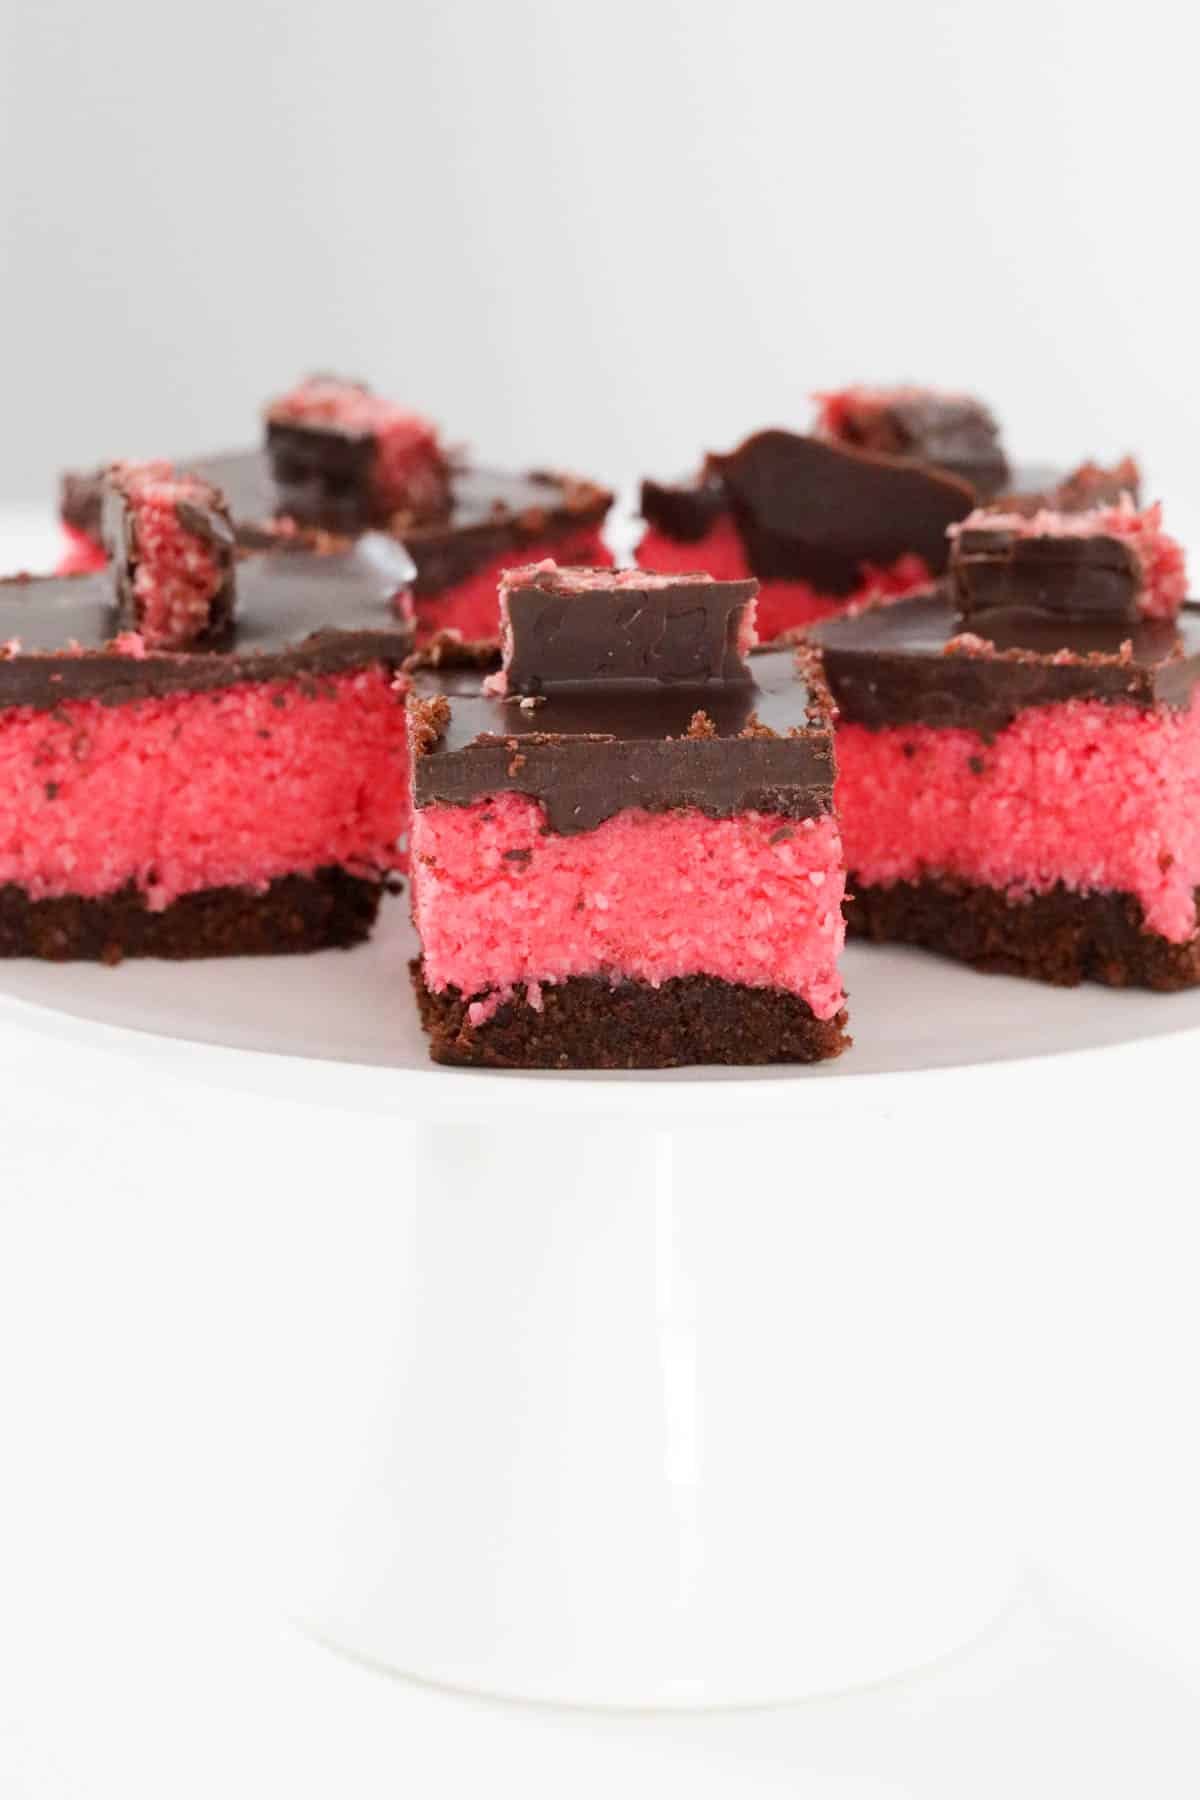
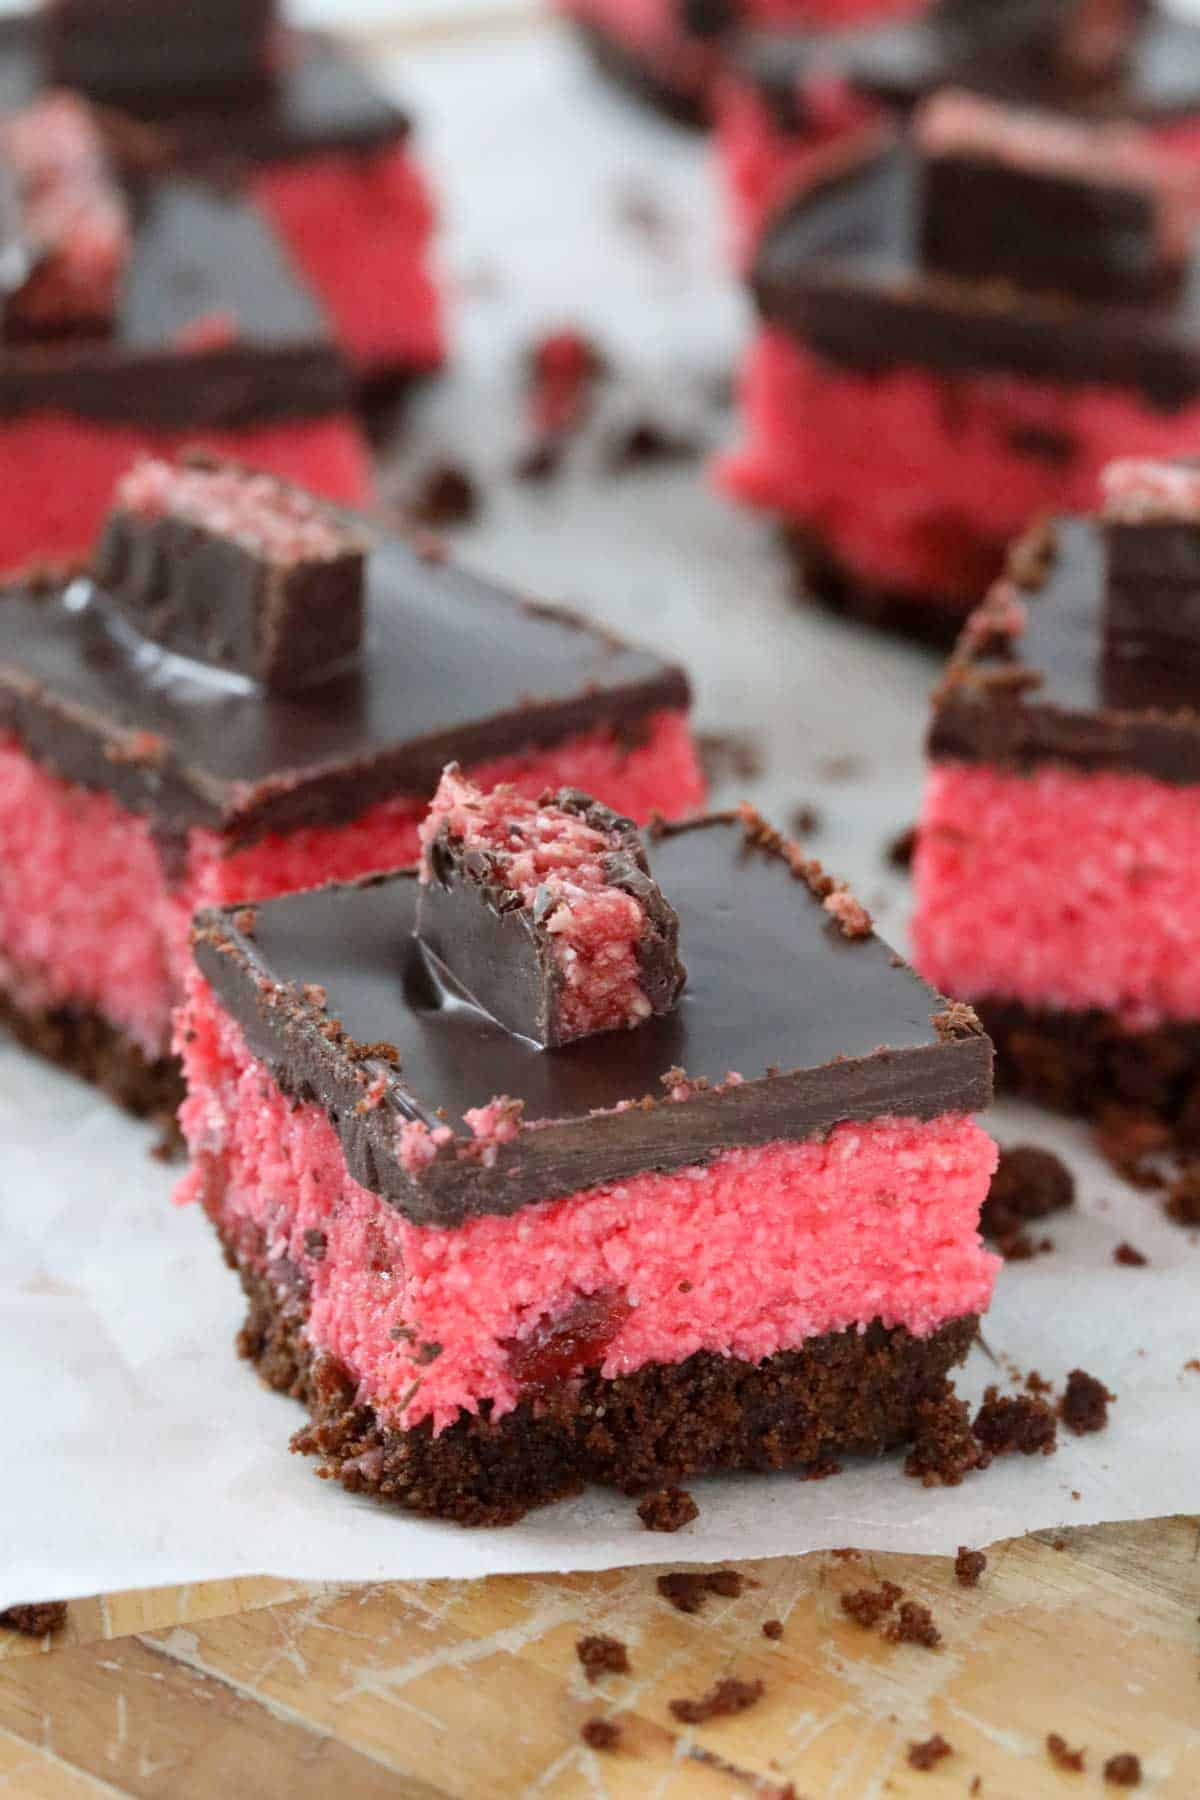
If Cherry Ripe is your weakness and you've ever wished it came in slice form, welcome. This Cherry Ripe Slice is creamy, chocolatey, packed with coconut and cherries and completely no-bake - which means it's quick, low-effort and 100% family-approved. Lunchbox-friendly, party-ready and dangerously easy to make.
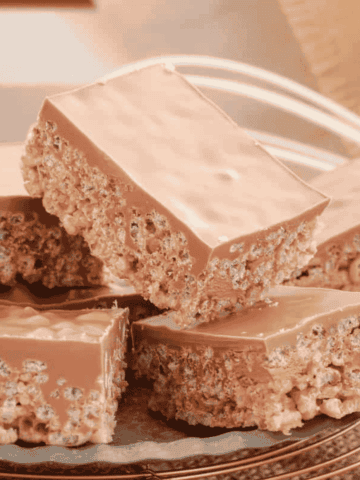
It's perfect alongside other no-bake sweet treats, such as my Chocolate Hedgehog Slice and Mars Bar Slice for afternoon tea or bake sales.
A Quick Look At The Recipe
- ✅ Recipe Name: Cherry Ripe Slice | No Bake!
- 🕒 Ready In: 2 hours and 15 minutes
- 👪 Serves: 20
- 🍽 Calories: 352 per serving
- 🥣 Main Ingredients: Arnotts chocolate ripple biscuits, coconut, chocolate, Cherry Ripe bar, glace cherries.
- 📖 Dietary Info: Vegetarian, egg-free, no-bake, can be made gluten-free, and can be made vegan and dairy-free with substitutions.
- ⭐ Why You'll Love It: It's a quick, no-bake slice with iconic Cherry Ripe flavour that's easy to make, freezer-friendly and guaranteed to disappear fast.
SUMMARIZE & SAVE THIS CONTENT ON
I made these for my work colleagues, and they were a HUGE hit! It worked perfectl,y and I will be making it again.
- Nyssa
This Cherry Ripe Slice is inspired by the classic Aussie chocolate bar - only better, because it's sliceable and made for sharing. It's big on flavour, full of great texture and has that wow-factor finish, all without turning the oven on or dealing with anything complicated.
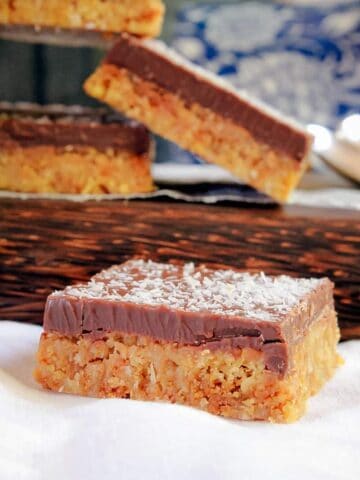
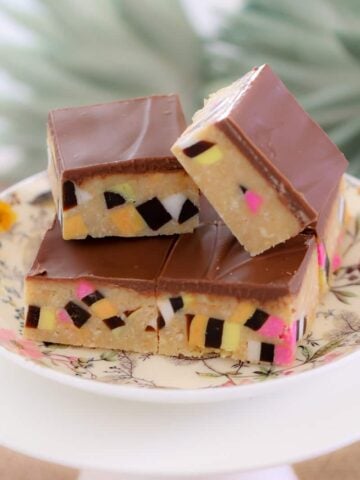
It's the kind of slice that looks right at home on a party platter next to my No-Bake Lemon Coconut Slice and Licorice Allsort Slice, but is just as perfect for a sneaky late-night treat straight from the fridge once the kids are in bed.
Why You're Going To Love This Recipe
- Totally no-bake - no oven needed, just mix, press and chill (perfect for little helpers).
- All the iconic Aussie chocolate-cherry-coconut flavour in every bite.
- Perfect for everything from school lunches and afternoon tea to fundraisers and easy desserts.
- Make it ahead and freeze - ideal for when a sweet craving hits.
- A seriously good texture combo with a crunchy base, chewy centre and glossy chocolate top.
- Kids love getting involved with the measuring, pressing and decorating.
- Includes both conventional and Thermomix methods, so you can make it your way.
Jump to:
Slice Ingredients
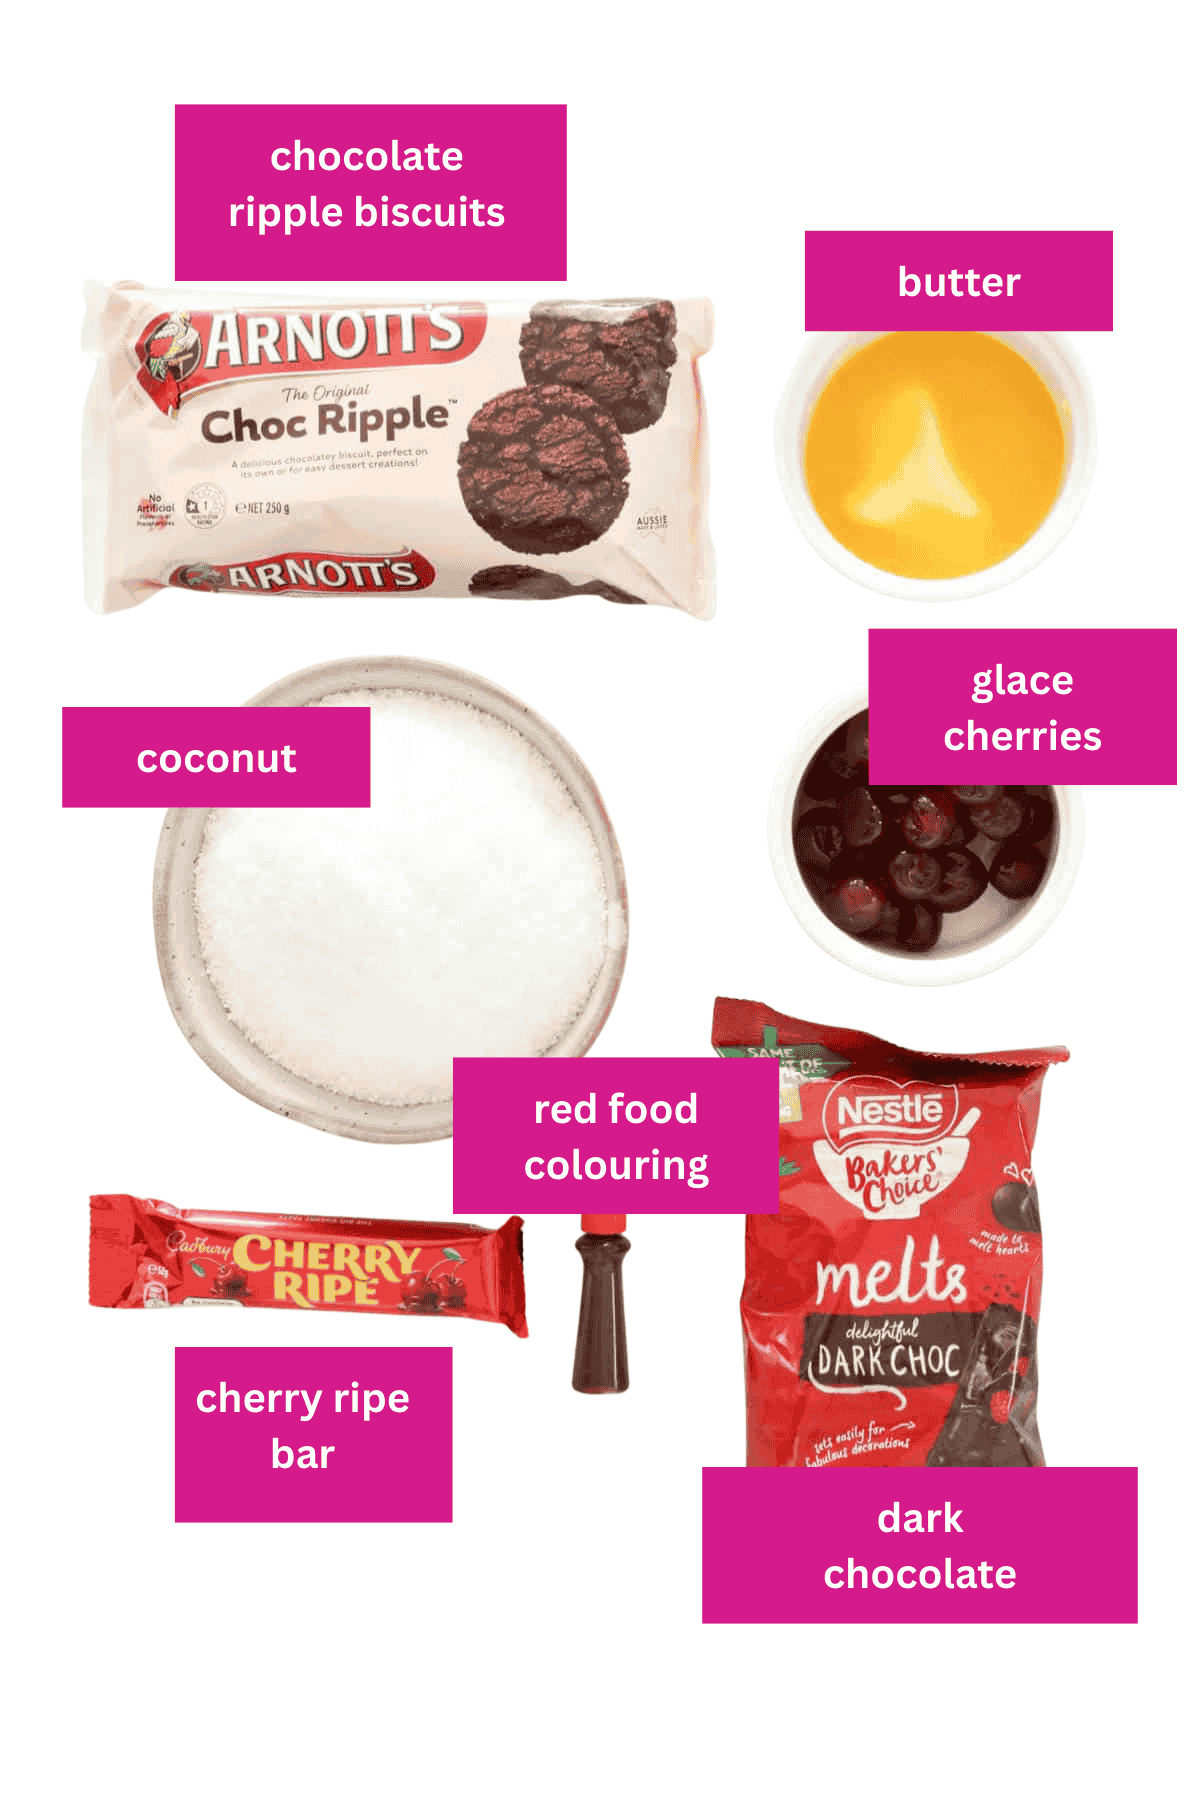
This Cherry Ripe Slice is made using simple pantry staples - no fancy ingredients required.
Note: Scroll to the recipe card at the bottom for the ingredients quantities and full detailed method.
- Chocolate ripple biscuits - these are popular in Australia, but you can use any other plain chocolate biscuits.
- Sweetened condensed milk - full-fat is essential for structure and sweetness; light versions won't set as well.
- Glacé cherries - these candied cherries give bright colour and burst of flavour; fresh cherries aren't recommended here as their moisture can make the slice soggy.
- Pink or red food colouring - this is optional, but gives the cherry coconut slice its vibrant colour.
- Cherry Ripe Bars - for decoration.
Variations
Get creative with these flavour twists:
- Tart Cherry Boost - Swap half of the glacé cherries for freeze-dried tart cherries for a little extra zing.
- Nutty Cherry Ripe - Add toasted flaked almonds or chopped macadamias to the base for extra crunch.
- Gluten-Free Option - Use gluten-free plain biscuits or GF digestive crumbs instead.
- Vegan Version - Use coconut condensed milk, vegan dark chocolate and vegan biscuits, and allow extra chilling time to help it set.
How To Make Cherry Ripe Slice
It takes just 15 minutes to prepare this no-bake cherry ripe slice!
Note: Scroll to the recipe card at the bottom for the ingredients quantities and full detailed method.
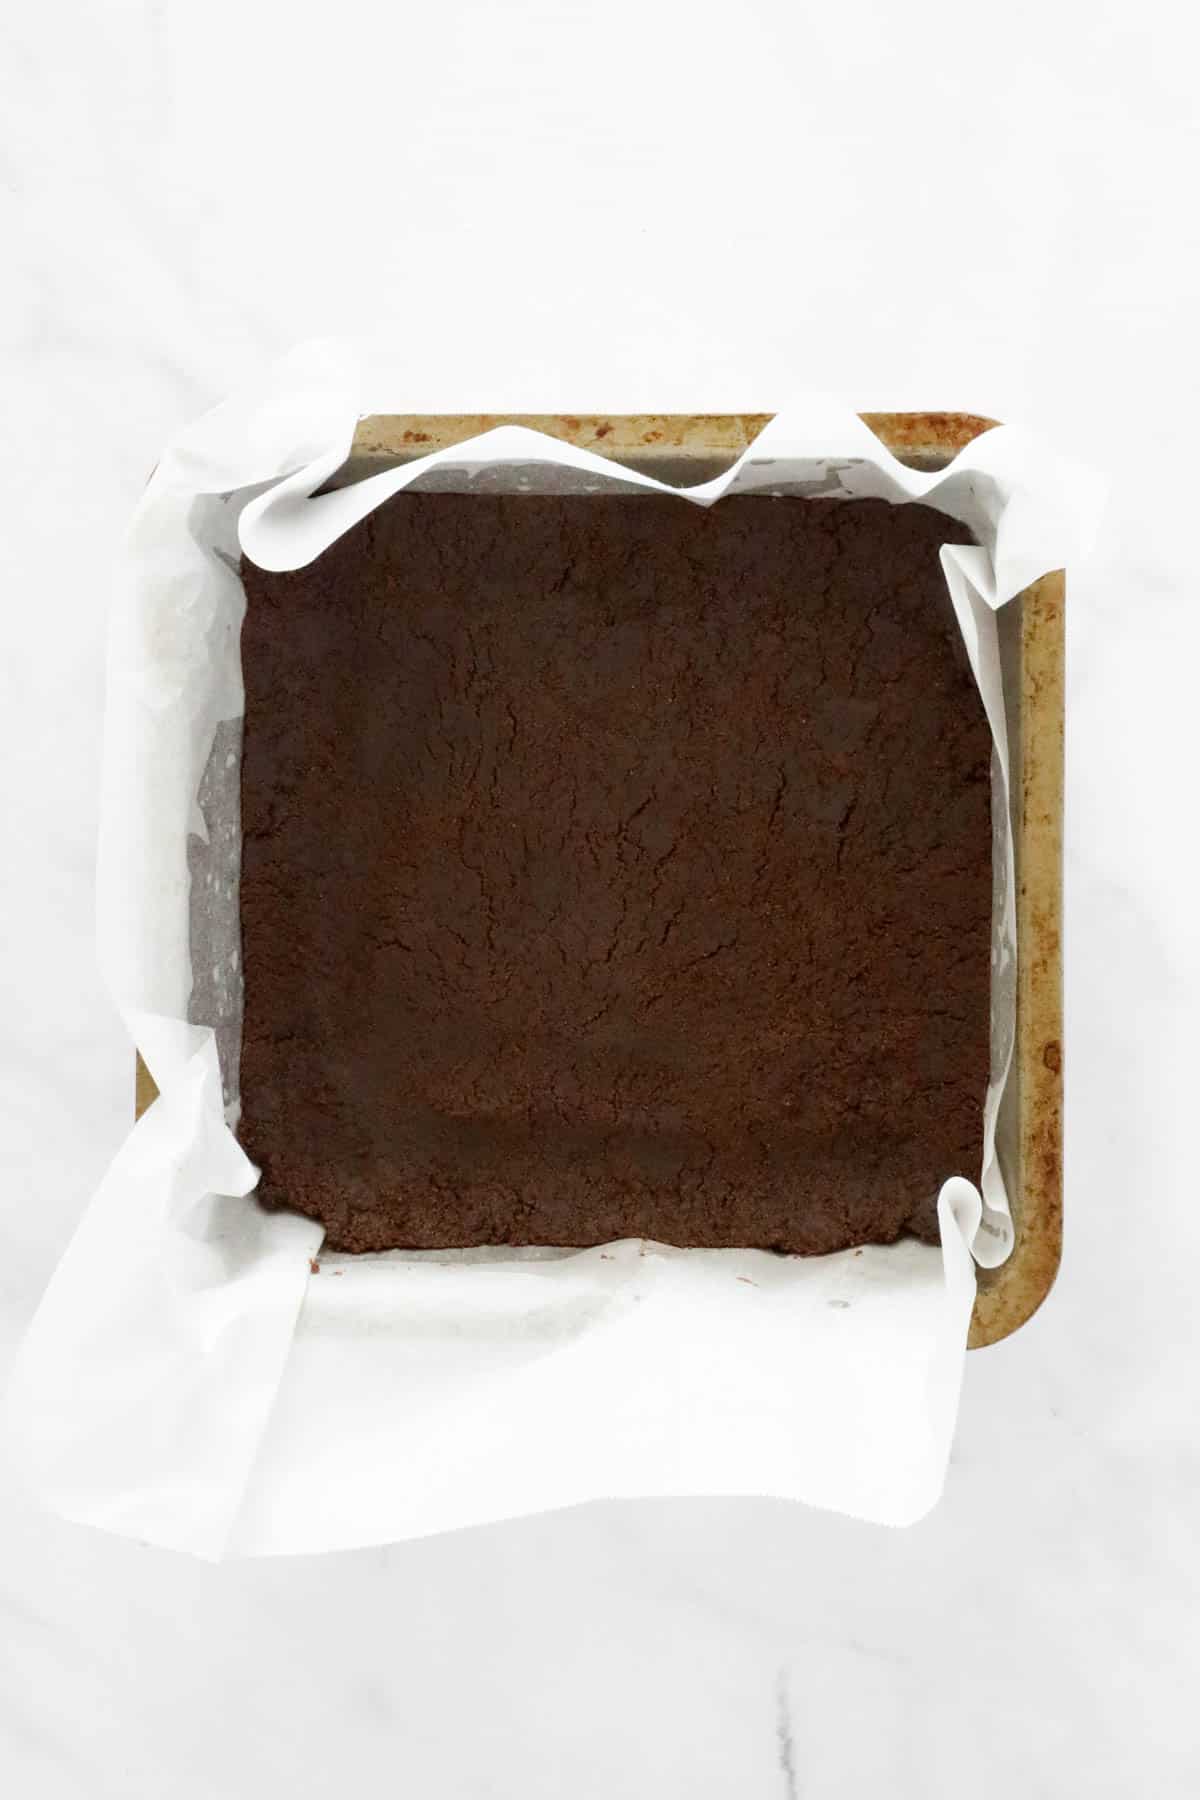
- Make the base - crush chocolate biscuits to fine crumbs, mix with melted butter until glossy and press firmly with the back of a spoon into your greased and lined pan.
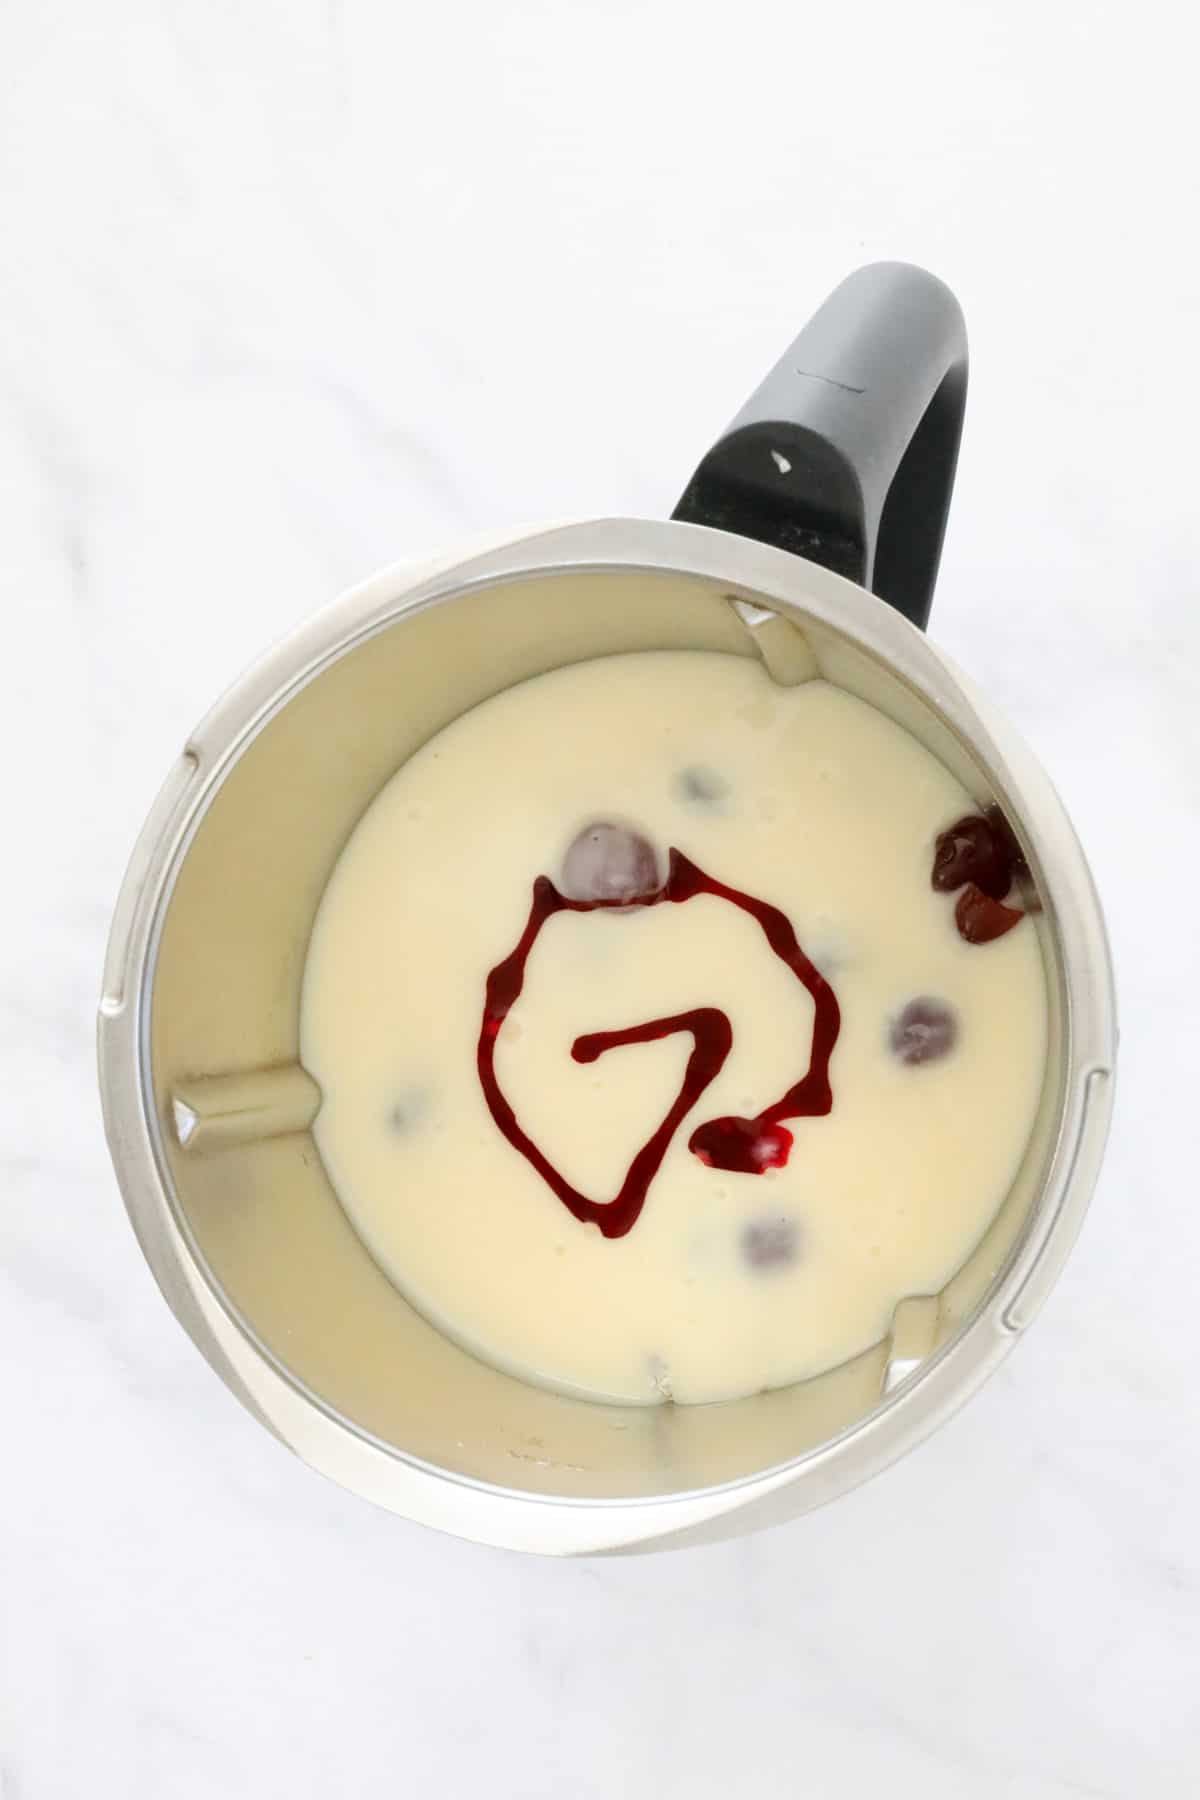
- Cherry coconut filling - in a bowl or food processor, place the desiccated coconut, sweetened condensed milk, glace cherries and food colouring (optional).
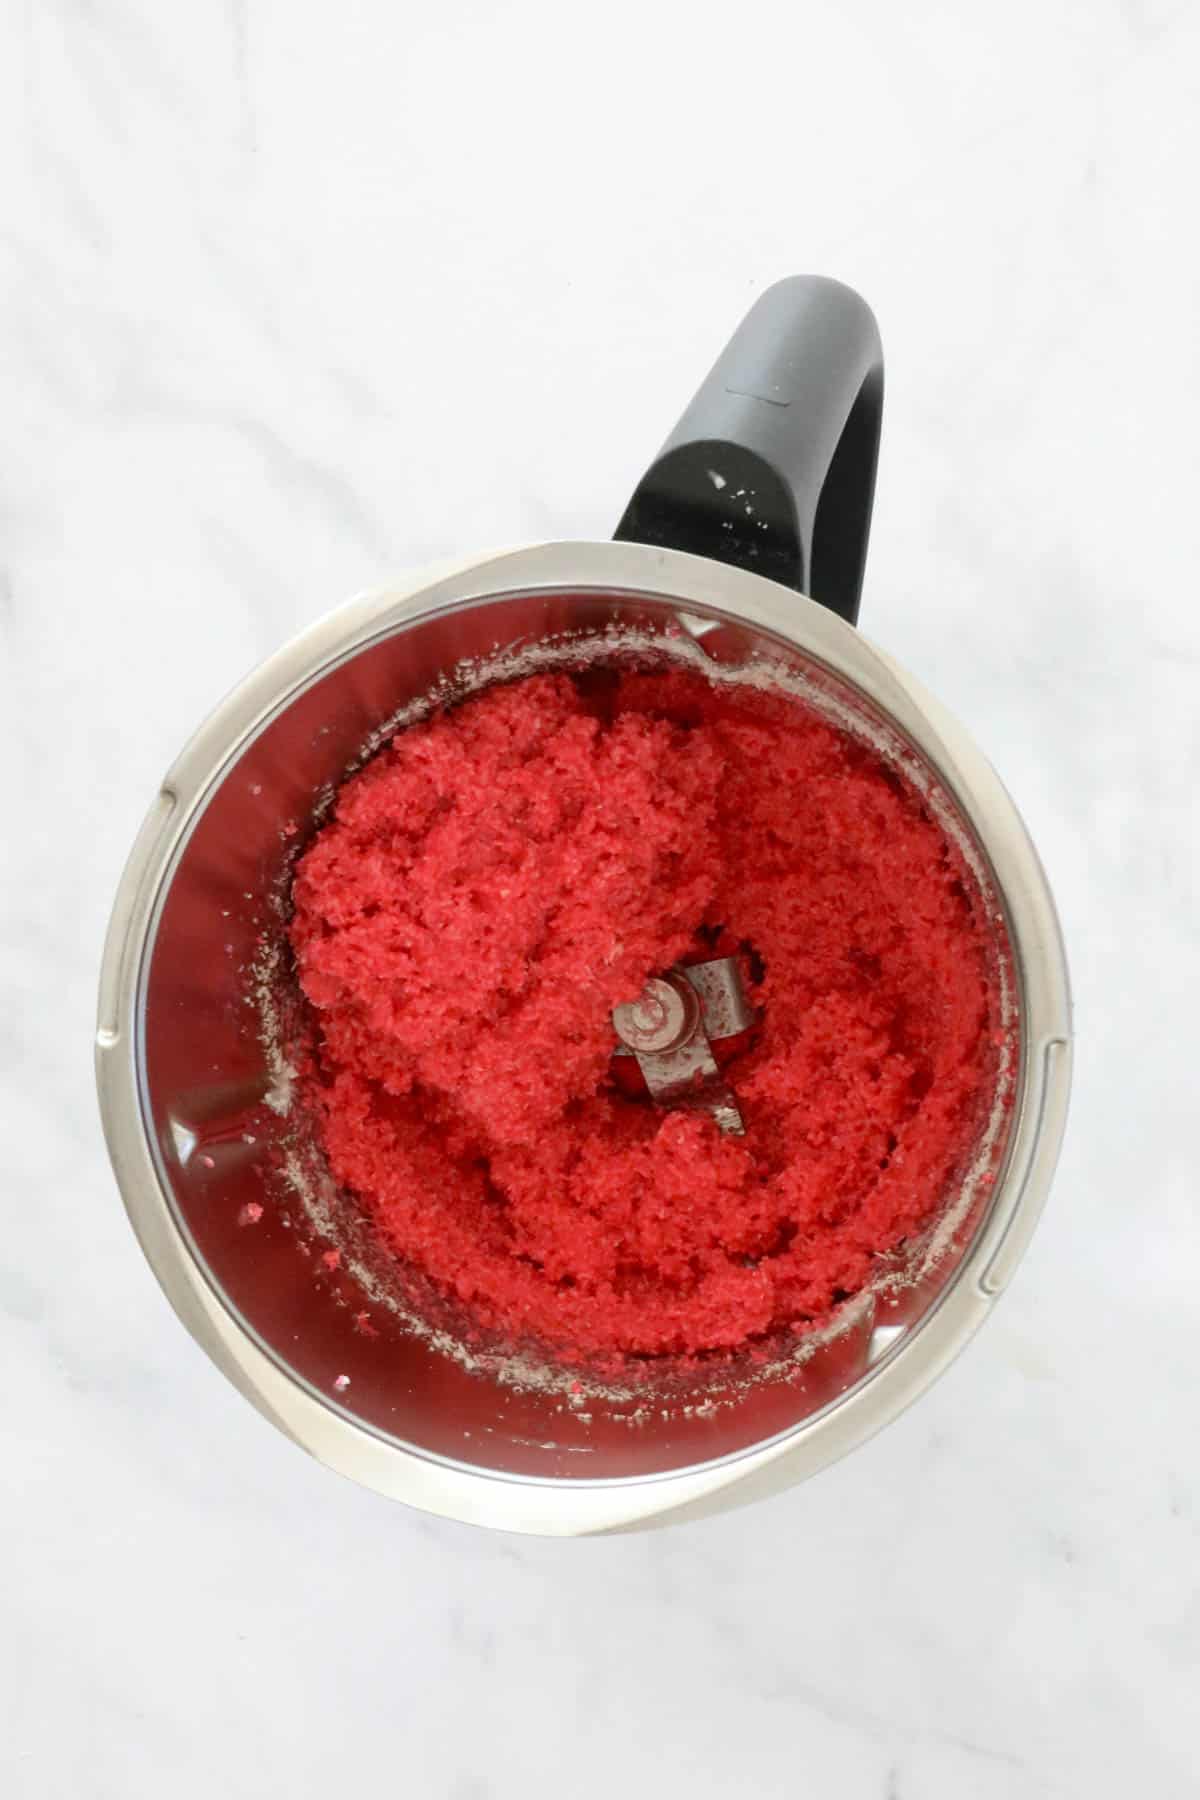
- Mix ingredients - until well combined.
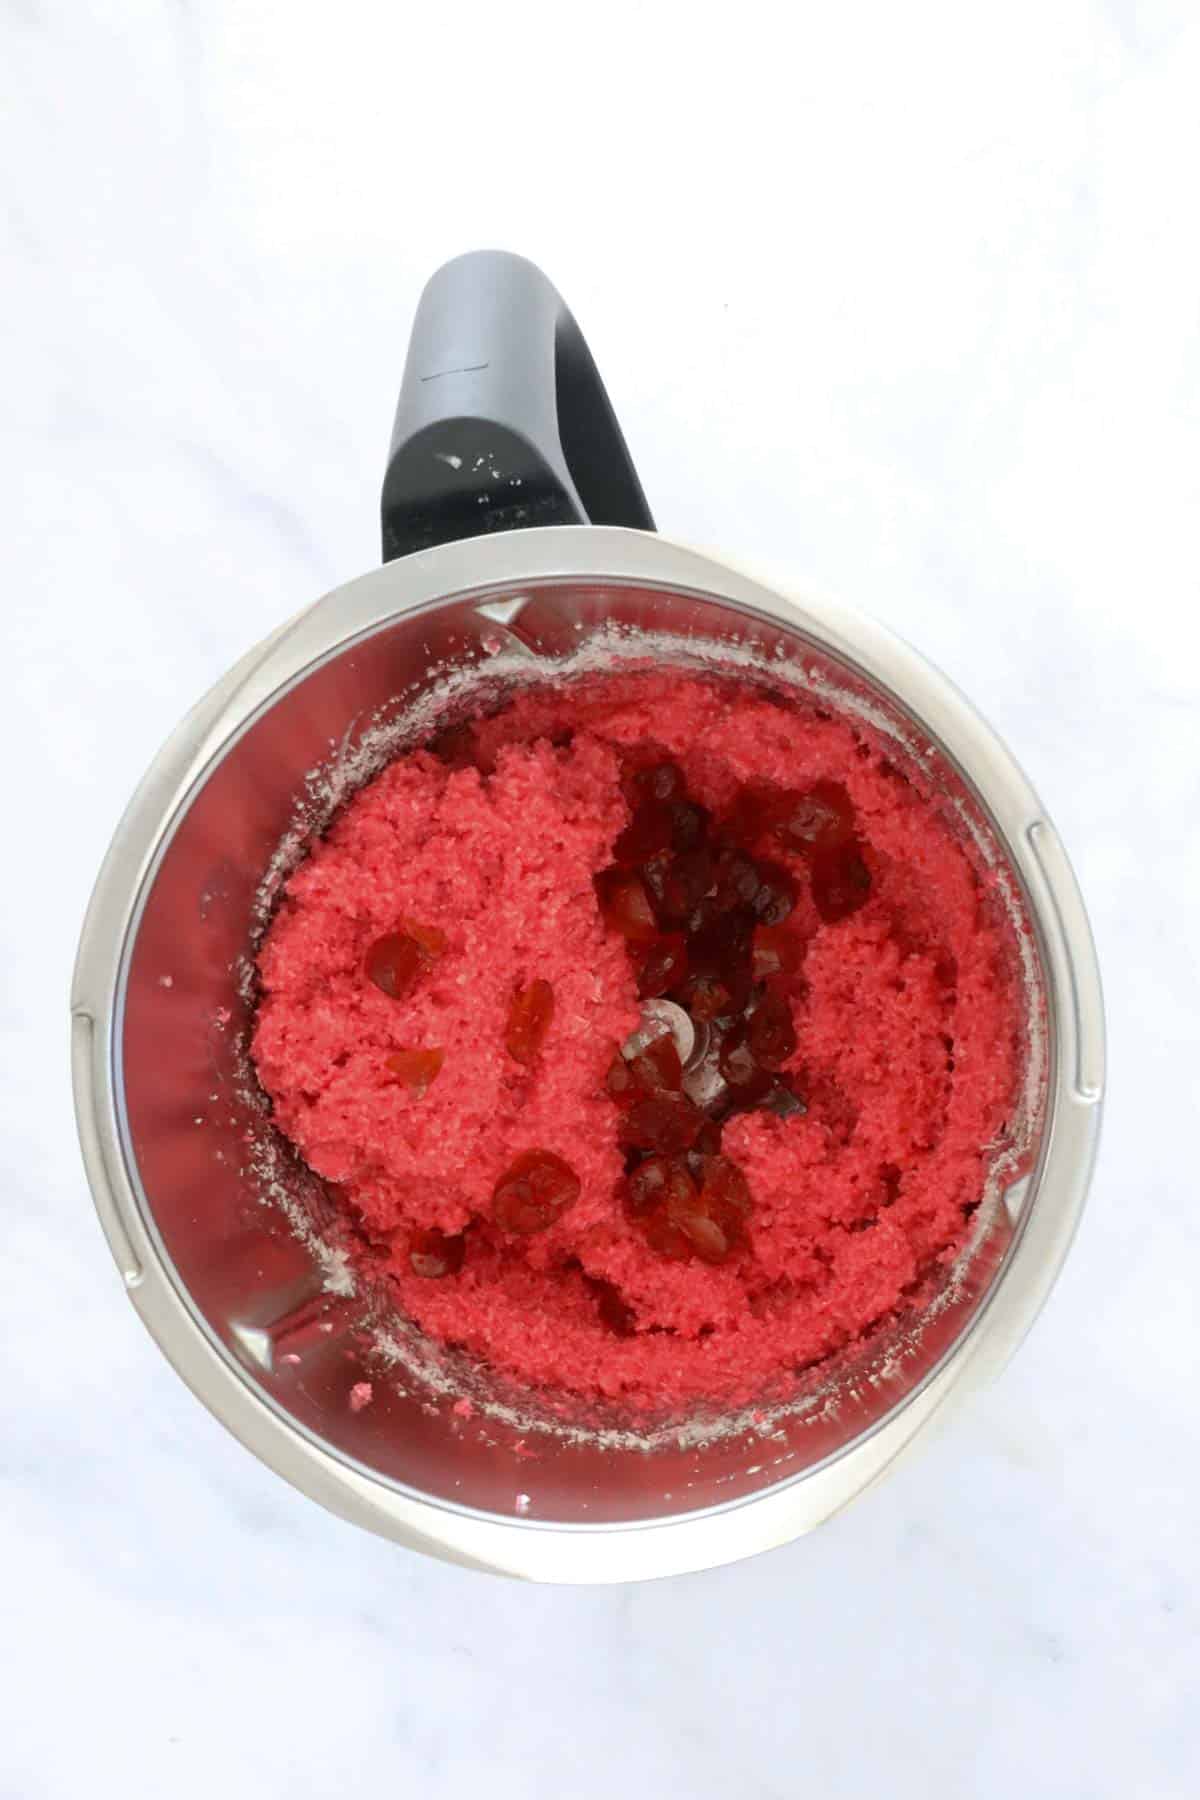
- Gently stir through - extra chopped glace cherries.
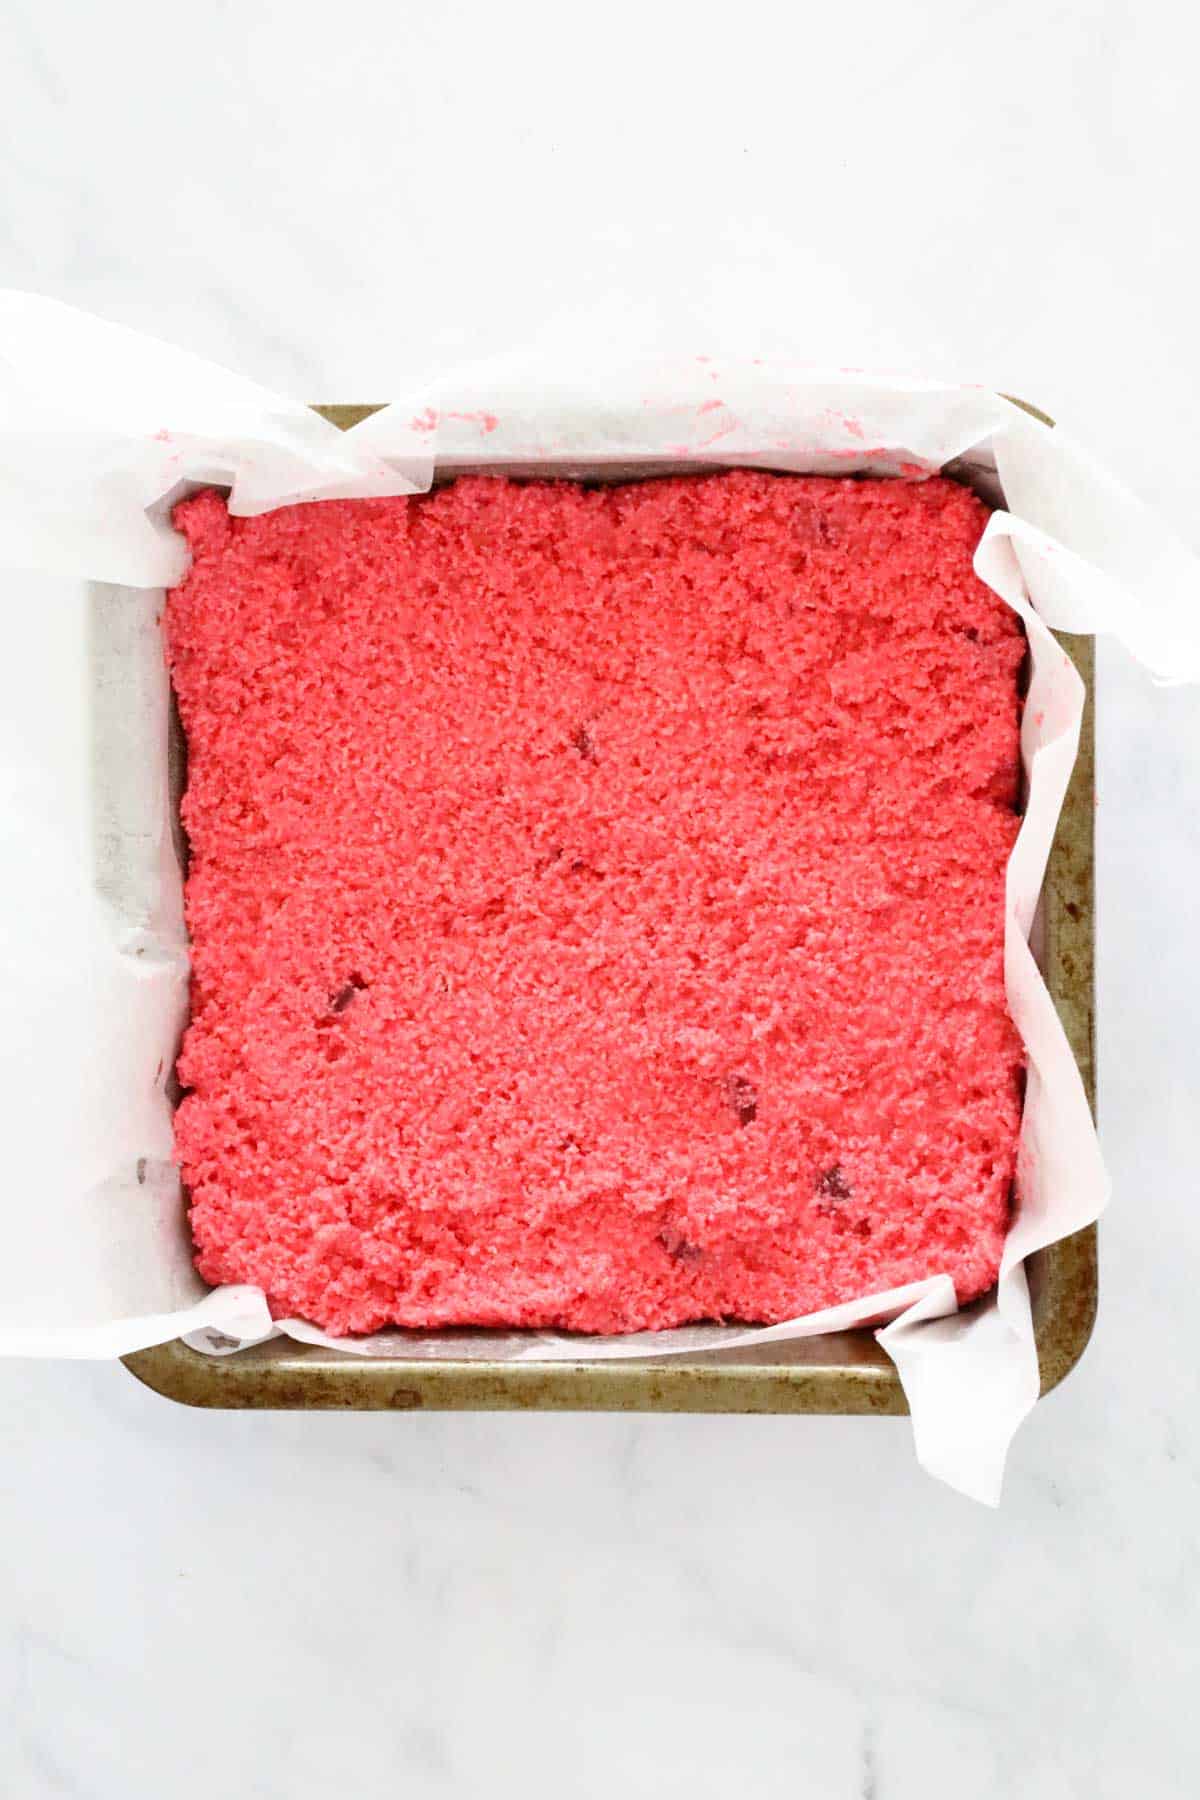
- Layer it up - press the cherry coconut mixture over the biscuit base evenly.
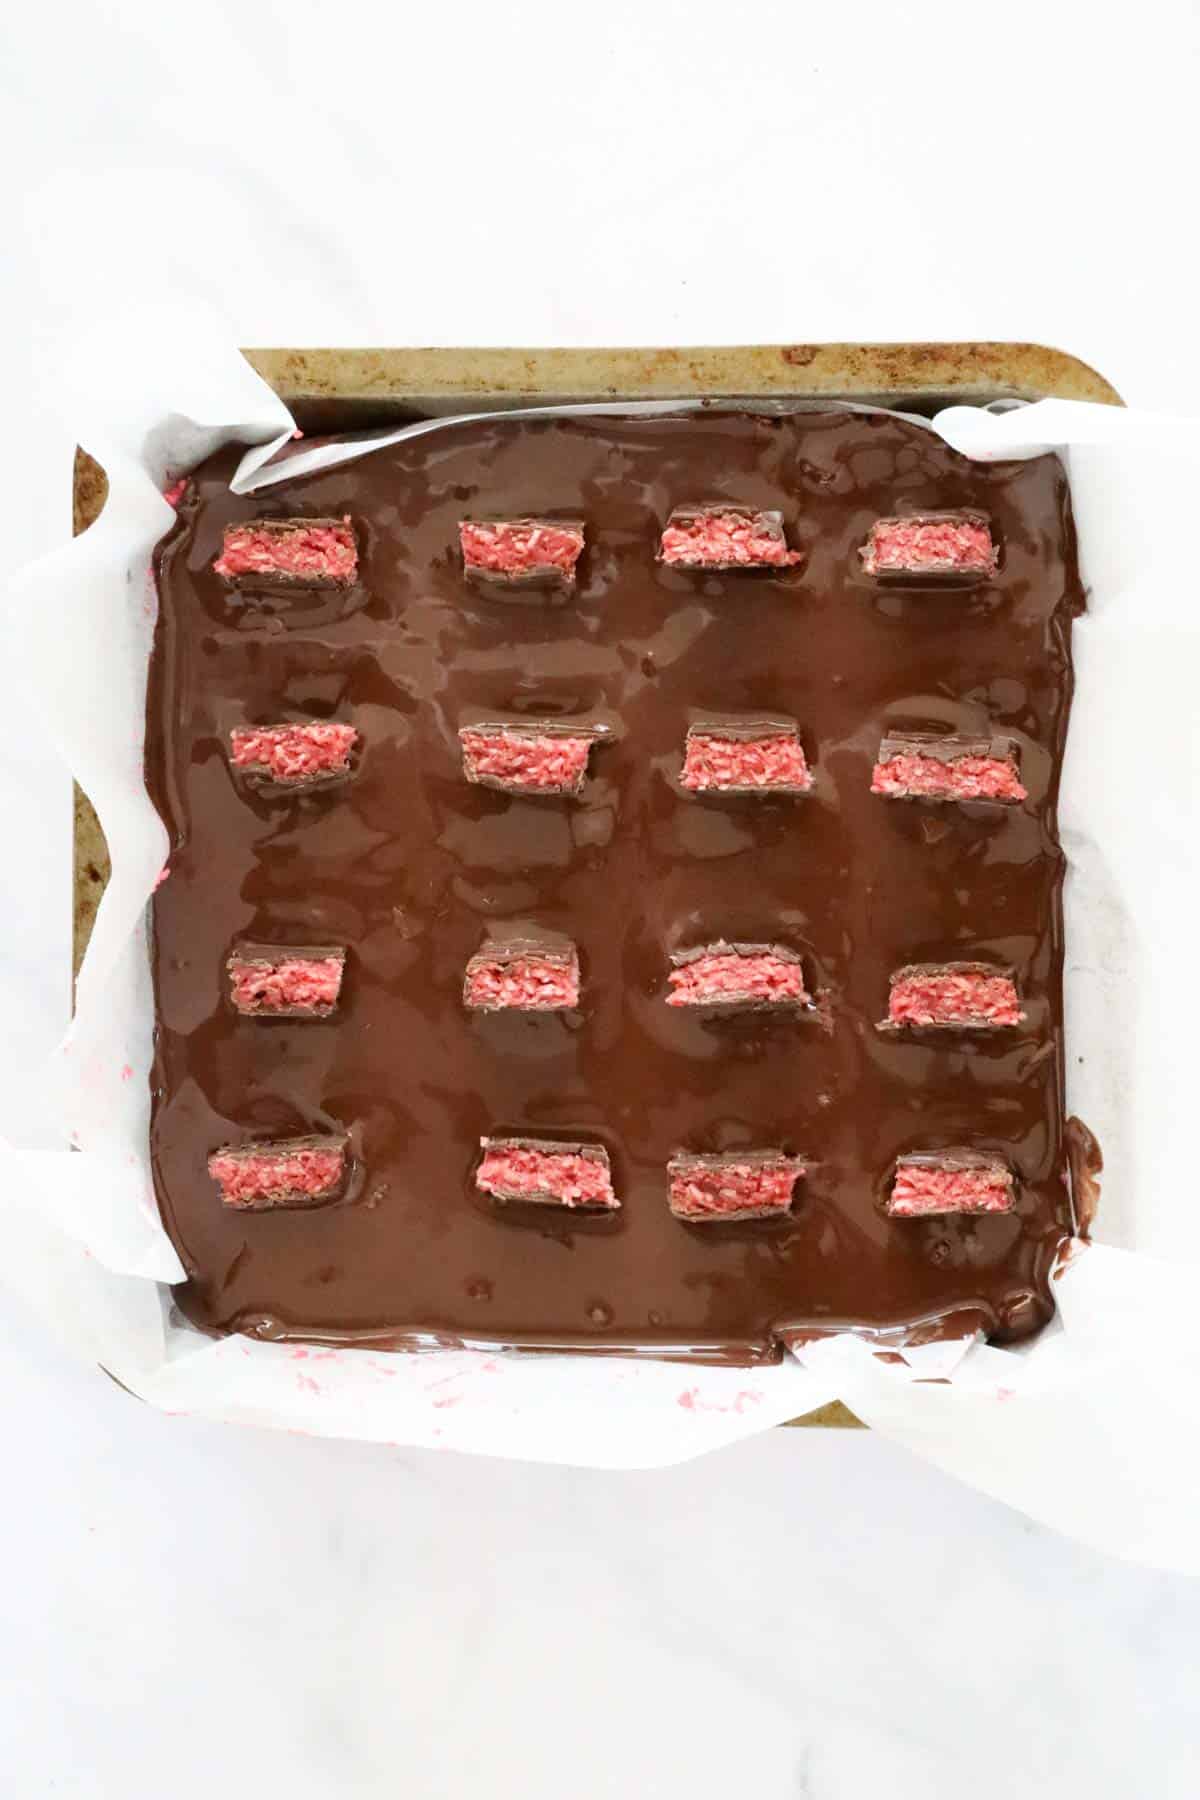
- Chocolate topping - gently melt dark chocolate with coconut oil in a microwave-safe bowl (50% power, 3-4 minutes, stirring every 30 seconds), or until just melted. Pour evenly over the slice and smooth. Refrigerate for at least 2 hours.
Expert Tips
- Press firmly on both layers - this helps slices hold clean edges.
- No oven needed - just fridge power!
- Food colouring: Optional, but gives that signature pink cherry hue.
- Warm knife trick: Remove the slice from the refrigerator 20-30 minutes before slicing. Run your knife under hot water and dry it before carefully slicing so the chocolate top cuts cleanly. See my tips for cutting perfect slices.
- Storage: Store airtight in the fridge up to 5 days.
- Freezing: Wrap portions individually, freeze up to 3 months - thaw in fridge.
Cherry Ripe Slice FAQs
Fresh cherries have too much moisture and can prevent setting - stick with glace cherries for best results.
You can, however the pink colouring provides a striking colour that is similar to the Cherry Ripe Bar. If you omit the pink food colouring, the slice will be a paler colour with pops of red from the chopped glacé cherries.
Yes, however, I use dark chocolate as Cherry Ripe bars are coated with dark chocolate and goes so well together with the cherry and coconut flavours.
Plan on at least 2 hours chilling - overnight gives the best slice firmness.
Remove the slice from the fridge 20-30 minutes before cutting. Run your knife under hot water and dry it before carefully slicing so the chocolate top cuts cleanly. See my tips for cutting perfect slices.
More No-Bake Slice Recipes
If you love quick and easy slices, you'll find plenty more no-bake slice recipes here that are perfect for busy days, last-minute entertaining or a sweet treat without turning the oven on.
WANT EVEN MORE DELICIOUS RECIPES? Subscribe to my newsletter or follow along on Facebook or Instagram. And if you love baking, then please come and join my Facebook cooking club group or subscribe to my YouTube channel.

Cherry Ripe Slice
Ingredients
For The Base
- 250 g chocolate ripple biscuits or any plain chocolate biscuits
- 100 g butter melted
For The Cherry Coconut Filling
- 395 g sweetened condensed milk full-fat
- 255 g (3 cups) desiccated coconut
- 100 g glace cherries
- 2 drops pink or red food colouring optional
- 50 g extra glace cherries chopped into chunks
For The Chocolate Layer
- 250 g dark chocolate melts
- 15 g (1 tbs) coconut oil or vegetable oil
- 2 Cherry Ripe bars chopped into small chunks
Instructions
- Grease and line a 20cm square baking tin with baking paper and set aside.
- Crush the chocolate ripple biscuits into fine crumbs using a food processor or a rolling pin. Mix together in a bowl with the melted butter until combined. If using a Thermomix: Chop the butter into chunks and melt for 2 minutes, 60 degrees, Speed 2 (or until melted). Add the biscuits and mix for 5 seconds, Speed 8. Scrape down the sides of the bowl and repeat for a further 5 seconds.
- Press the mixture into the base of the prepared tin.
- Place the sweetened condensed milk, desiccated coconut, 100g of the glace cherries and 2 drops of food colouring (optional) into a food processor or blender. Mix until combined. Stir through the extra 50g of chopped glace cherries. If using a Thermomix: Mix the sweetened condensed milk, desiccated coconut, 100g of the glace cherries and 2 drops of food colouring (optional) for 10 seconds, Speed 4. Scrape the bowl and repeat for a further 5 seconds or until the food colouring is evenly dispersed. Stir the extra chopped glace cherries through with a spatula.
- Press the coconut mixture on top of the biscuit layer and set aside.
- Melt the dark chocolate melts and coconut oil (or vegetable oil) in a microwave-safe bowl on 50% power, 3-4 minutes (stirring every 30 seconds), or until just melted. Alternatively, you can use a stove-top for this step.If using a Thermomix: Melt the dark chocolate and vegetable oil in a clean and dry Thermomix bowl for 3 minutes, 60 degrees, Speed 2.
- Pour the melted chocolate over the coconut layer and decorate with the small chunks of Cherry Ripe bars.
- Chill for 2 hours. Remove the slice from the fridge 20 minutes before cutting.TIP: Use a small sharp serrated knife to cut through the chocolate layer and then use a large, flat knife to press down (this help to stop the chocolate from cracking).
Notes
- Press firmly on both layers - this helps slices hold clean edges.
- No oven needed - just fridge power!
- Food colouring: Optional, but gives that signature pink cherry hue.
- Warm knife trick: Remove slice from refrigerator 20-30 minutes before slicing. Run your knife under hot water and dry it before carefully slicing so the chocolate top cuts cleanly. See my tips for cutting perfect slices.
- Storage: Store airtight in the fridge up to 5 days.
- Freezing: Wrap portions individually, freeze up to 3 months - thaw in fridge.


Nyssa says
I made these for my work colleagues and they were a HUGE hit! I added in more glacè cherries than the 100g and it worked perfectly. Will be making it again.
Gypse says
Great recipe delicious taste, just like a cherry ripe chocolate bar