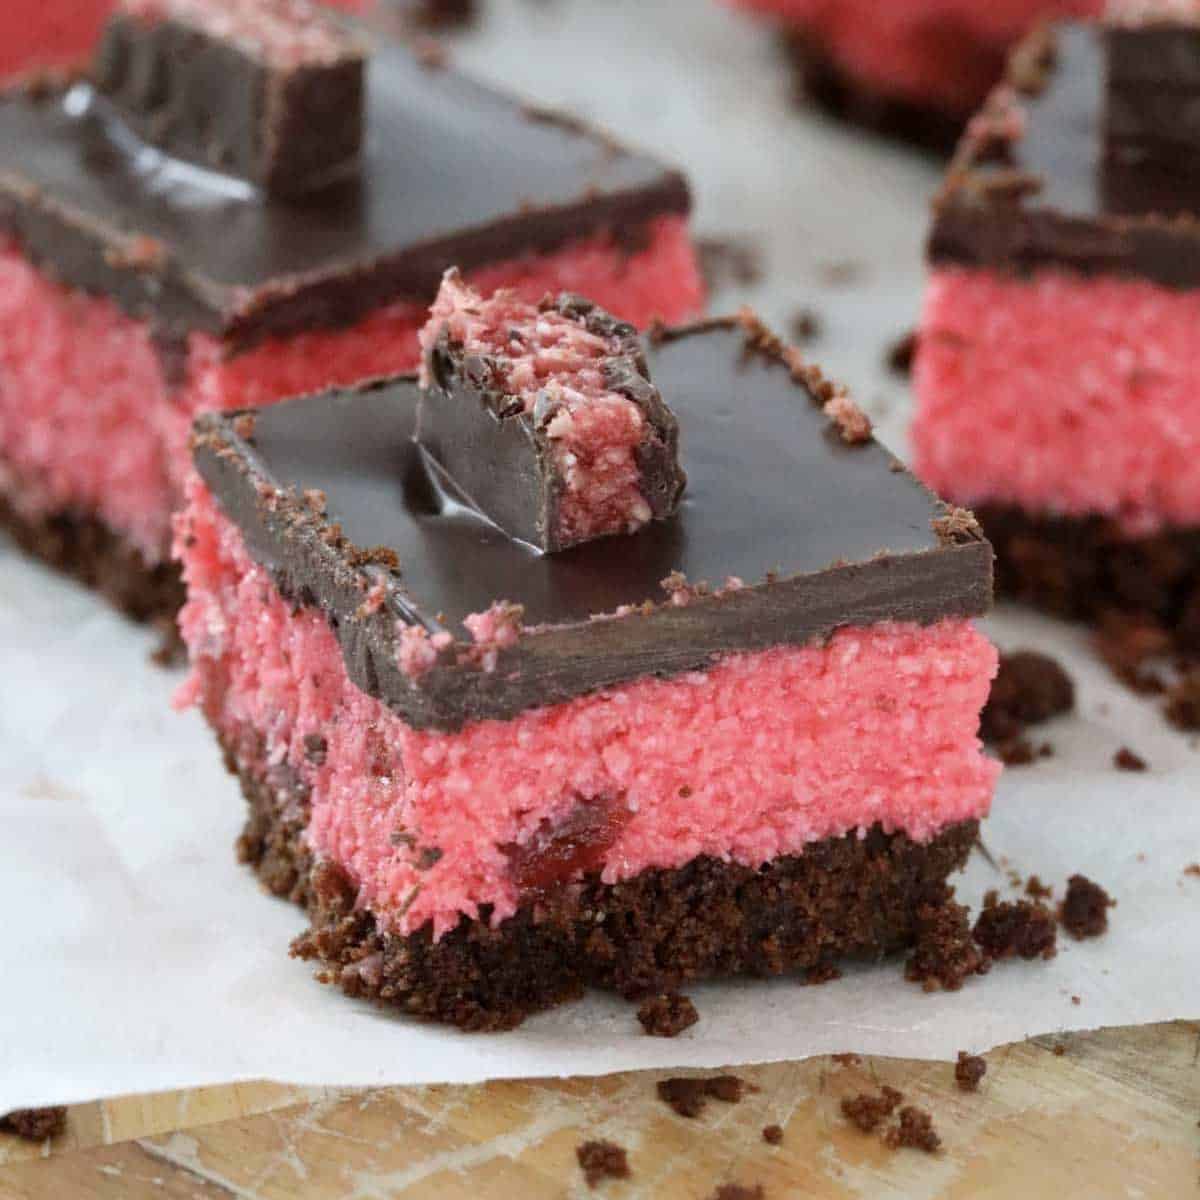
Cherry Ripe Slice
This easy no-bake Cherry Ripe Slice takes just 15 minutes to prepare and no oven required!
Print
Pin
Servings: 20 serves
Calories: 352kcal
Cost: $10
Equipment
- mixing bowl
- Food processor or Thermomix
- Microwave, stove-top or Thermomix
Ingredients
For The Base
- 250 g chocolate ripple biscuits or any plain chocolate biscuits
- 100 g butter melted
For The Cherry Coconut Filling
- 395 g sweetened condensed milk full-fat
- 255 g (3 cups) desiccated coconut
- 100 g glace cherries
- 2 drops pink or red food colouring optional
- 50 g extra glace cherries chopped into chunks
For The Chocolate Layer
- 250 g dark chocolate melts
- 15 g (1 tbs) coconut oil or vegetable oil
- 2 Cherry Ripe bars chopped into small chunks
Instructions
- Grease and line a 20cm square baking tin with baking paper and set aside.
- Crush the chocolate ripple biscuits into fine crumbs using a food processor or a rolling pin. Mix together in a bowl with the melted butter until combined. If using a Thermomix: Chop the butter into chunks and melt for 2 minutes, 60 degrees, Speed 2 (or until melted). Add the biscuits and mix for 5 seconds, Speed 8. Scrape down the sides of the bowl and repeat for a further 5 seconds.
- Press the mixture into the base of the prepared tin.
- Place the sweetened condensed milk, desiccated coconut, 100g of the glace cherries and 2 drops of food colouring (optional) into a food processor or blender. Mix until combined. Stir through the extra 50g of chopped glace cherries. If using a Thermomix: Mix the sweetened condensed milk, desiccated coconut, 100g of the glace cherries and 2 drops of food colouring (optional) for 10 seconds, Speed 4. Scrape the bowl and repeat for a further 5 seconds or until the food colouring is evenly dispersed. Stir the extra chopped glace cherries through with a spatula.
- Press the coconut mixture on top of the biscuit layer and set aside.
- Melt the dark chocolate melts and coconut oil (or vegetable oil) in a microwave-safe bowl on 50% power, 3-4 minutes (stirring every 30 seconds), or until just melted. Alternatively, you can use a stove-top for this step.If using a Thermomix: Melt the dark chocolate and vegetable oil in a clean and dry Thermomix bowl for 3 minutes, 60 degrees, Speed 2.
- Pour the melted chocolate over the coconut layer and decorate with the small chunks of Cherry Ripe bars.
- Chill for 2 hours. Remove the slice from the fridge 20 minutes before cutting.TIP: Use a small sharp serrated knife to cut through the chocolate layer and then use a large, flat knife to press down (this help to stop the chocolate from cracking).
Notes
RECIPE NOTES & TIPS
- Press firmly on both layers — this helps slices hold clean edges.
- No oven needed — just fridge power!
- Food colouring: Optional, but gives that signature pink cherry hue.
- Warm knife trick: Remove slice from refrigerator 20–30 minutes before slicing. Run your knife under hot water and dry it before carefully slicing so the chocolate top cuts cleanly. See my tips for cutting perfect slices.
- Storage: Store airtight in the fridge up to 5 days.
- Freezing: Wrap portions individually, freeze up to 3 months — thaw in fridge.
Nutrition
Calories: 352kcal | Carbohydrates: 34g | Protein: 4g | Fat: 23g | Saturated Fat: 16g | Polyunsaturated Fat: 1g | Monounsaturated Fat: 5g | Trans Fat: 0.2g | Cholesterol: 18mg | Sodium: 113mg | Potassium: 270mg | Fiber: 4g | Sugar: 24g | Vitamin A: 183IU | Vitamin C: 1mg | Calcium: 73mg | Iron: 4mg
