

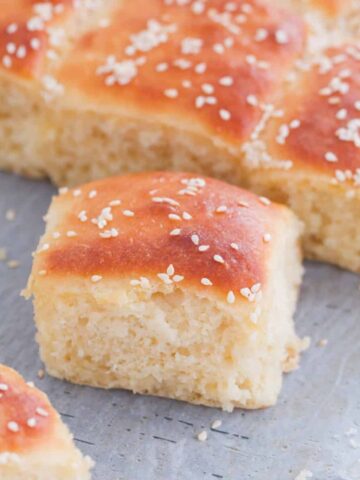
Savoury cheese and bacon rolls, made from scratch with a deliciously fluffy homemade dough. They are soft, tender and smothered with golden cheddar cheese and pieces of crispy bacon. Delicious eaten straight from the oven, they also make a great lunchbox addition - and are freezer-friendly too!

Table Of Contents
Soft, fluffy bread rolls, topped with tasty golden cheese and crispy pieces of bacon; just like the kind you'll find in Baker's Delight. It doesn't get any better!
Cheaper (and much tastier than store-bought rolls), these cheese and bacon rolls are ideal for lunch, picnics, an accompaniment to soups, dinner or a delightful sandwich-alternative in lunchboxes. They are also absolutely heavenly when served warm, straight from the oven! Being freezer-friendly, they are perfect to batch-bake and store, ready to take out when you need them.
If you haven't baked with yeast before, this is the perfect no-fail recipe to start with! Follow my step-by-step instructions and helpful tips for gorgeously fluffy rolls, every time.
Looking for some more easy roll recipes for a tasty lunch? Try these homemade white bread rolls, cheese and Vegemite scrolls or pizza scrolls!
Jump to:
Why You're Going To Love This Recipe
- Easy to make - baking with yeast can be a little intimidating, but this is a no-fail recipe that is great to keep on hand when you need some fluffy dinner rolls or something a little special for your guests. You only need a handful of simple ingredients and 30 minutes of hands-on time.
- Perfect for any occasion - serve them at gatherings such as parties, picnics, Christmas, Easter, or for an easy brunch, lunch or dinner! They're also fabulous when served alongside your favourite soup or chilli con carne recipe.
- Make ahead - make a double batch and keep them in the freezer to warm up whenever you need them.
- Conventional and Thermomix - this recipe can be made conventionally or in a Thermomix. You will find both the conventional and Thermomix methods in the recipe card at the bottom of the post.

What You Need
A handful of basic budget friendly ingredients is all thats required for these light and fluffy cheese and bacon rolls.
Note: Please scroll to the recipe card at the bottom for ingredient quantities and the full detailed method.
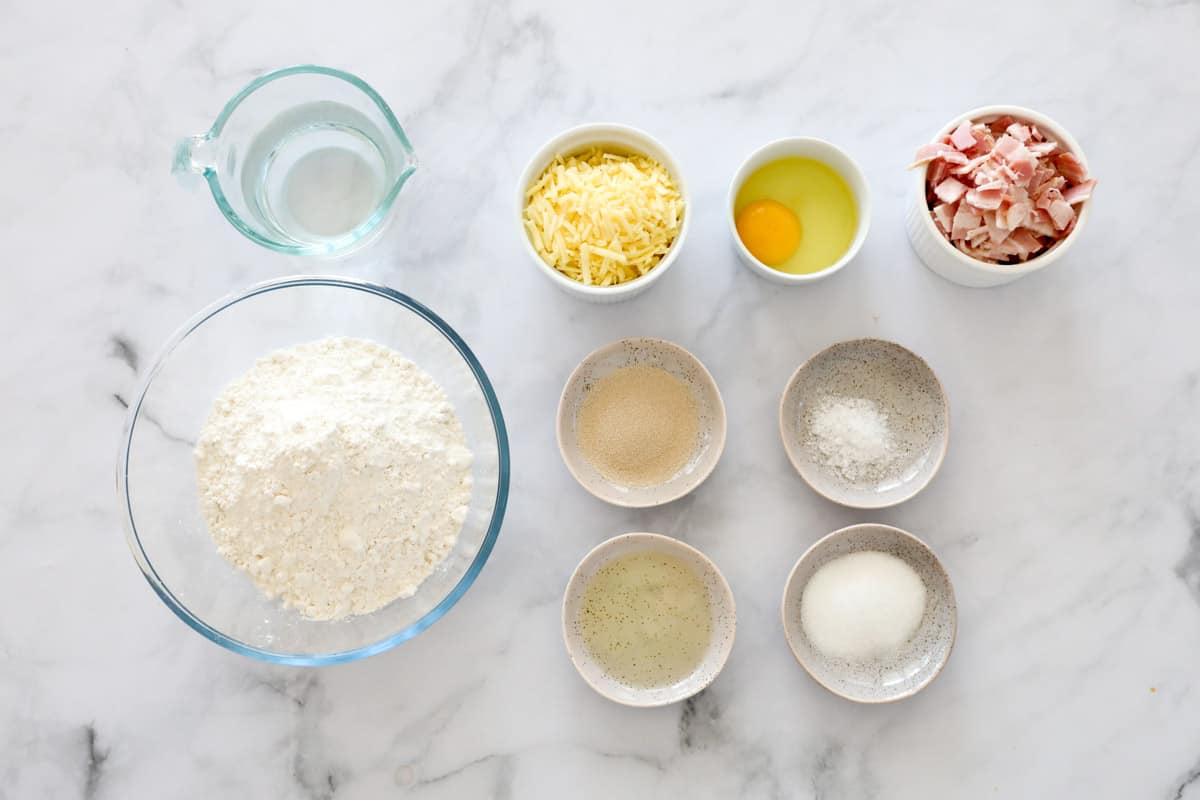
- Dry yeast - any brand of dried yeast will work, but be sure to check the expiry and make sure it is in-date! Dry yeast has a longer shelf life because it has been dried out and is inactive until added to liquid. Yeast is a living organism that needs moisture and food to activate and grow; it feeds on sugar and converts it to carbon dioxide through fermentation. This is what makes the rolls rise and expand. It also provides the delicious freshly baked flavour. Jars or sachets of dried yeast can be found in supermarkets in the baking/flour aisle.
- Water - is used to add moisture to the dough and activate the yeast. You can also use milk, if preferred. The water needs to be lukewarm for the yeast to grow but not too hot, or it will kill the yeast.
- Caster sugar - don't skip this ingredient. It feeds the yeast which helps the dough rise and tenderise.
- Bread flour - is high in protein, made for baking yeasted breads and rolls. It makes the rolls chewy, yet light and fluffy. Regular (plain, all-purpose) flour can be used if this is what you have on hand, but the rolls won't be as light. Weigh the flour with a kitchen scale for best results. If you don't have scales, measure the flour accurately by "fluffing" it and spooning it into a measuring cup (without pressing it into the cup). Then, level the top of the cup with a knife.
- Salt & olive oil.
- Egg - lightly beaten, to brush over the top of rolls.
- Cheese - cheddar (tasty) cheese is best because it melts nicely onto the bread and becomes golden and crispy when baked. Colby can also be used, or you can use a mix of your favourite cheeses. A little parmesan added to tasty cheddar cheese adds a bit more bite if you like. Use real cheese that is freshly grated in preference to store bought shredded cheese.
- Bacon - buy pre-cut/diced bacon from the deli for convenience, or chop up rashers of middle bacon, depending on your preference.

Equipment Required
A large mixing bowl is required to mix and hold the dough as it rests and rises. Baking trays (two 40cm x 24cm) are also required to bake the rolls.
I recommend finding a nice, warm spot for the dough to sit as it rises (it won't rise if it's too cold). In the cooler months, find a spot near a heater, in a sunny window or even well covered in a LOW (less than 40°C) oven that has been heated and then turned off before placing the dough in it.
This cheese and bacon roll recipe can also be made in a Thermomix.
Step By Step Instructions
Besides the time to required to rest the dough, these cheese and bacon rolls require very little 'hands-on' time.
Note: Please scroll to the recipe card at the bottom of the post for ingredient quantities and the full detailed method.
Step 1 - Make The Dough
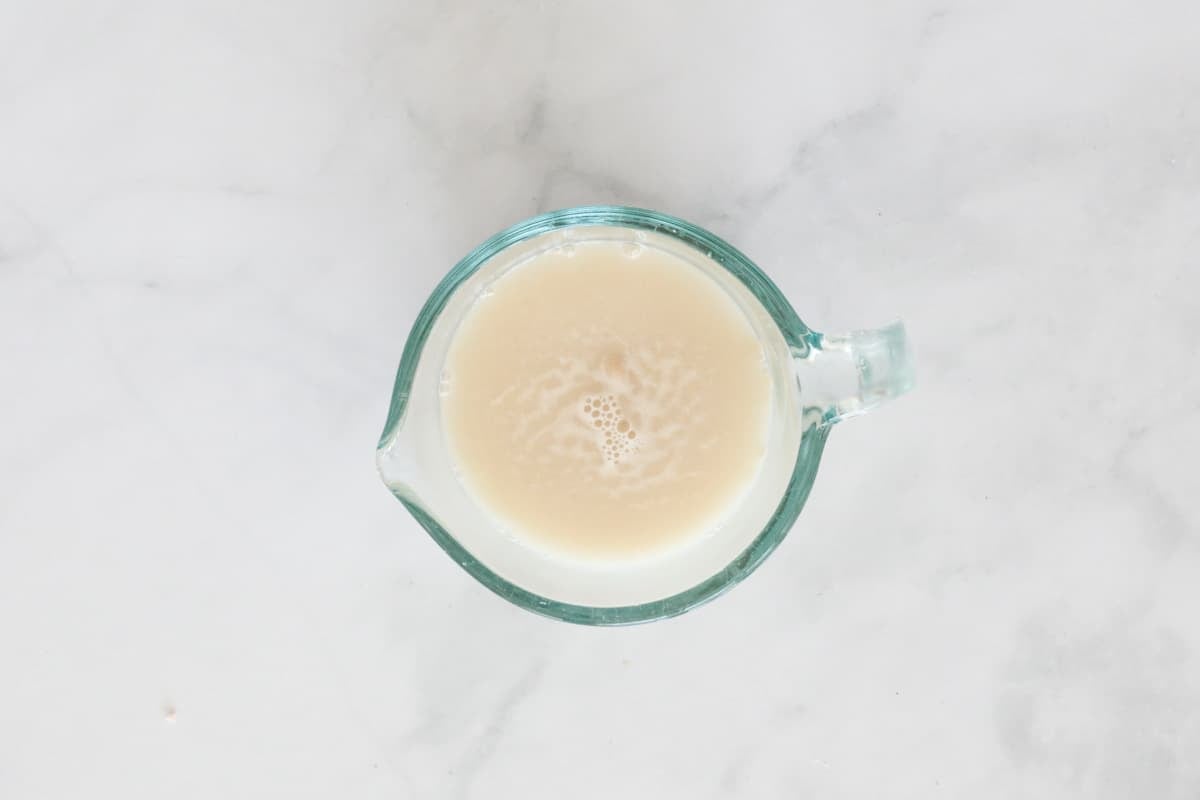
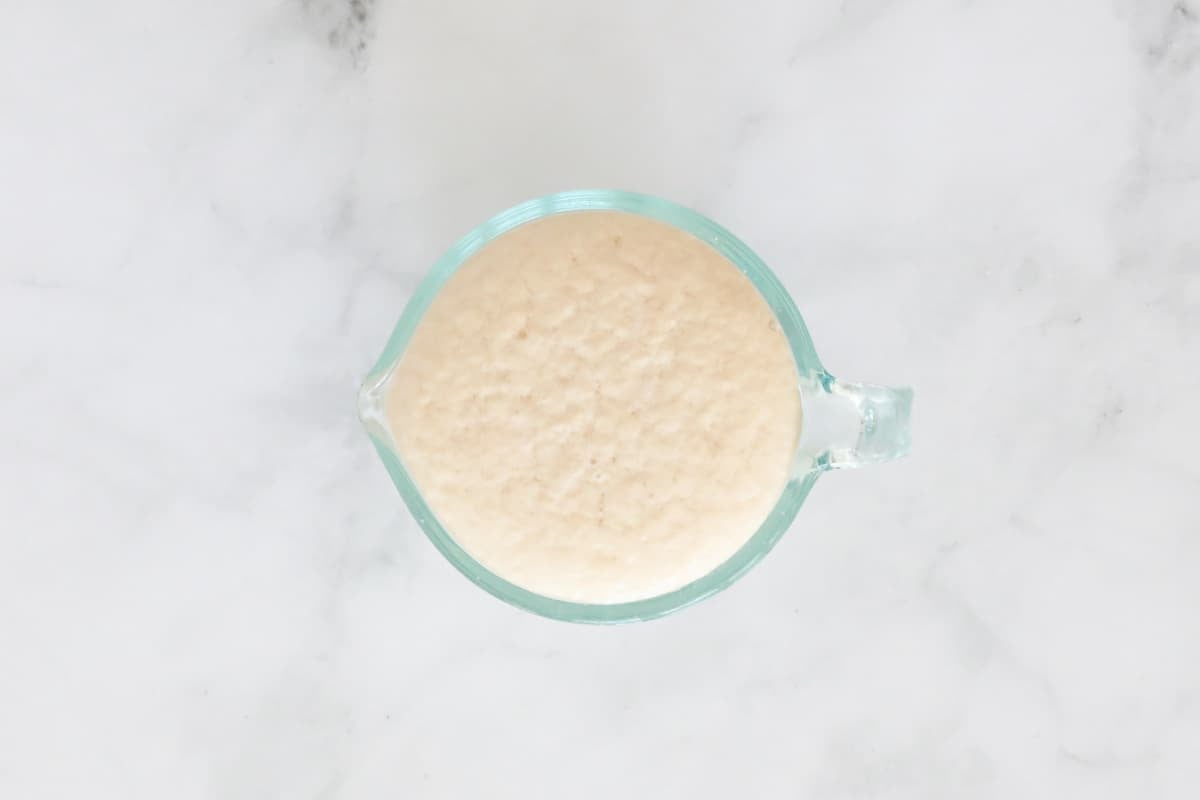
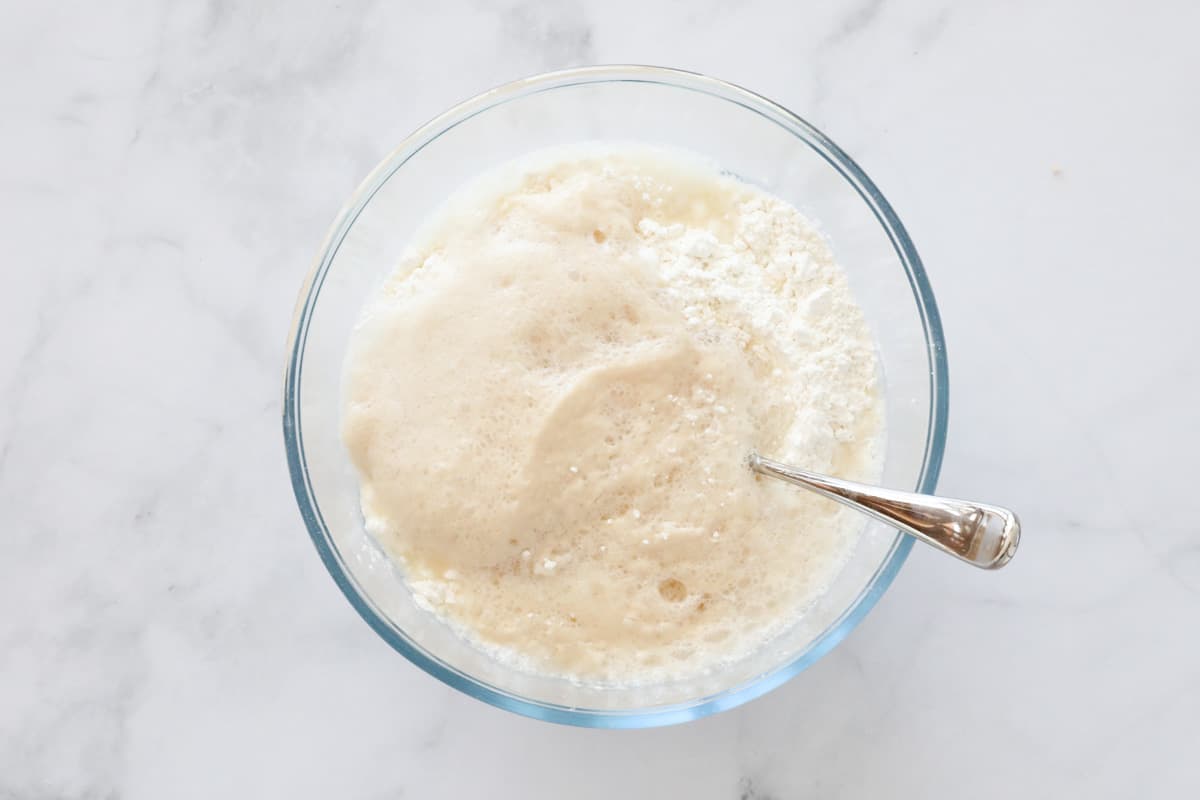
Mix the lukewarm water and yeast in a small bowl and leave to sit for a few minutes while the mixture becomes frothy.
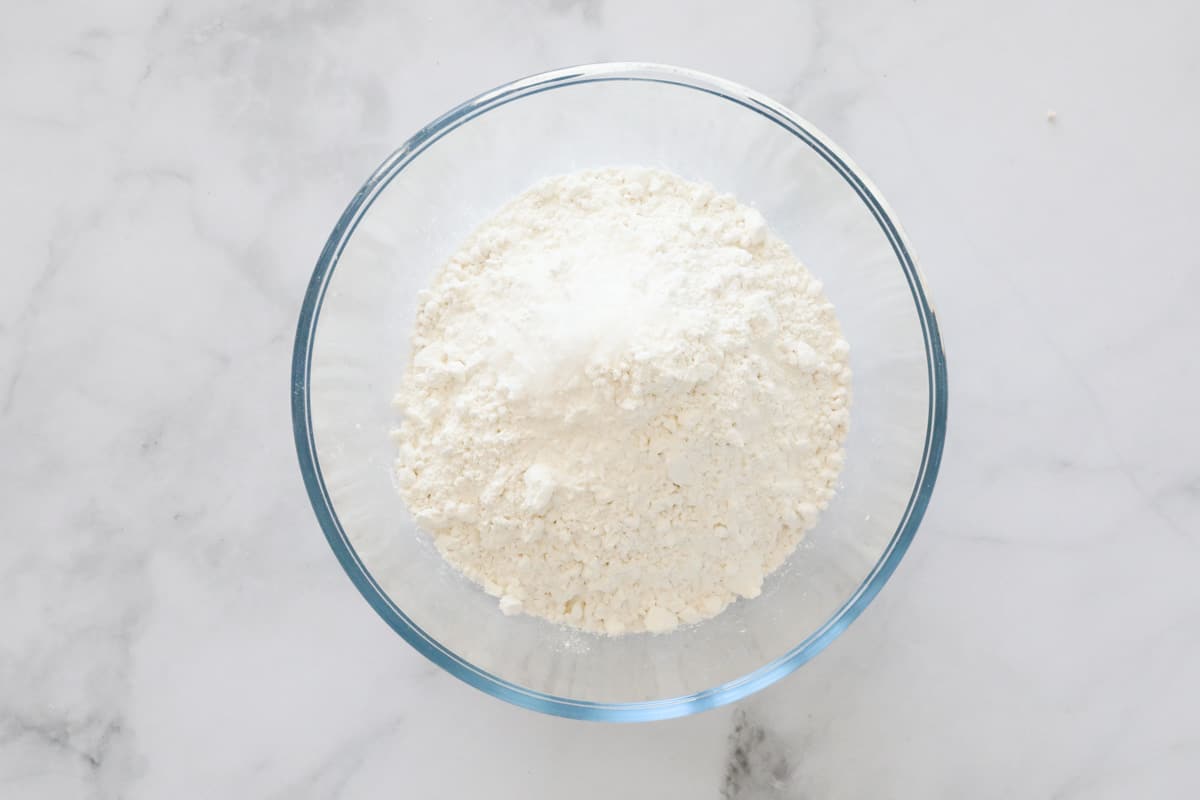
In a large bowl, mix the caster sugar, bread flour and salt and make a well in the centre.
Pour the yeast mixture and oil into the flour mixture and mix until combined. The mixture will be sticky and thick.
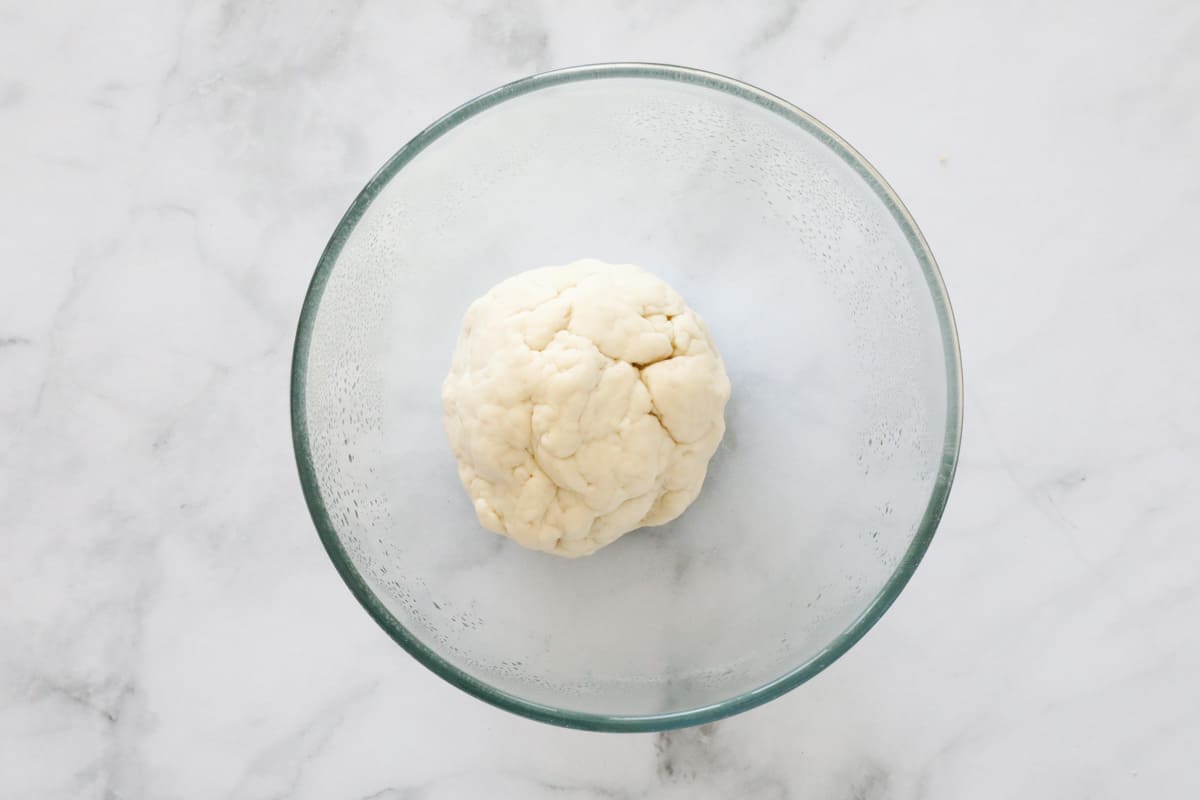
Knead the dough for 5 minutes on a floured board.
Step 2 - Cover Dough And Let It Rise
Return the dough to the mixing bowl and cover with plastic wrap and/or a tea towel. The dough will rise in 1 hour when left in a warm environment. During this time, the dough should double in size.

Step 3 - Make The Rolls
Punch the dough gently to release the air bubbles, then roll dough into a log, and divide into 12 even portions. Roughy shape them into round rolls and place on the prepared baking trays.
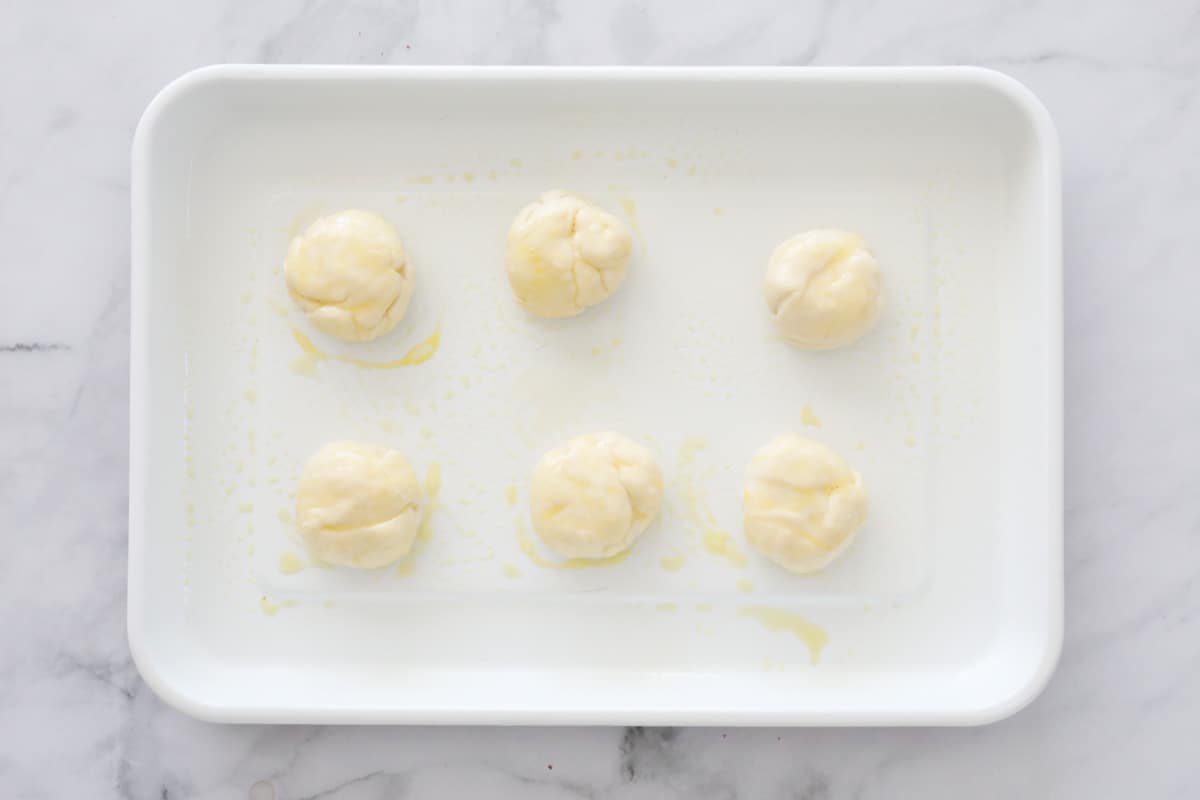
Brush the rolls with the beaten egg and top with the grated cheese and chopped bacon.

Place the rolls into a warm spot and allow to rise for a second time (30 minutes).
Step 4 - Bake
Bake the rolls until they are golden on top and sound hollow when gently tapped. (Full cooking times detailed below).
Expert Tips
- Make sure that your yeast has not expired - this is the most common reason that dough/bread/rolls don't rise. If the yeast does not froth in the water after 5 minutes, throw it out and start again with fresh yeast.
- Use lukewarm, not hot water - it is essential that the water is not too hot, or it will kill the yeast. If it is too cold, the yeast won't activate. The water should feel warm but not hot to the touch.
- Find a warm spot - the dough won't rise if it is too cold. If it's a cold day, cover the dough with plastic wrap and a tea towel and place it near a heater, or in an oven that has been heated to 40C and then turned off before adding the bowl of dough.
- Be sure to let the dough rise twice - aside from making the rolls light and fluffy, the rise time also helps them to develop flavour and structure.
- For variation, add some fresh herbs to the top of the rolls. A little thyme, rosemary and oregano all make tasty additions!
FAQ's
These rolls can be stored in an airtight container at room temperature for 1-2 days, but should be stored in the fridge for any longer than this. They will keep in an airtight container in the fridge for up to 5 days.
They are best eaten fresh straight out of the oven or within in the first 1-2 days, but will keep in the fridge for up to 5 days. If they aren't as fresh when you want to serve them, pop them in the microwave for 10 seconds and they will soften up again.
These rolls will last up to 3 months in the freezer. To freeze, allow them to cool completely and then place them in a freezer bag or airtight container. Let them thaw in the fridge overnight or at room temperature for 30-60 minutes. The rolls can be eaten at room temperature, or in the oven, air fryer or microwave if you want to serve them warm.

Related Recipes
Love making your own breads, rolls and scrolls?
Here's some more homemade bread recipes:


Cheese And Bacon Rolls
Ingredients
- 250 g (1 cup) water lukewarm
- 7 g dried yeast 1 sachet
- 2 teaspoon caster sugar superfine sugar
- 450 g (3 cups) bread flour or Bakers flour
- pinch of salt
- 1 tbs olive oil
- 1 egg lightly beaten
- 200 g bacon diced
- 120 g (1 cup) grated cheese cheddar or tasty
Instructions
Conventional Method
- Place the lukewarm water into a bowl. Sprinkle over the yeast. Leave for a few minutes in a warm spot or until frothy. Set aside.
- Place the caster sugar, bread flour and salt into a large bowl and mix to combine.
- Make a well in the dry ingredients.
- Pour the liquid yeast mixture and oil into the centre of the well. Mix until combined (the mixture will be sticky and thick). Knead for 5 minutes on a floured board.
- Place the dough back into the bowl and cover with a tea towel. Place into a warm spot (see recipe notes) for 1 hour or until doubled in size.
- Line 2 x 40cm x 24cm baking trays with baking paper and set aside.
- Flour a chopping board or kitchen bench lightly and roll the dough into a long log. Cut the mixture into 12 equal-sized pieces.
- Roll each of the dough portions into a ball shape and place onto the prepared baking trays.Press the balls down lightly so that the top is flat.
- Brush the rolls with the lightly beaten egg. Top with the diced bacon and grated cheese.
- Place the trays back into a warm spot and allow to rise again for 30 minutes (they won't quite double in size this time).
- Preheat the oven to 180 degrees celsius (fan-forced) or 200 degrees celsius (conventional).
- Bake the rolls in the oven for 20 minutes. The rolls are cooked when they're golden on top and sound hollow when cooked through.
Thermomix Method
- Place the yeast and water into the Thermomix bowl. Mix for 10 seconds, Speed 3. Then leave for 1 minute.
- Add the caster sugar, bread flour, salt and oil and mix for 10 seconds, Speed 6.
- Knead for 2 minutes on Interval/Kneading function (the mixture will be sticky and thick).
- Cover the bowl with a tea towel and place into a warm spot (see recipe notes) for 1 hour or until doubled in size.
- Line 2 x 40cm x 24cm baking trays with baking paper and set aside.
- Lightly flour a chopping board or kitchen bench and roll the dough into a long log. Cut the mixture into 12 equal-sized pieces.
- Roll each of the dough portions into a ball shape and place onto the prepared baking trays.Press the balls down lightly so that the top is flat.
- Brush the rolls with the lightly beaten egg. Top with the diced bacon and grated cheese.
- Place the trays back into a warm spot and allow to rise again for 30 minutes (they won't quite double in size this time).
- Preheat the oven to 180 degrees celsius (fan-forced) or 200 degrees celsius (conventional).
- Bake the rolls in the oven for 20 minutes. The rolls are cooked when they're golden on top and sound hollow when cooked through.
Notes
- Make sure that your yeast has not expired - this is the most common reason that dough/bread/rolls don't rise. If the yeast does not froth in the water after 5 minutes, throw it out and start again with fresh yeast.
- Use lukewarm, not hot water - it is essential that the water is not too hot, or it will kill the yeast. If it is too cold, the yeast won't activate. The water should feel warm but not hot to the touch.
- Be sure to let the dough rise twice - aside from making the rolls light and fluffy, the rise time also helps them to develop flavour and structure.
- Find a warm spot - the dough won't rise if it is too cold. If it's a cold day, cover the dough with plastic wrap and a tea towel and place it near a heater, or in an oven that has been heated to 40C and then turned off before adding the bowl of dough.
- For variation, add some fresh herbs to the top of the rolls. Thyme, rosemary and oregano all make tasty additions.
- Storage - these rolls can be stored in an airtight container at room temperature for 1-2 days, but should be stored in the fridge any longer than this. They will keep in the fridge in an airtight container for up to 5 days.
- Freezing - these rolls will last up to 3 months in the freezer. To freeze, allow them to cool completely and then place them in a freezer bag or airtight container. Let them thaw in the fridge overnight or at room temperature for 30-60 minutes. They can be eaten at room temperature, or warmed in the oven, air fryer or microwave if you want to eat them warm.


Sheena says
Best recipe ever. I just made a double batch of these and they are an absolute HIT!
Lucy Mathieson says
Thank you!
Susan says
Amazing!
My family love cheese and bacon rolls and these were better than bakers delight. I purchased bread flour and good bacon too.
Will make again
Lucy says
Fantastic!
Jess says
Any tips for a GF version?
Kate says
This recipe is awesome for school lunches easy and packable in lunch boxes!
Lucy says
I'm so happy you like it!