

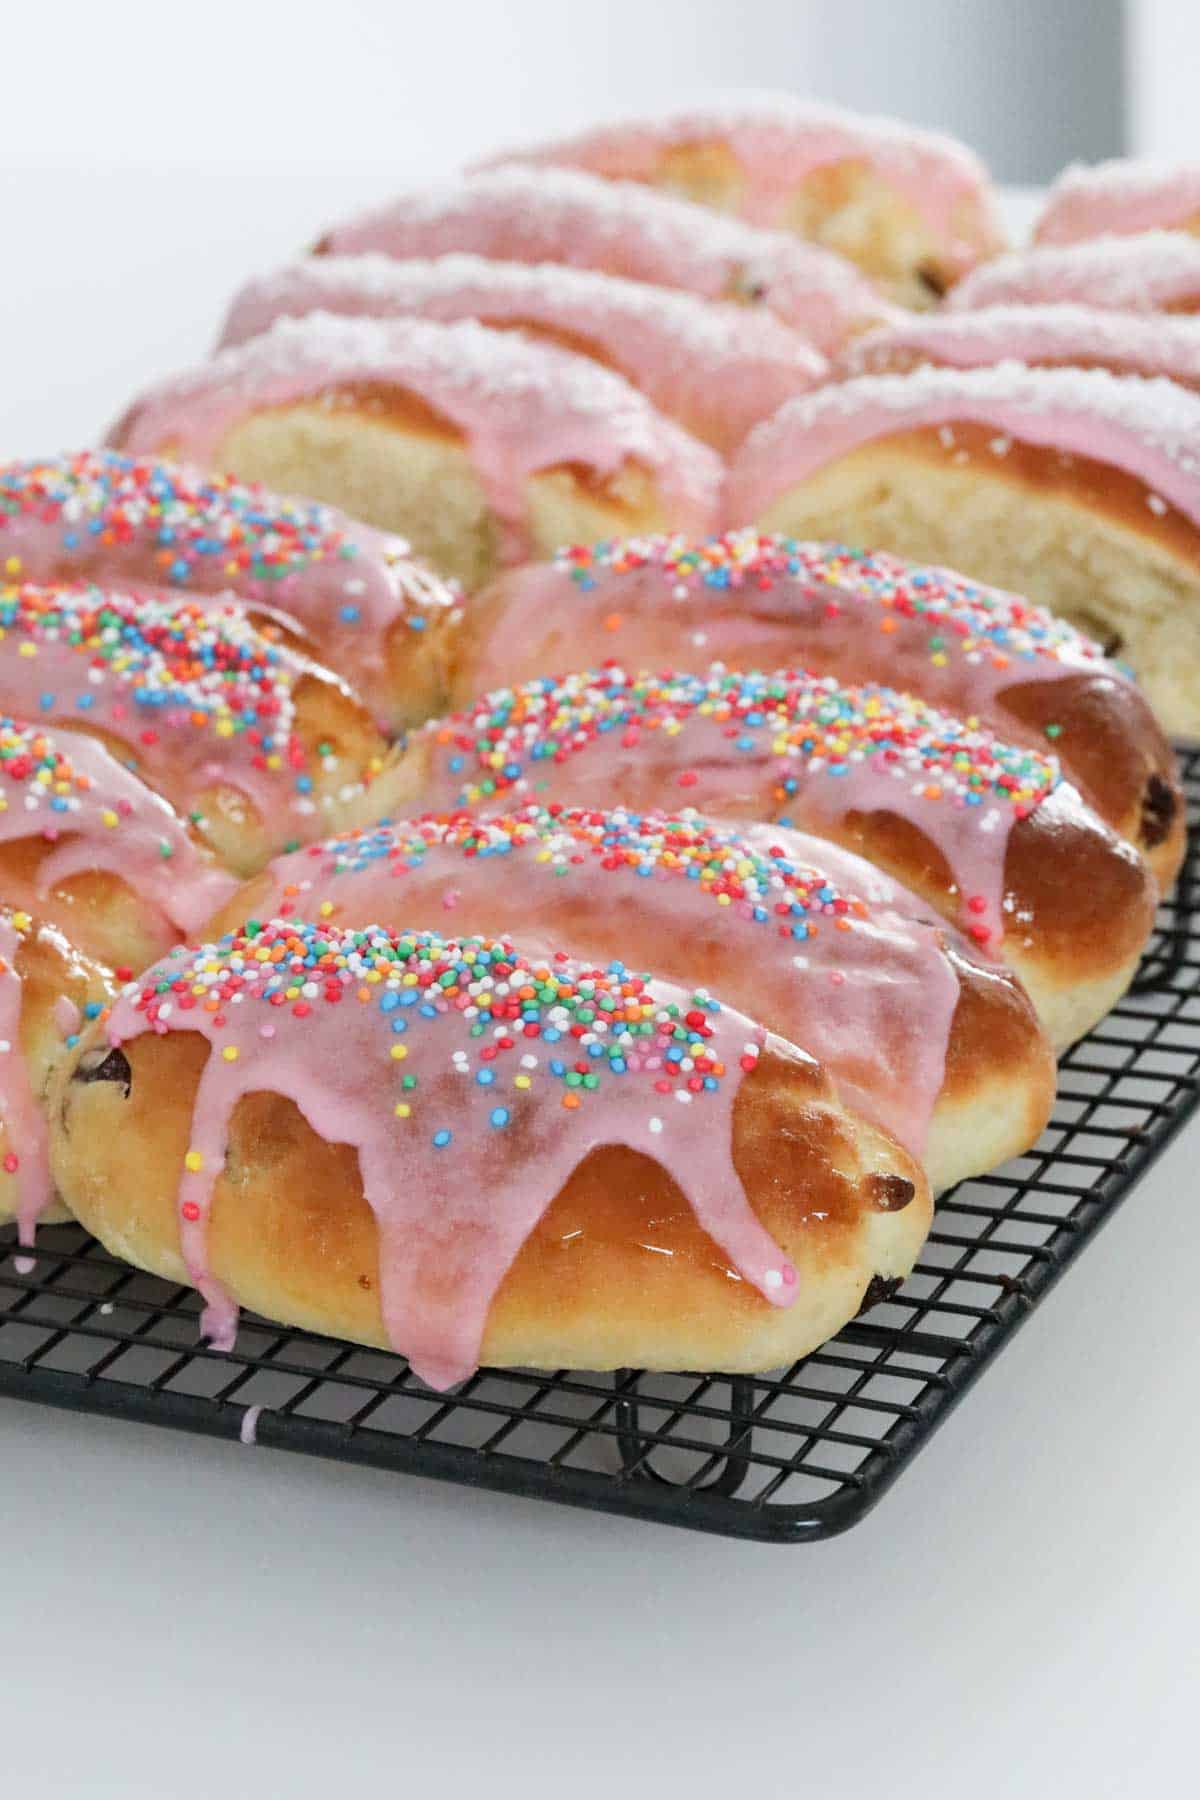
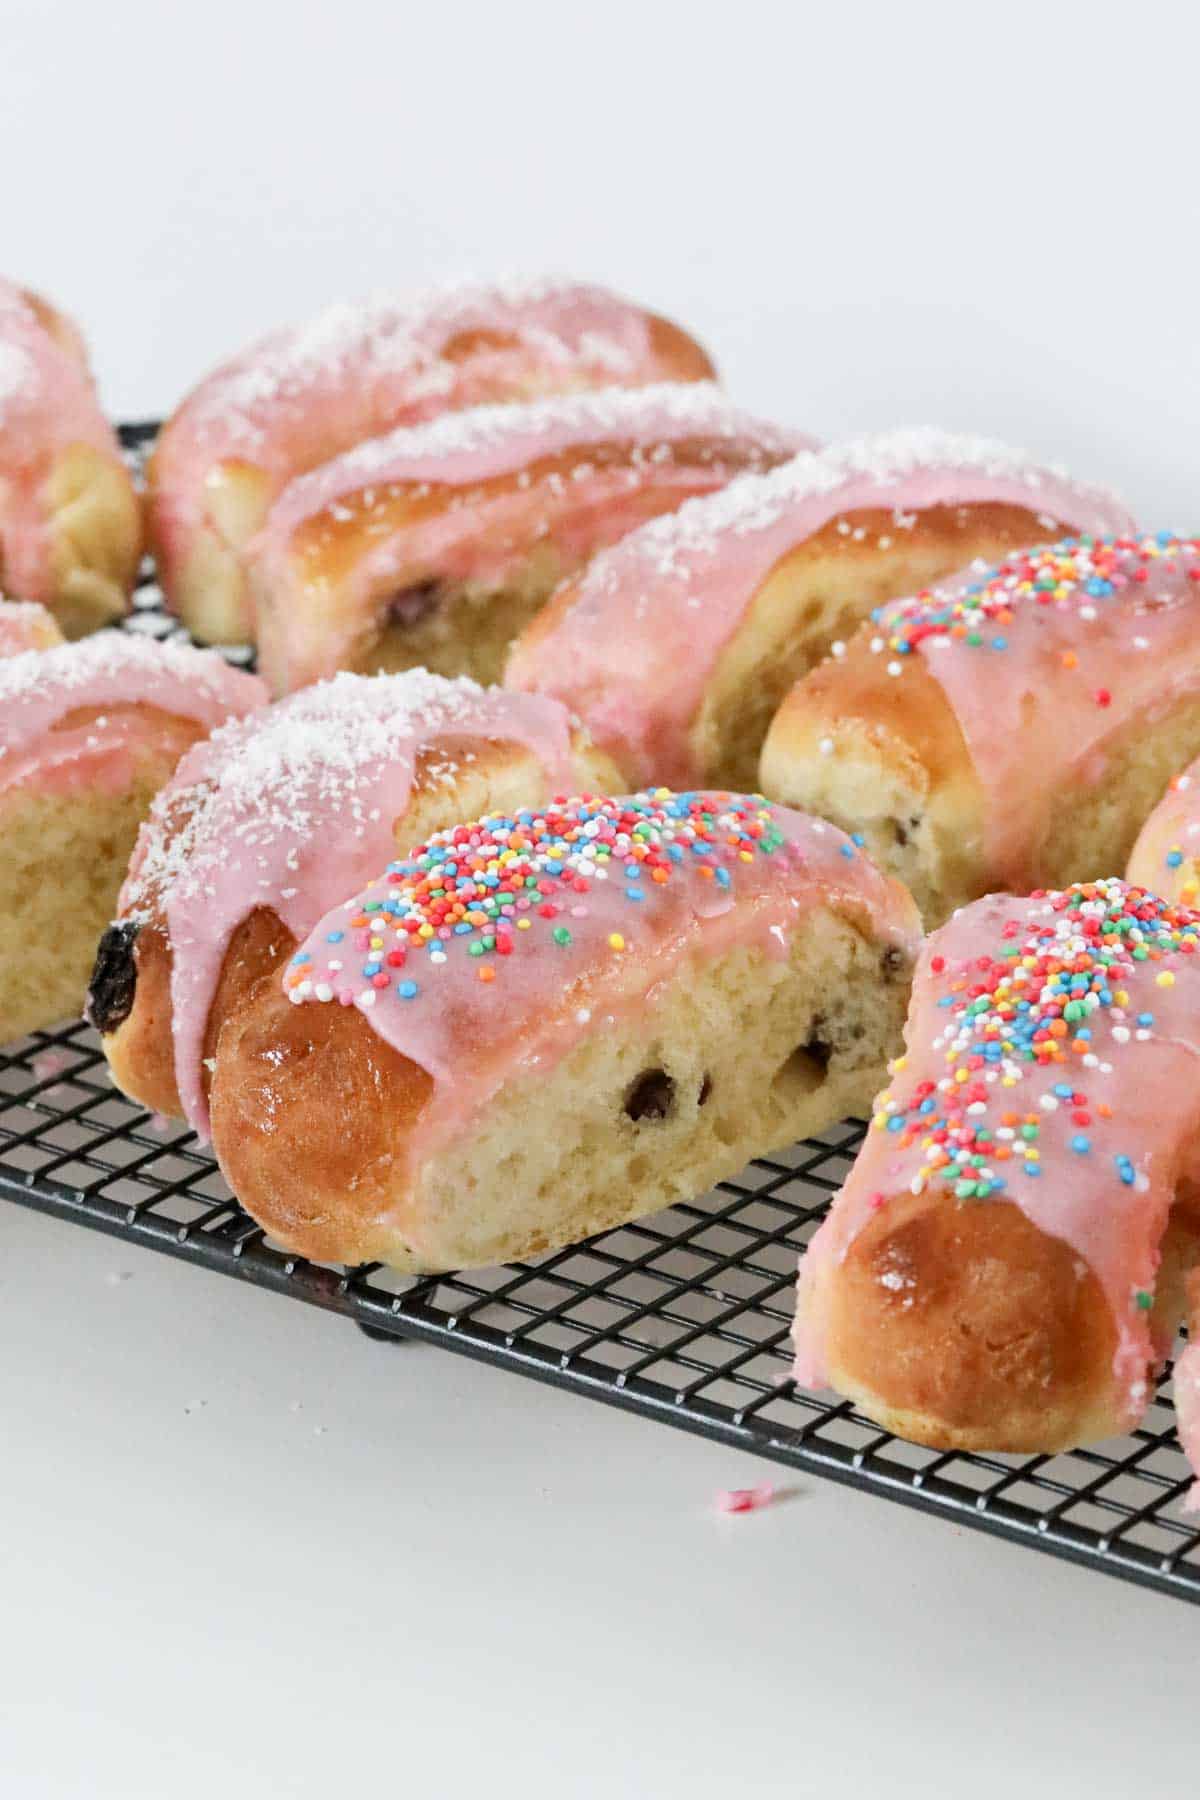
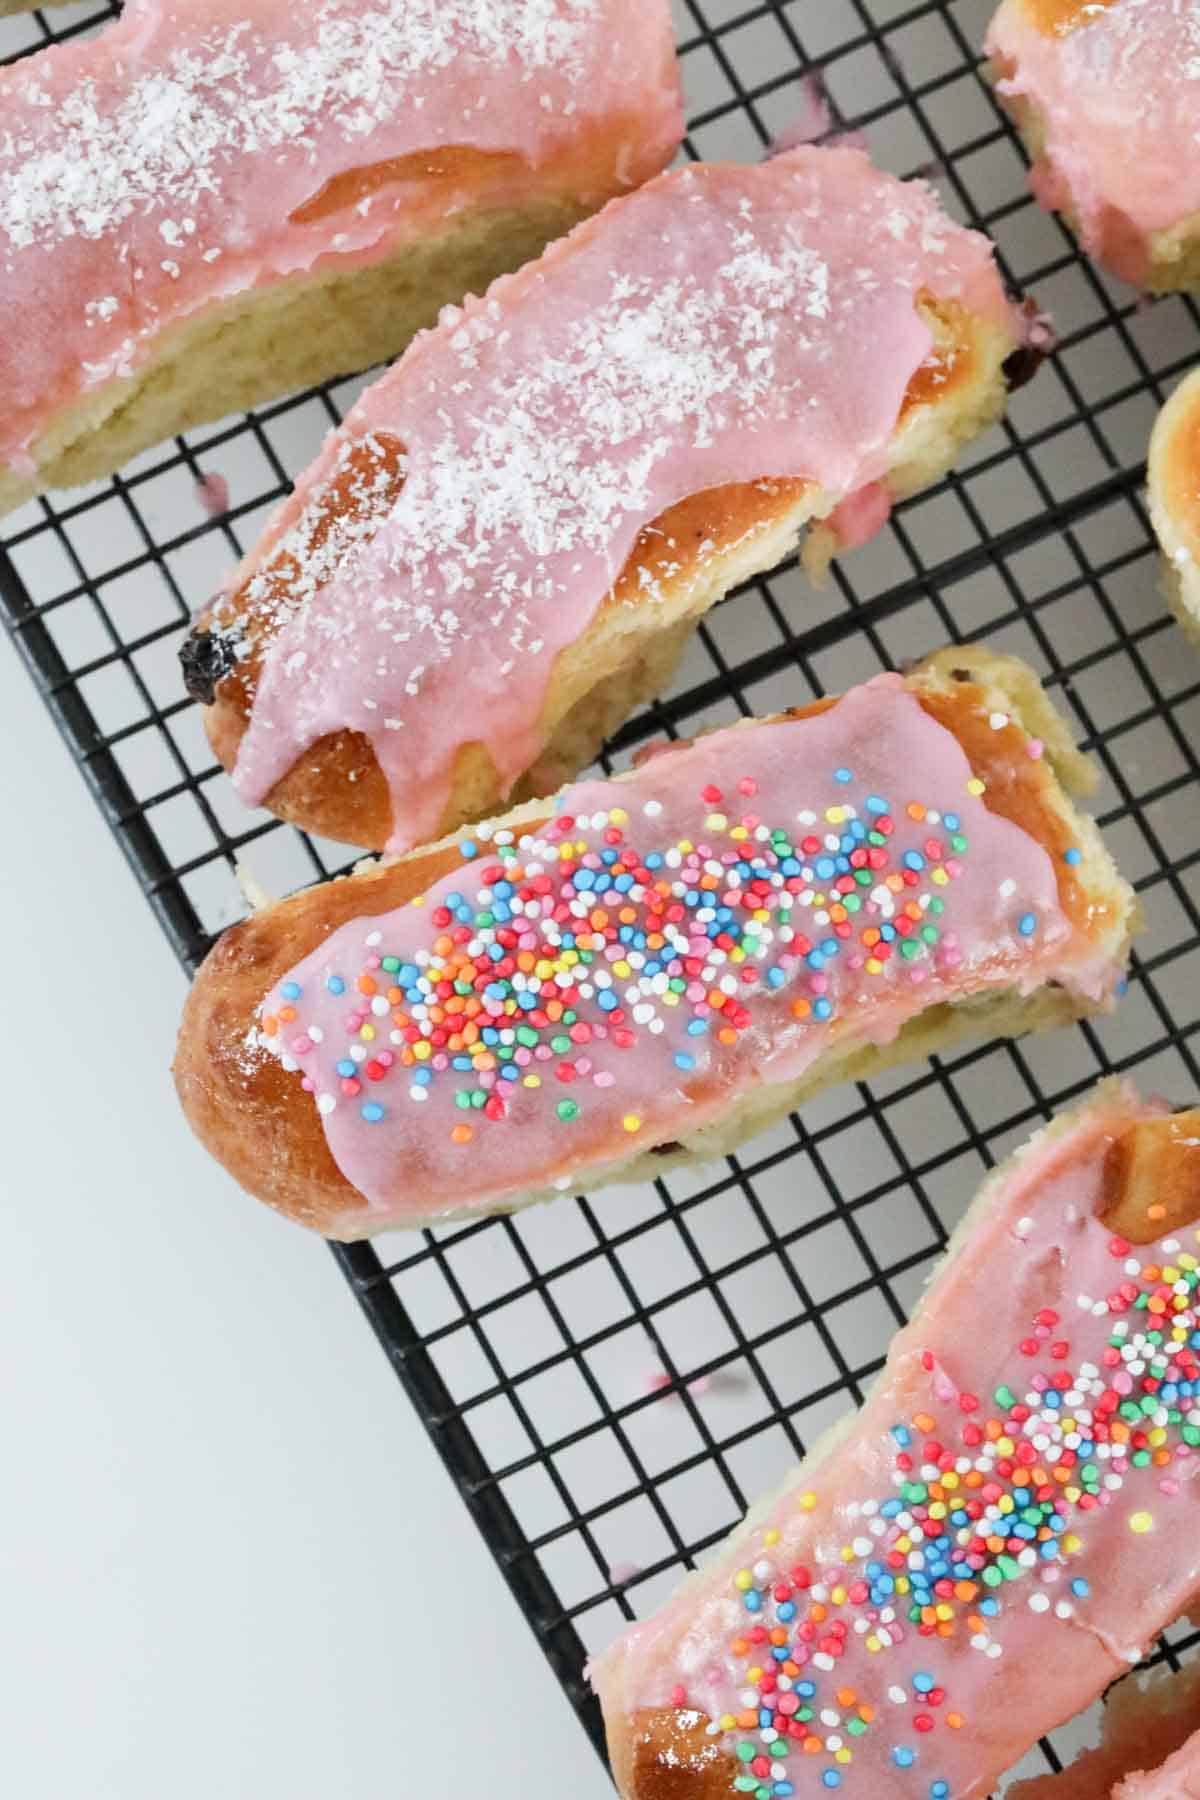
My easy finger buns recipe is a much loved classic bakery-style treat. Soft fruit dough is topped with a sticky glaze and pink icing before being sprinkled with coconut or 100s and 1000s.
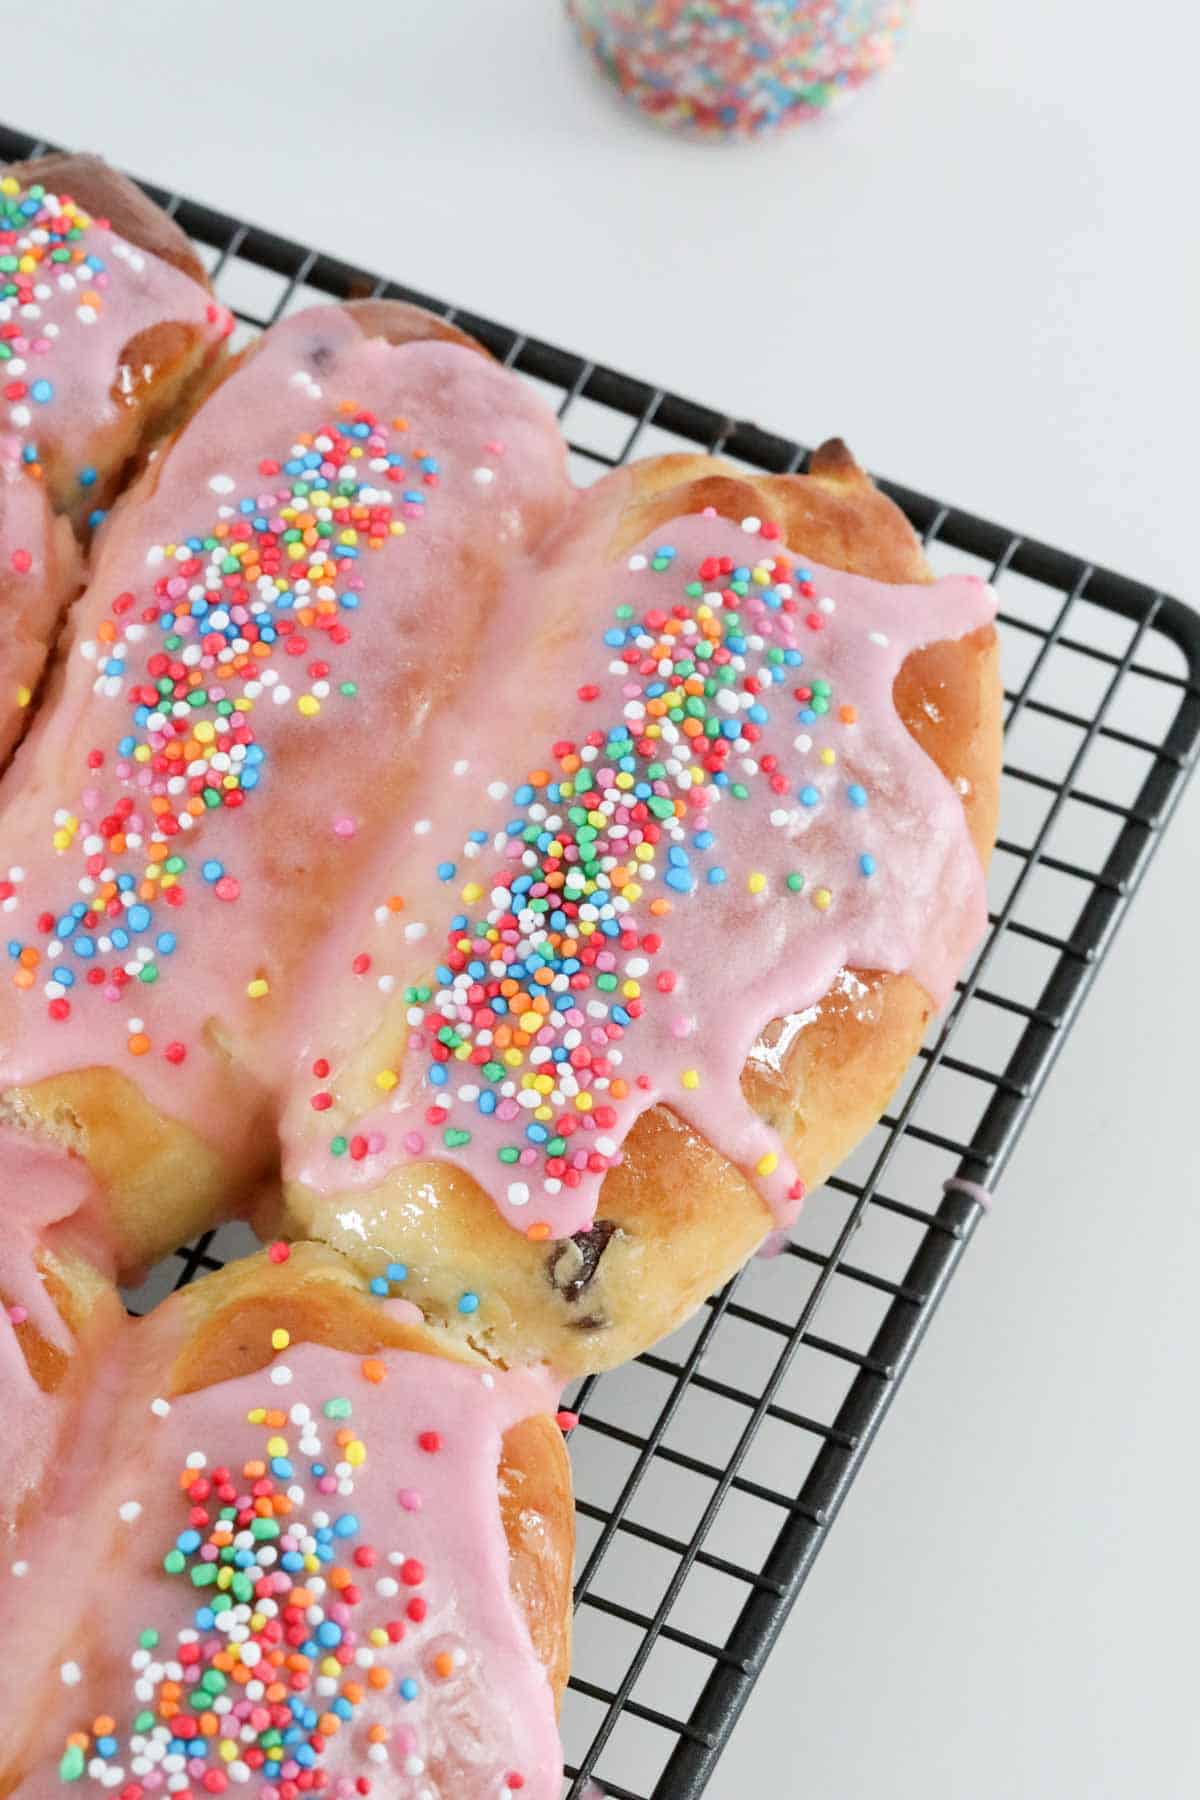
These pretty sticky buns are loved by young and old, and make a fun and delicious tea time treat. Once the dough has risen, there's less than 15 minutes bake time!
Iced finger buns are a bakery favourite. Alongside vanilla custard slice, jam tarts, apple and cinnamon scrolls, and triple chocolate muffins, they make the perfect tea time treat, fun addition to lunchboxes and are a popular addition to kids parties!
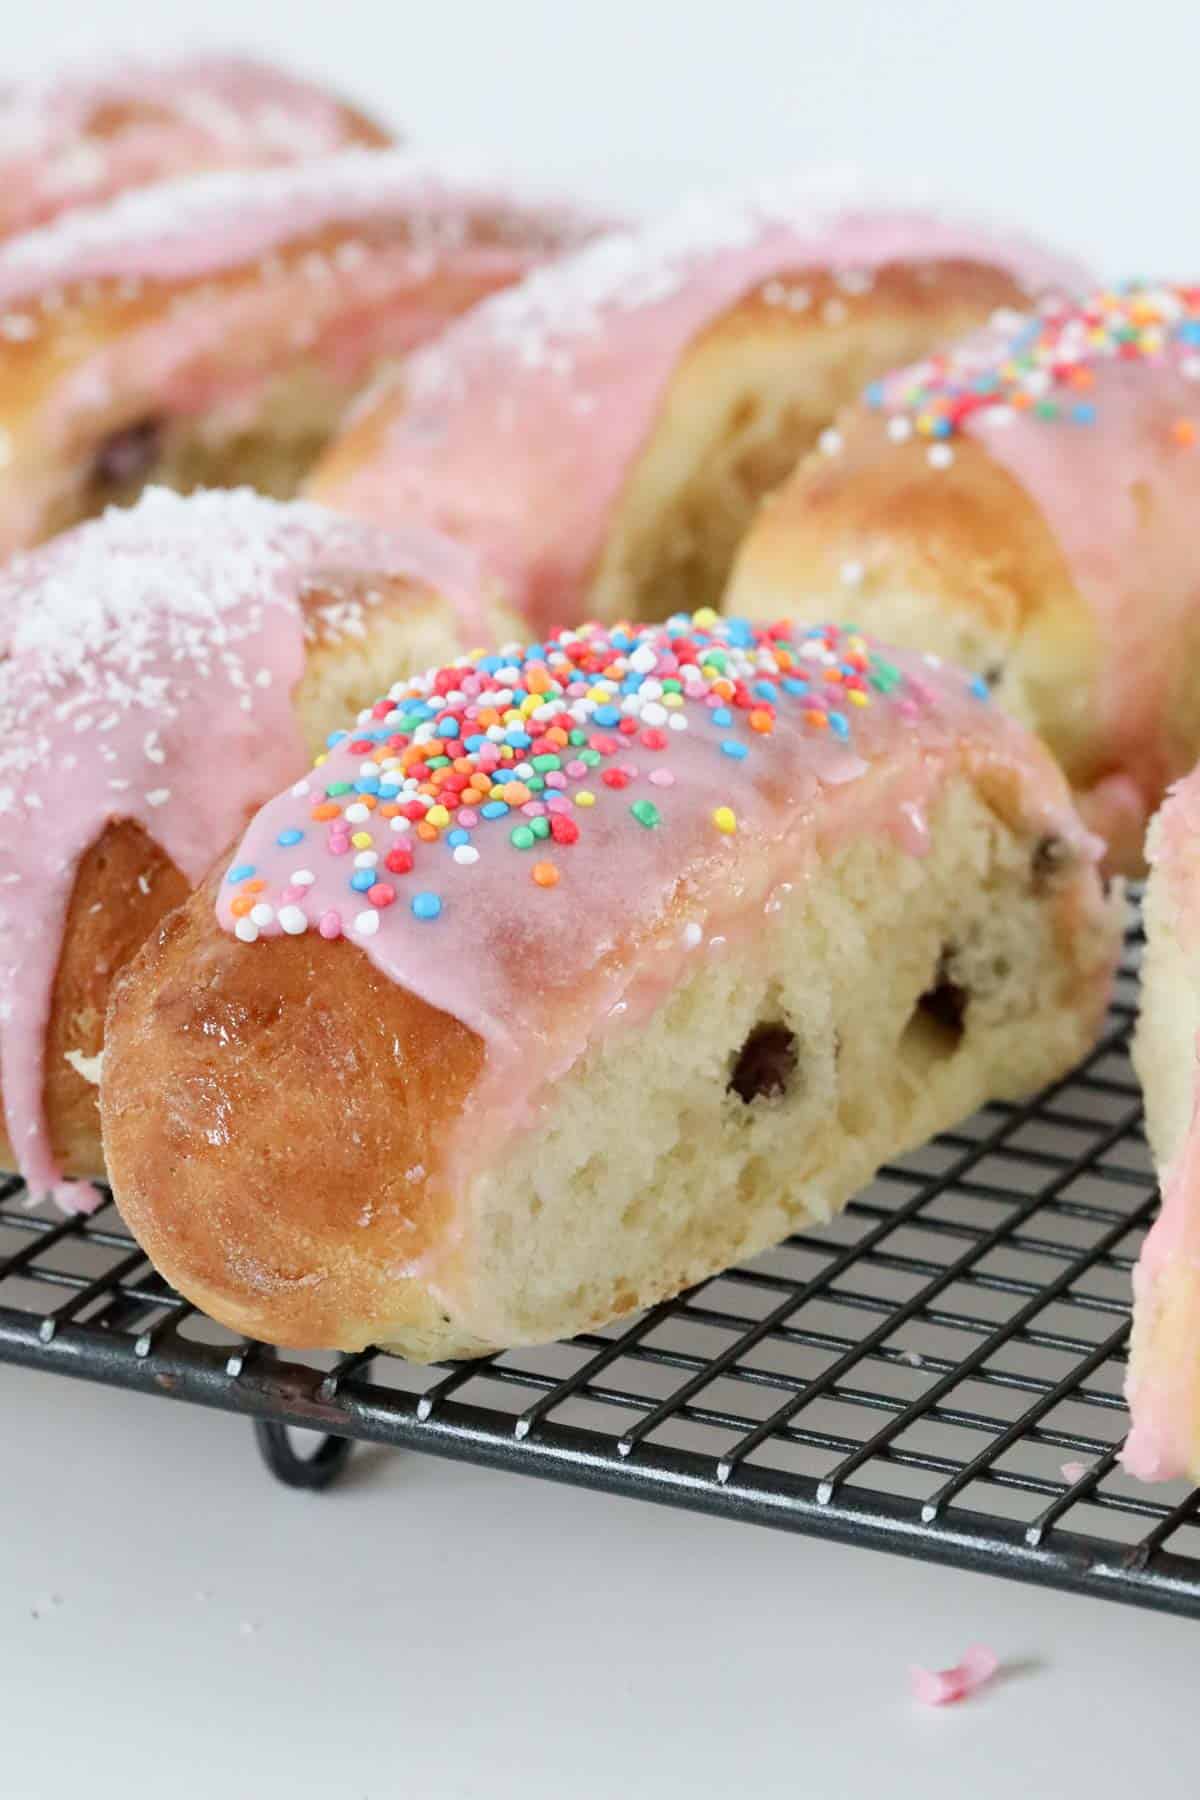
My homemade sticky finger buns take just 15 minutes to prepare, and with that soft buttery dough and pink icing, a fresh baked batch of these always brings a smile to everyones face!
Why You're Going To Love This Recipe
- Loved by all the family - these sticky finger buns are always popular with kids and adults alike.
- Basic ingredients - you don't need any special ingredients to make these soft sweet buns!
- Cheaper than store bought - and they taste sooo good fresh from the oven, not to mention they make the house smell amazing!
- Conventional or Thermomix - both methods for these classic finger buns are written in the recipe card below.
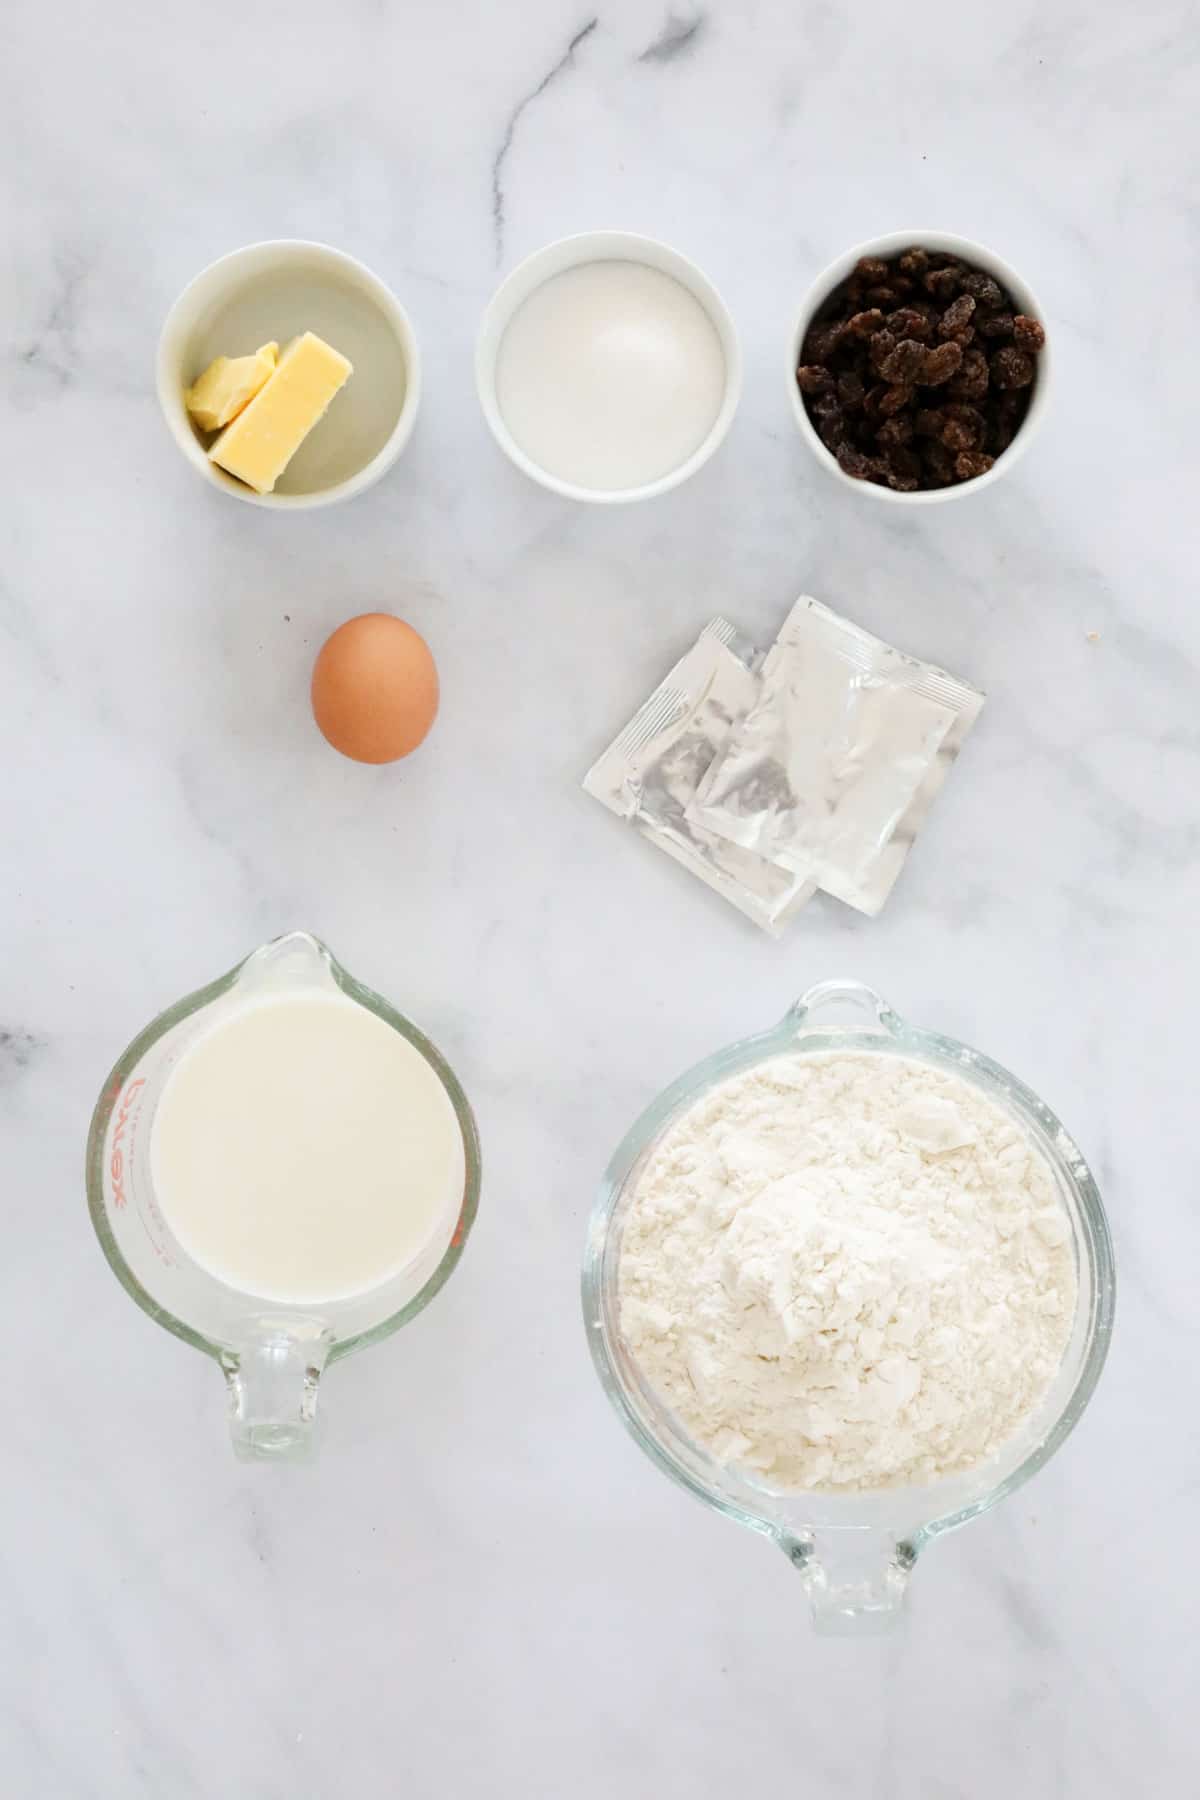
What You Need
These iced finger buns are made with just a handful of basic ingredients.
Note: Scroll to the recipe card at the bottom for the ingredients quantities and full detailed method.
- Dried yeast - dried yeast can be bought in individual sachets or larger boxes/containers.
- Caster sugar - also called superfine sugar. This is used to make the finger buns as well as the glaze.
- Milk - warmed but not hot. I recommend using full cream milk for the softest finger buns.
- Bread flour - or plain, all purpose flour.
- Butter - you can use unsalted or salted butter in this recipe. Make sure your butter is softened to room temperature.
- Egg - I use a large egg, weighing approx 60g each, at room temperature for the best results.
- Sultanas - these are optional, you can make a fruitless finger bun if you prefer.
- Gelatine powder - makes the glaze set with a glossy finish.
- Pure icing sugar.
- Pink food colouring - you only need a tiny amount.
- Desiccated coconut or 100s and 1000s - to decorate the finger buns. I like to make half into coconut finger buns and half with sprinkles so everyone can pick their favourite!
Equipment Required
- 3 bowls and a spoon - or you can make these finger buns using your Thermomix.
- Large baking tray - 30cm x 45cm.
- Oven - I specify fan-forced oven temperatures in my recipes, so if you have a conventional oven, increase the temperature by between 10 and 20 degrees Celsius.
Step By Step Instructions
It takes just 15 minutes to prep these pink iced finger buns, then let the dough rise!
Note: Scroll to the recipe card at the bottom for the ingredients quantities and full detailed method.
Step 1 - Activate The Yeast
Add the dried yeast, caster sugar and warm milk into a bowl. Whisk to combine. Allow to sit in a warm place for 10 minutes or until frothy.

Step 2 - Combine The Flour And Butter
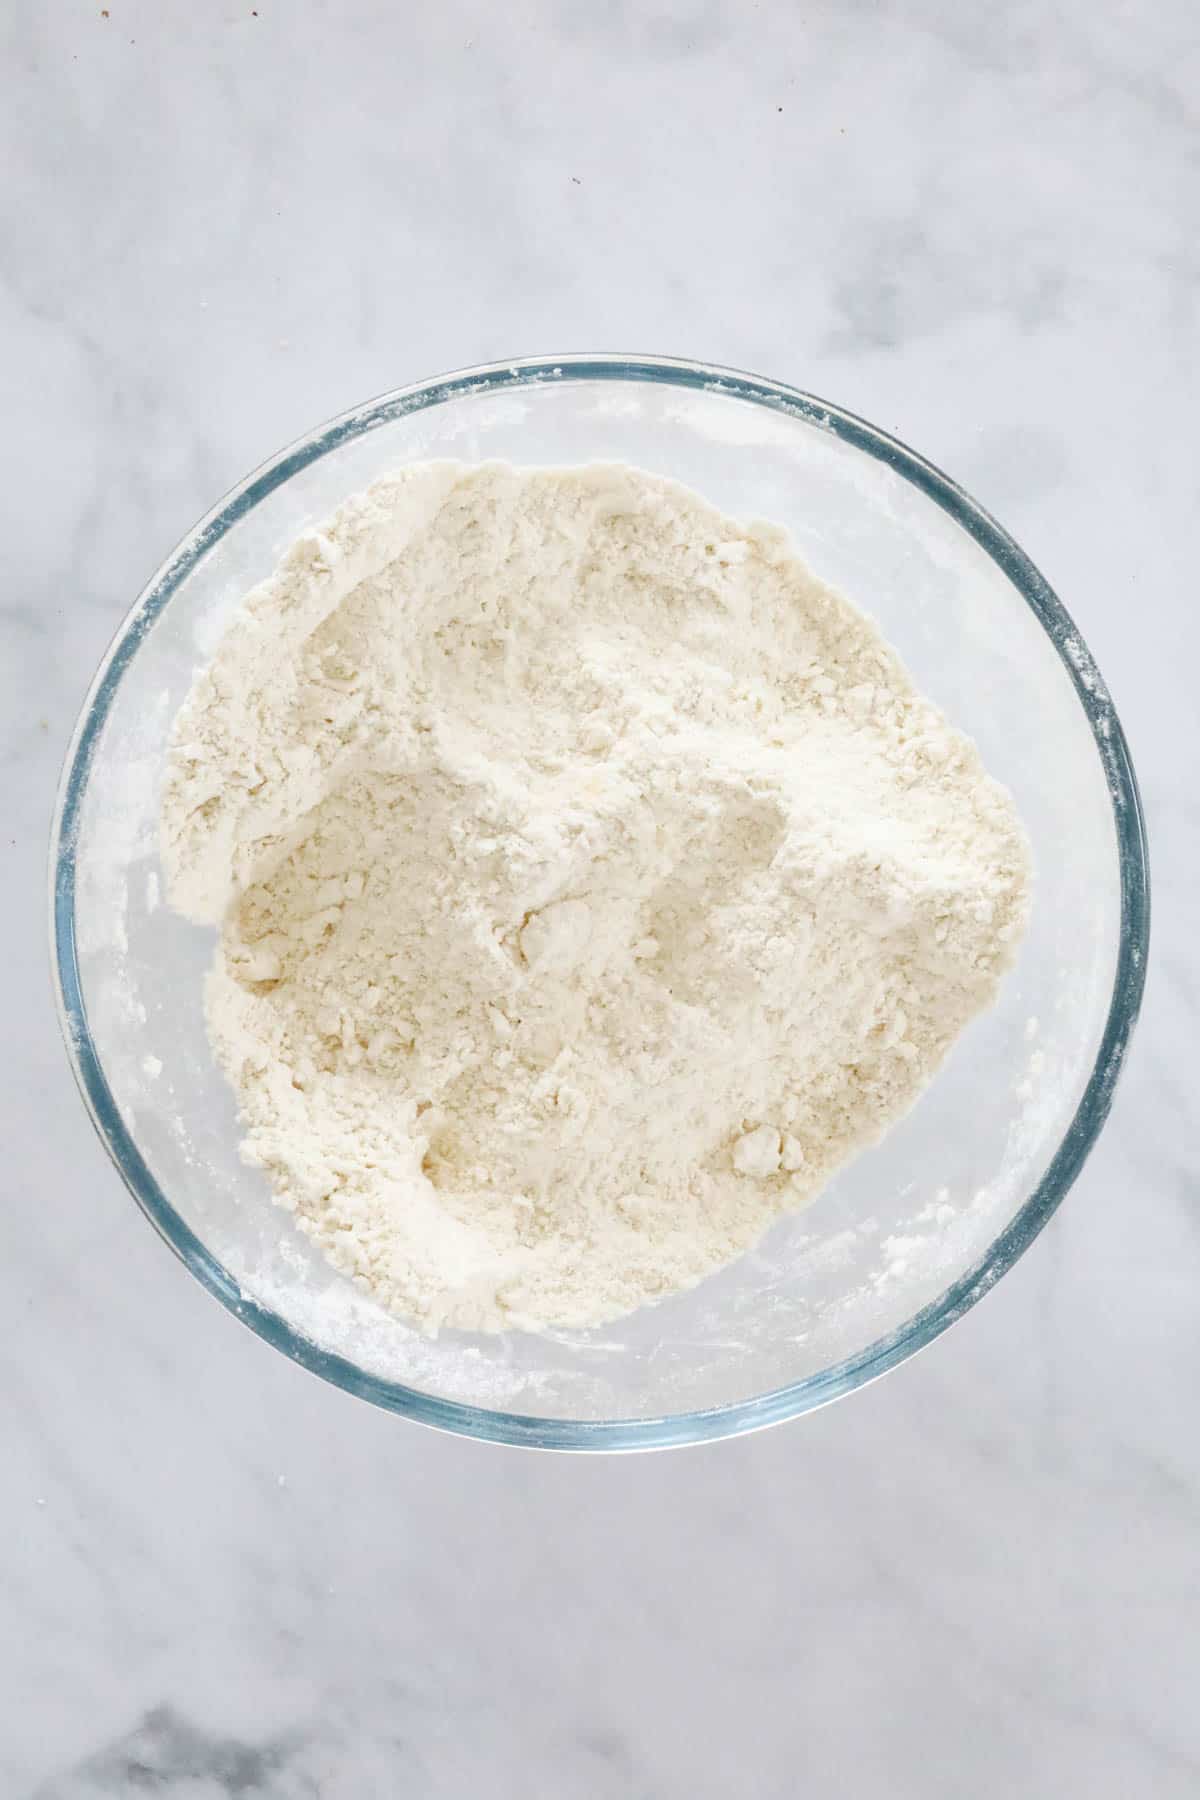
Sift the flour into a large bowl.
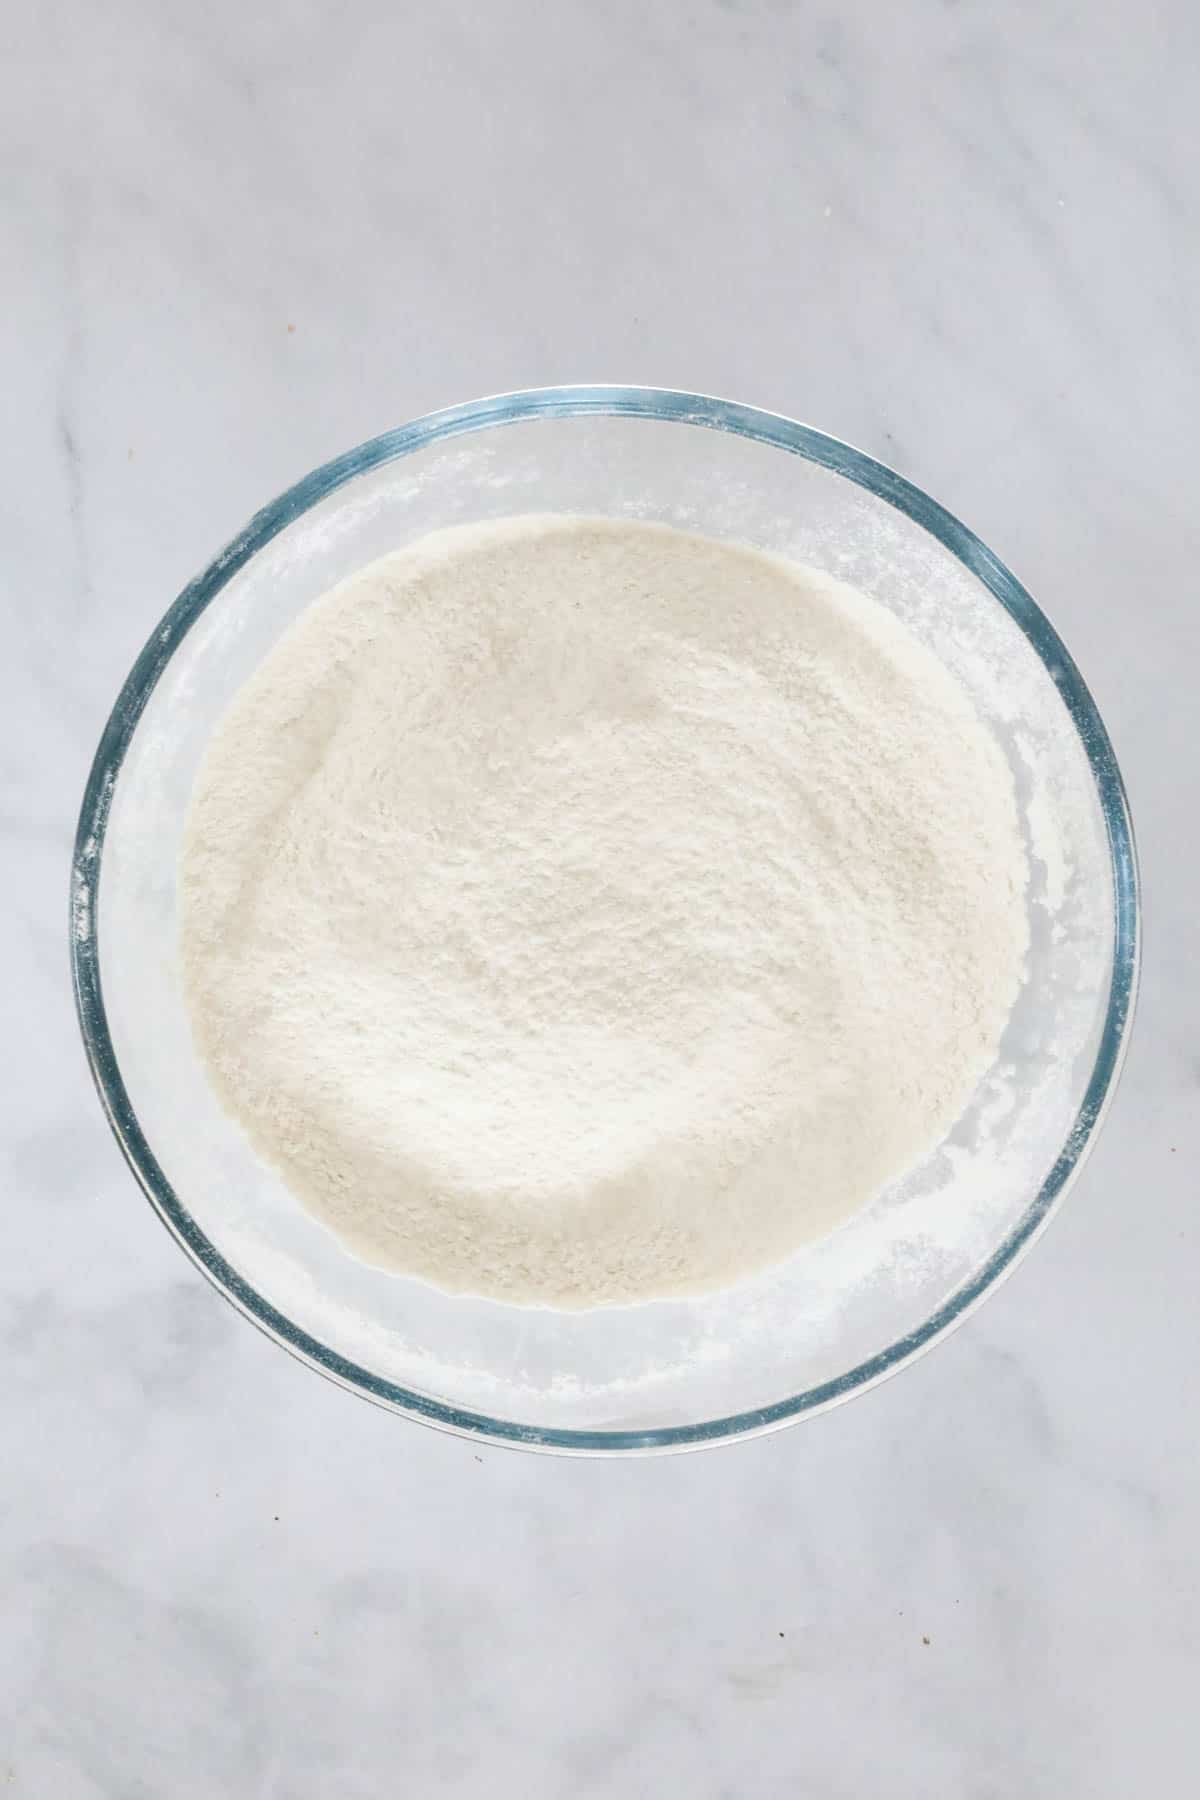
Rub the butter through the flour until the mixture resembles fine breadcrumbs.
Step 3 - Combine The Dough Ingredients
Pour in the yeast mixture, the whisked egg and the sultanas.
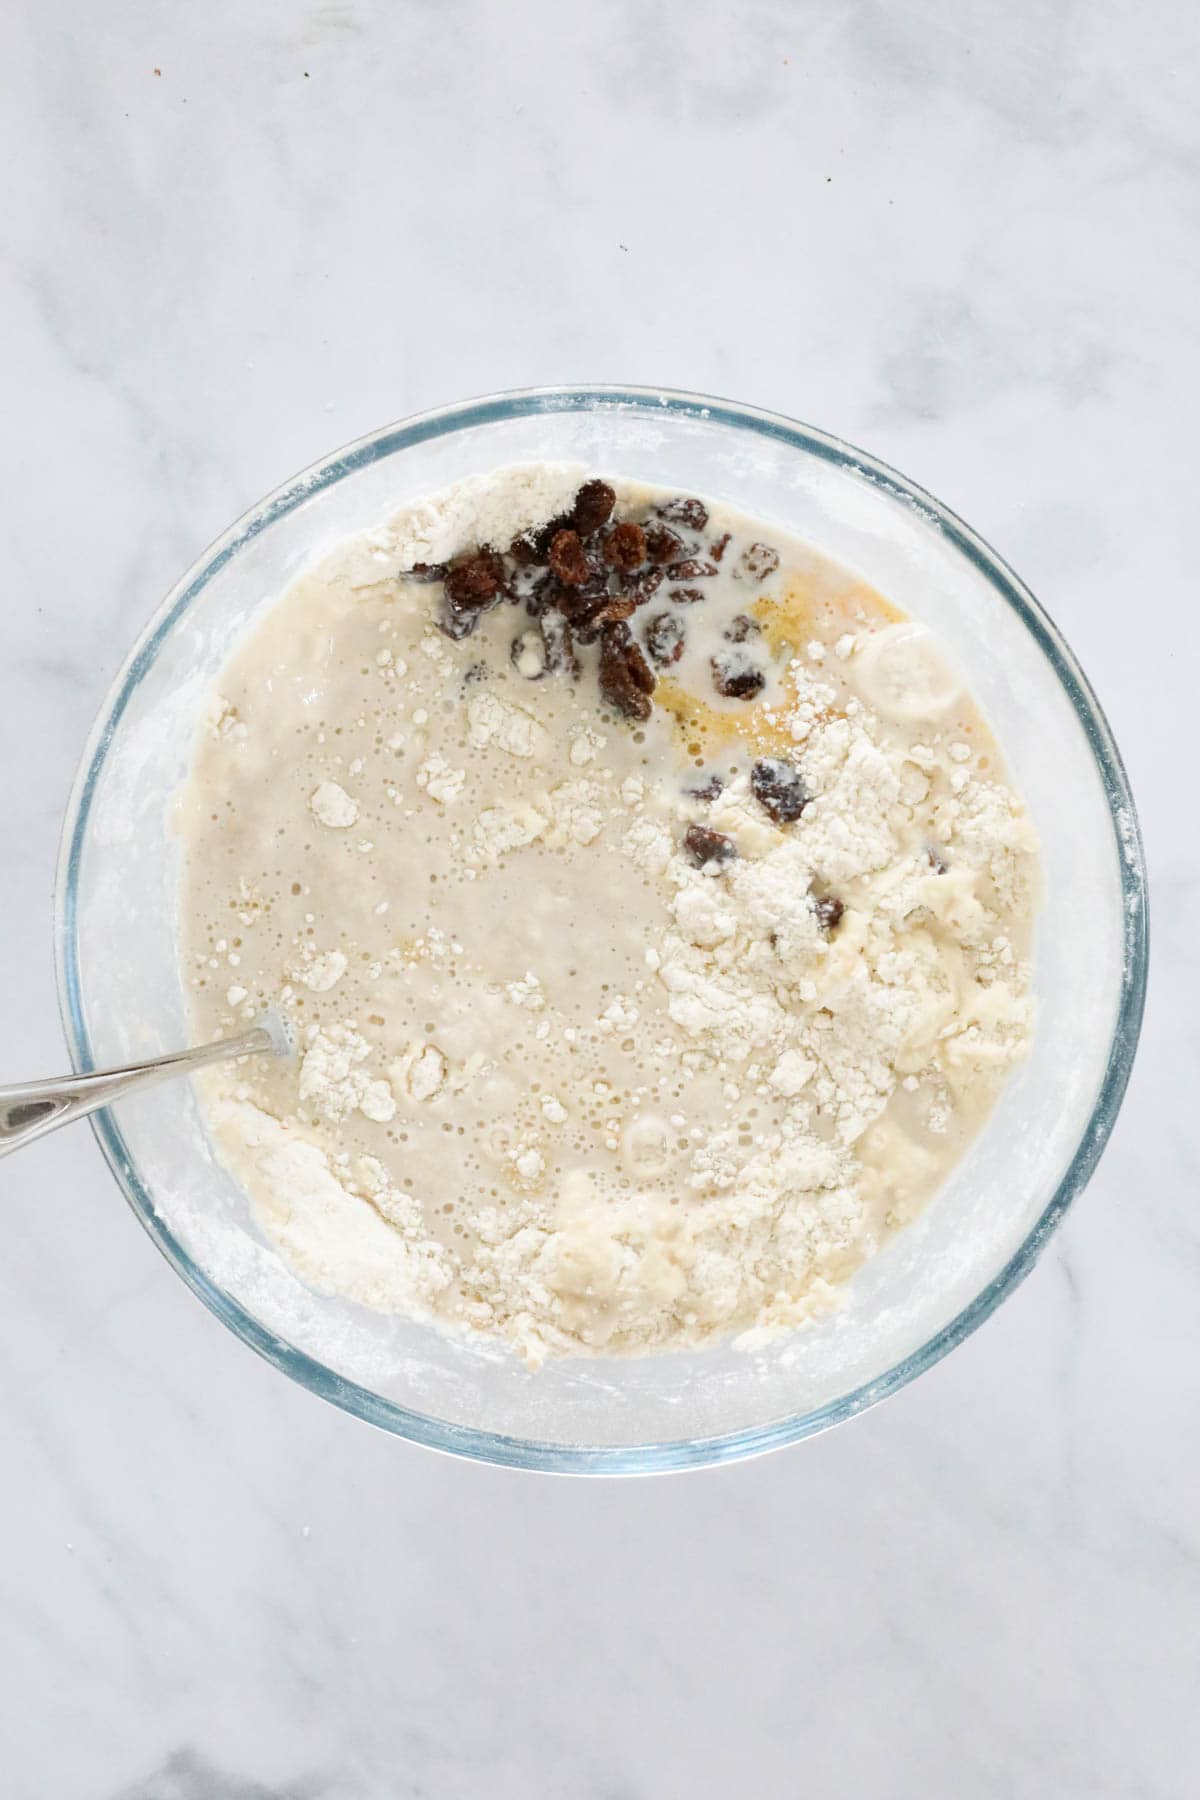
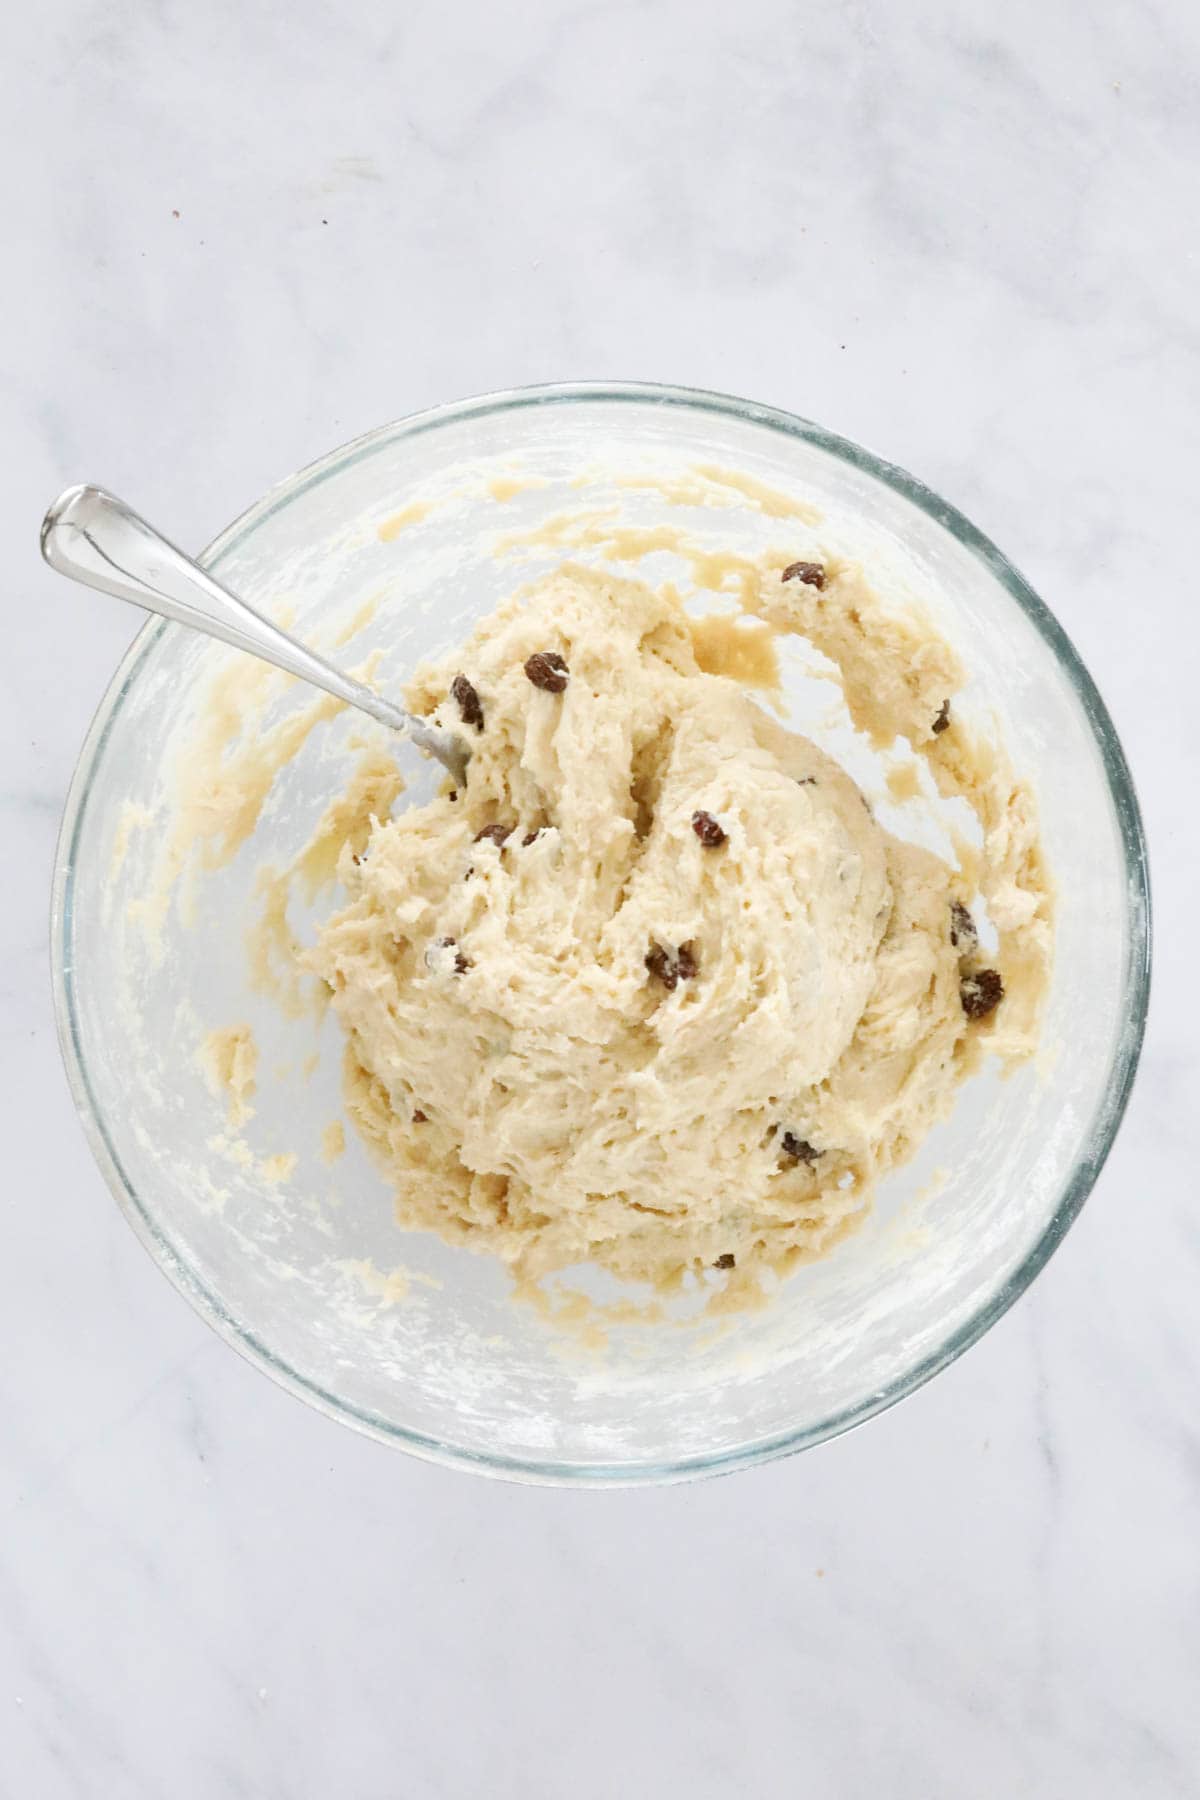
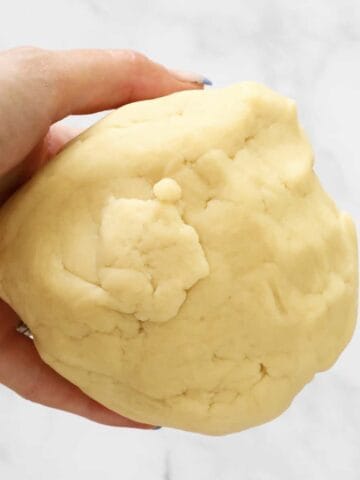
Stir together until the mixture forms a round dough ball.
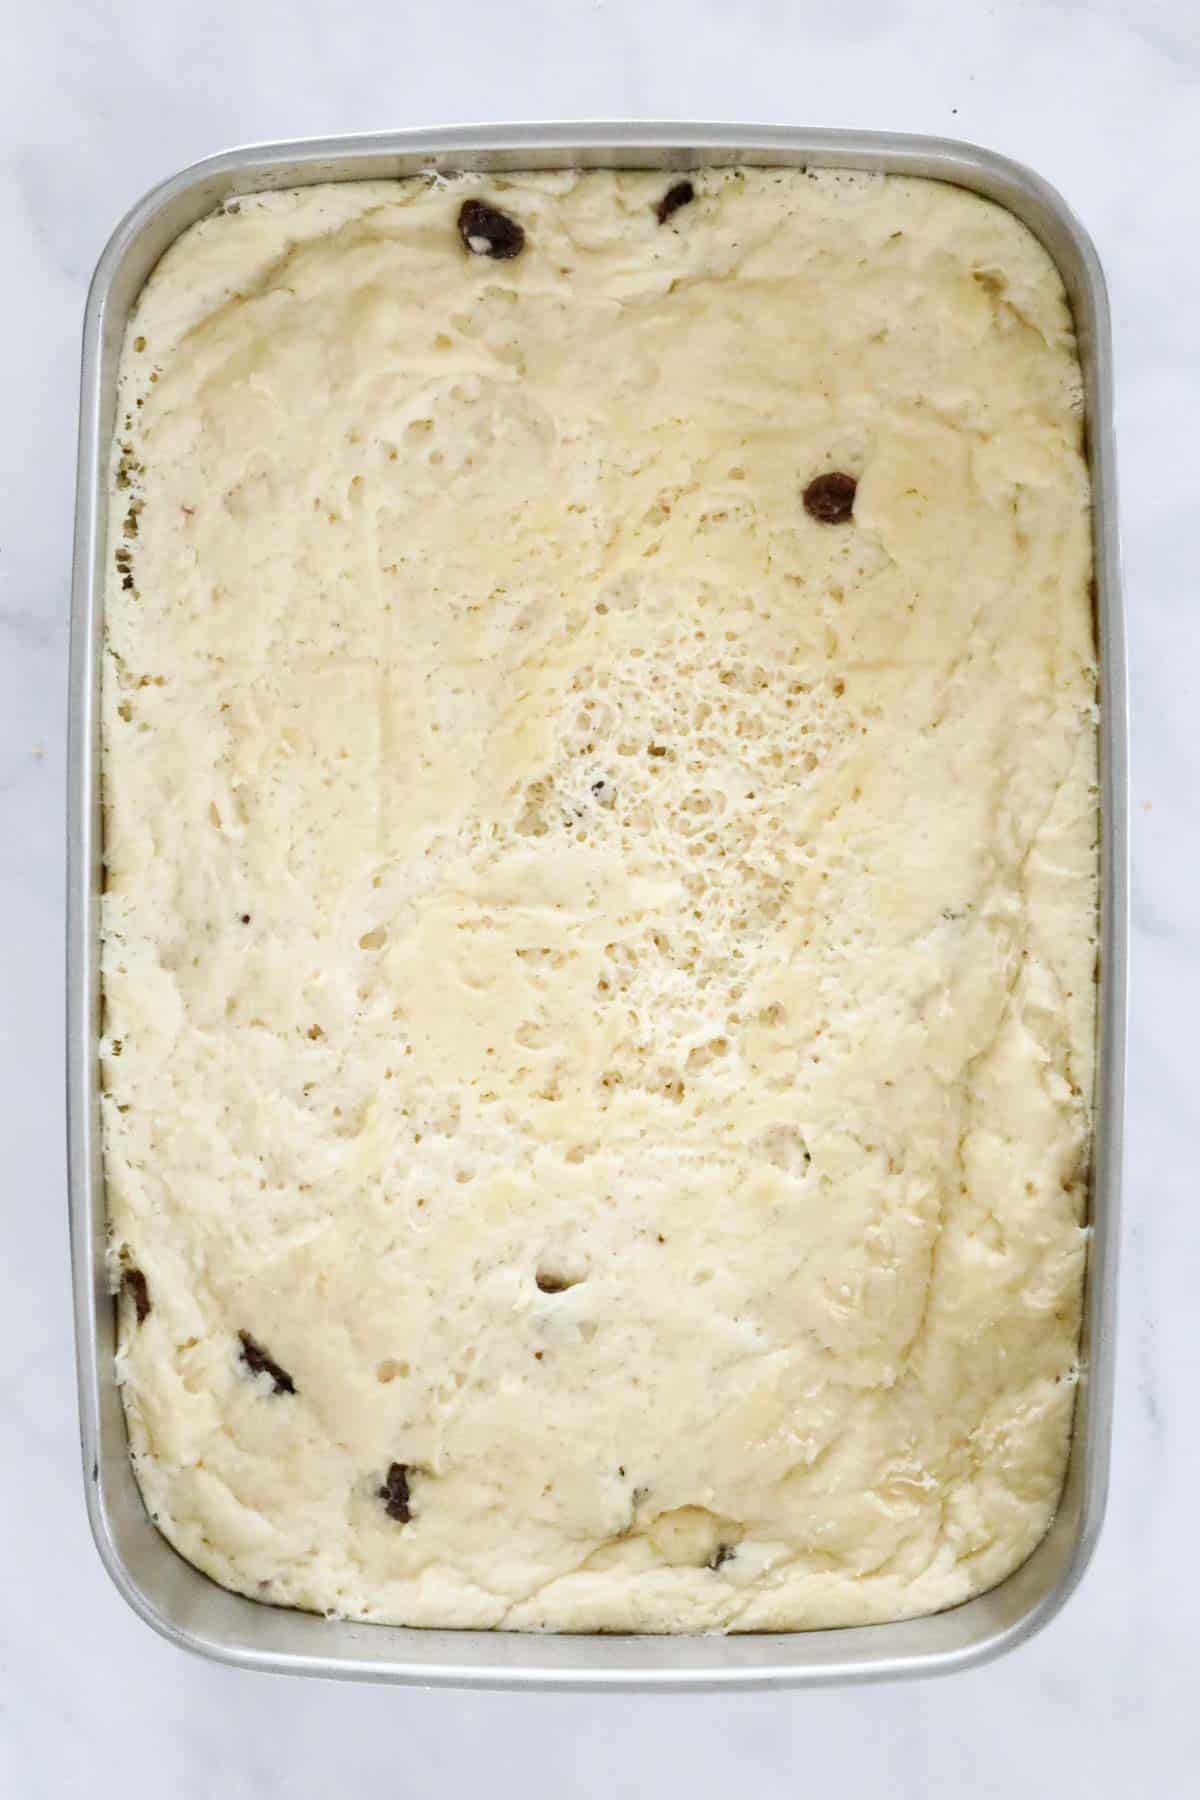
Step 4 - Leave The Dough To Rise
Grease a dish with cooking spray and place the dough ball into the bowl.
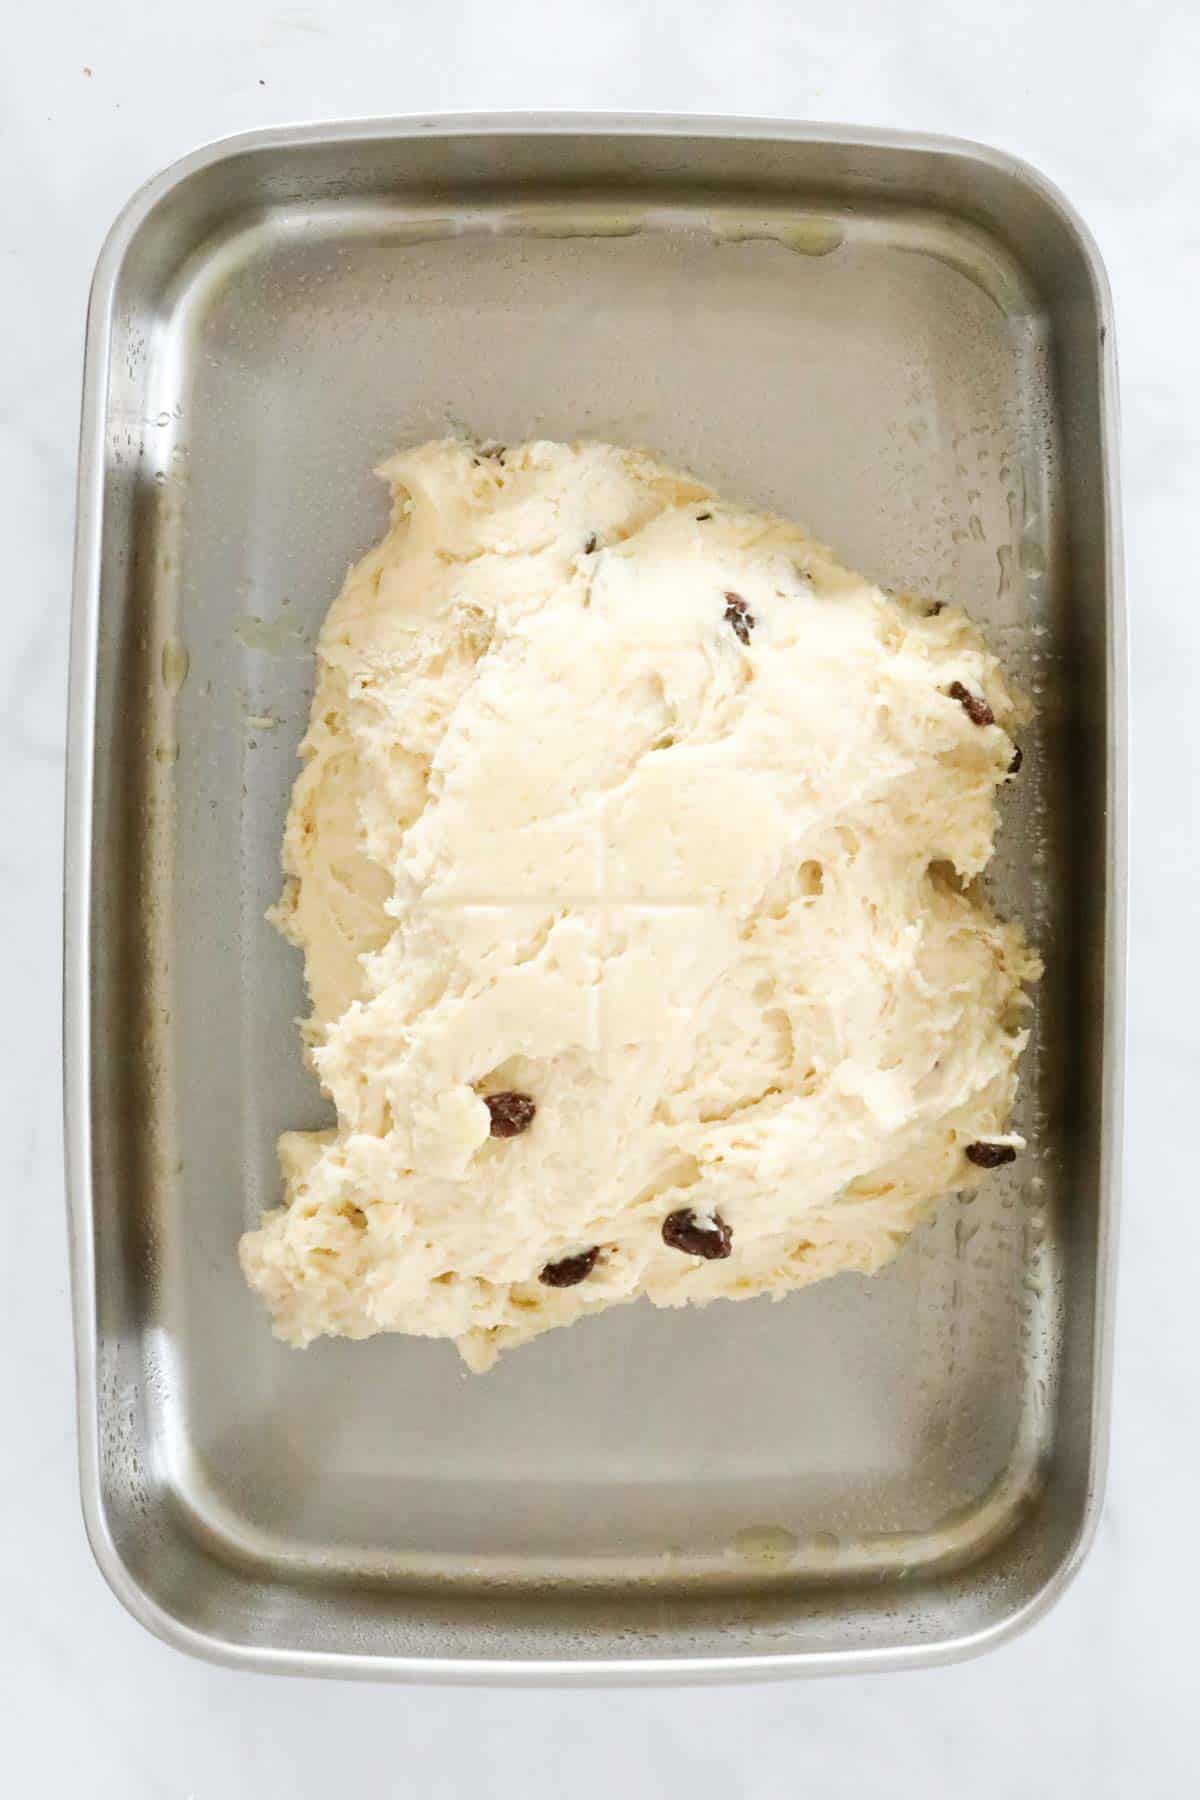
Cover with a tea towel and leave in a warm spot to rise for 45 minutes or until doubled in size.
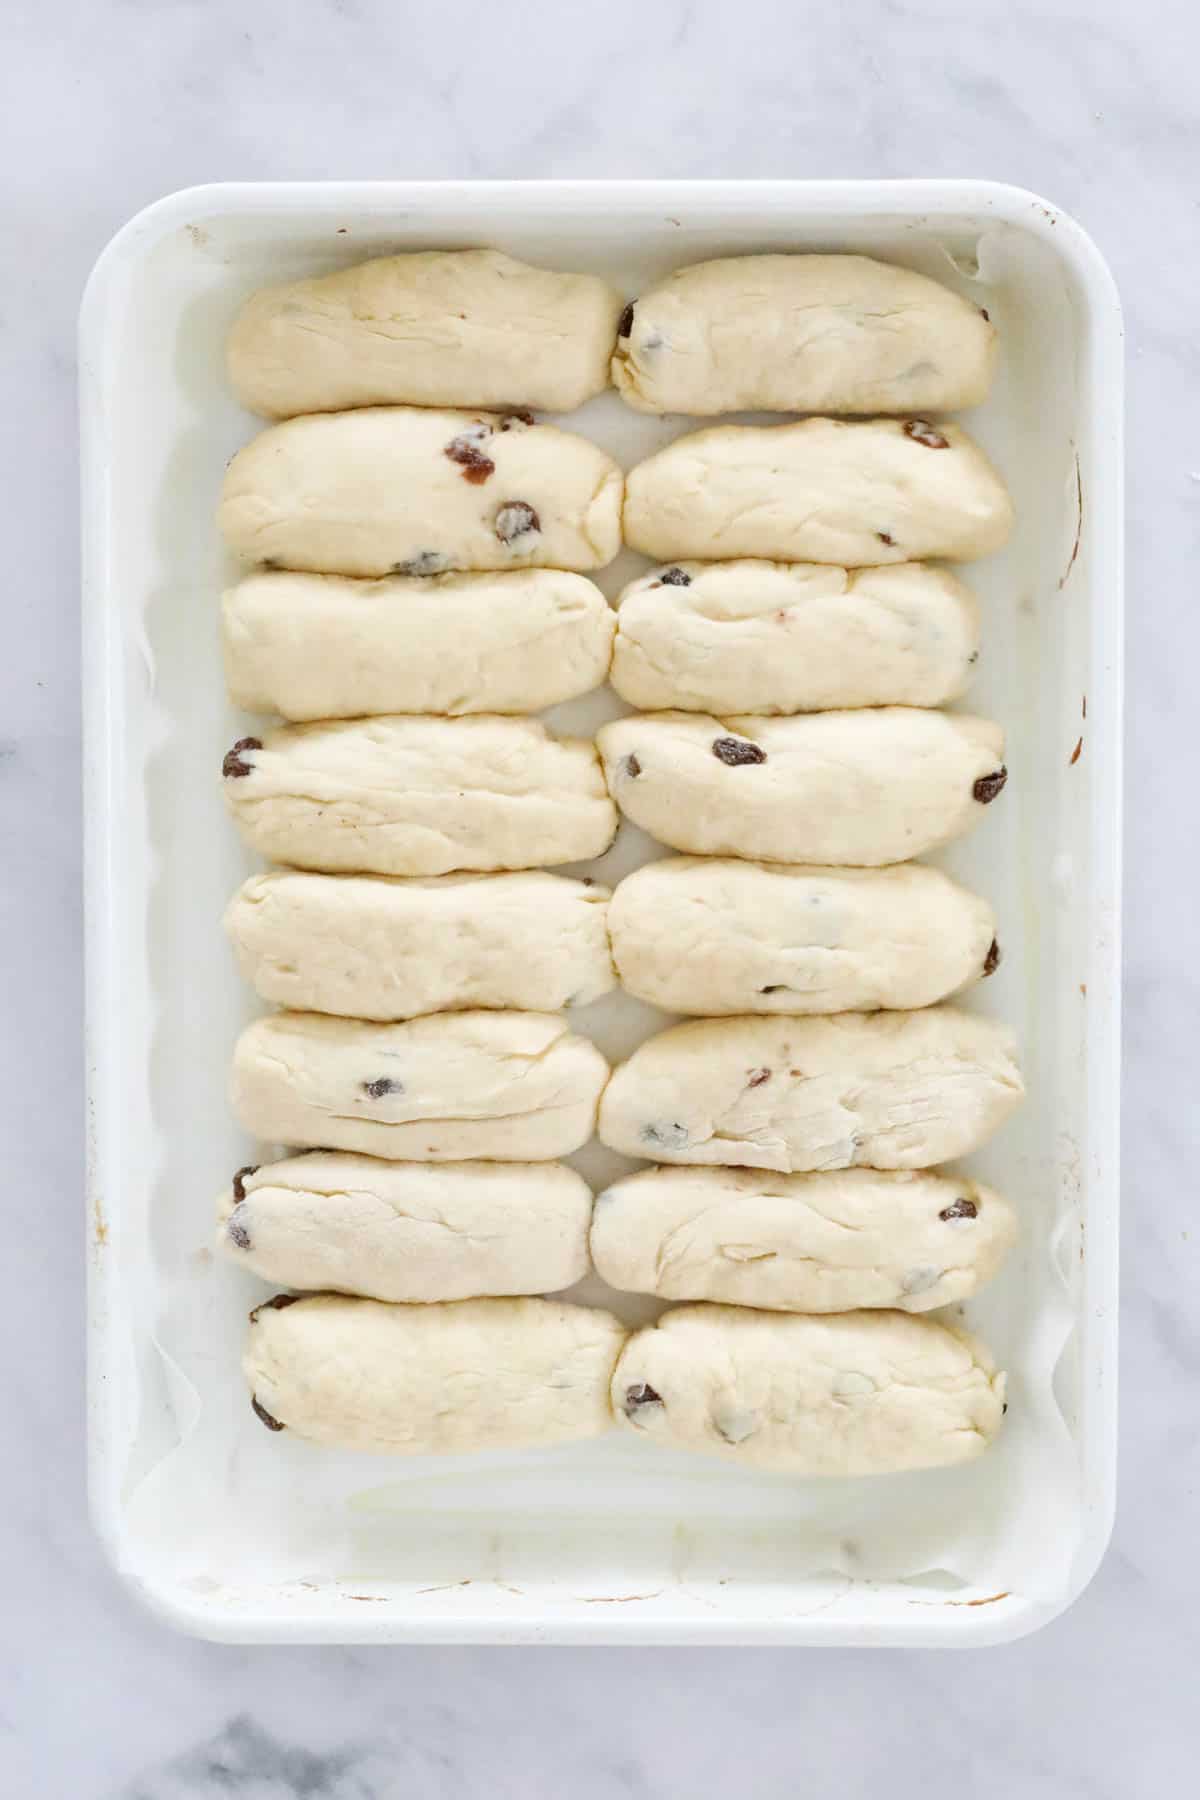
Step 5 - Shape The Dough
Preheat oven to 200 degrees celsius (fan-forced).
On a lightly floured board, place the dough and knead for 5 minutes.
Divide the dough into 16 equal sized portions and roll each portion into a log-shaped bun.

Place the finger buns onto a large 30cm x 45cm greased baking tray or ovenware dish. Set aside for a further 10 minutes to prove.
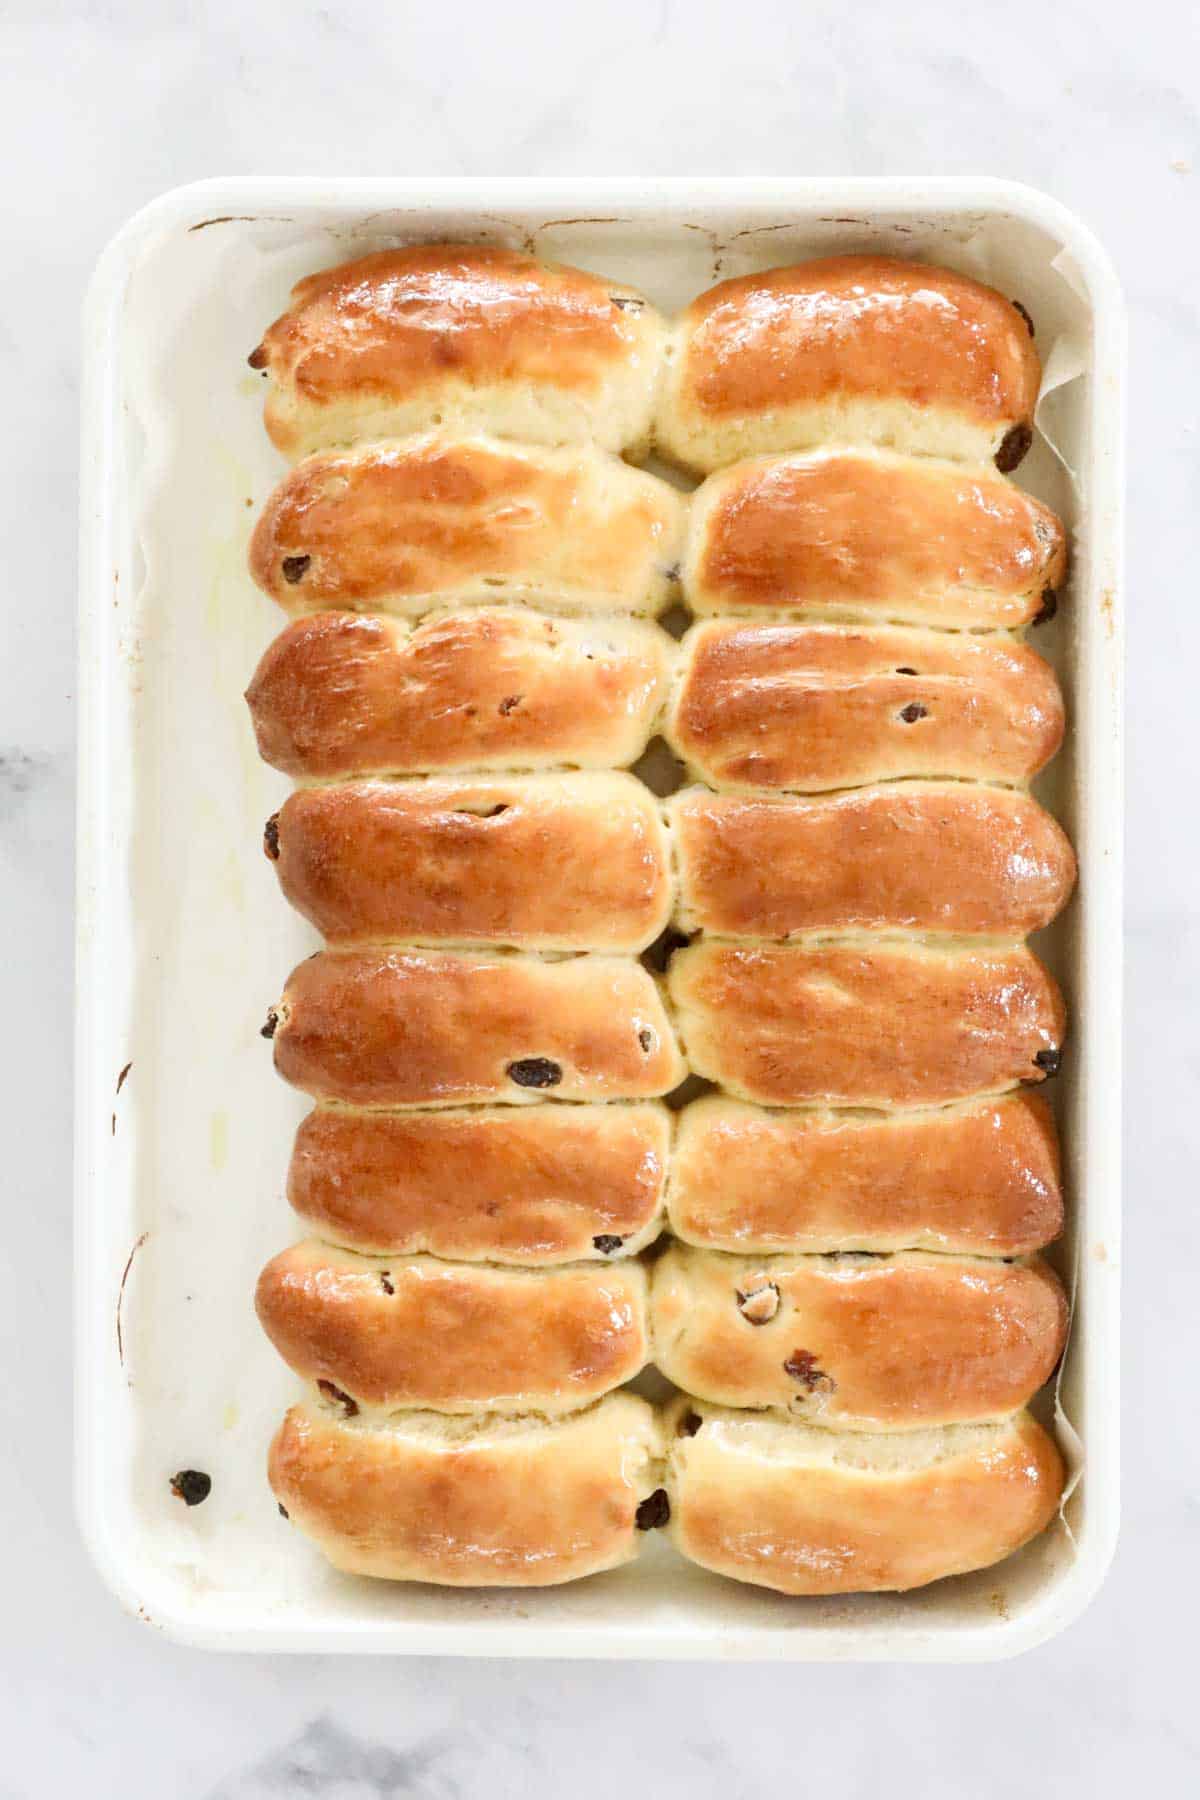
Step 6 - Bake
Bake the buns for 12 minutes or until golden and they sound hollow when tapped on top.
Step 7 - Make The Glaze
While the finger buns are still warm, place the caster sugar, gelatine powder and water into a bowl. Heat on 50% power in the microwave for 30 seconds or until the gelatine has dissolved. Stir the glaze.
Brush glaze over the top of the buns. Allow the buns to cool before making the icing.
Step 8 - Ice The Buns
Sift the icing sugar into a bowl. Add the softened butter, boiling water and 1-2 drops of pink food colouring. Whisk until smooth and combined.
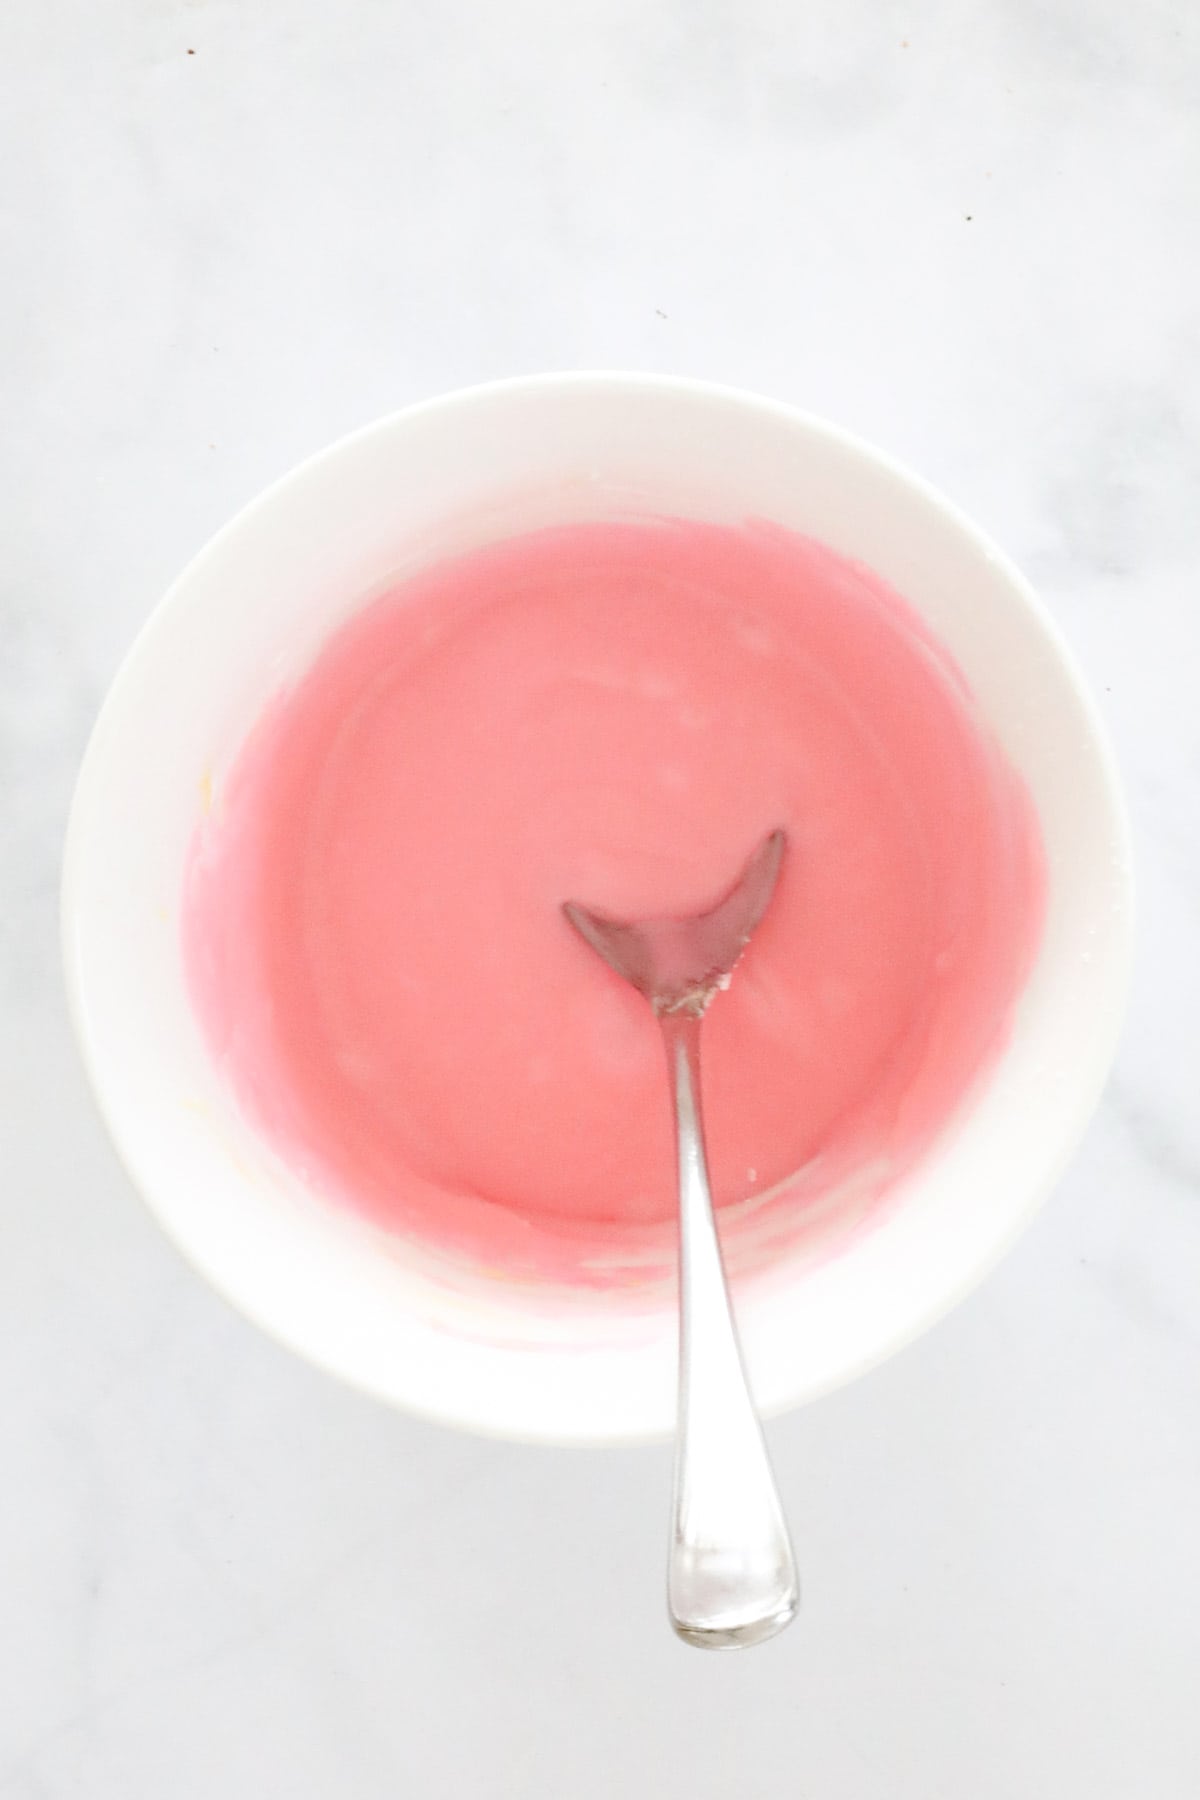
Spread the icing over the buns and decorate with coconut or 100s and 1000s.
Expert Tips
Tips for proving the dough:
- To prove the dough, place it into a lightly greased bowl, set the bowl in a warm spot and cover with a tea towel. Warm places can include:
- a sunny spot in the house.
- heat an oven on low temperature and then turn off - allow the oven to cool until only just warm and place the bowl inside.
- pour boiling water into the bowl and leave for 5 minutes to heat the dish through - drain the water, grease the bowl lightly and place the dough inside.
- place the bowl on top of a hot water bottle.
- place the bowl near a warm heater.
Extra Tips
- Make sure that your yeast is in date and still active.
- Mix the yeast with warm milk to help it dissolve and activate. You'll know it's ready when it becomes frothy.
- Leaving the dough in a warm place is essential for it to rise and double in size. See my tips above for proving dough.
- Glaze the cooked finger buns while they're still warm.
- Storage - store the finger buns in an airtight container at room temperature for up to 3 days (they are at their very best on the day they're made).
FAQs
Gently tap the top of the finger buns, if they sound hollow then they are cooked.
Yes, you can! Freeze the buns in an airtight container for up to 1 month. Allow to defrost before reheating or alternatively, serve at room temperature once defrosted.
No, the dough used to make finger buns is an enriched dough, containing butter, sugar and egg to create a soft, fluffy, sweet and buttery dough.
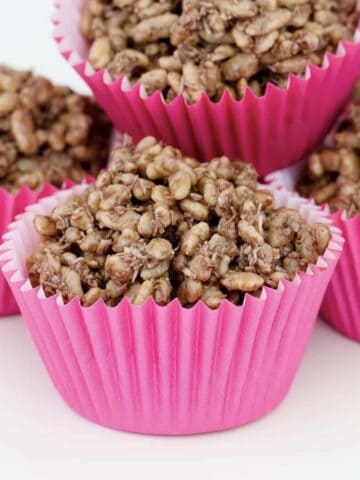
Related Recipes
For more classic sweet treats that are loved by all the family, check out these other popular recipes:


WANT EVEN MORE DELICIOUS RECIPES? Subscribe to my newsletter or follow along on Facebook or Instagram. And if you love baking, then please come and join my Facebook cooking club group or subscribe to my YouTube channel.

Finger Buns
Ingredients
For The Finger Buns
- 14 g (4 tsp) dried yeast
- 55 g (¼ cup) caster sugar
- 375 ml (1 ½ cups) warm milk
- 600 g (4 cups) bread flour or plain flour
- 60 g butter chopped, room temperature
- 1 egg lightly beaten
- 80 g (½cup) sultanas optional
For the glaze:
- 1 tbs caster sugar
- 1 tsp gelatine powder
- 1 tbs hot water
For the icing:
- 240 g (1 ½ cups) pure icing sugar
- 15 g butter softened
- 2 tbs boiling water
- 1-2 drops pink food colouring
- desiccated coconut or 100s and 1000s to decorate
Instructions
- Place the dried yeast, caster sugar and warm milk into a bowl. Whisk to combine. Allow to sit in a warm place for 10 minutes or until frothy. If using a Thermomix: Place milk, yeast and caster sugar into the Thermomix bowl and mix for 1 minute, 37 degrees, Speed 1.
- In a large bowl, sift the flour. Rub the butter through the flour until the mixture resembles fine breadcrumbs. If using a Thermomix: Add flour, butter and egg and mix for 6 seconds, Speed 7.
- Pour in the yeast mixture, the whisked egg and the sultanas. If using a Thermomix: Knead for 2-3 minutes on Interval/Kneading function. Add the sultanas and combine for 10 seconds, Reverse, Speed 5.
- Stir together until the mixture forms a round dough ball.Grease a bowl with cooking spray and place the dough ball into the bowl.
- Cover with a tea towel and leave in a warm spot to rise for 45 minutes or until doubled in size (see notes).
- Preheat oven to 200 degrees celsius (fan-forced).
- On a lightly floured board, place the dough and knead for 5 minutes.
- Divide the dough into 16 equal sized portions and roll each portion into a log-shaped bun.
- Place the logs onto a large 30cm x 45cm greased baking tray. Set aside for a further 10 minutes to prove.
- Bake the buns for 12 minutes or until golden and they sound hollow when tapped on top.
- While the buns are still warm, place the caster sugar, gelatine powder and water into a bowl. Heat on 50% power in the microwave for 30 seconds or until the gelatine has dissolved. Stir the glaze.Brush the glaze over the top of the buns. Allow the buns to cool before making the icing.
- To make the icing, sift the icing sugar into a bowl. Add the softened butter, boiling water and 1-2 drops of pink food colouring. Whisk until smooth and combined. If using a Thermomix: place the icing sugar into the Thermomix bowl and sift for 10 seconds, Speed 8. Scrape down the sides of the bowl and add the butter, boiling water and 1-2 drops of pink food colouring. Mix for 6 seconds, Speed 6. Scrape down the sides of the bowl and repeat for a further 5 seconds or until combined.
- Spread the icing over the buns and decorate with coconut or 100s and 1000s.
Notes
- a sunny spot in the house
- heat an oven on low temperature and then turn off - allow the oven to cool until only just warm and place the bowl inside
- pour boiling water into the bowl and leave for 5 minutes - drain the bowl, grease lightly and place the dough inside
- place the bowl on top of a hot water bottle
- place the bowl near a warm heater.
- Make sure that your yeast is in date and still active.
- Mix the yeast with warm milk to help it dissolve and activate. You'll know it's ready when it becomes frothy.
- Leaving the dough in a warm place is essential for it to rise and double in size. See my tips above for proving dough.
- Glaze the cooked finger buns while they're still warm.
- Store in an airtight container at room temperature for up to 3 days (they are at their very best the day they are made).
- Freeze the buns in an airtight container for up to 1 month. Allow to defrost before reheating or alternatively, serve at room temperature once defrosted.
Maree says
First time making bread, it was easy and the finger buns turned out so well. Thanks to the helpful tips on proving the dough also. I recommend this recipe ☆☆☆☆☆
Lucy Mathieson says
I'm so glad you liked it!
Flik says
Recipe worked so well
R says
Can you freeze with icing?
Lucy says
Sure! It's best to freeze un-iced if possible, but ok to freeze with icing too!