Our soft and fluffy homemade white bread rolls made with yeast are so simple to whip together - all you need is a mixing bowl and a few basic ingredients.
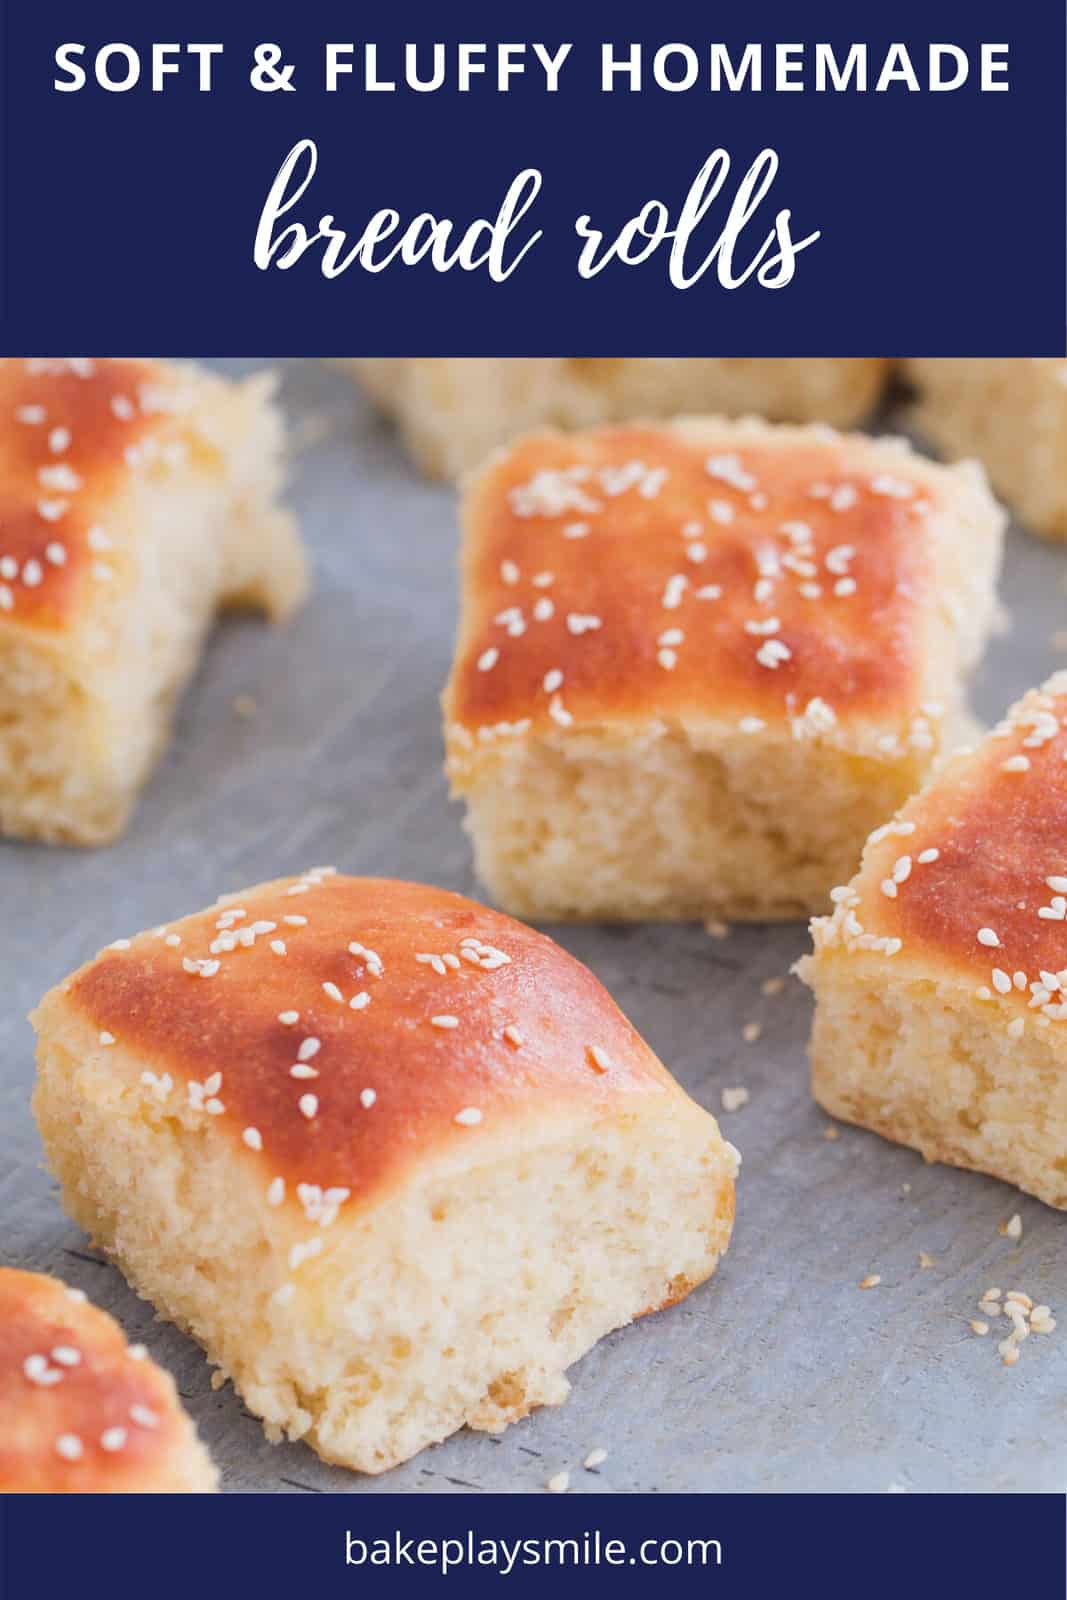
You can't beat homemade bread, rolls and scrolls... and these white bread rolls are the softest and fluffiest rolls ever! Serve them with your favourite soup, salad or side... or as a pulled pork or beef burger - YUM!!!!
Ingredients For Homemade Bread Rolls
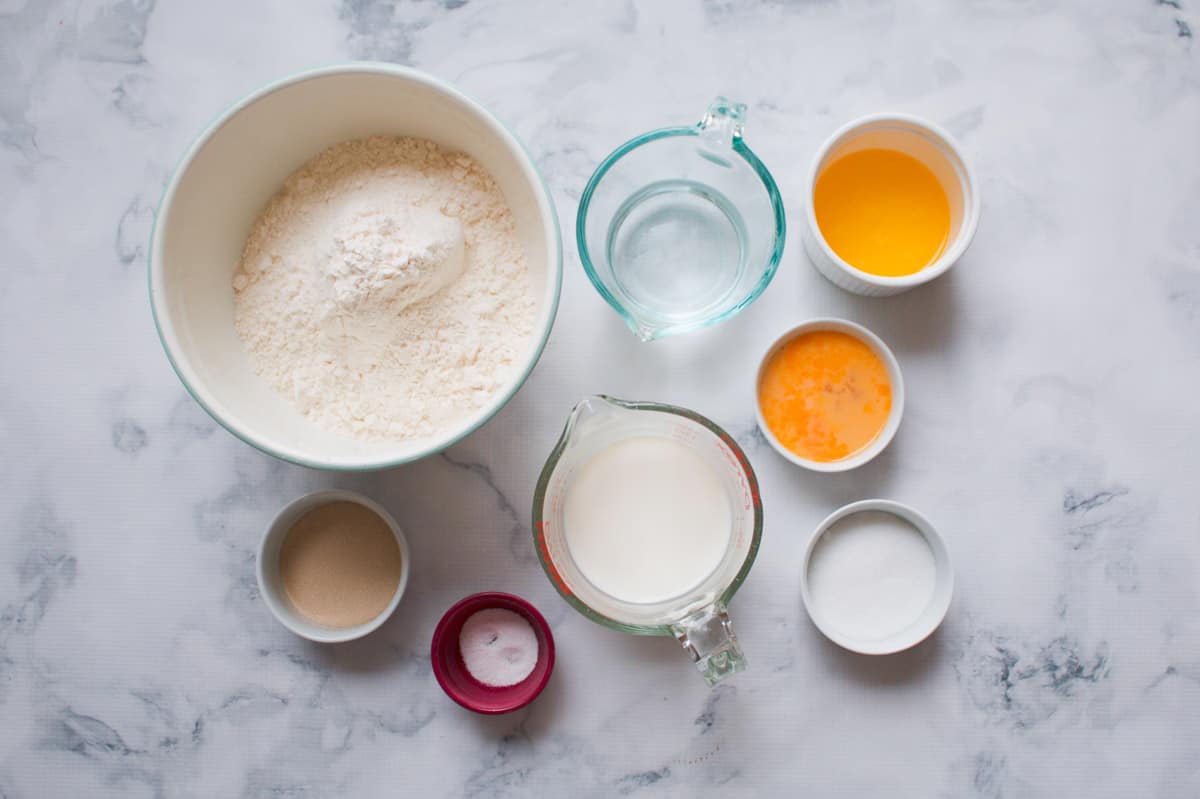
Our simple homemade bread rolls are made from budget-friendly pantry staples (that you probably already have at home!):
- dried instant yeast
- caster sugar (also known as superfine sugar)
- water
- plain flour (these rolls are even better with Bakers flour or bread flour but plain is absolutely fine too - the rolls in these photos were made using plain flour)
- pinch of salt
- milk (full fat is best for these rolls)
- butter
- eggs
- sesame seeds or poppy seeds (optional)
Soft & Fluffy Bread Rolls Using Yeast
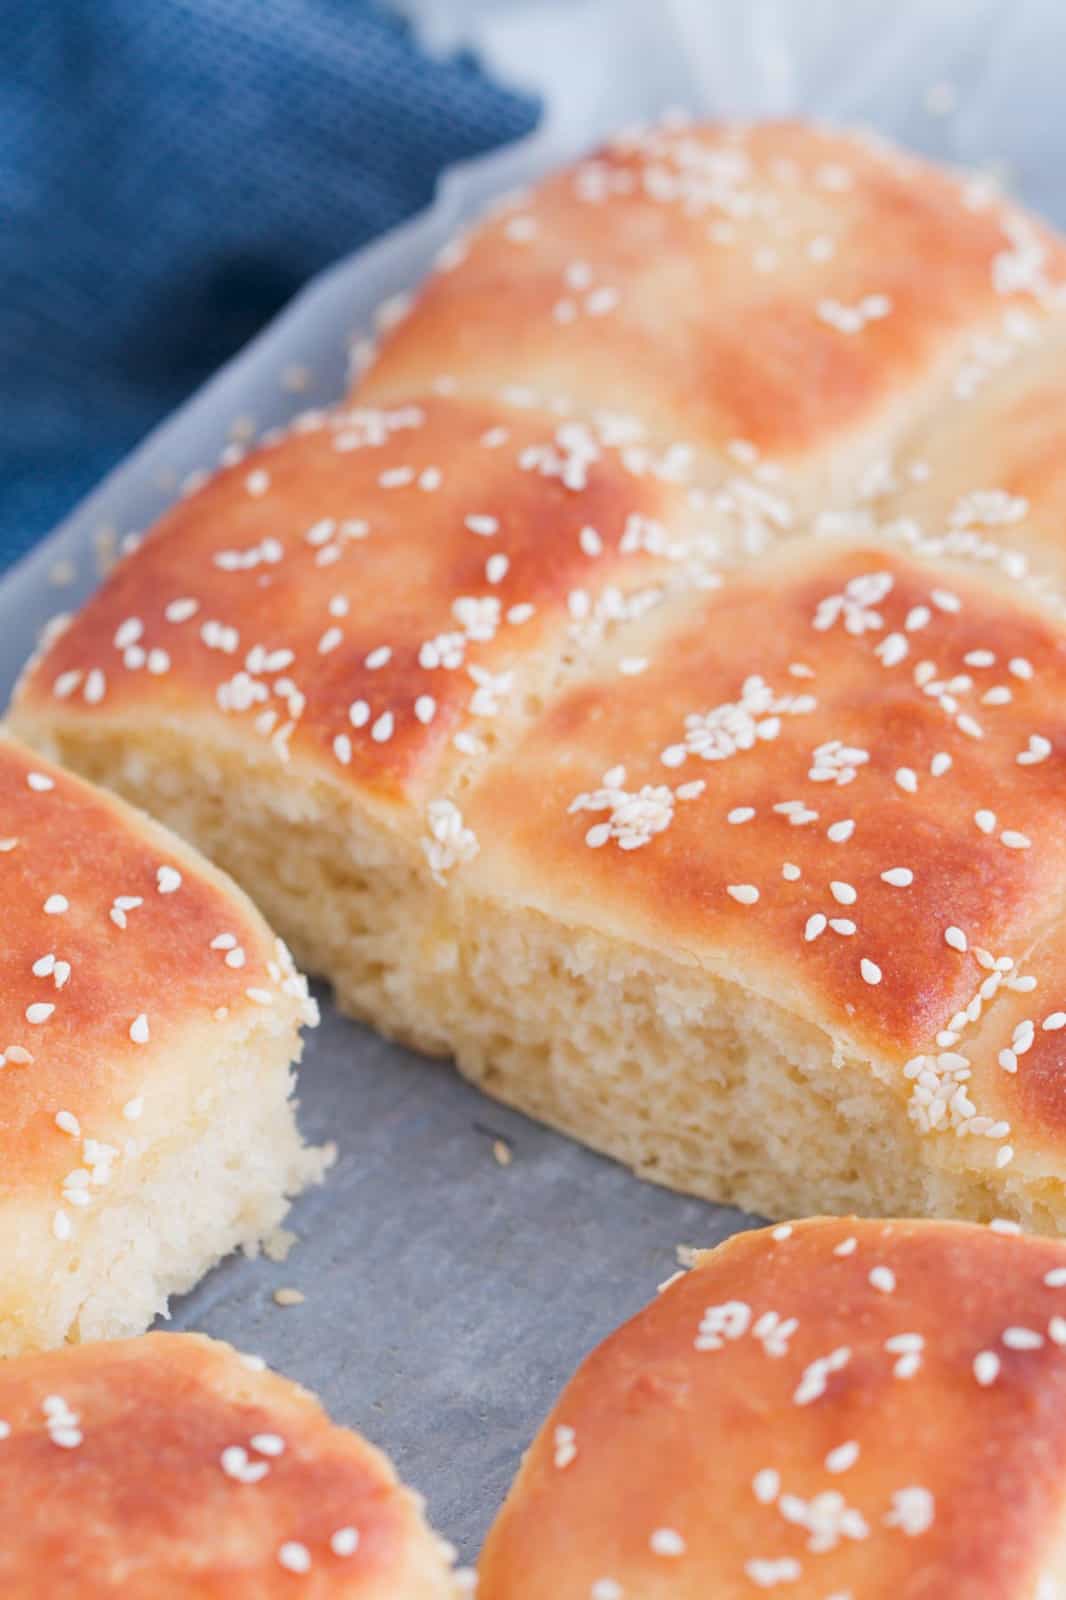
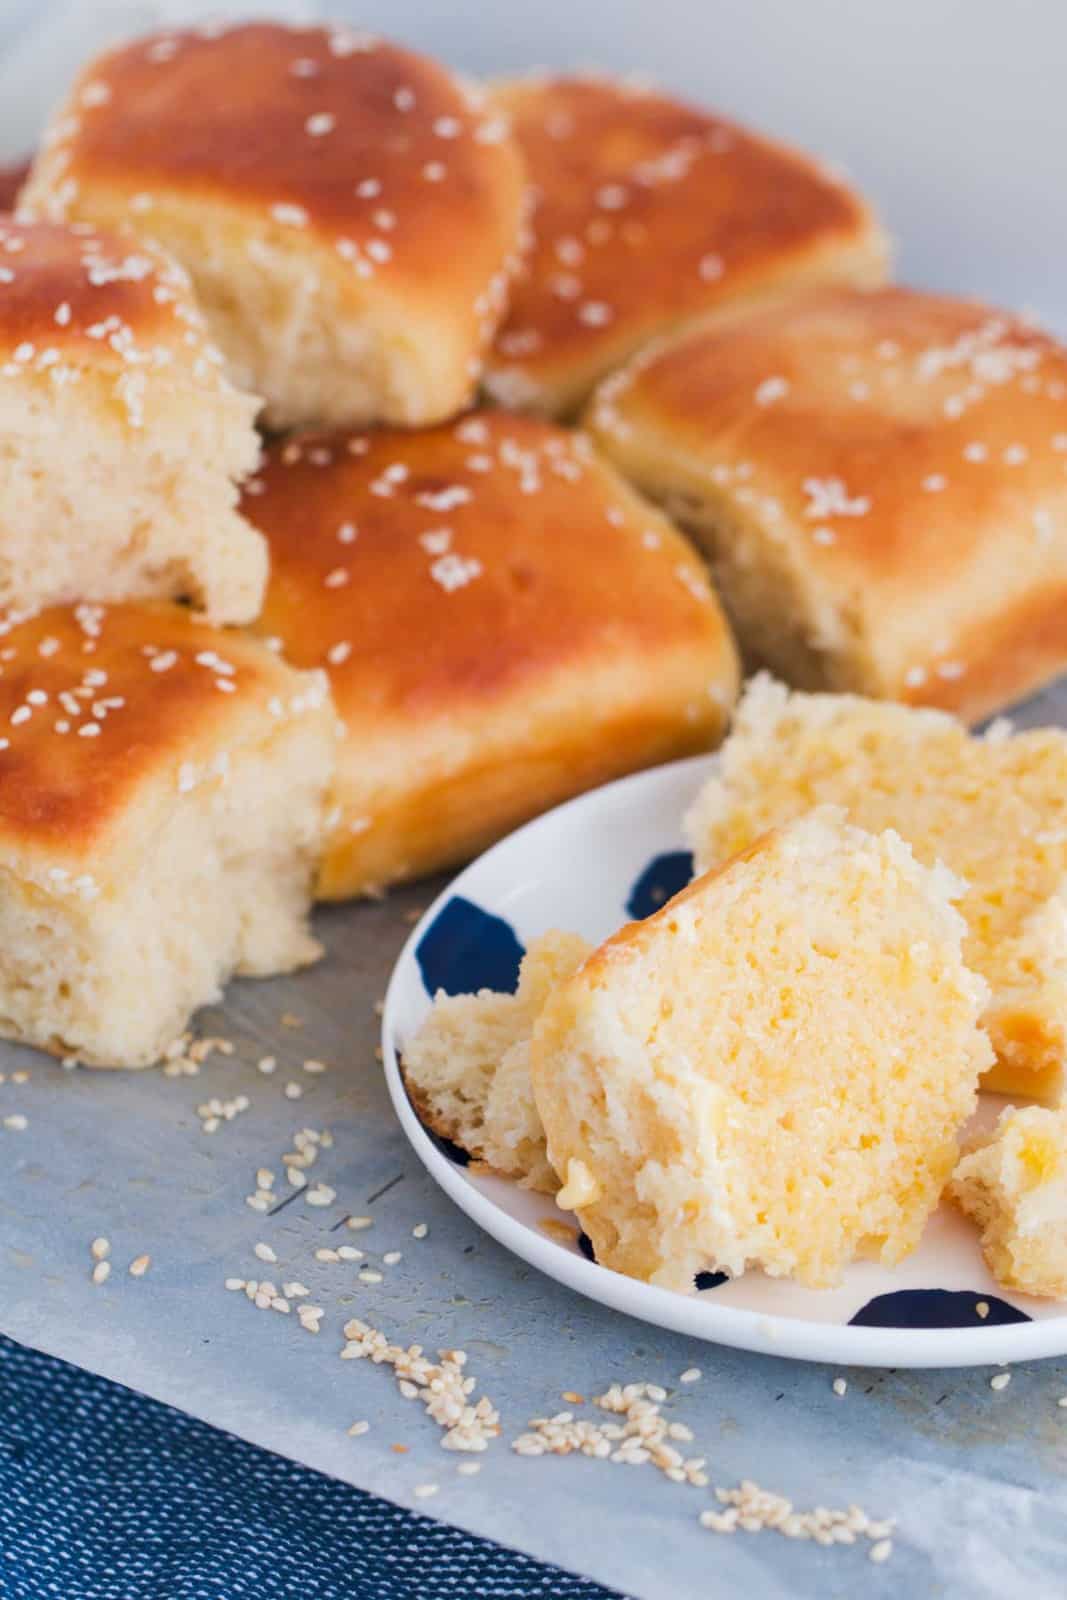
Our golden topped homemade bread rolls are made using yeast. This helps them to rise and makes them deliciously soft and fluffy... just what you want in a burger bun or lunchtime roll!
Let's go through the simple 2 step rising process of making bread rolls that are SUPER yummy!!!
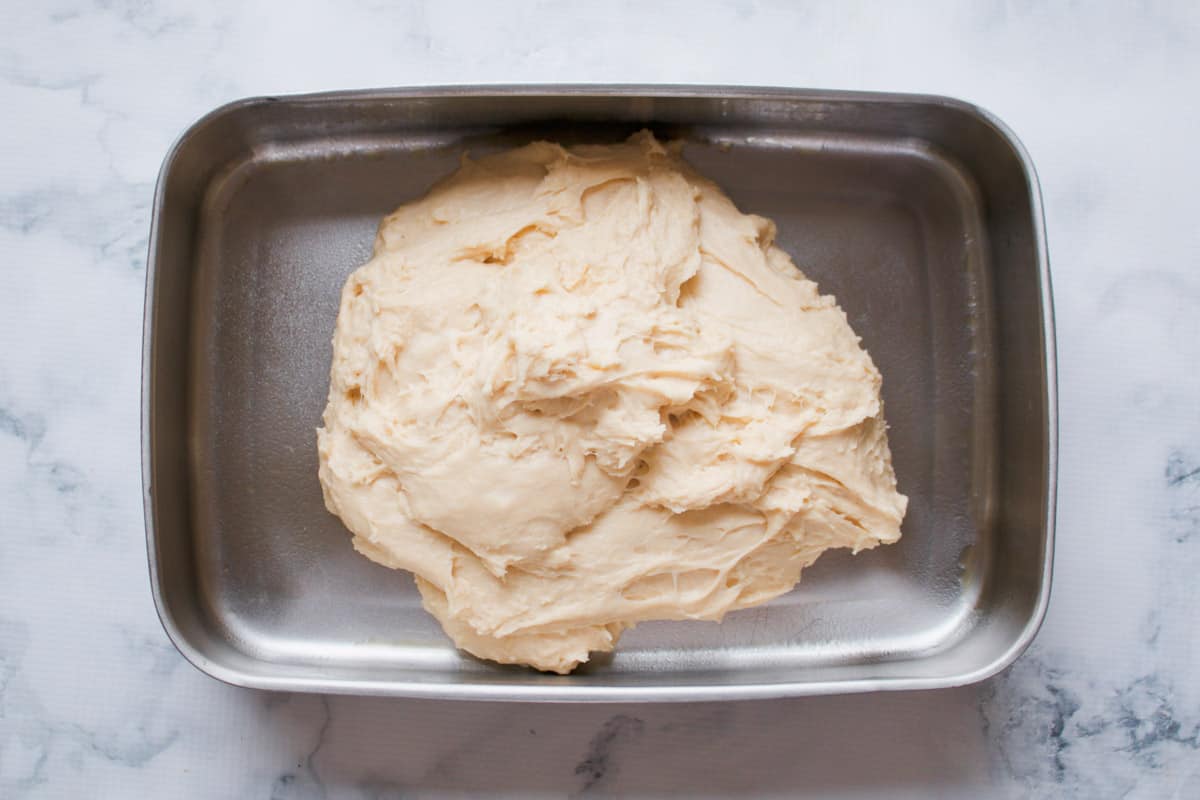
Prepare the dough
Refer to the recipe card below for the detailed method (including my mixing bowl method and my Thermomix method).
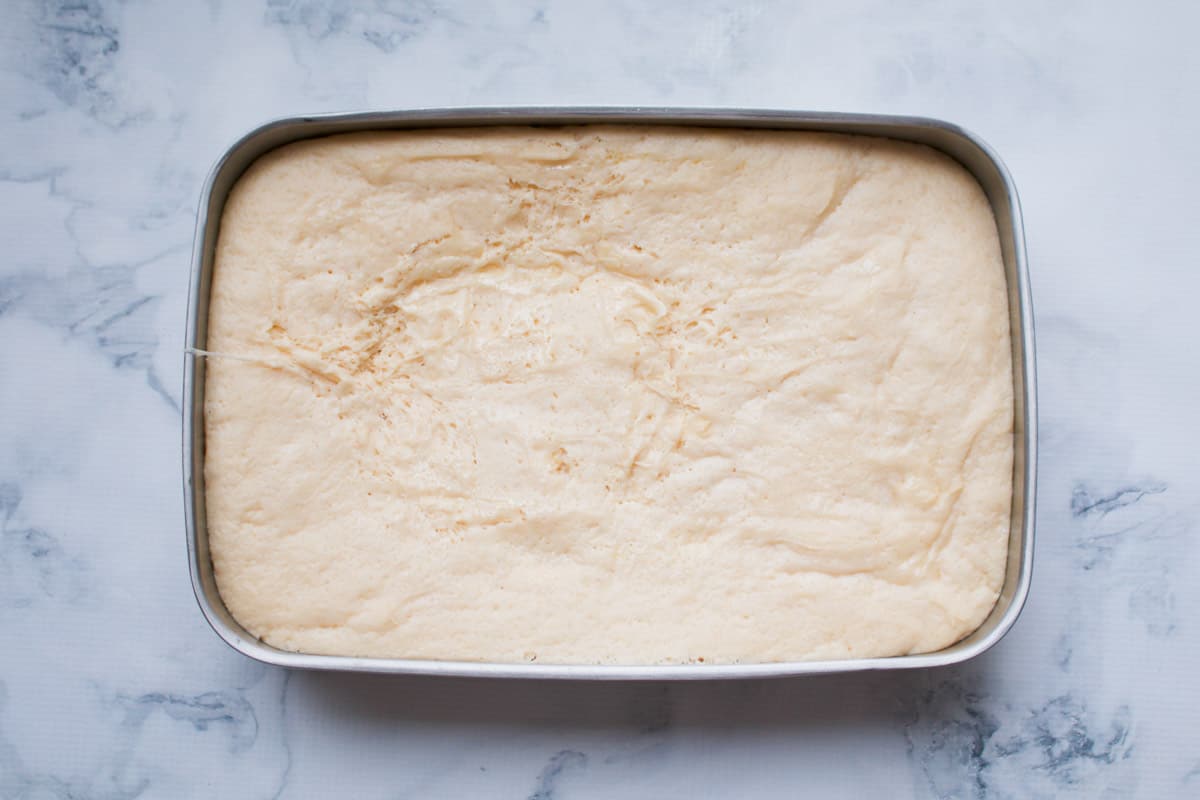
Leave the dough to rise (1st prove)
Place the dough into a nice and warm spot in the house. If you don't have a warm spot, preheat your oven on low then turn it off and place the tin/bowl with the dough inside. Alternatively, place the tin/bowl in front of a sunny window, heater, fireplace or even on top of a hot water bottle!
During the 1st prove the dough should double in size.
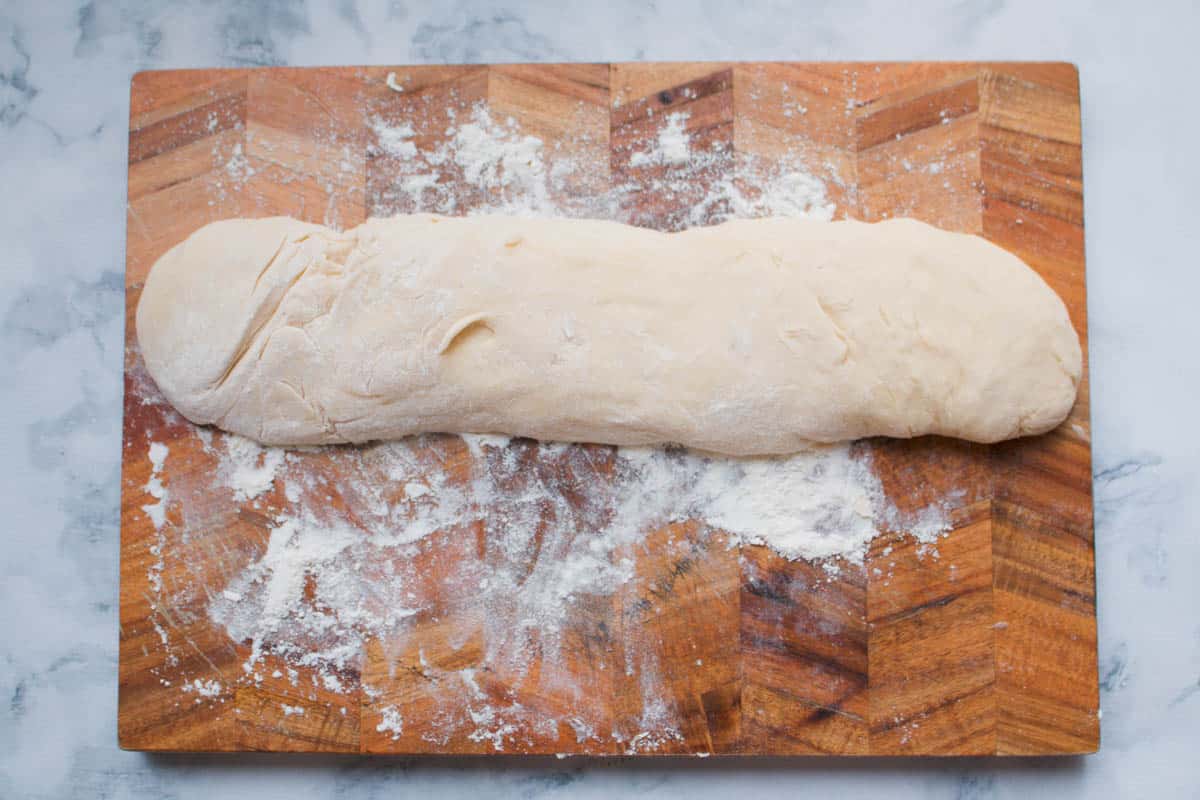
Roll the dough into a long log shape
Use extra plain flour to help you roll the dough into a log shape on a chopping board or kitchen bench.
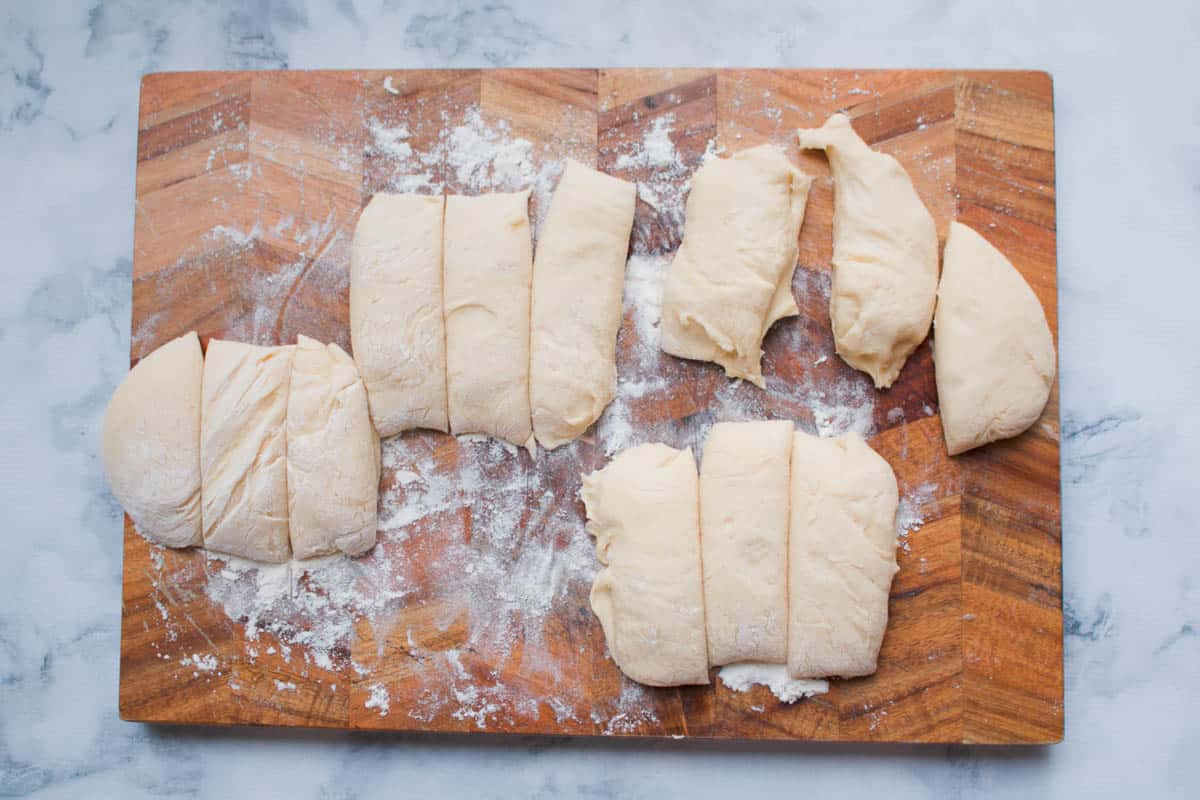
Cut the dough into 12 portions
My recipe makes 12 bread rolls so you'll need to cut your dough log into 12 equal sized pieces.
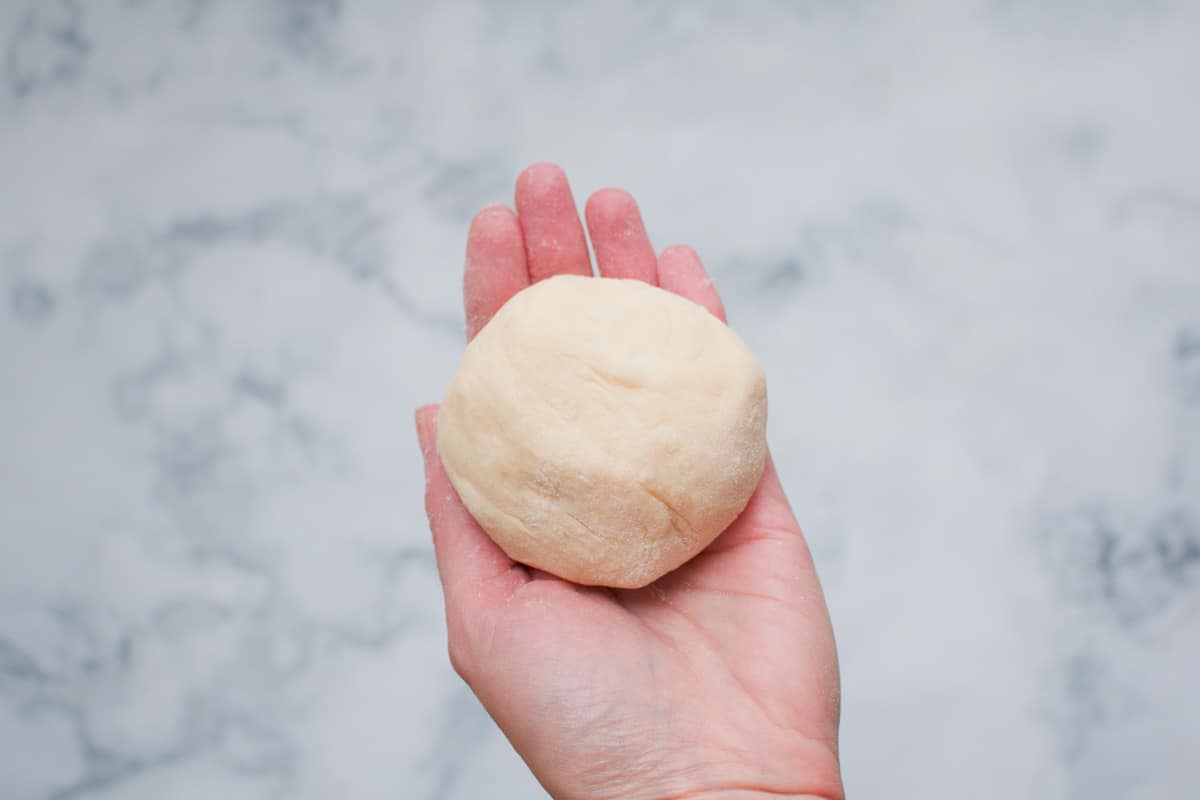
Roll the dough into balls
Use your hands (and extra plain flour if you need!) to roll the dough into round ball shapes.
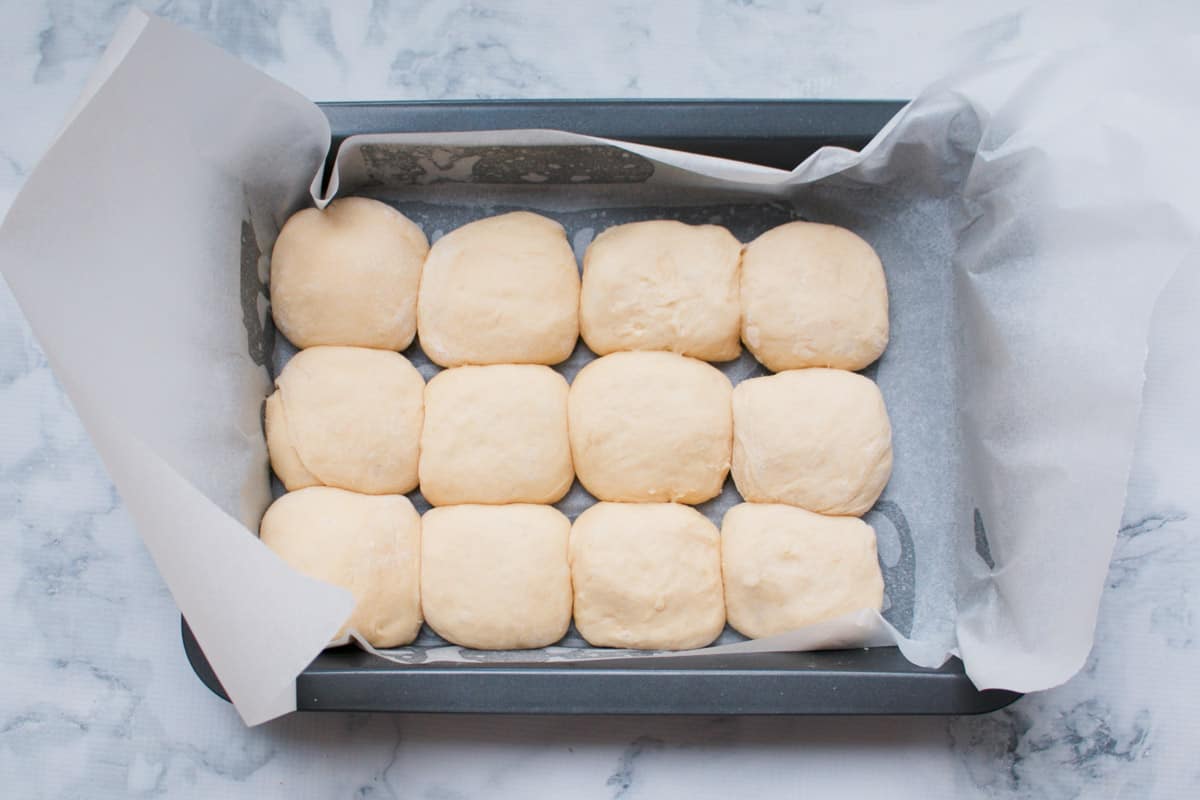
Place the dough balls into a baking paper lined baking tray
I like to use a tray that's approximately 30cm X 24cm (9 X 13 inch). Grease the tray and then line with baking paper to allow for easy removal of the cooked buns.
Leave the dough to rise (2nd prove)
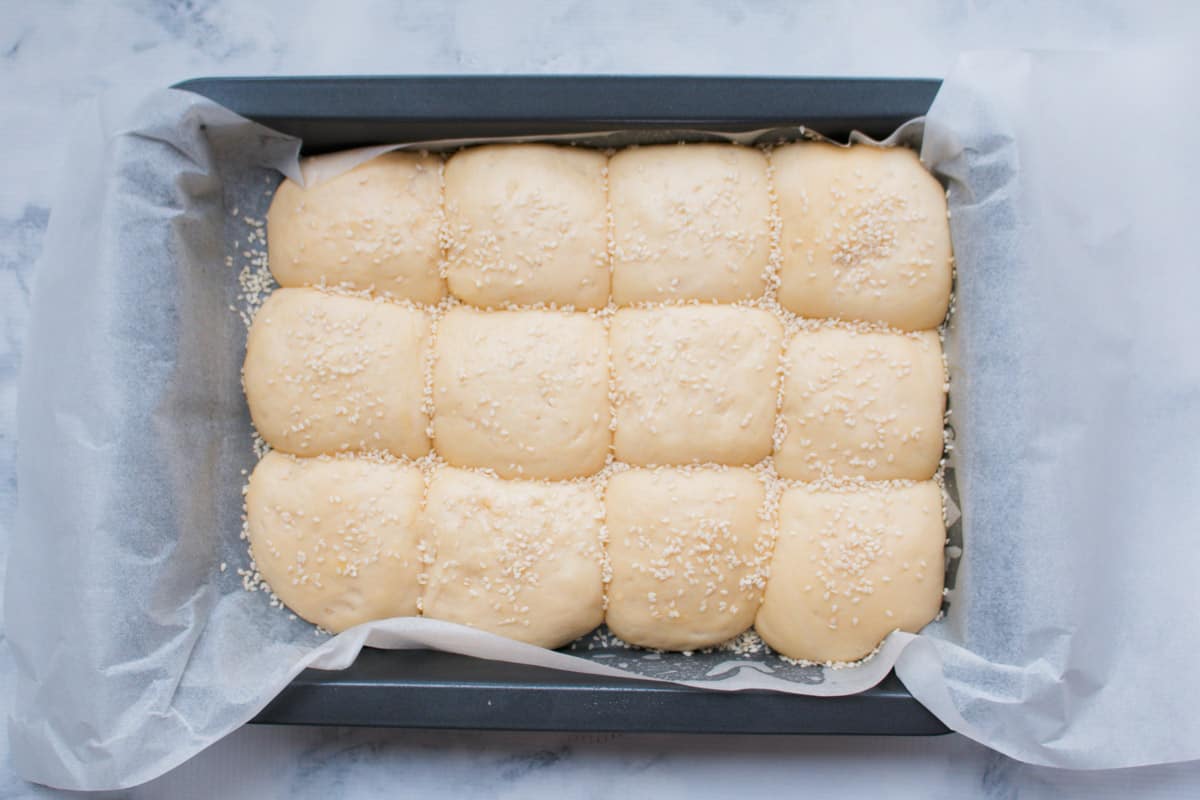
Cover your baking tray with cling wrap (plastic wrap) and leave to prove further in your warm spot. The dough balls wont double in size during the second prove, but they'll rise and spread at least 50%.
Bake the bread rolls
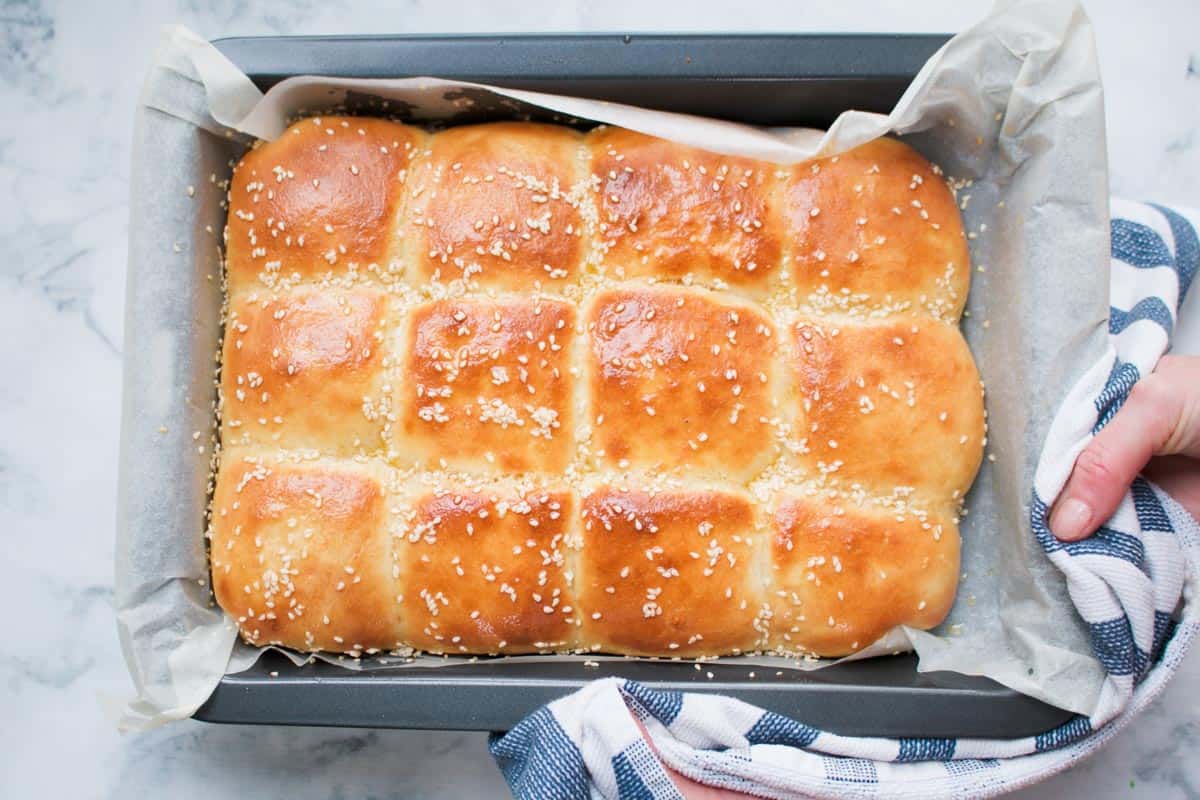
Bake the rolls in the oven until golden and hollow sounding when tapped. Allow to cool for a few minutes before transferring to a wire rack to cool (use the baking paper to help remove the rolls).
Tips For Making Homemade Bread Rolls
Once you've made your own bread rolls, you'll never be able to go back to store-bought again! Here's my top tips for making delicious bread rolls:
- Let them rise twice... I know, I know... it takes time... but it's sooooo worth it! The 2 proving times are going to make your rolls AMAZING!!!!!
- Make sure your yeast is still active - yep I get it... you've had a container of yeast in your pantry FOREVER and you really want to use it up. But to get beautifully soft and fluffy rolls the yeast still needs to be active! Check the use by date and use room temperature water and milk (not too hot and not too cold).
- Put your dough in a draught-free and warm place to rise - a slightly warm oven (that's been switched off), in front of a fire, heater or sunny window... even on top of a hot water bottle!
- Roll your dough into equal-sized balls - this will help them to cook evenly (no one wants a batch of rolls where some are over-cooked and others are still doughy!
- Keep checking your rolls when baking - all ovens are so different so make sure you check them from 12 minutes onwards. Once they're golden and sound hollow when tapped, they're ready.
- Brush the cooked rolls with melted butter - you know that super shiny golden glow that bakery buns have?? Well the way to get it is by brushing melted butter over the top of the buns when they're just out of the oven and still hot.
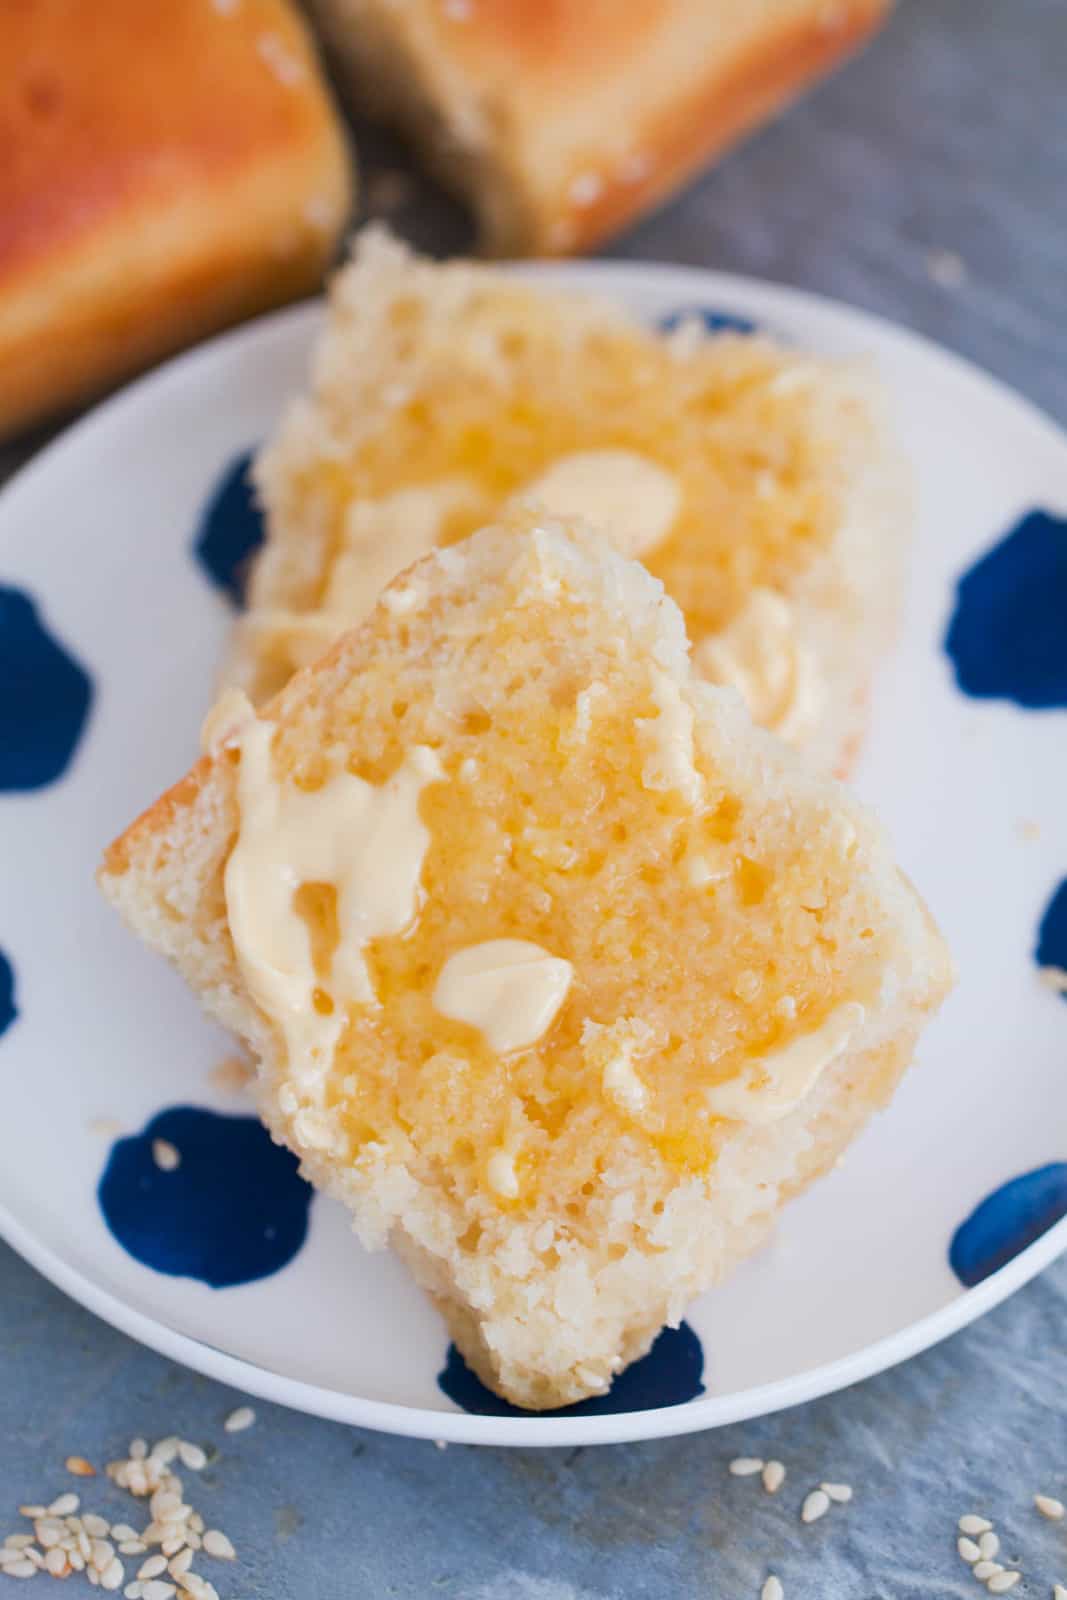
- Serve them warm with lots of butter - forget about carbs and forget about calories! Serve your beautiful homemade rolls slathered with ALL the butter (even better if they're still warm!).
- Store in an airtight container at room temperature for 3 days (they're at their softest on the day of baking... but delicious toasted or grilled on the following days!) or freeze for up to 1 month.
More Homemade Bread, Pastries & Scroll Recipes
If you love making your own breads, pastries and scrolls, then check out a few more of my favourite recipes:
- Ham & Cheese Scrolls - the ultimate lunchtime treat!
- Pizza Scrolls - just like your favourite takeaway... but in a homemade scroll
- Cheese & Vegemite Scrolls - a classic bakery favourite... made at home!
- Spinach & Ricotta Tarts - the melt in your mouth pastry will get you every time
- Homemade Artisan Loaf - the ultimate homemade loaf
Bread Rolls Recipe FAQ
What kind of yeast should I use?
Personally, I use instant yeast. However, you can substitute with active dry yeast or fresh yeast.
What type of flour can I use?
Bakers flour or bread flour will give you the best result, however, plain flour works perfectly fine too! The rolls in the photos above were made using plain flour (and you can see how deliciously soft and fluffy they are!).
I don't have time to wait for the rolls to rise!
Homemade rolls really do the need the time to rise! The double rising process will result in fluffy, soft rolls... the 2 proving times really can't be skipped!
Do I need to brush my rolls with melted butter once they're cooked?
No, you don't! BUT! By doing so, you'll end up with that gorgeous golden bakery-style glow.
WANT EVEN MORE DELICIOUS RECIPES? Subscribe to my newsletter or follow along on Facebook or Instagram. And if you love baking, then please come and join my Facebook cooking club group or subscribe to my YouTube channel.
Soft & Fluffy Homemade White Bread Rolls
Ingredients
- 125 g (½ cup) water lukewarm
- 15 g (1 tbs) dried yeast
- 55 g (¼ cup) caster sugar superfine sugar
- 600 g (4 cups) plain flour or Bakers flour/bread flour
- pinch of salt
- 250 g (1 cup) milk lukewarm
- 50 g melted butter
- 2 eggs lightly beaten
- sesame seeds or poppy seeds for sprinkling, optional
- extra melted butter for brushing
Instructions
Conventional Method
- Place the lukewarm water into a bowl. Sprinkle over the yeast and sugar. Leave for a few minutes or until frothy. Set aside.
- Place the plain flour and salt into a large bowl and mix to combine.
- Make a well in the dry ingredients.
- Pour the liquid yeast mixture, milk, melted butter and eggs into the centre of the well. Mix until combined (the mixture will be sticky and thick).
- Cover the bowl with a tea towel and place into a warm spot (see recipe notes) for at least 1.5 hours or until at least doubled in size.
- Line a 30cm X 24cm baking tray with baking paper and set aside.
- Flour a chopping board or kitchen bench with plain flour and roll the dough into a long log. Cut the mixture into 12 equal-sized pieces.
- Roll each of the dough portions into a ball shape and place into the prepared baking tray.
- Place the tray back into a warm spot and allow to rise again for 30 minutes (they won't quite double in size this time).
- Preheat the oven to 180 degrees celsius (fan-forced) or 200 degrees celsius (conventional).
- Sprinkle the top of the rolls with sesame seeds (optional).
- Bake the rolls in the oven for 15-20 minutes. The rolls are cooked when they're golden on top and sound hollow when cooked through.
- Brush the extra melted butter over the top of the rolls (don't worry if it moves the sesame seeds around).
- Allow the rolls to cool for 5 minutes before transferring to a wire rack to cool completely (you can do this by picking up the entire sheet of baking paper).
Thermomix Method
- Place the yeast and water into the Thermomix bowl. Mix for 10 seconds, Speed 3. Then leave for 1 minute.
- Add the remaining ingredients (except for the sesame seeds and extra melted butter - for brushing) and mix for 10 seconds, Speed 6.
- Knead for 2 minutes on Interval/Kmeading function (the mixture will be sticky and thick).
- Cover the bowl with a tea towel and place into a warm spot (see recipe notes) for at least 1.5 hours or until at least doubled in size.
- Line a 30cm X 24cm baking tray with baking paper and set aside.
- Flour a chopping board or kitchen bench with plain flour and roll the dough into a long log. Cut the mixture into 12 equal-sized pieces.
- Roll each of the dough portions into a ball shape and place into the prepared baking tray.
- Place the tray back into a warm spot and allow to rise again for 30 minutes (they won't quite double in size this time).
- Preheat the oven to 180 degrees celsius (fan-forced) or 200 degrees celsius (conventional).
- Sprinkle the top of the rolls with sesame seeds (optional).
- Bake the rolls in the oven for 15-20 minutes. The rolls are cooked when they're golden on top and sound hollow when cooked through.
- Brush the extra melted butter over the top of the rolls (don't worry if it moves the sesame seeds around).
- Allow the rolls to cool for 5 minutes before transferring to a wire rack to cool completely (you can do this by picking up the entire sheet of baking paper).



Cola says
Ok, wow! These bread rolls are absolutely divine and completely foolproof.
These received a 10/10 from the whole family and will now be added to my regular Sunday meal prepping!
Thank you, you are an absolute genius!!
Lucy says
Yay! I'm so happy to hear that!