

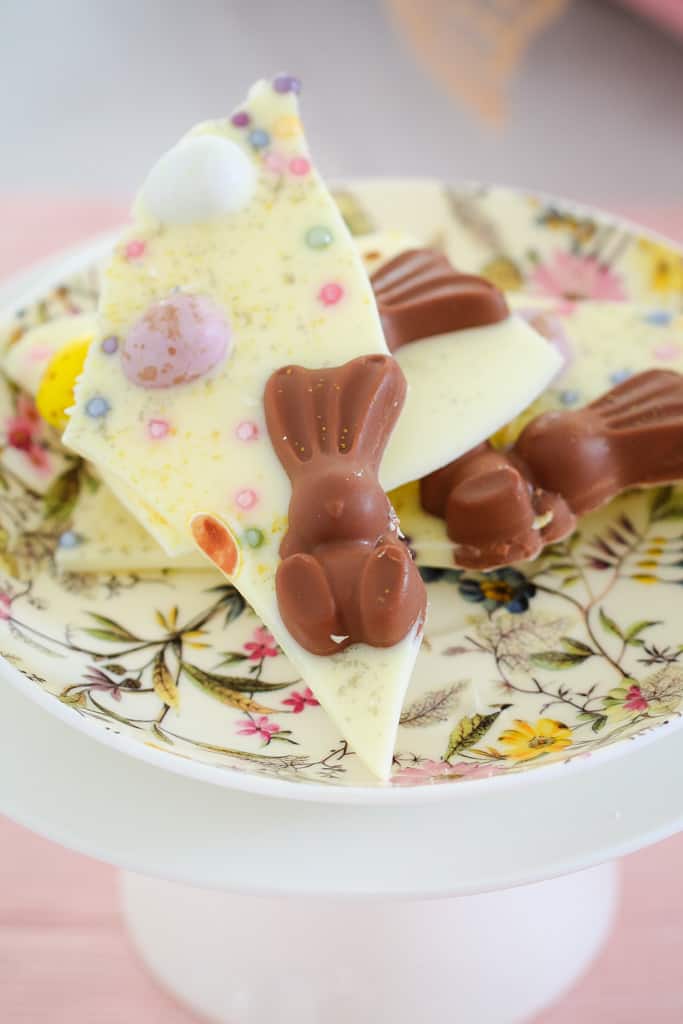
Need a super quick Easter treat that still looks impressive? This Chocolate Easter Bark is the answer.
It takes just 5 minutes and 4 ingredients - simply melt the chocolate, decorate with Easter goodies and chill.
If you love easy Easter treats like my Easter Rocky Road or Easter Chocolate Birds Nests, you'll love this one too. 🐰🍫
A Quick Look At The Recipe
✅ Recipe Name: Chocolate Easter Bark
🕒 Ready In: 5 minutes prep + 20 minutes chill
👪 Makes: About 16 pieces
🍫 Main Ingredients: White chocolate, Malteser bunnies, mini Easter eggs, sprinkles
🐣 Best For: Easter treats, homemade gifts, quick no-bake desserts
⭐ Why You'll Love It: A super easy Easter chocolate treat - just melt, decorate and chill. Fun to make, colourful and totally irresistible. 🐰🍫
SUMMARIZE & SAVE THIS CONTENT ON
Oh my goodness, this is so gorgeous and delicious!
I made this for the kids to hand out as little Easter treats at school.
- Rachel
Chocolate bark is one of those foolproof recipes that always works.
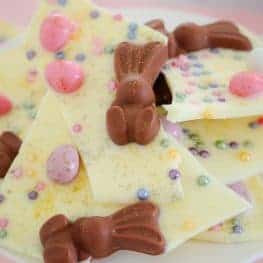
Simply melt chocolate, spread it out and top with mini eggs, chocolate bunnies and sprinkles.
This version is sweet, crunchy and colourful, and it takes just minutes to make. Chill, break into shards and enjoy.
Four ingredients. Zero stress. Maximum Easter vibes.
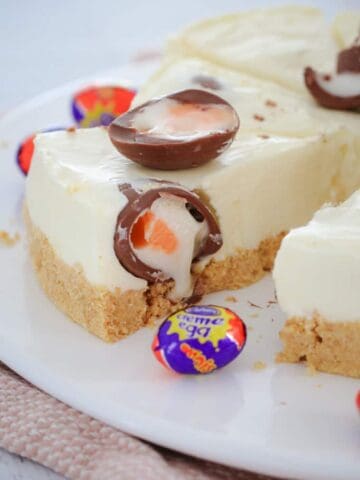
It's also a fun one to make with the kids - and if you love treats like Easter Rocky Road or Creme Egg Fudge, this will be a new favourite. 🐰🍫
Why You're Going To Love This Recipe
Here's why it's so good:
- 5 minutes prep - literally melt, spread and decorate.
- Just 4 ingredients - just a quick trip to the supermarket for these.
- No baking required - perfect for warm Aussie Easter weather.
- Kid-friendly recipe - little hands love decorating the bark.
- Perfect for gifting - break into shards and pop into cellophane bags.
Jump to:
Easter Bark Ingredients
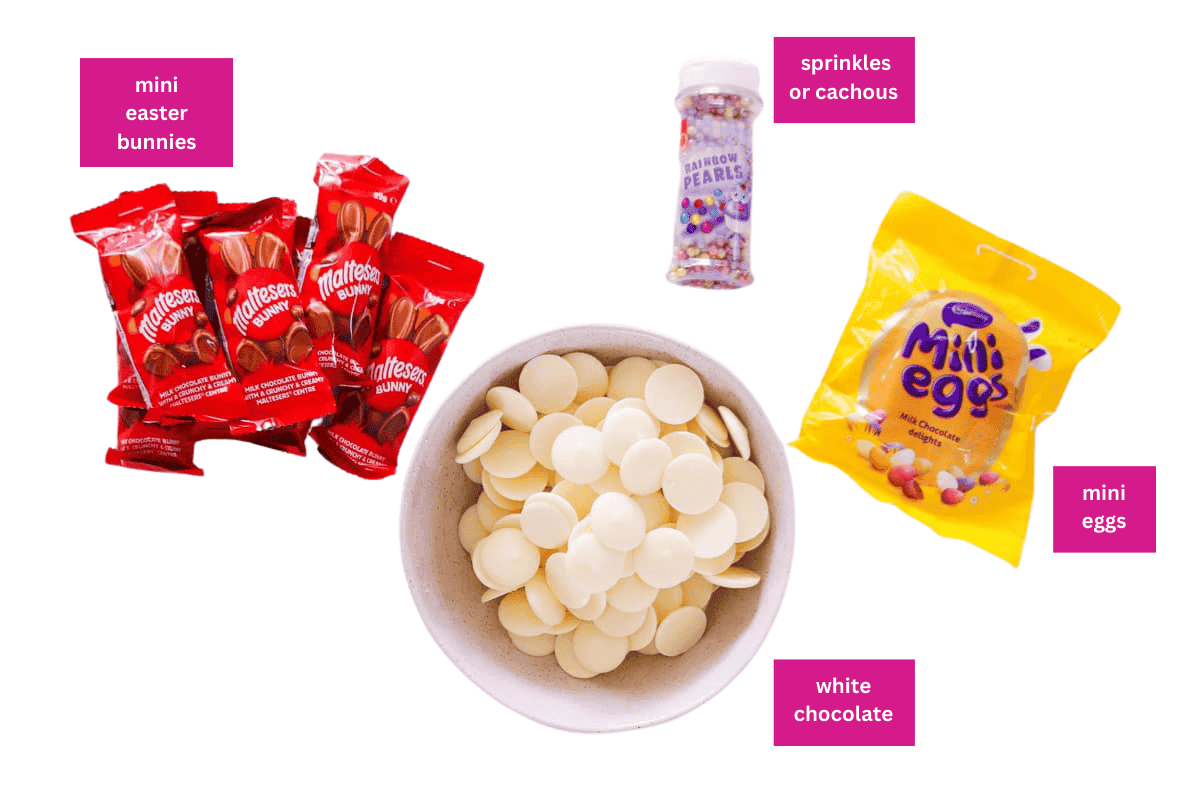
You only need four simple ingredients to make this colourful Easter treat.
- White chocolate - Use good-quality cooking chocolate for the smoothest melt. Milk or dark chocolate also works.
- Malteser bunnies - These add a delicious malt crunch.
- Mini Easter eggs - Speckled eggs give the bark colour and texture.
- Sprinkles - Optional… but they make it extra festive.
Variations
One of the best things about Chocolate Easter Bark is how easy it is to customise:
- Gluten-Free Option - Use gluten-free chocolate and swap Malteser bunnies for gluten-free mini Easter eggs or solid chocolate bunnies (Maltesers contain gluten).
- Triple Chocolate Bark - Swirl melted milk and dark chocolate through the white chocolate before setting for a marbled effect.
- Loaded Easter Bark - Add mini marshmallows, colourful M&M's, or chopped Jelly Beans for extra texture.
- Nutty Crunch Version - Sprinkle over roasted almonds or macadamias for a less sweet balance.
How To Make Chocolate Easter Bark
This is a perfect recipe to make with the kids - once the chocolate is melted, they can have fun decorating it all by themselves.
Note: Scroll to the recipe card at the bottom for the ingredients quantities and full detailed method.
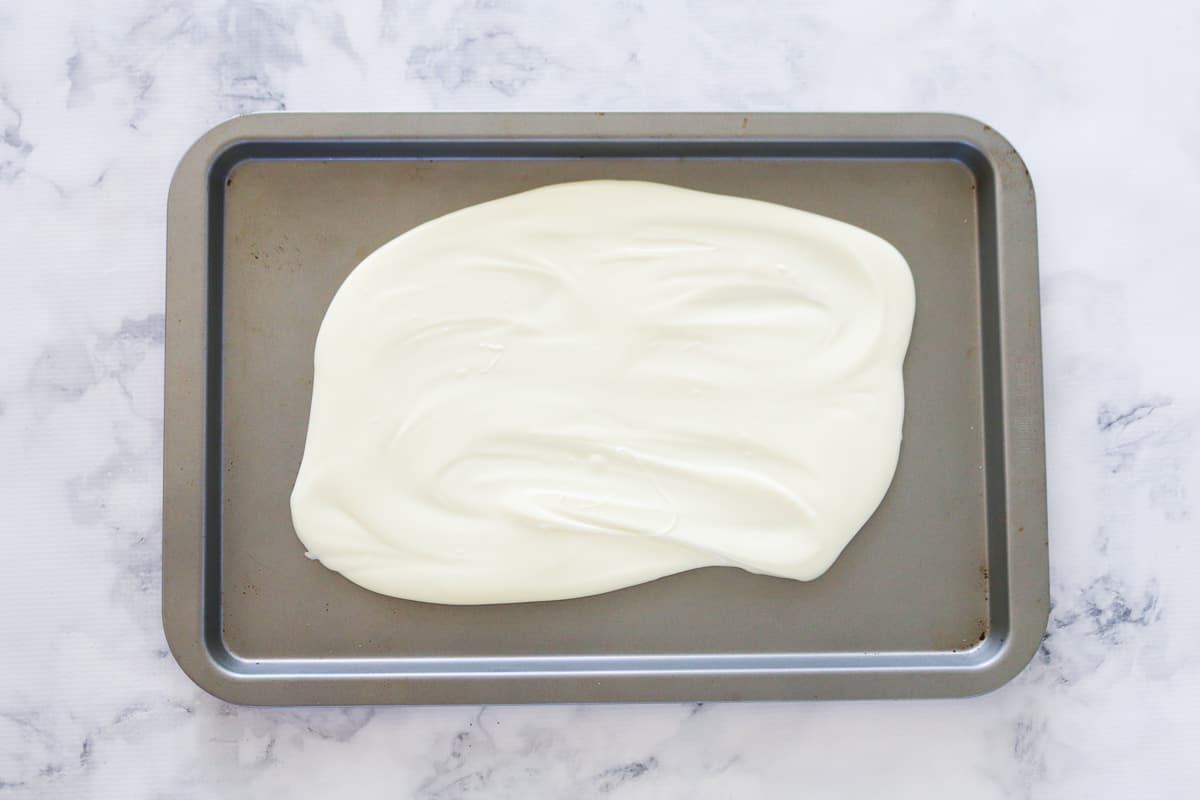
- Melt the chocolate: Place chopped white chocolate into a microwave-safe bowl. Heat on 50% power in 30-second bursts, stirring each time, until just melted and smooth. Pour onto a lined baking tray and spread to about 1cm thick using the back of a spoon or spatula.
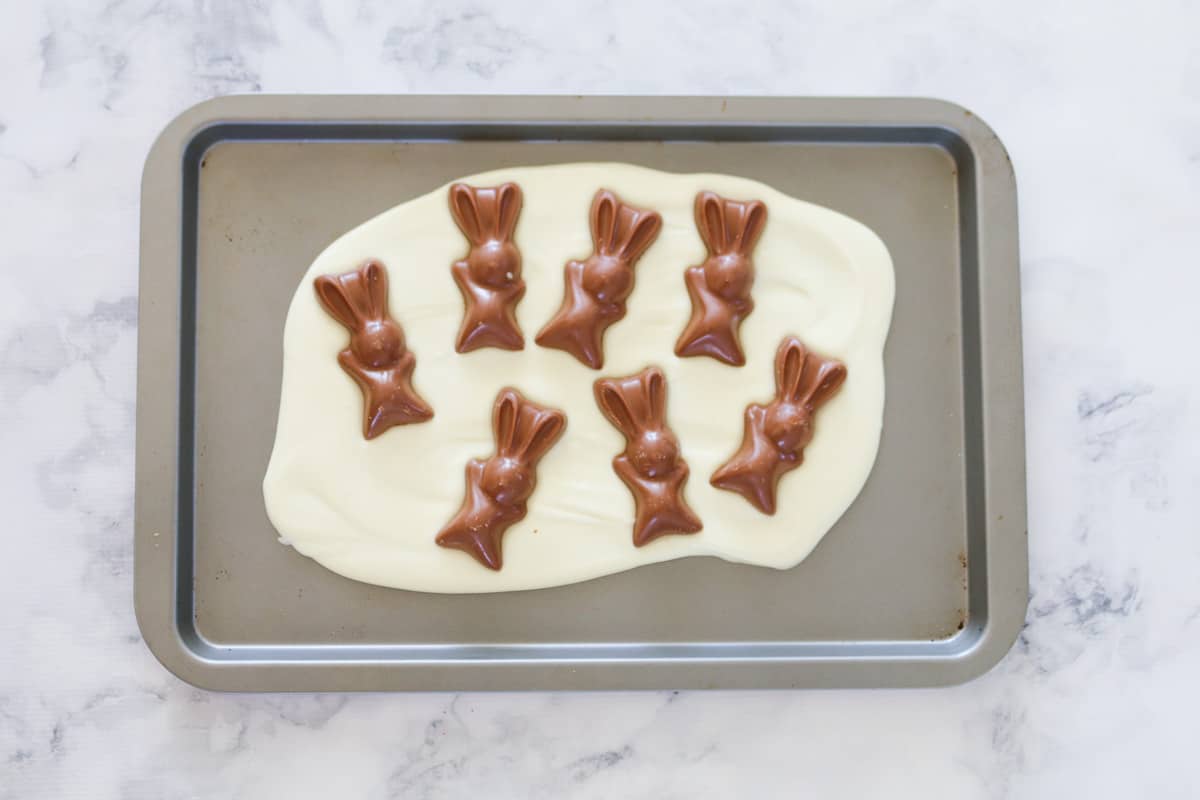
- Add chocolate bunnies: Press Malteser chocolate bunnies gently into the melted chocolate.
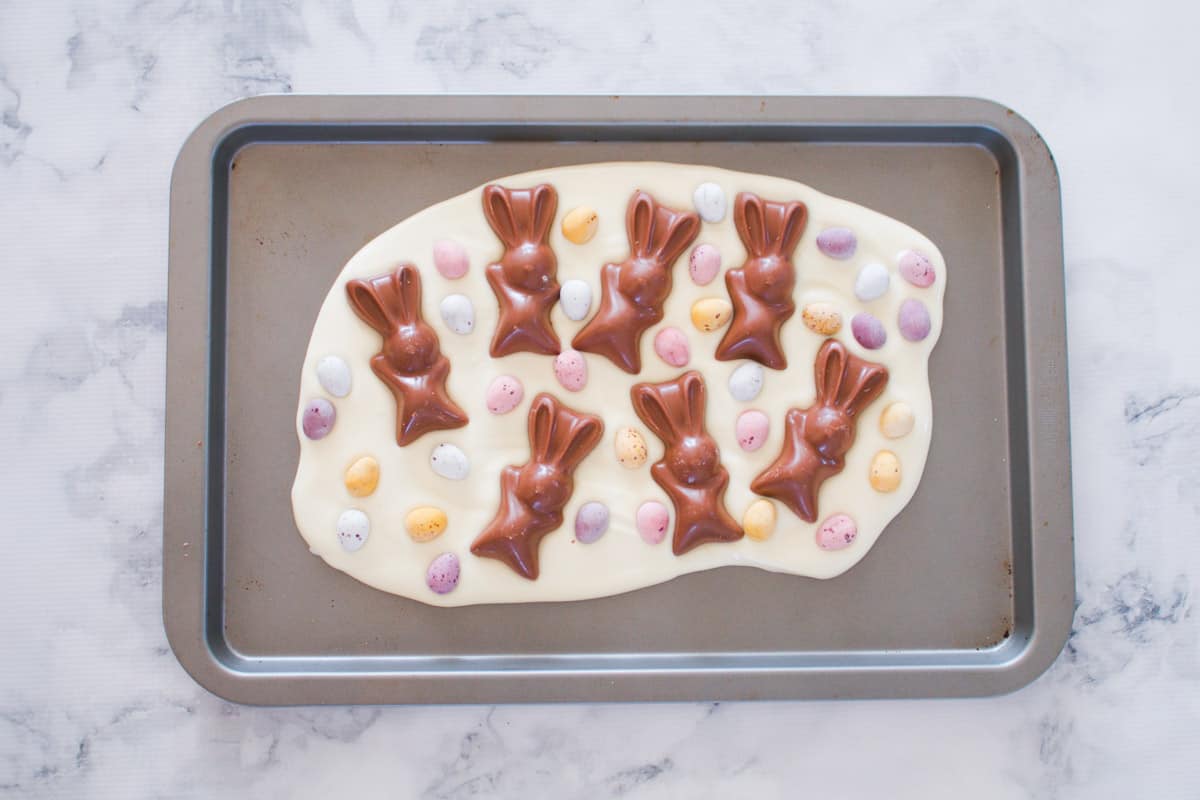
- Decorate with mini eggs: Working quickly, press mini eggs into the melted chocolate all around the bunnies.
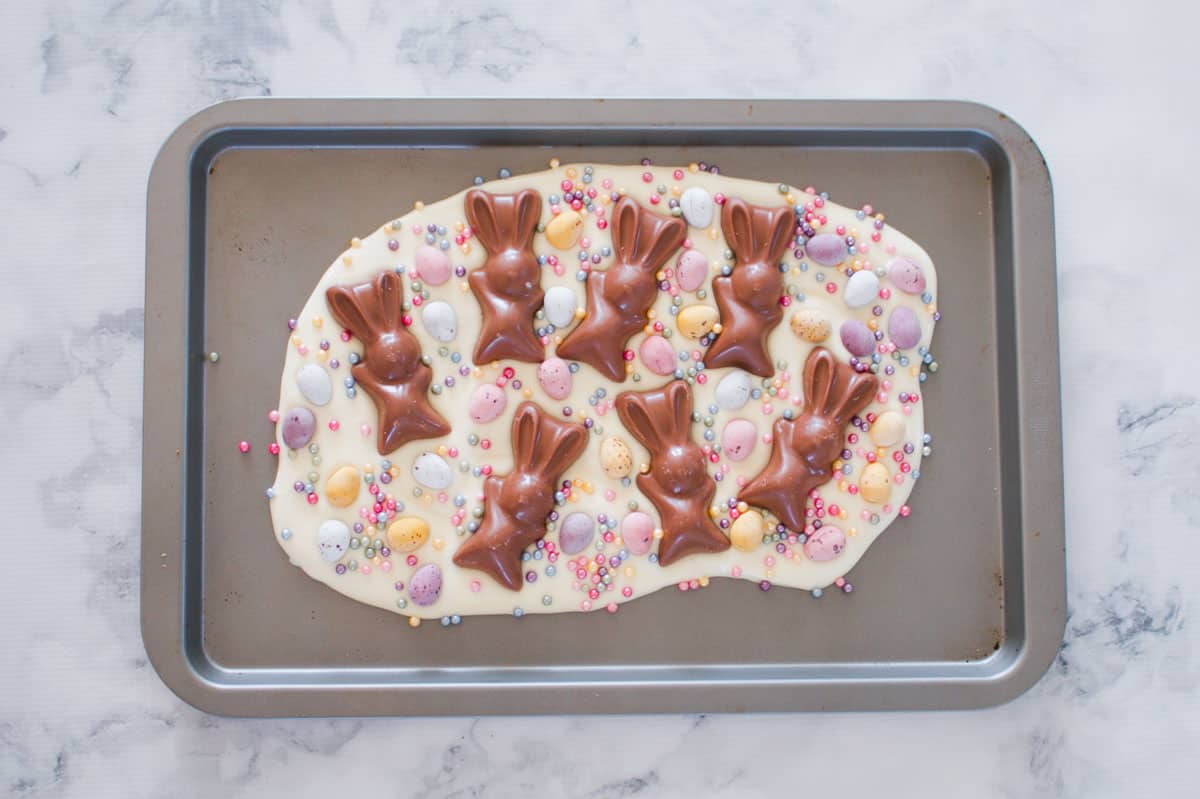
- Finish with sprinkles: Scatter sprinkles over the melted white chocolate for an extra special touch!
- Chill: Refrigerate for 20-30 minutes or until completely firm, then break into rustic shards.
Recipe Tips
- Chocolate melting methods - The easiest method is in the microwave or a Thermomix, you can also use a double boiler on the stovetop.
- Use 50% microwave power to melt chocolate - Chocolate burns easily. Low and slow is key.
- Stir even if it looks unmelted - Chocolate continues melting as you stir.
- Don't overheat white chocolate - It's more delicate than milk or dark chocolate.
- Line your tray - Baking paper makes removal effortless.
- Work quickly when decorating - The chocolate starts setting fast, especially in cooler weather.
- For clean cuts instead of shards - Use a sharp knife once partially set.
- Storage - Store in an airtight container in the fridge for up to 2 weeks.
- Freezing - Freeze in an airtight container for up to 3 months. Separate layers with baking paper to prevent sticking.

Chocolate Easter Bark FAQs
White chocolate is sensitive to heat and moisture. Overheating or even a drop of water can cause it to thicken and turn grainy. Always melt gently on 50% power, stirring every 30 seconds until just melted.
Yes! It keeps beautifully in the fridge for up to 2 weeks, making it perfect for Easter prep.
Traditional Malteser bunnies contain gluten. To make this bark gluten-free, swap them for solid chocolate bunnies or gluten-free Easter eggs.
Definitely. Simply double the quantities, use a larger tray (or two) and ensure the chocolate layer isn't too thin.
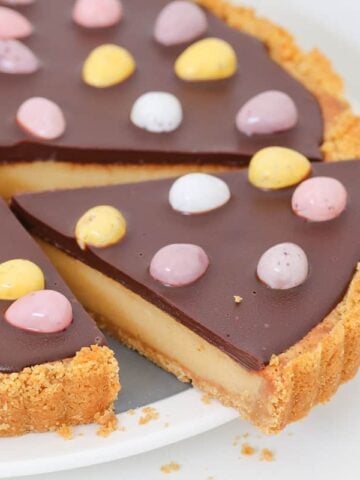
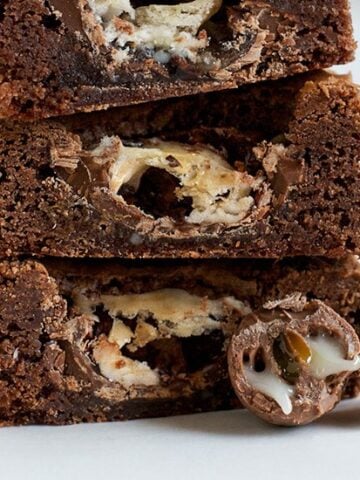
More Delicious Easter Treats
Here are some more delicious Easter recipes to suit every occasion - from easy no-bake treats to impressive desserts perfect for sharing.


WANT EVEN MORE DELICIOUS RECIPES? Subscribe to my newsletter or follow along on Facebook or Instagram. And if you love baking, then please come and join my Facebook cooking club group or subscribe to my YouTube channel.
Chocolate Easter Bark
Ingredients
- 400 g white chocolate or milk/dark
- 6-8 Malteser bunnies or any mini Easter bunnies
- 125 g bag Cadbury mini eggs or any mini chocolate Easter eggs
- sprinkles or 100s and 1000s, to decorate
Instructions
- Melt the chocolate in the microwave on 50% power for 3 minutes, or until just melted (stir every 30 seconds). *If using a Thermomix, melt for 3 minutes, 50 degrees, Speed 2, (or until melted).
- Pour the white chocolate onto a metal tray and spread out with a spoon.
- Decorate with the Malteser bunnies, Cadbury mini eggs and sprinkles.
- Place into the fridge to set then break into large chunks.
Notes
- White chocolate - Swap for milk or dark chocolate if you prefer, or swirl two varieties together for a pretty marbled effect.
- Chocolate melting methods - Easiest method is in the microwave or a Thermomix, however you can also use a double boiler on the stovetop.
- Use 50% microwave power to melt chocolate - Chocolate burns easily. Low and slow is key.
- Stir even if it looks unmelted - Chocolate continues melting as you stir.
- Don't overheat white chocolate - It's more delicate than milk or dark chocolate.
- Line your tray - Baking paper makes removal effortless.
- Work quickly when decorating - The chocolate starts setting fast, especially in cooler weather.
- For clean cuts instead of shards - Use a sharp knife once partially set.
- Storage - Store in an airtight container in the fridge for up to 2 weeks.
- Freezing - Freeze in an airtight container for up to 3 months. Separate layers with baking paper to prevent sticking.


Rachael says
Oh my goodness, this looks so gorgeous and delicious!
I’ll definitely be making this for the kids to hand out as little Easter treats at school.
Thanks Luce for yet another great baking recipe..
Lucy Mathieson says
Thank you so much!! Oooh that's a great idea for school treats!