
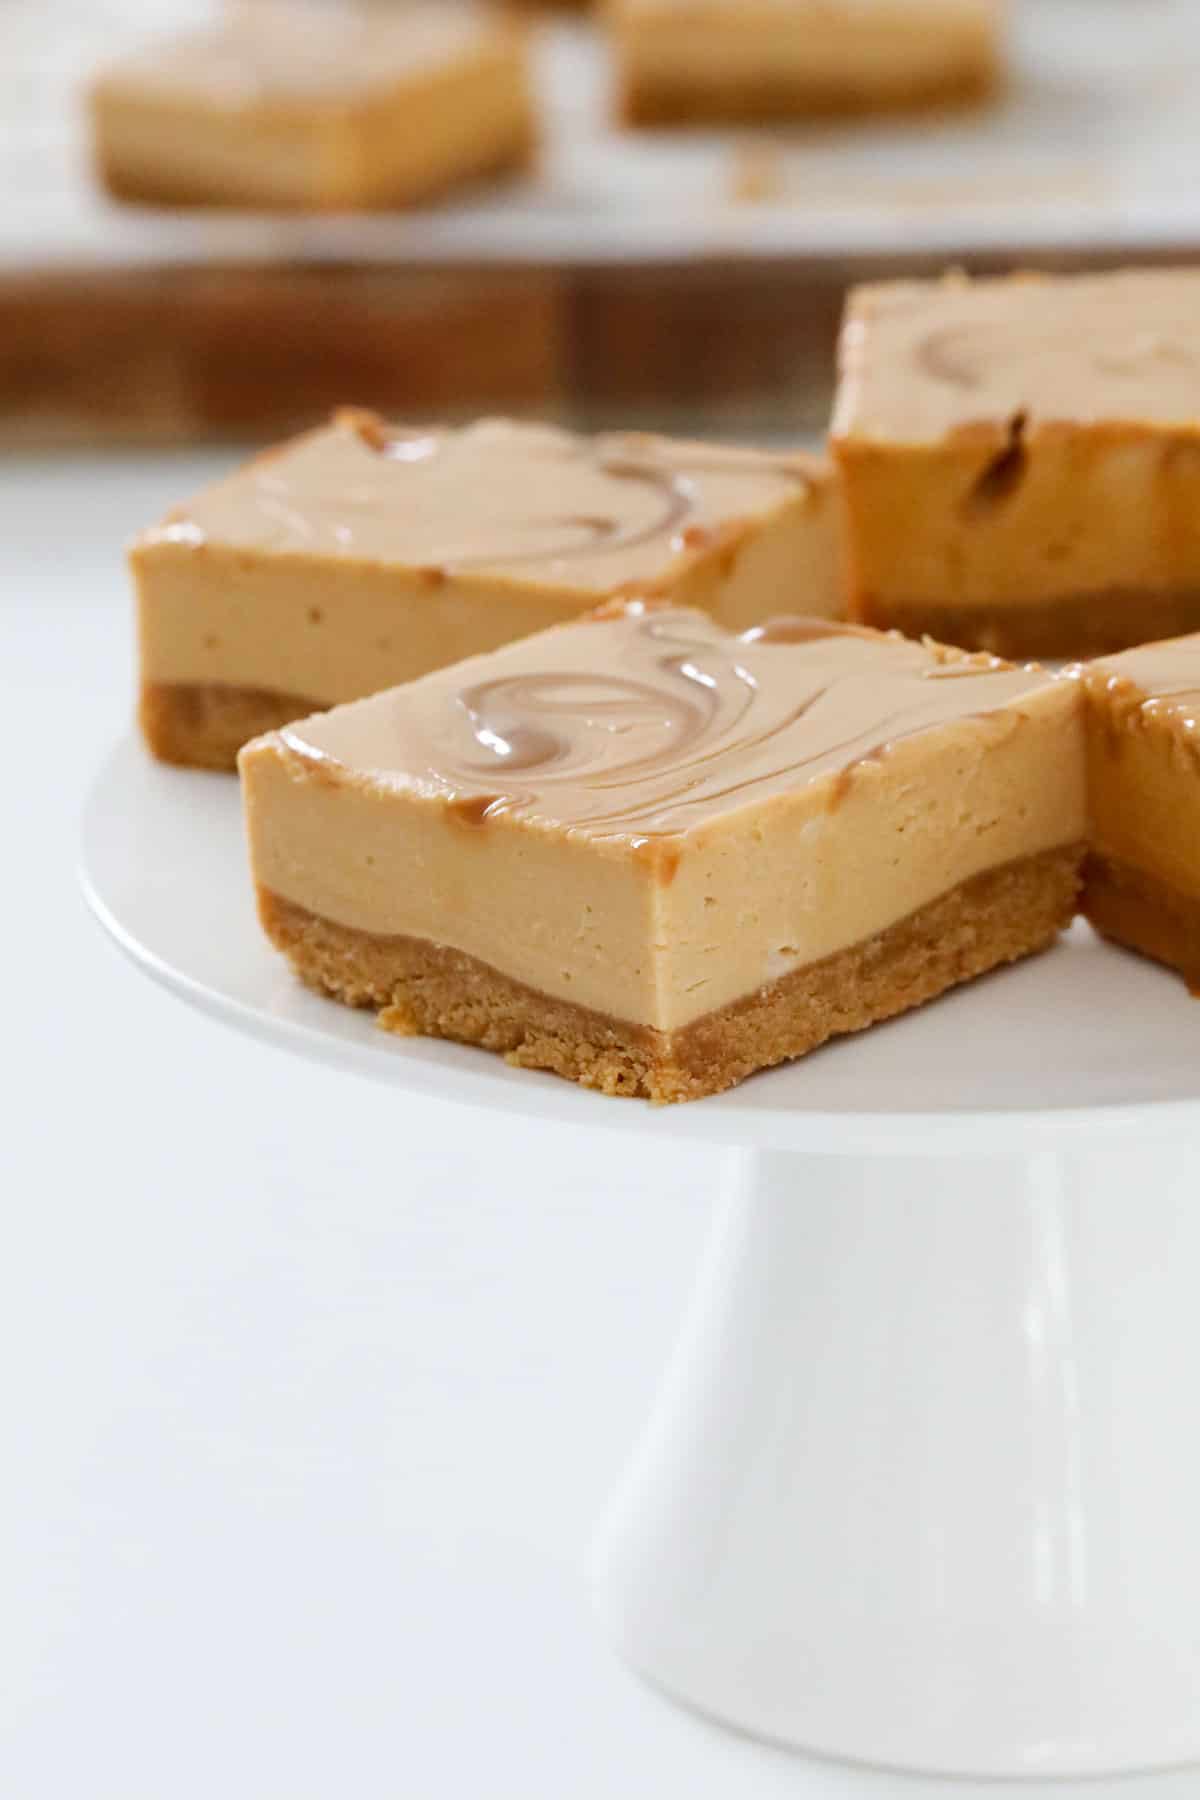
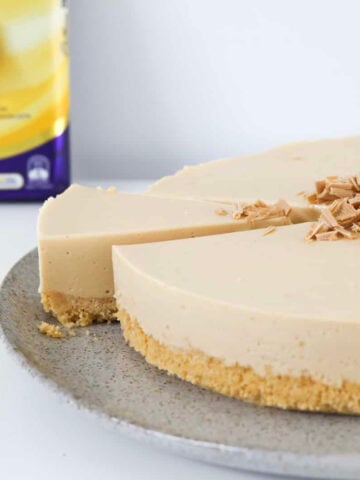
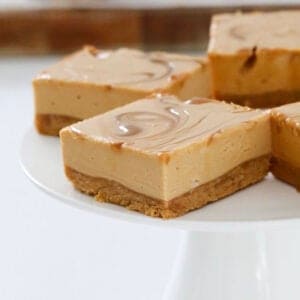
Deliciously sweet and creamy no-bake Caramel Cheesecake Bars, swirled with luscious caramel (dulce de leche) sauce!
This easy to make dessert takes just 15 minutes to prepare and uses only 7 basic ingredients... and absolutely no cooking required!
Calling all cheesecake lovers.... this is the recipe you need in your life!
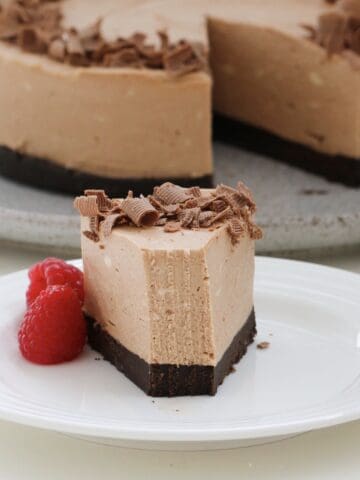
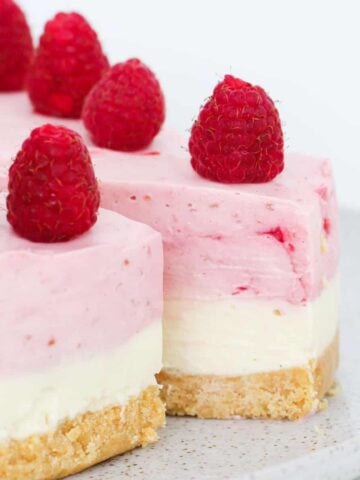
Just like my chocolate-filled Nutella cheesecake, my completely (ridiculously) over-the-top rocky road cheesecake and my adults-only Baileys cheesecake, this caramel cheesecake is completely no-bake.
It's so simple to prepare... just mix and chill! No need to turn the oven on.
Jump to:
Why You're Going To Love This Cheesecake
What's not to love about a sweet and creamy cheesecake recipe that requires absolutely no baking!
- 15 minutes prep time - this caramel cheesecake slice takes just 15 minutes of active prep time... and then you simply need to let it chill and set in the fridge. It couldn't be easier!
- Salted caramel option - to make this cheesecake salted caramel flavoured, simply use a store-bought or homemade salted caramel sauce, or add a pinch of salt to the filling.
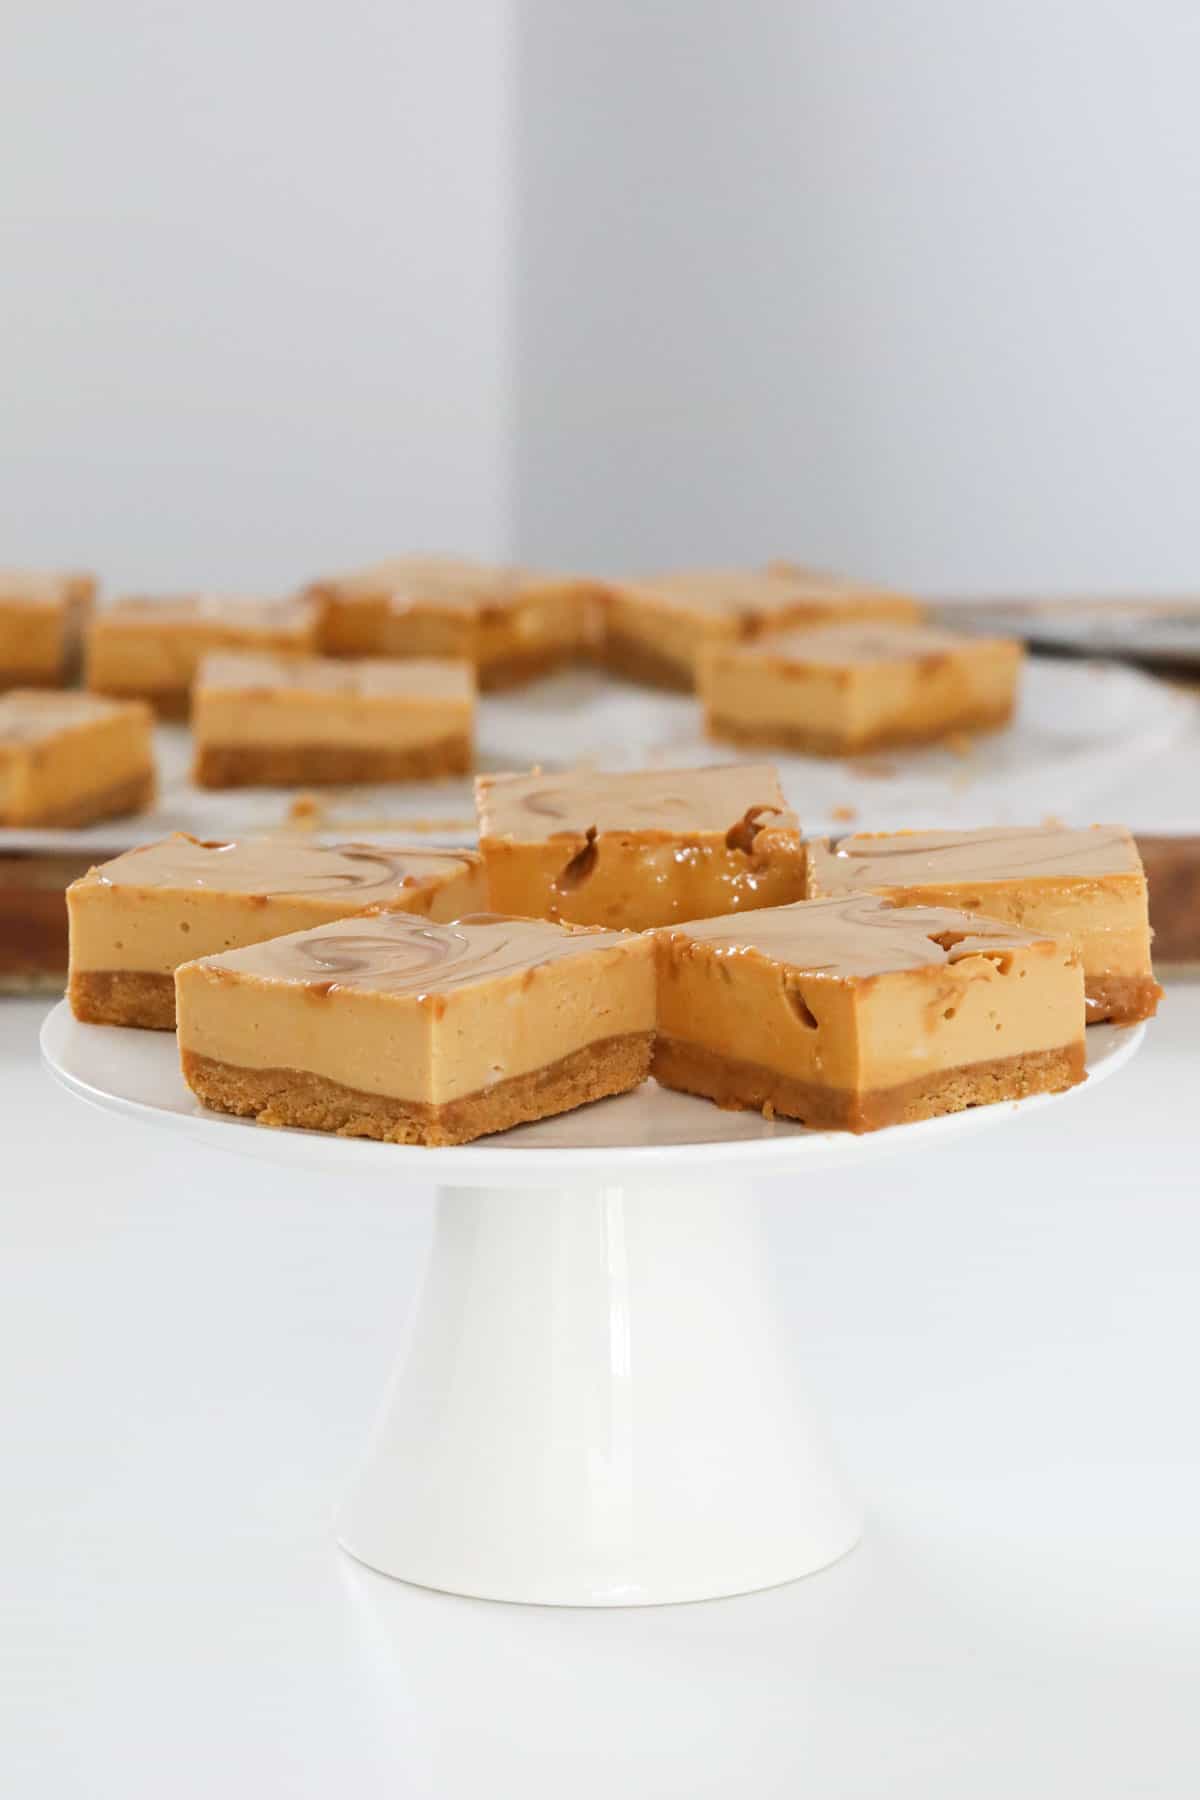
- Feeds a crowd - like all cheesecakes, this caramel cheesecake is very rich and filling... so you only need a small piece!
- Thermomix or Conventional Methods - you can make this recipe using a Thermomix or conventionally with a food processor and beaters or a stand-mixer. I've included both sets of instructions in the recipe card at the bottom of the post.
What You Need
You need just 7 basic ingredients to make my easy no-bake caramel cheesecake bars.
Please scroll to the recipe card at the bottom of the post for the ingredient quantities and the full detailed method.
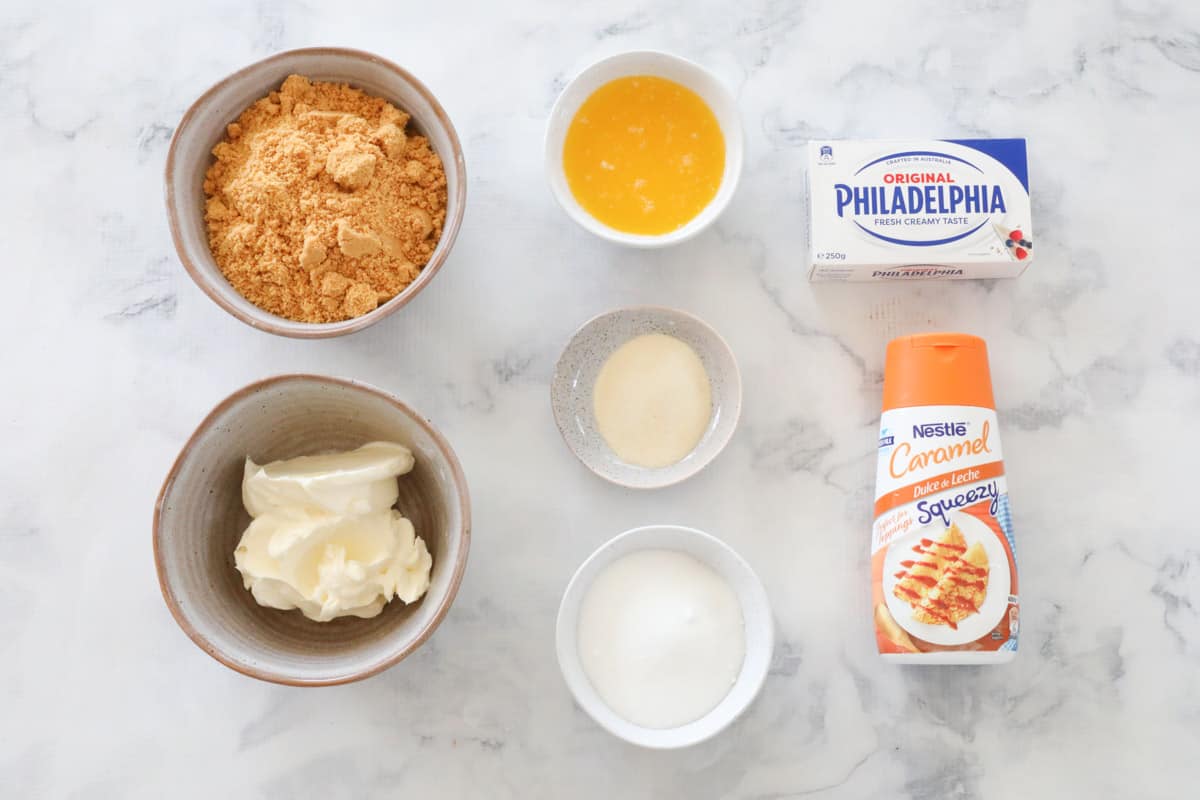
- Biscuits - referred to as cookies in the US. I use Granita biscuits made by Arnott's which are popular here in Australia. However, you can use any plain sweet biscuits (cookies) you like.
- Butter - you can use either salted or unsalted butter in this recipe. The butter is melted and then mixed with the biscuit crumbs to create a simple 2 ingredient base for the cheesecake.
- Cream - choose a cream that is suitable for whipping, such as thickened cream or whipping cream.
- Cream cheese - use full fat (not light) cream cheese that is bought in blocks (not spreadable tubs) as it sets firmer and gives the cheesecake a creamy, luscious texture. I recommend using Philadelphia (Philly) cream cheese.
- Caster sugar - also known as superfine sugar. This type of sugar is perfect for cheesecakes as it dissolves when mixed with the cream cheese, giving a perfectly sweet and smooth mixture.
- Gelatine powder - dissolve the gelatine powder in a small bowl of boiling water. Use a fork to quickly whisk the powder through the water.
- Caramel sauce - also known as dulce de leche. Choose a thick store-bought caramel sauce for this recipe or make your own homemade caramel sauce. You can use either regular caramel sauce or salted caramel sauce if you prefer!
Equipment Required
- Food processor or Thermomix - to crush the biscuits, or you can use a rolling pin.
- Beaters, stand mixer, food processor or Thermomix - to whip the cream, beat the cream cheese and caster sugar, and beat all ingredients together.
Step By Step Instructions
It couldn't be easier to make this simple no-bake caramel cheesecake recipe.
Please scroll to the recipe card at the bottom of the post for the ingredient quantities and the full detailed method.
Step 1 - Make The Biscuit Crumb Base
Crush the biscuits using either a Thermomix or a food processor.
Melt the butter and stir through the biscuit crumbs until well combined.
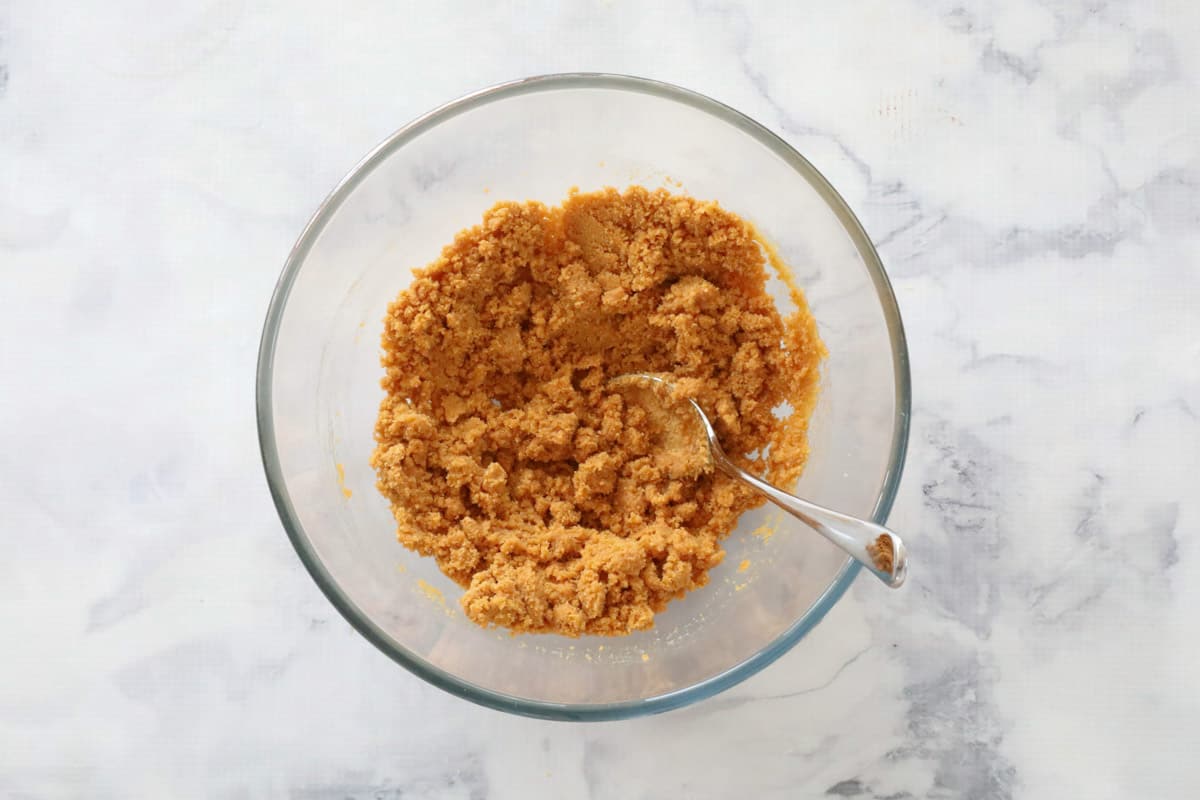
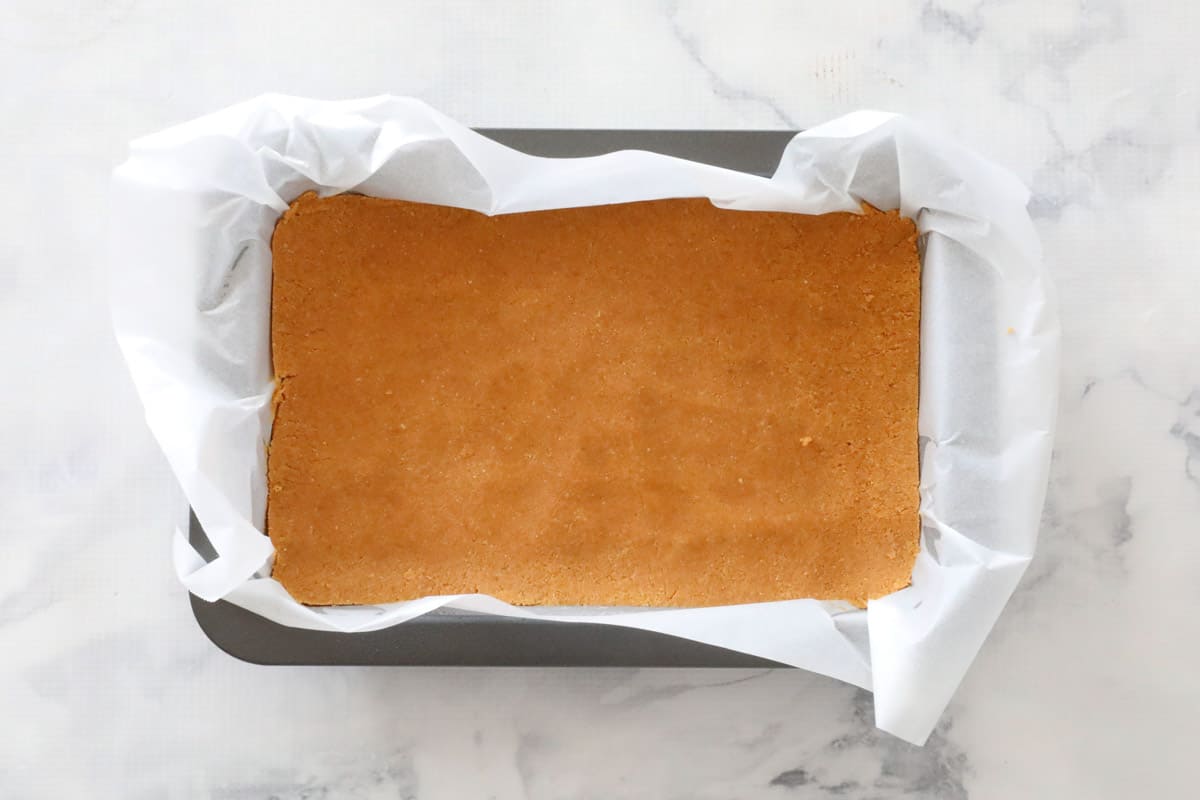
Press the mixture into a prepared slice tin lined with baking paper.
Use the back of a spoon to press the mixture down firmly and evenly.
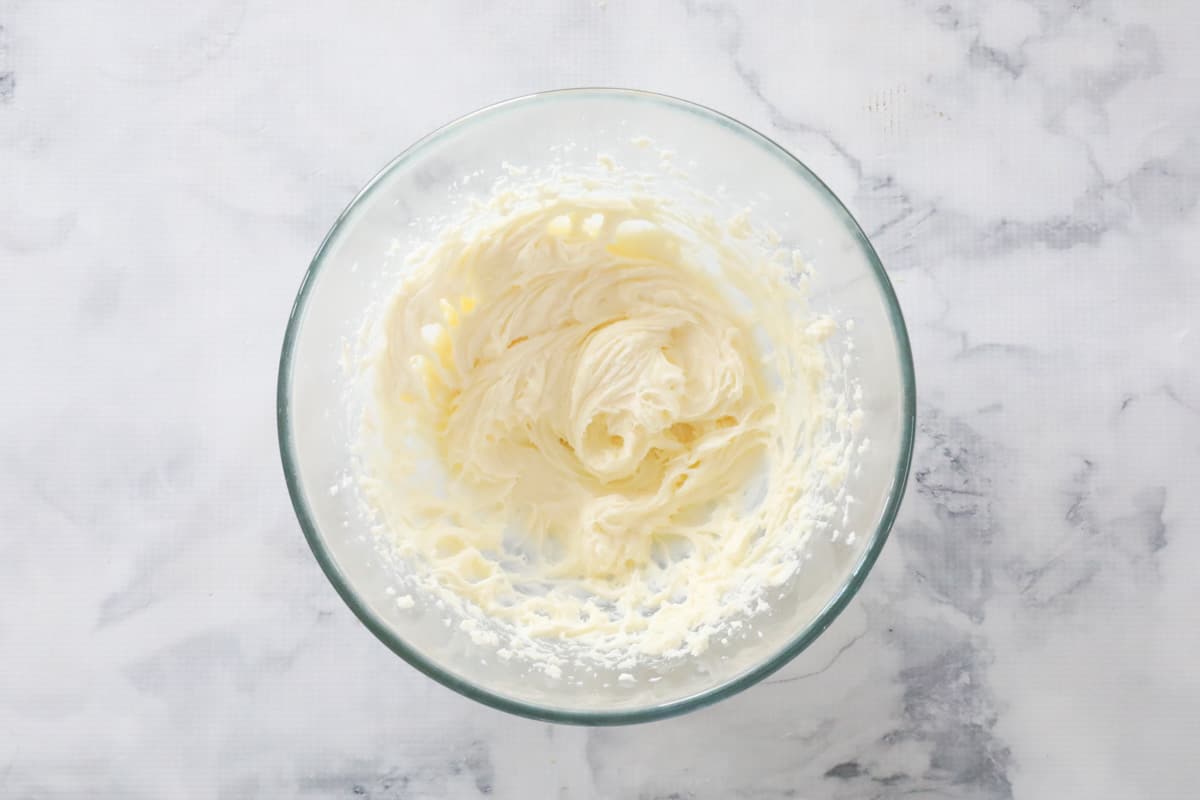
Step 2 - Beat The Cream Cheese & Sugar
Using handheld beaters or a Thermomix, beat the cream cheese and caster sugar until smooth and creamy.
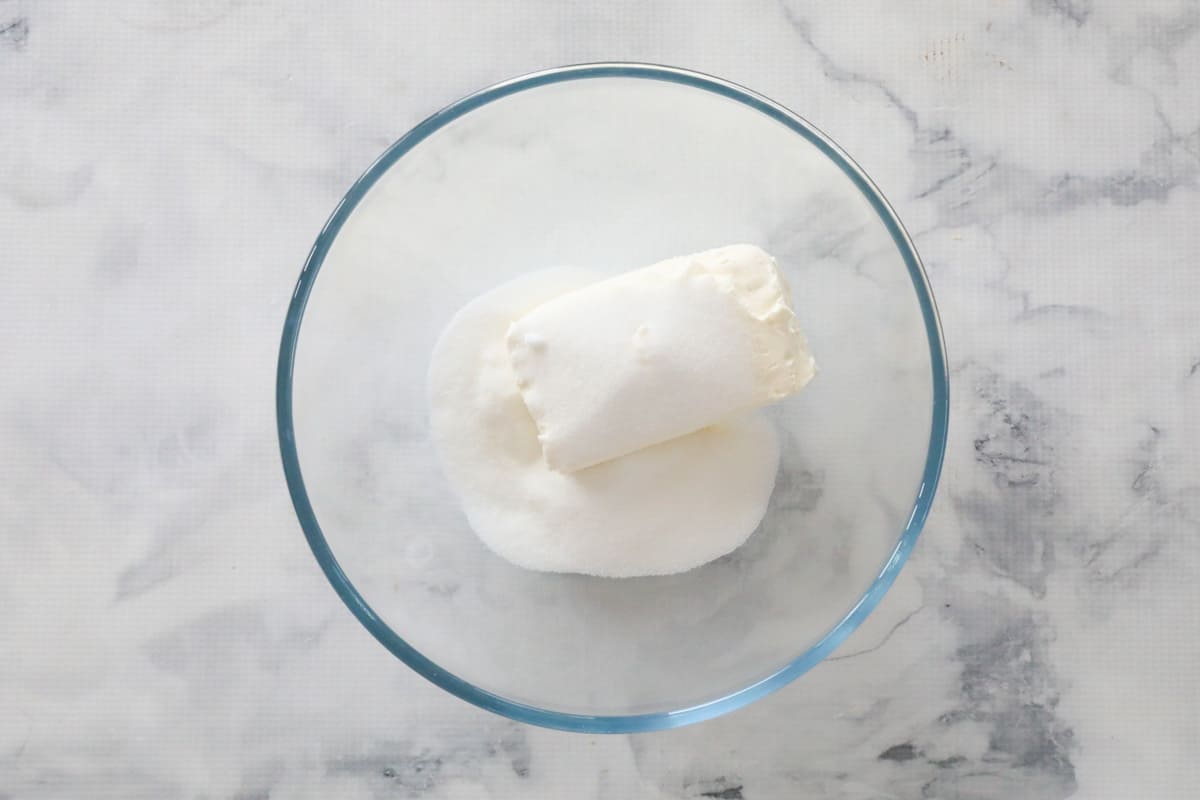
Note: it's important that the cream cheese is at room temperature before mixing.
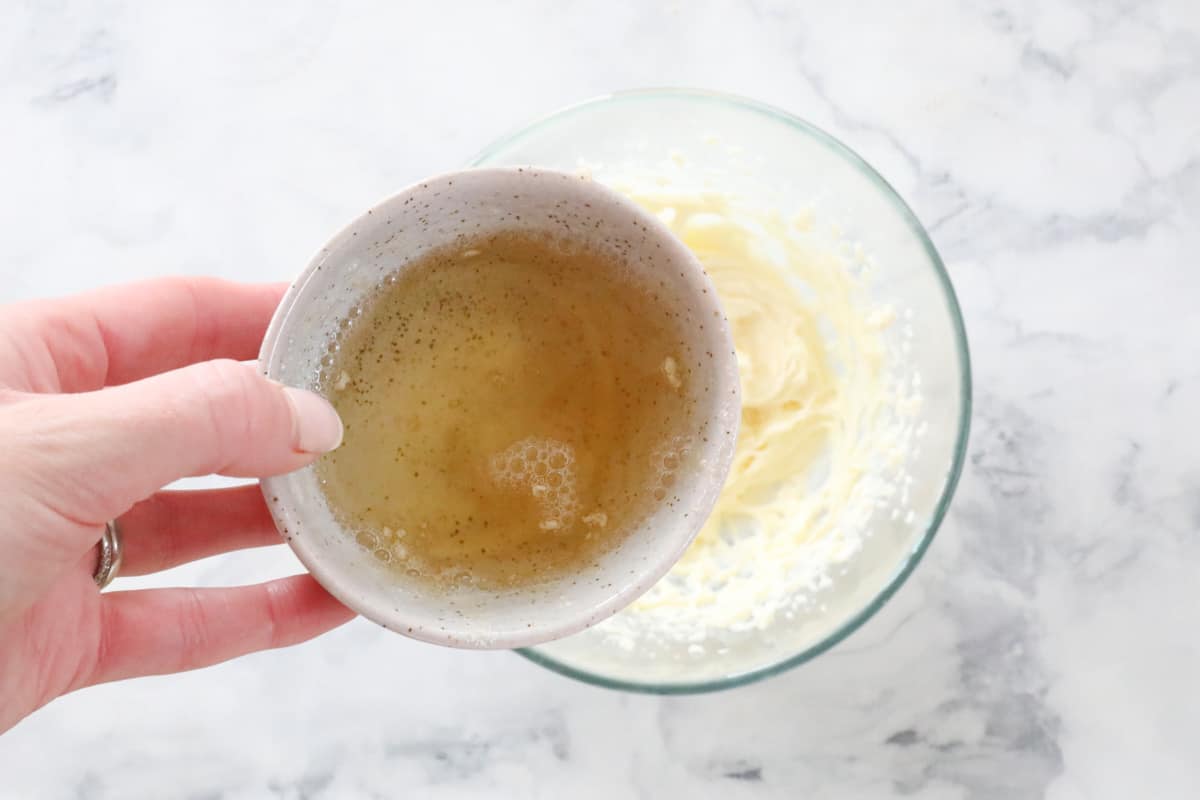
Step 3 - Add The Dissolved Gelatine
Pour the dissolved gelatine into the cream cheese mixture and beat through until well combined.
To dissolve the gelatine, simply sprinkle the powder over a small bowl filled with ¼ cup boiling water. Use a fork to quickly whisk the gelatine powder through the water until dissolved. Allow to cool slightly before adding to the cream cheese mixture.
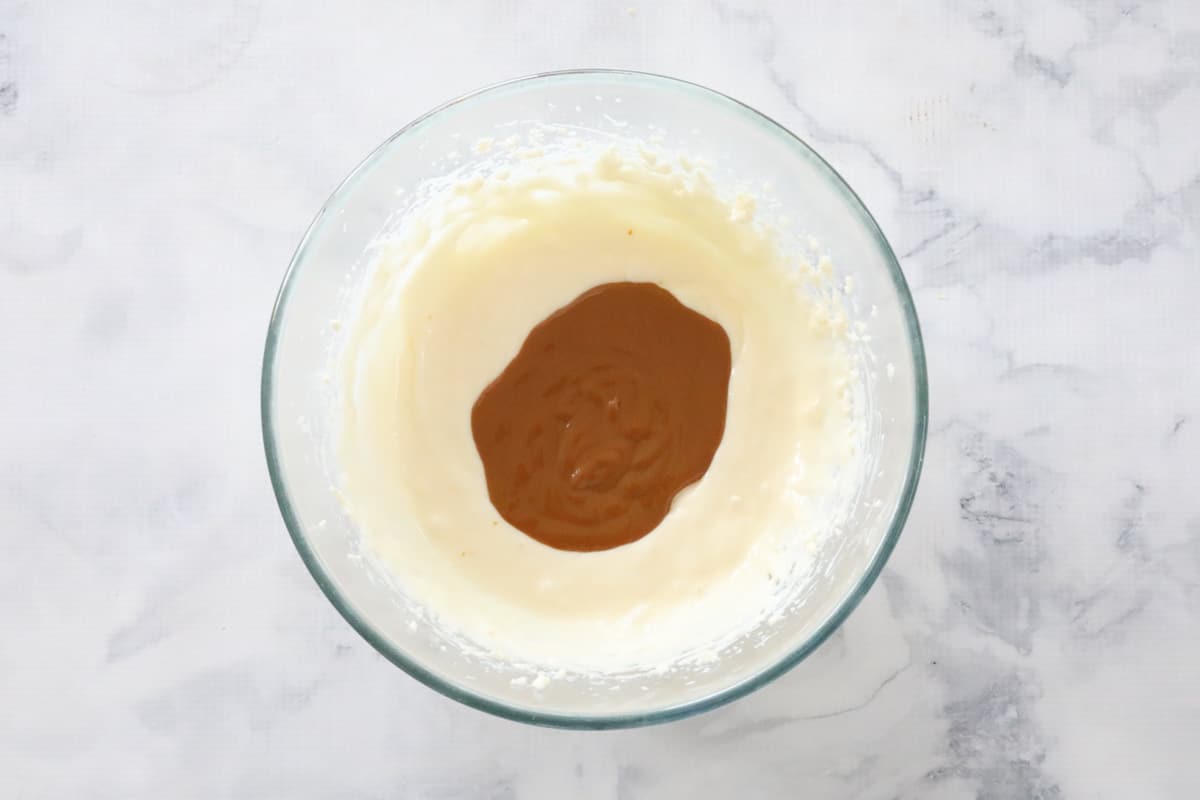
Step 4 - Add The Caramel Sauce
Beat through the caramel sauce until smooth.
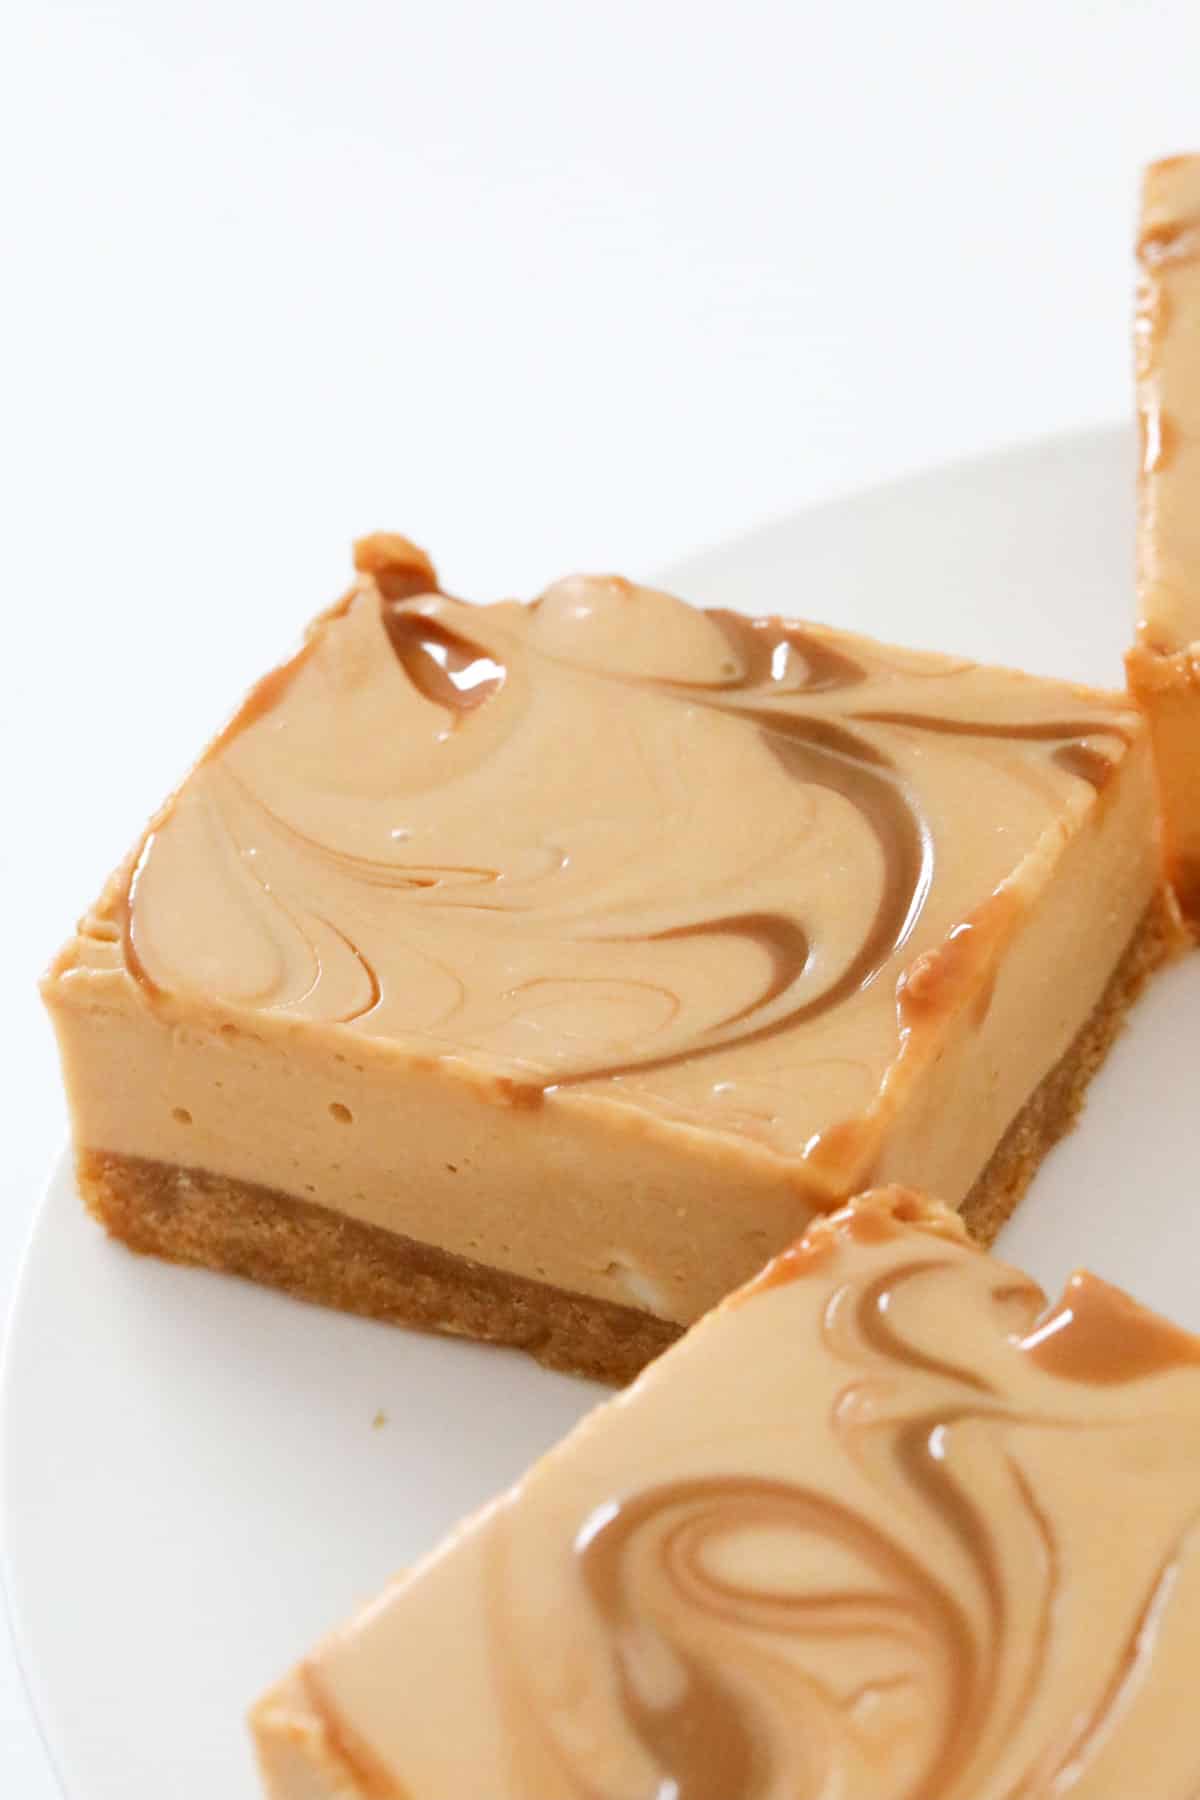
Note: If you would like to add swirls of caramel sauce through at the end (like in my photos), only mix through ¾ of the caramel sauce at this step. However, if you don't want to add swirls of caramel through to decorate, you can beat through all of the caramel sauce.
Step 5 - Fold Through The Cream
Use a spatula or spoon to gently fold the whipped cream through the caramel cheesecake filling.
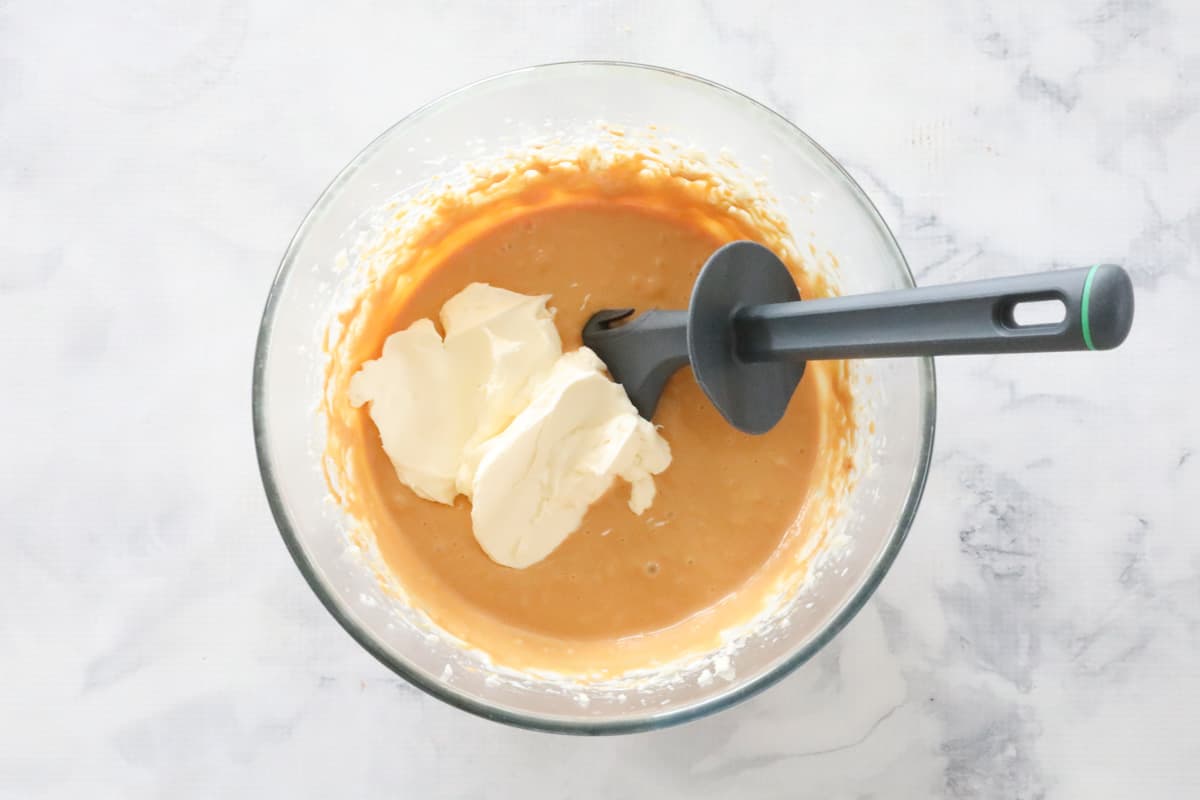
Mix until smooth and well combined.

Step 6 - Pour Over The Base
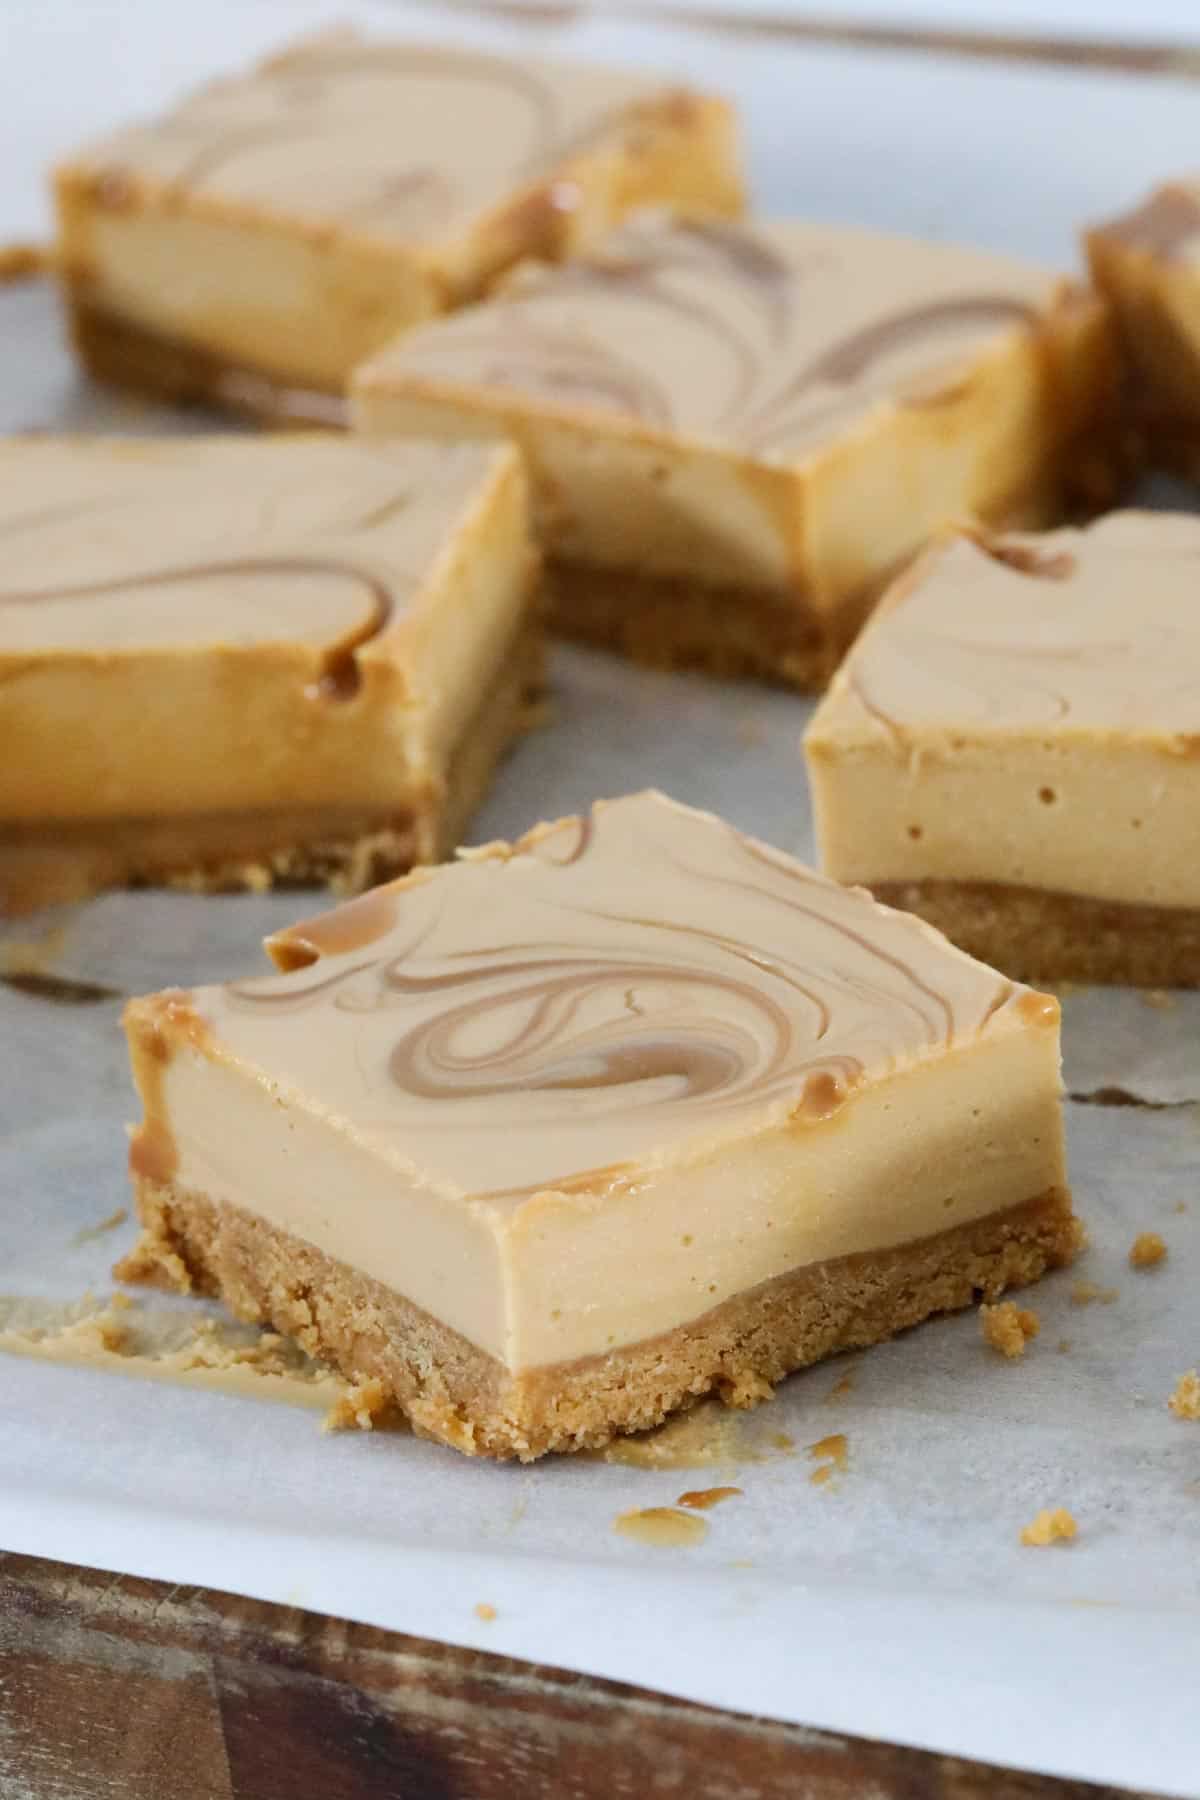
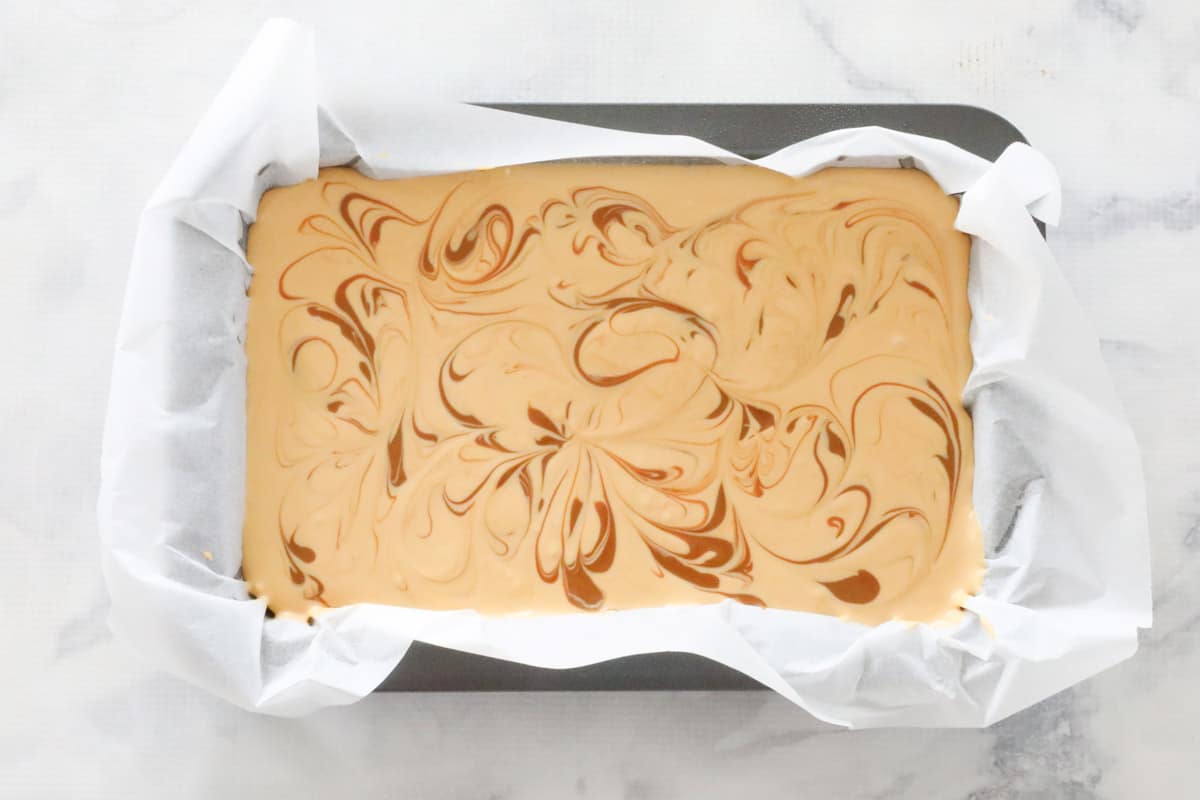
Pour the caramel filling onto the prepared base.
If you would like to decorate your slice with swirls of caramel, simply add small blobs of the caramel sauce and swirl through using a skewer or the end of a knife.
Chill in the fridge for 6 hours or until set.
Homemade Caramel Sauce
My easy caramel cheesecake bars can be made using either a thick store-bought caramel sauce (dulce de leche) or you can make your own homemade caramel sauce.
If you choose to make your own caramel sauce, I recommend using my salted caramel sauce recipe that you can find here (with both Thermomix and conventional methods) and cooking until very thick.
Note: You can omit the salt if you'd prefer plain caramel sauce rather than salted caramel sauce.
Expert Tips
Want to know how to make the perfect caramel cheesecake?
Here's my top tips:
- Use blocks of full fat cream cheese (not spreadable or light). This type of cream cheese sets firmer and will give you a luscious, creamy texture.
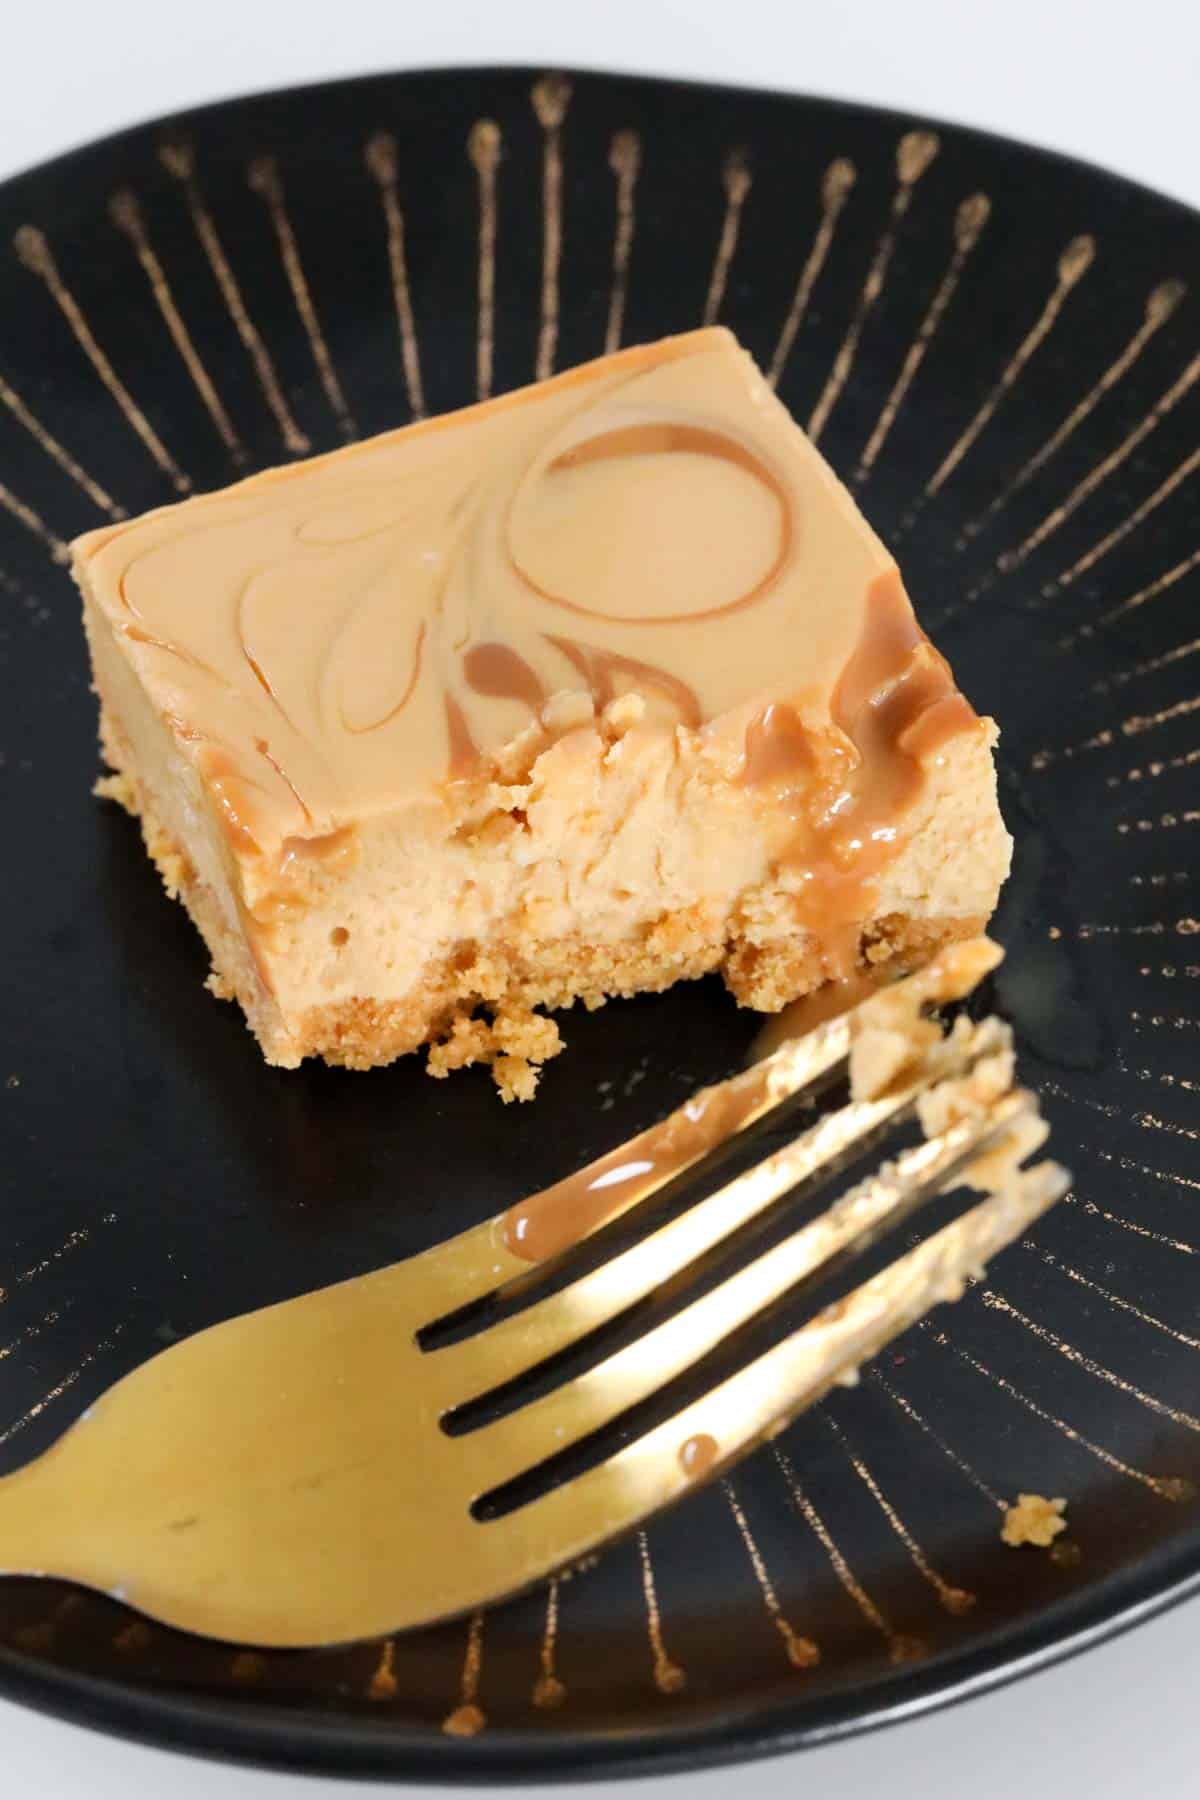
- Swirling extra caramel sauce through the cheesecake filling is a great way to decorate! It's important to note that the extra swirls of caramel will not set firm, but will instead stay gooey and may run slightly when the slice is cut. Completely delicious!
- Using dissolved gelatine powder helps to set the cheesecake filling when chilled.
- Chill the slice in the fridge for 6 hours or overnight.
- Store in an airtight container in the fridge for up to 5 days.
- Freeze in an airtight container for up to 1 month. Allow to completely defrost in the fridge before consuming.
FAQs
All your cheesecake making questions answered!
Absolutely! I recommend using my homemade salted caramel sauce recipe here (you can omit the salt for regular caramel sauce or leave it in for salted caramel sauce). Ensure you cook the caramel sauce until it's well thickened.
Yes, you do! This is a no-bake cheesecake and the gelatine is needed for the filling to set.
Absolutely not. Some people prefer to add all of the caramel sauce into the filling and leave off the swirls entirely. The choice is yours!
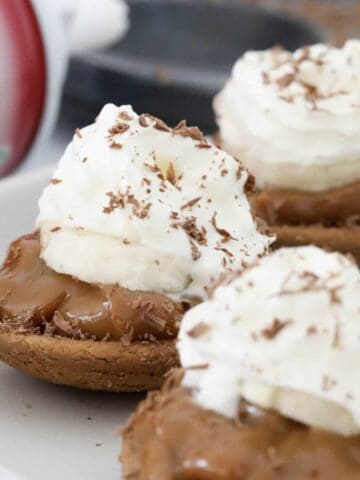
More No-Bake Cheesecake Recipes
Who can resist a yummy no-bake cheesecake!? Certainly not me!!
Here's a few more of my most popular no-bake cheesecake recipes...
WANT EVEN MORE DELICIOUS RECIPES? Subscribe to my newsletter or follow along on Facebook or Instagram. And if you love baking, then please come and join my Facebook cooking club group or subscribe to my YouTube channel.
Caramel Cheesecake Bars | No Bake
Ingredients
- 250 g granita biscuits or similar plain biscuits
- 100 g butter melted
- 150 ml thickened cream whipped
- 250 g cream cheese softened to room temperature
- 110 g (½ cup) caster sugar
- 2 teaspoon gelatine powder
- ¼ cup boiling water
- 200 g thick caramel sauce store-bought or homemade
Instructions
Conventional Method
- Grease and line an 18cm x 28cm rectangular baking tin with baking paper and set aside.
- Crush the biscuits using a food processor until fine crumbs remain. Add the melted butter and mix together well.
- Press the biscuit base firmly into the prepared baking tin.
- Whip the thickened cream and set aside.
- Beat the softened cream cheese and caster sugar until smooth and creamy.
- In a separate bowl, sprinkle the gelatine over the boiling water and stir until completely dissolved.
- Beat the gelatine through the cream cheese mixture.
- Beat through 150g of the caramel sauce. Note: if you want to add the caramel swirls at the end to decorate, set aside ¼ and only beat through ¾ of the caramel sauce in this step.
- Fold through the whipped cream.
- Pour the cream cheese mixture over the biscuit base.
- Optional: Swirl the remaining warm salted caramel sauce through the top of the cheesecake (using a skewer or a knife).
- Place into the fridge for 6 hours or until completely set.
- Cut into slices and serve.
Thermomix Method
- Grease and line an 18cm x 28cm rectangular baking tin with baking paper and set aside.
- Place the butter into the Thermomix bowl and melt for 3 minutes, 80 degrees, Speed 2.Add the biscuits and mix for 8 seconds, Speed 8. Scrape down the sides of the bowl and repeat until combined.
- Press the biscuit base firmly into the prepared baking tin.
- In a clean and dry Thermomix bowl, whip the cream on Speed 3 with the MC lid removed (the time taken will depend on the freshness of the cream - it can be anywhere from 10 seconds to a couple of minutes!) Set the whipped cream aside in a separate bowl.
- Mix the softened cream cheese and the caster sugar for 10 seconds, Speed 5. Scrape down the sides of the bowl and repeat until smooth and creamy.
- In a separate bowl, sprinkle the gelatine over the boiling water and stir until completely dissolved.
- Add the gelatine mixture through the cream cheese mixture and mix for 10 seconds, Speed 4.
- Add 150g of the salted caramel sauce and mix for 10 seconds, Speed 4.Note: if you want to add the caramel swirls at the end to decorate, set aside ¼ and only beat through ¾ of the caramel sauce in this step.
- Fold through the whipped cream with the spatula.
- Pour the cream cheese mixture over the biscuit base.
- Optional: Swirl the remaining warm salted caramel sauce through the top of the cheesecake (using a skewer or a knife).
- Place into the fridge for 6 hours or until completely set.
- Cut into slices and serve.
Notes
- Use blocks of full fat cream cheese (not spreadable or light). This type of cream cheese sets firmer and will give you a luscious, creamy texture.
- Swirling extra caramel sauce through the cheesecake filling is a great way to decorate! It's important to note that the extra swirls of caramel will not set firm, but will instead stay gooey and may run slightly when the slice is cut. Completely delicious!
- Using dissolved gelatine powder helps to set the cheesecake filling when chilled.
- Chill the slice in the fridge for 6 hours or overnight.
- Store in an airtight container in the fridge for up to 5 days.
- Freeze in an airtight container for up to 1 month. Allow to completely defrost in the fridge before consuming.


Kirsty says
Sounds delicious, I’m about to give it a try! Once made, do you know how long it will last without going off. I’m sure in my house it will be devoured in no time but just in case…
Thanks
Lucy says
Hi there, you can store it in an airtight container in the fridge for up to 5 days xx
Rachel D says
No US Measurement conversion on your cheesecake recipes? They all look wonderful but very time consuming to have to look up and convert. 🙁
Jude says
Dear Rachel D,
I reckon 80% of recipe content on the internet is American! We Australians pretty much have convert every recipe we find! Also, recipes in grams /weights are more accurate. A kitchen scale is a great investment for a serious baker.
https://futuristrendcast.wordpress.com/2017/03/20/colonial-leftover-which-three-countries-still-use-inches-pounds-gallons-miles-and-fahrenheit/
Shelley says
Same for us kiwis. Having to find ingredients that are similar can also be frustrating. I’m going to give this one a go for sure
Carolyn says
Dear Rachel,
%95 of the worlds population uses the metric system, only 3 countries dont America, Liberia and Burma. These recipes are written perfectly for the majority of the population.
Kirsten says
I tested this at exactly 6 hours in the fridge, and again the next day. Definitely better after being in the fridge overnight! Really easy recipe to follow. Thanks.
Lucy Mathieson says
Fantastic! Thanks for the feedback! xx
Julie says
Everyone at morning tea LOVED IT!
Lucy Mathieson says
Yay!! That's so great to hear! xx