

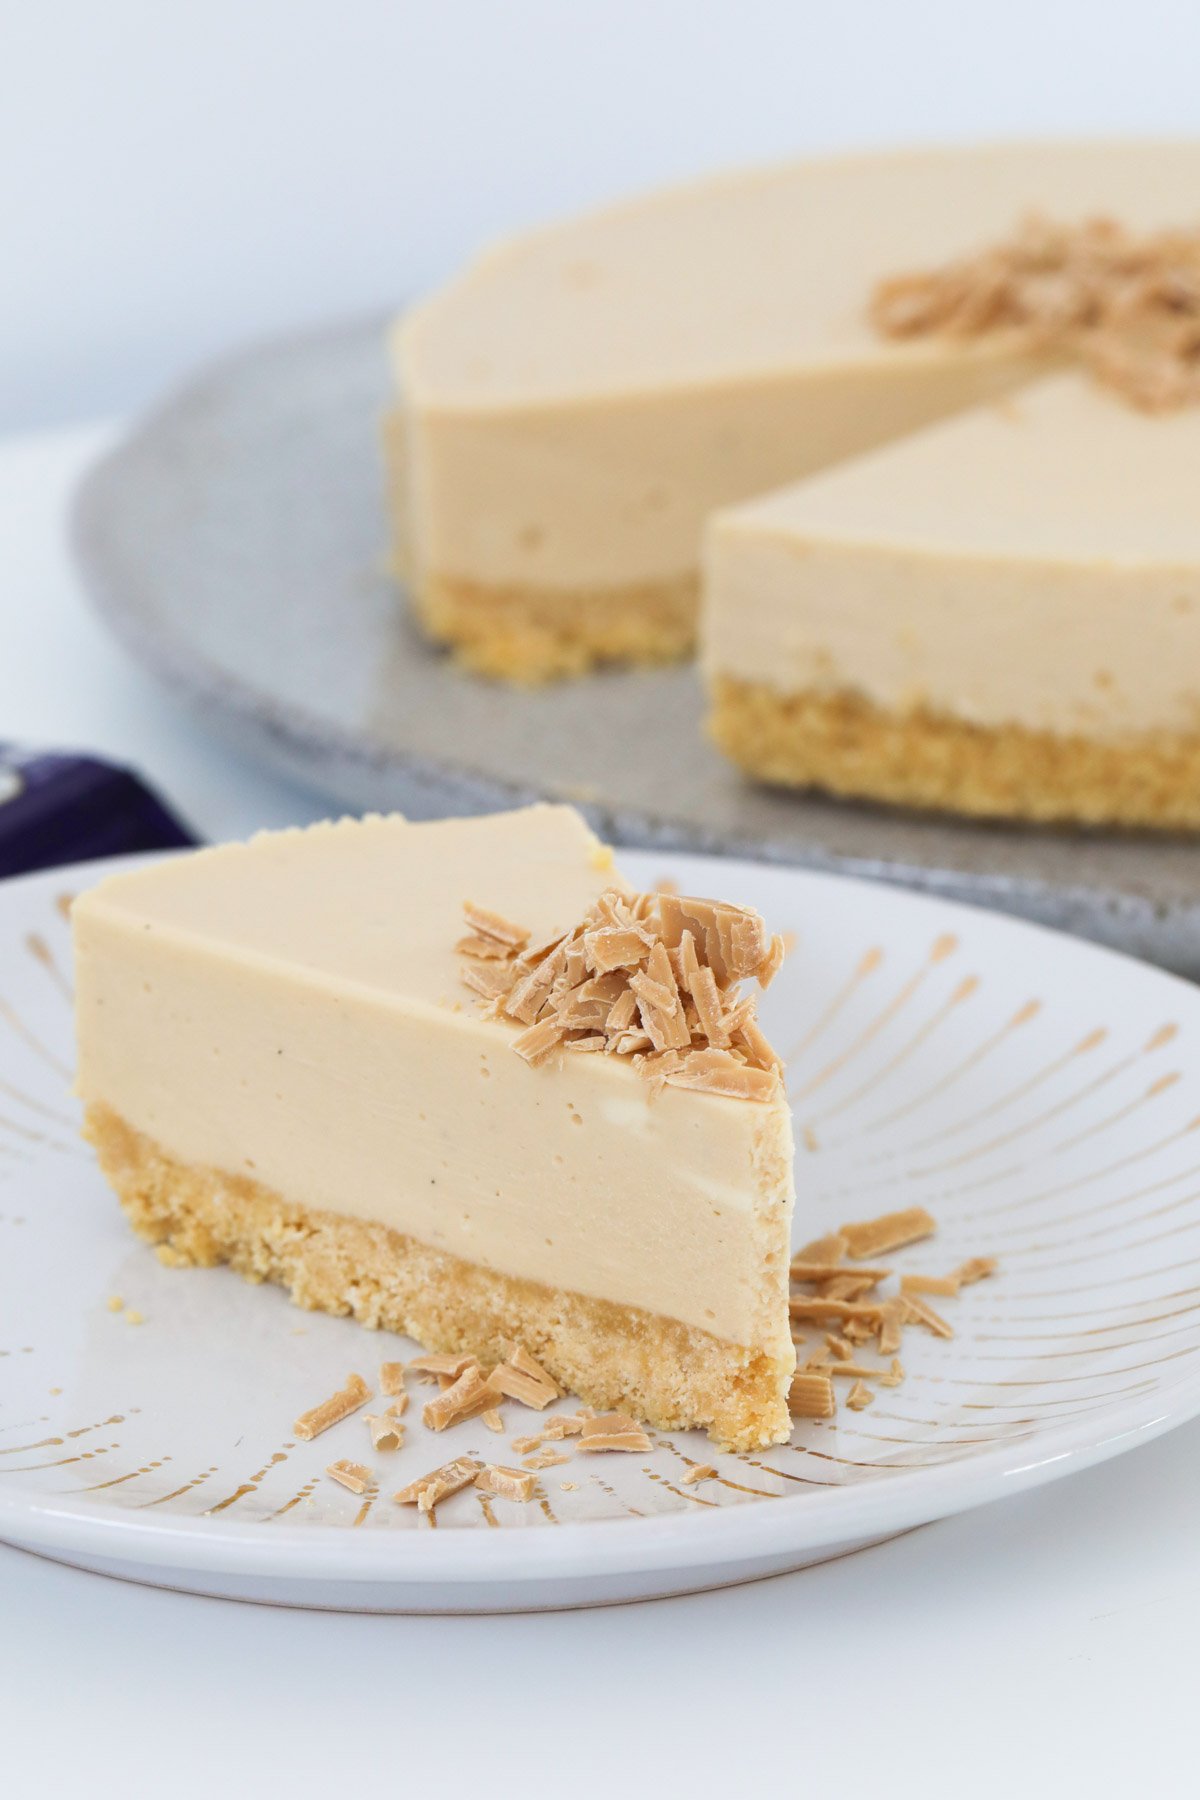
This Caramilk Cheesecake will have people asking for the recipe before they've even finished their slice.
It's silky, ridiculously easy and there's zero oven involved, just like my Classic No-Bake Chocolate Cheesecake and my over-the-top Rocky Road Cheesecake.
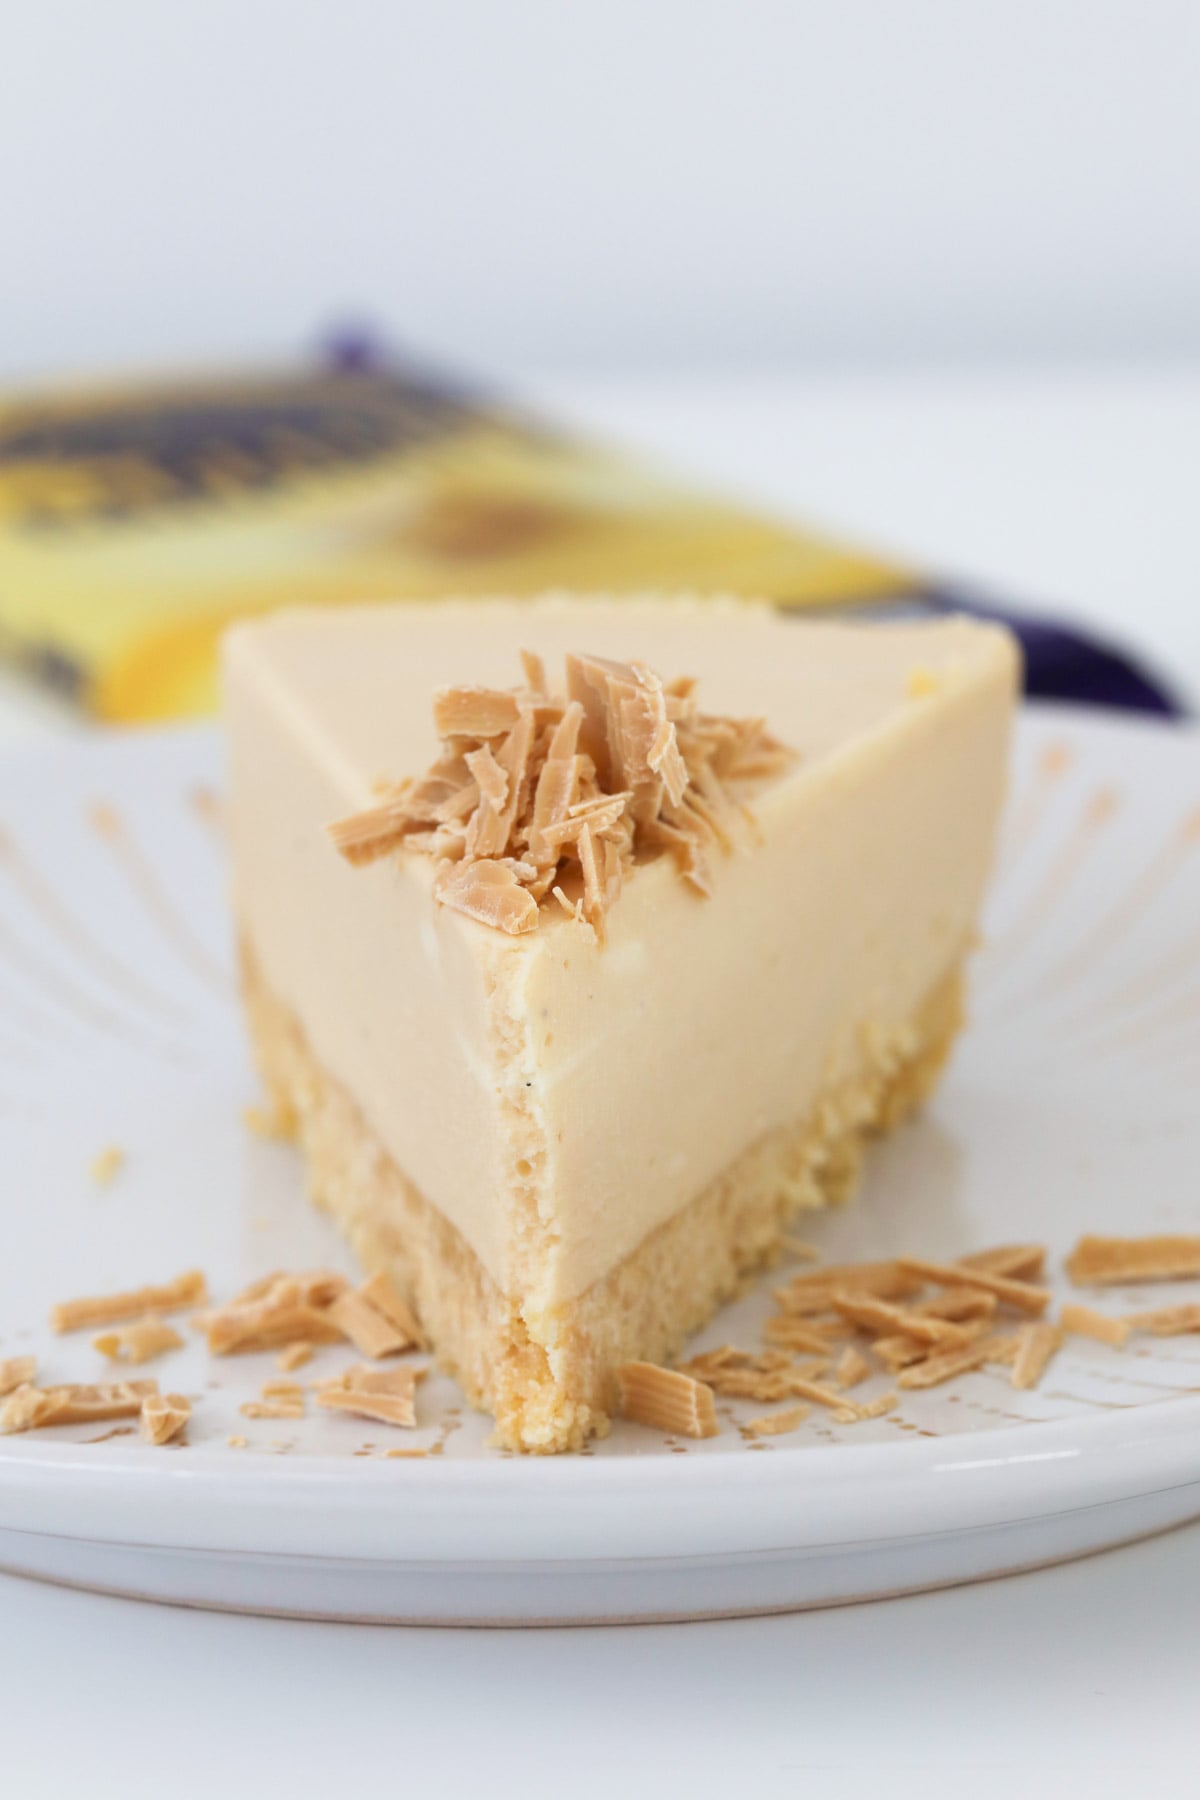
A Quick Look At The Recipe
✅ Recipe Name: Caramilk Cheesecake
🕒 Ready In: 10 minutes prep + minimum 4 hours chilling (overnight is best)
👪 Serves: 16
🍚 Calories: 401kcal per serve
🥣 Main Ingredients: Cream cheese, Caramilk chocolate, cream, plain sweet biscuits, gelatine
📖 Dietary Info: Contains gelatine (not vegetarian) and gluten (easy biscuit swap in Variations below)
⭐ Why You'll Love It: No oven, no water bath, no drama - just a rich, caramelised white chocolate cheesecake that basically makes itself.
SUMMARIZE & SAVE THIS CONTENT ON
"Made this for Christmas dessert, was delicious!" - Katy
This one's a proper reader favourite, and if you're already dreaming about your next slice, my Toblerone Cheesecake, Salted Caramel Cheesecake and bite-sized Caramilk Cheesecake Balls are all worth bookmarking too.
Jump to:
Why You're Going To Love This Recipe
- No oven required, which means no heating up the kitchen just to make dessert.
- Just 10 minutes of actual hands-on work. The fridge does the rest while you go do literally anything else.
- Feeds a crowd. Sixteen slices means it's perfect for birthdays, Christmas or "I need to bring a plate" situations.
- Ever tried caramelised white chocolate before? If not, this is exactly where you should start.
Cheesecake Ingredients
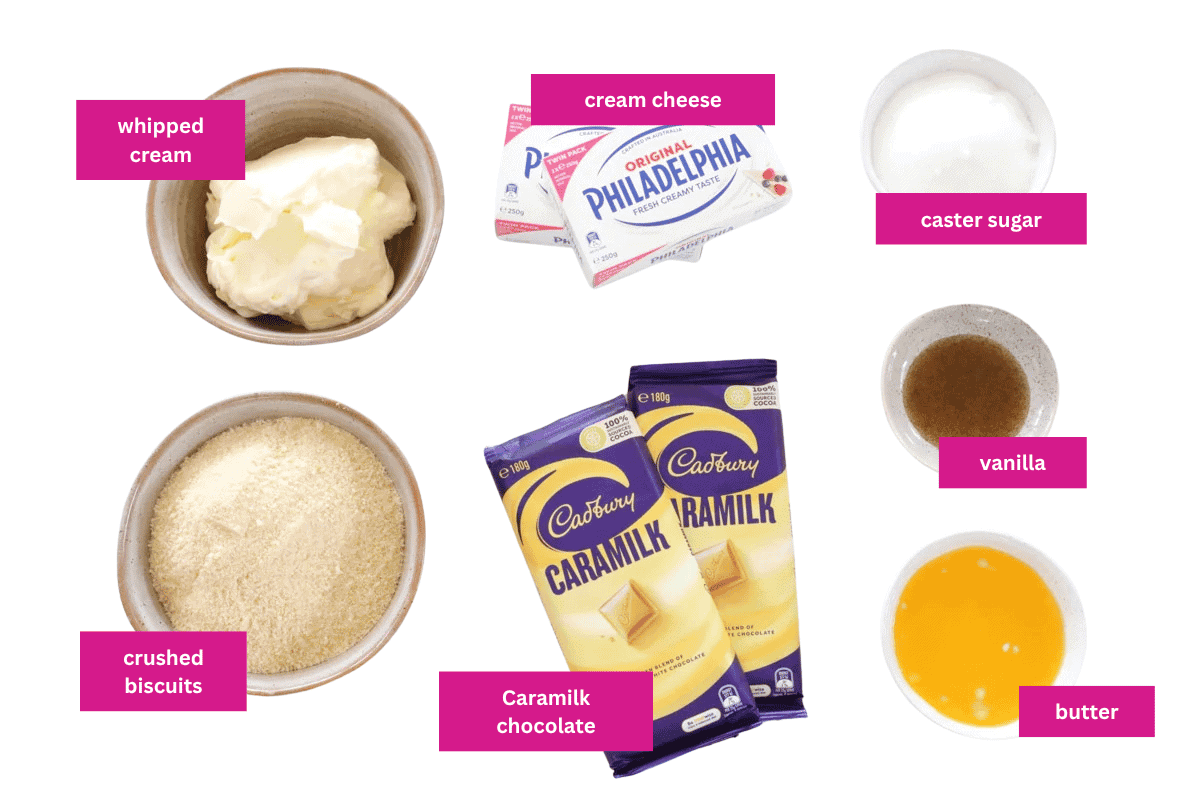
Forget hunting through the shops for hours - this cheesecake needs just 8 ingredients. A few of them are worth a closer look though.
- Arnott's Nice biscuits - this is what I use for the base, but any plain sweet biscuit works. Nilla wafers or digestives are a good stand-in if Nice biscuits aren't sold where you live.
- Caramilk chocolate is a caramelised white chocolate, not the same as regular white chocolate. Don't swap it for a plain white chocolate block or you'll lose that toffee flavour the whole recipe is built around. Can't get Caramilk? Any caramelised white chocolate will do the same job.
- Gelatine powder is what lets you slice this cheesecake cleanly instead of it collapsing like a soft mousse. Make sure it's completely dissolved in the boiling water with no lumps before it goes anywhere near the cold cream cheese mixture, or you'll get little rubbery bits through your filling.
- Use full-fat block cream cheese (like Philadelphia), not the whipped tub kind, and let it come to room temperature before you start. Tub cream cheese has more water in it, so the filling won't set as firm.
Variations
- Double Caramilk Cheesecake - melt an extra 50g of Caramilk with a splash of cream and drizzle it over the top instead of just the grated chocolate, for a glossy, extra-caramel finish.
- Swap in Caramilk Marble or Caramilk Hokey Pokey instead of the regular block if you want to play around with the flavour.
- Gluten-Free Caramilk Cheesecake - swap in your favourite gluten-free plain sweet biscuits for the base and you're done.
- Want it bite-sized instead? Try my Caramilk Cheesecake Balls for the same flavour in party-friendly form.
- Big on caramel? My Caramel Nut Slice and Mini Banoffee Tarts are proof I've never met a caramel dessert I didn't like.
How To Make Caramilk Cheesecake
This cheesecake might look fancy, but it genuinely couldn't be easier. Mix, chill, done.
Note: Scroll to the recipe card at the bottom of the post for ingredient quantities and the full detailed method (conventional and Thermomix methods are both included).
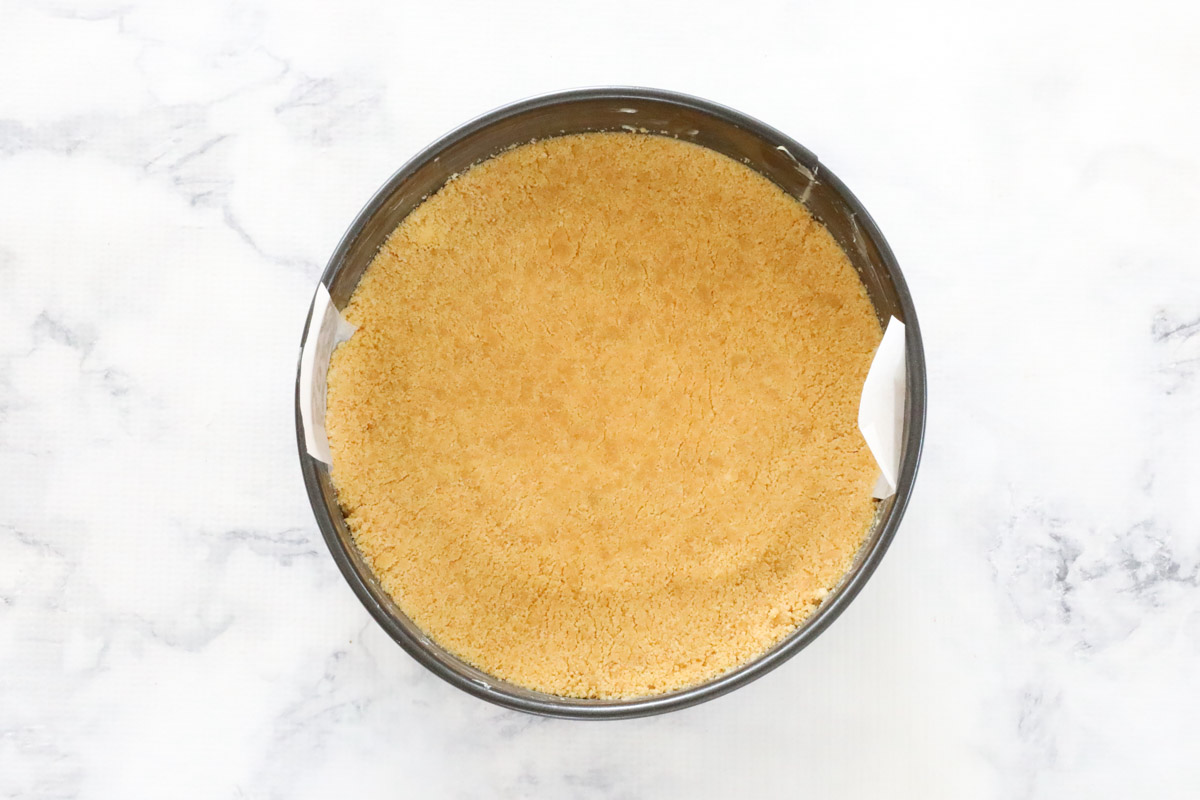
- Step 1: Make the base. Crush the biscuits into fine crumbs, mix with the melted butter, then press firmly into a lined springform pan. Chill in the fridge while you prepare the filling.
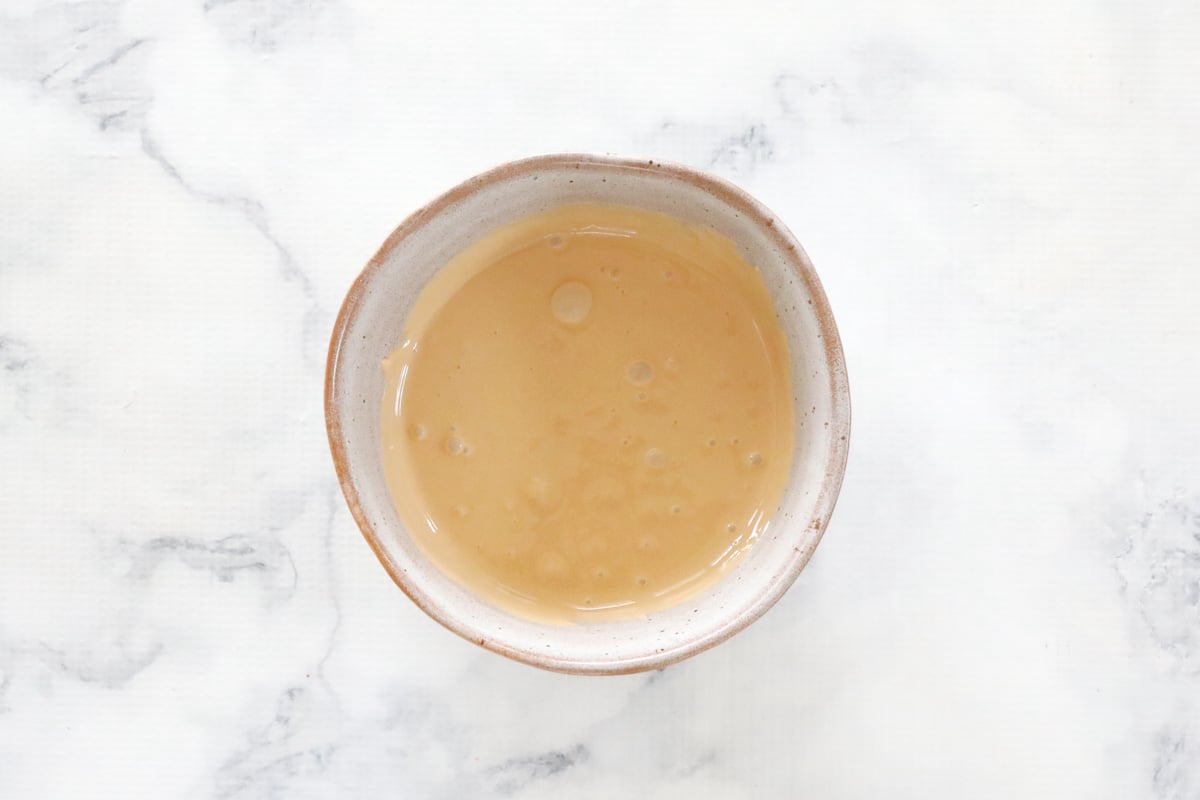
- Step 2: Melt the Caramilk. Melt the Caramilk chocolate gently, stirring often, until smooth. Set aside to cool slightly.
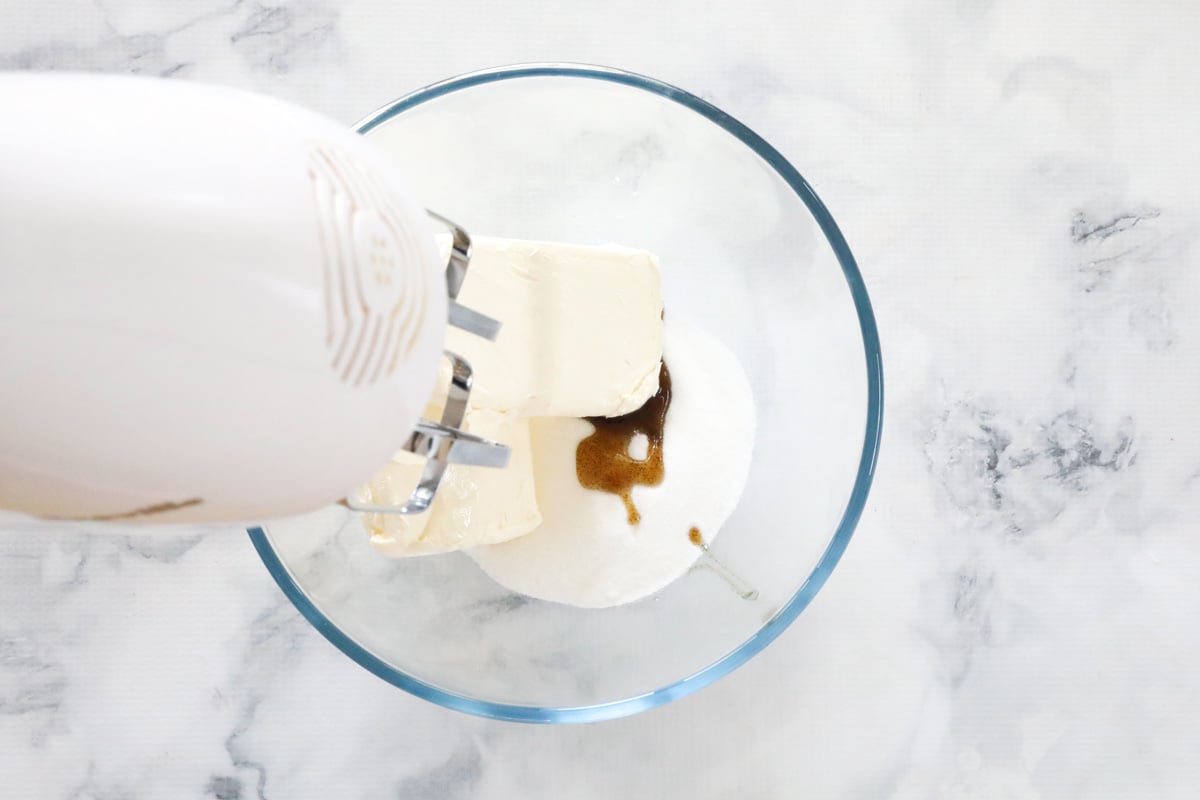
- Step 3: Beat the cream cheese. Beat the room temperature cream cheese, sugar and vanilla together until smooth and creamy, with no lumps left.
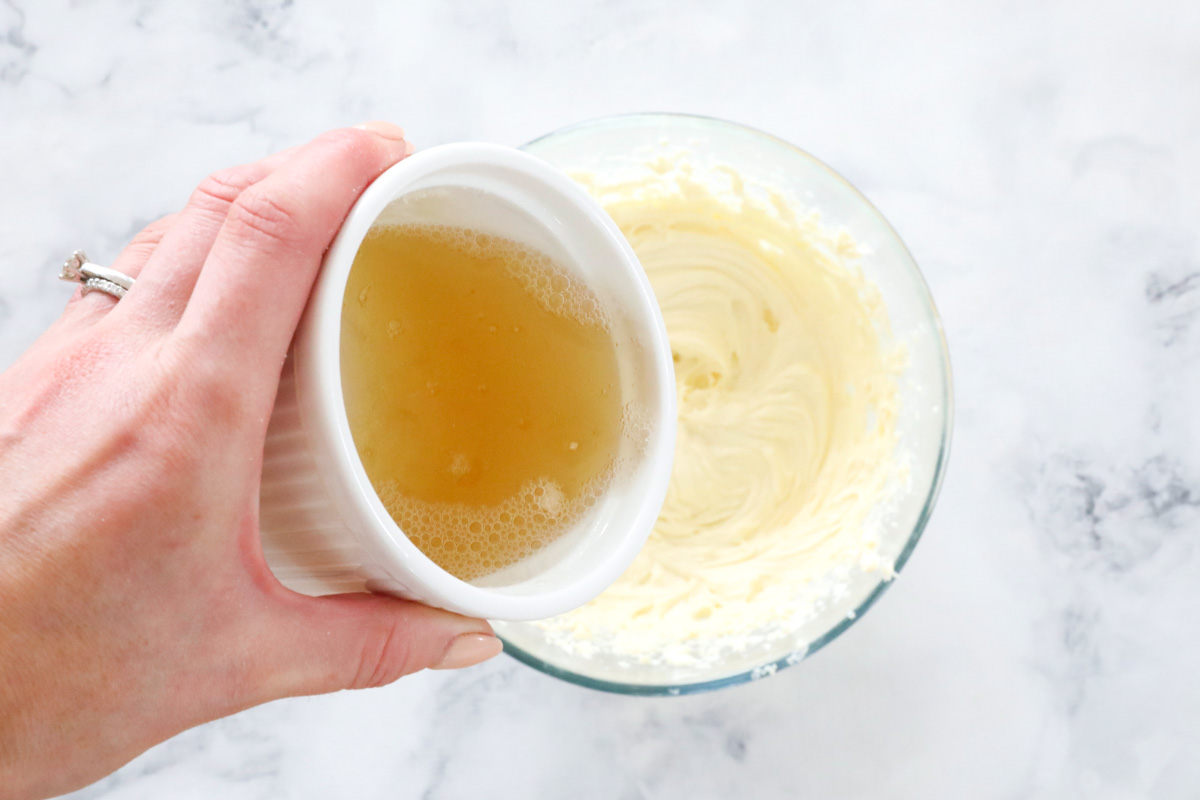
- Step 4: Beat in the gelatine. Sprinkle the gelatine over the boiling water and whisk until fully dissolved. Cool slightly, then beat it through the cream cheese mixture.
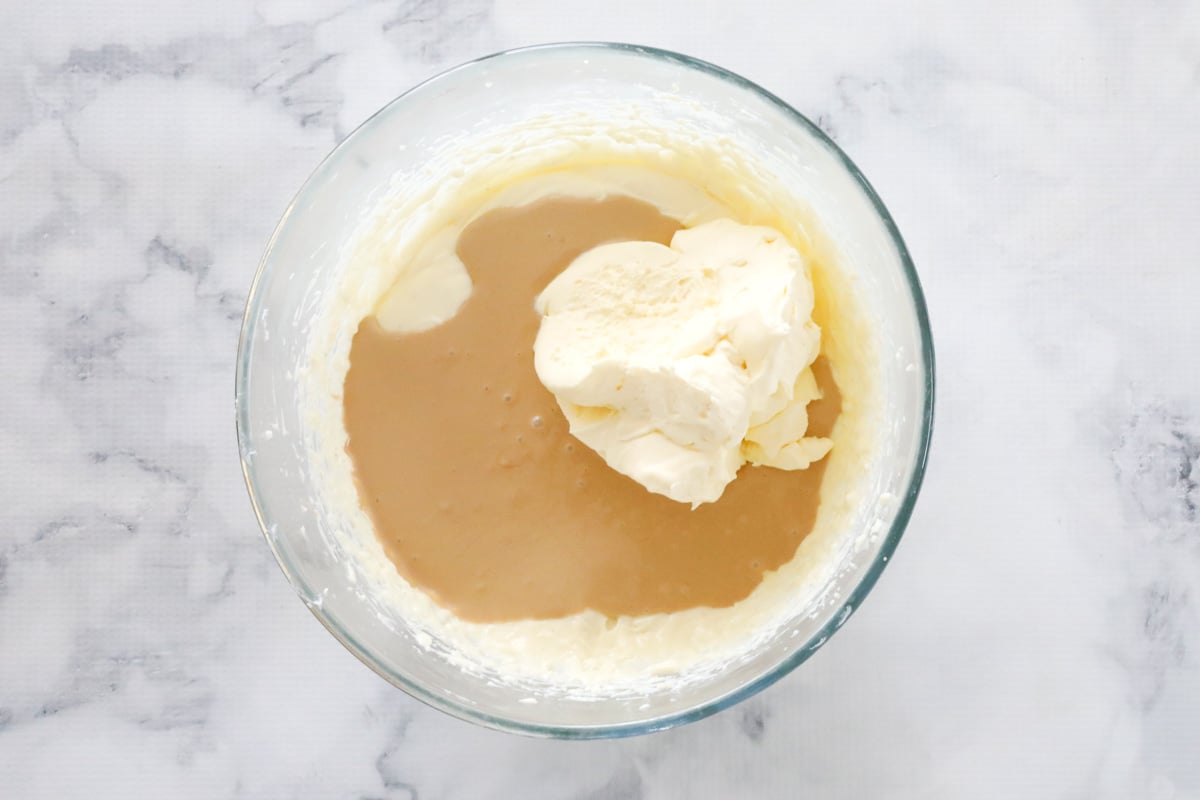
- Step 5: Fold through the chocolate and cream. Whip the cream to soft peaks, then gently fold the whipped cream and melted Caramilk through the cream cheese mixture until well combined.
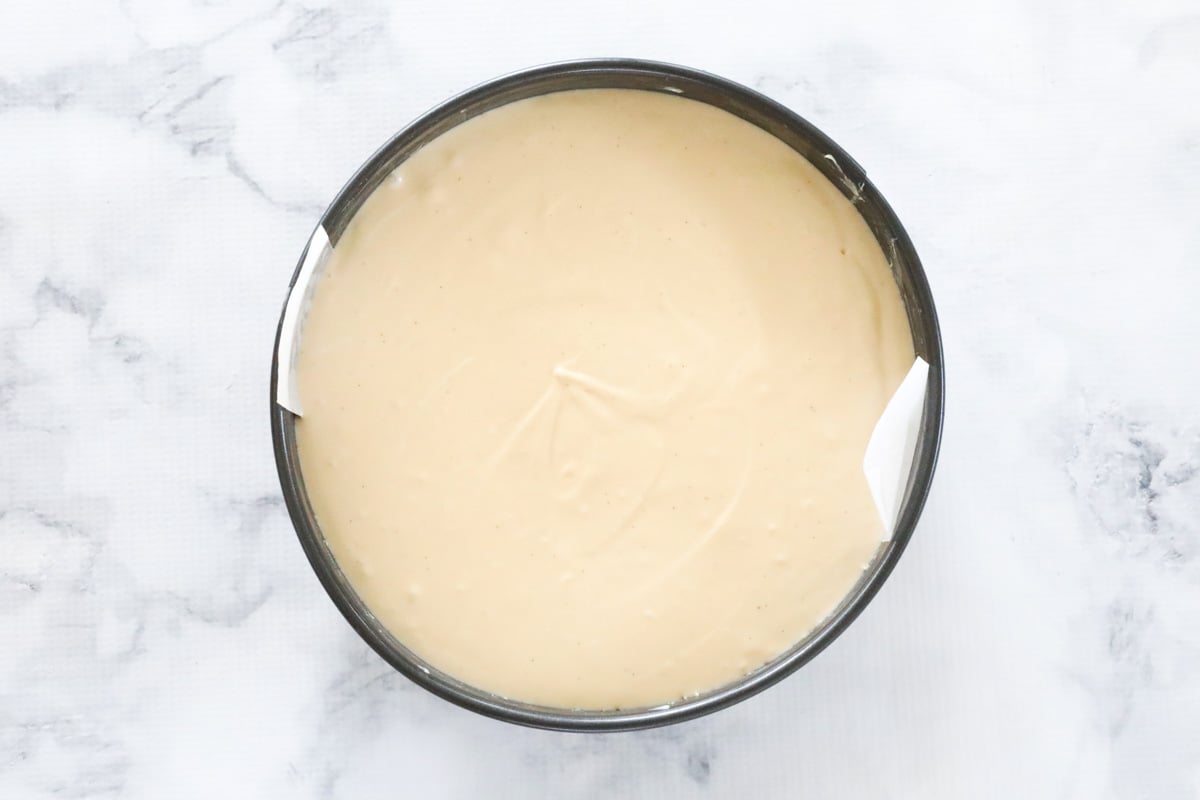
- Step 6: Chill to set. Spoon the mixture over the base and spread evenly. Chill for a minimum of 4 hours, then remove from the pan and decorate with grated Caramilk before serving.
Team Thermomix? The full Thermomix method, with exact speeds and timings, is in the recipe card below.
Recipe Tips
- Room temperature ingredients are non-negotiable here. Cold cream cheese means lumps, no matter how hard you beat it.
- Line the base and sides of your springform pan with baking paper so the cheesecake lifts out cleanly once it's set.
- Chill for a minimum of 4 hours, but overnight gives you the best set and the best flavour.
- Because this cheesecake is set with gelatine, it can actually sit out of the fridge for an hour or two without losing its shape - handy if you're serving it at a party.
- Storage: keep it covered in the fridge and eat within 3 days.
- Freezing: this cheesecake freezes really well thanks to the gelatine. Wrap it (whole or in individual portions) in a layer of plastic wrap and then a layer of foil, and freeze for up to 1 month.
- To thaw, move it to the fridge overnight rather than leaving it on the bench. Slow thawing keeps the texture smooth instead of watery.
Caramilk Cheesecake FAQs
Yes, and it's actually better that way. Make it up to 2 days ahead and keep it covered in the fridge until you're ready to serve.
Yes. Because it's set with gelatine, it freezes really well - wrap it whole or in individual slices in plastic wrap then foil, and freeze for up to a month. Thaw overnight in the fridge, not on the bench, so it doesn't turn watery.
Any caramelised white chocolate block will work if you can't get Caramilk where you live. Regular white chocolate is fine in a pinch, but you'll lose that toffee flavour that makes this recipe special.
The big three - gelatine with lumps still in it, not enough time in the fridge, or folding through chocolate that's still warm and knocking all the air out of the whipped cream. Any one of those leaves you with a soft, gluggy set instead of a clean slice. If in doubt, give it more time in the fridge - overnight often fixes it.
Short answer, no, but I really recommend it. Gelatine is what lets you slice this cheesecake cleanly instead of it collapsing like a soft mousse when you cut in.
More Cheesecake Recipes
Can't get enough cheesecake? Here's a few more of my favourites to add to the list.
Caramilk Cheesecake
Ingredients
- 250 g Arnotts Nice biscuits or any plain sweet cookies
- 125 g butter melted
- 240 g (1 cup) cream thickened or heavy, lightly whipped
- 200 g Cadbury Caramilk chocolate
- 2 ½ teaspoon gelatine dissolved in ¼ cup boiling water, cooled
- 500 g cream cheese room temperaure
- 1 teaspoon vanilla bean paste optional, or vanilla extract
- 150 g (¾ cup) caster sugar superfine
- 50 g Cadbury Caramilk chocolate grated
Instructions
Conventional Method
- To ensure a smooth cheesecake, ensure all ingredients are at room temperature before starting.
- Grease and line the base and sides of a 23cm spring-form pan with baking paper and set aside.
- Finely crush the biscuits in a food processor and place into a bowl.
- Add the melted butter and mix until well combined.
- Press the mixture firmly into the base of the pan and place into the fridge.
- Whip cream and set aside.
- Melt the Caramilk chocolate and set aside to cool slightly.
- Pour ¼ cup of boiling water into a cup, sprinkle over the gelatine and stir until dissolved. Allow to cool.
- Beat the cream cheese, vanilla bean paste and caster sugar until smooth and creamy.
- Add the cooled, dissolved gelatine to the mix and beat until well combined.
- Gently fold through the melted Caramilk chocolate and the whipped cream until well combined.
- Spoon the mixture into the prepared tin. Spread out evenly with a spoon.
- Place the cheesecake into the fridge to set for a minimum of 4 hours (for best results, leave in the fridge overnight before cutting).
- Remove from pan and decorate with grated Caramilk chocolate.
Thermomix Method
- To ensure a smooth cheesecake, ensure all ingredients are at room temperature before starting.
- Grease and line the base and sides of a 23cm spring-form pan with baking paper and set aside.
- Melt butter in the Thermomix bowl for 2 minutes, 100 degrees, Speed 1. Add the biscuits and crush for 10 seconds, Speed 10. Scrape down the sides of the bowl and repeat until well combined.
- Press the mixture firmly into the base of the pan and place into the fridge.
- Whip cream in a clean, dry Thermomix bowl on Speed 3.5 until lightly whipped (the time it takes will depend on the freshness of the cream - it can be anywhere between 10 seconds and 2 minutes!!) Set the cream aside in a separate bowl.
- Place the Caramilk chocolate into the Thermomix bowl and melt for 3 minutes on 50 degrees, Speed 2. Set aside in a bowl to cool slightly.
- Pour ¼ cup of boiling water into a cup, sprinkle over the gelatine and stir until dissolved. Allow to cool.
- Beat the cream cheese, vanilla bean paste and caster sugar in a clean and dry Thermomix bowl for 30 seconds on Speed 5. Scrape down the sides with a spatula and repeat until smooth and creamy.
- Add the cooled, dissolved gelatine to the mix and mix for 30 seconds on Speed 5.
- Fold through the melted Caramilk chocolate and the whipped cream with the spatula.
- Spoon the mixture into the prepared tin. Spread out evenly with a spoon.
- Place the cheesecake into the fridge to set for a minimum of 4 hours (for best results, leave in the fridge overnight before cutting).
- Remove from the pan and decorate with grated Caramilk chocolate.
Notes
- Caramilk chocolate - this can be purchased from any major supermarket in Australia or New Zealand. If Caramilk chocolate isn't available where you live, you can use any variety of caramelised white chocolate.
- Make sure that all of your ingredients are at room temperature before you start to ensure you have a smooth, creamy dessert.
- Use a springform pan - it's best to use a springform pan when making cheesecakes as the removable sides make it easy to transfer the cheesecake from the pan to a serving plate. Grease the pan well and line the base and sides with baking paper to avoid the filling from sticking to the edges.
- Chilling time - A minimum of 4 hours is required but overnight is best whenever possible.
- Store your cheesecake in the fridge and consume within 3 days.
- Make ahead, allow to set in the fridge, then freeze your cheesecake for up to a month as a whole or in individual portions. Wrap in a layer of plastic wrap and then a layer of foil and freeze.
Katy says
Made this for Christmas desert, was delicious!