
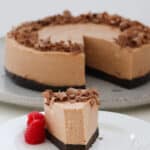
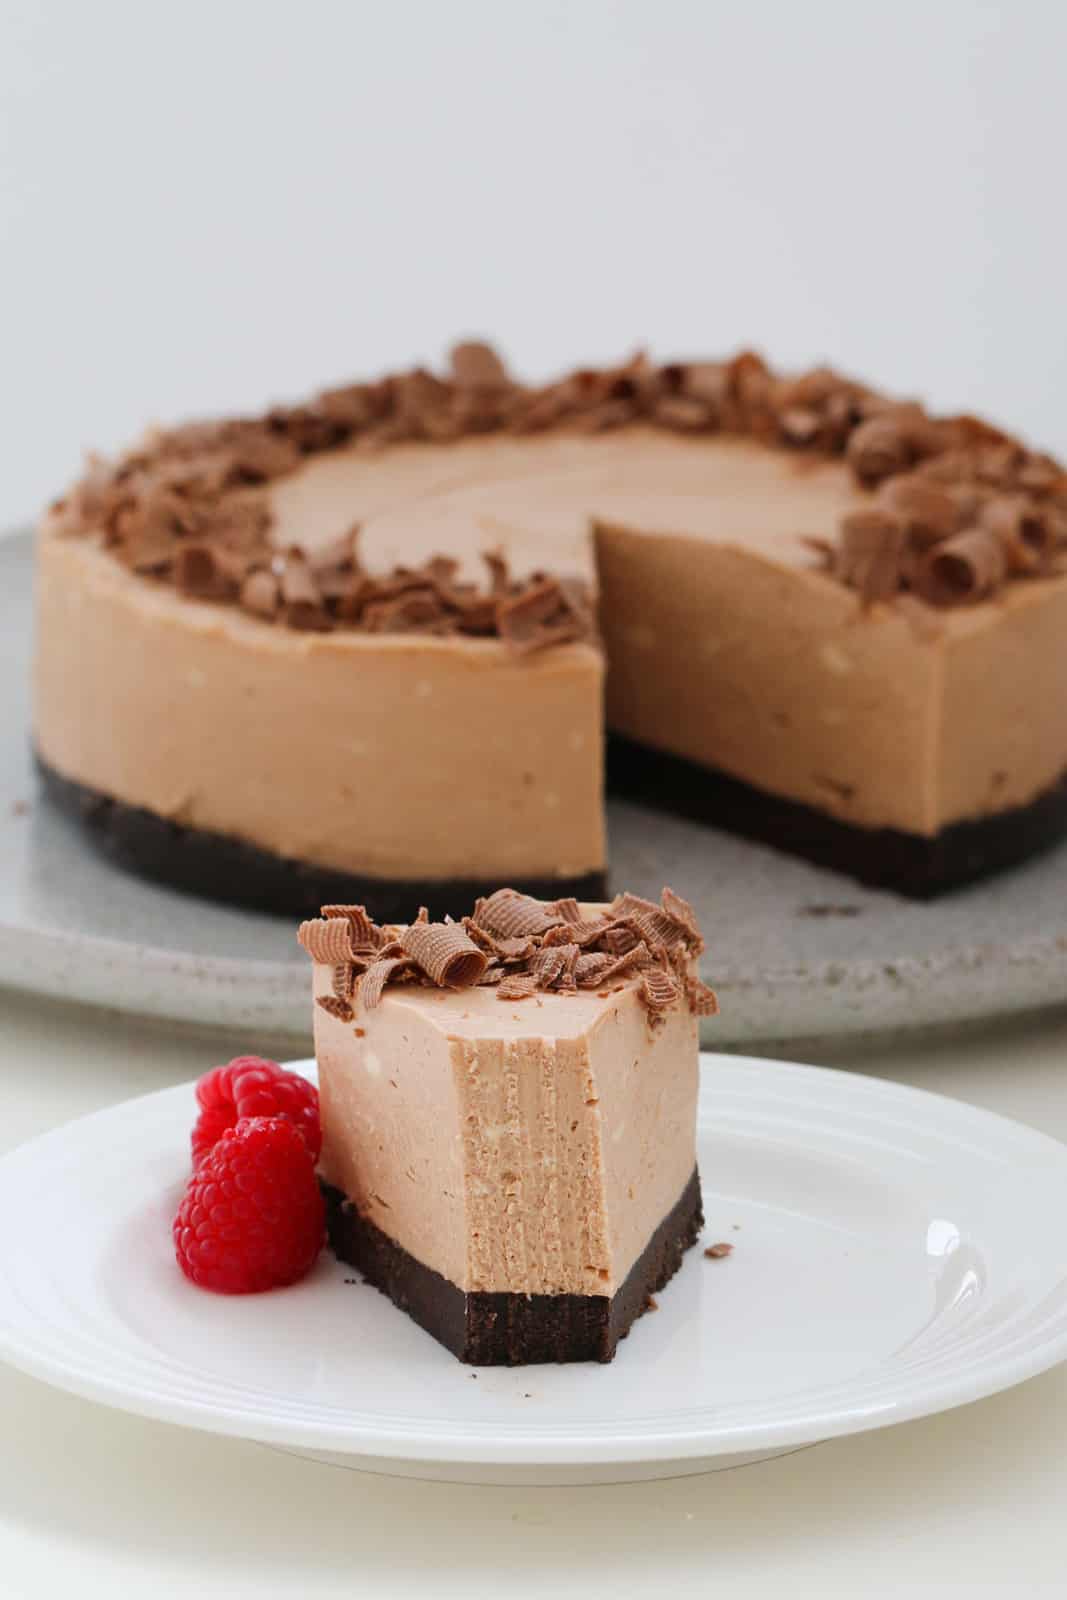
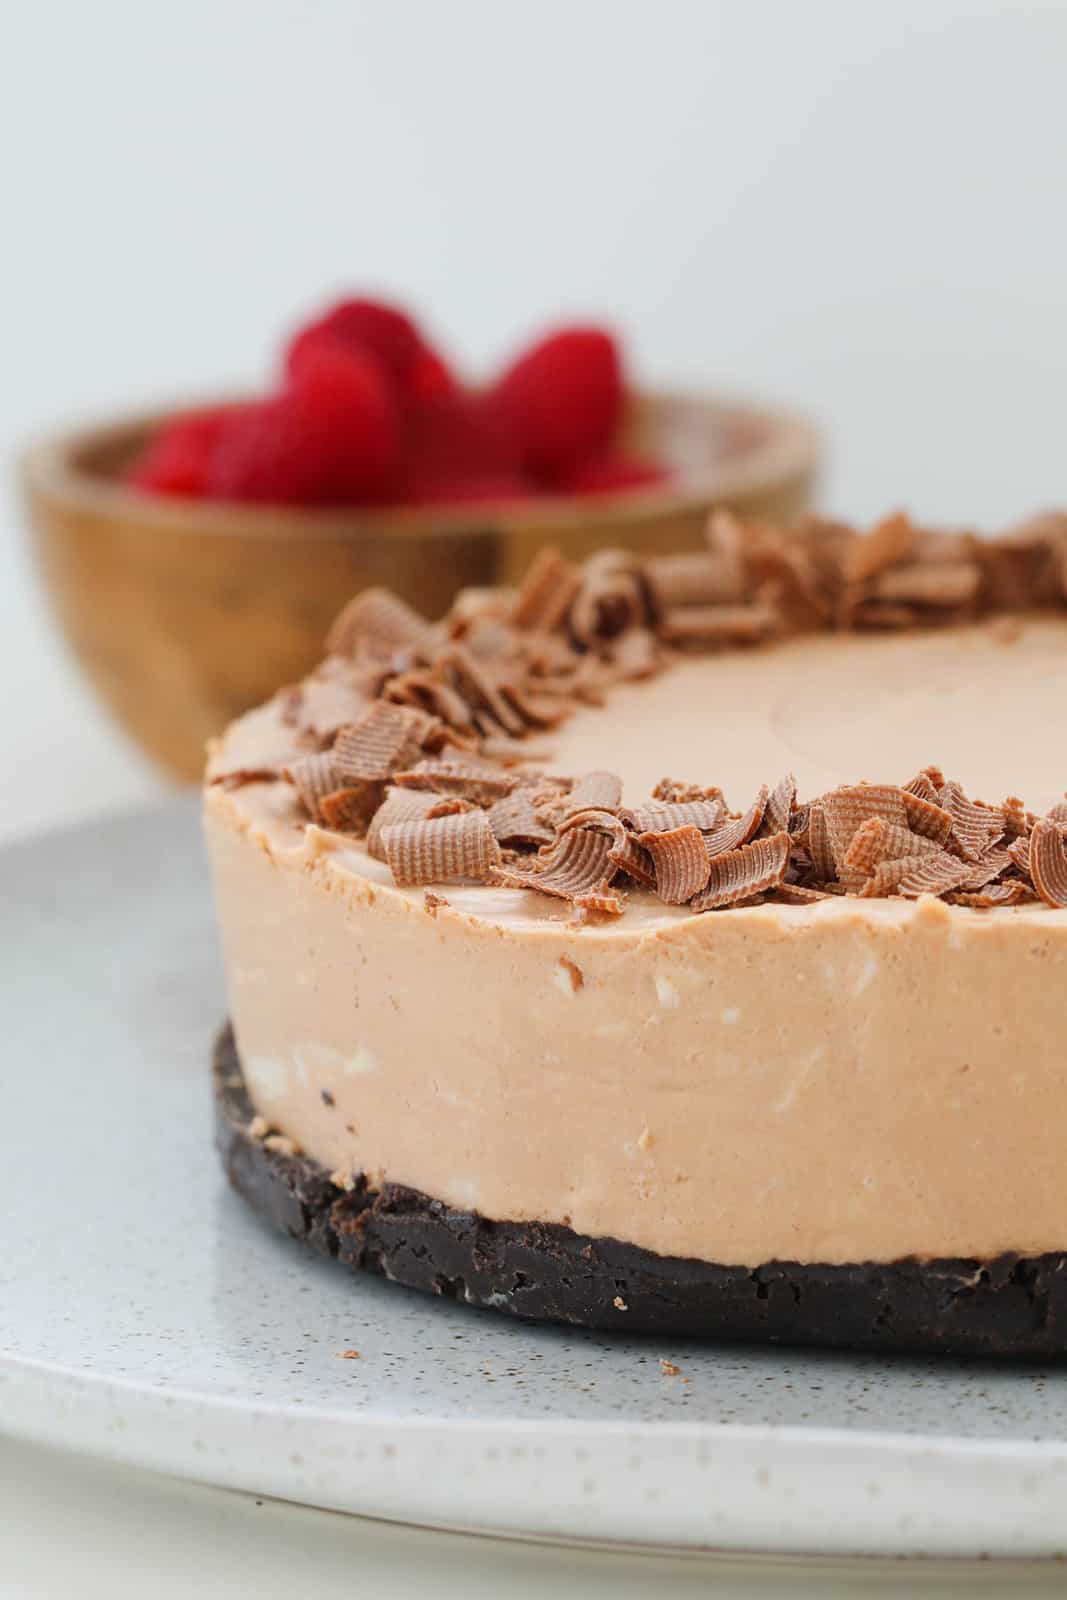
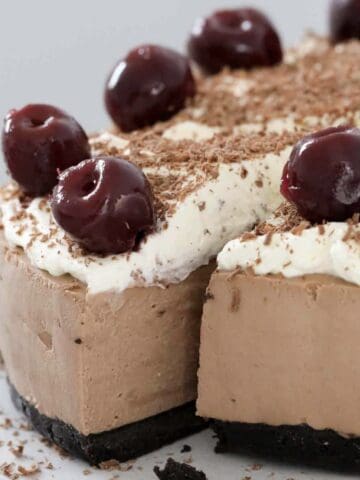
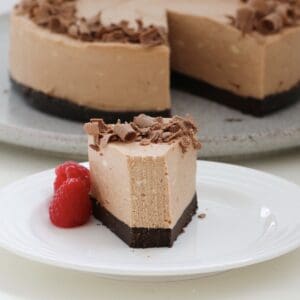
There's nothing quite like a rich and creamy no-bake chocolate cheesecake to impress family and friends-without the fuss of turning on the oven. This decadent dessert takes just 10 minutes to prepare, then the fridge does the rest. If you love simple cheesecakes, you'll love my Jelly Cheesecake and Lemon Cheesecake too.
Absolutely beautiful cheesecake! Easy to make and tastes divine. Thank you for the recipe
- Inna
When it comes to cheesecake, this simple chocolate cheesecake recipe ticks every box: minimal ingredients, maximum flavour, and that melt-in-your-mouth creamy texture. Unlike a traditional baked chocolate cheesecake, this no-bake version uses gelatine to set, giving it a smooth yet firm finish that slices beautifully. It's the perfect make-ahead dessert for birthdays, dinner parties, or even just when you want something indulgent stashed in the fridge.
I like to use good-quality milk chocolate for a soft, sweet finish (kid-approved, of course), but you could also swirl through a little dark chocolate for a richer taste. And if you love cheesecake with a twist, you'll also enjoy my Oreo Cheesecake or Crunchie & Malteser Cheesecake.
Jump to:
Why You're Going To Love This Recipe
- No oven required - perfect for hot days when baking is out of the question.
- Quick to prepare - just 10 minutes of mixing before the fridge takes over.
- Creamy, rich, and chocolatey - like a cross between mousse and cheesecake.
- Make-ahead dessert - chill overnight and it's ready to serve the next day.
- Versatile - change up the crust, chocolate, or toppings to suit your taste.
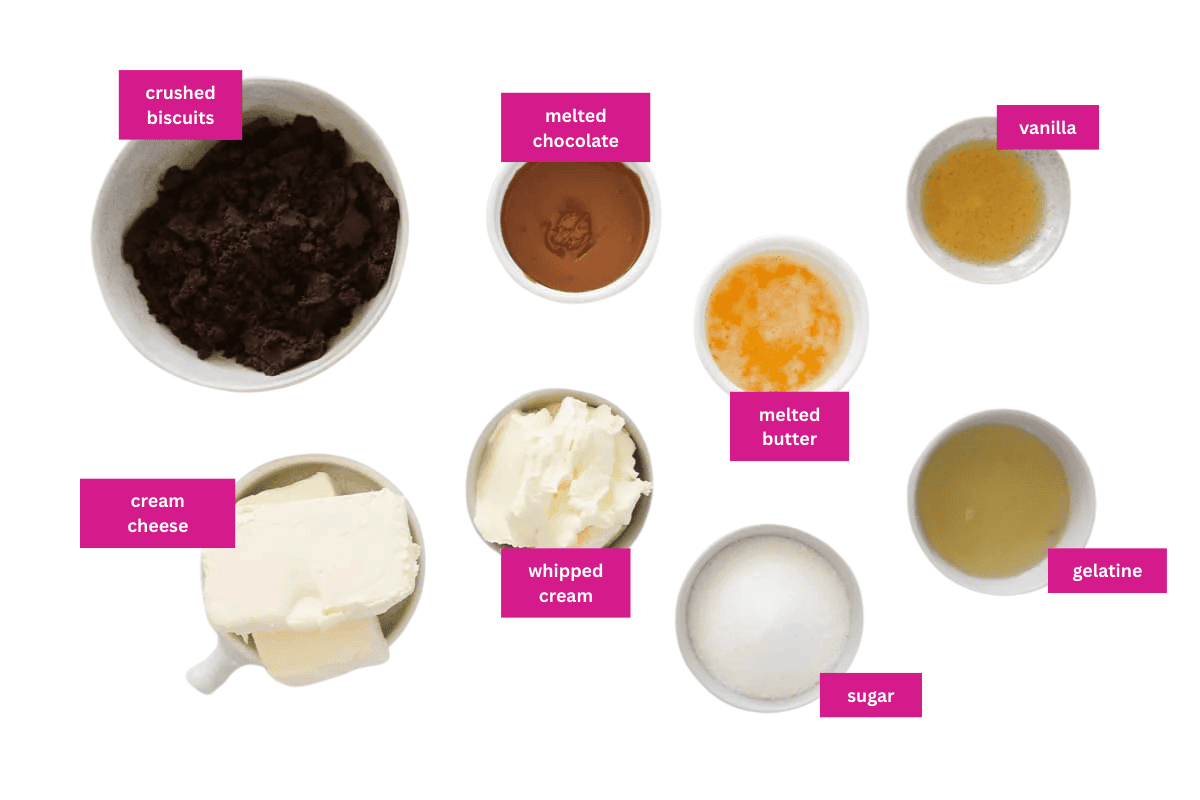
Cheesecake Ingredients
You only need a handful of everyday ingredients to make the best chocolate cheesecake recipe! Here's what to keep in mind:
- Chocolate - use a good quality milk chocolate for the best flavour and texture (dark or white chocolate also works - see variations below). Ensure you use baking chocolate or a block of chocolate (chocolate chips are not suitable as they wont melt).
- Cream cheese - make sure it's softened to room temperature for a smooth, lump-free filling. I recommend using Philadelphia cream cheese.
- Gelatine - this is what helps the cheesecake set properly; dissolve it in hot water and allow to cool slightly before adding.
Variations
Here are a few delicious ways to mix things up:
- Chocolate Orange Cheesecake - add finely grated orange zest and a splash of orange extract for a citrus twist.
- Gluten-Free Chocolate Cheesecake - use gluten-free biscuits for the base.
- White Chocolate Cheesecake No Bake - swap milk chocolate for white and top with fresh raspberries.
- Triple Chocolate Cheesecake - love chocolate flavor? Fold through a mix of milk, dark, and white chocolate for a layered effect.
How To Make No-Bake Chocolate Cheesecake
This recipe couldn't be simpler - a favourite with chocolate lovers!
Note: Please scroll to the recipe card at the bottom of the post for ingredient quantities and the full detailed method.

- Step 1: Prepare the base - crush Oreos (or any chocolate biscuits) into crumbs, mix with melted butter, and press firmly into a parchment paper-lined springform pan. Chill.
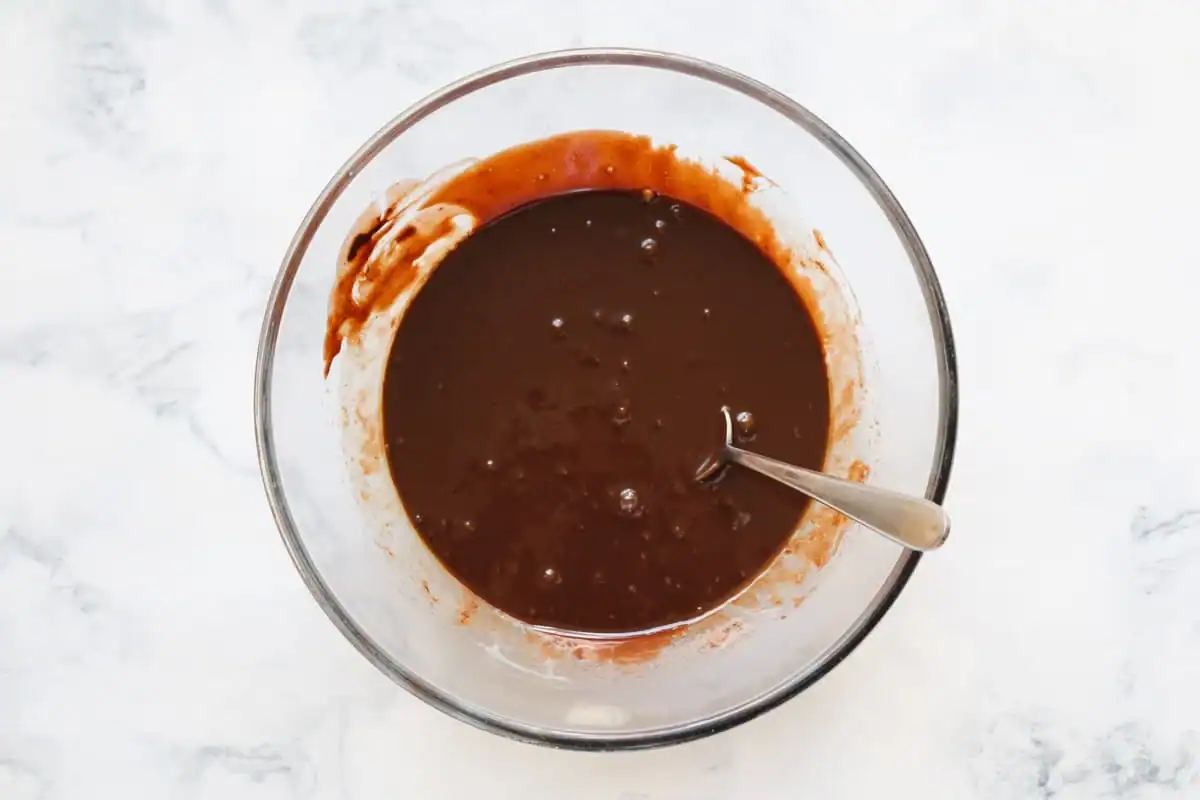
- Step 2: Melt the chocolate - gently melt milk chocolate in the microwave and set aside to cool slightly.
- Step 3: Dissolve the gelatine - stir into boiling water until fully dissolved, then allow to cool.
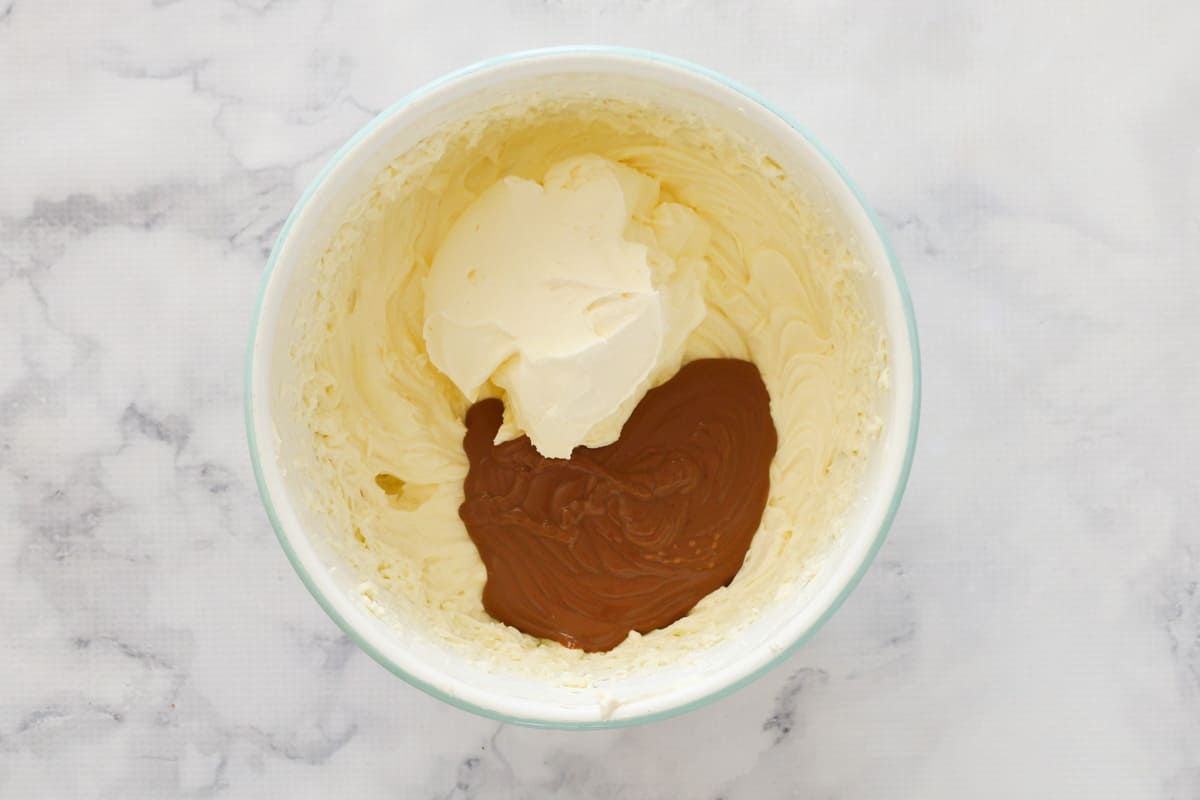
- Step 4: Beat the filling - in a large bowl, whip cream cheese, vanilla, and sugar until smooth. Add gelatine, then fold through melted chocolate and lightly whipped cream with a rubber spatula.
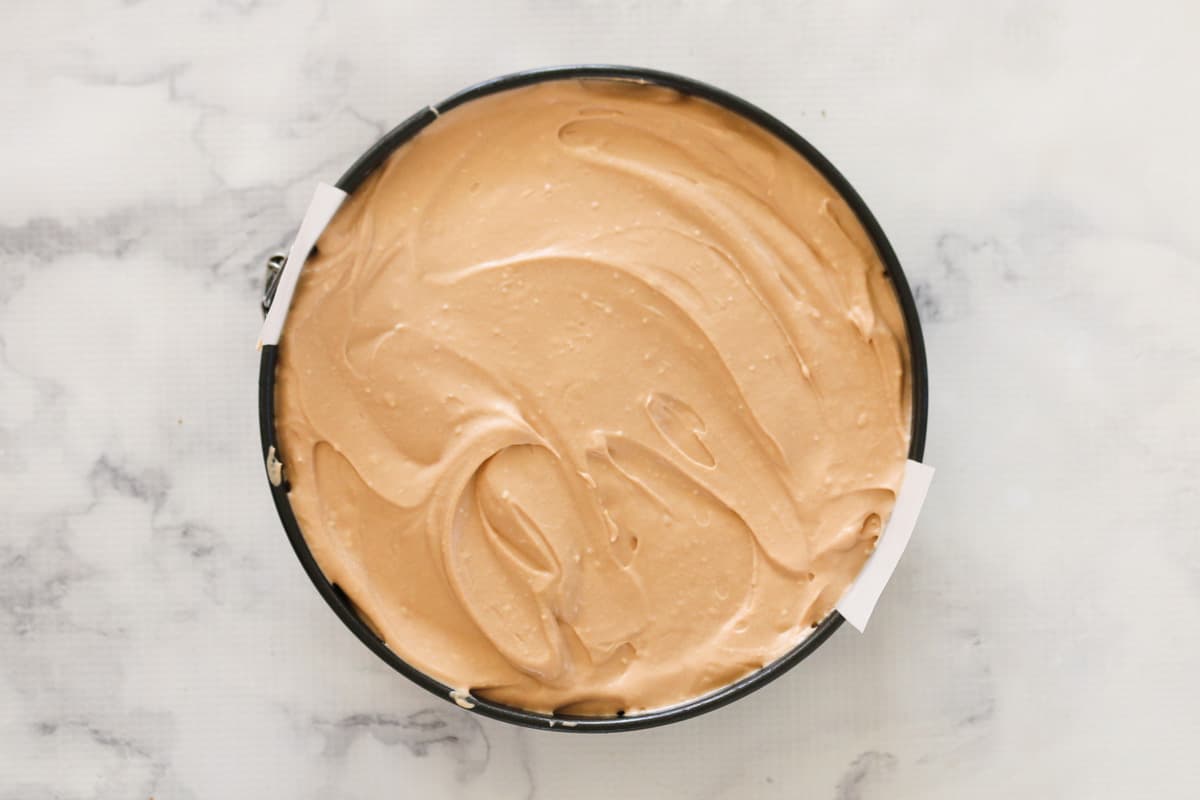
- Step 5: Chill to set - pour the chocolate cheesecake filling over the base, smooth the top, and chill in the refrigerator for at least 4 hours (overnight is best).
Top Tip
Always make sure your cream cheese and chocolate are at room temperature before starting-this ensures a silky, lump-free cheesecake.
Recipe Tips
- Use a springform pan so you can easily remove the cheesecake once set.
- Line the base and sides with baking paper to prevent sticking.
- Chill for at least 4 hours, but overnight gives the firmest, creamiest results.
- Store in the fridge and eat within 3 days.
- To freeze: wrap slices in plastic wrap, then foil. Freeze for up to 1 month. Defrost in the fridge overnight before serving.
- Whip cream until soft peaks form-overwhipping can make it grainy.
- If you want a stronger chocolate flavour, use half milk chocolate and half dark chocolate.
No-Bake Chocolate Cheesecake FAQs
Yes, but the texture will be softer and more mousse-like. It won't slice as neatly.
Absolutely-just keep in mind it will be richer and slightly less sweet, so you may want to adjust the sugar.
Store in the fridge for up to 3 days or freeze for up to a month.
Yes! This cheesecake is perfect for preparing the day before serving-just keep it chilled until ready to slice.
Baked cheesecakes have a denser, more traditional New York-style texture, while no-bake versions (like this one) are lighter, creamier, and set in the fridge.
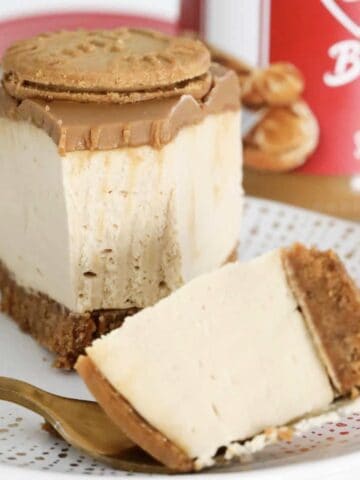
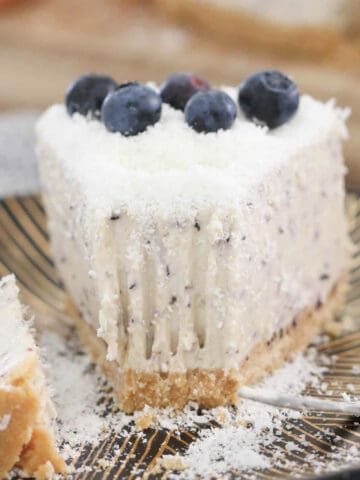
More No-Bake Cheesecake Recipes
If you love the ease and simplicity of a no-bake cheesecake (and let's face it... who doesn't?!), then try these too!
WANT EVEN MORE DELICIOUS RECIPES? Subscribe to my newsletter or follow along on Facebook or Instagram. And if you love baking, then please come and join my Facebook cooking club group or subscribe to my YouTube channel.
No-Bake Chocolate Cheesecake
Ingredients
- 266 g Oreos or any chocolate cookies
- 100 g butter melted
- 1 cup (240g) cream lightly whipped
- 200 g milk chocolate
- 2 ½ teaspoon gelatine dissolved in ¼ cup water, cooled
- 500 g cream cheese softened
- 1 teaspoon vanilla bean paste optional, or vanilla extract
- 150 g (¾ cup) caster sugar superfine
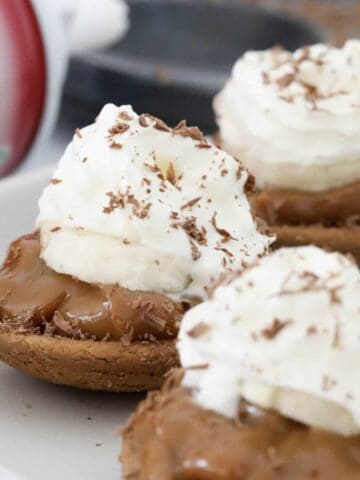
- 50 g milk chocolate grated
Instructions
Conventional Method
- To ensure a smooth cheesecake, ensure all ingredients are at room temperature before starting.
- Grease and line the base and sides of a 23cm spring-form pan with baking paper and set aside.
- Finely crush Oreos in a food processor and place into a bowl.
- Add the melted butter and mix until well combined.
- Press the mixture firmly into the base of the pan and place into the fridge.
- Whip cream and set aside.
- Melt milk chocolate and set aside to cool slightly.
- Pour ¼ cup of boiling water into a cup, sprinkle over the gelatine and stir until dissolved. Allow to cool.
- Beat the cream cheese, vanilla bean paste and caster sugar until smooth and creamy.
- Add the cooled, dissolved gelatine to the mix and beat until well combined.
- Fold through the melted milk chocolate and the whipped cream.
- Spoon the mixture into the prepared tin. Spread out evenly with a spoon.
- Place the cheesecake into the fridge to set for a minimum of 4 hours (for best results, leave in the fridge overnight before cutting).
- Decorate with grated milk chocolate.
Thermomix Method
- To ensure a smooth cheesecake, ensure all ingredients are at room temperature before starting.
- Grease and line the base and sides of a 23cm spring-form pan with baking paper and set aside.
- Melt butter in the TM bowl for 2 minutes, 100 degrees, Speed 1. Add the Oreos and crush for 10 seconds, Speed 10. Scrape down the sides of the bowl and repeat until well combined.
- Press the mixture firmly into the base of the pan and place into the fridge.
- Whip cream in a clean, dry TM bowl on Speed 3.5 until lightly whipped (the time it takes will depend on the freshness of the cream - it can be anywhere between 10 seconds and 2 minutes!!) Set the cream aside in a separate bowl.
- Place the milk chocolate into the TM bowl and melt for 3 minutes on 50 degrees, Speed 2. Set aside in a bowl to cool slightly.
- Pour ¼ cup of boiling water into a cup, sprinkle over the gelatine and stir until dissolved. Allow to cool.
- Beat the cream cheese, vanilla bean paste and caster sugar in a clean and dry TM bowl for 30 seconds on Speed 5. Scrape down the sides with a spatula and repeat until smooth and creamy.
- Add the cooled, dissolved gelatine to the mix and mix for 30 seconds on Speed 5.
- Fold through the melted milk chocolate and the whipped cream with the spatula.
- Spoon the mixture into the prepared tin. Spread out evenly with a spoon.
- Place the cheesecake into the fridge to set for a minimum of 4 hours (for best results, leave in the fridge overnight before cutting).
- Decorate with grated milk chocolate.
Notes
- Always make sure your cream cheese and chocolate are at room temperature before starting-this ensures a silky, lump-free cheesecake.
- Use a springform pan so you can easily lift the cheesecake out once set.
- Line the base and sides with baking paper to prevent sticking.
- Chill for at least 4 hours, but overnight gives the firmest, creamiest results.
- Store in the fridge and eat within 3 days.
- To freeze: wrap slices in plastic wrap, then foil. Freeze for up to 1 month. Defrost in the fridge overnight before serving.
- Whip cream until soft peaks form-overwhipping can make it grainy.
- If you want a stronger chocolate flavour, use half milk chocolate and half dark chocolate.


Nush says
Crowd pleaser and turned out so so good!
Lucy says
I'm so glad you liked it!
Meredith Coleman says
Absolutely sensational my family said. I made the mistake of using some choc bits and they wouldn't melt but it gave the mixture a choc chip affect. My mistake but they loved it 😊
Lucy says
Amazing! I'm so glad it was a hit!