
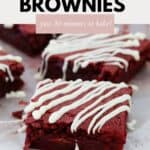
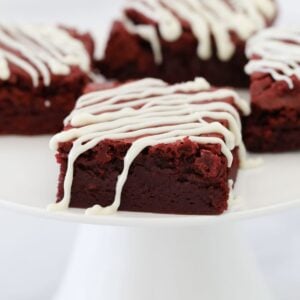
The EASIEST and most DELICIOUS red velvet brownies recipe made in just one bowl!
Rich and fudgy brownies drizzled with creamy white chocolate... prepped, baked and ready to enjoy in less than 45 minutes.
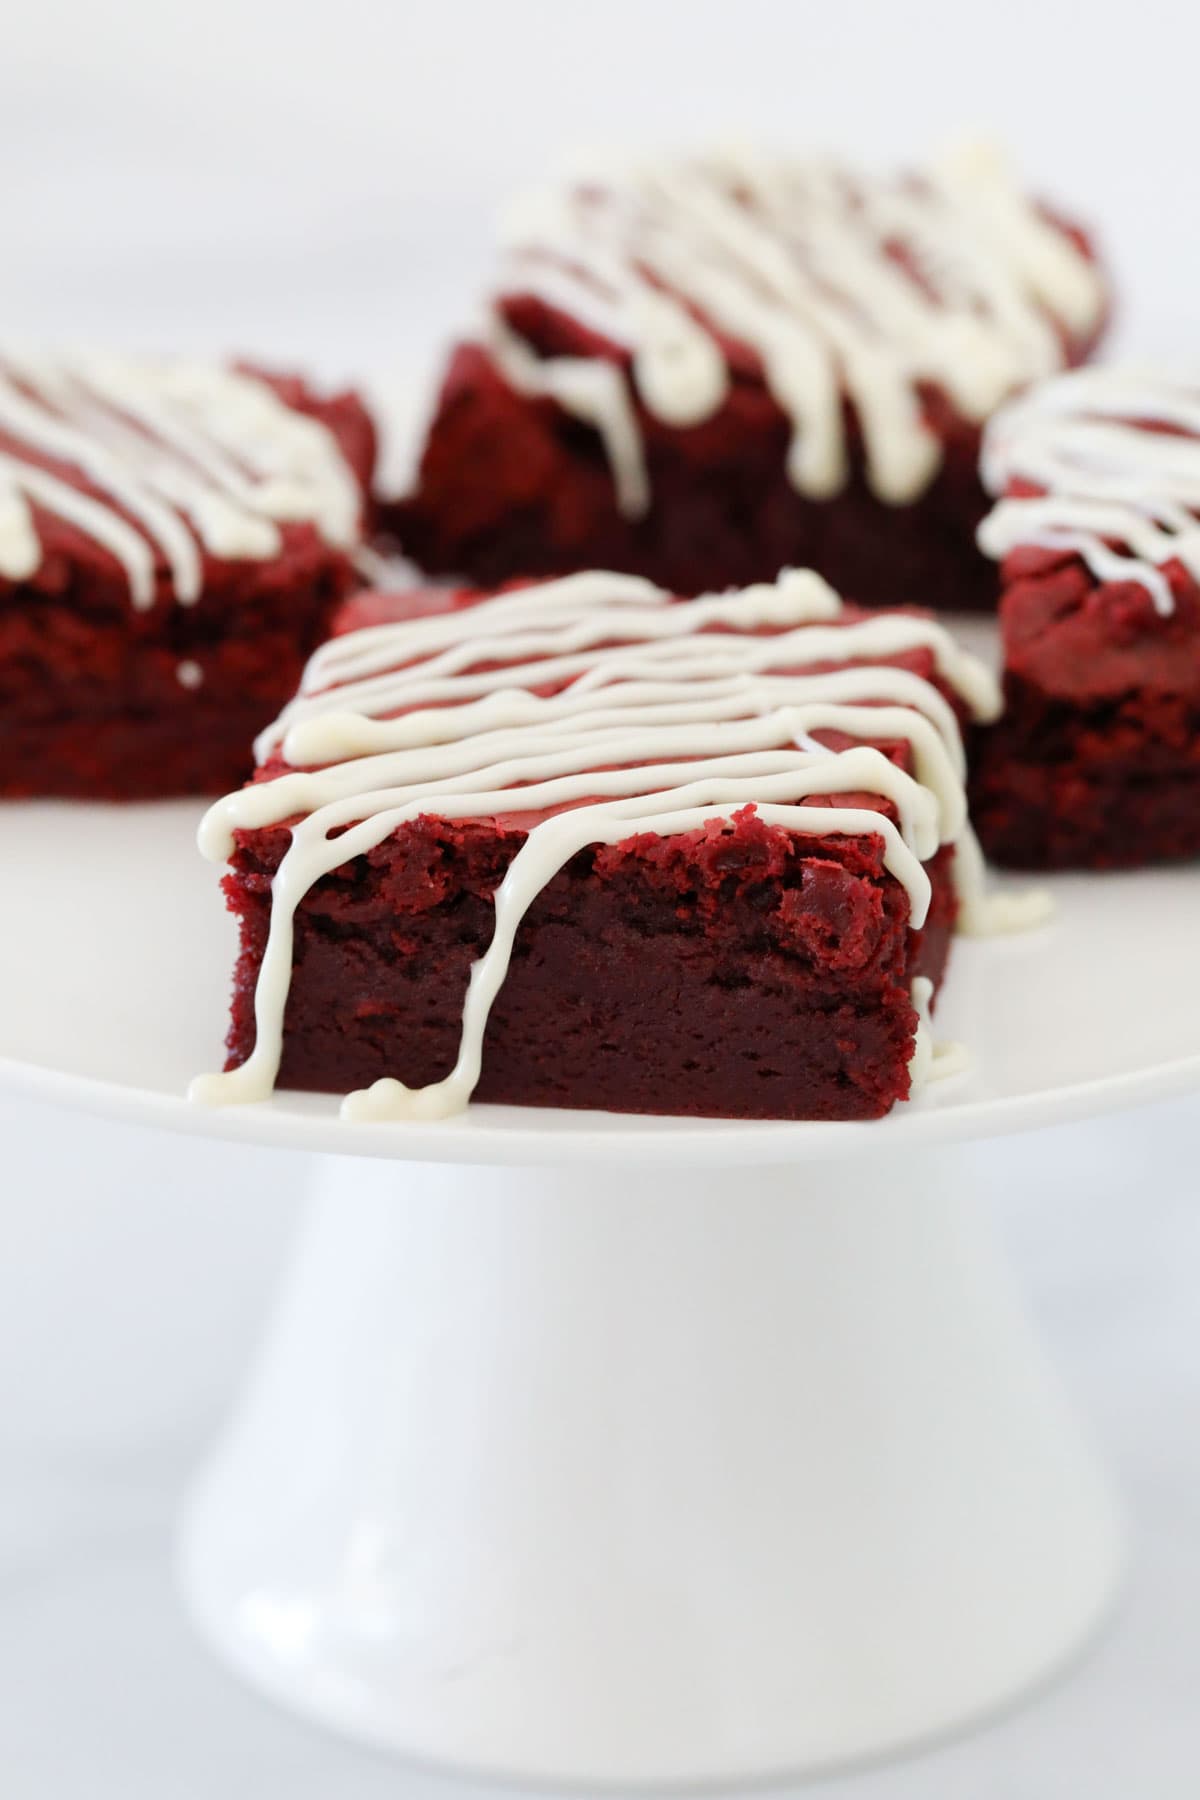
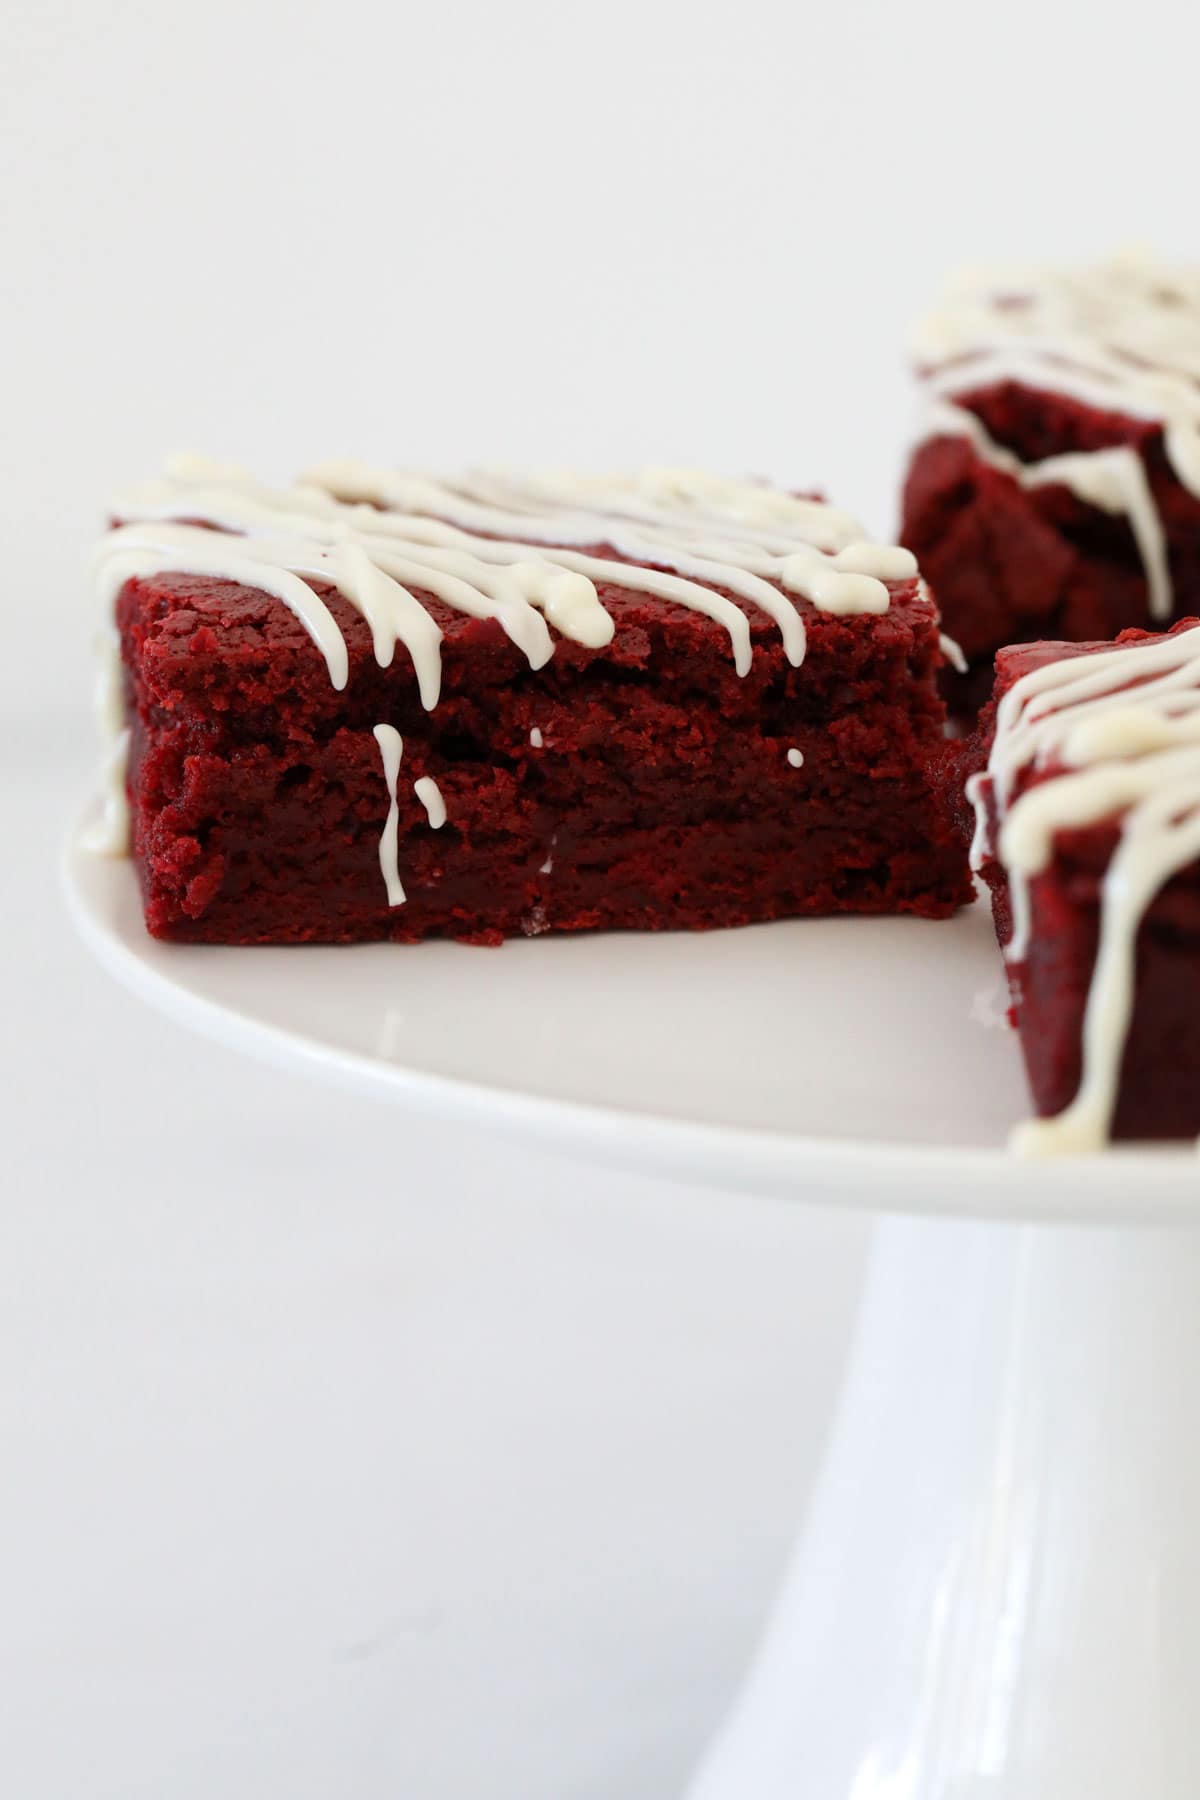
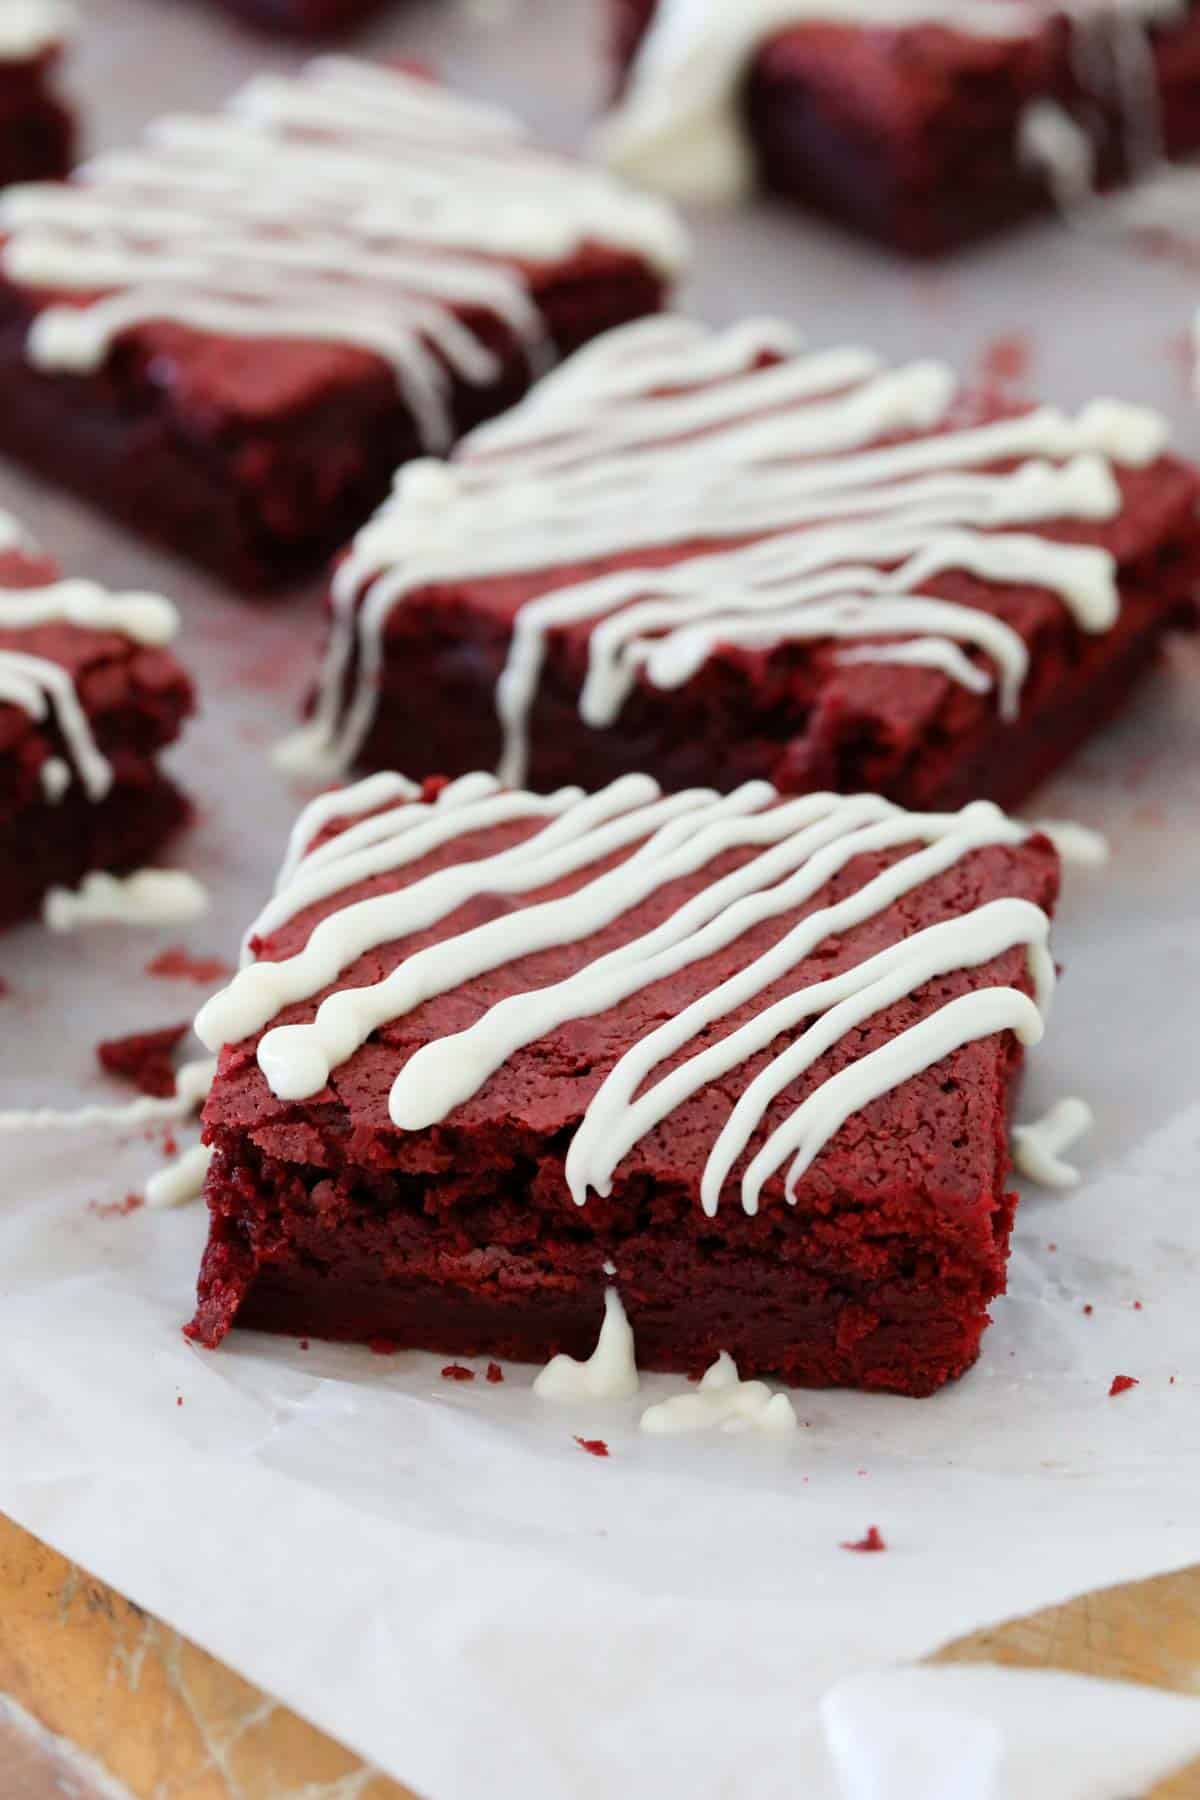
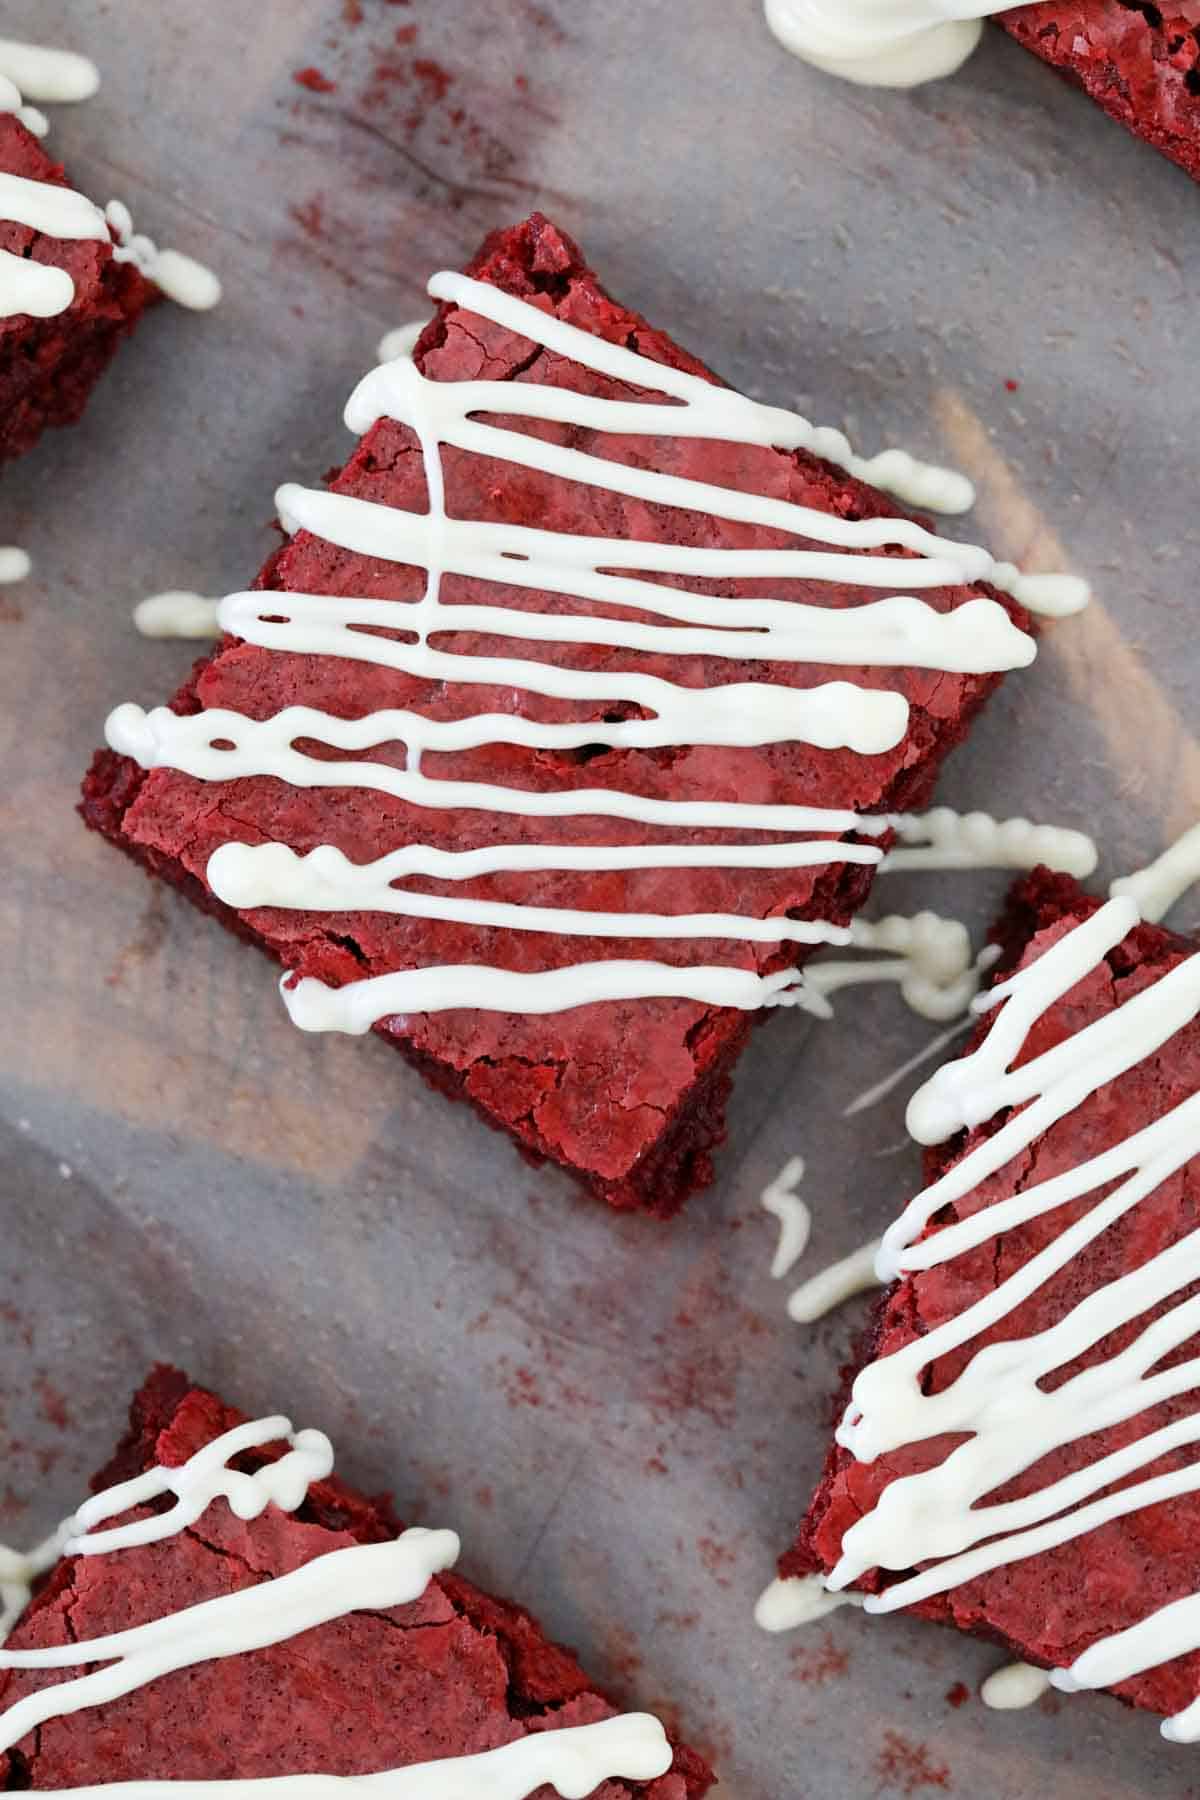
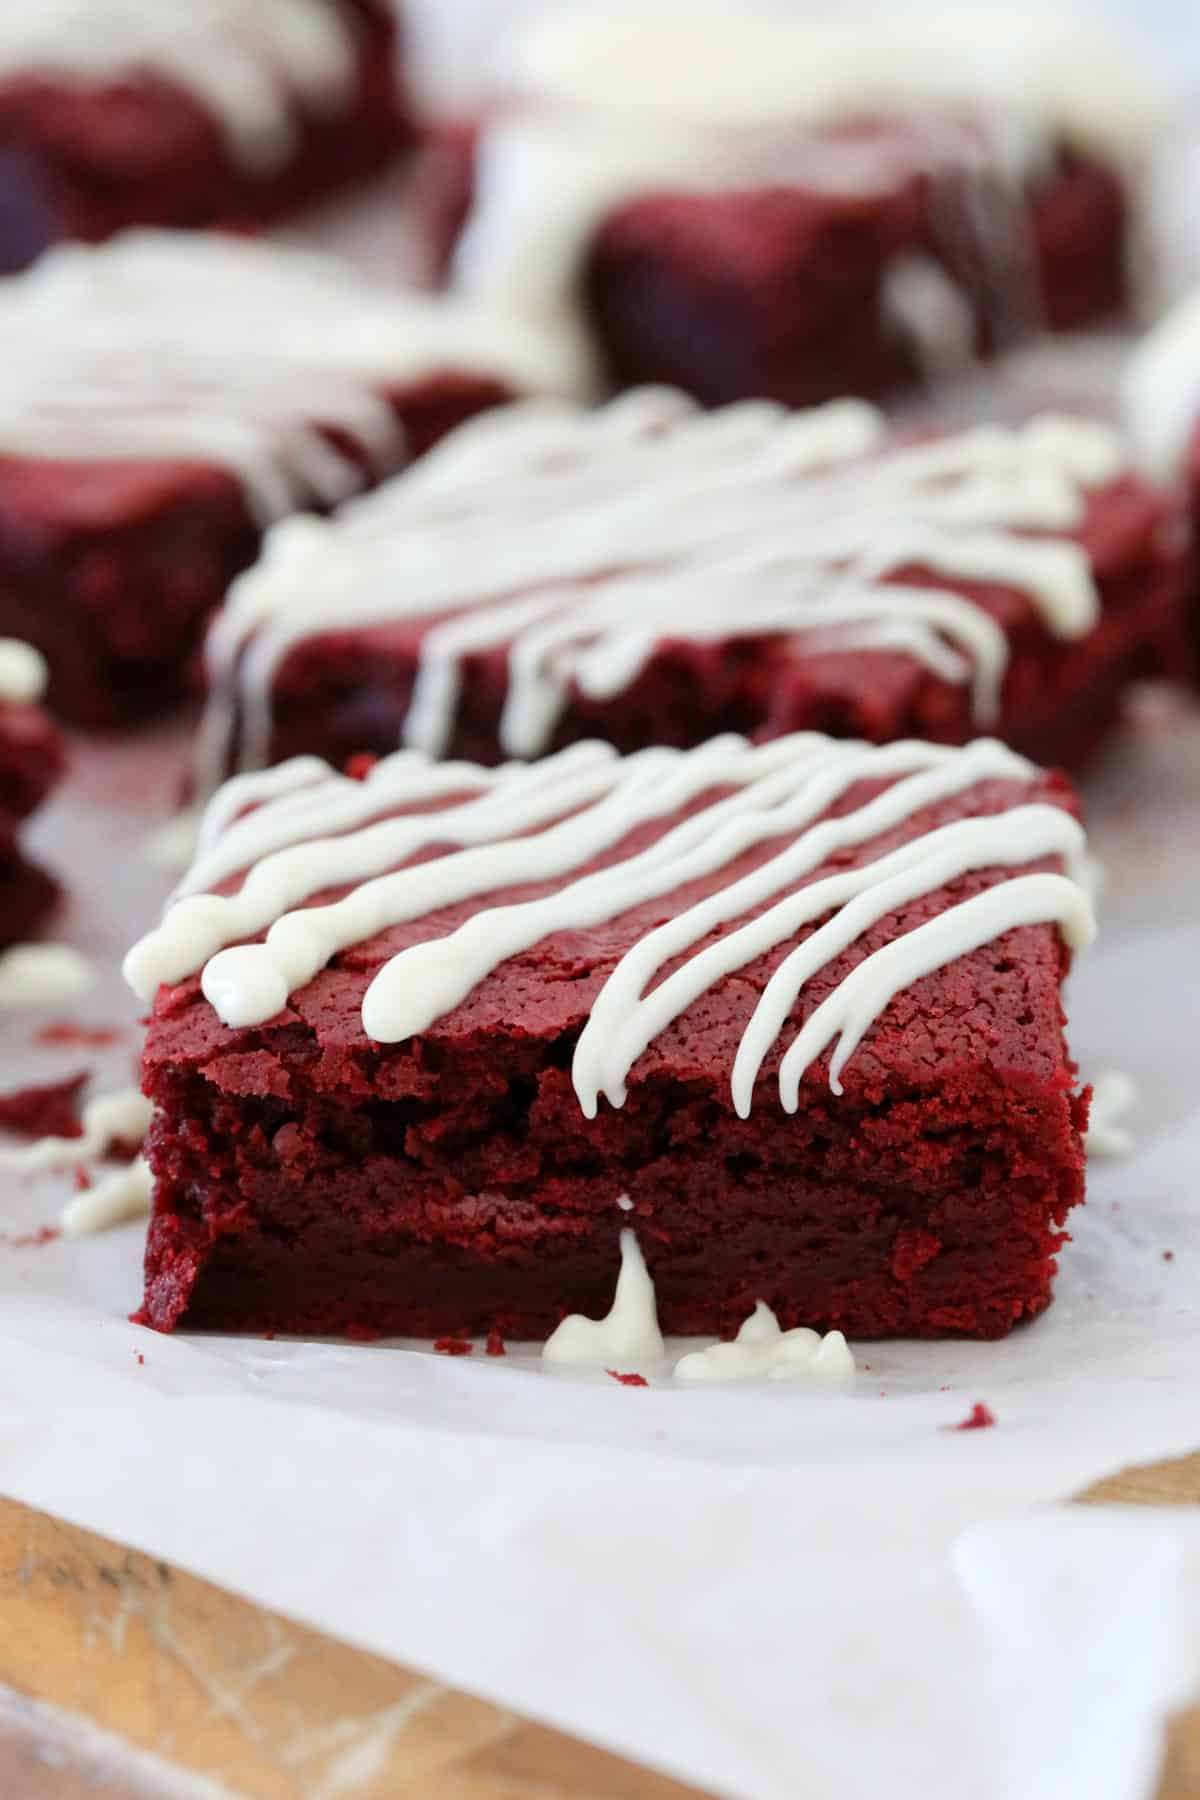
These red velvet brownies are rich and fudgy, packed with chocolate flavour, and are a stunning colour!
My family are HUGE fans of brownies and, like my peanut butter brownies, Biscoff brownies, Nutella Brownies and triple chocolate brownies, a batch of these brownies is guaranteed to be greeted with huge smiles all round!
Serve red velvet brownies for morning tea, at parties, or make the most decadent dessert when serving them warm with a scoop of vanilla ice cream! SO good!
Why You're Going To Love This Recipe
- Easy one bowl recipe - this recipe takes just 5 minutes to prepare and doesn't need any fancy equipment!
- Simple to make but looks impressive - these brownies are so easy and use basic ingredients, but make an eye-catching slice or dessert!
- Fudgy texture - red velvet brownies have a light top and dense fudgy texture that is just the perfect combo!
- Freezer-friendly - pop a few squares in the freezer for quick grab 'n go snacks.
- Conventional and Thermomix - you can make these brownies using either method, both are written in the recipe card at the end of the post.
What You Need
You only need a handful of basic ingredients to make these super easy brownies!
Note: Scroll to the recipe card at the bottom for the ingredients quantities and full detailed method.
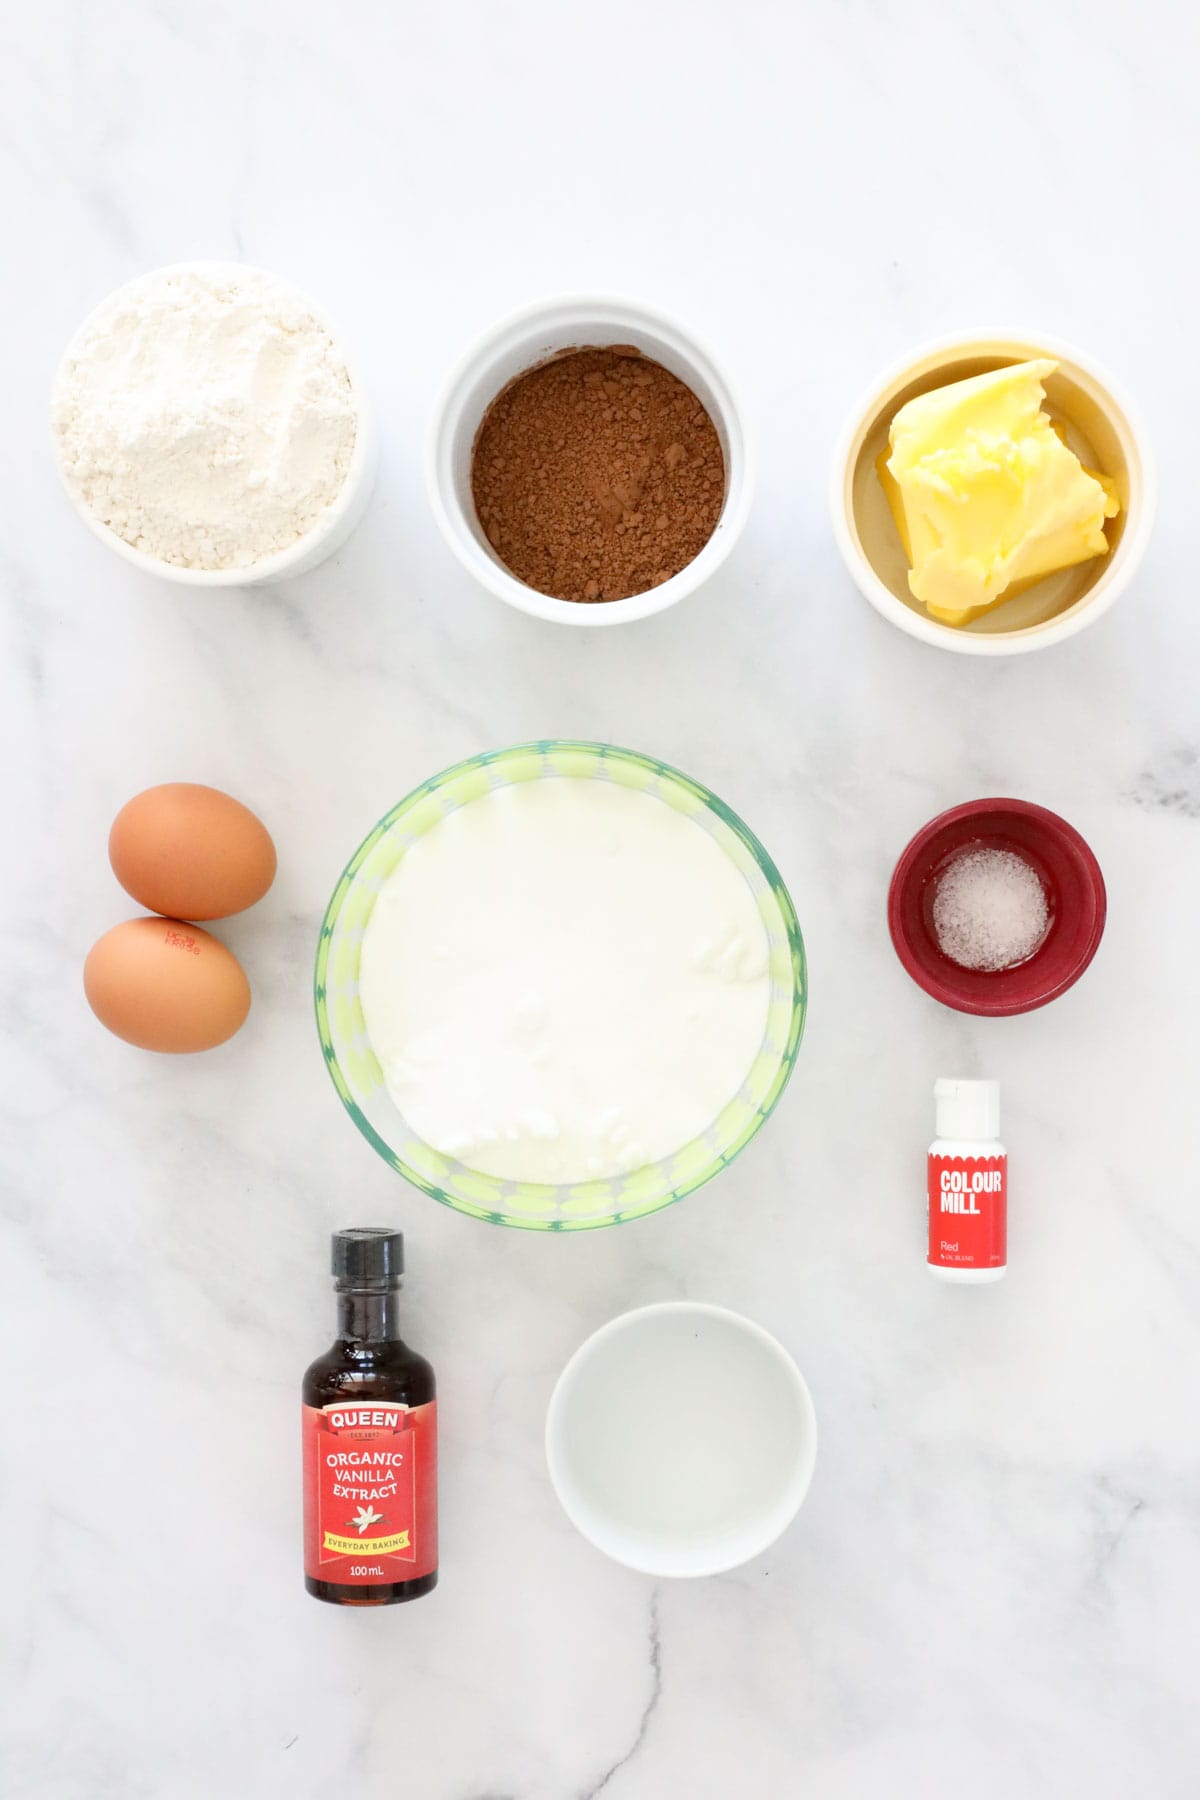
- Red food colouring gel - you will need a strong red food colouring to get that classic red velvet colour. I used the Colour Mill brand (purchased from Big W).
- White vinegar - or white wine vinegar.
Step By Step Instructions
It takes just 5 minutes to prepare this red velvet brownies recipe, and you only need one bowl!
Note: Scroll to the recipe card at the bottom for the ingredients quantities and full detailed method.
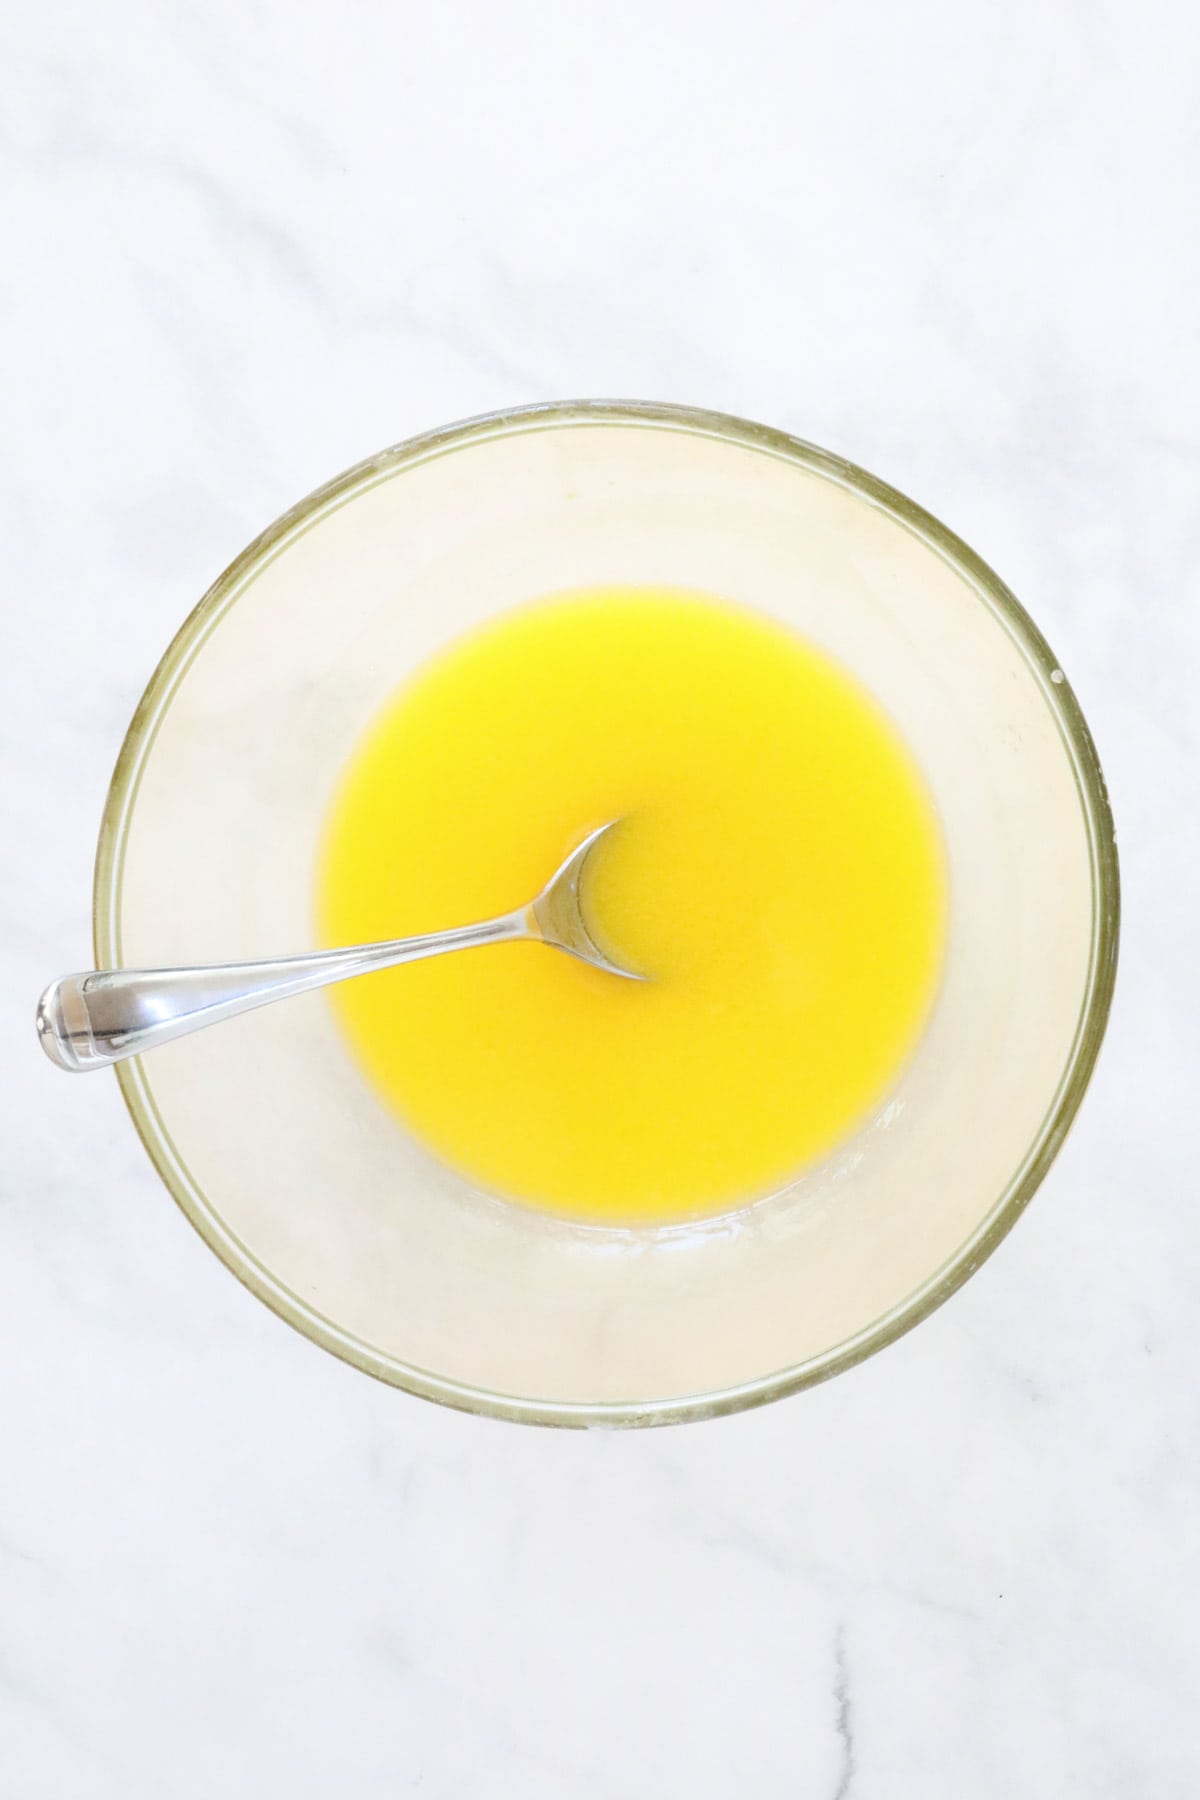
Step 1 - Melt The Butter
Preheat the oven and line your baking tin.
Place the butter into a microwave-safe bowl and melt in the microwave.
Step 2 - Add The Caster Sugar And Cocoa Powder
Add the caster sugar and cocoa powder to the melted butter.
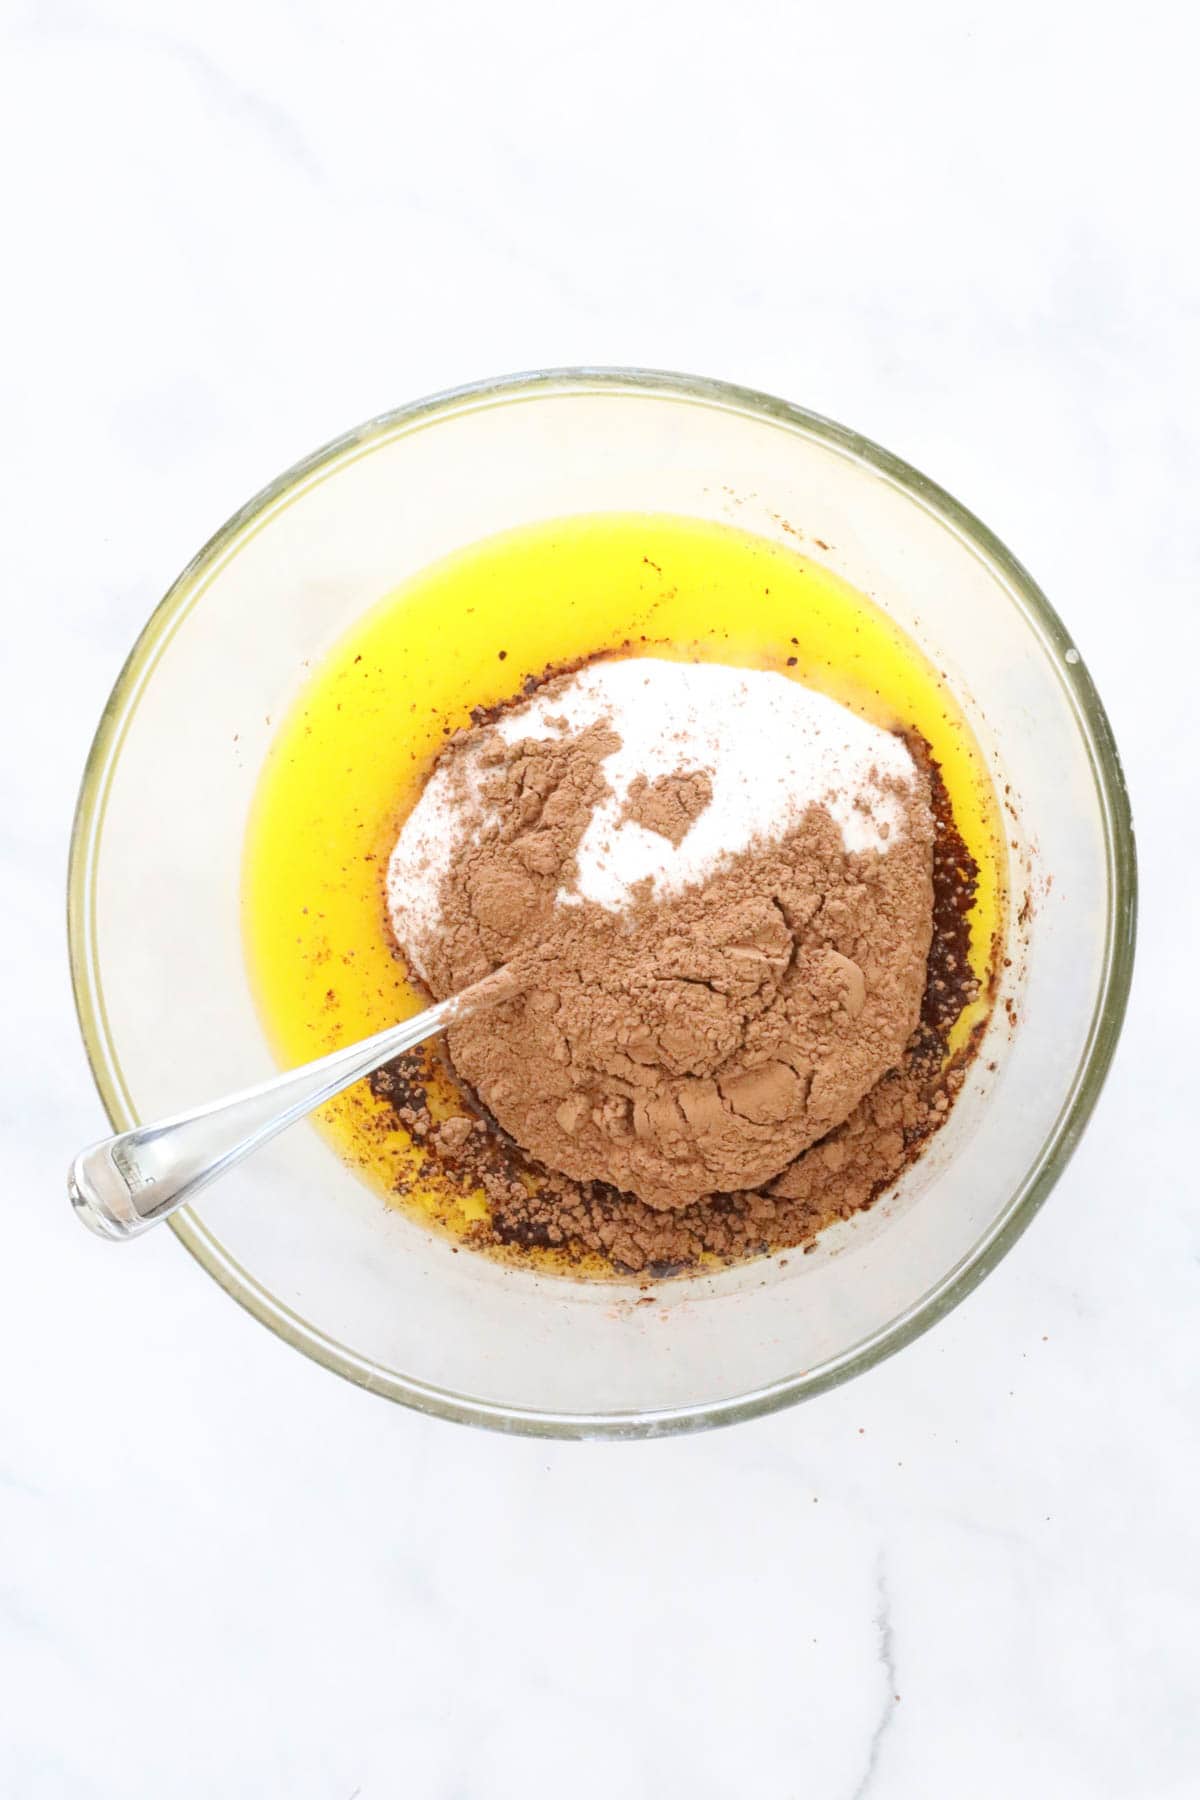
Heat in the microwave in 30 second bursts until the sugar has almost dissolved and the ingredients have combined, stirring after each burst.
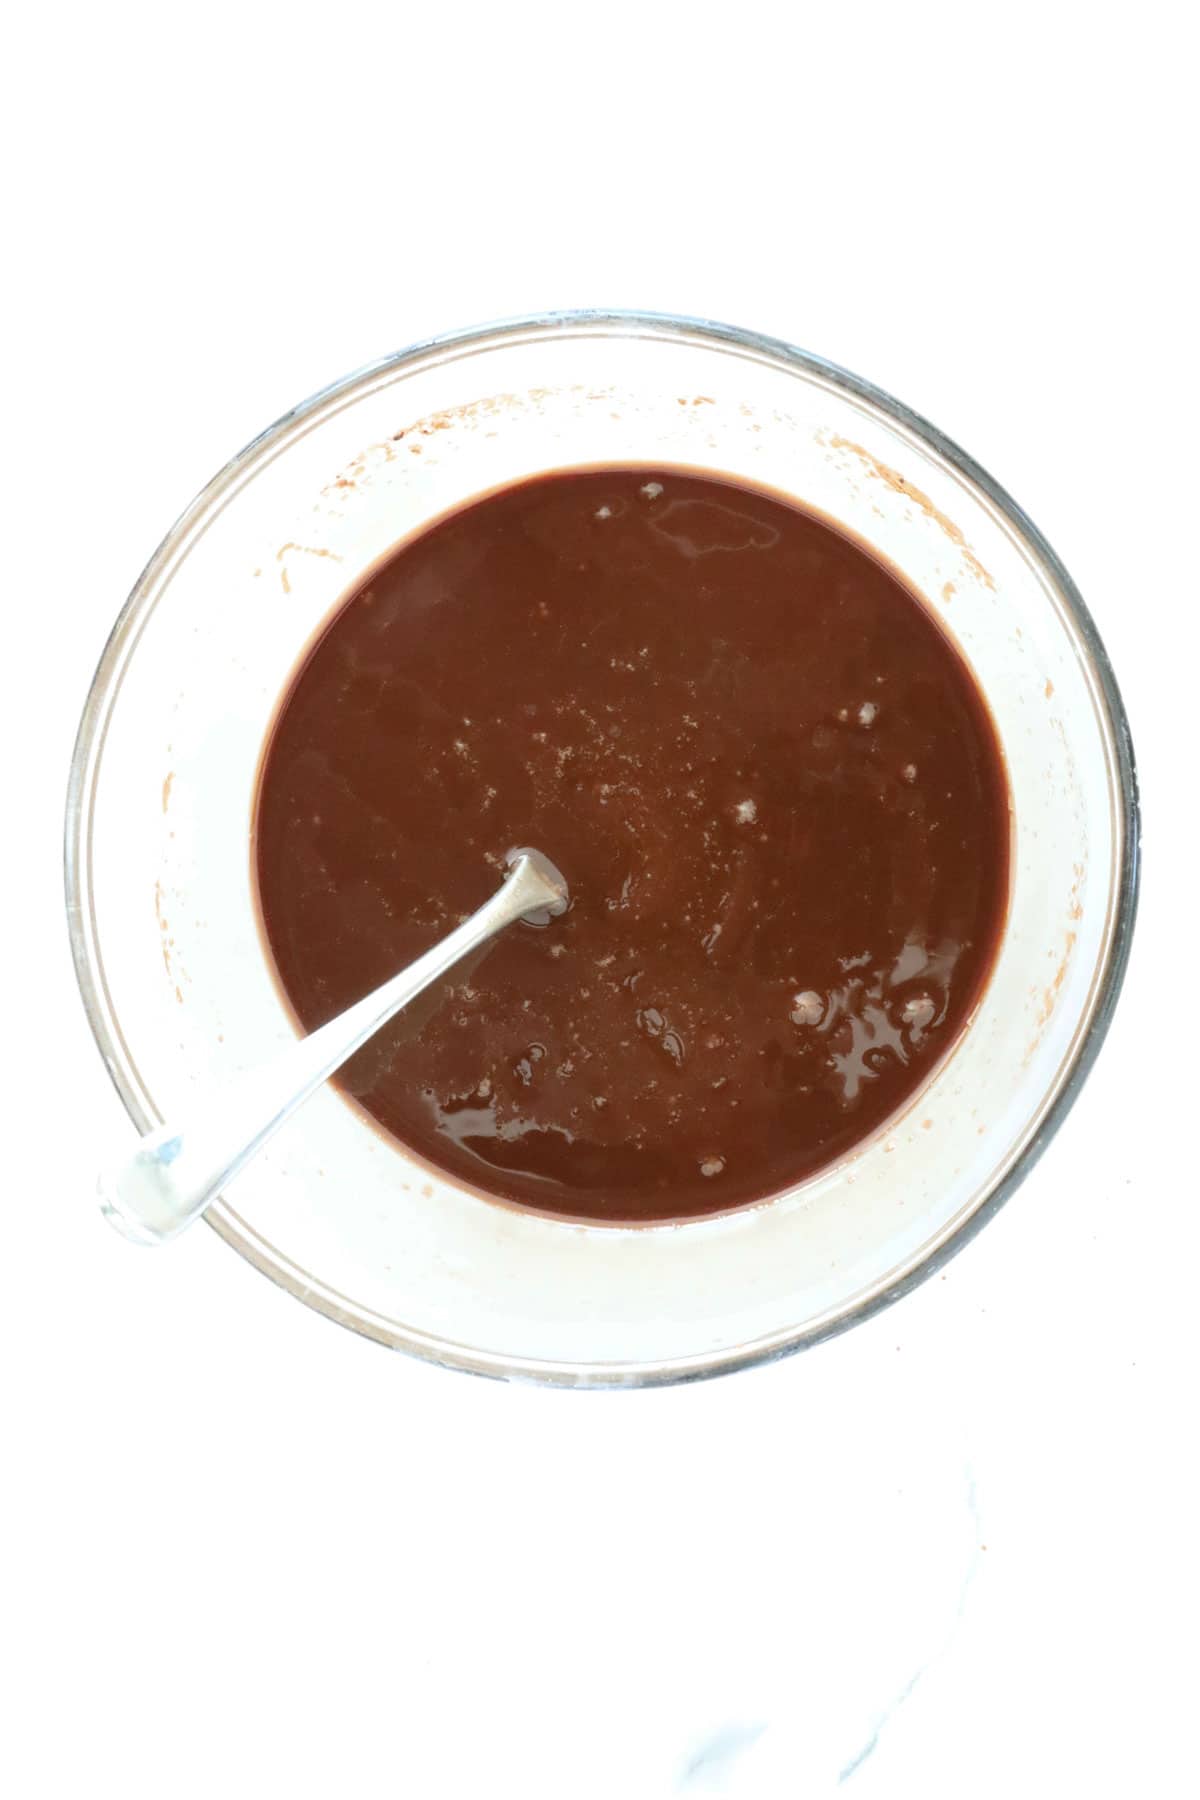
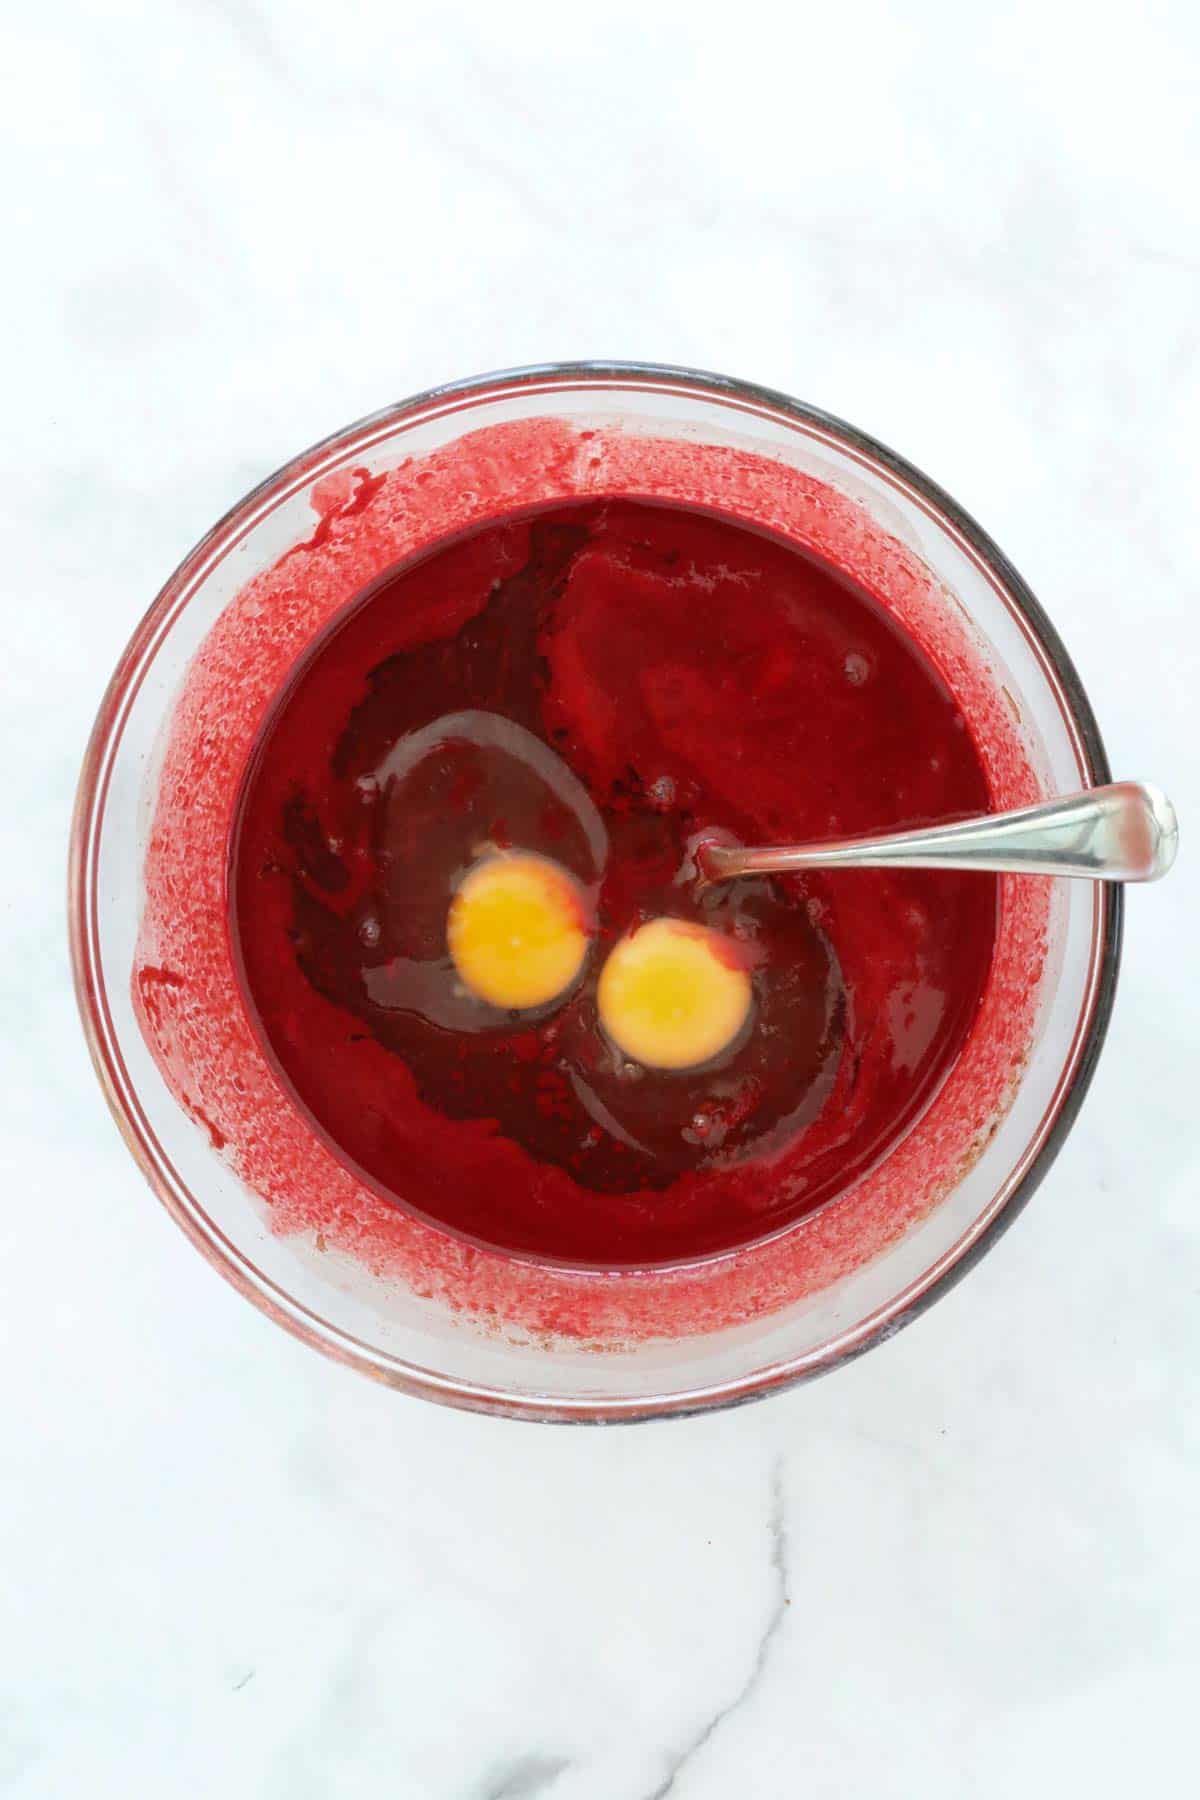
Step 3 - Add The Vanilla, Eggs, Food Colouring, Salt And White Vinegar
Allow the mixture to cool slightly before adding the vanilla extract, eggs, red food colouring, pinch of salt and white vinegar. Whisk until just combined.
Step 4 - Add The Flour
Sift the plain flour into the bowl.
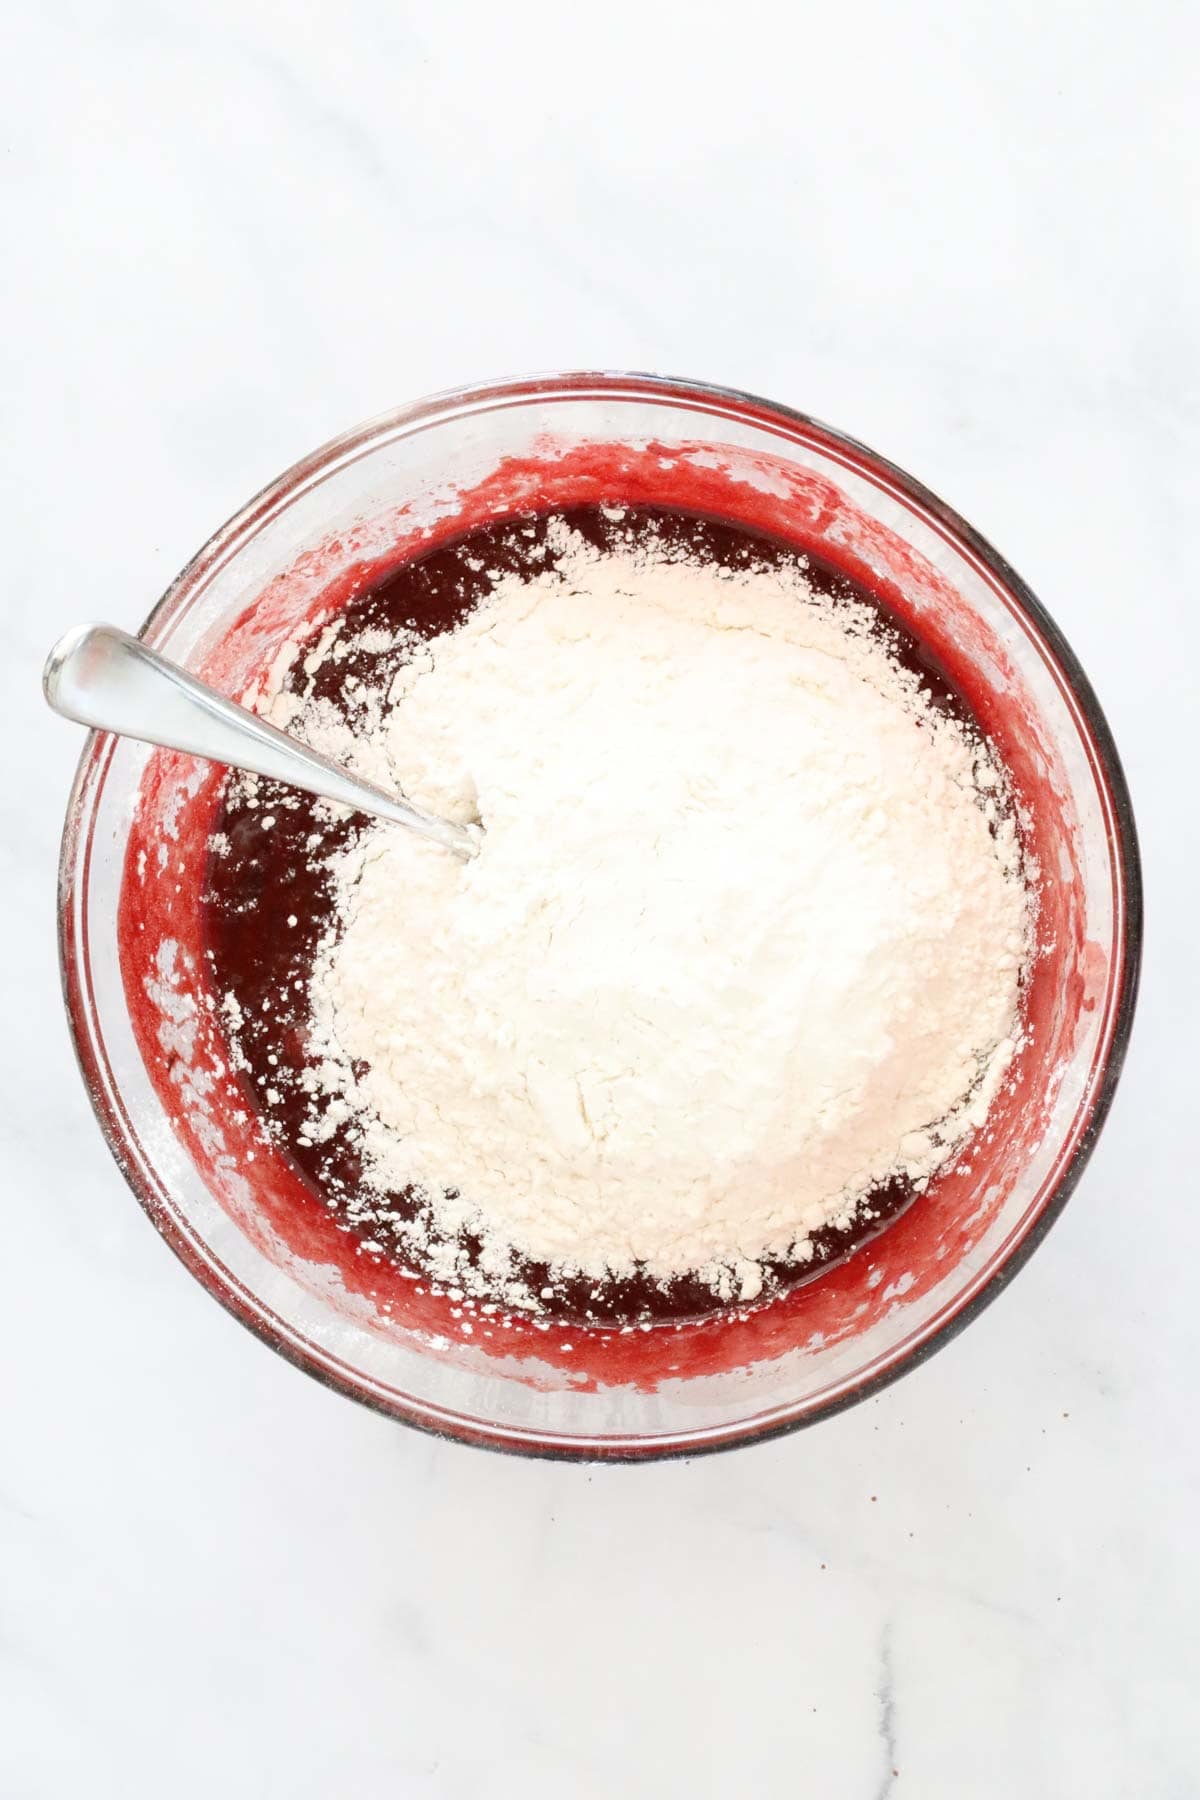
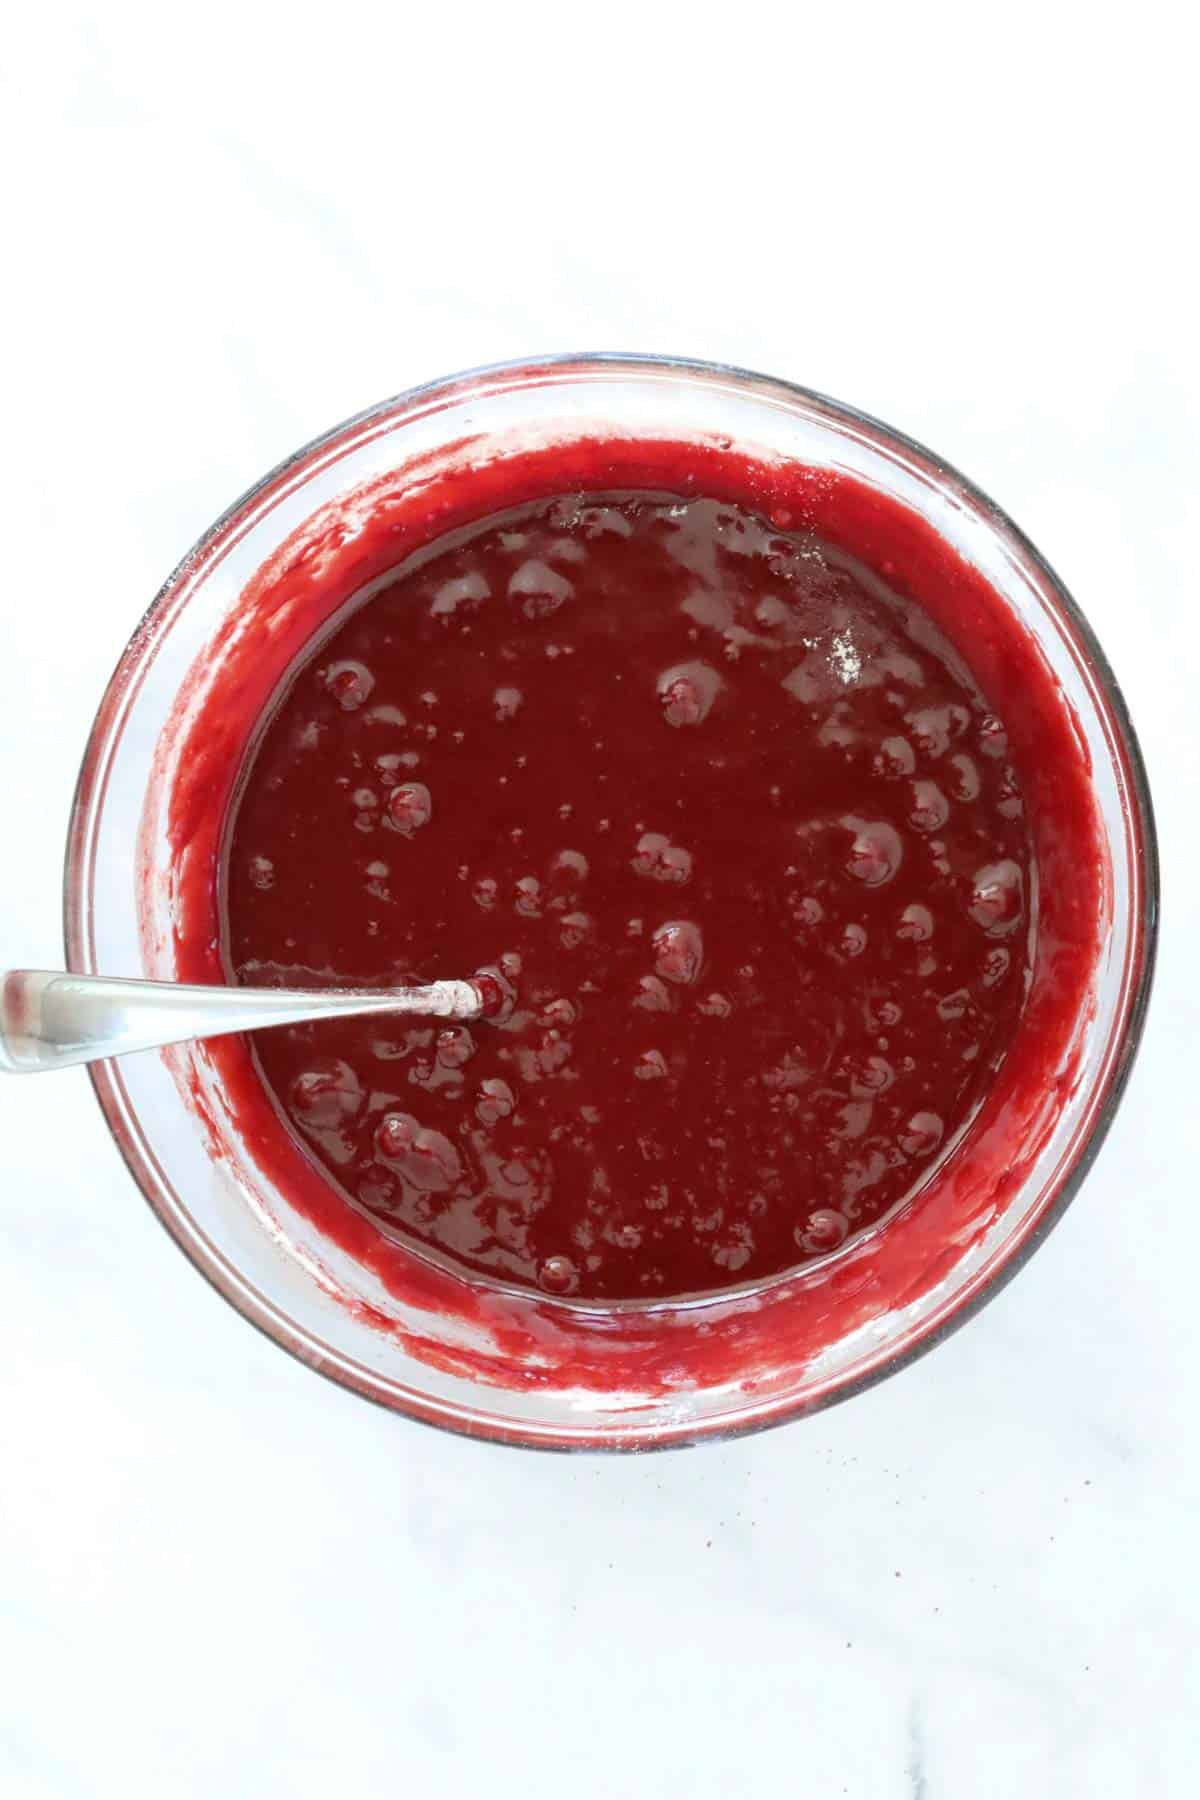
Gently fold the flour through until just combined.
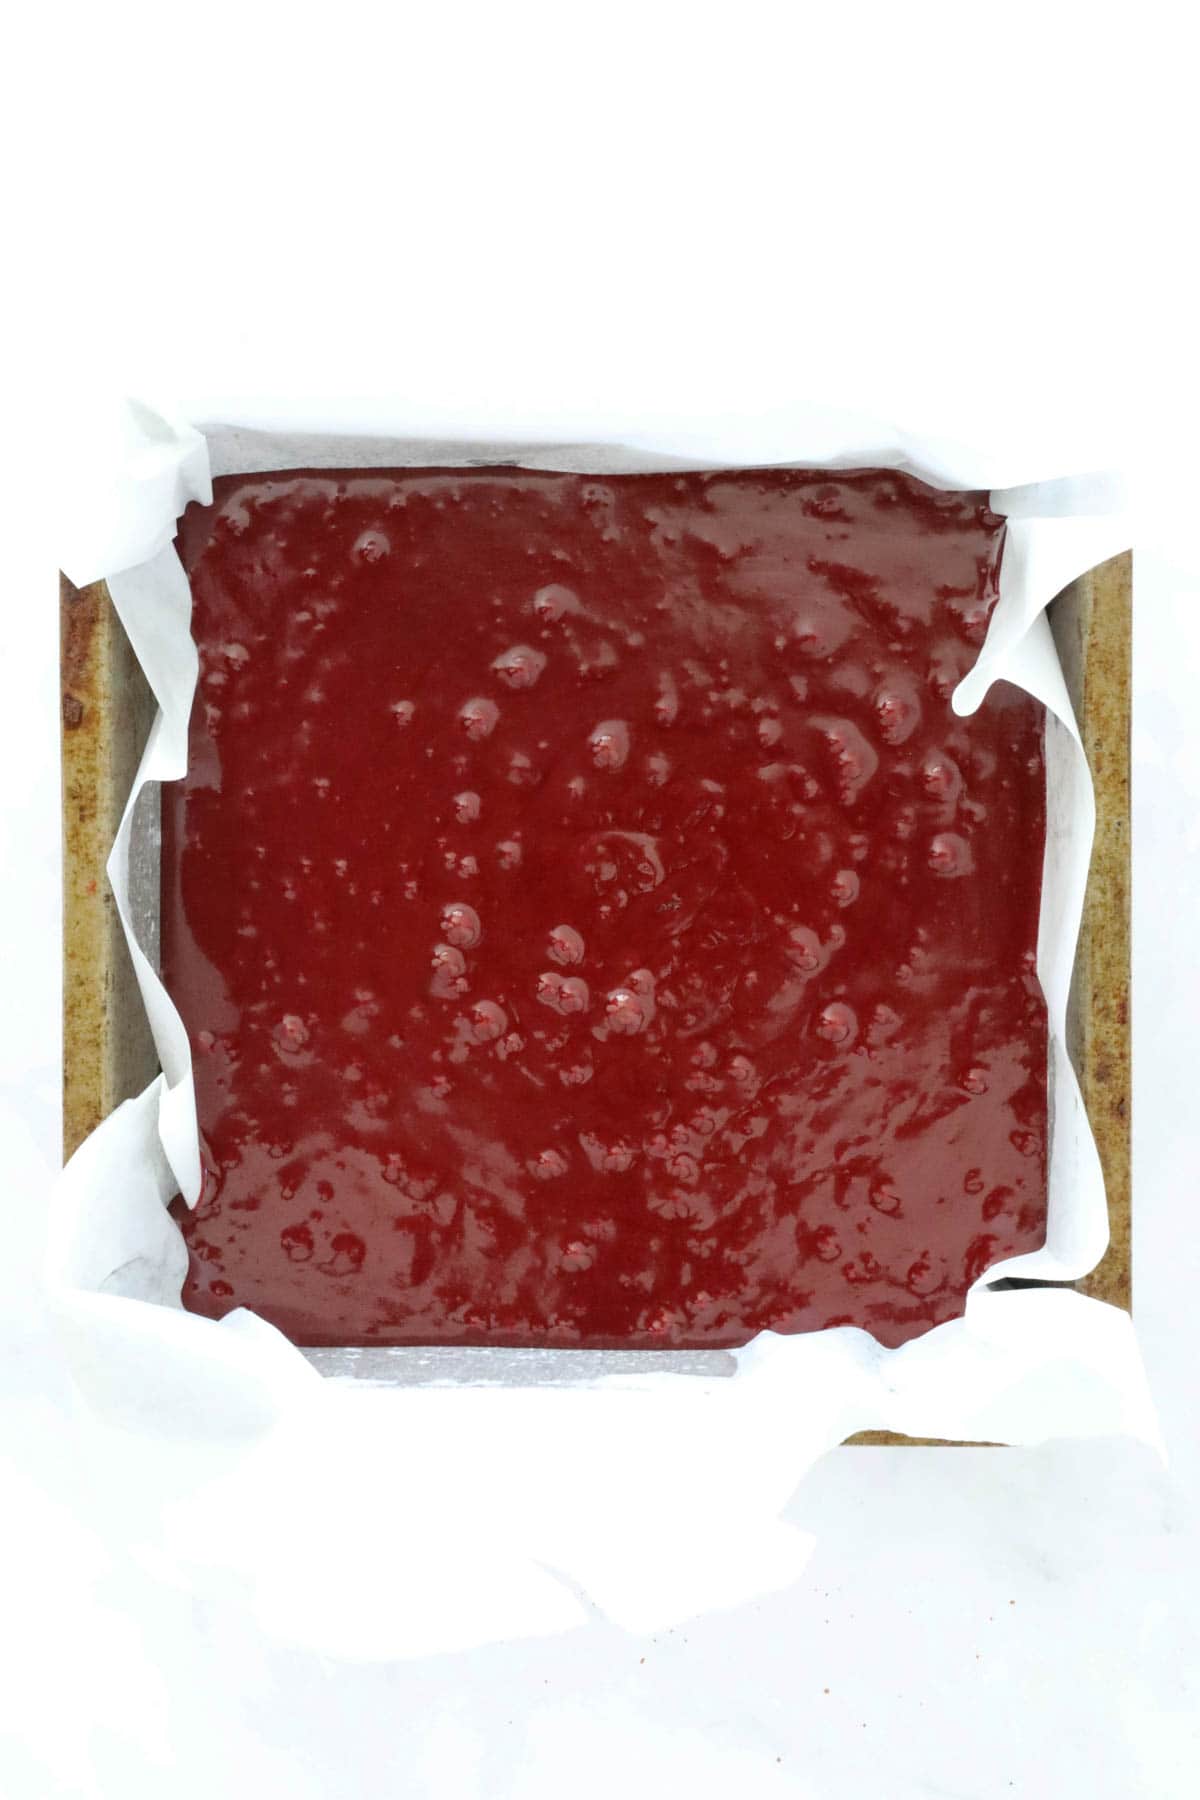
Step 5 - Bake
Pour the brownie mixture into the prepared baking tin.
Bake red velvet brownies in the preheated oven until cooked through. Leave in the tin to cool completely.
Drizzle with melted white chocolate - optional, but highly recommended!
Expert Tips
- Red food colouring gel - you will need a strong red food colouring to get that classic red velvet colour. I used the Colour Mill brand (purchased from Big W).
- If the brownie is over-browning - add a sheet of foil loosely over the top and continue cooking.
- Don't overcook the red velvet brownies - otherwise they may become dry.
- For fudgy/moist brownies - cook for 20-25 minutes and test with a toothpick which should come out with moist (but not wet) crumbs on it.
- Red velvet brownies will continue to cook as they cool.
- Topping ideas - drizzle with melted white chocolate or, for an extra decadent option, spread cream cheese frosting over the top instead!
- For an extra indulgent dessert - serve the brownies warm with a scoop of vanilla ice cream!
- Storage - store red velvet brownies in an airtight container at room temperature for up to 4 days, or in the fridge for up to 5 days.
FAQ's
Absolutely! Freeze them in an airtight container in the freezer for up to 3 months. To thaw, leave the slices in a container in the fridge overnight, or sit them at room temperature for 1-2 hours.
To tell if your brownies are cooked, insert a toothpick in the centre of the brownies. If the toothpick comes out with a few moist crumbs attached (but not wet), the brownie is cooked.
Yes, you can serve these brownies warm from the oven, just keep in mind they won't slice as neatly as when they have cooled.
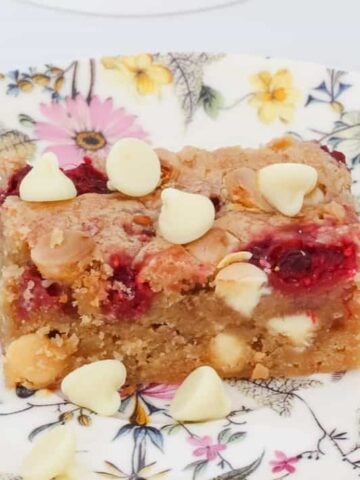
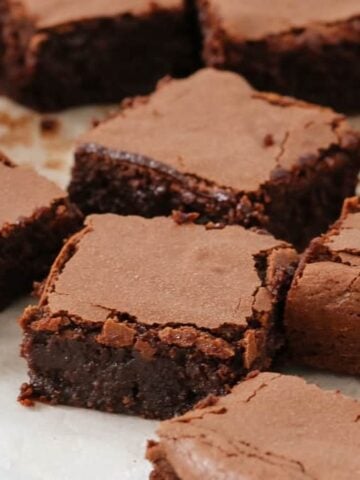
More Brownie and Blondie Recipes
For more easy brownie and blondies recipes, here are some of our most popular recipes that your family are sure to love:
WANT EVEN MORE DELICIOUS RECIPES? Subscribe to my newsletter or follow along on Facebook or Instagram. And if you love baking, then please come and join my Facebook cooking club group or subscribe to my YouTube channel.
Red Velvet Brownies
Ingredients
- 225 g butter
- 330 g (1½ cups) caster sugar
- 20 g (¼ cup) cocoa powder
- 2 teaspoon vanilla extract or vanilla bean paste
- 2 eggs large, room temperature
- 1 tbs red food colouring gel see notes
- pinch of salt
- 2 teaspoon white vinegar or white wine vinegar
- 200 g (1⅓ cups) plain flour
- 100 g white chocolate melted, optional
Instructions
- Preheat oven to 170 degrees celsius (fan-forced) and line a 20cm square tin with baking paper. Set aside.
- Place the butter into a microwave-safe bowl. Heat for 1 minute. If using a Thermomix - Place the butter into the Thermomix bowl. Melt for 3 minutes on 80 degrees, Speed 2.
- Add the caster sugar and sifted cocoa powder and stir. Heat in the microwave on 30 second bursts (50% power) until the sugar has almost dissolved and the ingredients have combined - stirring each time.If using a Thermomix - Add the caster sugar and cocoa powder and mix for 10 seconds on Speed 4. Scrape down the sides of the bowl and repeat for a further 10 seconds.
- Allow to cool slightly.
- Add the vanilla extract, eggs, red food colouring, pinch of salt and white vinegar and whisk until combined.If using a Thermomix - Add the vanilla extract, eggs, red food colouring, pinch of salt and white vinegar and mix for 10 seconds on Reverse, Speed 4. Scrape down the sides and repeat.
- Sift the plain flour into the bowl and gently fold through.If using a Thermomix - Add the plain flour and mix for 5 seconds on Speed 4. Scrape the sides of the bowl and repeat.
- Pour the red velvet brownie mixture into the prepared baking tin.
- Bake for 25 minutes or until cooked through.TIP: If the brownie is over-browning, add a sheet of foil loosely over the top and continue cooking.Leave in the tin to cool completely.
- Drizzle with melted white chocolate (optional).
Notes
- Red food colouring gel - you will need a strong red food colouring to get that classic red velvet colour. I used the Colour Mill brand (purchased from Big W).
- If the brownie is over-browning - add a sheet of foil loosely over the top and continue cooking.
- Don't overcook the red velvet brownies - otherwise they will become dry.
- For fudgy/moist brownies - cook for 20-25 minutes and test with a toothpick which should come out with moist (but not wet) crumbs on it.
- The red velvet brownies will continue to cook as they cool.
- Topping ideas - drizzle with melted white chocolate or, for an extra decadent option, spread cream cheese frosting over the top instead!
- For an extra indulgent dessert - serve the brownies warm with a scoop of vanilla ice cream!
- Storage - store brownies in an airtight container at room temperature for up to 4 days, or in the fridge for up to 5 days.
- Freezing - freeze in an airtight container in the freezer for up to 3 months. To thaw, leave the slices in a container in the fridge overnight, or sit them at room temperature for 1-2 hours.


Leave a Reply