
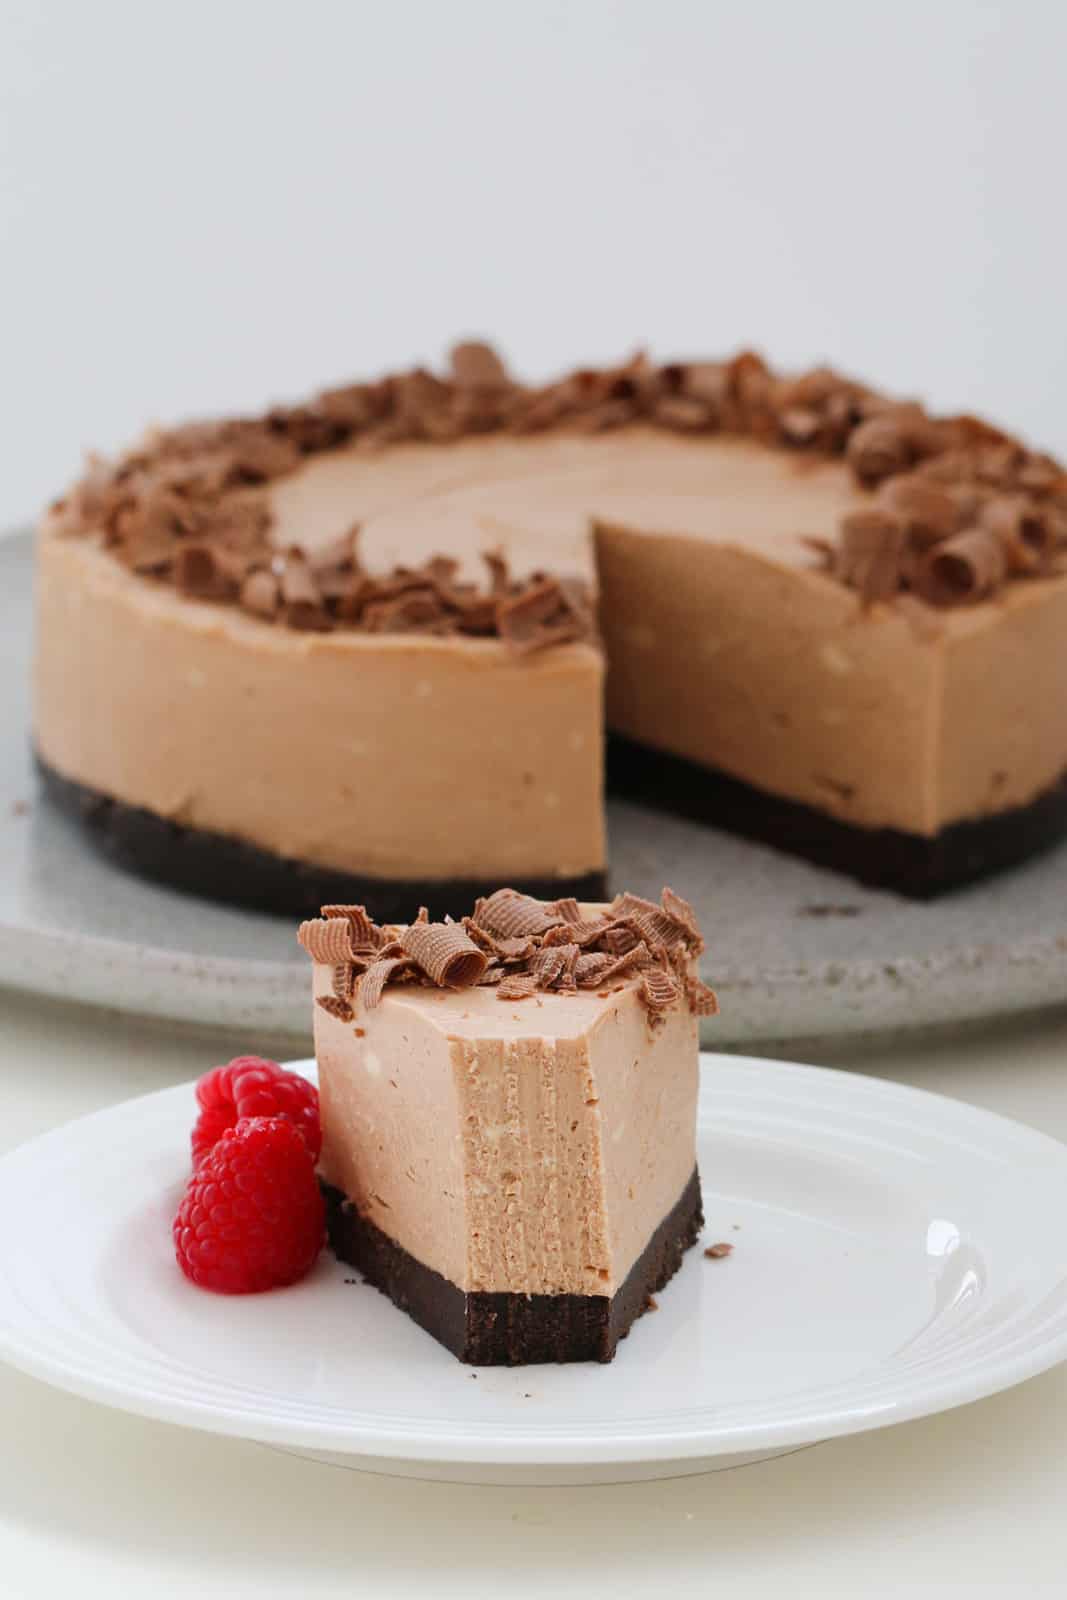
Nothing says "I've got my life together" quite like a no-bake chocolate cheesecake chilling in the fridge while you do absolutely nothing else.
It's rich, creamy, and the fridge does all the hard work for you. If you're into low-effort showstoppers, my Jelly Cheesecake and No-Bake Lemon Cheesecake are just as easy to pull off.
A Quick Look At The Recipe
✅ Recipe Name: No-Bake Chocolate Cheesecake
🕒 Ready In: 10 minutes prep + at least 4 hours chilling (overnight is best)
👪 Serves: 16
🍚 Calories: 401kcal per serve
🥣 Main Ingredients: Oreos, cream cheese, milk chocolate, gelatine, cream
📖 Dietary Info: Contains gelatine (not vegetarian) and gluten (easy gluten-free biscuit swap - see Variations). Thermomix method included.
⭐ Why You'll Love It: No oven, no water bath, no drama - just a rich, chocolatey slice that sets itself while you get on with your day.
SUMMARIZE & SAVE THIS CONTENT ON
Absolutely beautiful cheesecake! Easy to make and tastes divine. Thank you for the recipe.
- Inna
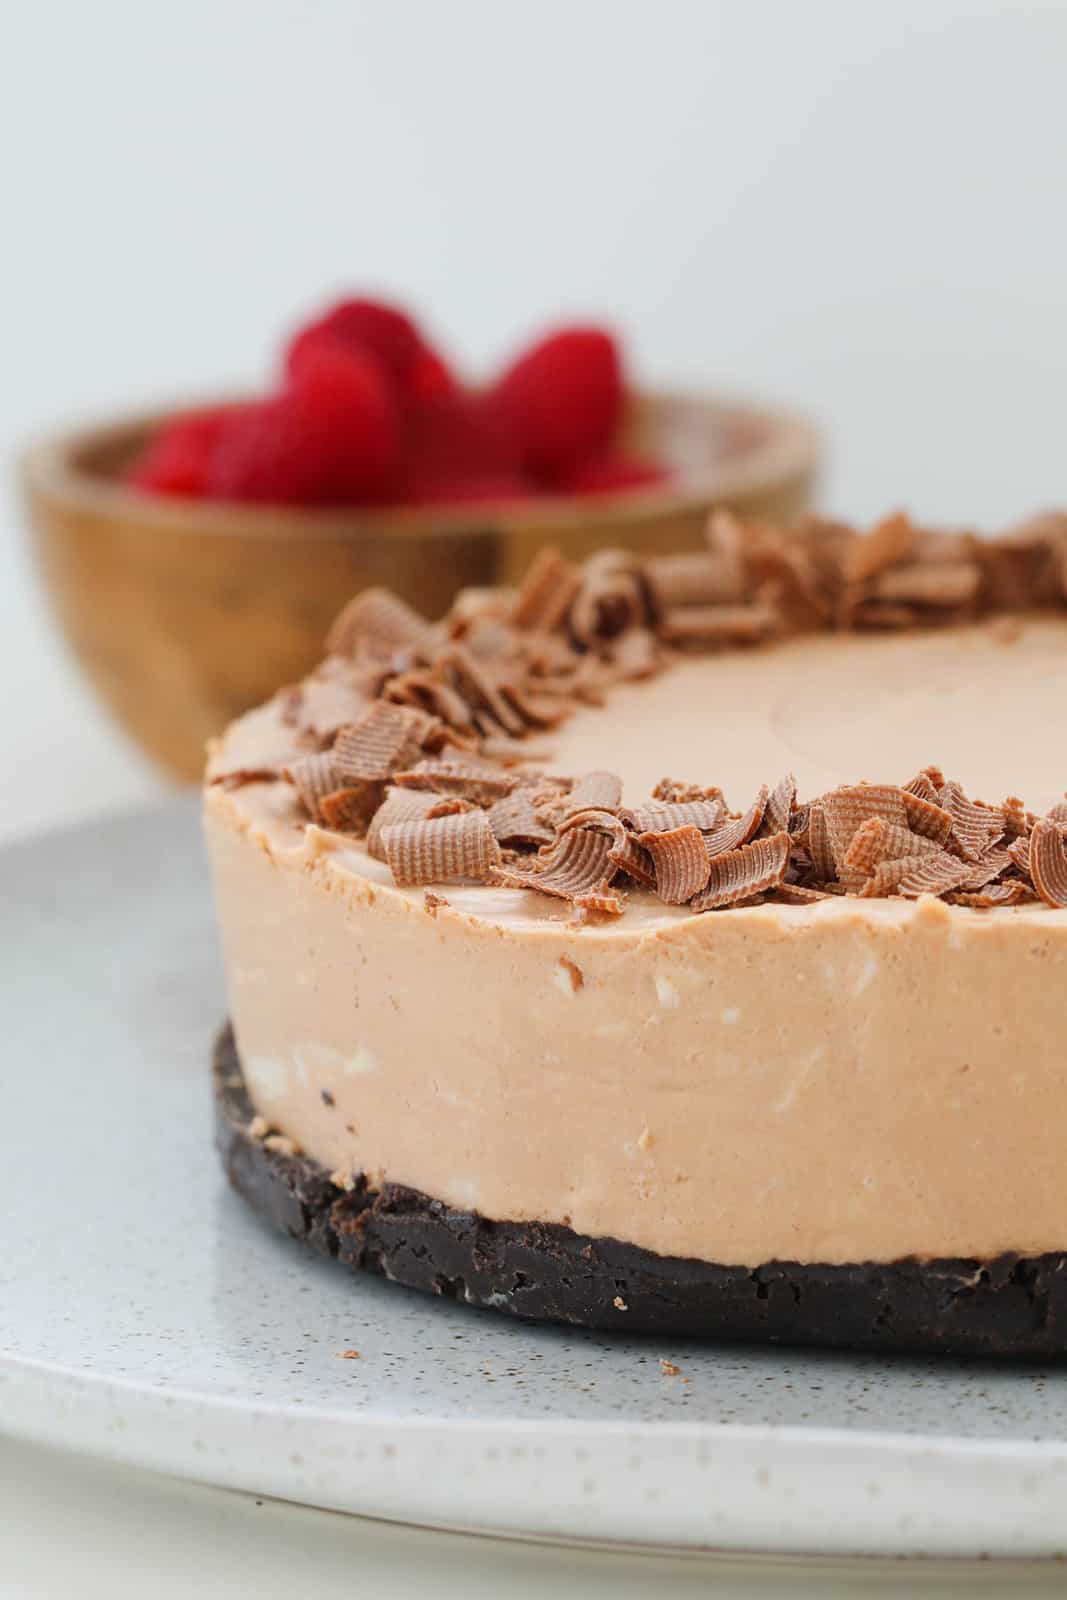
This simple chocolate cheesecake recipe ticks every box: minimal ingredients, maximum flavour and that melt-in-your-mouth texture. Unlike a baked cheesecake, this one sets in the fridge thanks to a bit of gelatine, so there's zero oven involved.
If you're after more cheesecake inspiration, my Oreo Cheesecake, Crunchie & Malteser Cheesecake and Rocky Road Cheesecake are all worth a look too.
Jump to:
Why You're Going To Love This Recipe
- No oven required. Perfect for hot days, or when you just can't be bothered turning it on.
- Just 10 minutes of actual work, then the fridge takes over and does the rest.
- Creamy, rich and properly chocolatey - somewhere between a mousse and a cheesecake.
- Make-ahead friendly. Chill it overnight and it's ready to slice and serve the next day, no last-minute panic required.
Chocolate Cheesecake Ingredients
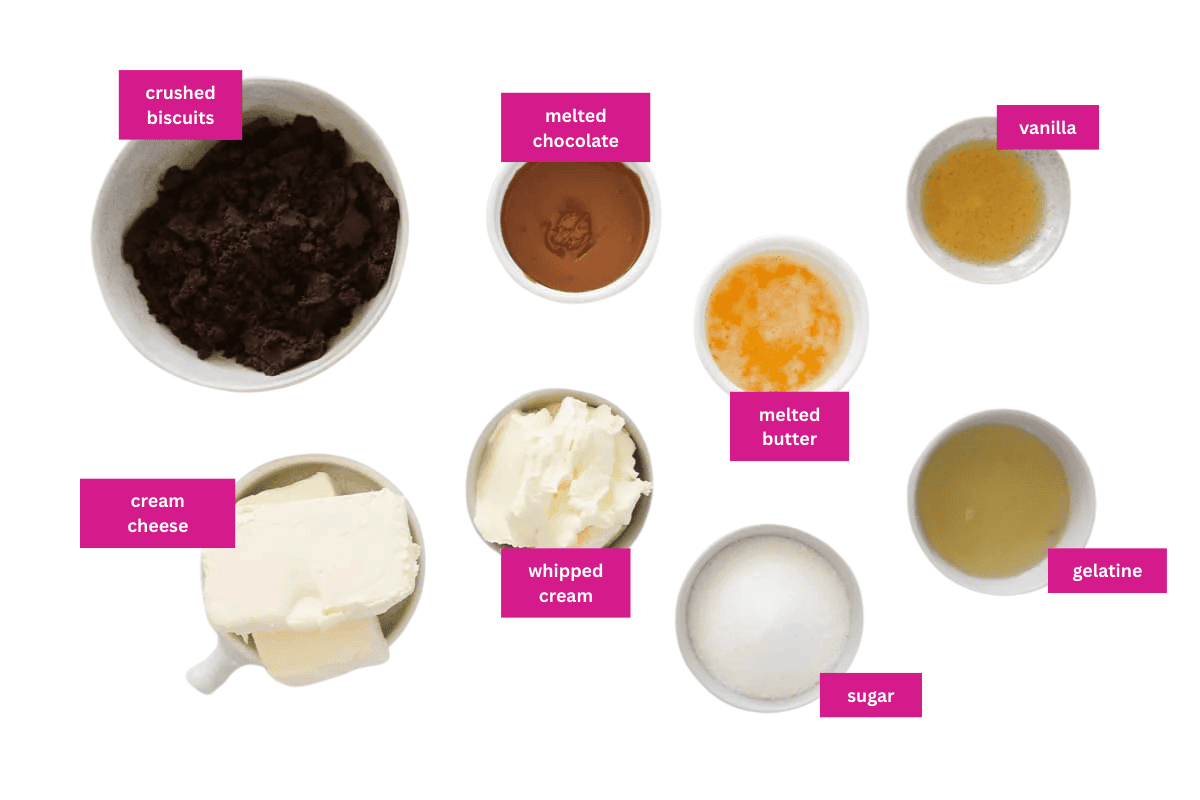
You only need a handful of everyday ingredients to make the best chocolate cheesecake. Here's what to keep in mind:
- Oreos (or any chocolate biscuits) - crush them finely in a food processor so the crumbs bind together properly. Big chunks left in the mix make the base crumble when you cut into it.
- Cream cheese - use the full-fat block style (like Philadelphia), not the whipped tub stuff. Tub cream cheese has way more water in it, so your cheesecake won't set as firm. Bring it to room temperature first too, or you'll spend ages beating out lumps.
- Gelatine - the not-so-secret ingredient that lets this cheesecake slice cleanly instead of collapsing into a pudding. Dissolve it completely in the hot water before it goes anywhere near the cold cream cheese mixture, or you'll get little jelly lumps through the filling.
Variations
- Chocolate Orange Cheesecake - add finely grated orange zest and a splash of orange extract for a citrus twist.
- Gluten-Free Chocolate Cheesecake - swap in gluten-free chocolate biscuits for the base and you're done.
- White Chocolate Cheesecake - swap the milk chocolate for white chocolate and top with fresh raspberries.
- Triple Chocolate Cheesecake - fold through a mix of milk, dark and white chocolate for a proper chocolate-lover's layered effect.
- Feeling fancy? Pipe swirls of softly whipped cream around the edge and finish with a drizzle of melted chocolate instead of just the grated chocolate on top.
How To Make No-Bake Chocolate Cheesecake
This recipe couldn't be simpler - a favourite with chocolate lovers.
Note: Please scroll to the recipe card at the bottom of the post for ingredient quantities and the full detailed method.
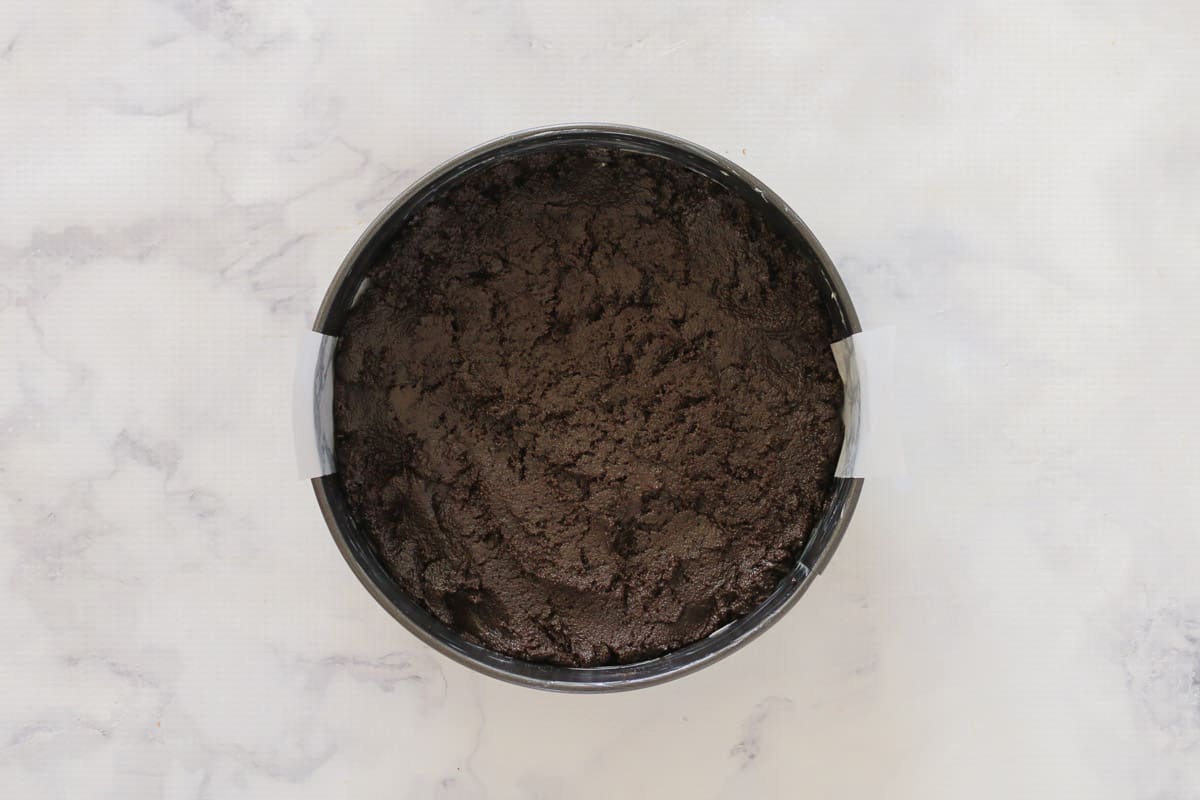
- Step 1: Make the base. Crush the Oreos into fine crumbs, mix with melted butter, then press firmly into a parchment-lined springform pan. Pop it in the fridge to chill.
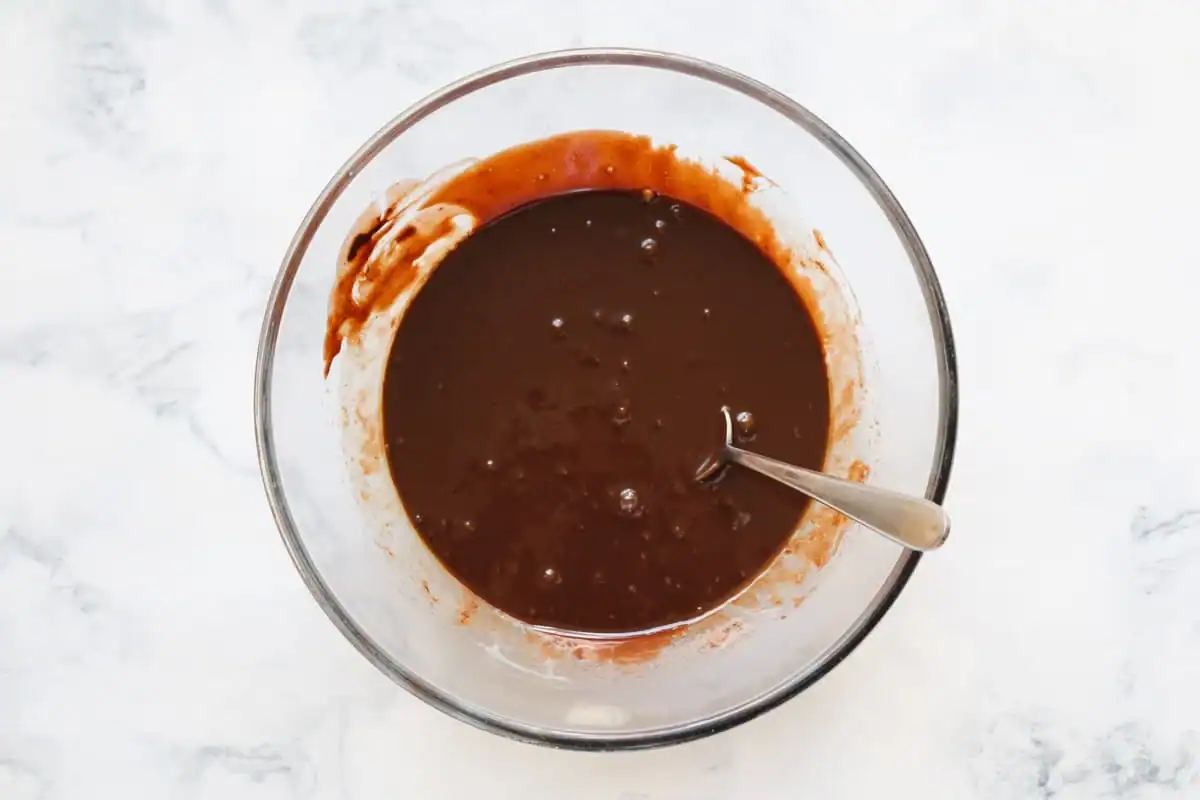
- Step 2: Melt the chocolate and dissolve the gelatine. Gently melt the milk chocolate and set aside to cool slightly. Separately, stir the gelatine into boiling water until fully dissolved, then allow to cool.
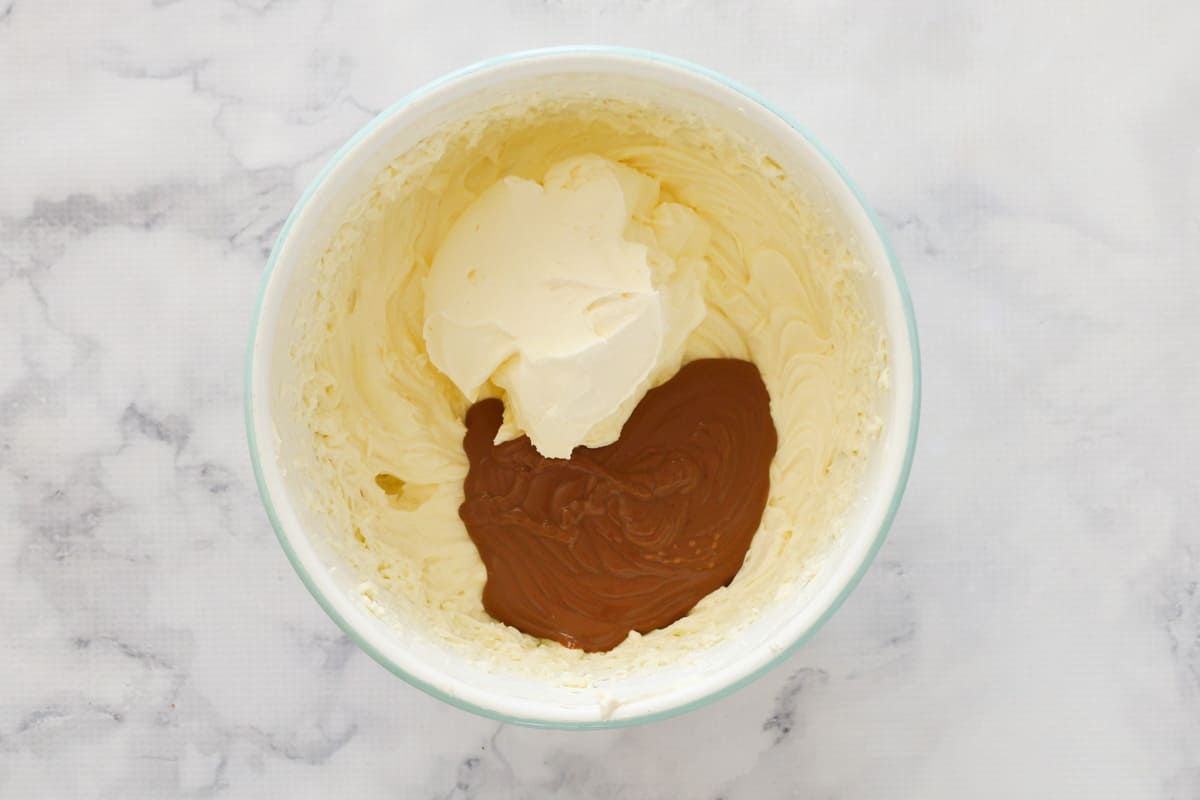
- Step 3: Beat the filling. Whip the cream cheese, vanilla and sugar until smooth. Add the cooled gelatine, then fold through the melted chocolate and lightly whipped cream with a rubber spatula.
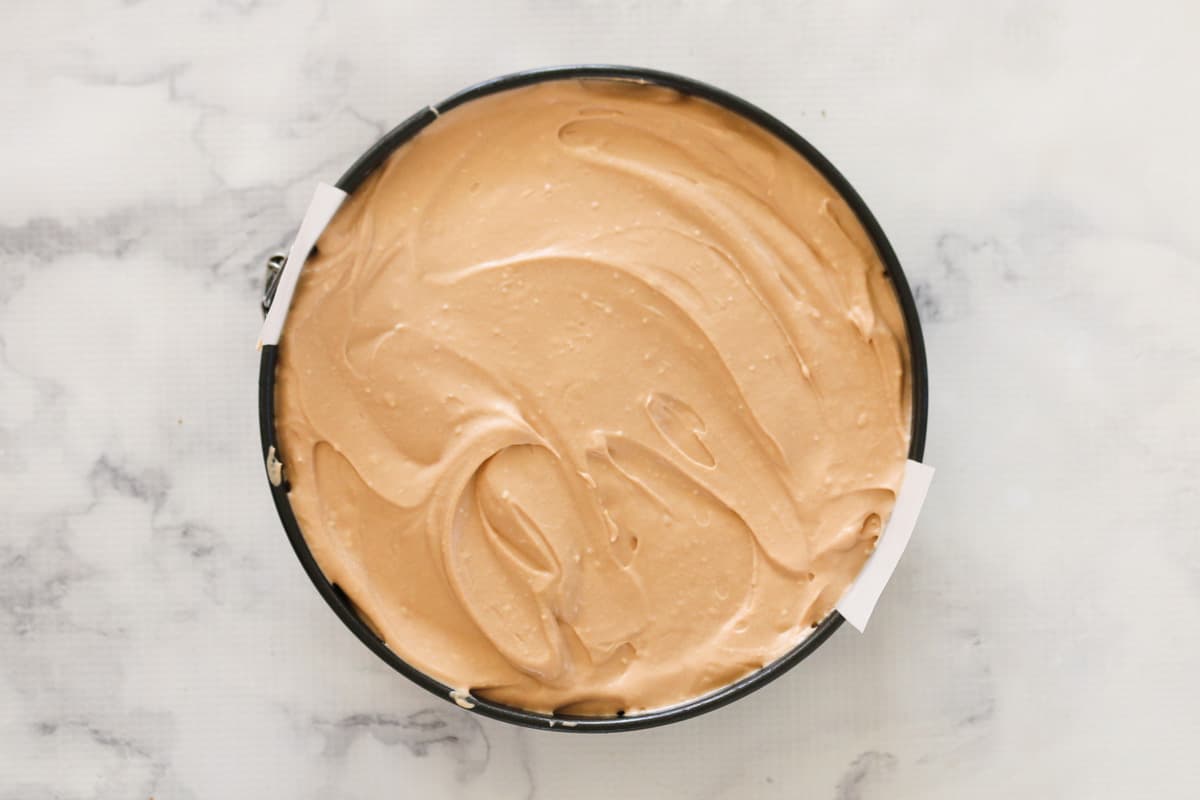
- Step 4: Chill to set. Pour the filling over the base, smooth the top, and chill for at least 4 hours (overnight is best). Decorate with grated chocolate before serving.
Team Thermomix? The full Thermomix method, with exact speeds and timings, is in the recipe card below.
Recipe Tips
- Make sure your cream cheese and melted chocolate are both at room temperature before you start mixing - this is what gives you a silky, lump-free filling.
- Line the base and sides of the pan with baking paper so the cheesecake lifts out cleanly once it's set.
- Chill for at least 4 hours, but overnight gives you the firmest, creamiest slice.
- Storage: keep it in the fridge, covered, and eat within 3 days.
- Freezing: wrap individual slices in plastic wrap, then foil, and freeze for up to 1 month. Defrost in the fridge overnight before serving - don't leave it out on the bench, it needs to thaw slowly to keep its texture.
- Want a stronger chocolate hit? Use half milk chocolate and half dark chocolate in the filling.
No-Bake Chocolate Cheesecake FAQs
Yes, the gelatine is what gives this cheesecake its clean, sliceable set. You can leave it out, but the texture turns softer and more mousse-like, and it won't hold its shape when you cut into it.
A few usual suspects: the gelatine wasn't fully dissolved before it went in (little clumps mean it can't set evenly), the mixture didn't get a full 4 hours in the fridge, or the melted chocolate was still warm when you folded it through the whipped cream and knocked all the air out. Give it more time in the fridge first - overnight often fixes a soft set.
Absolutely - it'll just be richer and slightly less sweet, so you might want to bump up the sugar a touch to balance it out.
Yes, and honestly it's better that way. This cheesecake is perfect for making the day before - just keep it covered in the fridge until you're ready to slice and serve.
It'll keep in the fridge for up to 3 days. To freeze, wrap individual slices in plastic wrap then foil and freeze for up to a month - just defrost them in the fridge overnight rather than on the bench.
More No-Bake Cheesecake Recipes
If you love the ease and simplicity of a no-bake cheesecake (and let's face it, who doesn't?), then try these too!
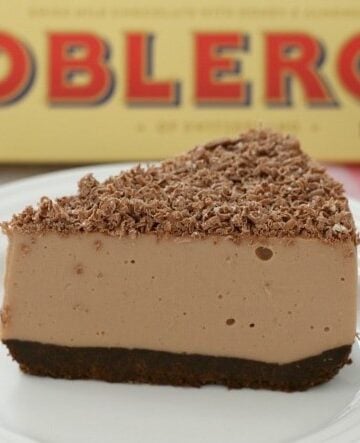
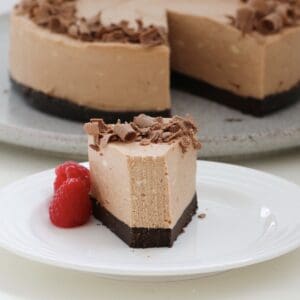
No-Bake Chocolate Cheesecake
Ingredients
- 266 g Oreos or any chocolate cookies
- 100 g butter melted
- 1 cup (240g) cream lightly whipped
- 200 g milk chocolate
- 2 ½ teaspoon gelatine dissolved in ¼ cup water, cooled
- 500 g cream cheese softened
- 1 teaspoon vanilla bean paste optional, or vanilla extract
- 150 g (¾ cup) caster sugar superfine
- 50 g milk chocolate grated
Instructions
Conventional Method
- To ensure a smooth cheesecake, ensure all ingredients are at room temperature before starting.
- Grease and line the base and sides of a 23cm spring-form pan with baking paper and set aside.
- Finely crush Oreos in a food processor and place into a bowl.
- Add the melted butter and mix until well combined.
- Press the mixture firmly into the base of the pan and place into the fridge.
- Whip cream and set aside.
- Melt milk chocolate and set aside to cool slightly.
- Pour ¼ cup of boiling water into a cup, sprinkle over the gelatine and stir until dissolved. Allow to cool.
- Beat the cream cheese, vanilla bean paste and caster sugar until smooth and creamy.
- Add the cooled, dissolved gelatine to the mix and beat until well combined.
- Fold through the melted milk chocolate and the whipped cream.
- Spoon the mixture into the prepared tin. Spread out evenly with a spoon.
- Place the cheesecake into the fridge to set for a minimum of 4 hours (for best results, leave in the fridge overnight before cutting).
- Decorate with grated milk chocolate.
Thermomix Method
- To ensure a smooth cheesecake, ensure all ingredients are at room temperature before starting.
- Grease and line the base and sides of a 23cm spring-form pan with baking paper and set aside.
- Melt butter in the TM bowl for 2 minutes, 100 degrees, Speed 1. Add the Oreos and crush for 10 seconds, Speed 10. Scrape down the sides of the bowl and repeat until well combined.
- Press the mixture firmly into the base of the pan and place into the fridge.
- Whip cream in a clean, dry TM bowl on Speed 3.5 until lightly whipped (the time it takes will depend on the freshness of the cream - it can be anywhere between 10 seconds and 2 minutes!!) Set the cream aside in a separate bowl.
- Place the milk chocolate into the TM bowl and melt for 3 minutes on 50 degrees, Speed 2. Set aside in a bowl to cool slightly.
- Pour ¼ cup of boiling water into a cup, sprinkle over the gelatine and stir until dissolved. Allow to cool.
- Beat the cream cheese, vanilla bean paste and caster sugar in a clean and dry TM bowl for 30 seconds on Speed 5. Scrape down the sides with a spatula and repeat until smooth and creamy.
- Add the cooled, dissolved gelatine to the mix and mix for 30 seconds on Speed 5.
- Fold through the melted milk chocolate and the whipped cream with the spatula.
- Spoon the mixture into the prepared tin. Spread out evenly with a spoon.
- Place the cheesecake into the fridge to set for a minimum of 4 hours (for best results, leave in the fridge overnight before cutting).
- Decorate with grated milk chocolate.
Notes
- Always make sure your cream cheese and chocolate are at room temperature before starting-this ensures a silky, lump-free cheesecake.
- Use a springform pan so you can easily lift the cheesecake out once set.
- Line the base and sides with baking paper to prevent sticking.
- Chill for at least 4 hours, but overnight gives the firmest, creamiest results.
- Store in the fridge and eat within 3 days.
- To freeze: wrap slices in plastic wrap, then foil. Freeze for up to 1 month. Defrost in the fridge overnight before serving.
- Whip cream until soft peaks form-overwhipping can make it grainy.
- If you want a stronger chocolate flavour, use half milk chocolate and half dark chocolate.
Aliza says
Does this cheesecake actually taste chocolatey?? It looks very light for a chocolate cheesecake so I'm just wondering if it's going to taste bland.
Lucy says
Hi Aliza, milk chocolate will give you a lighter chocolate flavour whereas you can use dark chocolate if you'd like a richer chocolate taste.
Anna says
Hi, do you use cooking chocolate or just normal chocolate?
Lucy says
You can use either!
Mel says
Thank you!
I made this for my husband's birthday and it turned out beautifully.
Lucy says
Fantastic! I'm so thrilled!
Louise says
Definitely a keeper. I made this for a family member's birthday but then had to freeze it as we went into lockdown for a week. Took it out of the freezer the day before, and it was perfect. So light and mousse like and everyone had seconds.
Lucy says
That's so great to hear!
Lina says
Loved making this super easy cheesecake! Was delicious and the perfect chocolate flavor.
Lucy says
I'm so happy you enjoyed it!
Donna Stace says
So easy so delicious I used dark chocolate yum