
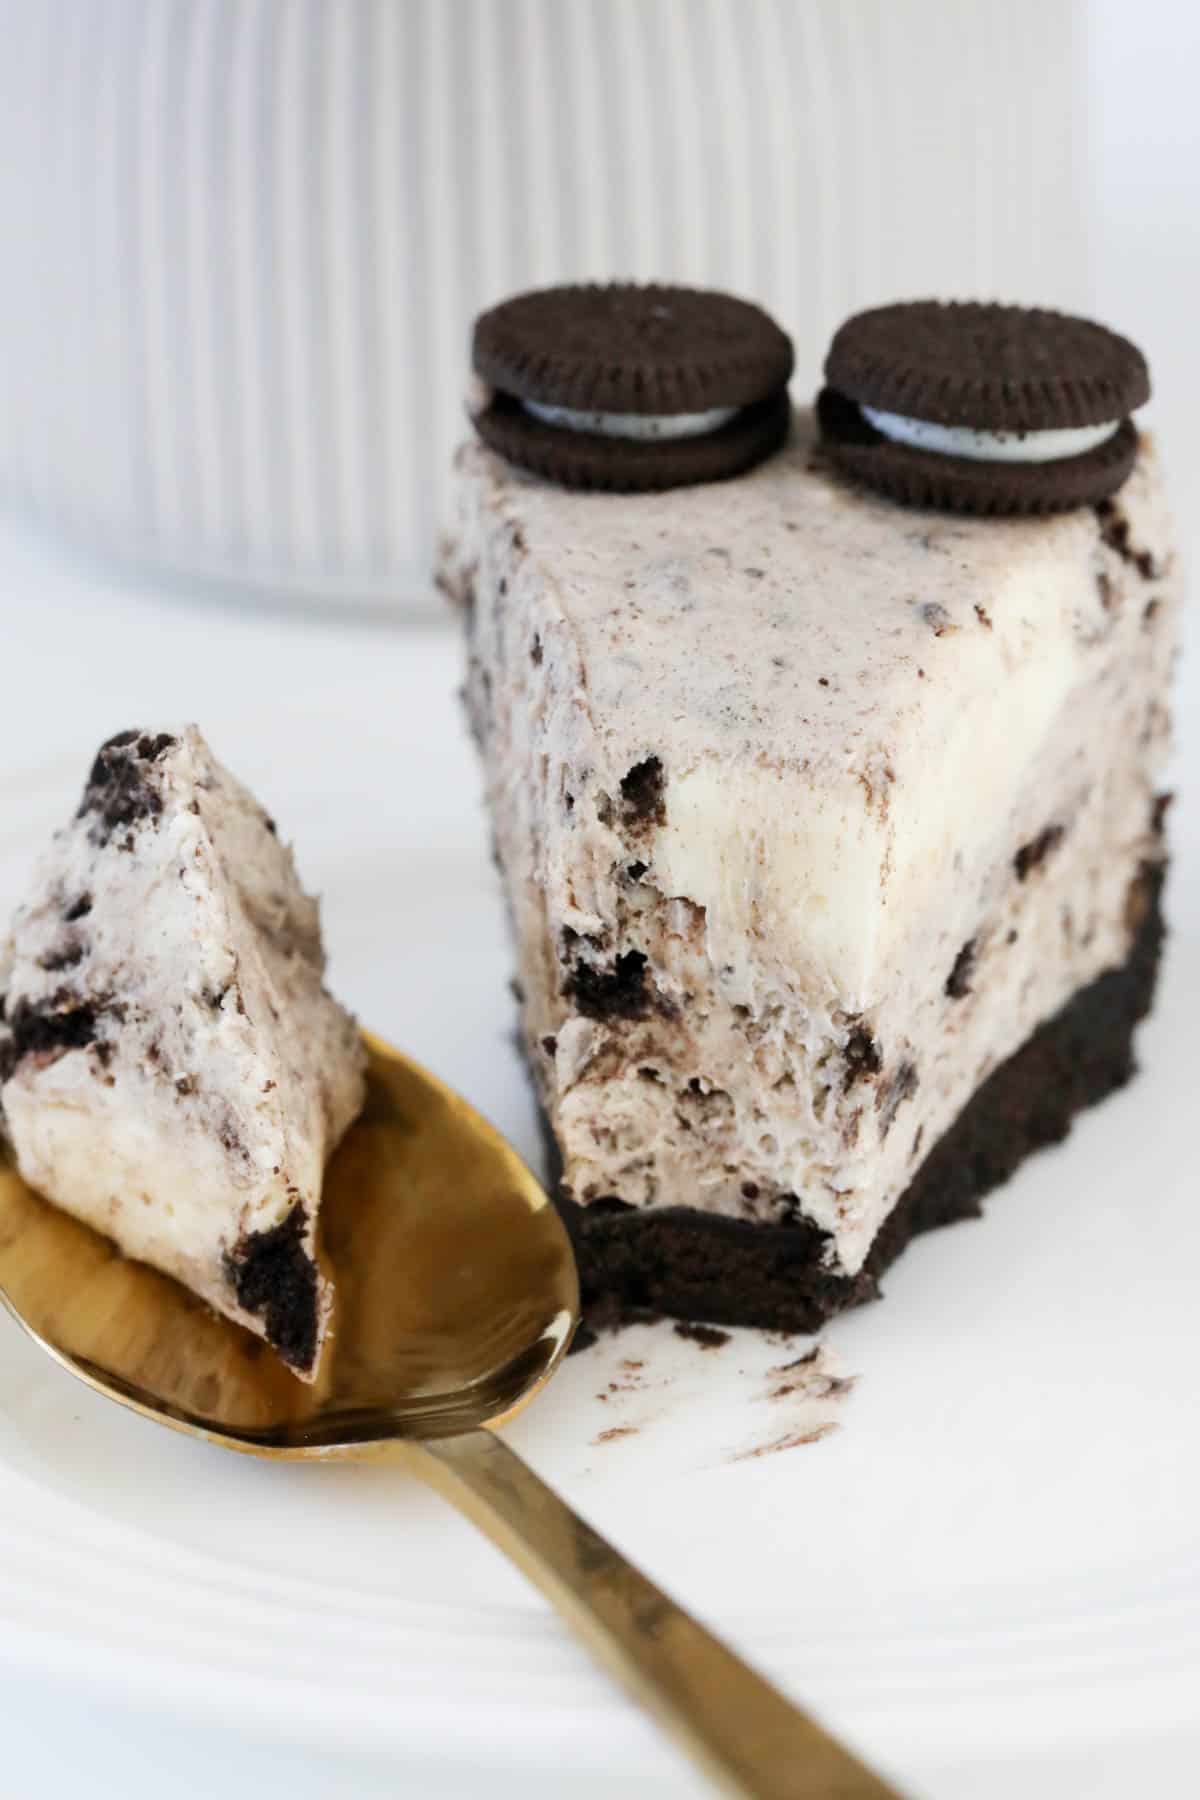
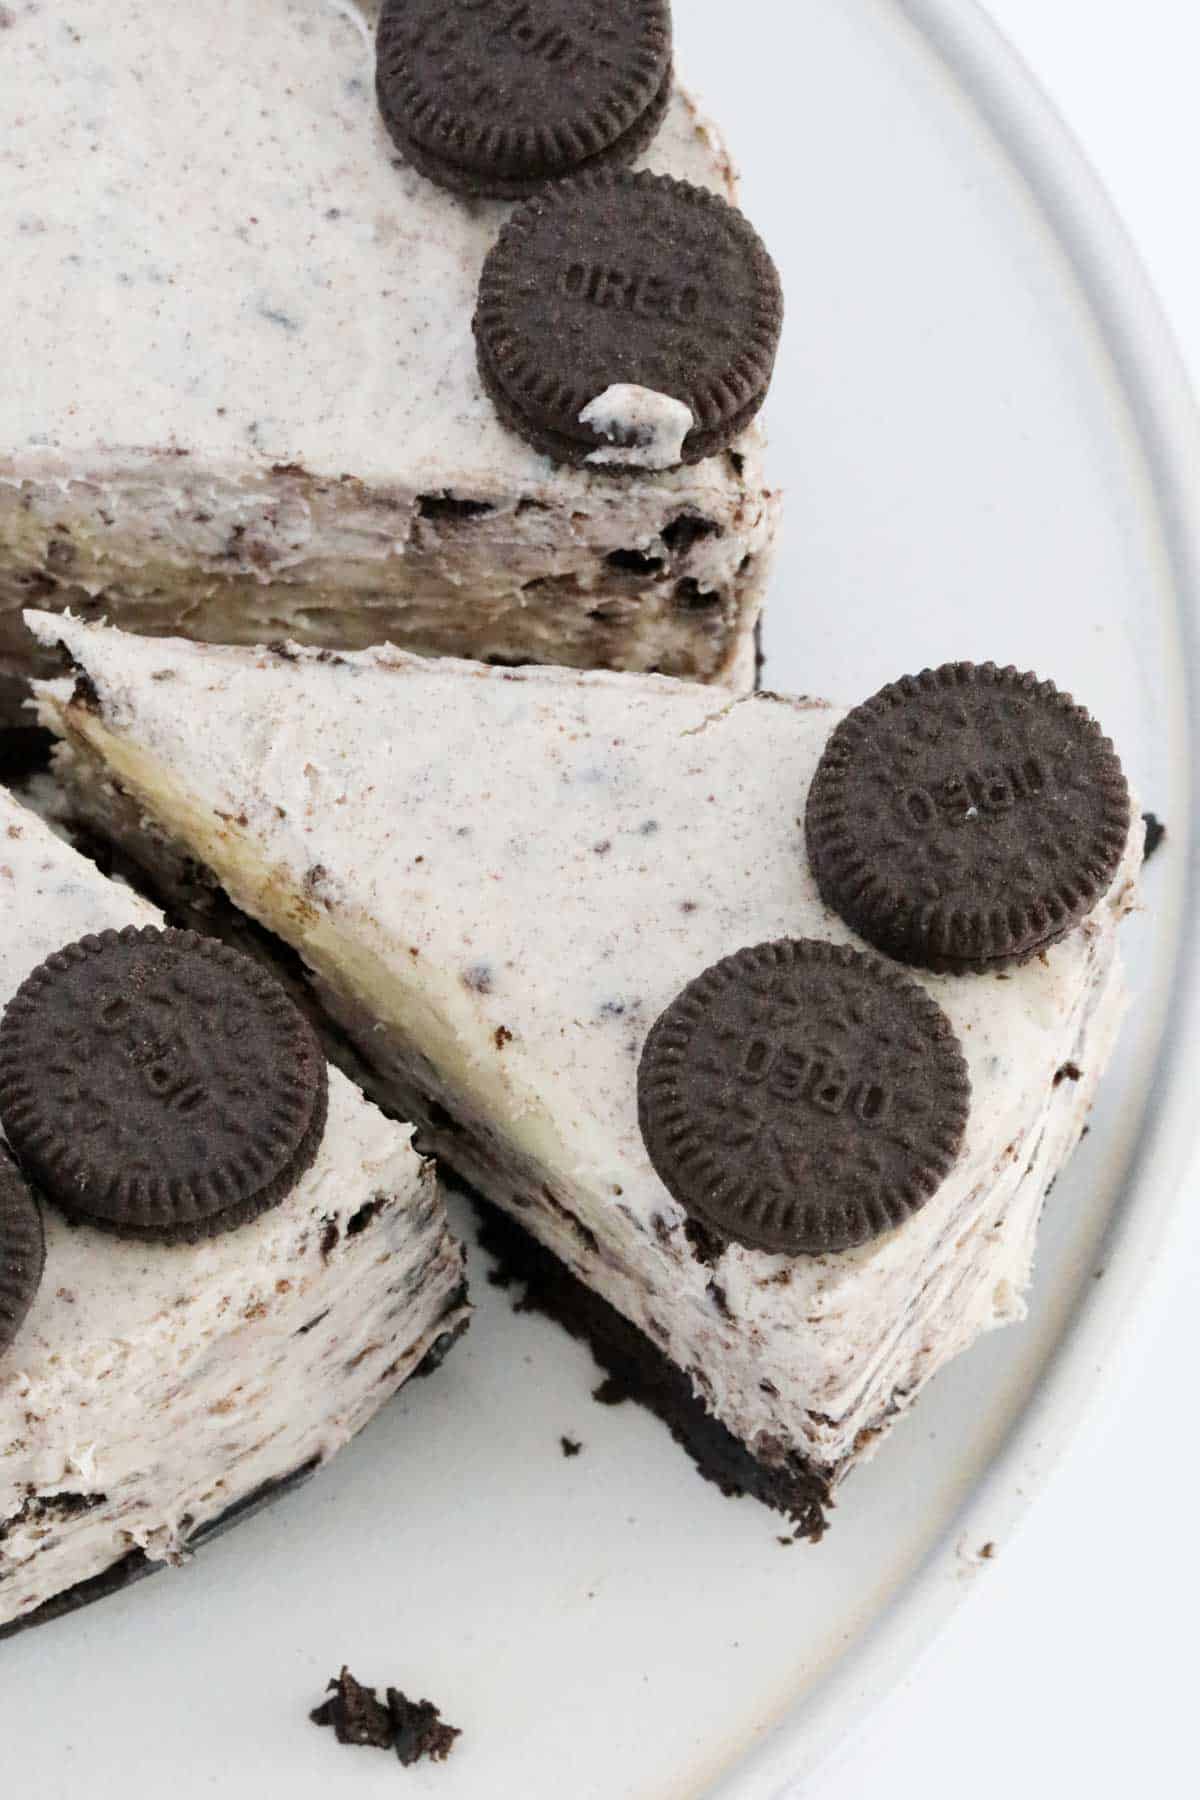
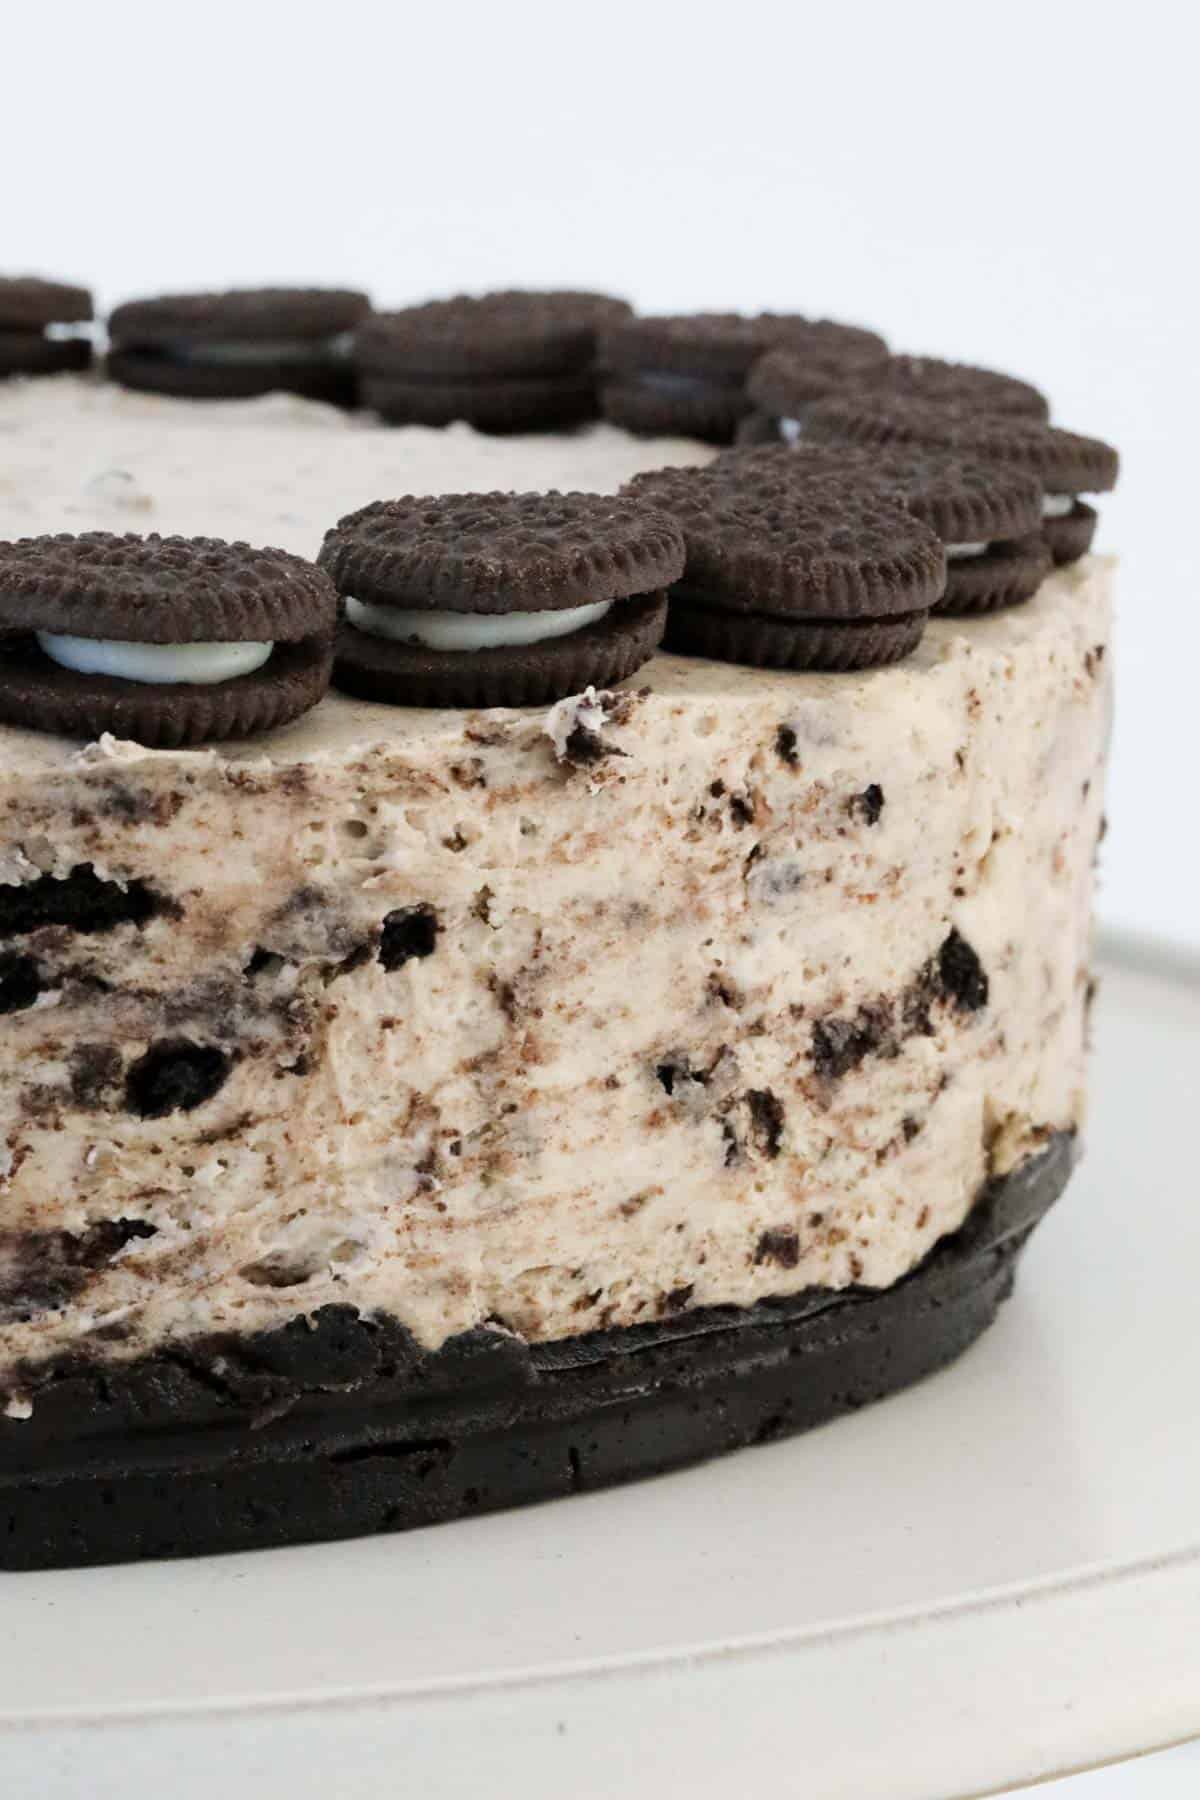
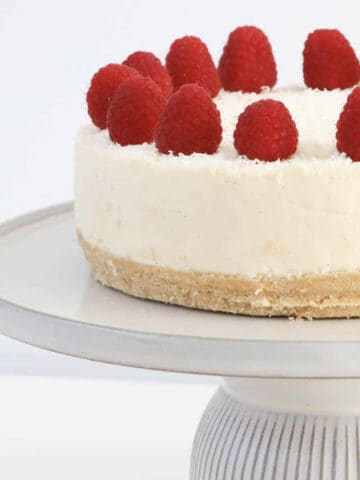
A luscious no-bake white chocolate and cookies and cream Oreo Cheesecake!
Make this deliciously decadent cheesecake from scratch, with every mouthful loaded with sweet cookies and cream flavours!
Are you obsessed with Oreos??
Delicious crunchy chocolate cookies sandwiched together with a smooth creamy filling... they're simply the best!
While Oreos are delicious eaten straight from the packet, they're even better when used in baking recipes!
Just like this creamy Oreo cheesecake, my 3 ingredient Oreo Truffles, Cookies & Cream Fudge, Oreo Mud Cake and Cookies & Cream No-Bake Slice are all super delicious recipes using Oreos as the star ingredient.
Why You're Going To Love This Recipe
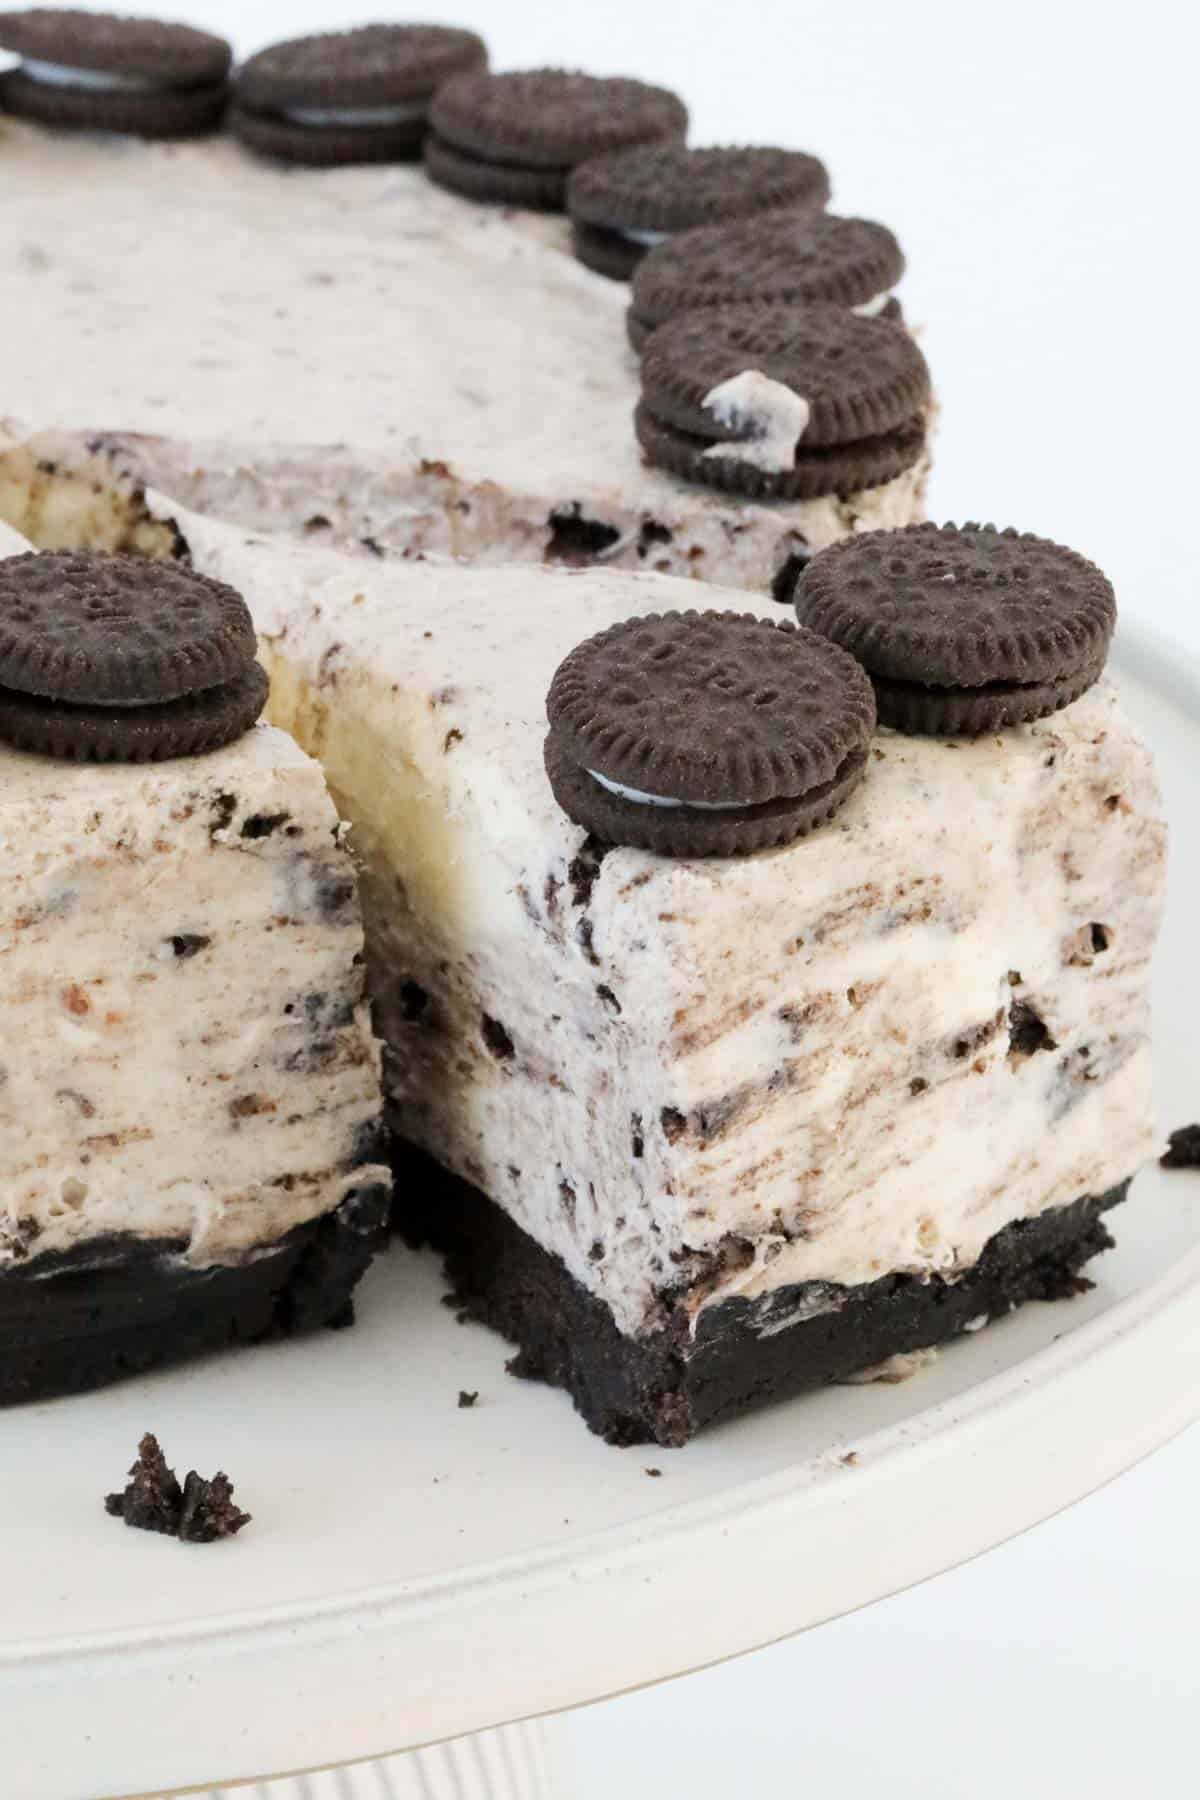
A crunchy base and a filling loaded with cookies and cream makes this Oreo cheesecake the perfect dessert to share at any gathering or special occasion.
- Feeds a crowd - cheesecakes are notoriously rich and intensely flavoured so you only need a small(ish) slice. This no-bake Oreo cheesecake is perfect for when you need a dessert for a large gathering - serves up to 16!
- Make ahead of time - I like to be super organised, so one thing I love is when dessert can be prepared ahead of time. You can make this cheesecake a day ahead so there's ZERO chance of any last minute rush!
- Special occasion - whether it's for a birthday party or friends for dinner, this decadent cheesecake is choc-full of cookies and cream flavour - a guaranteed hit!
- No-bake dessert - the most difficult thing about this Oreo cheesecake is waiting patiently for it to chill!
- Conventional and Thermomix - instructions for both methods are included in the recipe card below.
- No eggs required either - a simple egg-free recipe that everyone can enjoy.
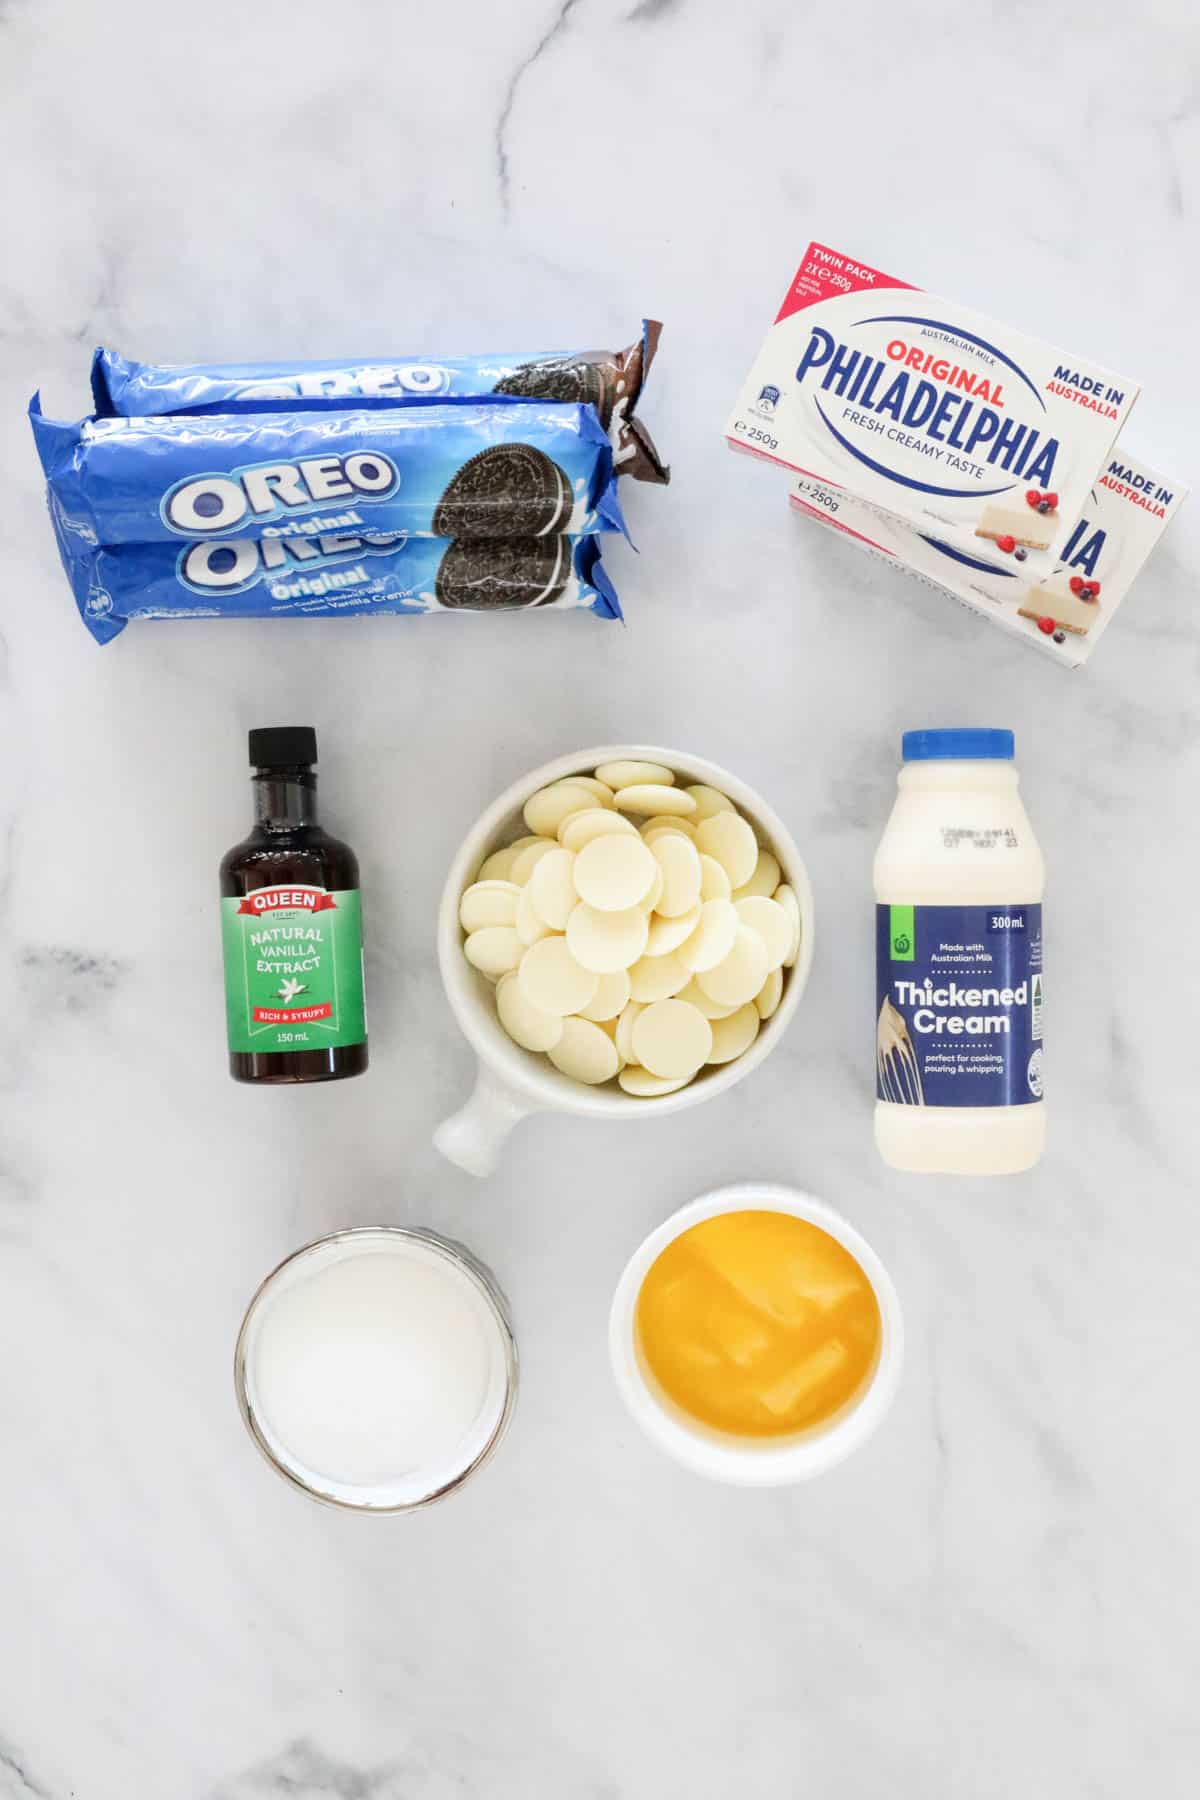
What You Need
There's Oreos in the base, there's Oreos in the filling, and there's Oreos on top... what more could you want!?
Note: Scroll to the recipe card at the bottom for the ingredients quantities and full detailed method.
For The Base
- Oreos - 2 packets of original Oreos. The cookies are crushed along with the cream filling as well, for a super crunchy and creamy chocolate biscuit base.
- Butter - melted. Unsalted or salted, either is fine to use in the Oreo cheesecake base.
For The Filling
- Oreos - 1 packet original Oreos.
- Cream - lightly whipped. Use a full-fat thickened or heavy cream, this helps the filling to firm.
- White chocolate melts - or a block of baking white chocolate.
- Gelatine powder - this is dissolved in boiling water before being added to the filling.
- Cream cheese - choose a full-fat cream cheese in a block (not low fat or spreadable). Make sure your cream cheese is at room temperature for a smooth filling with no lumps.
- Vanilla bean paste - or vanilla extract.
- Caster sugar - dissolves easily with the other filling ingredients and adds a sweetness to the filling without being over sweet. Caster sugar is also known as superfine sugar.
To Decorate
- Mini Oreos - optional.
Equipment Required
Besides several large mixing bowls and spoons, you will need:
- 23cm springform tin - greased and lined with baking paper.
- Food processor or a rolling pin - to crush the Oreo cookies.
- Stand mixer or hand held beater - to whip the cream.
- Microwave or stove top - to melt the white chocolate melts.
Of course, if you have a Thermomix (optional), you can use that for multipurpose - crushing the cookies, whipping cream, and melting the chocolate!
Step By Step Instructions
Follow my simple step by step instructions for Oreo cheesecake!
Note: Scroll to the recipe card at the bottom for the ingredients quantities and full detailed method.
Step 1 - Prepare The Base
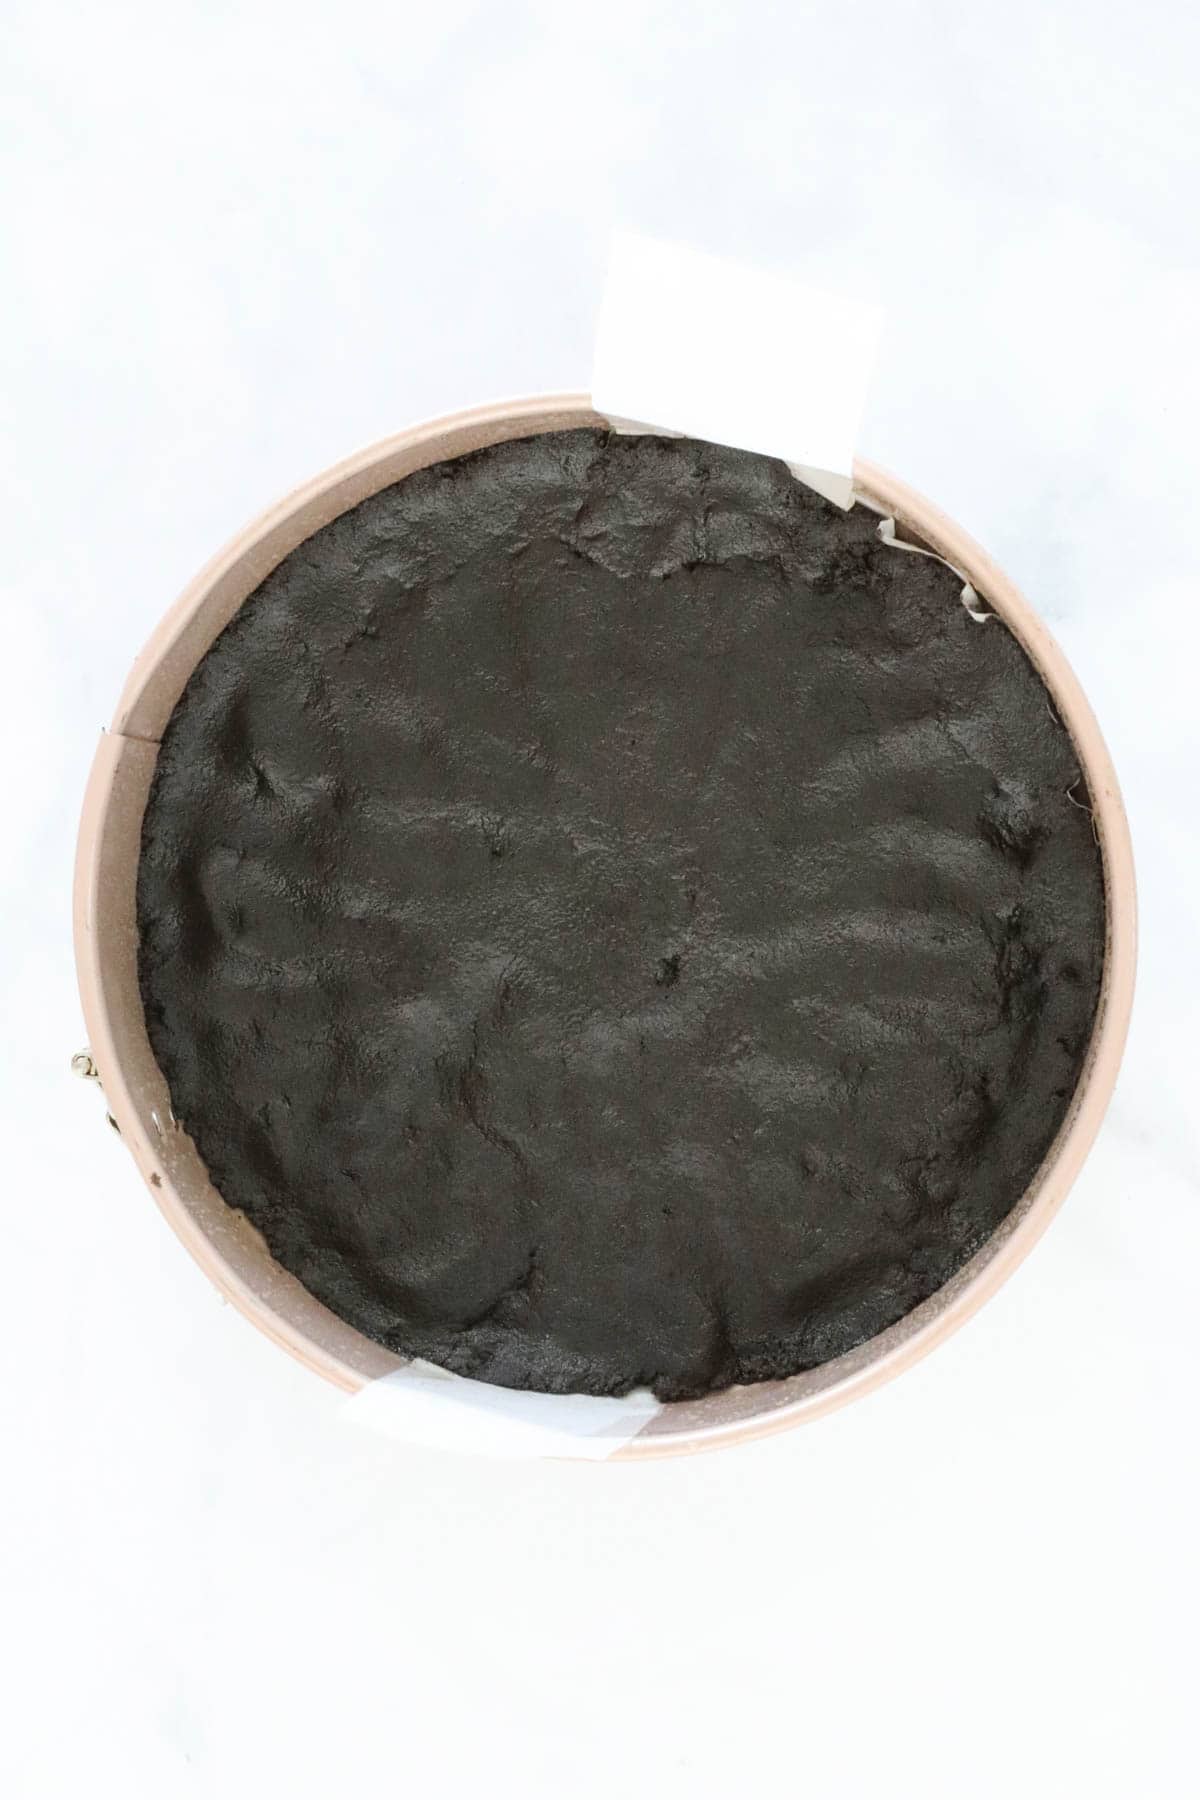
Grease and line the base and sides of a 23cm spring-form pan with baking paper and set aside.
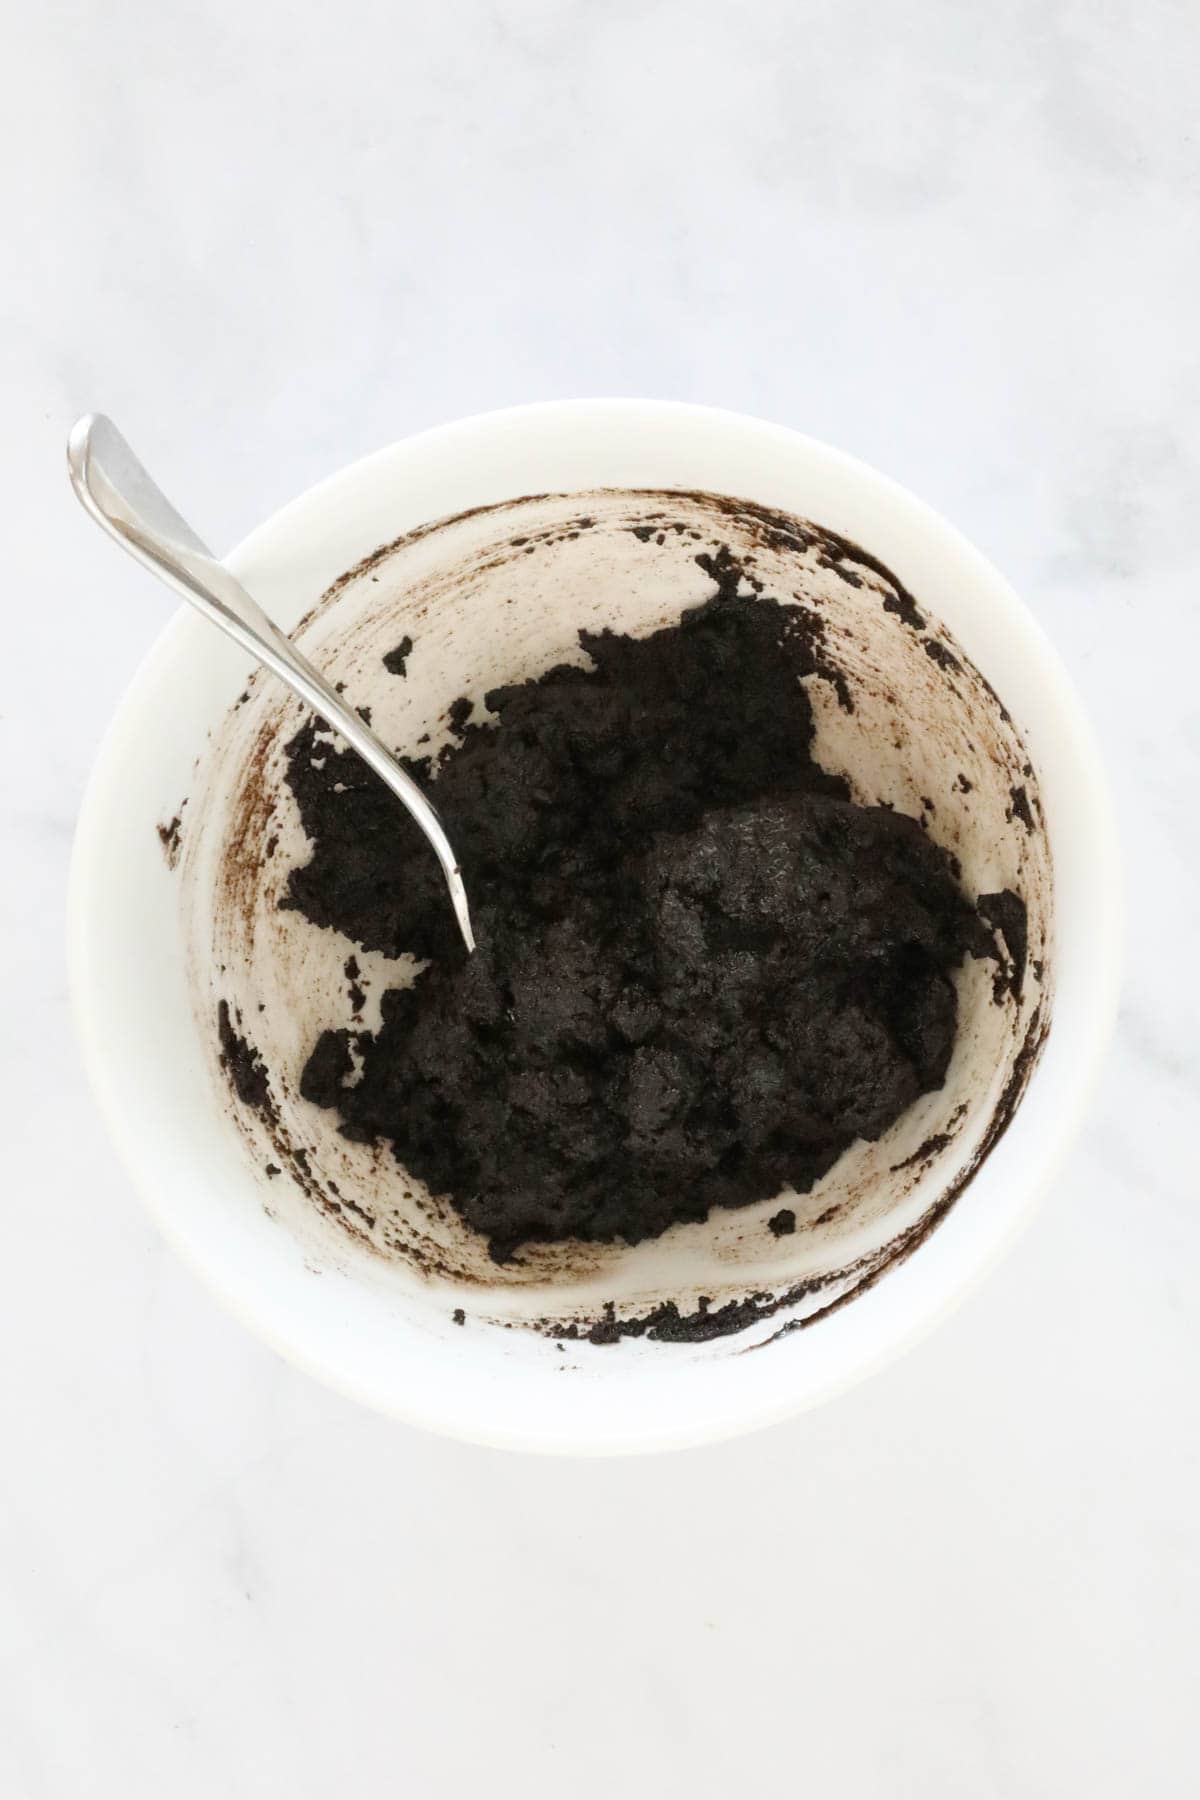
Finely crush the Oreos, including the cream filling, in a food processor and place into a bowl.
Add the melted butter to the bowl and mix until combined.
Crush the extra packet of Oreos for the filling (a few little chunks are ok) and set this aside in another bowl to use in the filling.
Press the mixture firmly into the base of the lined pan and place into the fridge while you prepare the filling.
Step 2 - Whip The Cream
Whip the cream until it has thickened, then set aside.
Step 3 - Melt the White Chocolate
Melt the white chocolate melts in a microwave at 50% power in 30 second bursts, and then set this aside to cool slightly.
Step 4 - Dissolve The Gelatine
Pour ¼ cup of boiling water into a cup, sprinkle over the gelatine and stir until dissolved. Set this aside to cool slightly while you beat the cream cheese.
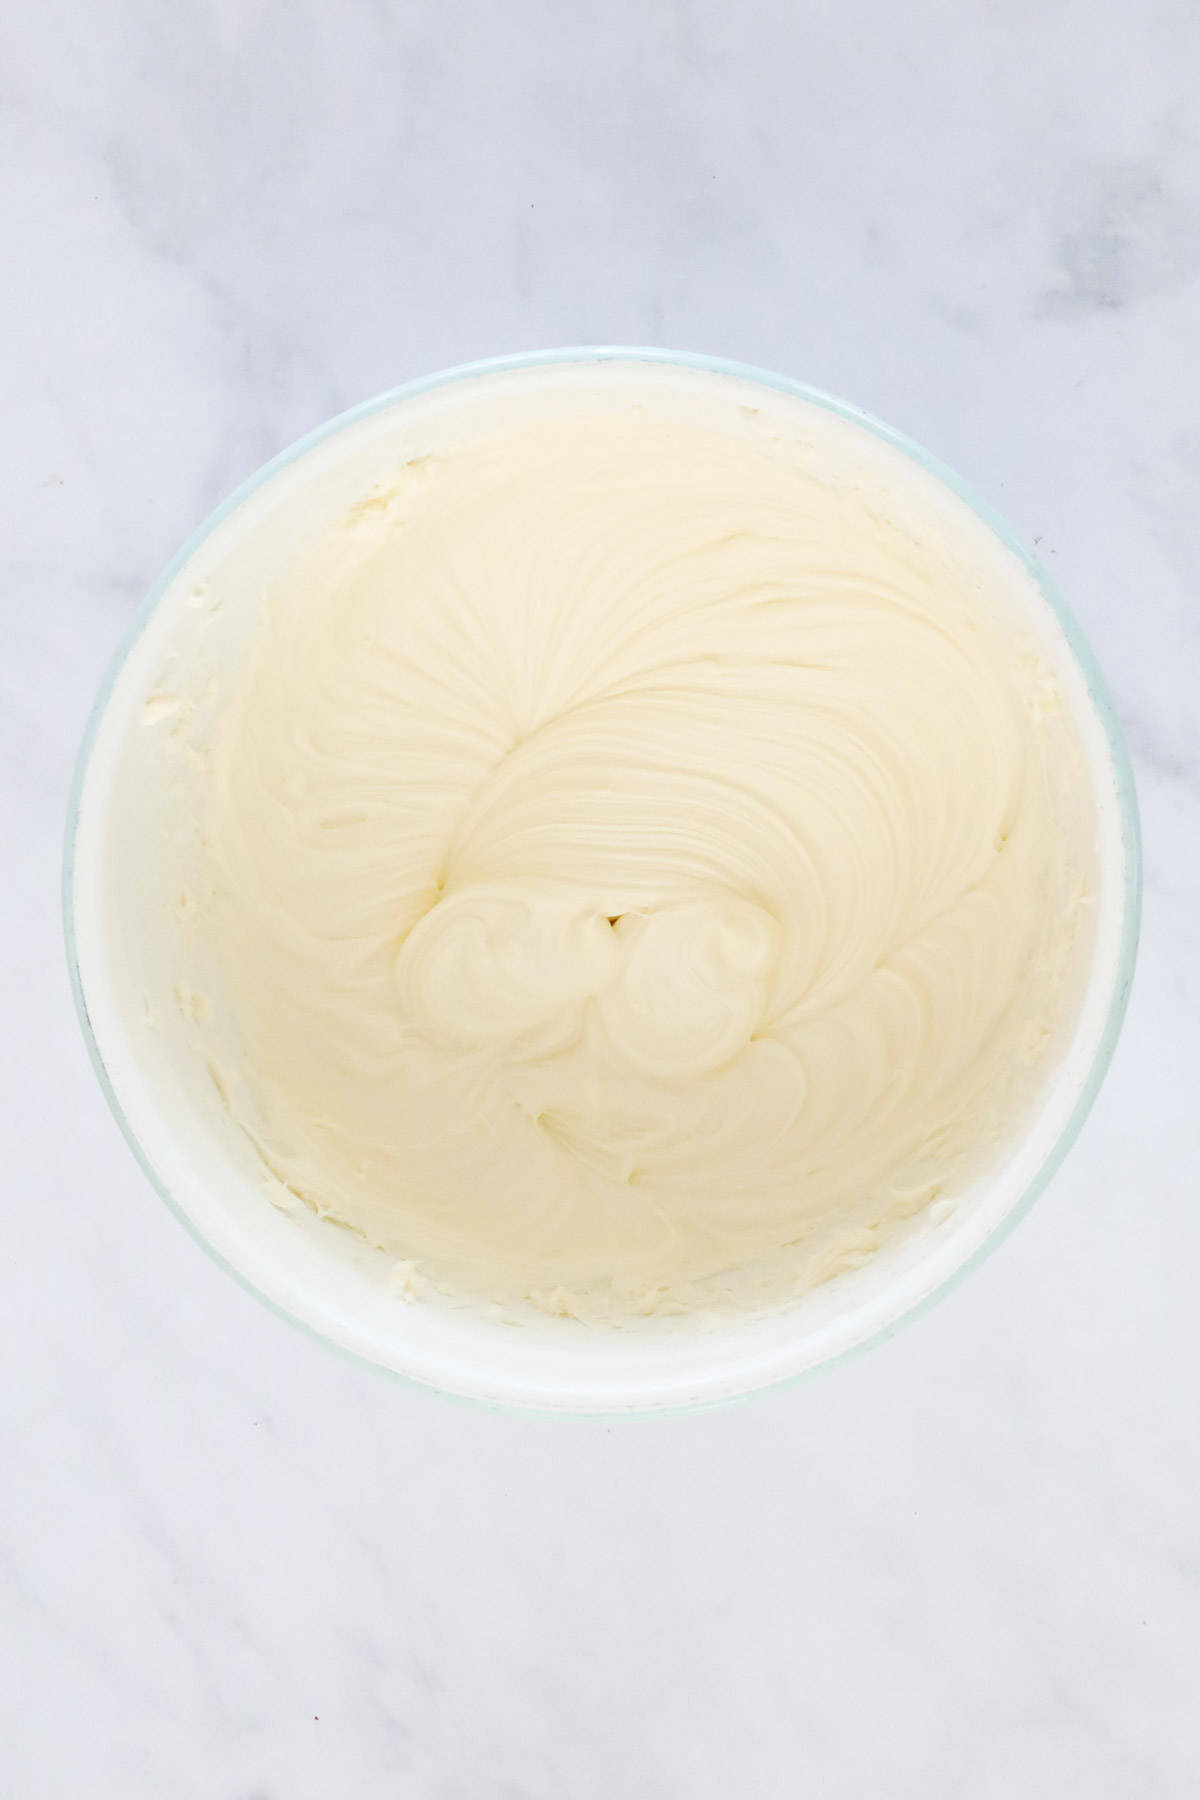
Step 5 - Beat the Cream Cheese
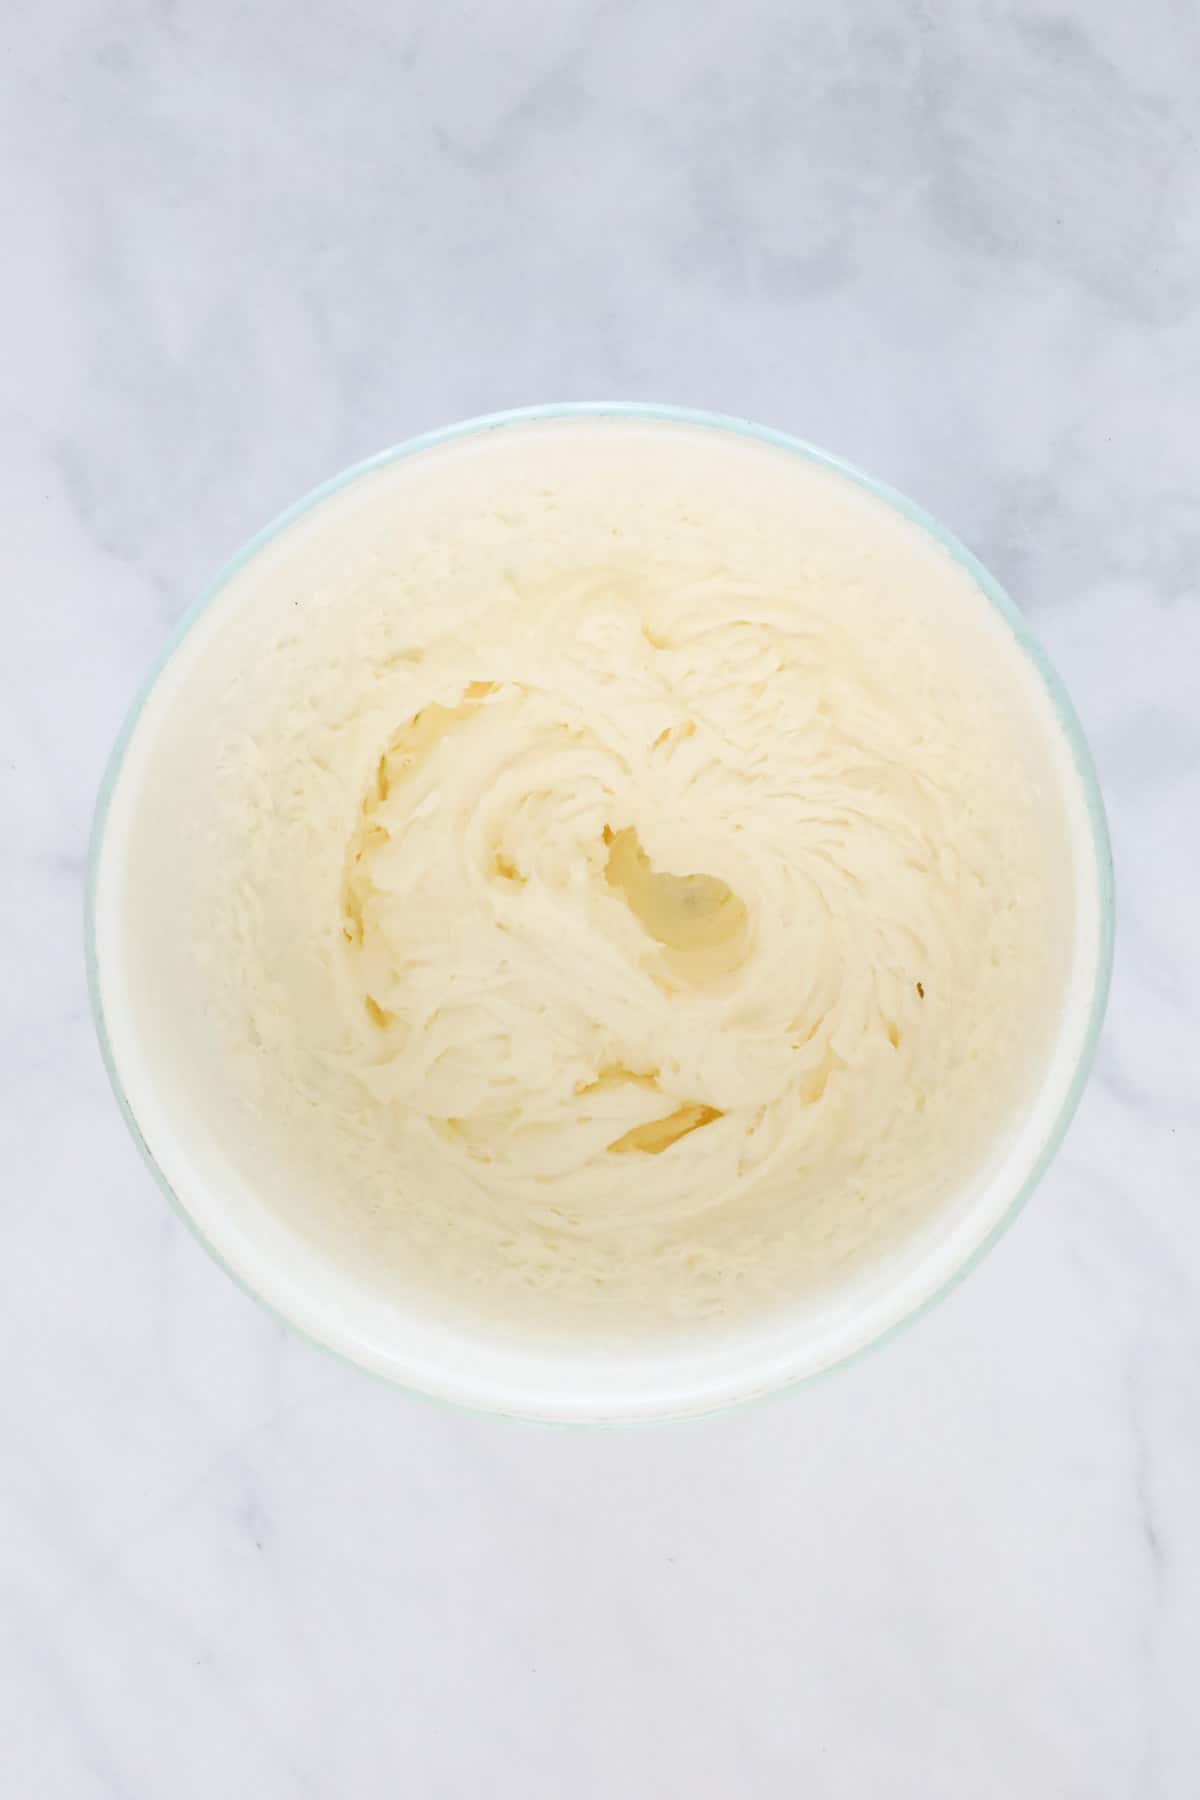
Beat the cream cheese, vanilla bean paste and caster sugar until smooth and creamy.
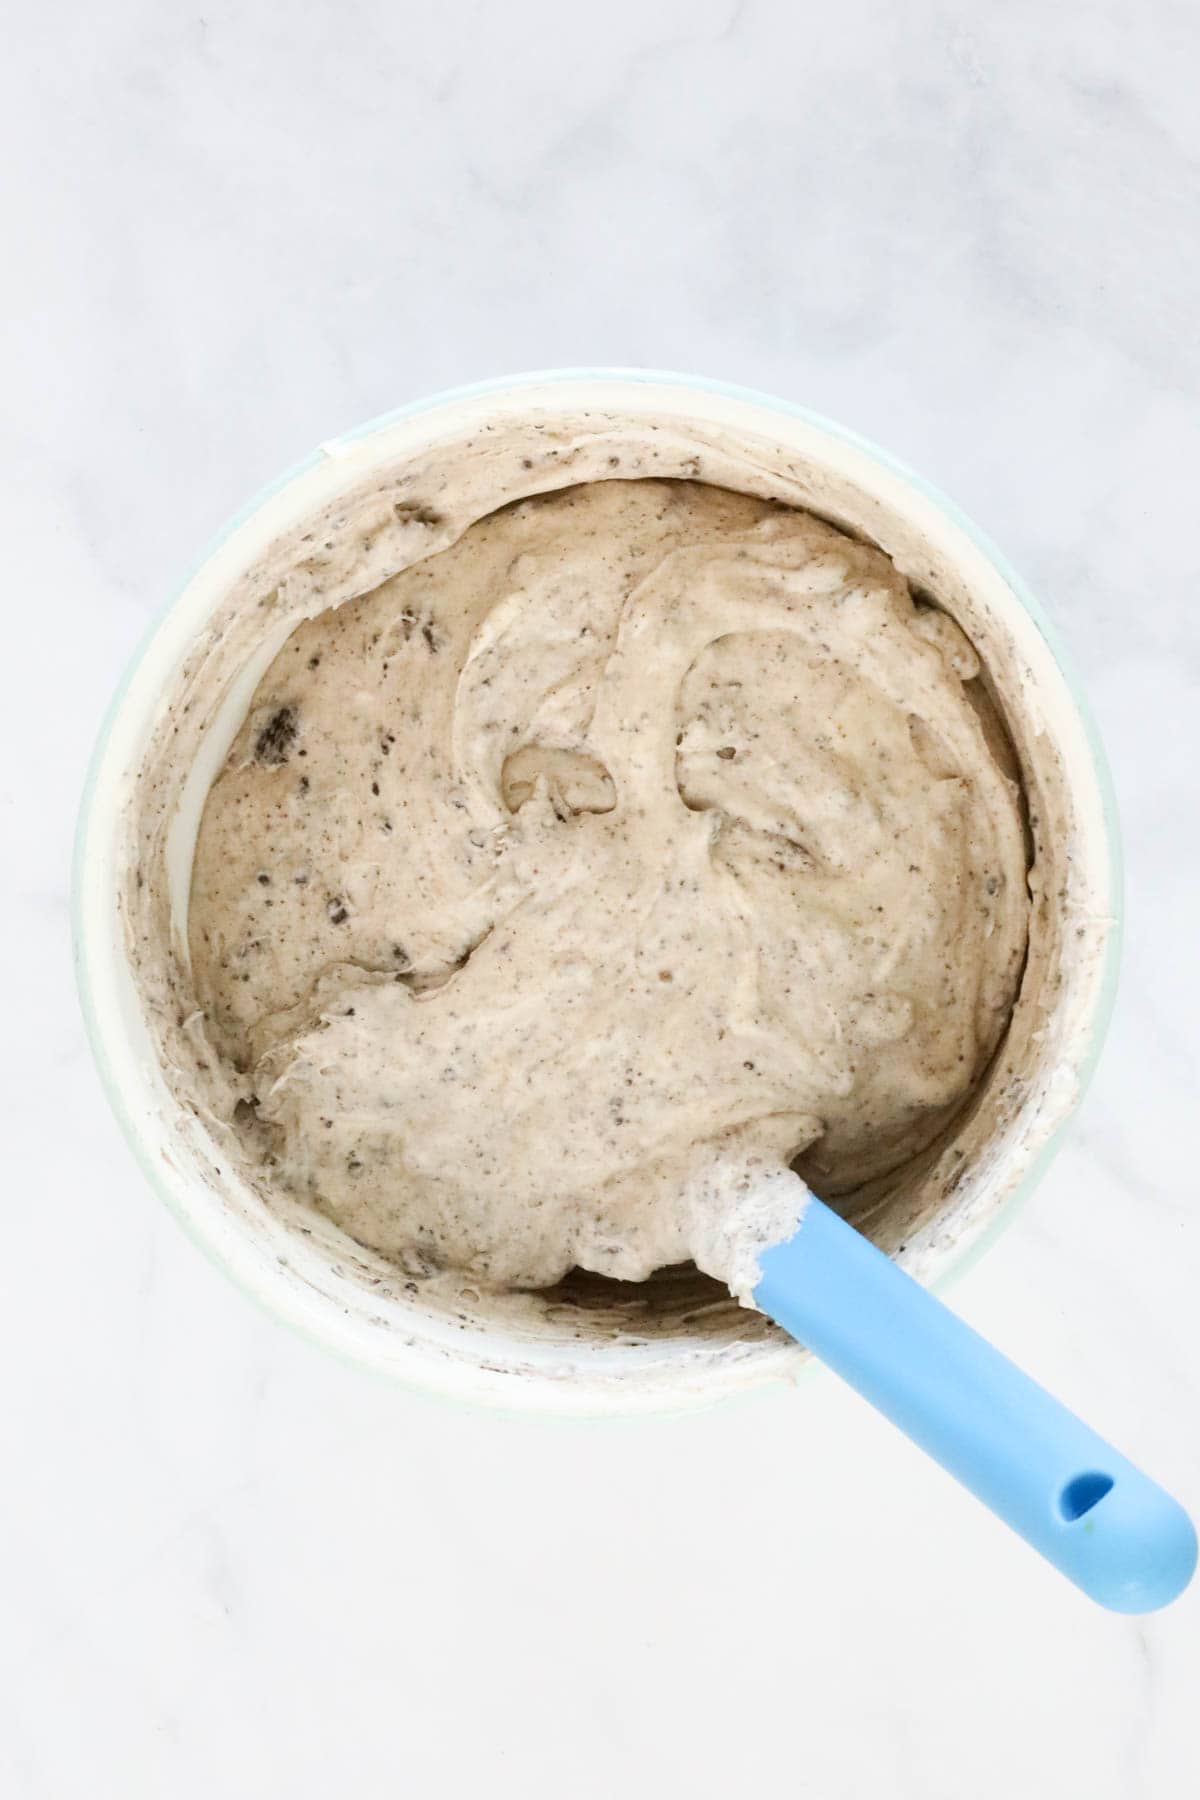
Step 6 - Combine All The Filling Ingredients
Add the cooled, dissolved gelatine and the melted white chocolate to the mix and beat mixture until well combined.

Gently fold through the whipped cream and the extra crushed Oreos.
Spoon the mixture into the prepared tin, and spread it out evenly with a spoon.
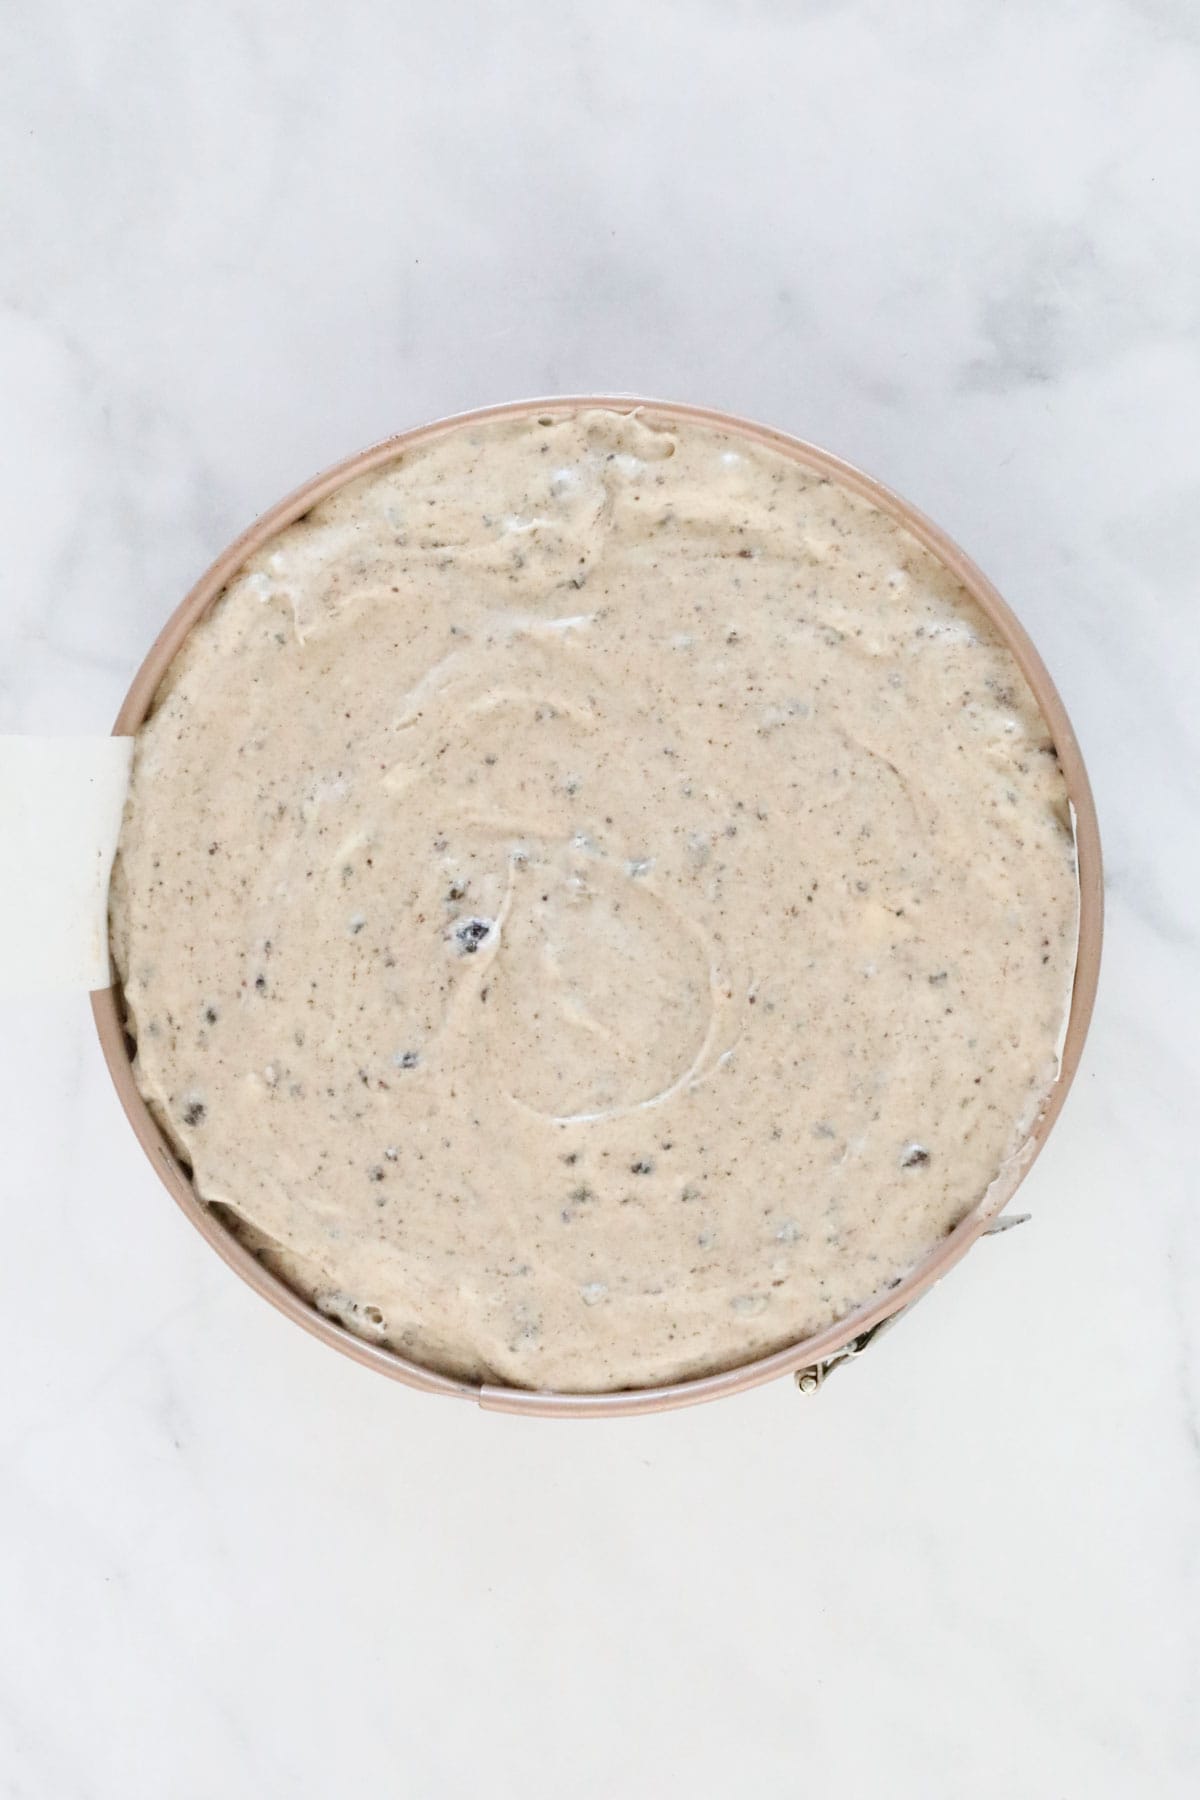
Place the Oreo cheesecake into the fridge to set for a minimum of 4 hours (for best results, leave in the fridge overnight before cutting).
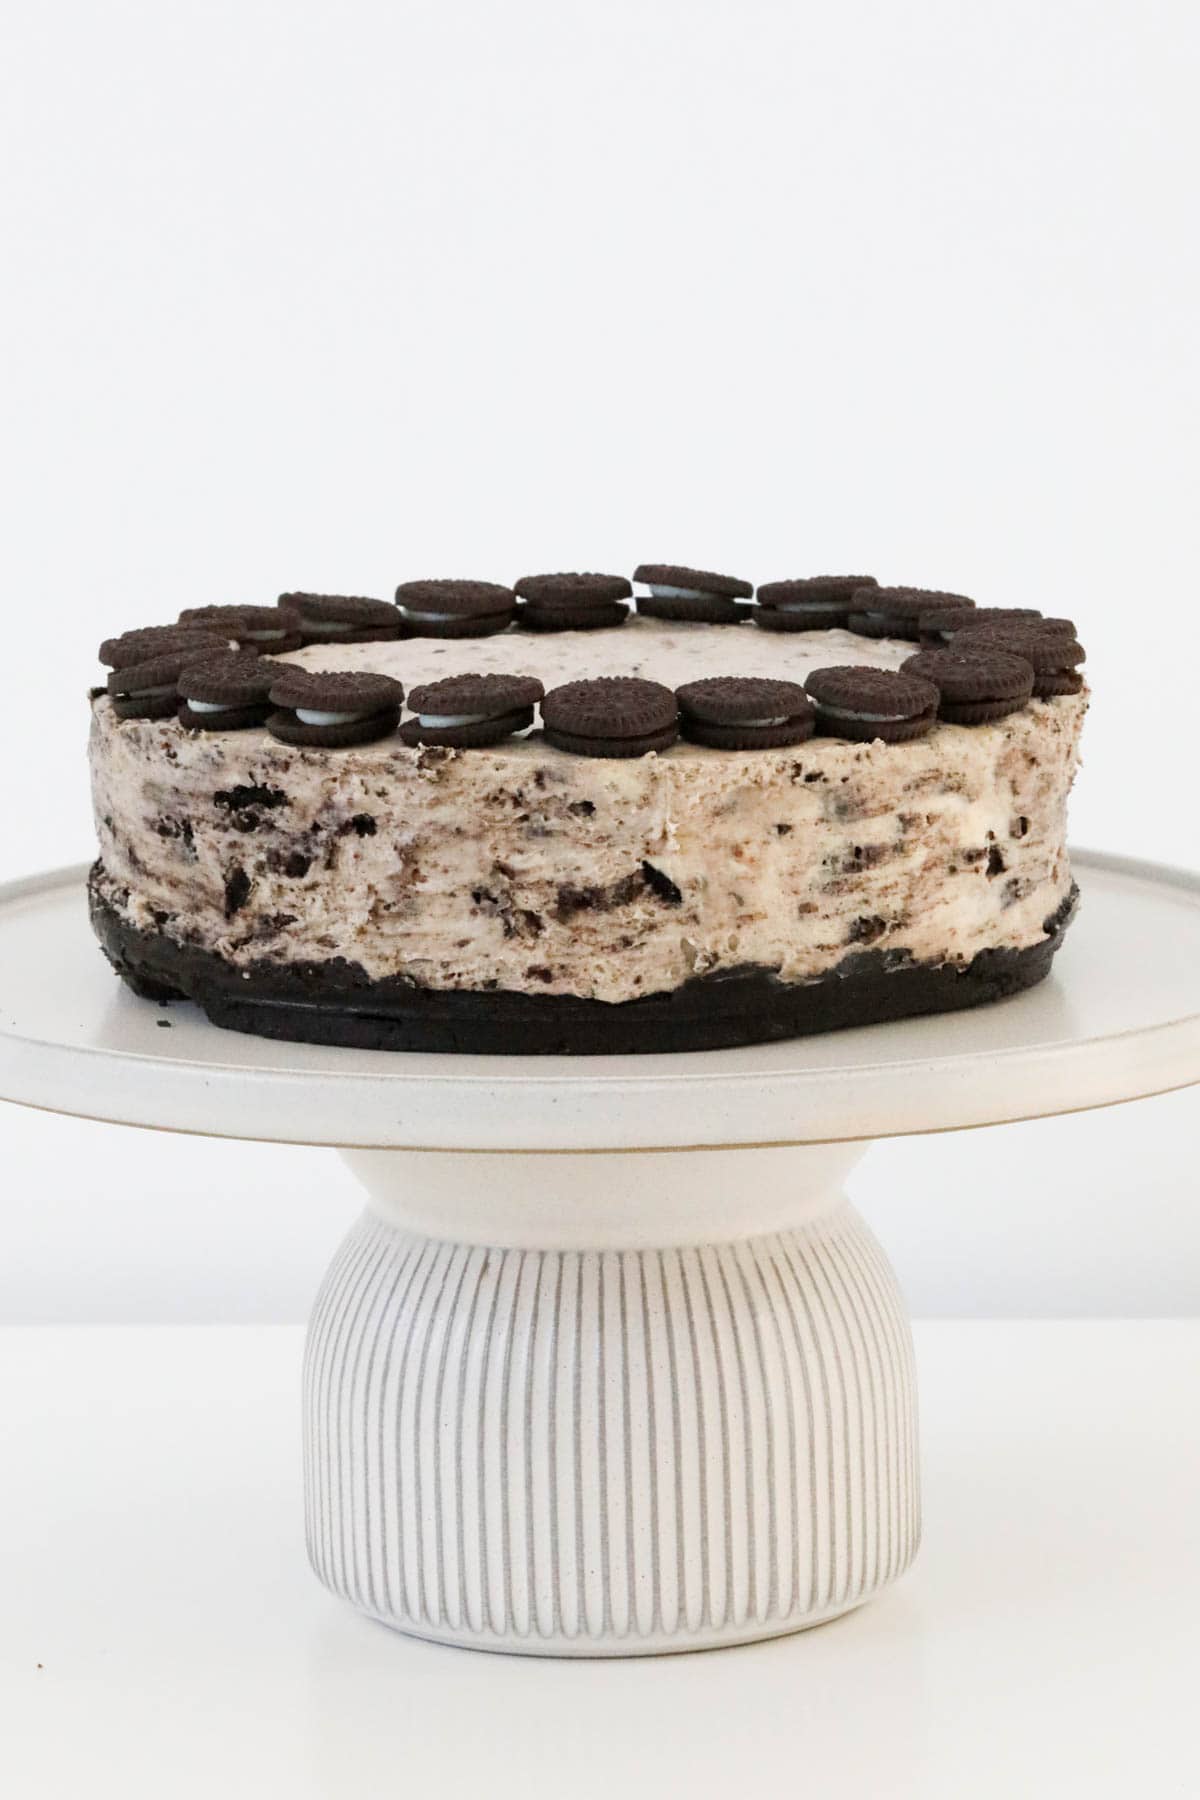
Decorate with mini Oreos (optional) prior to serving.
Expert Tips
This super popular no-bake Oreo cheesecake is just the dessert for a special occasion. You'll be guaranteed to get repeated requests for it, AND for the recipe too!
Here's a few tips:
- Use a spring-form tin (with a removable bottom) so that you can easily remove the cheesecake from the tin. When you are ready to serve, carefully run a knife along the sides and gently remove the base before sliding the cheesecake onto a serving plate.
- If you don't have a food processor, you can crush the Oreos by placing them in a freezer bag and using a rolling pin.
- Chill the base in the fridge while you make the filling.
- Make sure your ingredients are at room temperature for a smooth and creamy filling with no lumps.
- Don't use 'light' cream cheese or 'light' cream, as the filling won't set properly, use full-fat for best results.
- The cream is whipped separately before being added to the filling mixture, as this helps the cheesecake to hold firmer.
- Chill the cheesecake for a minimum of 4 hours, to allow it to set into sliceable sections. Make it the day before and keep it in the fridge overnight, for best results.
- Decorate with mini Oreos, or your choice of topping, just prior to serving.
FAQs
When stored in an airtight container in the fridge, this cheesecake will keep for 4-5 days.
Allow the cheesecake to set fully in the fridge before slicing (or freeze it whole). Wrap the individual serves or whole cheesecake and store it in an airtight container in the freezer for up to 3 months.
To thaw, leave it in the fridge overnight, or at room temperature for 1-2 hours (individual slices) until thawed, then decorate prior to serving.
I like to add mini Oreo's around the edge of the cheesecake just prior to serving, but you could also sprinkle some more crushed Oreo's over the top instead if you prefer.
You could also drizzle some melted milk chocolate over the top, or even spread with chocolate ganache for a super indulgent dessert!
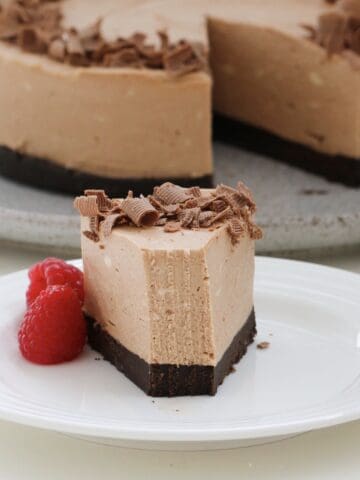
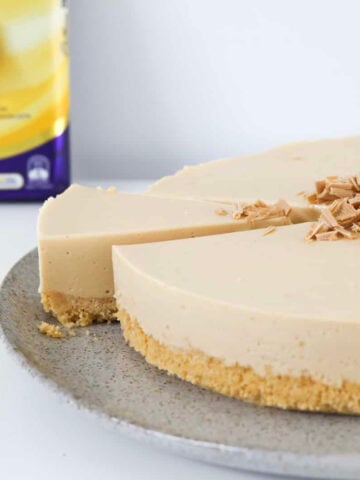
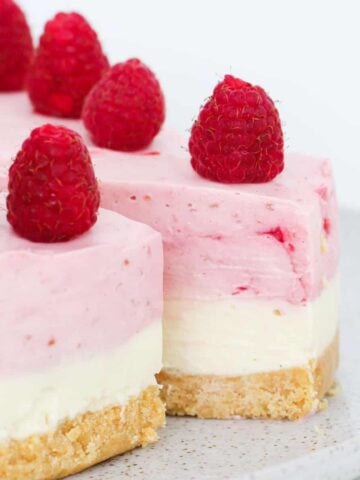
Related Recipes
One of the many things I love about no-bake cheesecakes is that they are best chilled overnight... which means there's absolutely no last minute rush - dessert is already done!
WANT EVEN MORE DELICIOUS RECIPES? Subscribe to my newsletter or follow along on Facebook or Instagram. And if you love baking, then please come and join my Facebook cooking club group or subscribe to my YouTube channel.

Oreo Cheesecake
Ingredients
For The Base
- 274 g Oreos 2 packets
- 100 g butter melted
For The Cheesecake
- 128 g Oreos 1 packet
- 240 g (1 cup) cream thickened, lightly whipped
- 200 g white chocolate melts or block
- 2 teaspoon gelatine dissolved in ¼ cup boiling water, cooled
- 500 g cream cheese softened
- 1 teaspoon vanilla bean paste or vanilla extract
- 150 g (¾ cup) caster sugar superfine sugar
For Decorating
- mini Oreos optional
Instructions
Conventional Method
- To ensure a smooth cheesecake, ensure all ingredients are at room temperature before starting.
- Grease and line the base and sides of a 23cm spring-form pan with baking paper and set aside.
- Finely crush the Oreos in a food processor and place into a bowl.
- Add the melted butter and mix until well combined.
- Press the mixture firmly into the base of the pan and place into the fridge.
- Crush the extra packet of Oreos for the filling (a few little chunks are ok).
- Whip the cream and set aside.
- Melt the white chocolate in a microwave at 50% power in 30 second bursts, and then set aside to cool slightly.
- Pour ¼ cup of boiling water into a cup, sprinkle over the gelatine and stir until dissolved. Allow to cool.
- Beat the cream cheese, vanilla bean paste and caster sugar until smooth and creamy.
- Add the cooled, dissolved gelatine and the melted white chocolate to the mix and beat until well combined.
- Fold through the whipped cream and the crushed Oreos.
- Spoon the mixture into the prepared tin. Spread out evenly with a spoon.
- Place the cheesecake into the fridge to set for a minimum of 4 hours (for best results, leave in the fridge overnight before cutting).
- Decorate with mini Oreos (optional).
Thermomix Method
- To ensure a smooth cheesecake, ensure all ingredients are at room temperature before starting.
- Grease and line the base and sides of a 23cm spring-form pan with baking paper and set aside.
- Melt butter in the TM bowl for 2 minutes, 100 degrees, Speed 1. Add the Oreos and crush for 10 seconds, Speed 10. Scrape down the sides of the bowl and repeat until well combined.
- Press the mixture firmly into the base of the pan and place into the fridge.
- Crush the extra packet of Oreos for 2-3 seconds, Speed 6 (some little chunks are fine). Set aside.
- Whip cream in a clean, dry TM bowl on Speed 3.5 until lightly whipped (the time it takes will depend on the freshness of the cream - it can be anywhere between 10 seconds and 2 minutes!!) Set the cream aside in a separate bowl.
- Place the white chocolate into the TM bowl and melt for 3 minutes on 50 degrees, Speed 2. Set aside in a bowl to cool slightly.
- Pour ¼ cup of boiling water into a cup, sprinkle over the gelatine and stir until dissolved. Allow to cool.
- Beat the cream cheese, vanilla bean paste and caster sugar in a clean and dry TM bowl for 30 seconds on Speed 5. Scrape down the sides with a spatula and repeat until smooth and creamy.
- Add the cooled, dissolved gelatine and the melted white chocolate to the mix and mix for 30 seconds on Speed 5.
- Fold through the whipped cream and the crushed Oreos with the spatula.
- Spoon the mixture into the prepared tin. Spread out evenly with a spoon.
- Place the cheesecake into the fridge to set for a minimum of 4 hours (for best results, leave in the fridge overnight before cutting).
- Decorate with mini Oreos (optional).
Notes
- Use a spring-form tin (with a removeable bottom) so that you can easily remove the cheesecake from the tin. When you are ready to serve, carefully run a knife along the sides and gently remove the base before sliding the cheesecake onto a serving plate.
- Make sure your ingredients are at room temperature for a smooth and creamy filling with no lumps.
- Don't use 'light' cream cheese or 'light' cream, as the filling won't set properly, use full-fat for best results.
- Chill the cheesecake for a minimum of 4 hours, to allow it to set into sliceable sections. Make it the day before and keep it in the fridge overnight, for best results.
- Storage - when stored in an airtight container in the fridge, this cheesecake will keep for 4-5 days.
- Freezing - allow the cheesecake to set fully in the fridge before slicing (or freeze it whole). Wrap the individual serves or whole cheesecake and store it in an airtight container in the freezer for up to 3 months. To thaw, leave it in the fridge overnight, or at room temperature for 1-2 hours (individual slices) until thawed, then decorate prior to serving.


Lish says
I haven't tried this yet but I want to. The packages of oreos you have in the photo are not a size I'm familiar with where I live. Is there a number of oreos for each step, since saying 1 or 2 packages doesn't mean the same thing depending on sizing. Thanks!
Lucy says
Hey! The large long packs are 131g each. The smaller mini ones come in 1- little bags inside a 204g box. Hope that helps!