


This Crunchie & Malteser Cheesecake is what happens when a block of chocolate honeycomb falls in love with a bag of Maltesers.
It's completely no-bake, so the fridge does the hard work while you do something more fun - like scrolling through my Malteser Slice or Rocky Road Cheesecake for what to make next.
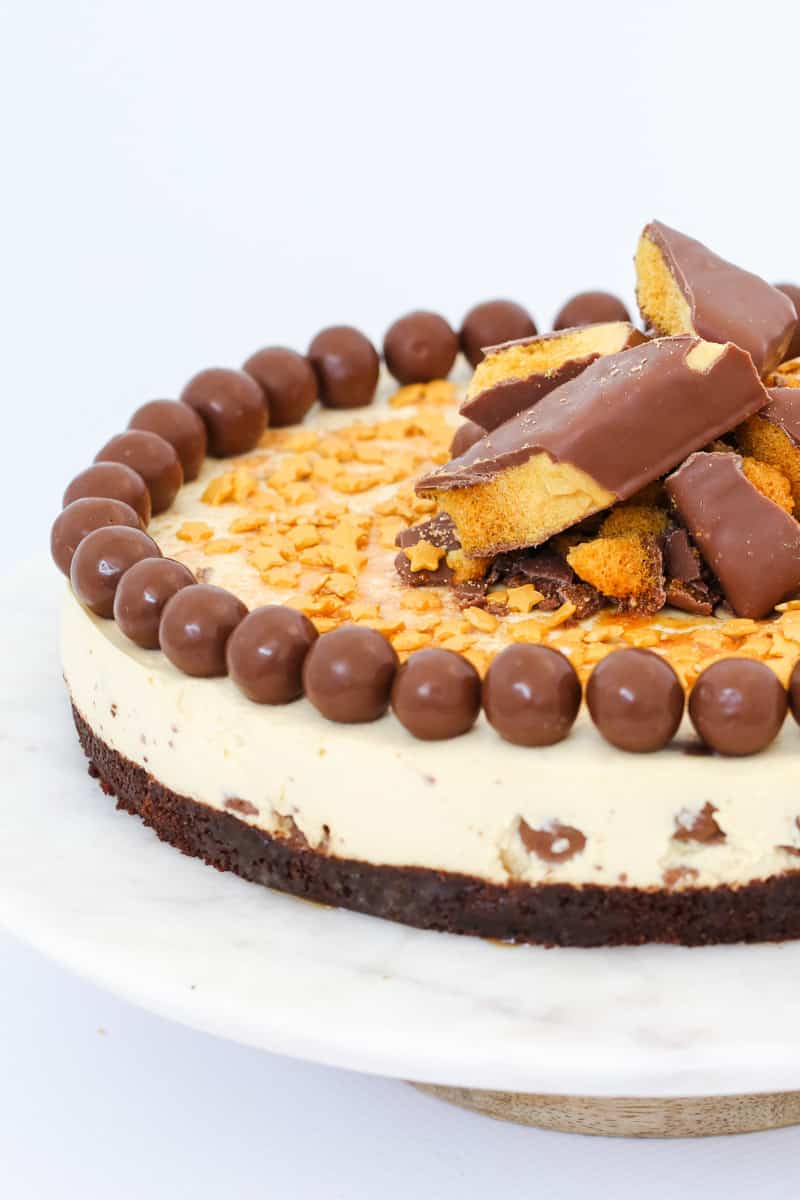
A Quick Look At The Recipe
✅ Recipe Name: Crunchie & Malteser Cheesecake
🕒 Ready In: 30 minutes prep + at least 6 hours chilling (overnight is best)
👪 Serves: 16
🍚 Calories: 279kcal per serve
🥣 Main Ingredients: chocolate biscuits, cream cheese, cream, gelatine, Maltesers, Crunchie bars
📖 Dietary Info: Naturally egg-free. Contains gelatine (not vegetarian) and gluten (easy gluten-free biscuit swap - see Variations). Thermomix method included.
⭐ Why You'll Love It: No oven, no eggs, and a fridge that does all the actual work while you put your feet up.
SUMMARIZE & SAVE THIS CONTENT ON
Made it several times! Fantastic easy recipe.
- Ana
This one has sat quietly on the blog since 2020 racking up 5 stars from 18 votes, and 13 of those are ratings with zero written comment - so either everyone's mouth is too full to type, or it really is this easy.
If you're deep in a chocolate cheesecake mood, my Baileys Malteser Cheesecake, No-Bake Mars Bar Cheesecake and Tim Tam Cheesecake are all worth a look too.
Jump to:
Why You're Going To Love This Recipe
- No oven required. Perfect for a stinking hot Aussie summer, or when you just can't be bothered turning it on.
- Only 30 minutes of actual hands-on work, then the fridge quietly takes over.
- Egg-free, which makes it an easy one to whip up for parties where allergies are a factor.
- Ever tried honeycomb after a night in the fridge? It goes properly chewy and sticky, almost caramel-like, while staying crunchy in the middle - it's the best bit.
Cheesecake Ingredients
Nothing fancy here - just a handful of chocolate essentials. Here's what to keep in mind:
- Chocolate biscuits - I generally use Arnotts Choc Ripple, but any plain chocolate biscuit works. Want it gluten-free? Swap in a GF chocolate biscuit and nothing else needs to change.
- Cream cheese - use the full-fat block style (like Philadelphia) at room temperature, not the whipped tub stuff. Tub cream cheese has more water in it, so the filling won't hold its shape as well when you cut it.
- Gelatine is what lets this cheesecake slice cleanly instead of collapsing into a pudding. Dissolve it completely before it goes anywhere near the cold cream cheese mixture, or you'll get little jelly lumps through the filling (see my Recipe Tips below for the fool-proof method).
- Crunchie bars (Cadbury, if you're in Australia) go chewy and gooey once chilled, which sounds wrong until you taste it - trust me on this one.
Variations
- Want a grown-up version for the next dinner party? Just make my Baileys Malteser Cheesecake instead - same idea, extra kick.
- Gluten-Free Crunchie & Malteser Cheesecake - swap in gluten-free chocolate biscuits for the base and you're done.
- No Crunchie bars in the cupboard? Chopped Flake or Picnic bar both work fine.
- Feeding a crowd of littlies? Press the base into a muffin tin lined with patty cases for mini individual cheesecakes instead of one big one.
How To Make Crunchie & Malteser Cheesecake
Genuinely simple - no fancy technique required, just some patience while it sets.
Note: Please scroll to the recipe card at the bottom of the post for ingredient quantities and the full detailed method.
- Step 1: Make the base. Crush the chocolate biscuits into fine crumbs, mix through the melted butter, and press firmly into a greased, lined 20cm springform tin. Pop it in the fridge to chill.
- Step 2: Whip the cream and dissolve the gelatine. Lightly whip the cream to soft peaks and set aside. Separately, sprinkle the gelatine over cool water, then sit the bowl in hot water until fully dissolved. Set aside to cool.
- Step 3: Beat the filling. Beat the cream cheese and caster sugar until smooth. Add the cooled gelatine and beat through, then gently fold in the whipped cream, Maltesers and chopped Crunchie bars.
- Step 4: Chill to set. Pour the filling over the base and smooth the top. Chill for a minimum of 6 hours, though overnight gives the cleanest slices. Decorate with extra Maltesers and Crunchie before serving.
Team Thermomix? The full Thermomix method, with exact speeds and timings, is in the recipe card below.
Recipe Tips
- Dissolve the gelatine using the fool-proof method: sprinkle it over cool water, let it sit a minute, then place that bowl inside a larger bowl of boiling water and stir until completely clear. No lumps, ever.
- Line the base and sides of the tin with baking paper so the cheesecake lifts out cleanly once set.
- If your biscuit crumb mixture feels too dry to press firmly into the tin, mix through a touch more melted butter.
- Storage: keep it in an airtight container in the fridge and eat within 5 days.
- Freezing: wrap individual slices tightly in plastic wrap, then a layer of foil, and freeze for up to 1 month. Thaw overnight in the fridge before serving - don't leave it out on the bench, it needs to come back slowly or the texture goes a bit odd.
- Making this for an event? Prepare it the day before and leave it in the fridge overnight - a cheesecake set with gelatine holds its shape well out of the fridge for serving, unlike the gelatine-free versions that need to stay chilled right up until you cut into them.
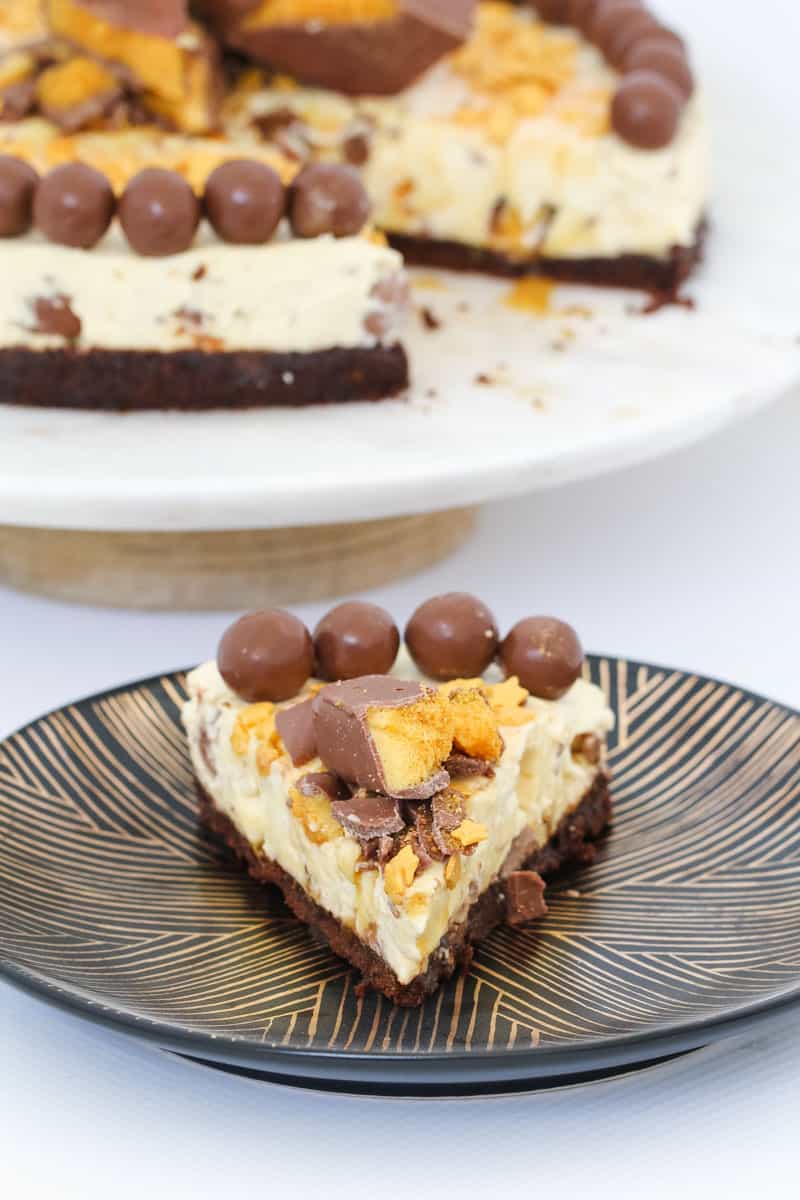
Crunchie & Malteser Cheesecake FAQs
Nope - you can leave them whole if you want a bigger crunch in every bite. A reader asked me this exact thing once and my answer was the same: whole is totally fine, it's really just personal preference.
You can, but it changes the texture quite a lot. Without gelatine the filling stays soft and mousse-like and won't hold a clean slice - it's still delicious, just messier to serve, and it needs to stay in the fridge right up until you cut it. The gelatine here is what lets you serve neat wedges, even if it sits out at room temperature for a bit.
Yes. Wrap individual slices in plastic wrap then foil and freeze for up to 1 month. Thaw them slowly in the fridge overnight rather than on the bench, or the filling can turn a bit watery.
Definitely, and honestly it's better that way. Because it needs a minimum of 6 hours to set, I always make mine the day before and leave it in the fridge overnight.
A few usual culprits: the gelatine wasn't fully dissolved before going in (any cloudiness means it needs longer over the hot water), the cream cheese mixture was over-beaten and went slack, or it simply hasn't had its full 6 hours in the fridge yet. Give it more time before you panic - overnight fixes most soft sets.
More No-Bake Cheesecake Recipes
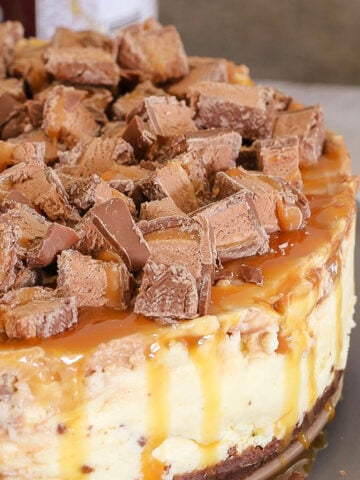
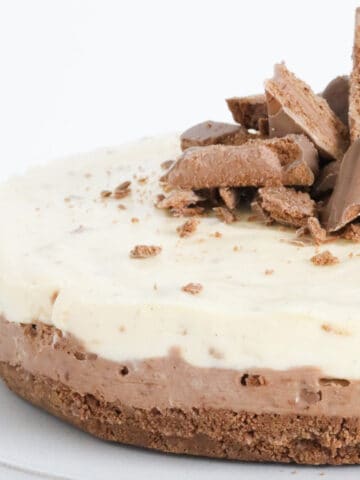
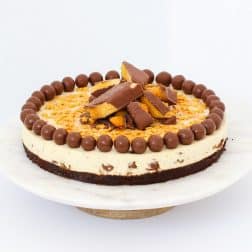
Once you've fallen for how easy a no-bake cheesecake is, you'll want to work your way through a few more. Here's where I'd start.
Crunchie & Malteser Cheesecake
Ingredients
- 250 g plain chocolate biscuits (cookies) like Arnotts Choc Ripple
- 100 g butter melted
- 300 ml cream lightly whipped
- 500 g cream cheese room temperature
- ½ cup (115g) caster sugar
- 3 teaspoon gelatine powder dissolved (see notes)
- 100 g Maltesers
- 2 X 50 g Cadbury Crunchie bars chocolate honeycomb, chopped
- extra Maltesers and Crunchie bars to decorate (optional)
Instructions
Conventional Method
- Grease and line the base and sides of a 20cm spring-form pan with baking paper and set aside.
- Finely crush the chocolate biscuits in a food processor and place into a bowl.
- Add the melted butter and mix until well combined.
- Press the mixture firmly into the base of the pan and place into the fridge.
- Whip the cream using a stand-mixer, beaters or a Thermomix and set aside.
- Sprinkle the gelatine powder over ⅓ cup cool water in a small bowl and allow to sit for a minute or two. Stir. Place the small bowl into a larger bowl filled with boiling water (do not allow the boiling water into the gelatine bowl) and stir until completely dissolved. Set aside.
- Beat the cream cheese and caster sugar together until smooth and creamy.
- Add the cooled, dissolved gelatine to the mix and beat until well combined.
- Fold the whipped cream, Maltesers and chopped Crunchie bars through the cream cheese mixture.
- Spoon the mixture into the prepared tin. Spread out evenly with a spoon.
- Place the cheesecake into the fridge to set for a minimum of 6 hours (for best results, leave in the fridge overnight before cutting).
- Before serving, decorate with extra Maltesers and Crunchie bars.
Thermomix Method
- Grease and line the base and sides of a 20cm spring-form pan with baking paper and set aside.
- Melt butter in the Thermomix bowl for 2 minutes, 100 degrees, Speed 1. Add the chocolate biscuits and crush on Speed 10, 10 seconds. Scrape down the sides of the bowl and repeat until well combined.
- Press the mixture firmly into the base of the pan and place into the fridge.
- Whip the cream in a clean, dry Thermomix bowl on Speed 3.5 until lightly whipped (the time it takes will depend on the freshness of the cream - it can be anywhere between 10 seconds and 2 minutes!!). Set the cream aside in a separate bowl.
- Sprinkle the gelatine powder over ⅓ cup cool water in a small bowl and allow to sit for a minute or two. Stir. Place the small bowl into a larger bowl filled with boiling water (do not allow the boiling water into the gelatine bowl) and stir until completely dissolved. Set aside.
- Beat the cream cheese and caster sugar in a clean and dry Thermomix bowl on Speed 5, 30 seconds. Scrape down the sides with a spatula and repeat until smooth and creamy.
- Add the cooled, dissolved gelatine to the mix and mix on Speed 5, 30 seconds.
- Fold the whipped cream, Maltesers and chopped Crunchie bars through the cream cheese mixture with the spatula.
- Spoon the mixture into the prepared tin. Spread out evenly with a spoon.
- Place the cheesecake into the fridge to set for a minimum of 6 hours (for best results, leave in the fridge overnight before cutting).
- Before serving, decorate with extra Maltesers and Crunchie bars.
Notes
- chocolate biscuits - known as cookies in the US. You can use any type of plain chocolate biscuit (cookies) you like. I generally use Arnotts Choc Ripple biscuits
- butter - use either salted or unsalted butter. If your mixture is too dry to press firmly into the prepared tin, mix through a little more melted butter.
- cream - use heavy, thickened or whipping cream and whip until it holds it's shape and has soft peaks
- cream cheese - ensure your cream cheese is at room temperature before using. I recommend using full fat cream cheese as it gives the cheesecake a thicker texture and holds it's shape better when cut.
- caster sugar - also known as superfine sugar. I recommend using caster sugar as it dissolves when beaten with the cream cheese.
- gelatine - use gelatine powder as it's a natural and flavourless setting agent. This will ensure that the cheesecake sets properly and can be easily cut into slices. See my tips below for dissolving gelatine powder without lumps.
- Maltesers - also known as Whoppers. These are small malted milk balls that are covered in milk chocolate.
- Crunchie bars - these are rectangles of chocolate honeycomb coated in milk chocolate. In Australia, Crunchie bars are made by Cadbury. You can use absolutely any brand of chocolate coated honeycomb you like.
Reem says
Hi,
Can I use Jel-it-in instead of gelatine?
Lucy says
Hi Reem, I havent heard of that sorry!
Lachlan Oneill says
do we need to chop up the maltesers or can we just leave them whole,is one better than the other???
Lucy says
You can just leave them whole!
Ana says
Made it several times! Fantastic easy recipe
Lucy says
Thank you so much!
CHEF IBCA says
This is incredibly useful, thanks so much!!
Had an amazing time reading this recipe
Thanks for sharing quite an interesting recipe.