This old fashioned Coconut Pie recipe takes only 5 minutes to prepare, and has a deliciously creamy coconut custard filling, encased in a buttery shortcrust base. Everything you could ask for in a dreamy dessert!
Made from basic baking ingredients, this moist coconut dessert pie has remained a favourite for many, with recipe variations being passed down over generations.
So here's my version of impossibly easy coconut pie!
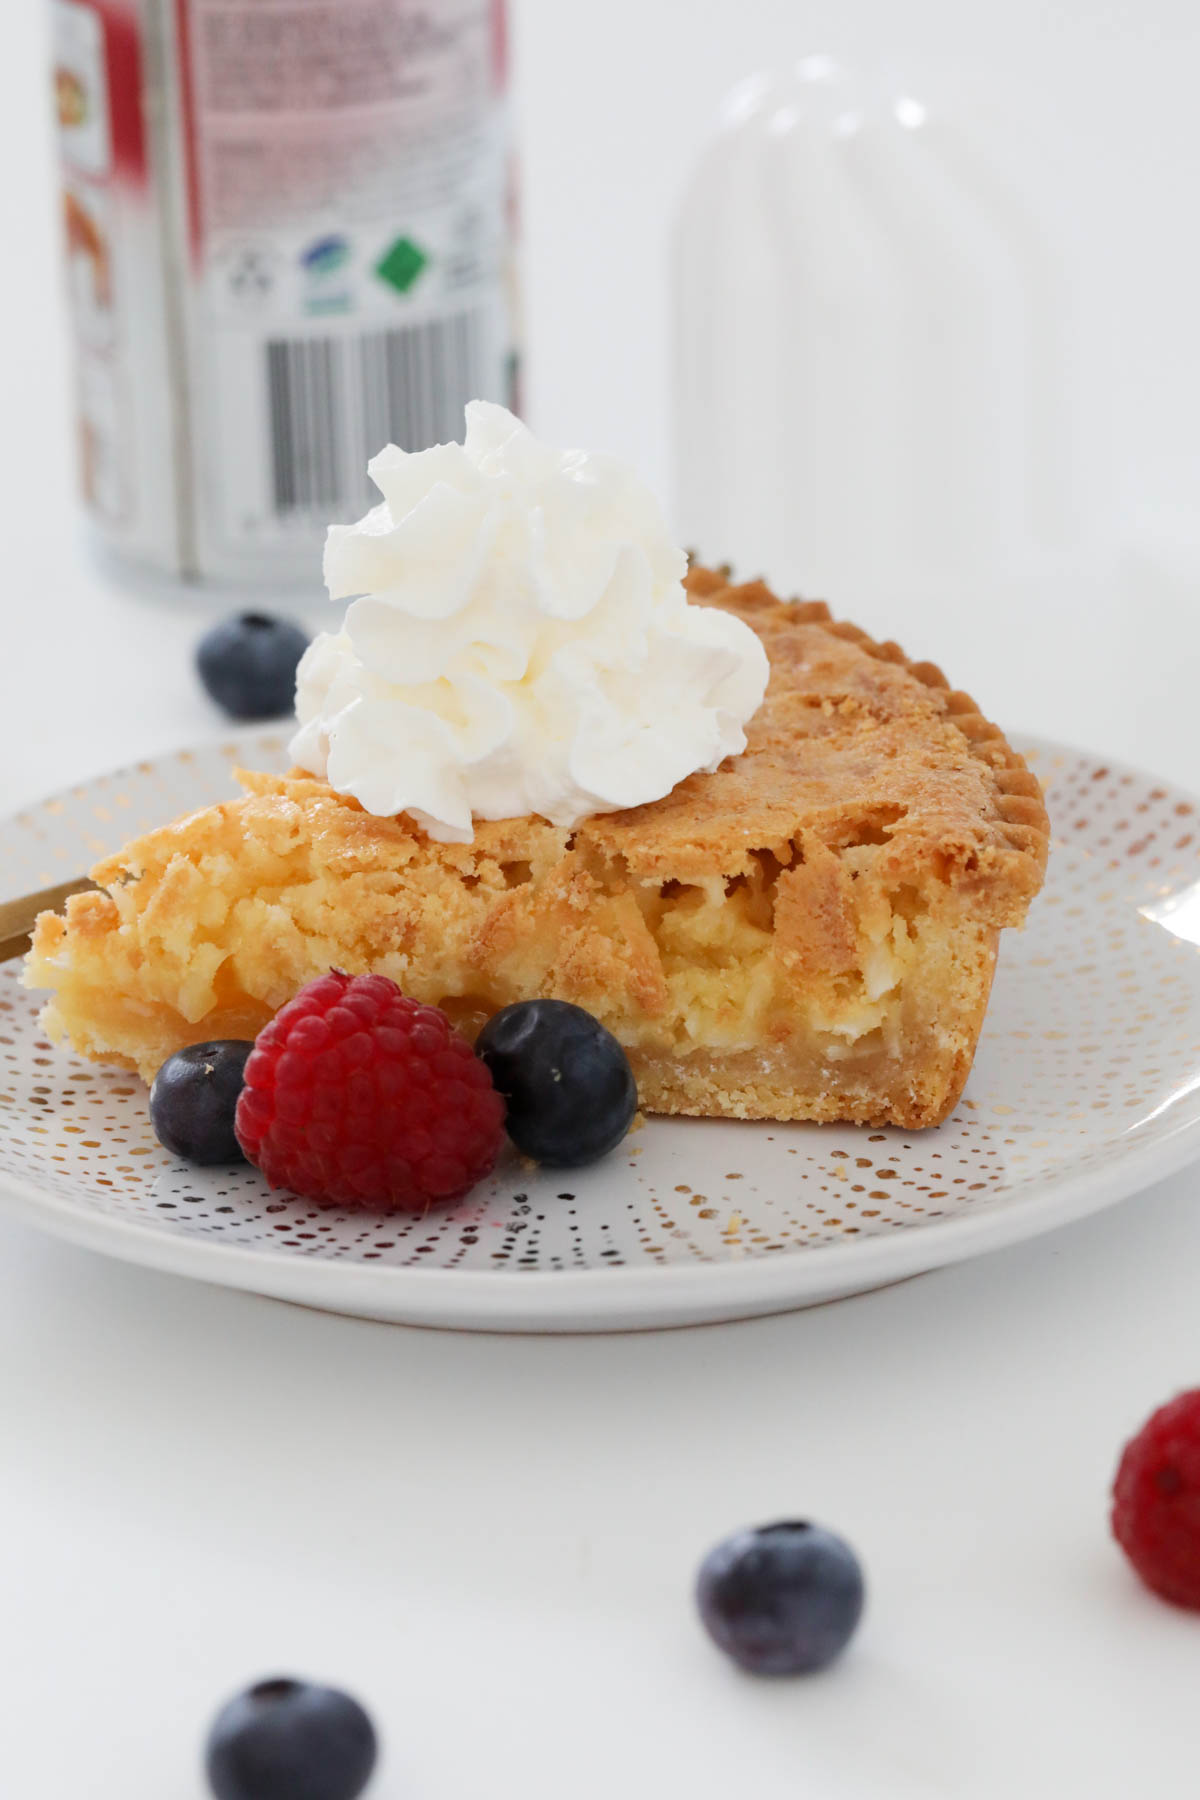
With autumn in full swing here and the weather cooling down, it feels like the right time for those warming 'comfort' foods. I'm thinking hearty soups, rich slow cooker recipes, and of course, warm winter desserts!
I recently made this simple coconut pie, and my version uses a store bought shortcrust pastry base, but there are a number of variations on this recipe too. You can make your own shortcrust pastry of course, but you also can make this pie without a pastry base, and it forms its own crust - impossible but true!
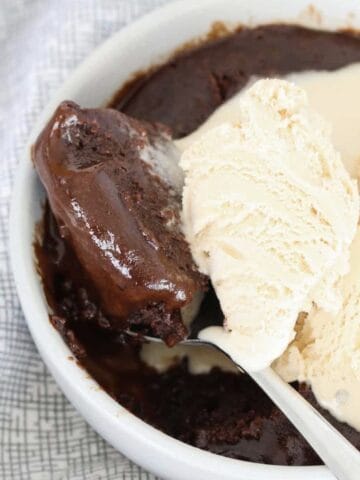
Some other favourite winter desserts will soon be made again too, such as my easy chocolate self-saucing pudding, and other classics like apple crumble, sticky date pudding and lemon delicious. All served with a dollop of cream, or a scoop of ice cream, naturally!
Why You're Going To Love This Recipe
If you love the taste of creamy coconut and custard, you're in for a treat!
- It's quick and easy! - using a store-bought shortcrust pastry base, simply whisk the ingredients together in one bowl, pour into the pastry shell and bake - only 5 minutes prep time!
- It's an inexpensive dessert - the basic ingredients make this dessert a budget-friendly option.
- Classic recipe - you know its a favourite when it's been around FOREVER! This is just like the coconut pie that your grandma used to whip up!
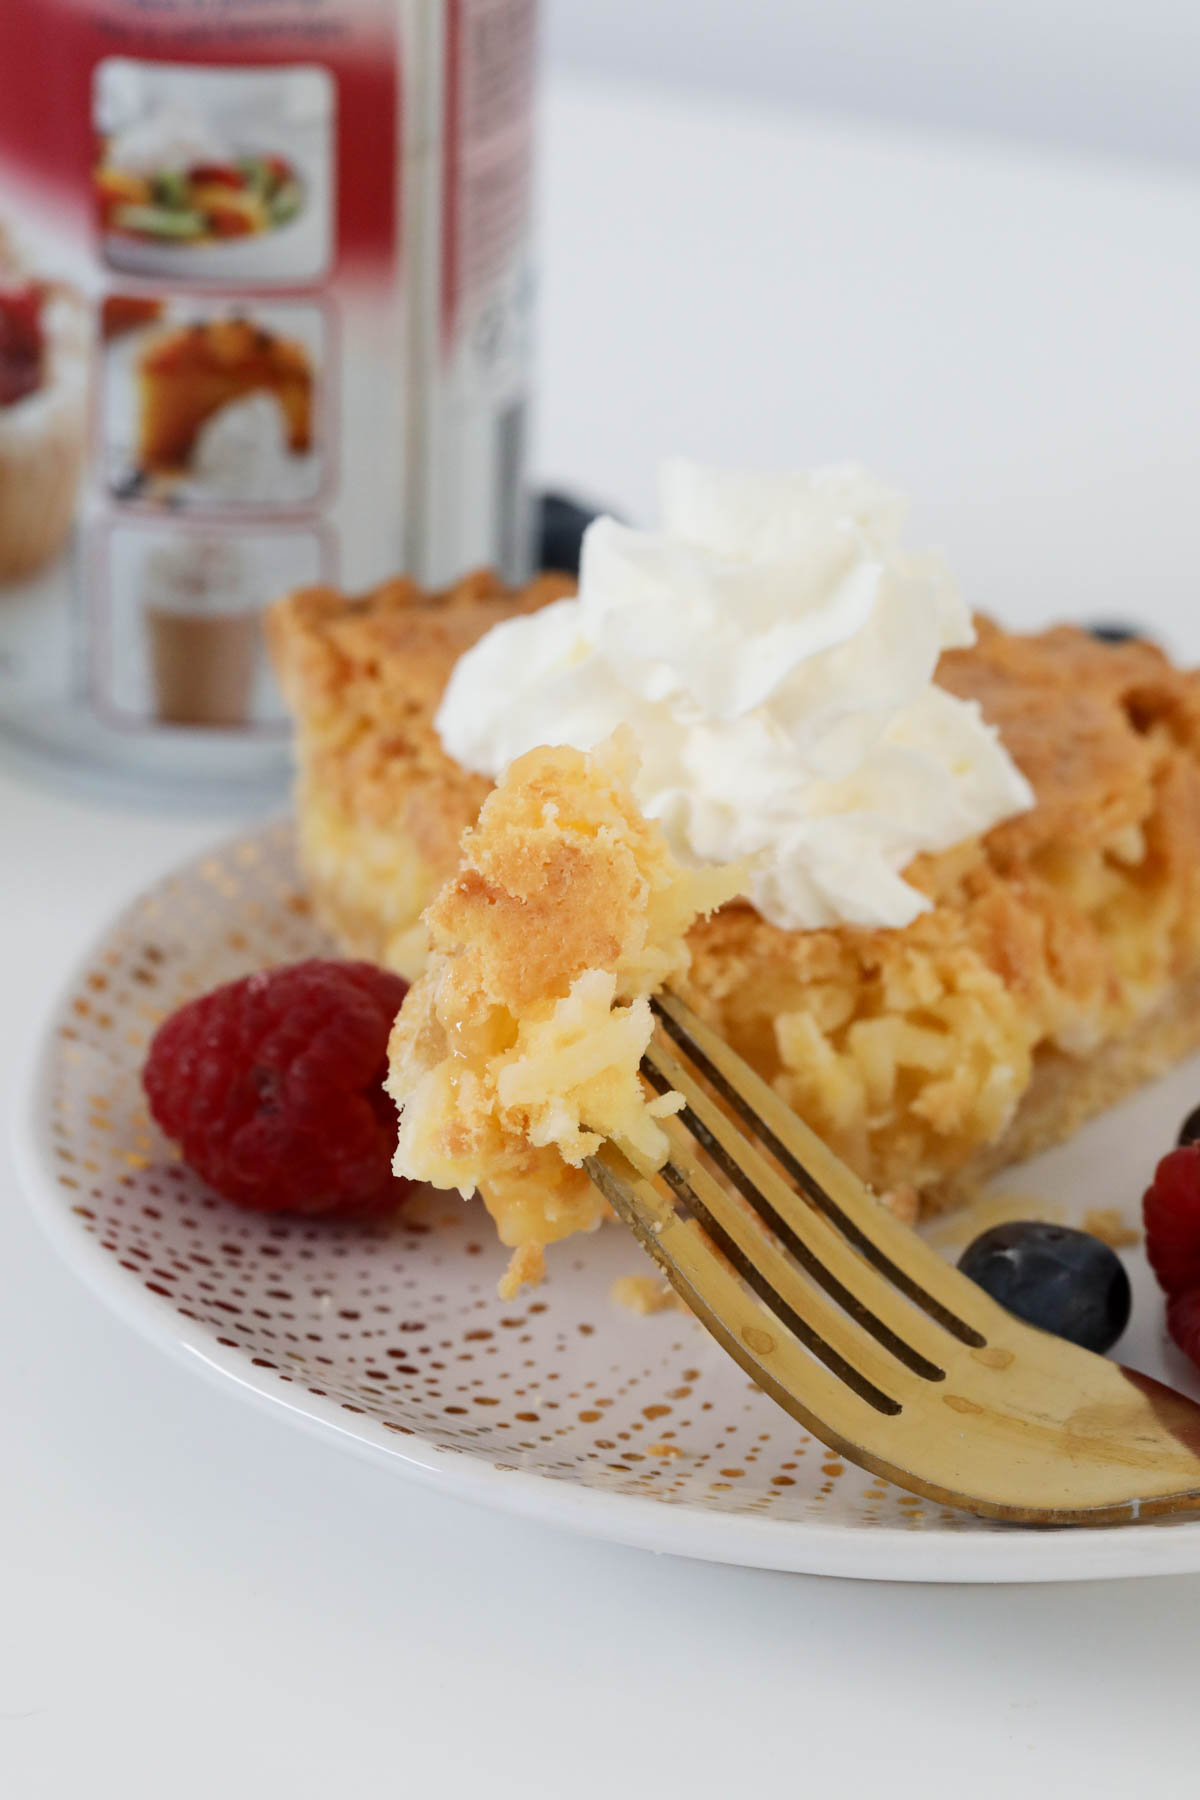
- Taste sensation - a crispy top over flaked coconut in a creamy custard filling, and a buttery shortcrust base, makes this coconut pie totally irresistable!
- Conventional and Thermomix - you'll find both easy methods in the recipe card at the bottom of the post.
What You Need
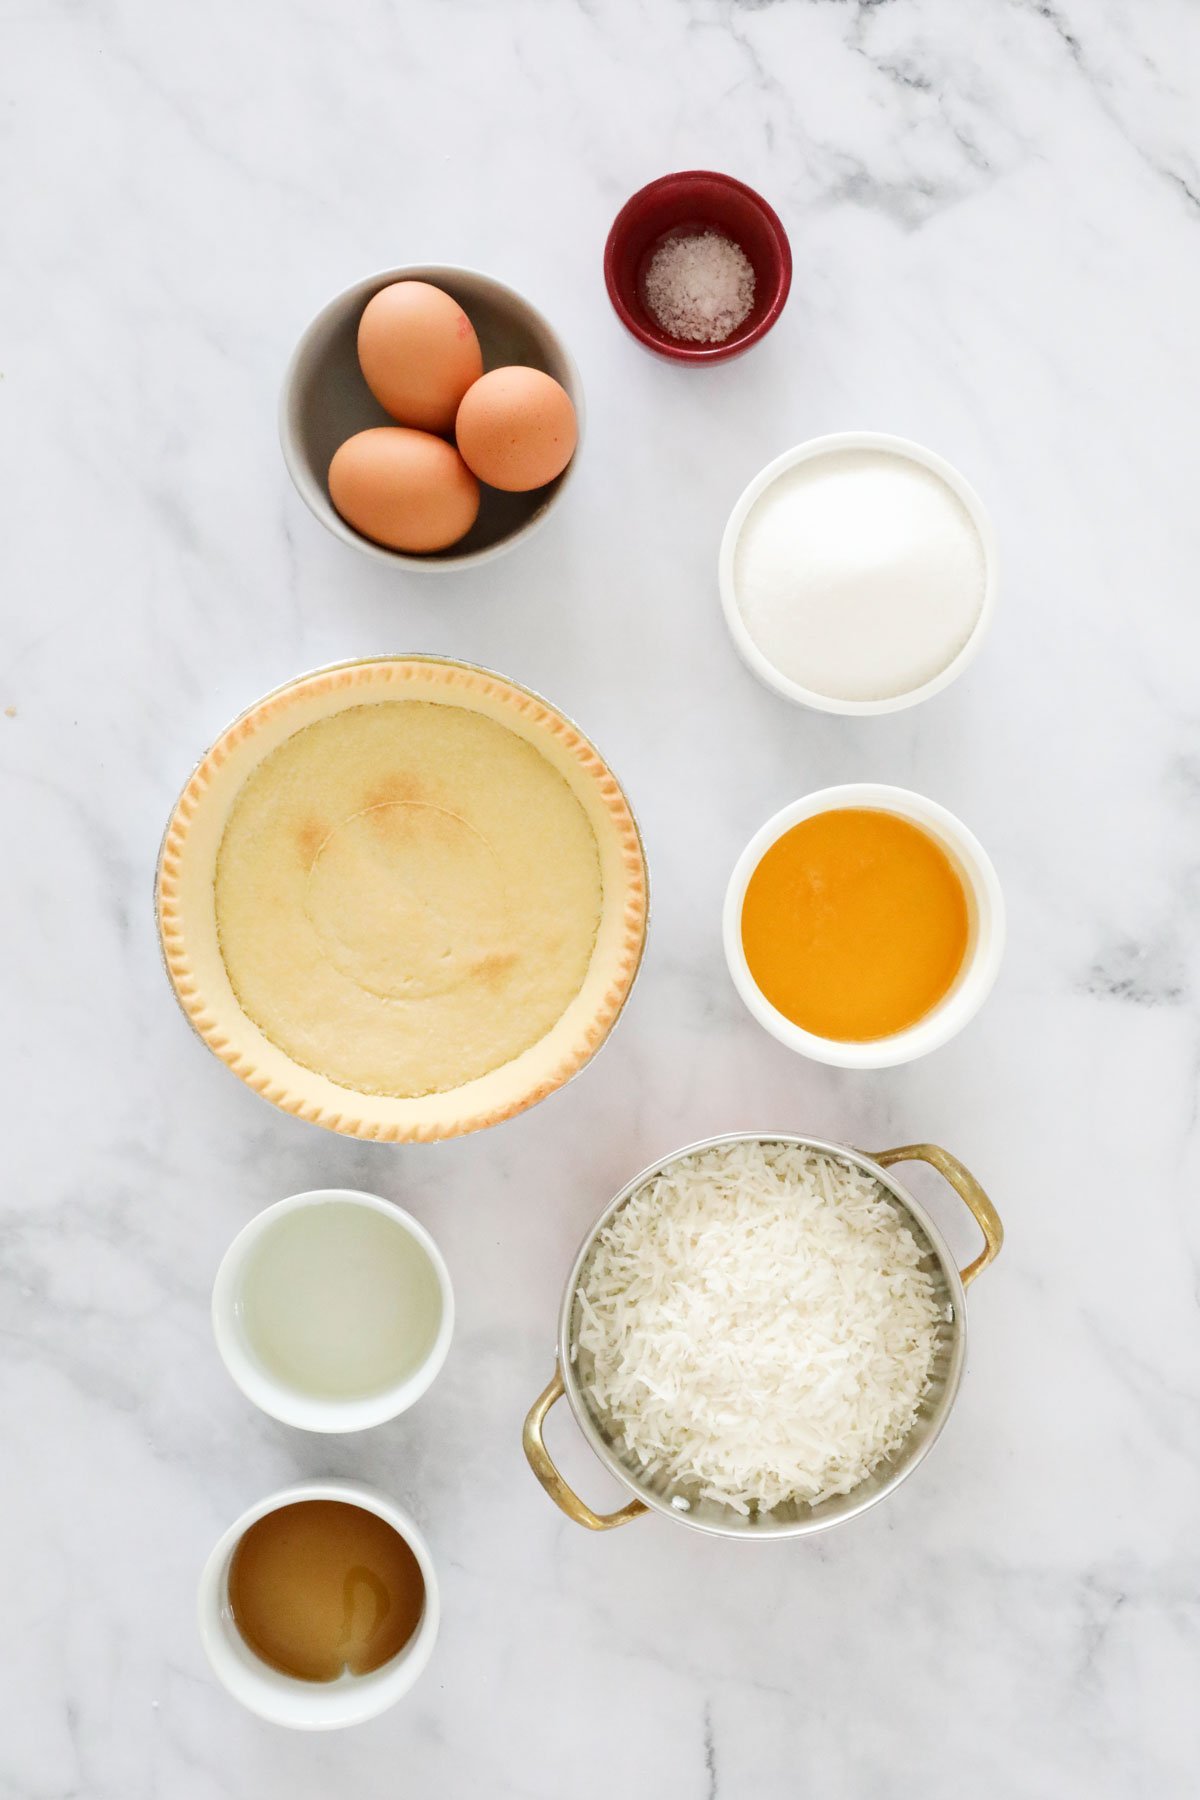
Pick up a pre-baked shortcrust pastry shell and you're half way there - you will most likely have the rest of the ingredients in the pantry!
Note: Scroll to the recipe card at the bottom for the ingredients quantities and full detailed method!
- Eggs - use large eggs (approximately 60g) and ensure they're at room temperature before using.
- Caster sugar - also known as superfine sugar.
- Sweetened coconut flakes - unlike desiccated or shredded coconut which have less moisture content, coconut flakes retain their moistness and give a much more intense flavour and texture to the filling.
- Butter - if you use salted butter, just omit the pinch of salt.
- Vanilla extract - or vanilla essence.
- Lemon juice - fresh is best, but if you don't have fresh lemons then store bought lemon juice works well too.
- Salt - just a pinch.
- Shortcrust pie crust - pre-baked shortcrust pastry shells are so convenient, however you can make your own shortcrust pastry if you prefer and par bake it before adding the egg and coconut filling.
Equipment Required
If you use a pre-baked shortcrust pastry shell, the only equipment you will need is a:
- Mixing bowl;
- Whisk;
- Oven - I specify fan-forced oven temperatures in my recipes, so if you have a conventional oven, increase the temperature by between 10 and 20 degrees Celsius.
Step By Step Instructions
Only 3 easy steps and 5 minutes prep time to have this dreamy coconut pie in the oven.
Step 1 - Whisk The Eggs
Preheat the oven to 160 degrees celsius (fan-forced).
Place the eggs into a mixing bowl and whisk together.
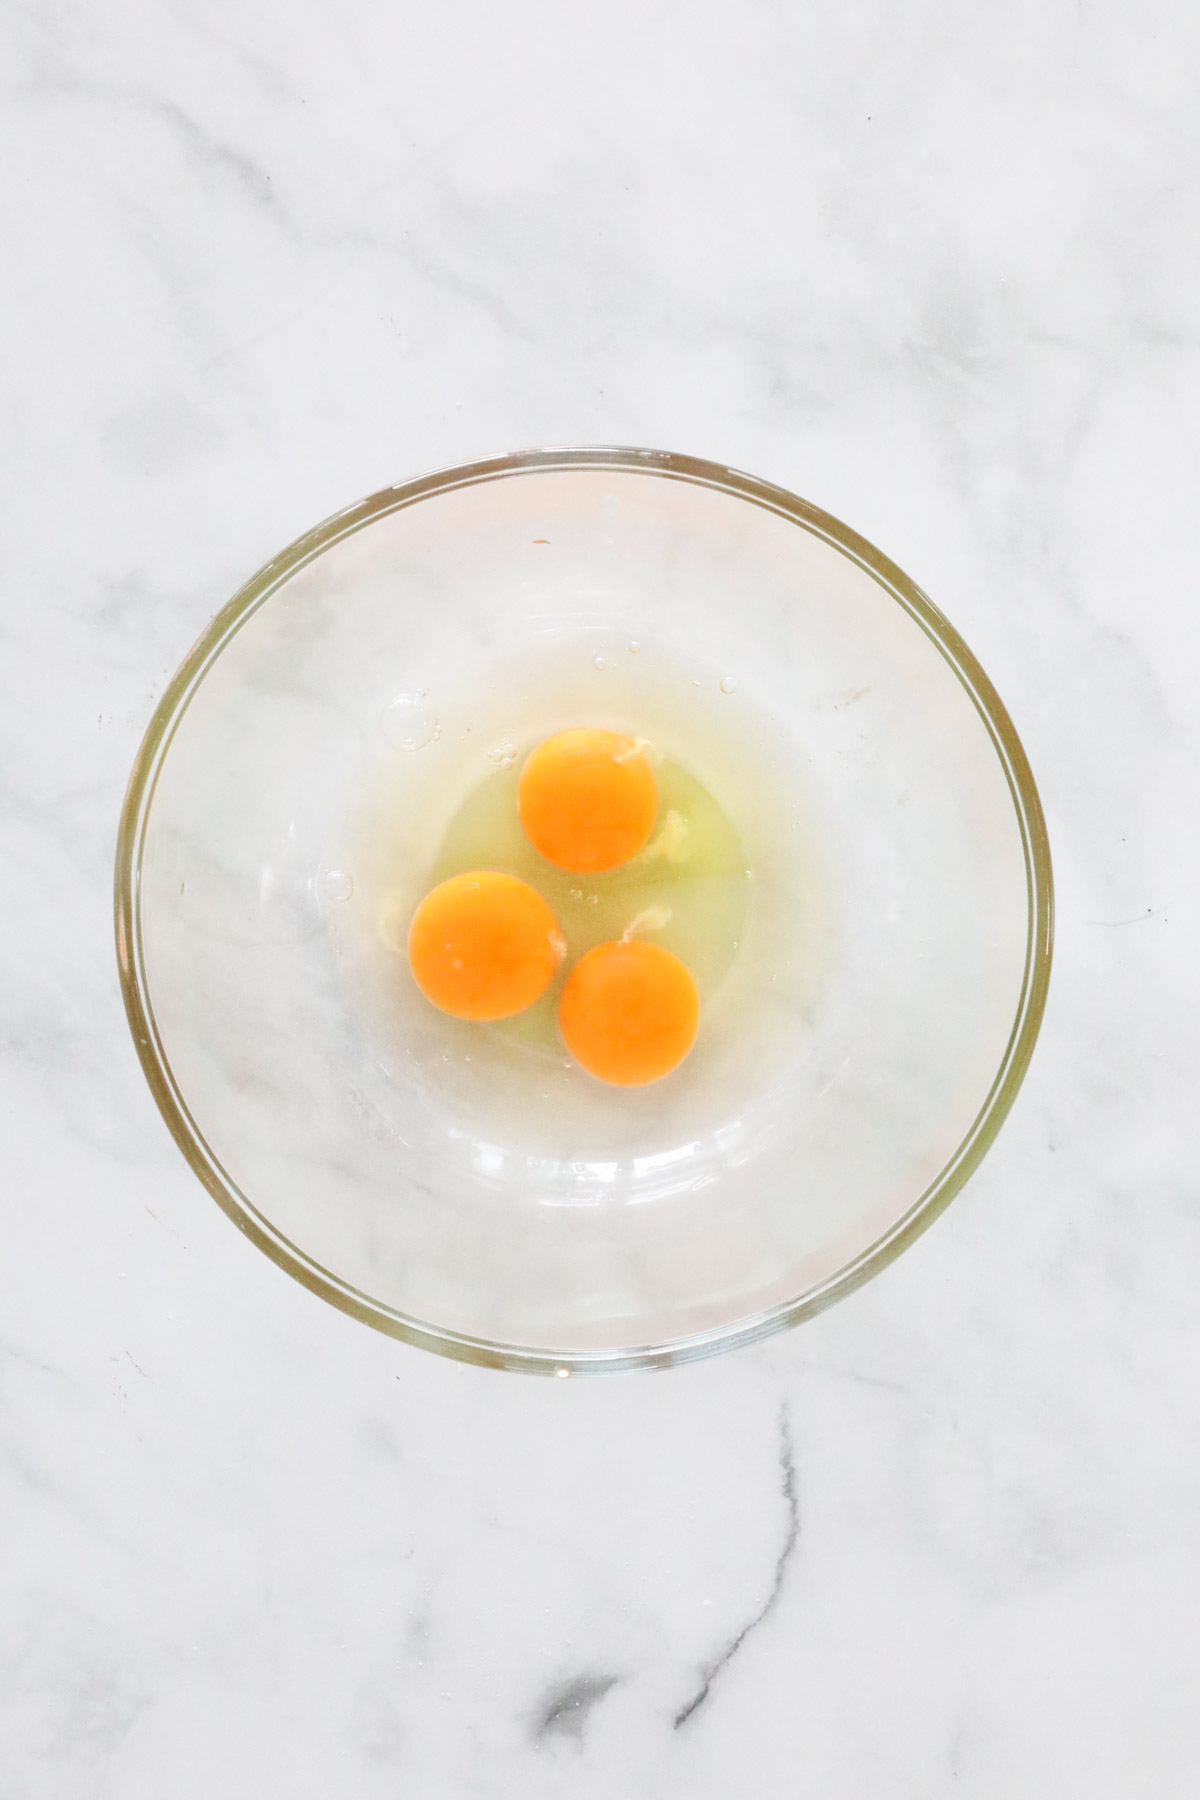
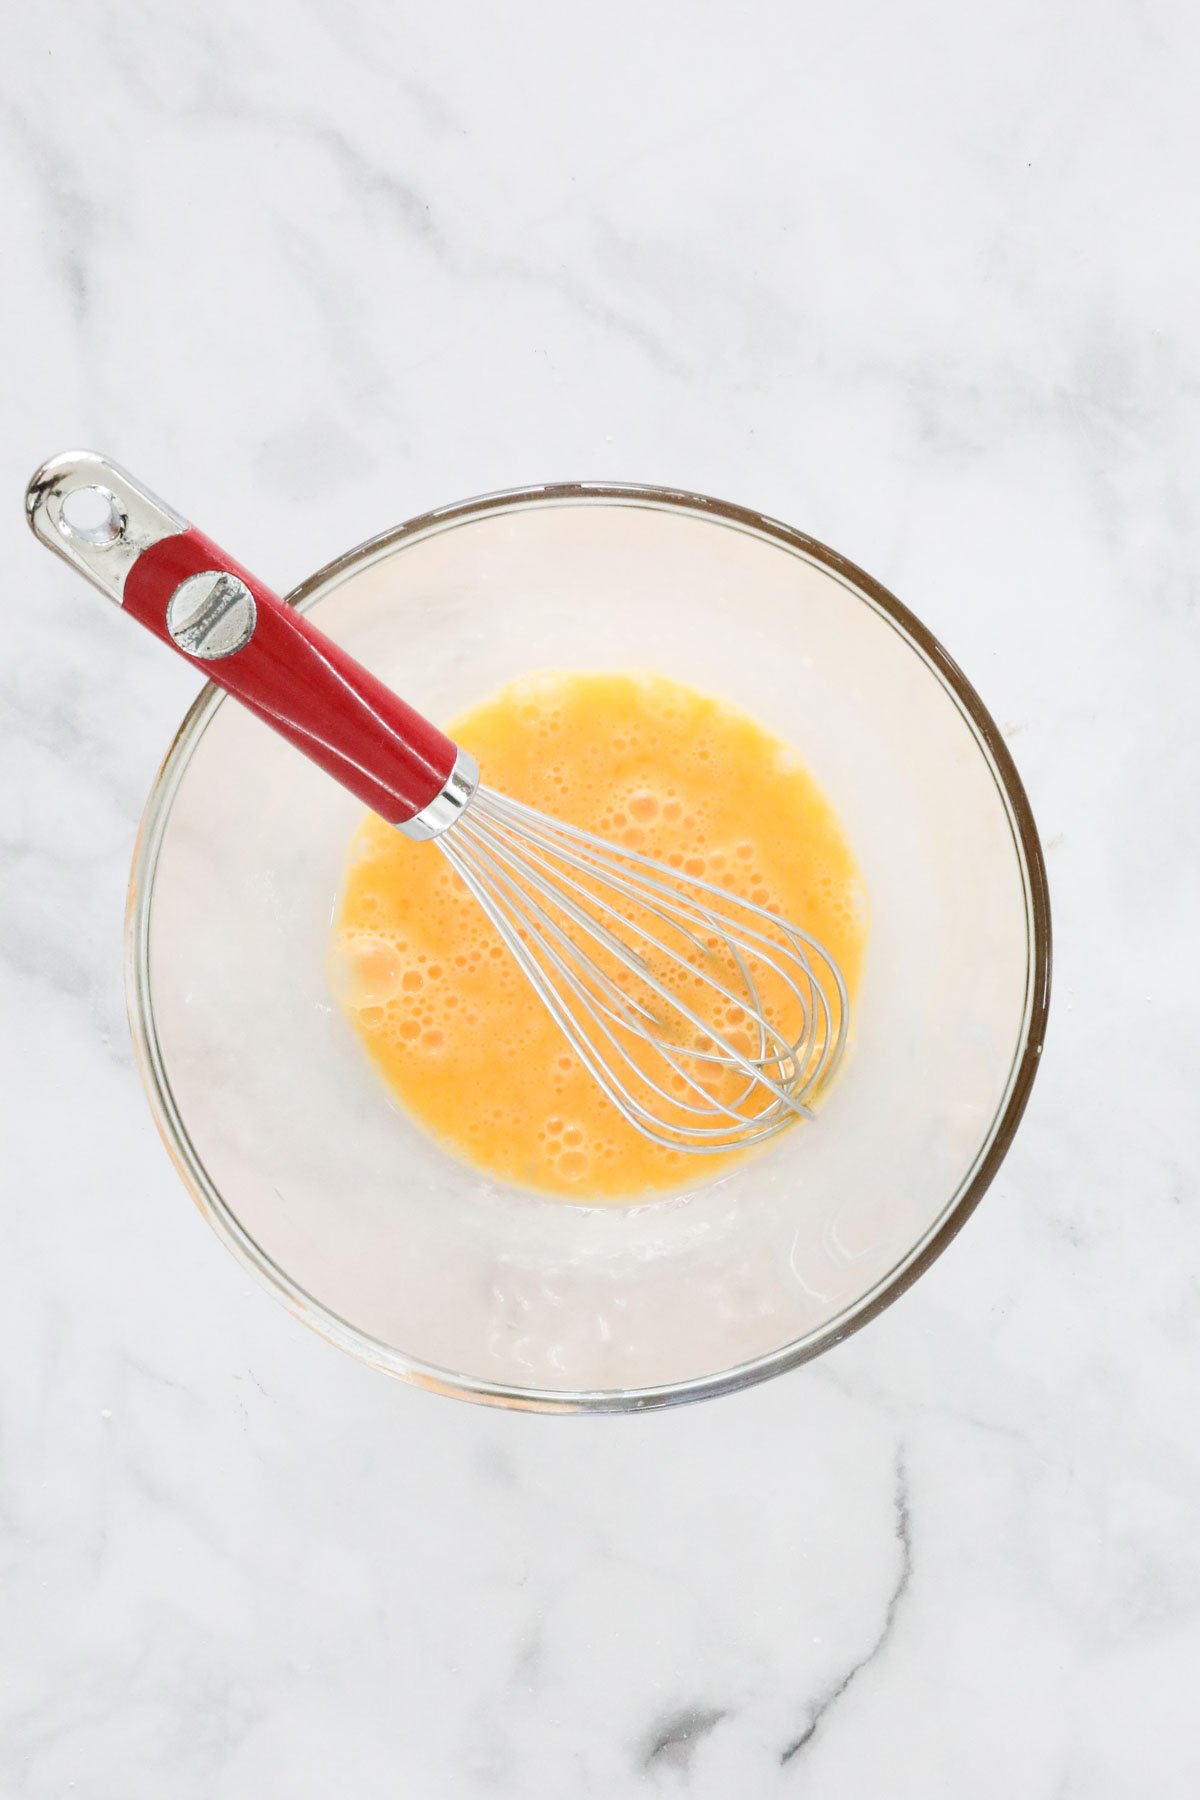
Step 2 - Add The Remaining Ingredients
Add the caster sugar, coconut flakes, melted butter, vanilla extract, lemon juice and salt.
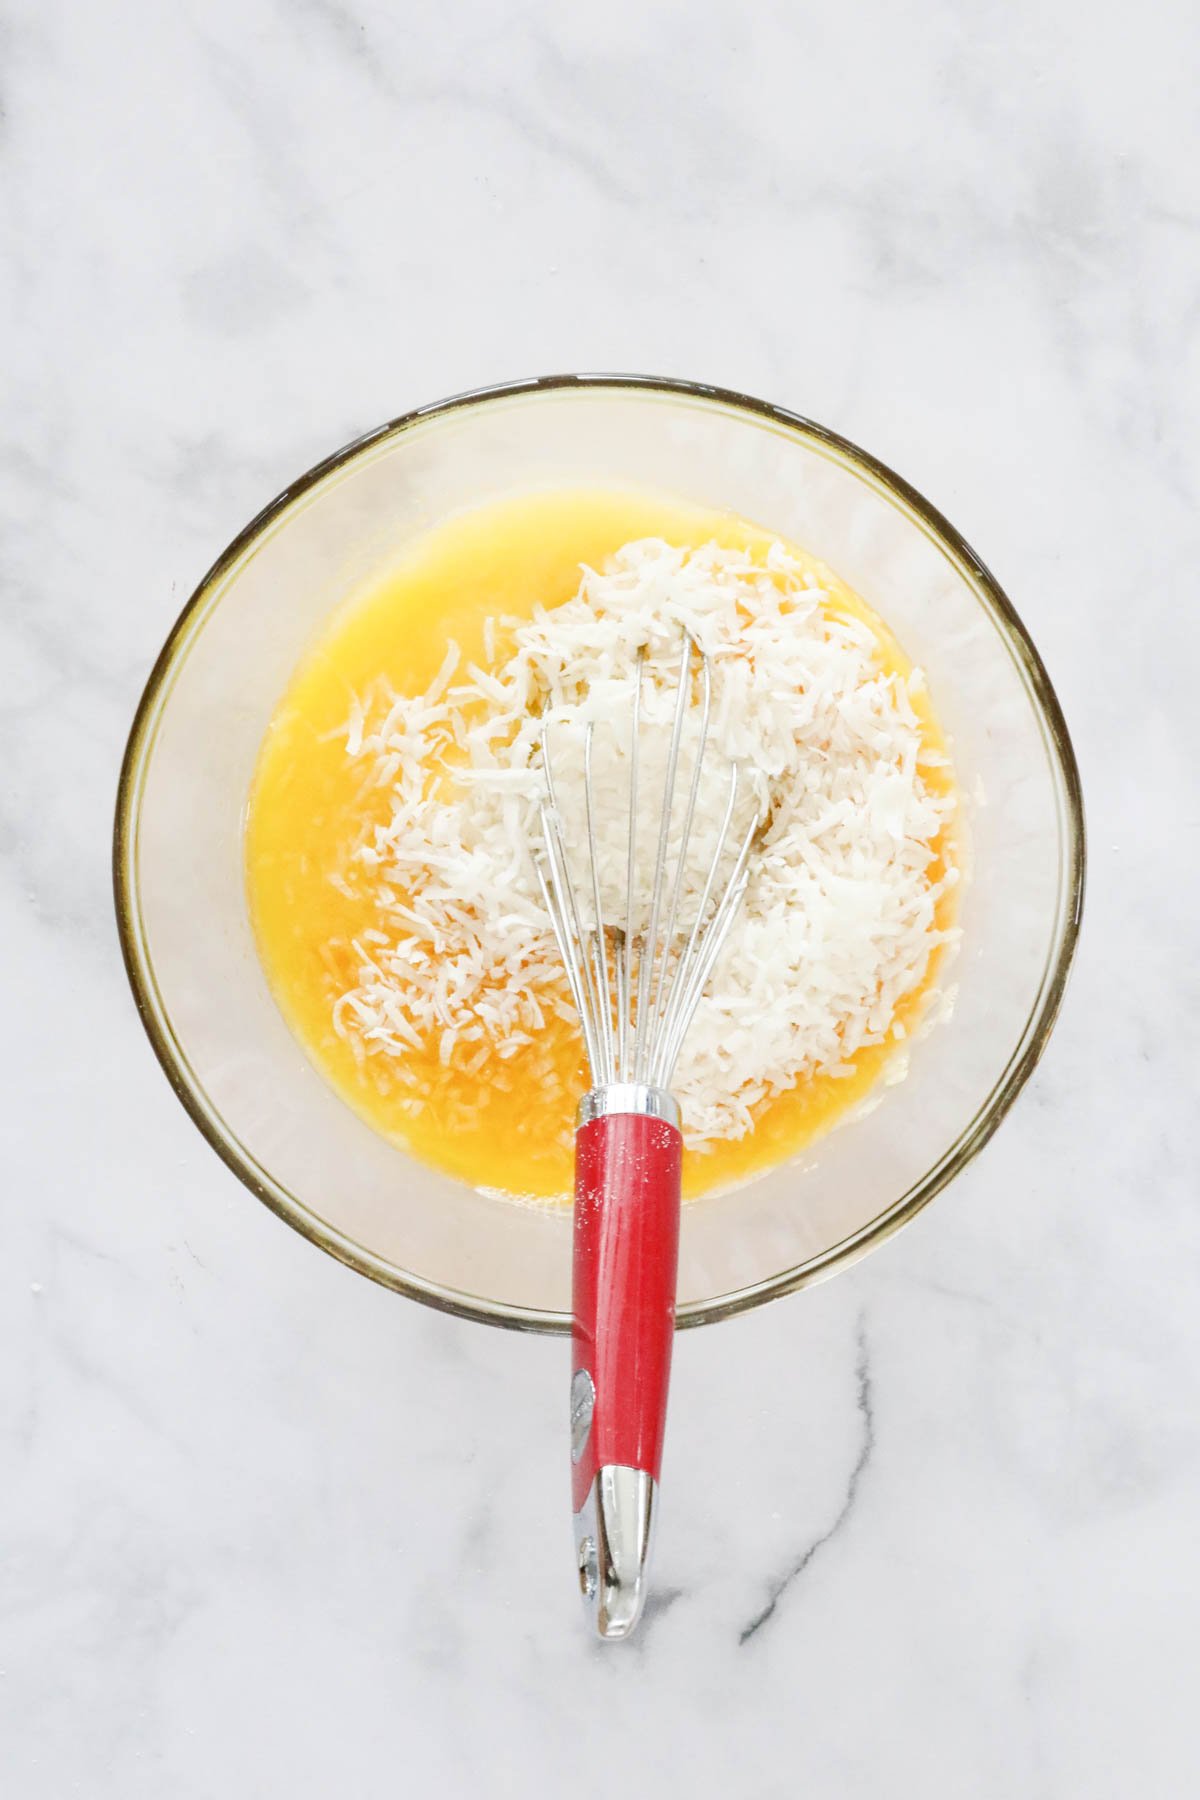
Mix until just combined.
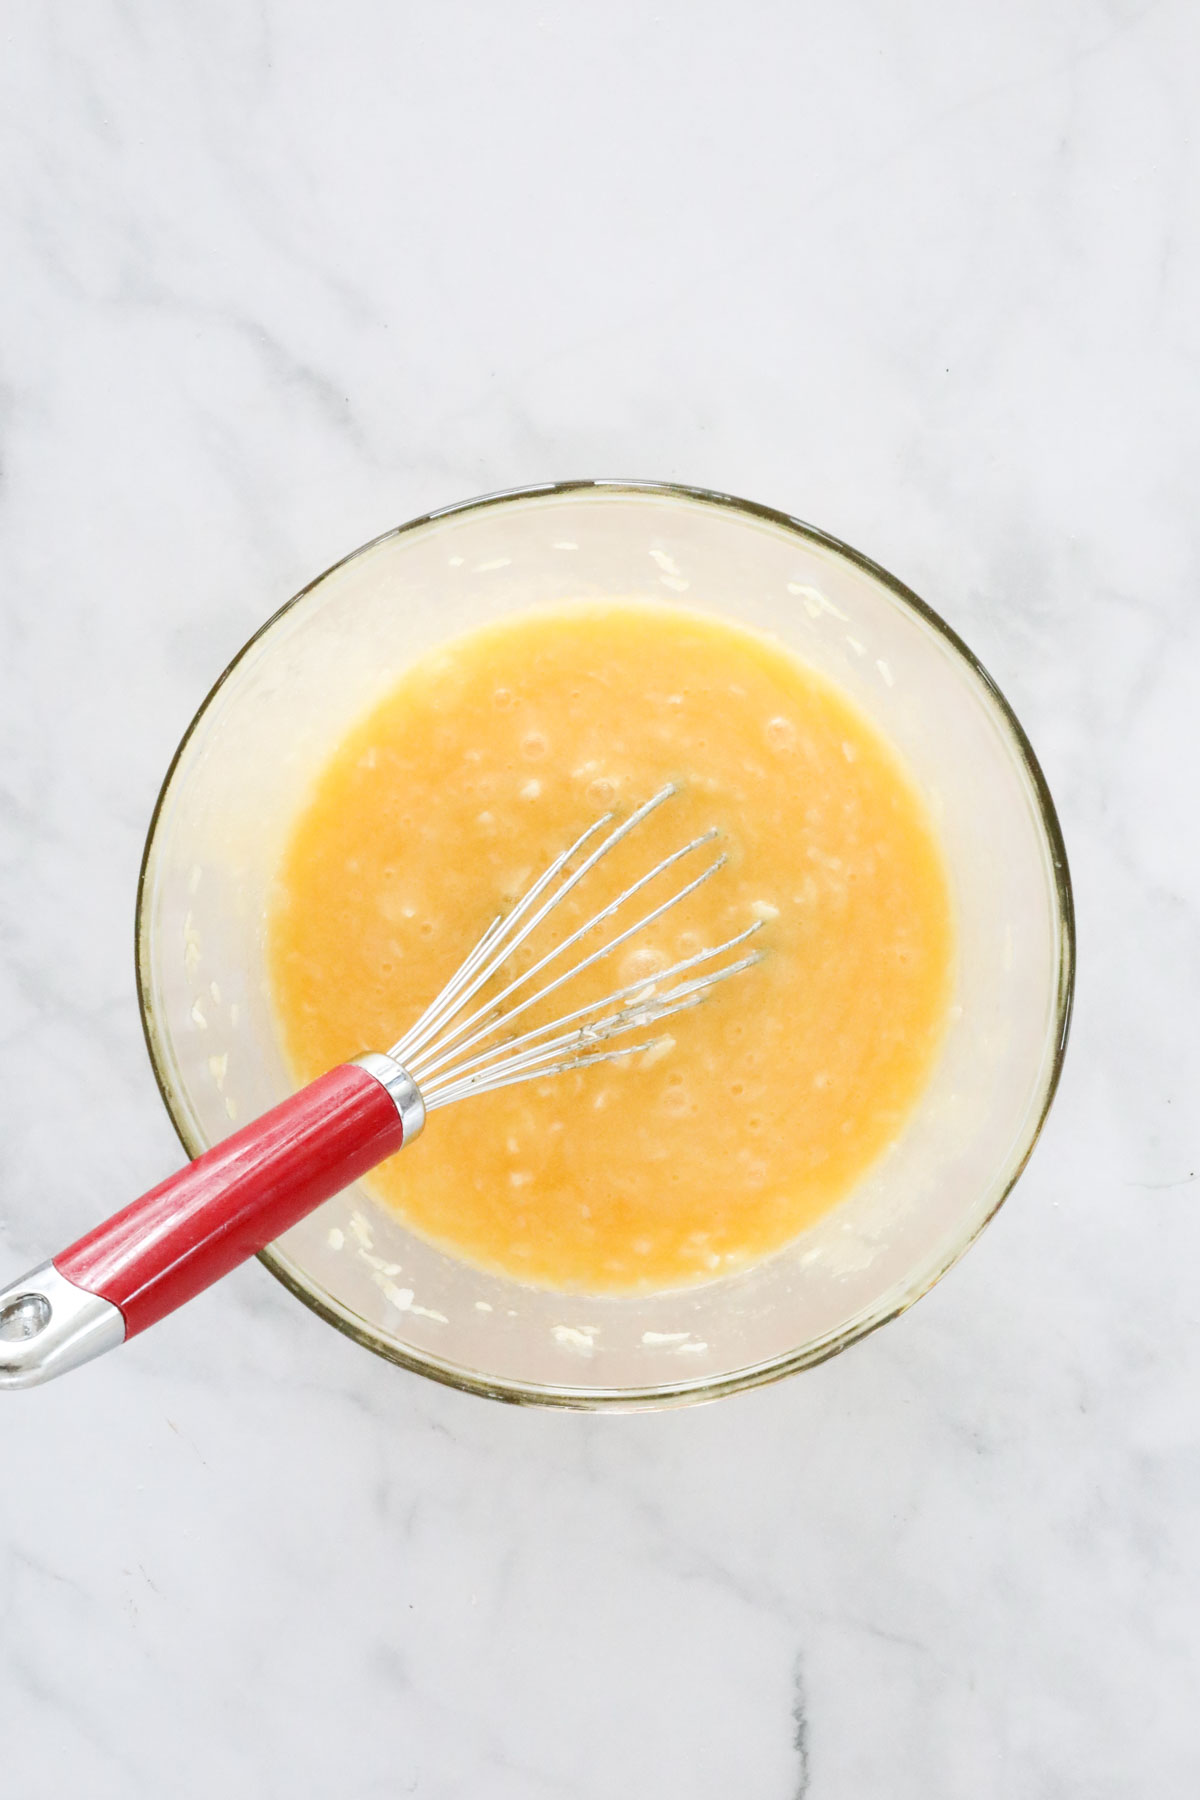
Step 3 - Bake
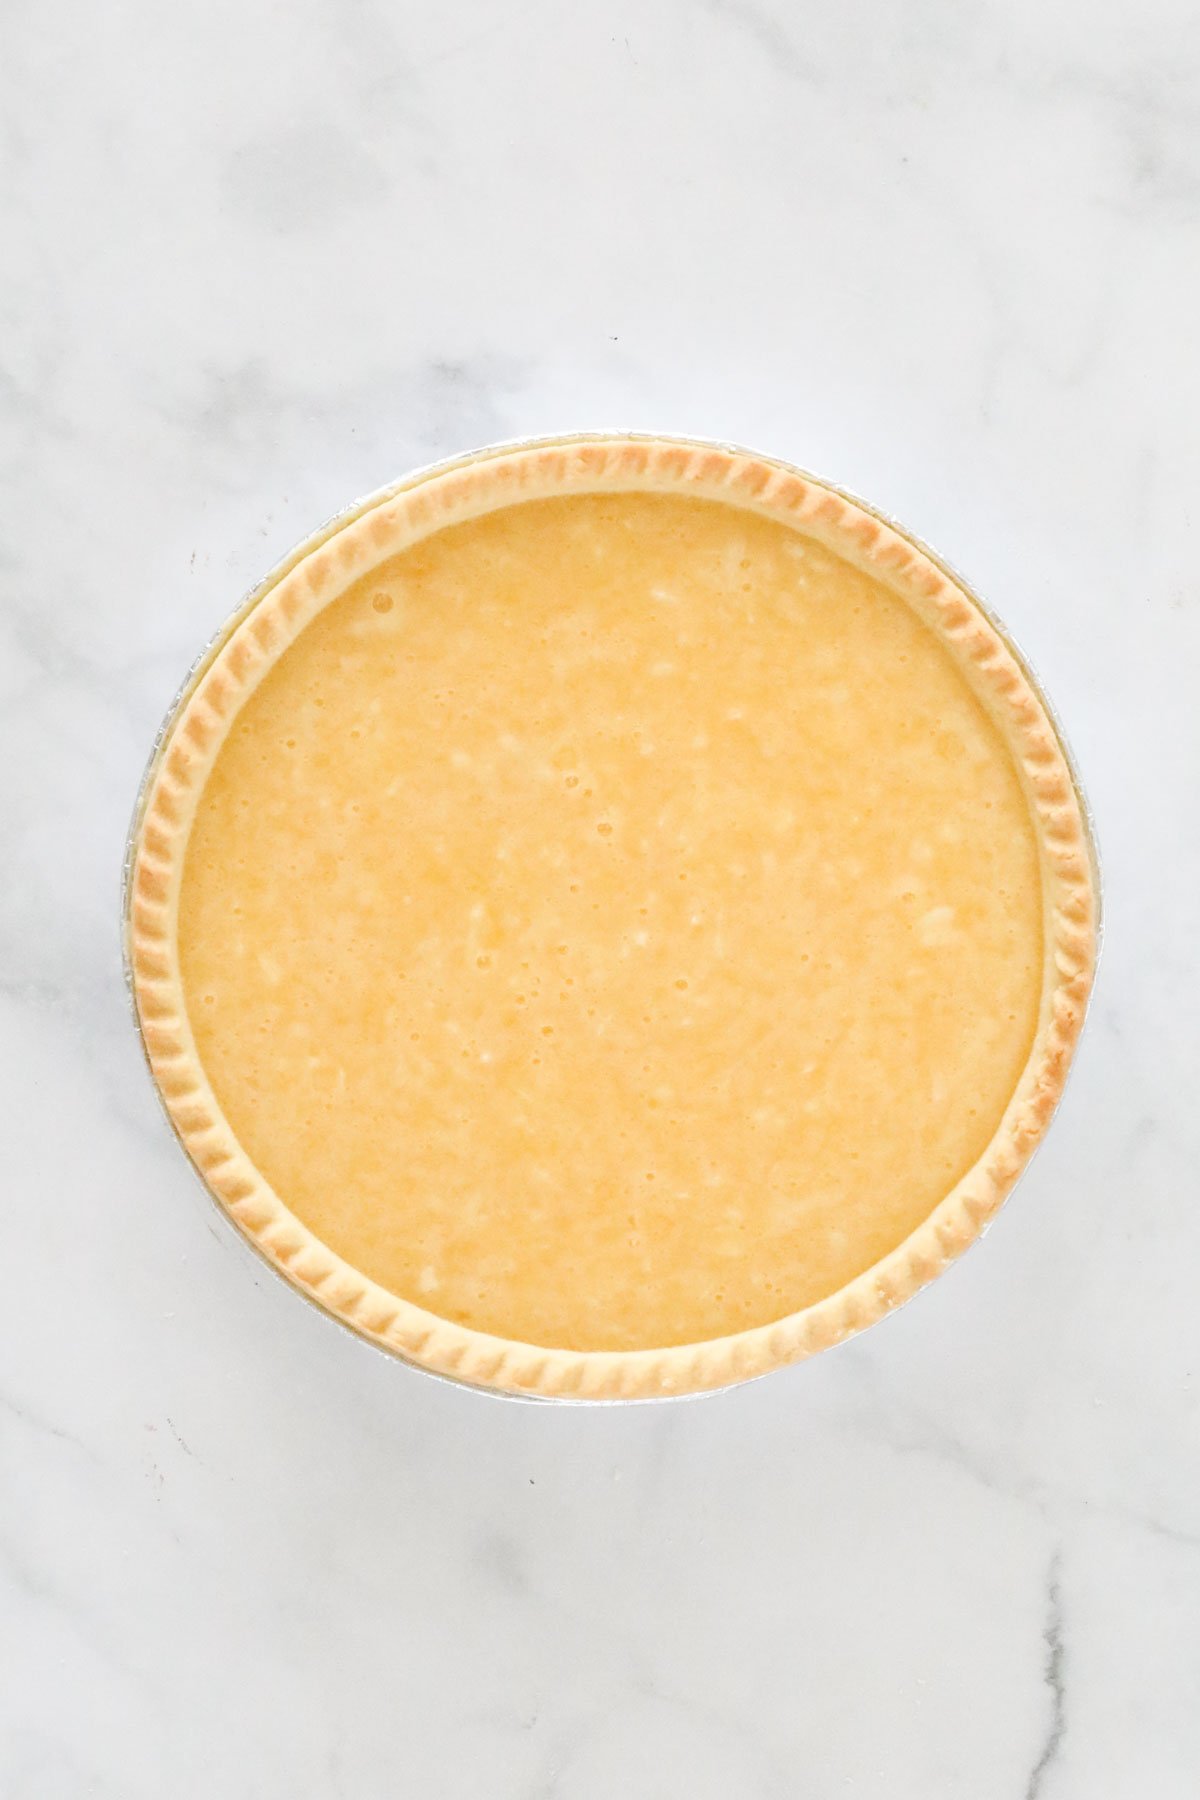
Pour the mixture into the pie crust or tart shell and bake for 1 hour.
Expert Tips
- Make sure your eggs are at room temperature before using, this helps the eggs to mix more easily with the other ingredients resulting in a lighter texture.
- I recommend coconut flakes in this recipe for a premium result, however many recipes use shredded or desiccated coconut. Both desiccated coconut and shredded coconut are processed and dried more, so the texture would not be quite as moist or intense in flavour as using sweetened coconut flakes.
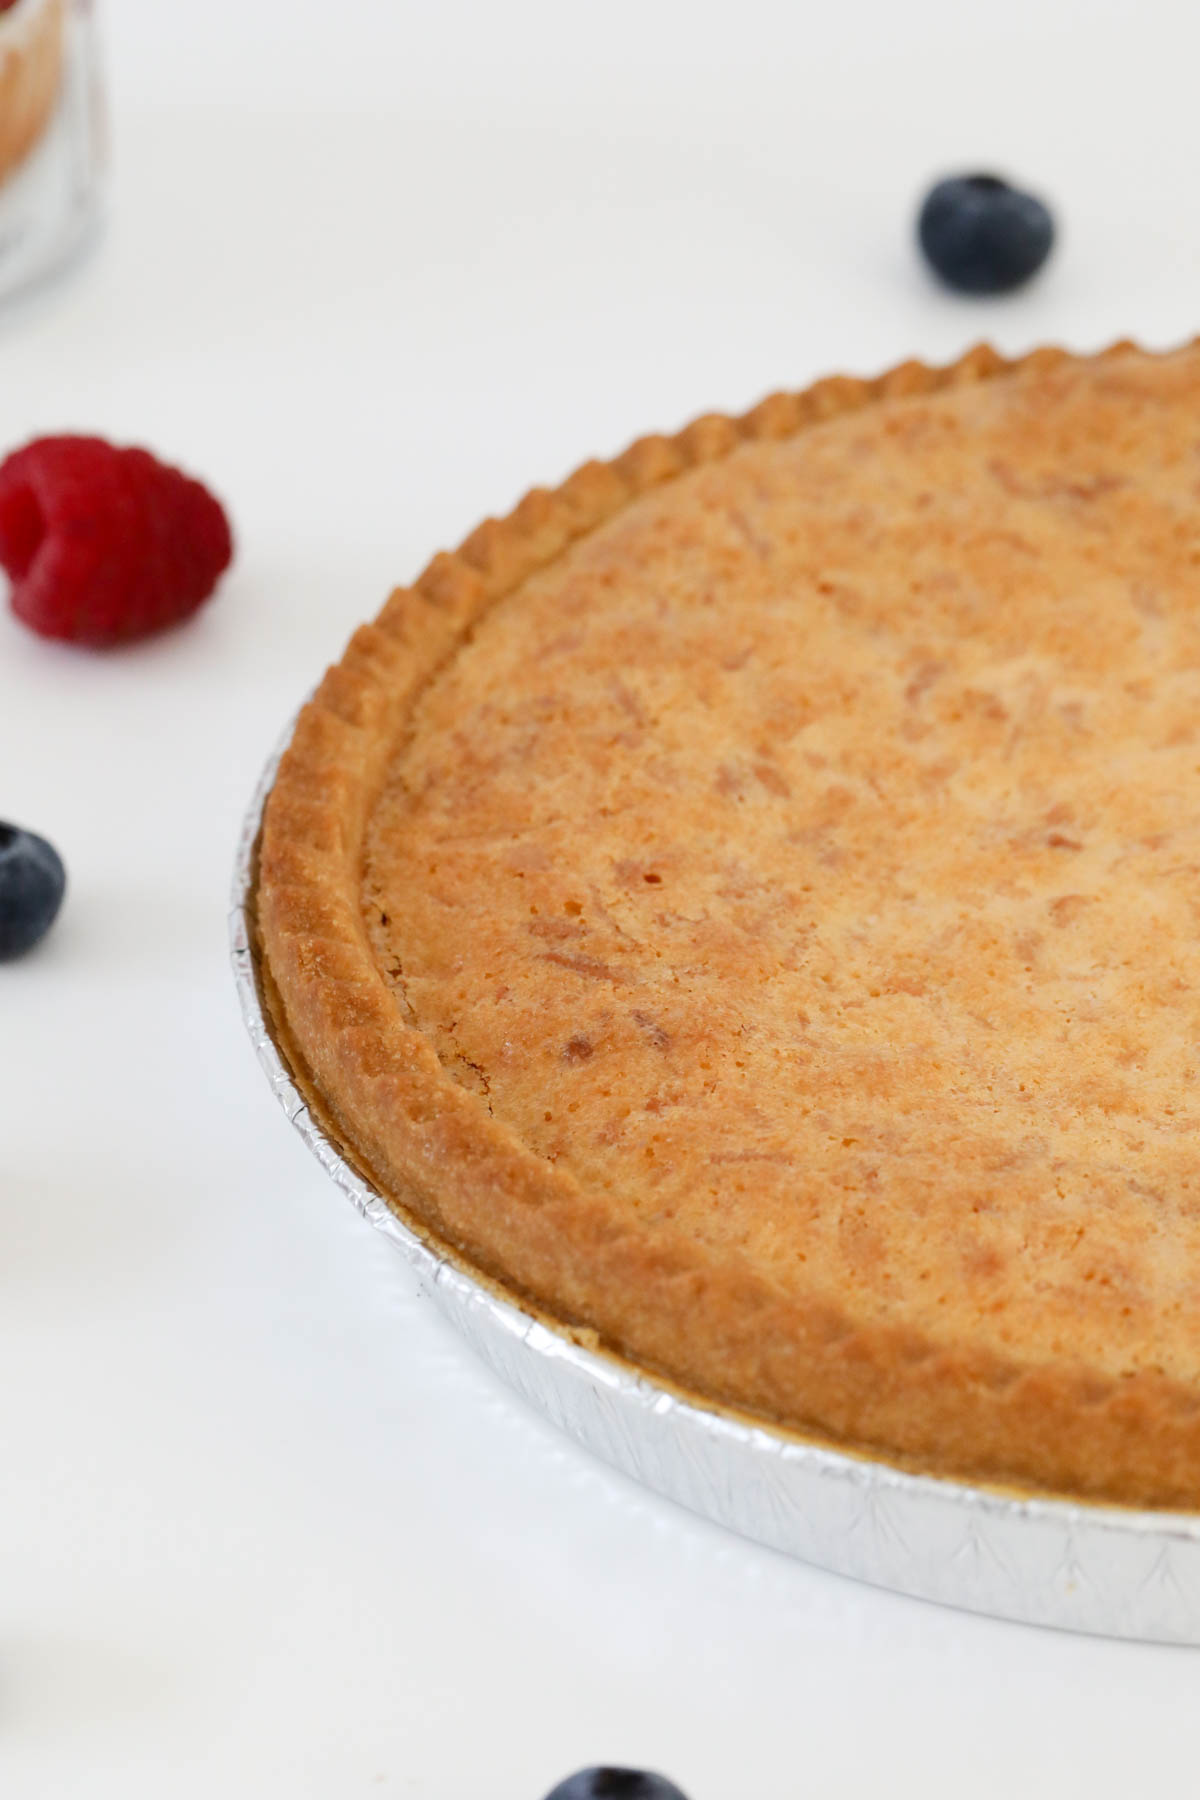
- If the top starts to brown too quickly, just place a sheet of foil over the top and continue cooking.
- You can store coconut pie in the fridge for up to 5 days.
- You can freeze coconut pie for up to 3 months, however the texture may be a little watery when thawed, so I prefer to serve this freshly baked.
FAQs
Very easily! Just add ½ cup of plain (all purpose) flour and 1 ½ cups of milk to the egg and coconut mixture and pour it into a greased pie plate - no pastry shell required! The flour forms it's own light base on the bottom.
Desiccated coconut is dried and finely ground, and contains much less moisture than the initial coconut pulp.
Made up of thin strands, shredded coconut has a coarser texture and larger particles than desiccated coconut.
Flaked coconut is shaved into long, wide flakes and retains more moisture and intense flavour than the other varieties.
Both shredded and flaked coconut are usually available as sweetened or unsweetened for use in sweet or savoury dishes.
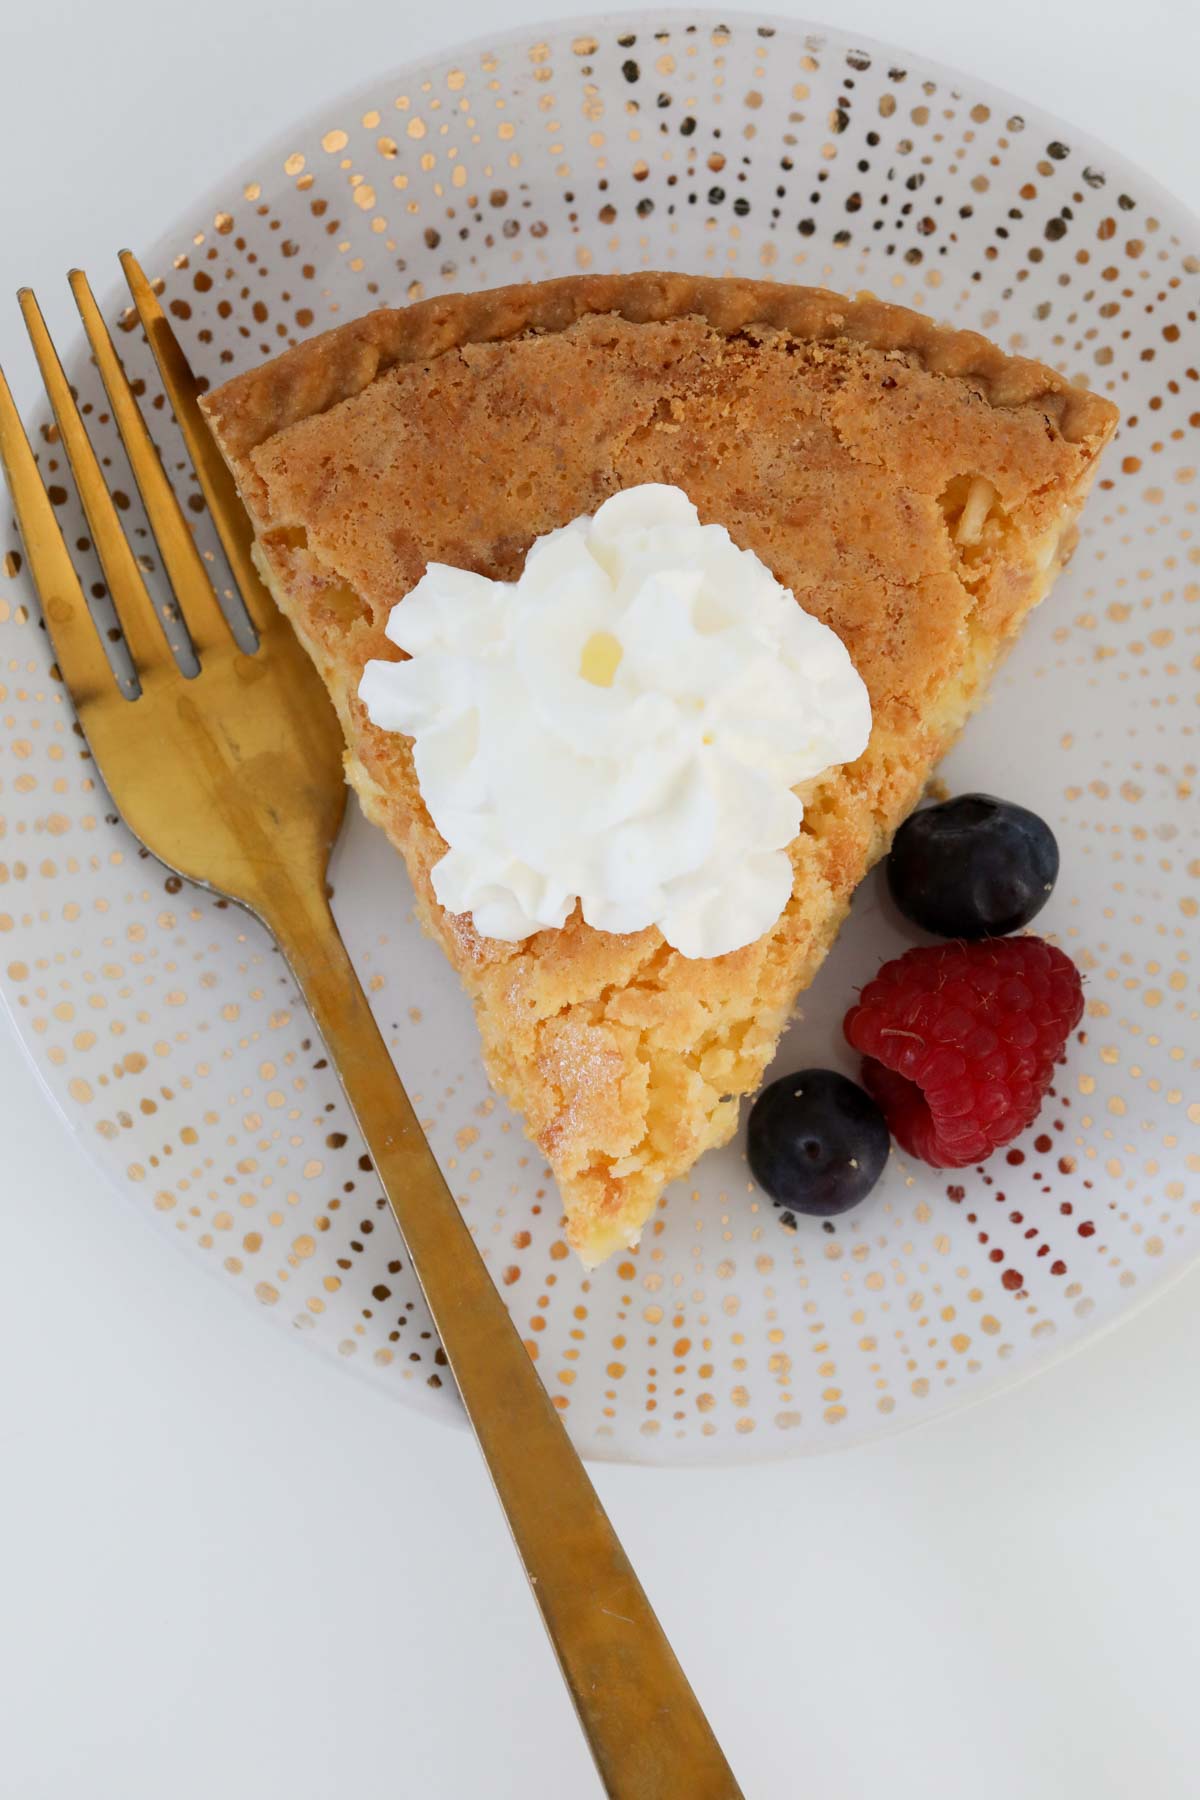
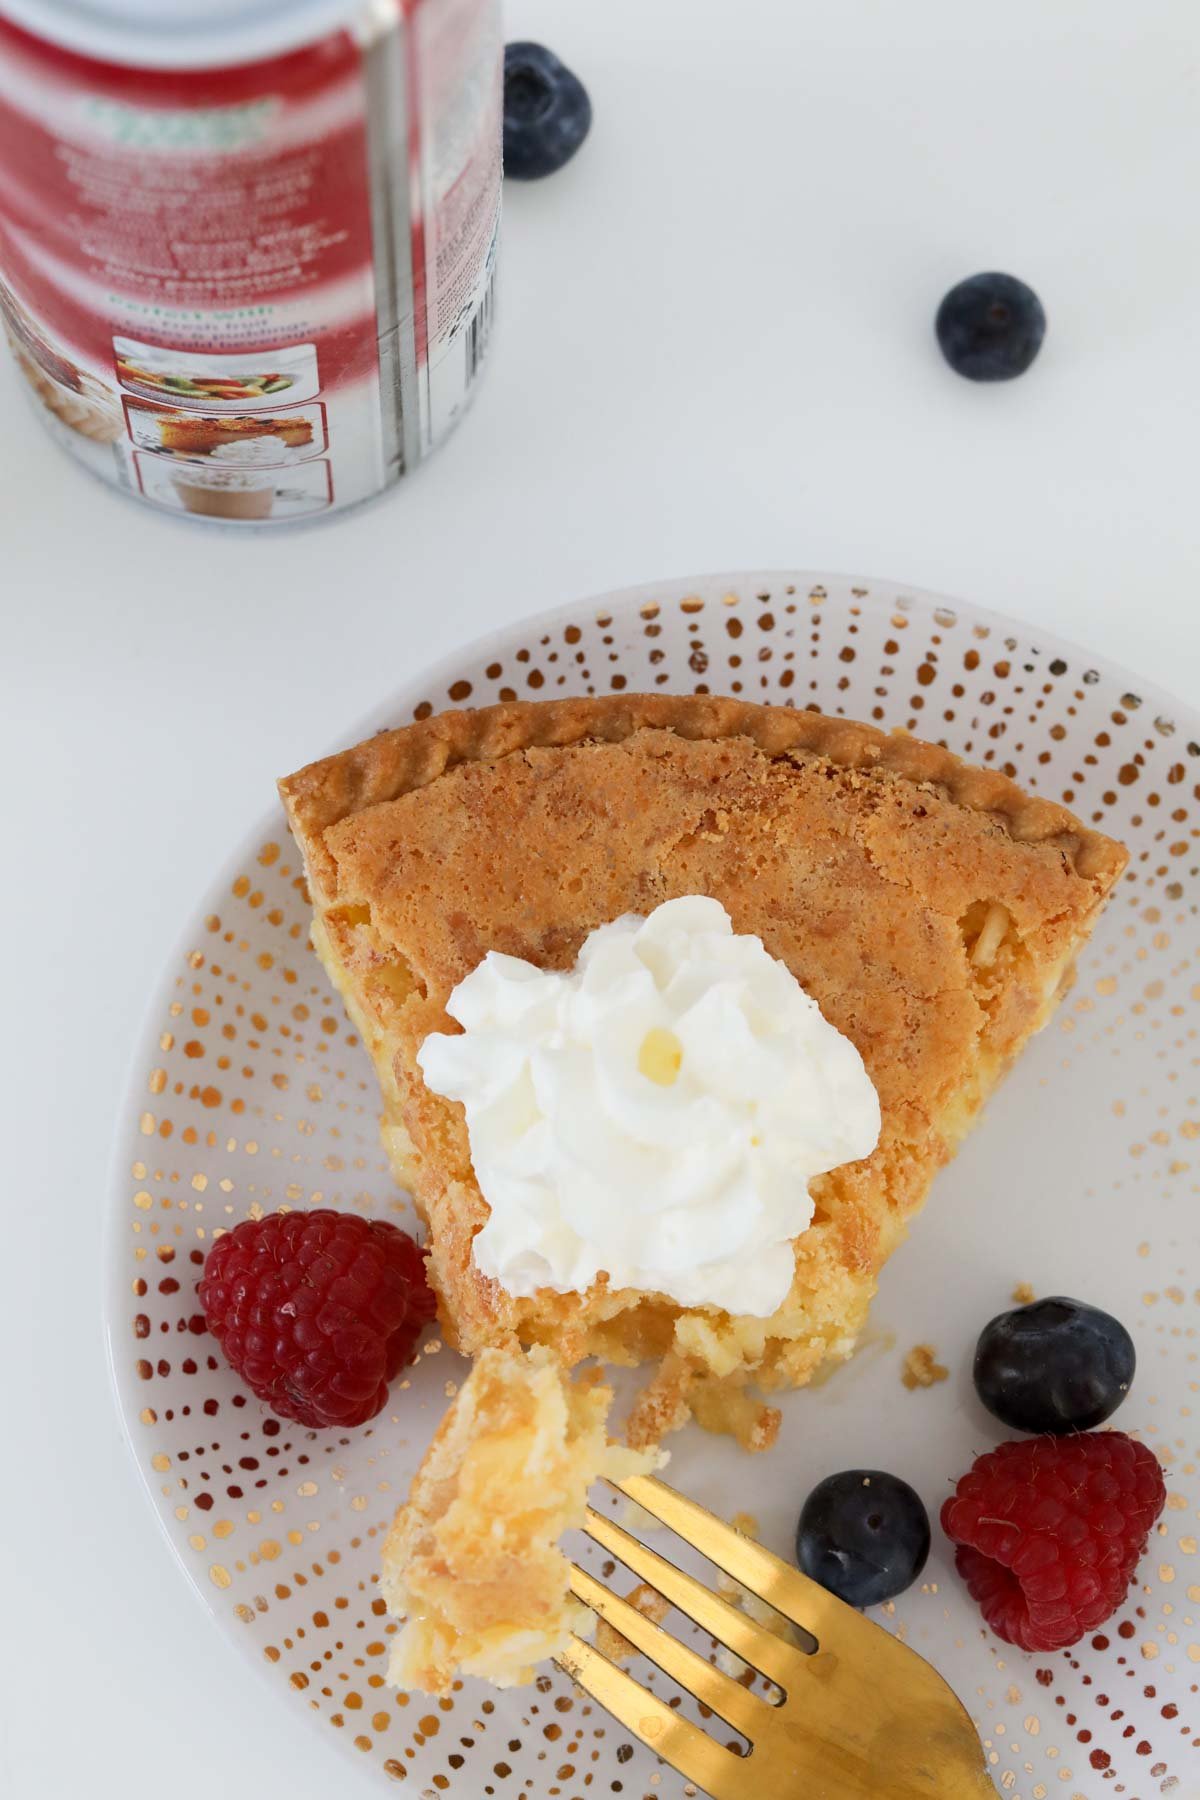
I love to serve coconut pie warm with a generous size dollop of cream on top, or a scoop of vanilla ice cream, and a sprinkle of fresh berries if I have them.
Creamy coconut has that tropical taste too, so this coconut pie also makes a great summer dessert served with passionfruit puree or tropical fruits. The choice is yours!
Related Recipes
For some other favourite winter desserts, why not try some of these?
WANT EVEN MORE DELICIOUS RECIPES? Subscribe to my newsletter or follow along on Facebook or Instagram. And if you love baking, then please come and join my Facebook cooking club group or subscribe to my YouTube channel.

Coconut Pie
Ingredients
- 3 eggs room temperature
- 340 g (1 ½ cups) caster sugar
- 100 g (1 cup) moist sweetened coconut flakes
- 115 g butter melted
- 2 teaspoon vanilla extract
- 1 tbs lemon juice
- pinch of salt
- 1 store-bought pie crust/ tart shell (approx 9 inches or 22cm)
Instructions
- Preheat the oven to 160 degrees celsius (fan-forced).
- Place the eggs into a mixing bowl and whisk together.
- Add the caster sugar, coconut flakes, melted butter, vanilla extract, lemon juice and salt. Mix until combined. If using a Thermomix: Add the eggs and mix for 10 seconds, Speed 6. Add the caster sugar, coconut flakes, melted butter, vanilla extract, lemon juice and salt and mix for 10 seconds, Reverse, Speed 4.
- Pour the mixture into the pie crust/tart shell and bake for 1 hour. If the top starts to brown too quickly, place a sheet of foil over the top and continue cooking.
Notes
- Make sure your eggs are at room temperature before using, this helps the eggs to mix more easily with the other ingredients resulting in a lighter texture.
- I recommend coconut flakes in this recipe for a premium result! Both desiccated coconut and shredded coconut are processed and dried more, so the texture would not be as moist or intense in flavour as using sweetened coconut flakes.
- If the top starts to brown too quickly, just place a sheet of foil over the over the top and continue cooking.
- For a crustless version of impossible pie, just add ½ cup of plain (all purpose) flour and 1 ½ cups of milk to the egg and coconut mixture and pour it into a greased pie plate - no pastry shell required!
- You can store coconut pie in the fridge for up to 5 days.
- You can freeze coconut pie for up to 3 months, however the texture may be a little watery when thawed so I prefer to serve this freshly baked.
- My preference is to serve coconut pie warmed with a dollop of cream or a scoop of ice cream and a few fresh berries if on hand. However creamy coconut has a tropical vibe too, so you could also serve with passionfruit puree or tropical fruits as a summer dessert.



Rose M says
This sounds wonderful but... do you know if it can be made with Monkfruit or other such sugar replacements pls?
Lucy says
I haven't tried sugar alternatives with this sorry!