

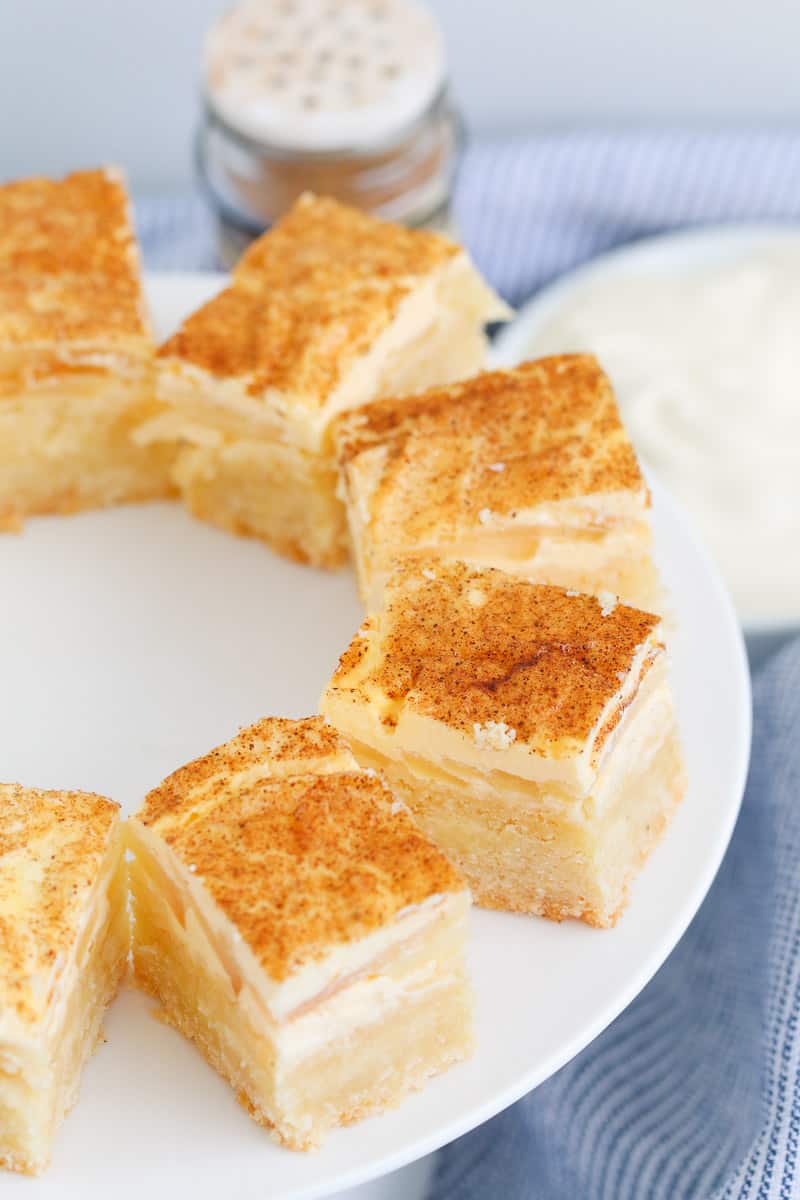
If you love old-fashioned apple sour cream slice that tastes like something your nan would proudly serve with a pot of tea, you're in the right place. This is my from-scratch version - no packet cake mix here - and it's all about soft, cinnamon-kissed apples on a buttery base, topped with a dreamy layer of tangy sour cream.
If you enjoy this, you might also love my Apple Crumble or Apple Sponge Pudding.
Love this recipe. I've made it 6 times now in the space of a month. I do add some sugar to the sour cream/egg mix at the kids' request, but it's great without it also. I practically eat the whole thing myself. It's so good.
- Amanda
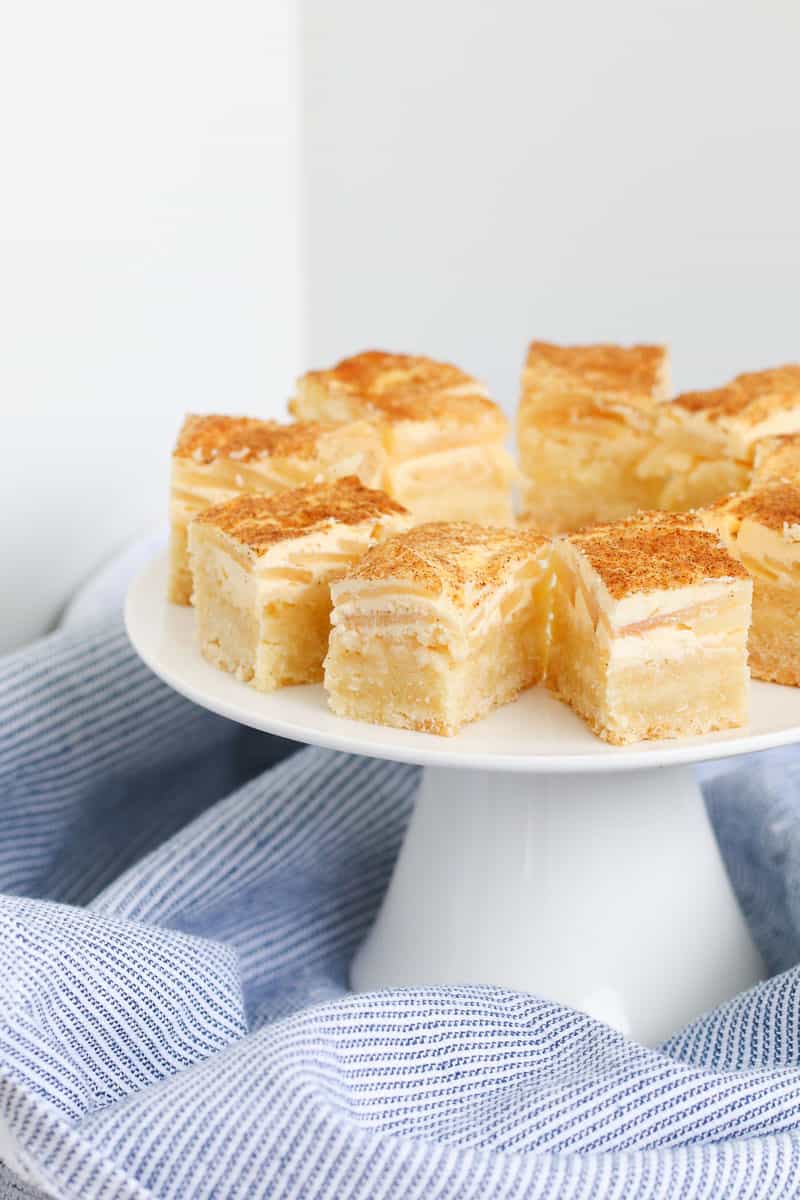
This easy apple sour cream slice is both nostalgic and a little bit fancy. With a buttery base, sweet spiced apples and a heavenly sour cream topping, it's the perfect balance of sweet and tangy. Serve warm with custard or cold from the fridge for a fuss-free treat!
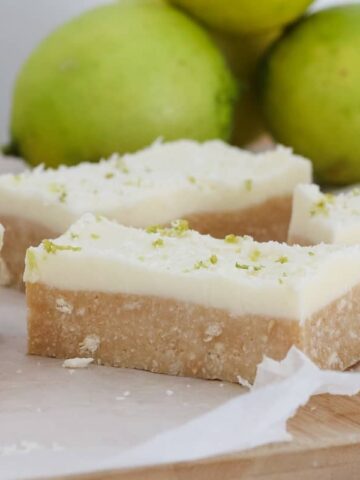
Just like my Lemon Coconut Slice, Ginger Crunch Slice and Coconut Jam Slice, it's guaranteed to win over even the fussiest eaters. I've tested it using both my conventional and Thermomix methods, and included variations for shortcut days and gluten-free friends.
Why You're Going To Love This Recipe
- From-scratch goodness - no packet cake mix, just wholesome pantry staples.
- Thermomix + conventional methods - make it your way, with perfect results.
- Freezer-friendly - great for lunchboxes or last-minute guests.
- Perfect for any occasion - morning tea, dessert, or just because.
- Crowd-pleasing flavour - soft spiced apples, creamy topping, buttery base.
Jump to:
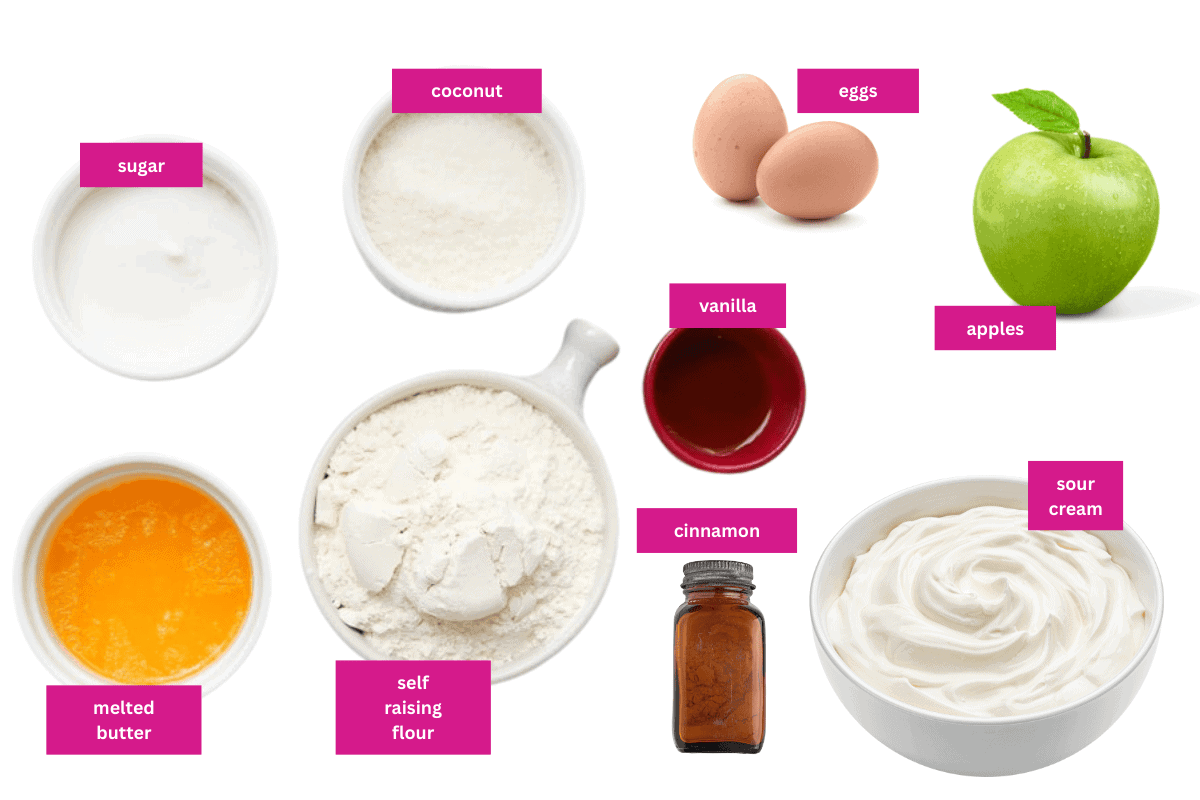
Slice Ingredients
You only need a handful of everyday ingredients to make this apple sour cream slice from scratch.
Here are the ones that need a little extra explanation:
- Apples - choose a variety that holds its shape when cooked (like Granny Smith, Pink Lady, or Jazz apples) for the best texture.
- Sour cream - use full-fat for the creamiest, most luxurious topping.
- Cinnamon - adds that classic warm spice that pairs beautifully with apples.
Variations
- Gluten-Free - swap plain flour for a good quality gluten-free flour blend.
- Packet Cake Mix Shortcut - use a golden buttercake cake mix, vanilla cake mix or butter cake packet mix for the base if you're short on time.
- Biscuit Base Twist - try a crushed sweet biscuit and melted butter base for a firmer, slice-and-serve finish.
- Extra Apple Layer - double the apples for a chunkier fruit layer.
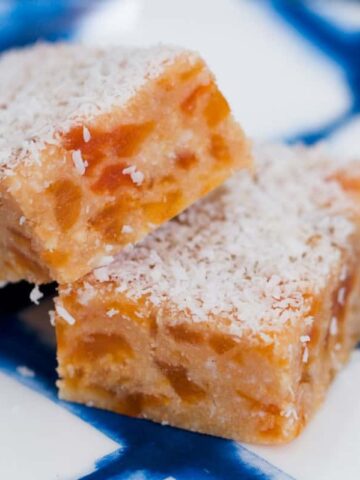
- Fruity Swap - Substitute the apples for other thinly sliced fruit such as peaches, apricots, or pears for a different flavour twist.
How To Make Apple & Sour Cream Slice
This apple slice recipe is so simple and a personal favourite of mine - just three layers, each bringing its own delicious magic.
Note: Scroll to the recipe card at the bottom for the ingredients quantities and full detailed method.
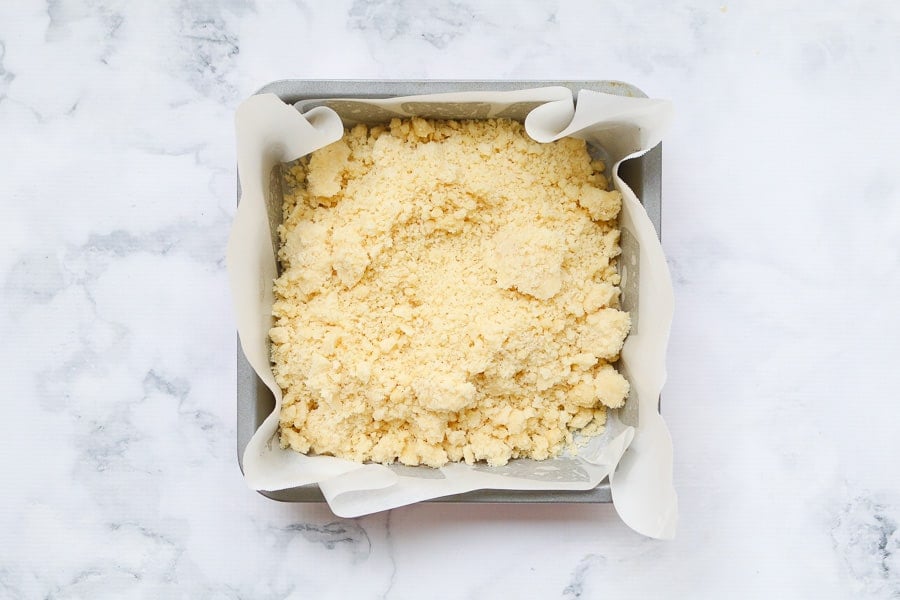
- Step 1: Make the base - cream butter and sugar until light and fluffy, then mix in the egg and flour until combined. Press into the prepared square cake pan and bake until lightly golden.

- Step 2: Press into the prepared tin and bake until lightly golden.
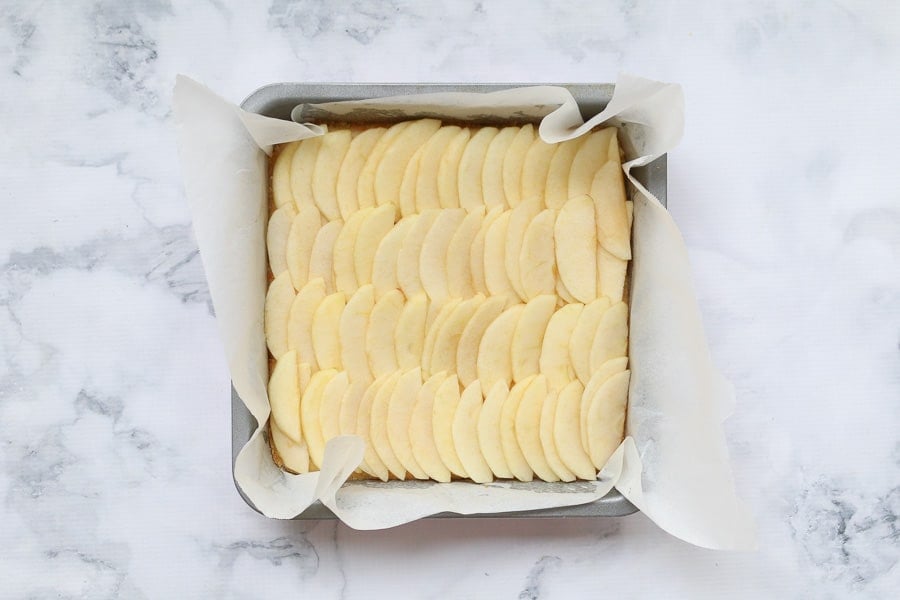
- Step 3: Prepare the apples - peel, core and slice apples thinly. Arrange evenly over the warm base and sprinkle with cinnamon and sugar.
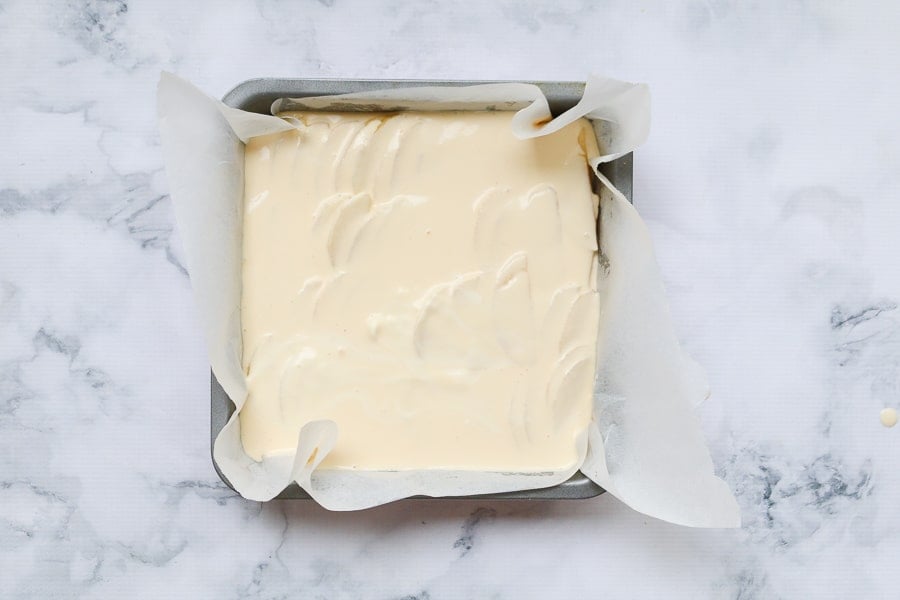
- Step 4: Sour cream topping - whisk sour cream, egg, sugar and vanilla until smooth, then pour over apples.
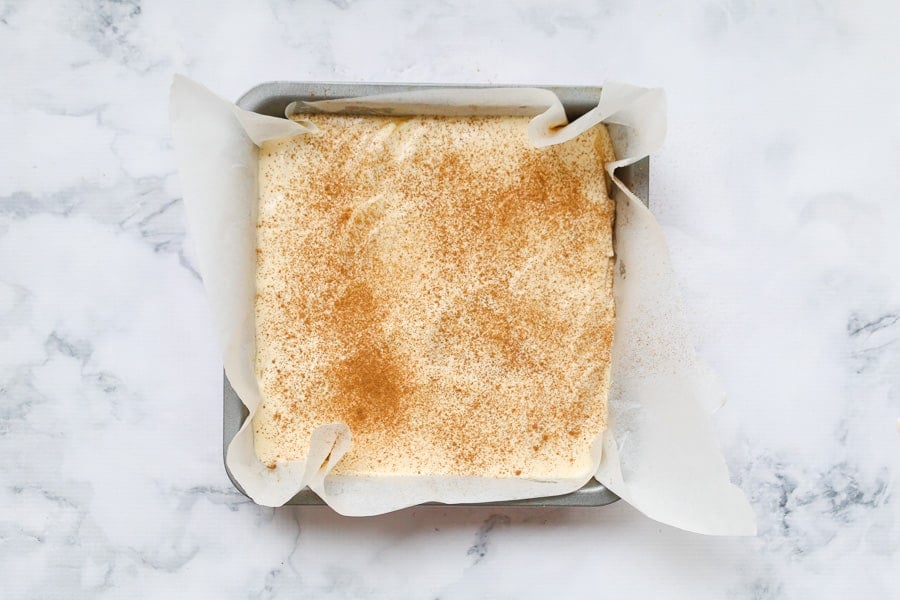
- Step 5: Sprinkle with cinnamon and bake again until the topping is just set.
Top Tip
For neat slices, chill in the fridge before cutting - it makes the layers hold beautifully.
Recipe Tips
- Use firm apples so they don't collapse during baking.
- Don't skip pre-baking the base - it prevents sogginess.
- Spread apples evenly so every bite gets fruit and cream.
- Line base of the tin with baking paper, allowing it to overhang for easy removal of the slice.
- Chill before slicing for cleaner edges.
- Store in an airtight container in the fridge for up to 4 days.
- Freeze slices (wrapped well) for up to 3 months - thaw in the fridge overnight.
- Serve warm with custard for dessert, or cold for morning tea.
- Sprinkle extra cinnamon sugar over the sour cream layer before baking for extra colour and flavour.
Apple & Sour Cream Slice FAQs
Yes! Wrap individual slices well and freeze for up to 3 months. Thaw in the fridge before serving.
Granny Smith, Pink Lady, or Jazz apples work well as they hold their shape when baked.
You can swap sour cream for Greek yoghurt, but it will be tangier and slightly less rich.
Not as written, but you can easily swap the flour for a gluten-free blend.
Yes - use a vanilla or butter cake mix for the base to save time.
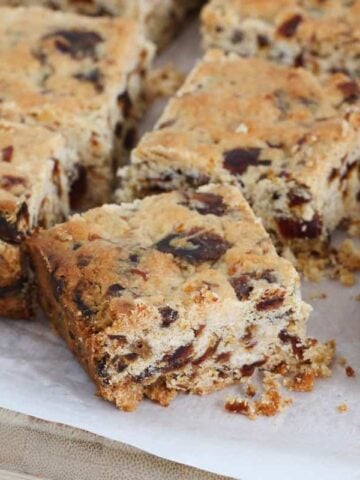
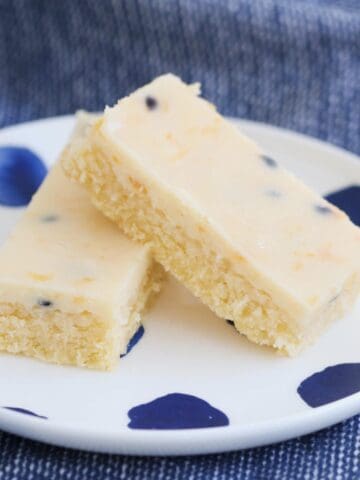
More Fruit Slice Recipes
If you love fruity bakes as much as I do, here are some more sweet and simple slice recipes that are perfect for morning tea, lunchboxes, or an easy dessert.
WANT EVEN MORE DELICIOUS RECIPES? Subscribe to my newsletter or follow along on Facebook or Instagram. And if you love baking, then please come and join my Facebook cooking club group or subscribe to my YouTube channel.
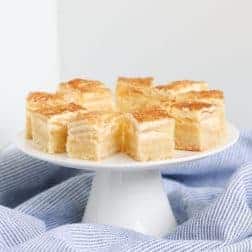
Apple & Sour Cream Slice
Ingredients
- 125 g butter melted
- 200 g (1 ⅓ cups) self-raising flour
- 150 g (¾ cup) caster sugar
- 65 g (¾ cup) desiccated coconut
- 2 teaspoon vanilla extract
- 2 eggs
- 250 g sour cream
- 2 apples peeled and thinly sliced
- 2 teaspoon ground cinnamon see notes
Instructions
Conventional Method
- Preheat oven to 180 degrees celsius (160 if using a fan forced oven). Grease and line a 20cm square cake tin with baking paper.
- Place the melted butter, caster sugar, coconut and vanilla extract into a medium sized bowl. Sift over the self raising flour. Mix until smooth and creamy.
- Press mixture into the tin and bake for 15-20 minutes or until lightly golden.
- Take the slice out of the oven and layer the thinly sliced apple over the top.
- In a bowl, beat the sour cream and eggs together until well combined. Pour the sour cream mixture over the top of the apple.
- Sprinkle the ground cinnamon over the top (or cinnamon sugar).
- Place back into the oven for another 20 minutes or until the sour cream has set in.
- Allow to cool in the tin before placing into the fridge to cool completely.
- Cut into slices when completely cold.
Thermomix Method
- Preheat oven to 180 degrees celsius (160 if using a fan forced oven). Grease and line a 20cm square cake tin with baking paper.
- Place the butter into the TM bowl and melt on Speed 3, 60 degrees for 2 minutes.
- Add in the caster sugar, coconut, self raising flour and vanilla essence and mix on Speed 3 for 30 seconds (scraping down the sides of the bowl if needed).
- Press mixture into the tin and bake for 15-20 minutes or until lightly golden.
- Take the slice out of the oven and layer the thinly sliced apple over the top.
- Place the sour cream and eggs into the TM bowl and mix on Speed 4 for 30 seconds. Pour the sour cream mixture over the top of the apple.
- Sprinkle the cinnamon over the top (or cinnamon sugar).
- Place back into the oven for another 20 minutes or until the sour cream has set.
- Allow to cool before placing into the fridge to cool completely. Cut into slices when completely cold.
Notes
- Use firm apples so they don't collapse during baking.
- Don't skip pre-baking the base - it prevents sogginess.
- Spread apples evenly so every bite gets fruit and cream.
- Line base of the tin with baking paper, allowing it to overhang for easy removal of the slice.
- Chill before slicing for cleaner edges.
- Store in an airtight container in the fridge for up to 4 days.
- Freeze slices (wrapped well) for up to 3 months - thaw in the fridge overnight.
- Serve warm with custard for dessert, or cold for morning tea.
- Sprinkle extra cinnamon sugar over the sour cream layer before baking for extra colour and flavour.


Anne says
Hi Lucy and other
Any chance you can do the sour cream layer without eggs?
Lucy Mathieson says
Hi Anne, unfortunately the eggs are needed to set the sour cream layer 🙂
Lou says
Love this recipe!! Haven’t made it for a while but about to make 2 batches because I remember how delicious it is
Julie says
Hi Lucy, can you use Gluten Free self-raising flour for this recipe?
Lucy says
I haven't tried that sorry!!
Therese May King says
can i use pre stewed apple and rhubarb or will i require to use a setting agent
Lucy says
Hi there, for the best texture, I would recommend using thinly sliced uncooked apple (not stewed).
Bianca says
I use canned apples all the time for this - it’s the way my mum used to make it. It works fine - I use 1 x 400g tin but it will be softer bite texture than fresh apples. Just be sure to check each slice for seed kernels or skin as that is unpleasant to bite into.