Old fashioned beef rissoles made with beef mince, grated onion and carrot, egg, Worcestershire and BBQ sauces, herbs and breadcrumbs.
This simple one-bowl recipe takes just 5 minutes to prepare and will be on the table in 20 minutes! Serve them the classic way - with plenty of tomato sauce!
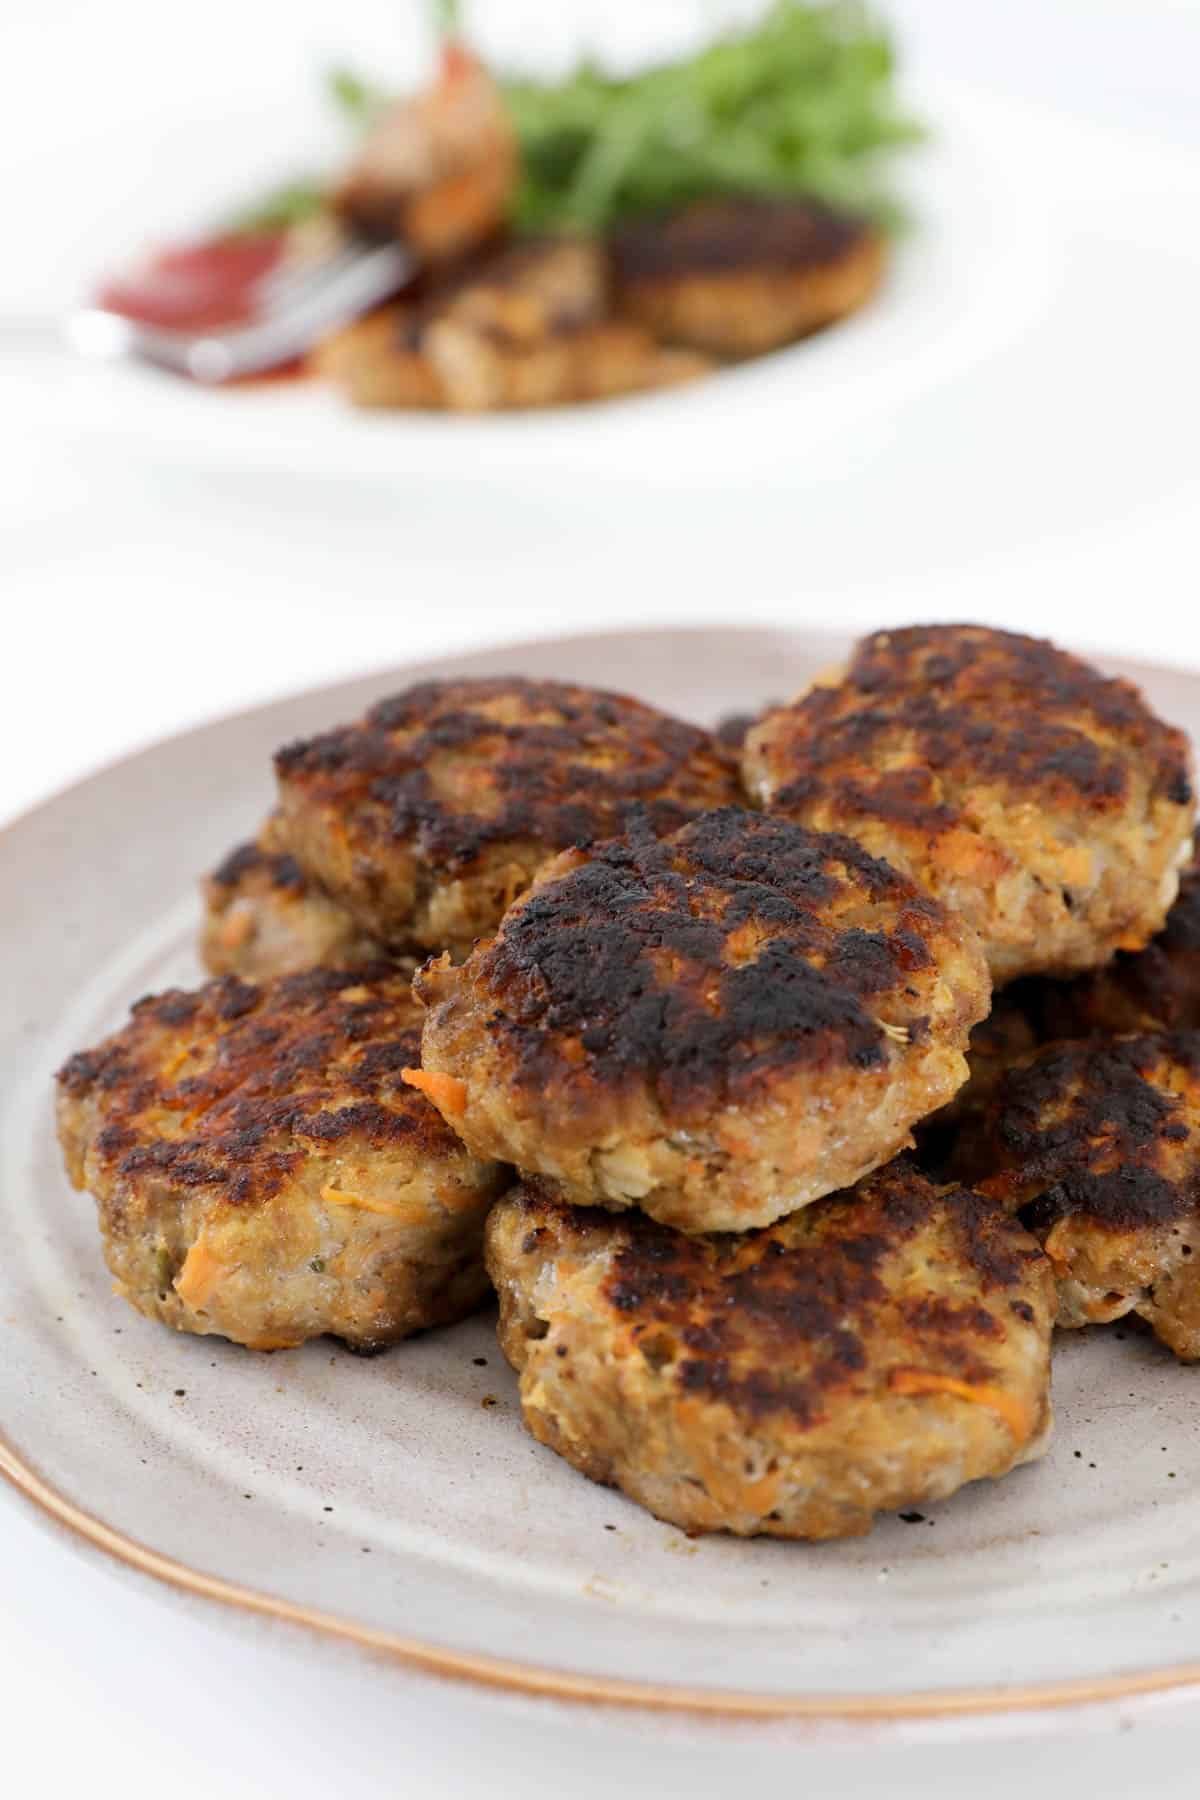
When it comes to easy family dinners, beef rissoles are one of the most popular recipes going around!
Whether you're having a summer BBQ or looking for a quick weeknight dinner, rissoles are the perfect option.
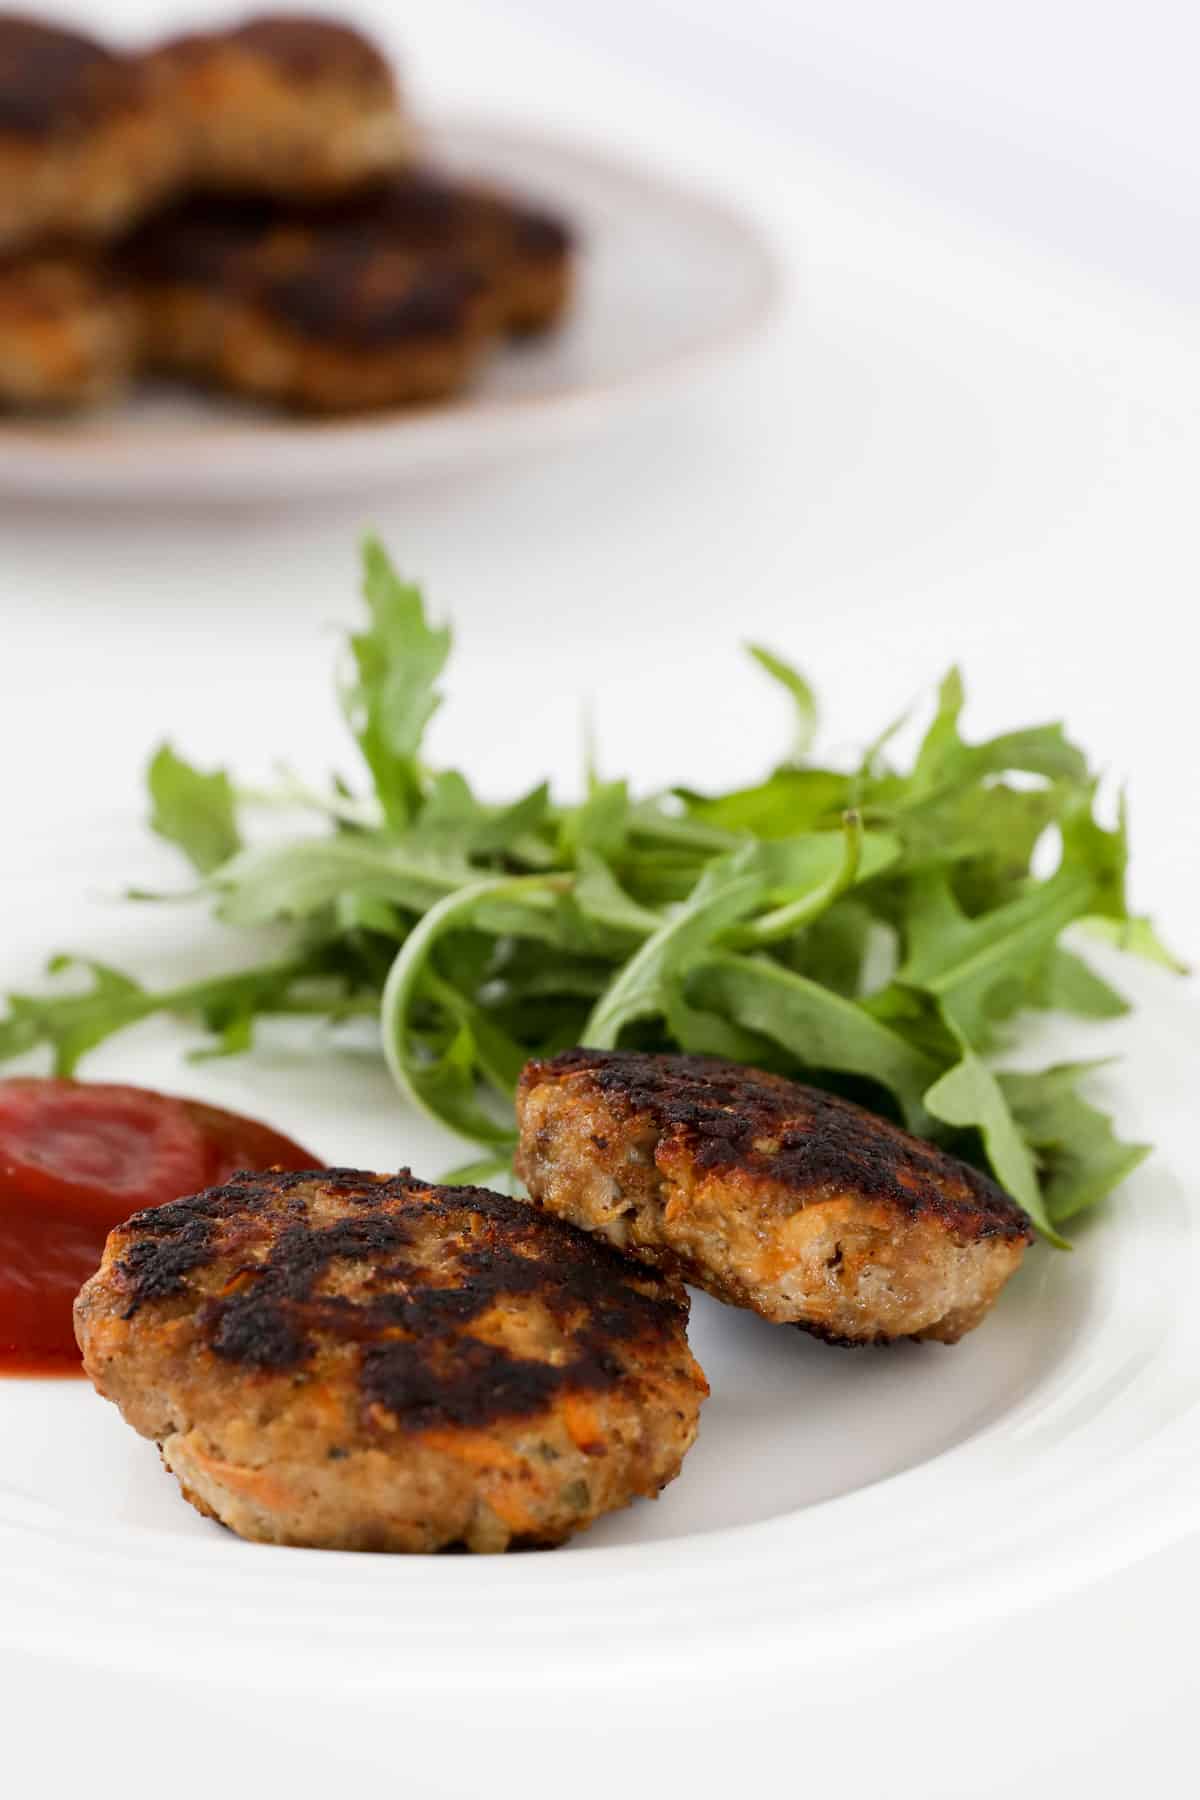
Serve this kid-friendly meal with potato salad, pasta salad, mashed potatoes and vegetables, rice, wedges or fries... and of course... tomato sauce (ketchup!).
Why You're Going To Love This Recipe
An all-time Australian favourite, rissoles are always a winner (especially with the kids!):
- One bowl recipe - rissoles require very little equipment... just a grater, bowl and frying pan (or BBQ).
- 5 minutes prep time - beef rissoles are perfect for busy weeknights as they take just 5 minutes to prepare and will be on the table in 20 minutes.
- Cook in either a frying pan or BBQ grill.
- Family favourite - absolutely everyone LOVES tasty rissoles - especially the youngest members of the family!
- Budget-friendly - beef mince is one of the cheapest cuts of meat, making beef rissoles a great dollar saving dinner.
- Conventional and Thermomix - you will find both methods in the recipe card at the bottom of the post.
What You Need
Looking to make beef rissoles for dinner? Great choice!
Here's what you need...
Note: Scroll to the recipe card at the bottom for the ingredients quantities and full detailed method.
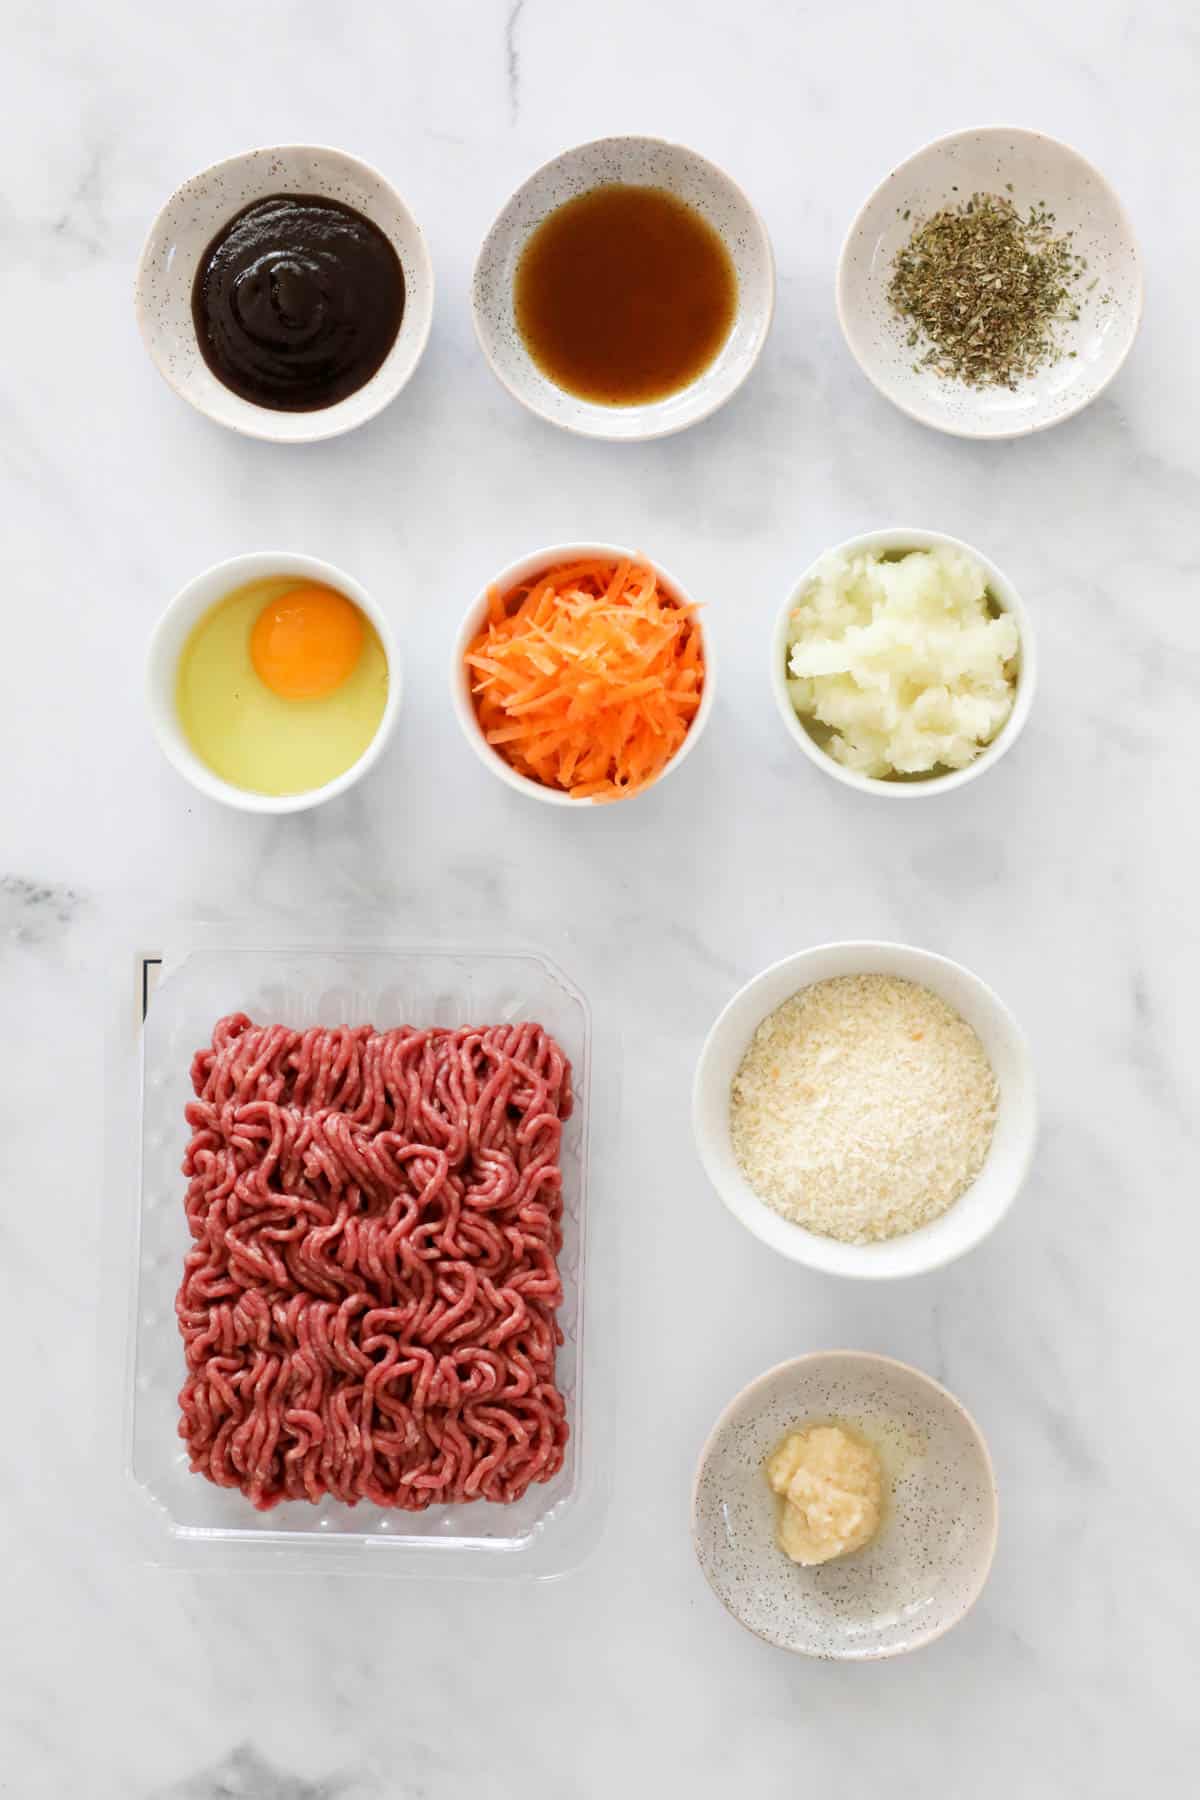
- Brown onion and carrot - these are both finely grated and added to the mixture (this will help to keep the rissoles extra juicy!)
- Garlic - use a fresh garlic clove or store-bought minced garlic.
- Beef mince - choose a good quality lean beef mince.
- Breadcrumbs - I recommend using panko crumbs, but you can use regular breadcrumbs if you prefer or thats what you have on hand.
- Egg - use a large egg (approximately 60-70g).
- Herbs - I like to use dried mixed herbs (including parsley and oregano).
- Worcestershire sauce - a classic addition to beef recipes. This sauce adds a rich savoury flavour.
- BBQ sauce - use your favourite BBQ sauce (regular or smoky).
- Olive oil - to cook the rissoles in.
- Salt & Pepper - to season.
Equipment Required
Absolutely no fancy equipment is required to make juicy beef rissoles.
All you need is a:
- grater for grating the onion and carrot;
- mixing bowl;
- frying pan and stovetop.
Alternatively you can use a Thermomix machine (optional) to grate and mix the rissoles.
Step By Step Instructions
1...2...3 - It's that easy to make rissoles!
Note: Scroll to the recipe card at the bottom for the ingredients quantities and full detailed method.
Step 1 - Grate The Vegetables
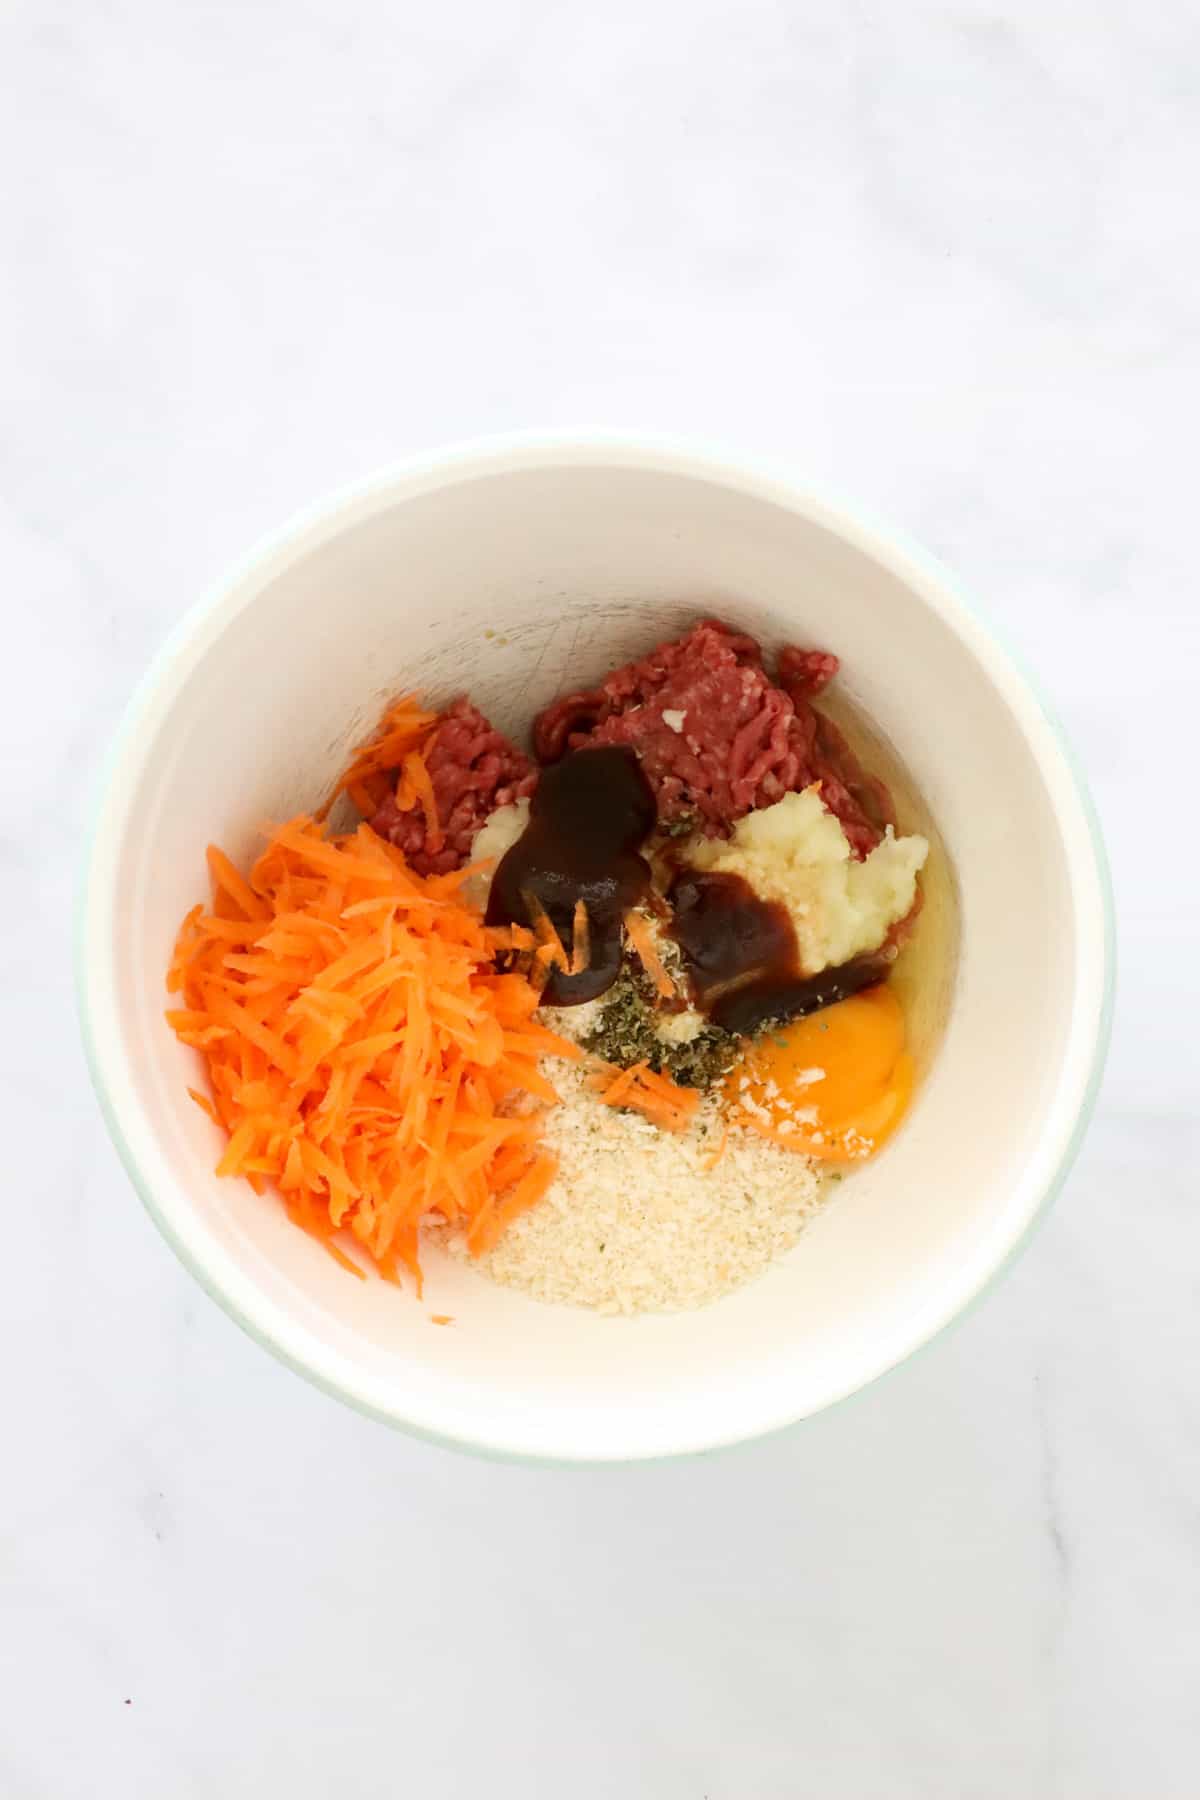
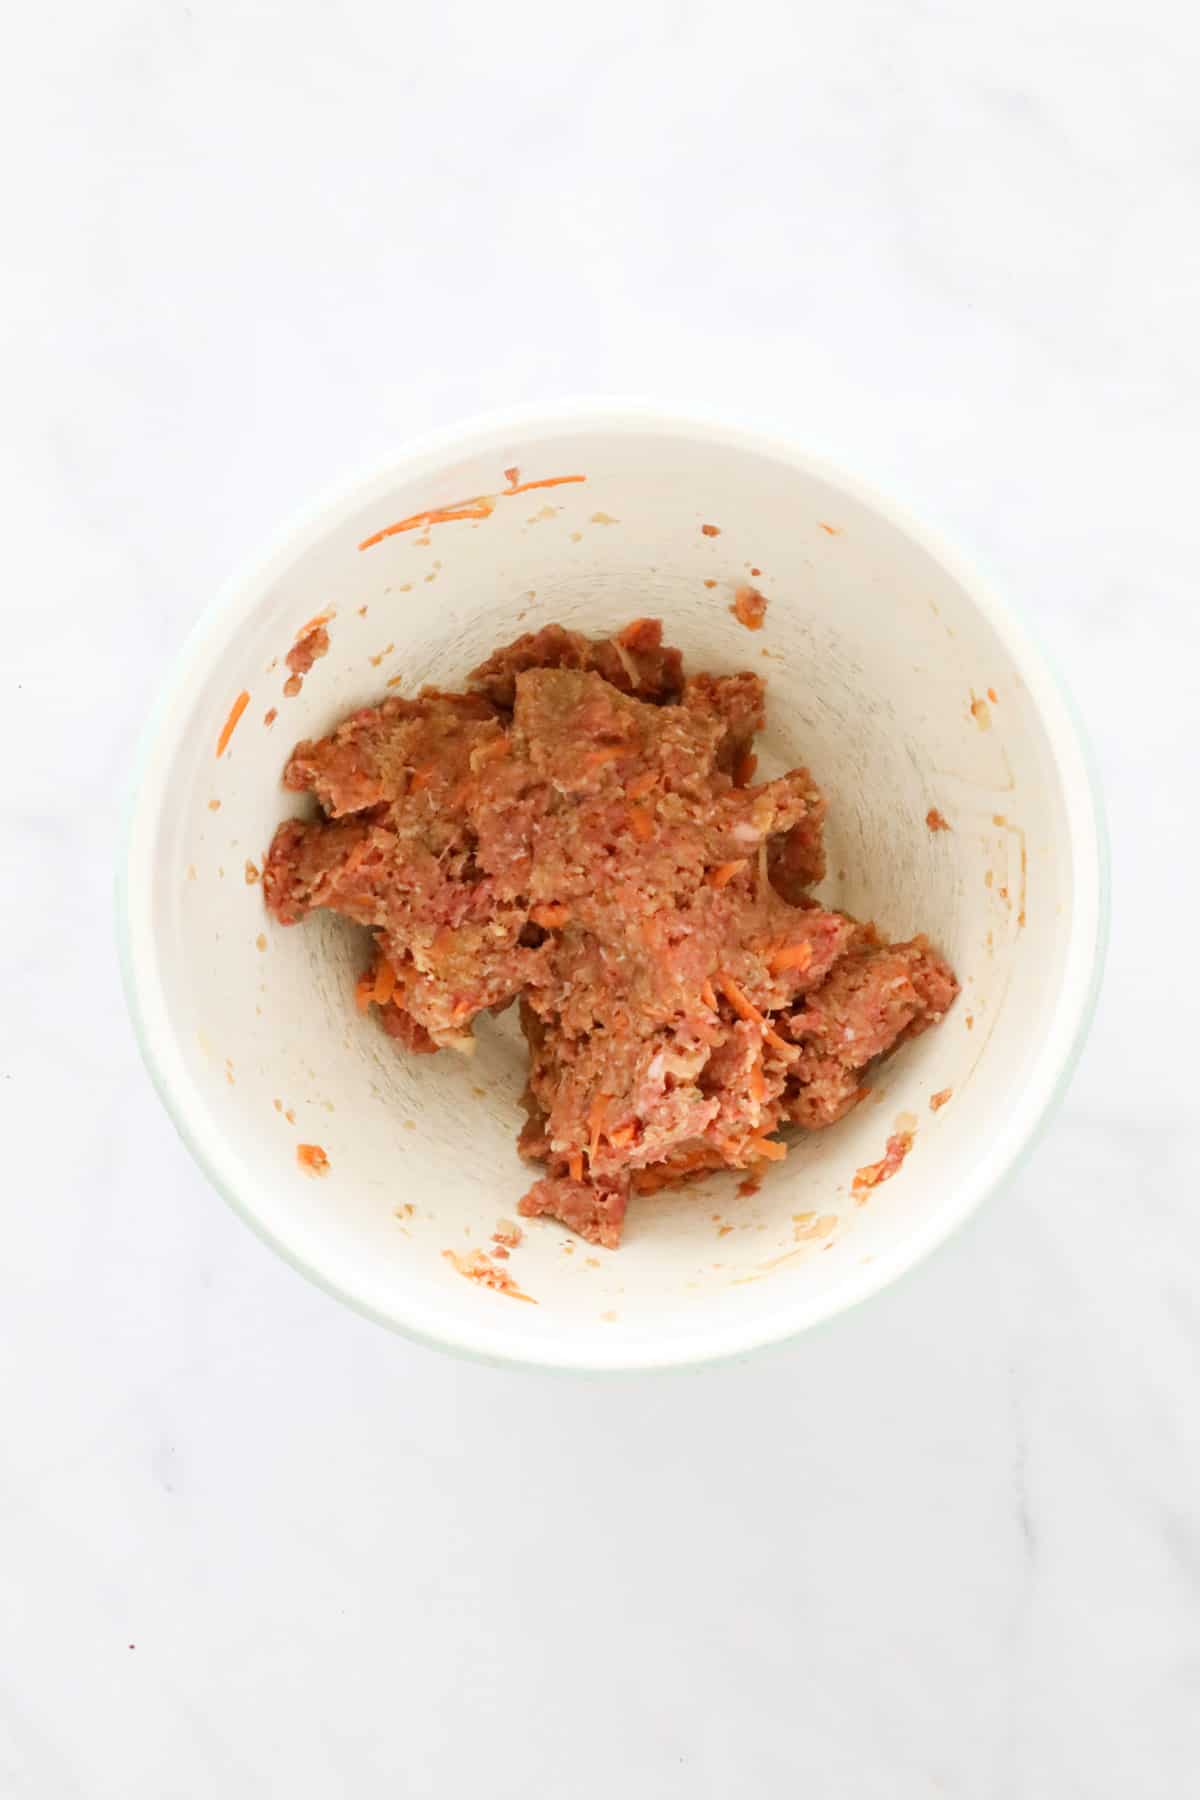
Grate the onion and carrot and place into a bowl along with the other ingredients.
Step 2 - Mix
Mix the beef mixture together using a spoon or your hands.
Continue to mix until completely combined.
Step 3 - Shape Into Patties & Cook
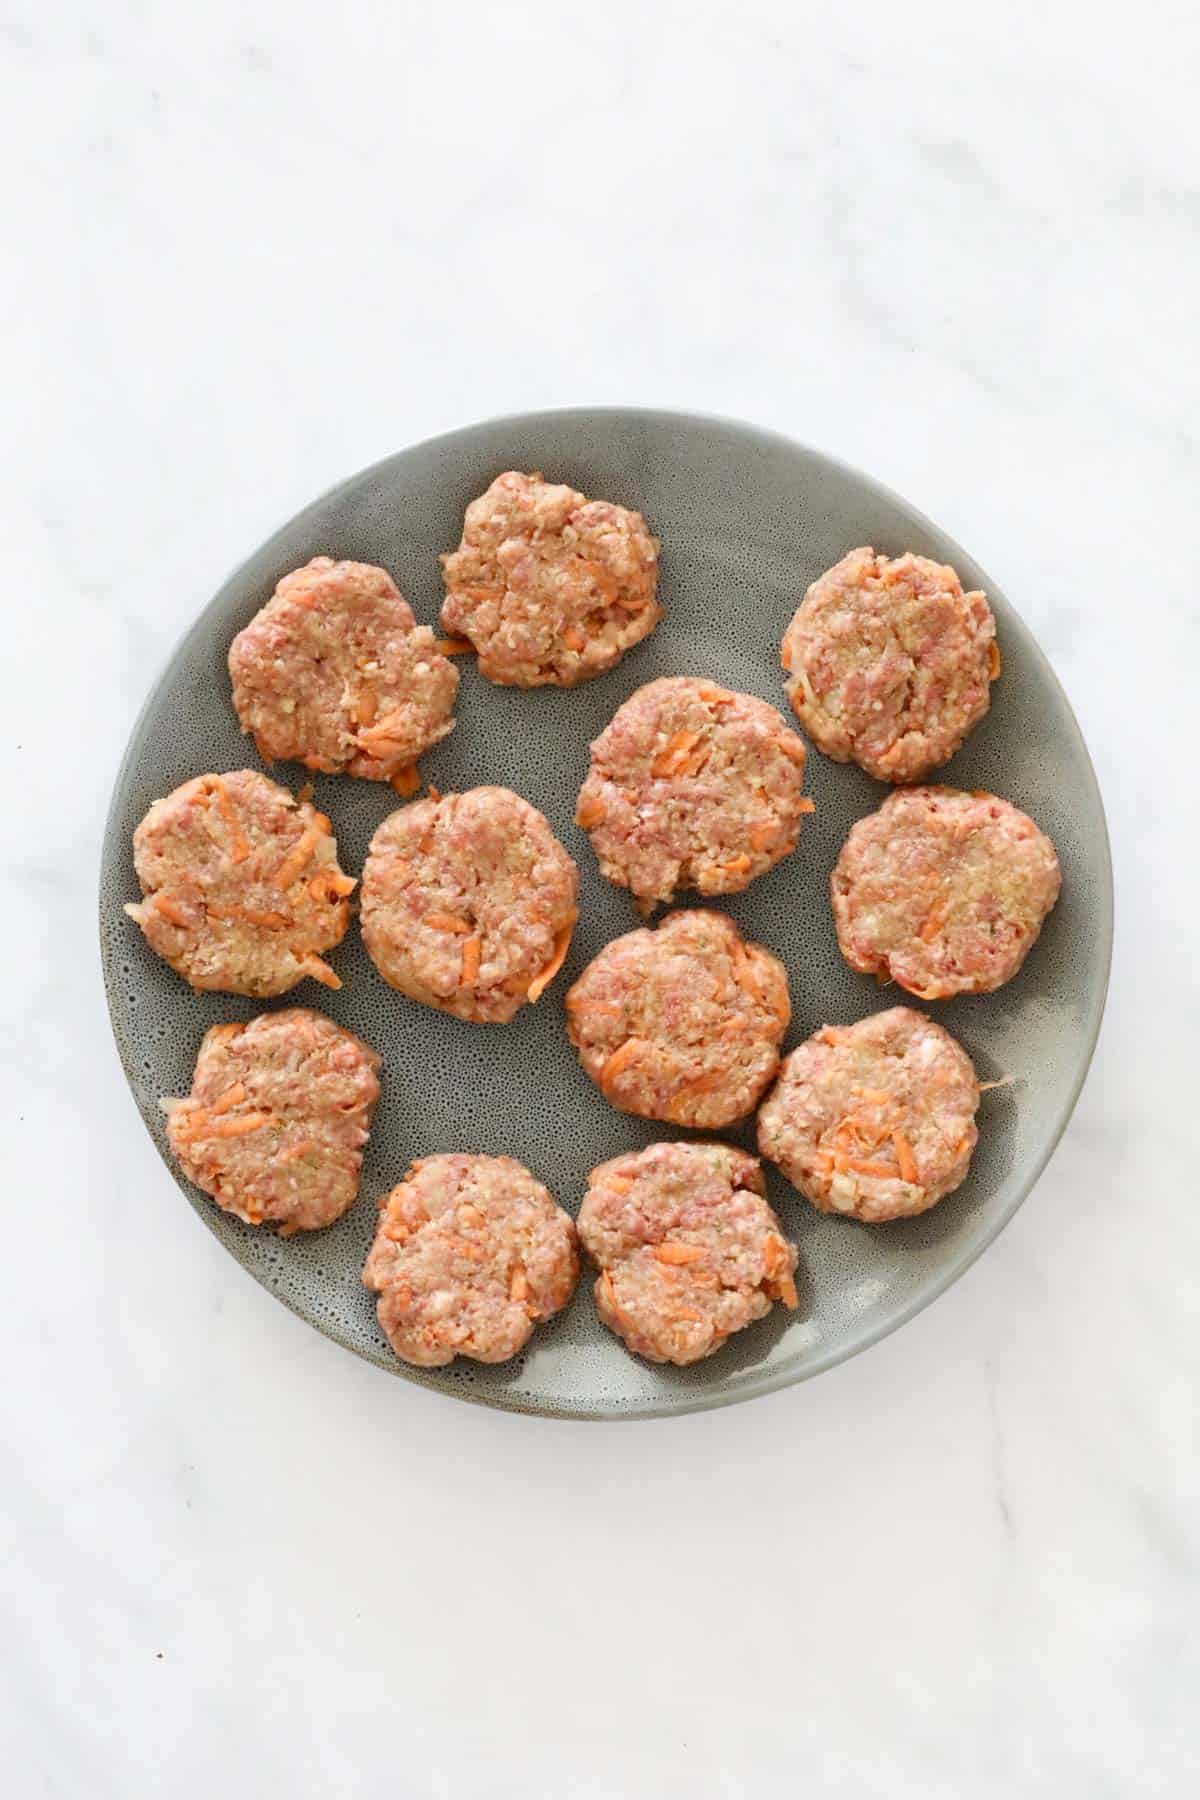
Scoop up small handfuls of the mixture (approx 2-3 tablespoons) and shape into small balls. Flatten slightly.
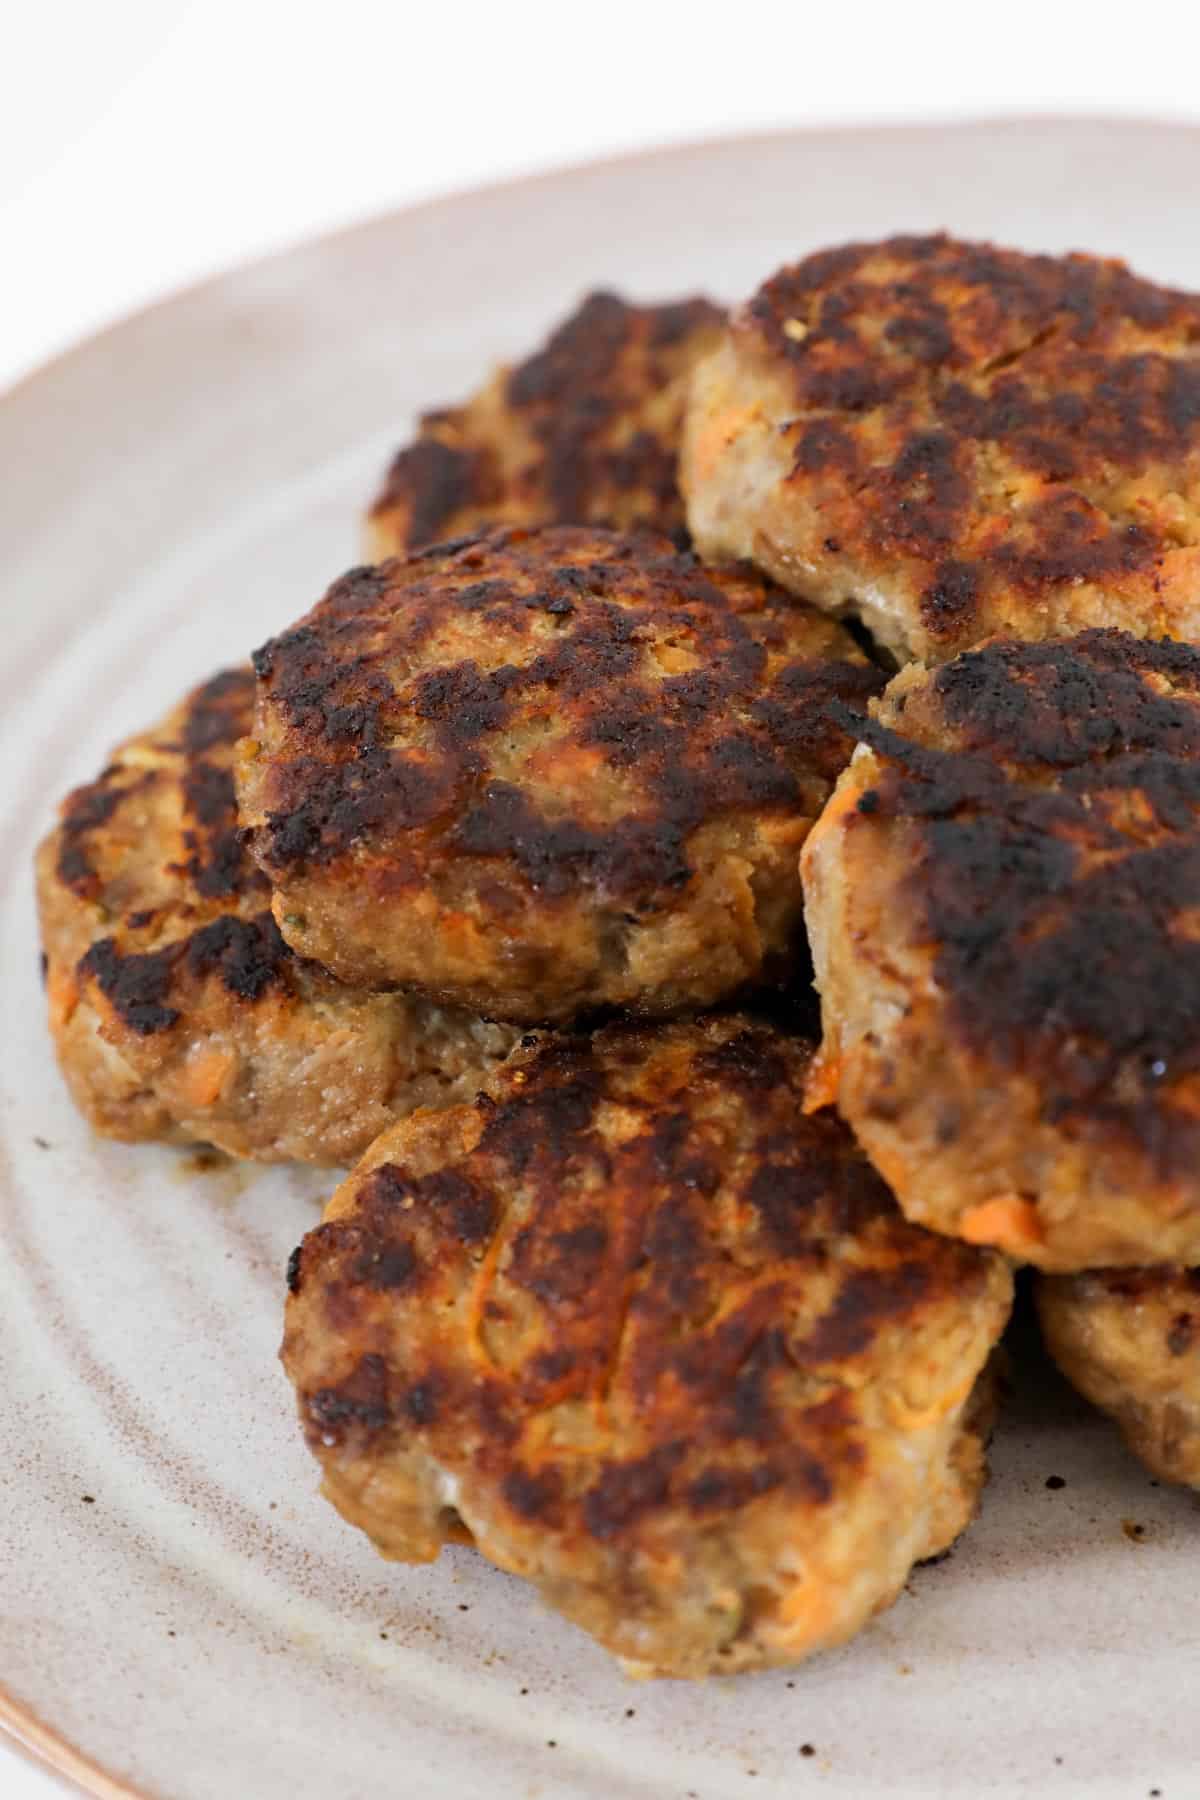
Cook in a frying pan with olive oil over medium heat for a few minutes each side, until cooked through.
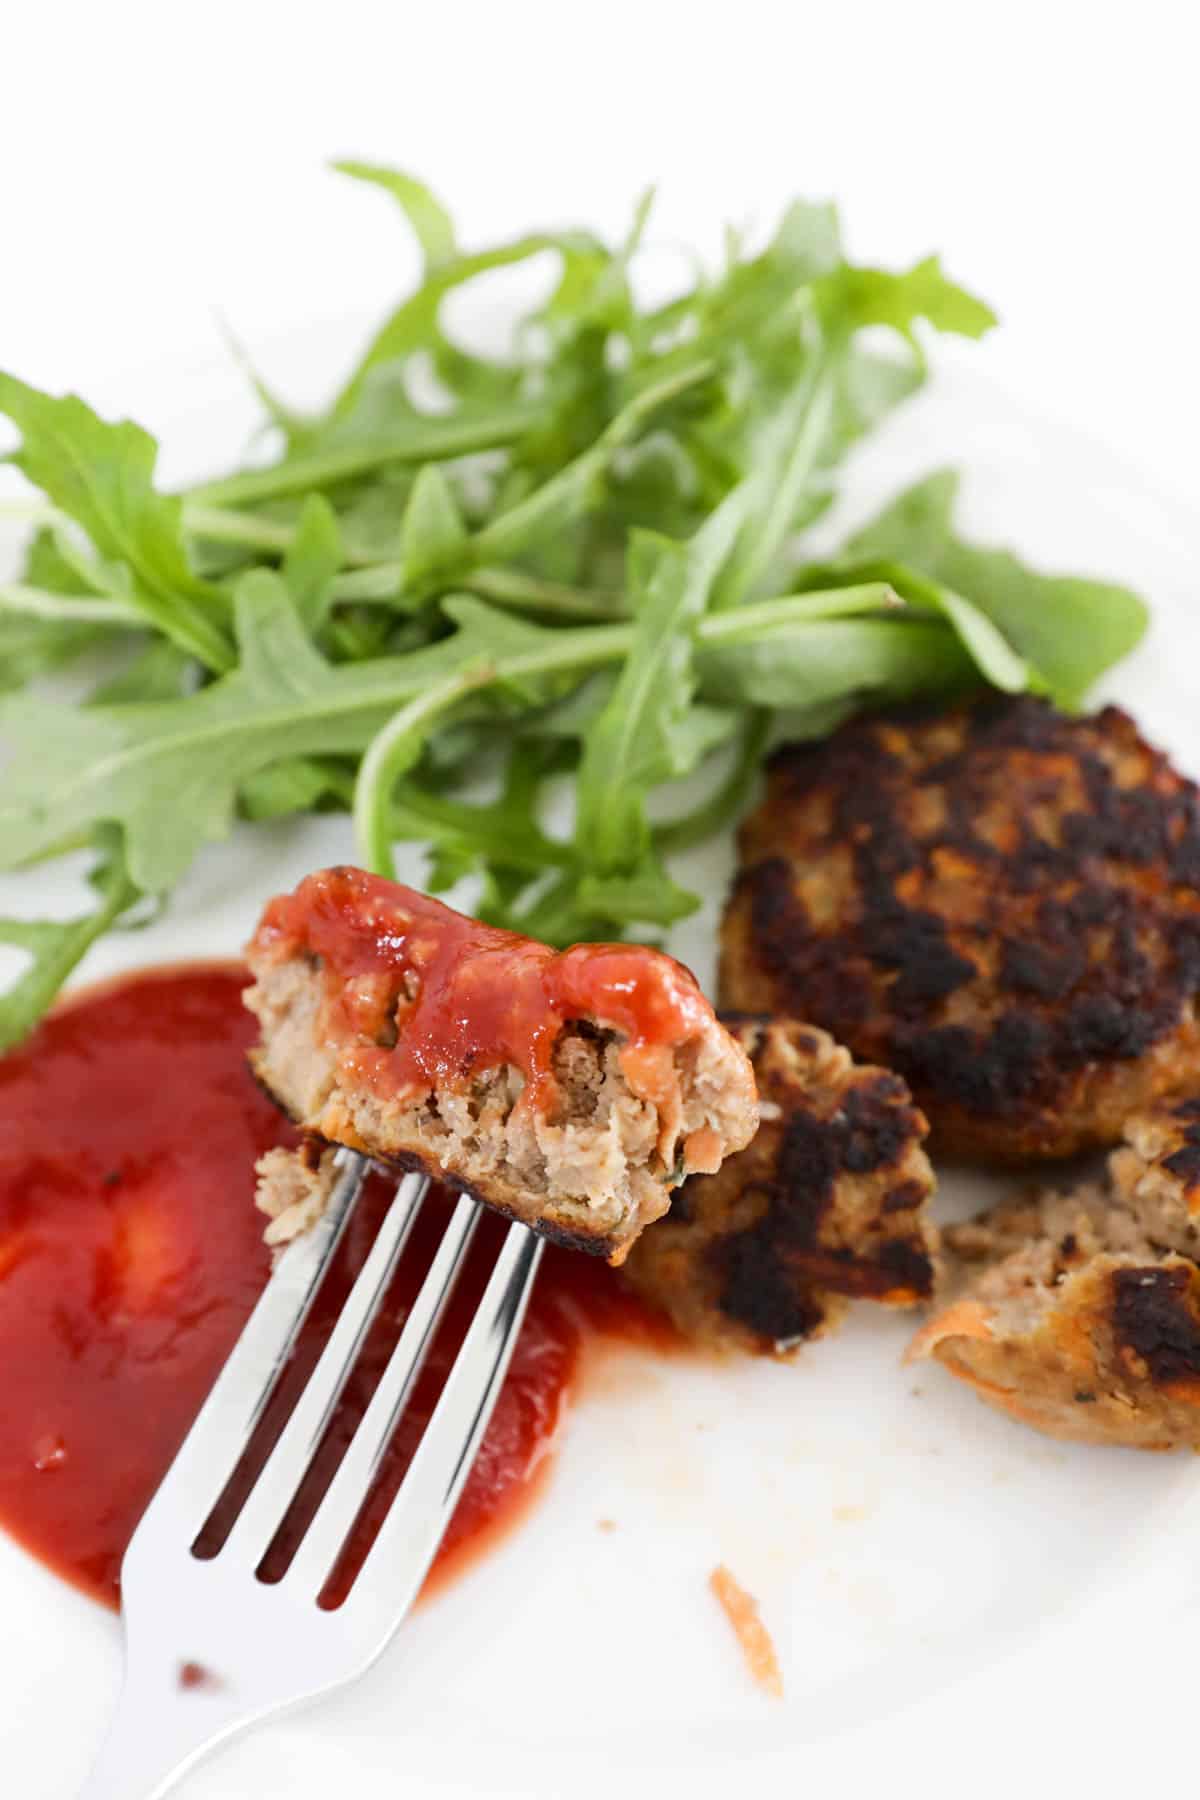
Serve with tomato sauce and vegetables.
Serving Suggestions
Beef rissoles are a classic Australian family favourite, and they can be cooked in a frying pan or on a BBQ.
Serve tender, juicy rissoles with:
- A salad at your next BBQ - creamy potato salad, roast vegetable couscous salad, Chang's crispy noodle salad, pasta salad or grain salad with pomegranate.
- Mashed potato and steamed vegetables - great for a warm winter meal!
- Sweet potato or potato fries.
- White rice or cauliflower rice.
- And of course... tomato sauce (ketchup)!
Expert Tips
- Form small patties with the mixture - you should get around 20 small rissoles out of this recipe.
- Can be eaten hot or cold - beef rissoles can be eaten hot, or the leftover cooked rissoles can be eaten cold - they make a great lunch snack!
- Serving - serve rissoles with your favourite salads, rice, mashed potato or fries. And plenty of tomato sauce!
- Storing - store cooked rissoles in the fridge and consume within 2 days.
- Freezing - rissoles can be frozen either cooked or uncooked.
FAQ's
While very similar, burgers and rissoles are not exactly the same. Rissoles are traditionally smaller than burgers and are usually made with grated carrot and/or zucchini in the mix.
Yes, you can! You can substitute the beef for lamb, pork, turkey or chicken mince.
Yes, they can. You can freeze the uncooked beef rissoles in an airtight container, just use baking paper between the layers so that they don't stick together.
You can also freeze leftover cooked rissoles for up to 1 month. Allow cooked rissoles to defrost before consuming cold or reheating.
Sure, whilst beef rissoles are usually eaten hot, the leftovers are great to eat cold the next day.
Related Recipes
Recipes using beef mince are versatile and budget-friendly.
Here's a few of my most popular beef mince dinners:
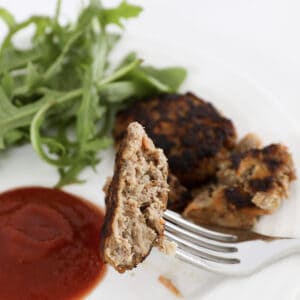
Beef Rissoles
Ingredients
- 1 brown onion medium, grated
- 1 carrot medium, grated
- 1 clove (1 tsp) garlic minced
- 500 g beef mince
- 45 g panko breadcrumbs or normal breadcrumbs
- 1 egg
- 1 teaspoon dried mixed herbs
- 1 tablespoon Worcestershire sauce
- 2 tablespoon BBQ sauce
- salt and pepper to season
- olive oil for cooking
Instructions
- Grate the onion and carrot and place into a large bowl. If using a Thermomix - roughly chop the carrot and onion and place into the Thermomix bowl, along with the garlic clove. Mix for 6 seconds, Speed 8.
- Add the minced garlic, beef mince, panko breadcrumbs, egg, dried mixed herbs, Worcestershire sauce, BBQ sauce, salt and pepper. If using a Thermomix - add the remaining ingredients and mix for 10 seconds, Speed 4, Scrape down the bowl and repeat until combined.
- Scoop up small handfuls of the mixture (approx 2-3 tablespoons) and shape into small balls. Flatten slightly.
- Heat olive oil in a frying pan over medium heat. Cook the rissoles for 4-5 minutes on one side before turning over and cooking for a further 4 minutes (or until cooked through).
- Repeat with remaining rissoles.
Notes
- Form small patties with the mixture - you should get around 20 small rissoles out of this recipe.
- Can be eaten hot or cold - rissoles can be eaten hot, or the leftover cooked rissoles can be eaten cold.
- Serving - serve rissoles with your favourite salads, rice, mashed potato or fries. And plenty of tomato sauce!
- Storing - store cooked rissoles in the fridge and consume within 2 days.
- Freezing - you can freeze the uncooked rissoles in an airtight container, just use baking paper between the layers so that they don't stick together.
You can also freeze leftover cooked rissoles for up to 1 month. Allow cooked rissoles to defrost before consuming cold or reheating.


San says
These sound delish!
Could you cook them in the air fryer so you think?
If so what temp and time would you use? I always end up overcooking things in the stove as they never seem cooked properly in the middle.
Lucy says
Hi San, ooh good question! You could but the time and temp would depend on your particular brand of air fryer.