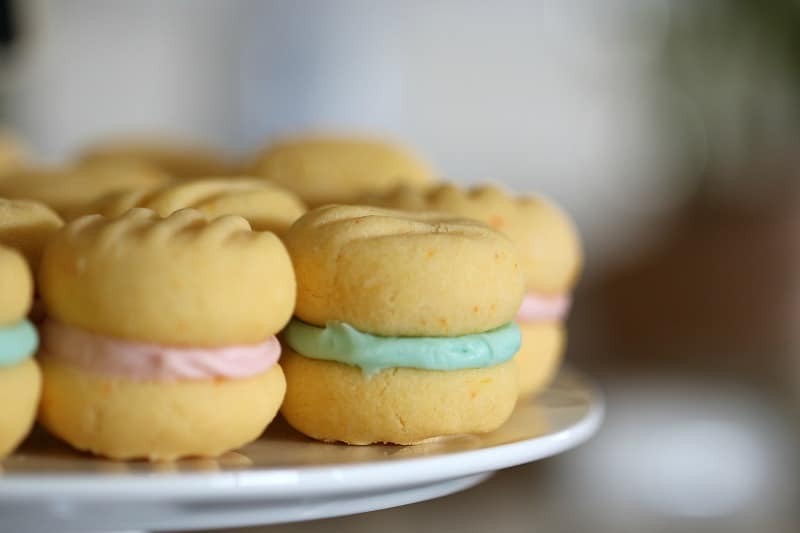
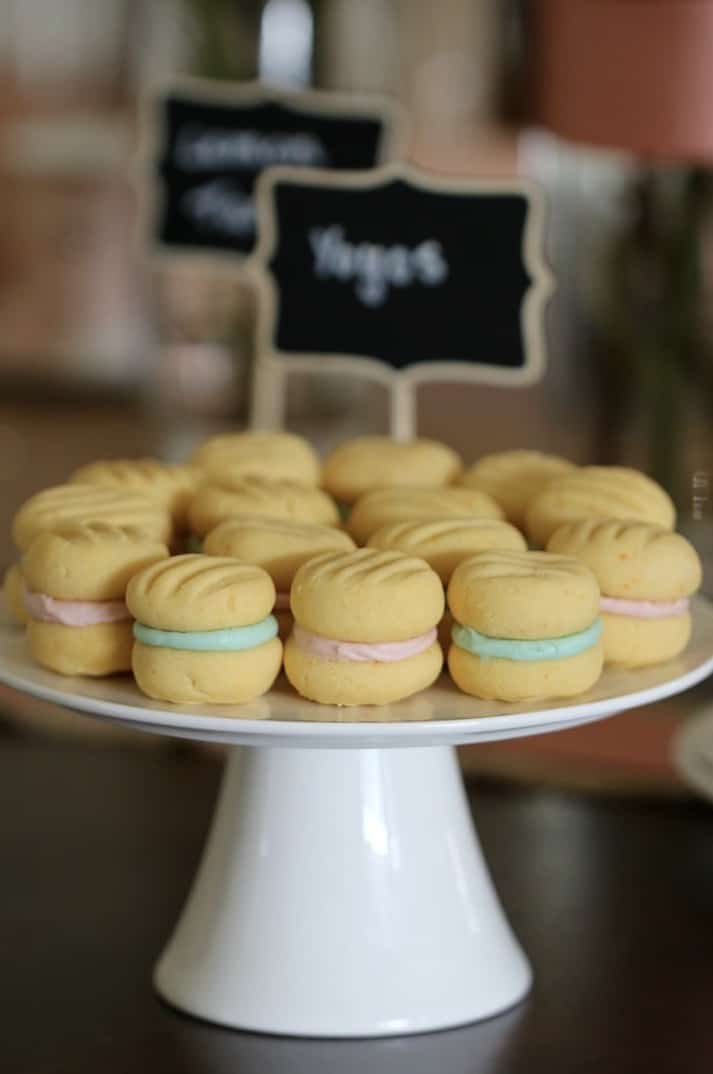
Classic melt-in-your-mouth Yo Yo biscuits with a sweet creamy filling. These soft and crumbly custard cookies are inspired by the original CWA recipe.
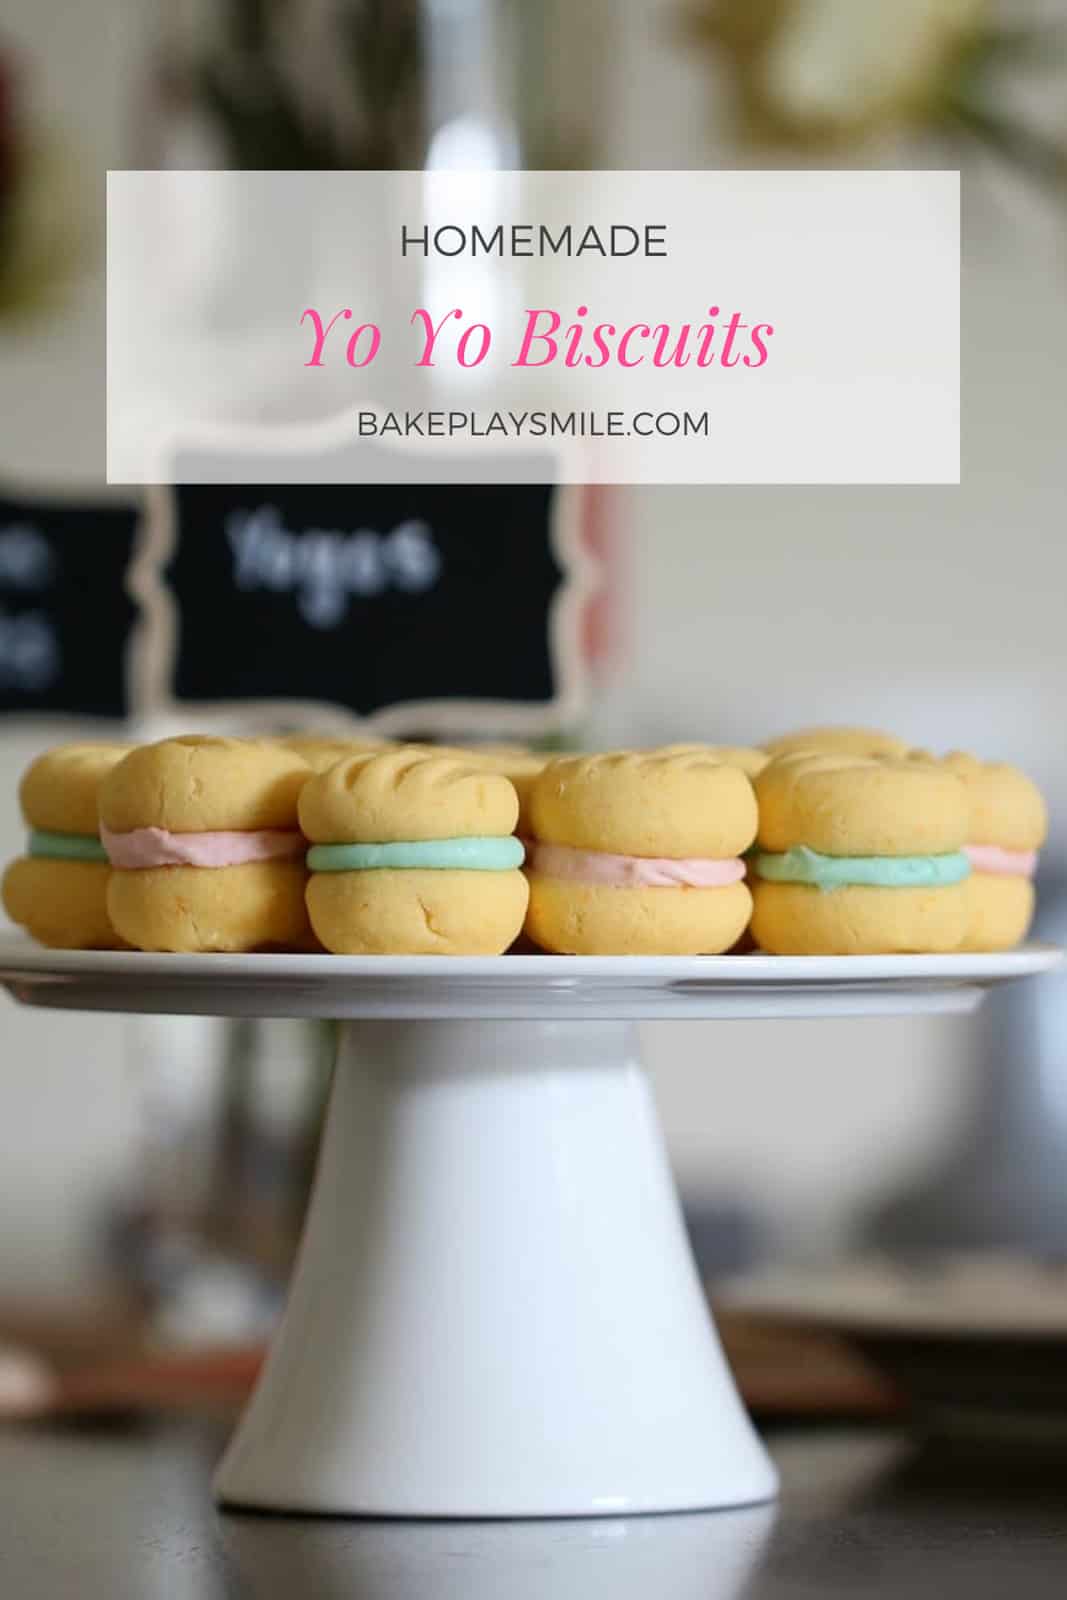
There isn't a situation I can think of that isn't perfect for a batch of yo yos! Whether you're filling up the biscuit tin, having a bake sale or fundraiser, preparing party food, packing lunch boxes or simply planning a morning tea with friends, these classic biscuits are always a hit!
The Best Yo Yo Biscuit Recipe
Yo yo biscuits are a classic Australian biscuit. They are named yo yo's because they look similar to an old fashioned yoyo toy.
Yo yo biscuits were originally made famous by the CWA (Country Women's Association) and are popular at farmers markets, bake sales, bakeries and cafes.
My recipe is based on the original CWA recipe but with a few tweaks and changes (plus of course, I've included both conventional and Thermomix methods).
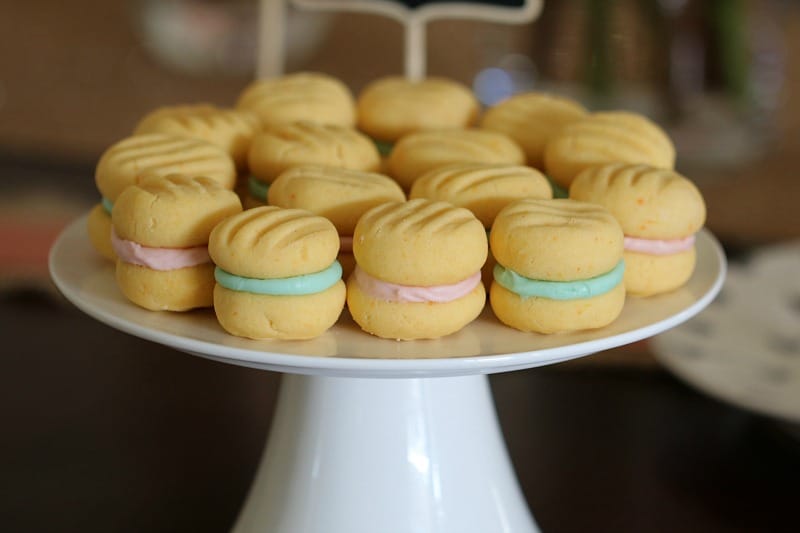
Yo Yo Biscuits Vs Melting Moments
There's always a lot of confusion over whether yo yo biscuits and melting moments are the same thing.
While they are VERY similar in taste, texture and appearance, they are different to one another.
Yo Yo biscuits are made using custard powder which gives them the most INCREDIBLE, creamy flavour.
Whereas melting moments (which are also delicious) are made using cornflour.
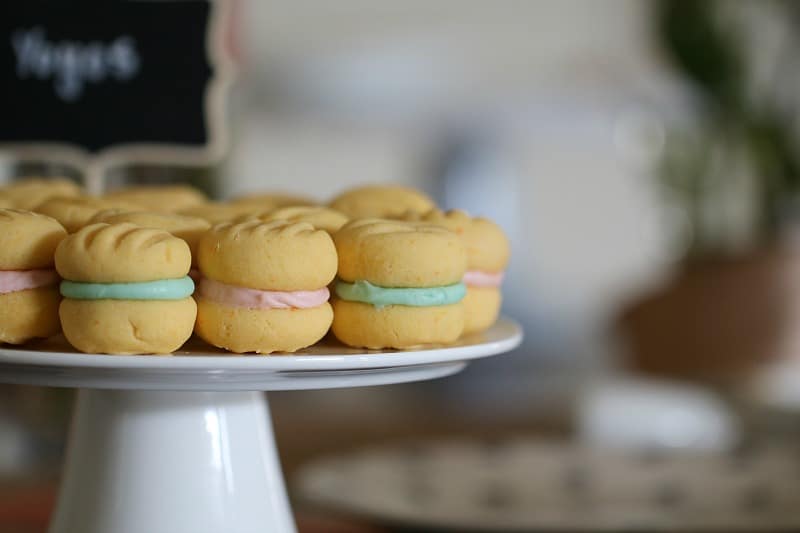
Why You're Going To Love These Biscuits
Yo Yo biscuits were one of my favourite treats growing up... and I love them just as much now!
Here's what makes them so delicious:
- old fashioned recipe - you know a recipe is a good one when it's stood the test of time. Yo yo's have been made for generations and are just as popular as ever.
- budget-friendly - like most classic recipes, these biscuits are made using pantry and fridge staples making them a great money saving option!
- 5 star recipe: everyone LOVES this foolproof recipe. Here's a few reader comments...
"Absolute perfection! These yoyos are beautiful- followed the recipe exactly and they turned out so lovely! Thank you so much for sharing! Made my day!" - Alisha
"These are so easy to make and everyone loves them. They are soooo yummy." - Raine
"Just finished my lovely Yo Yo Biscuits & they turned out perfect" - Antonia
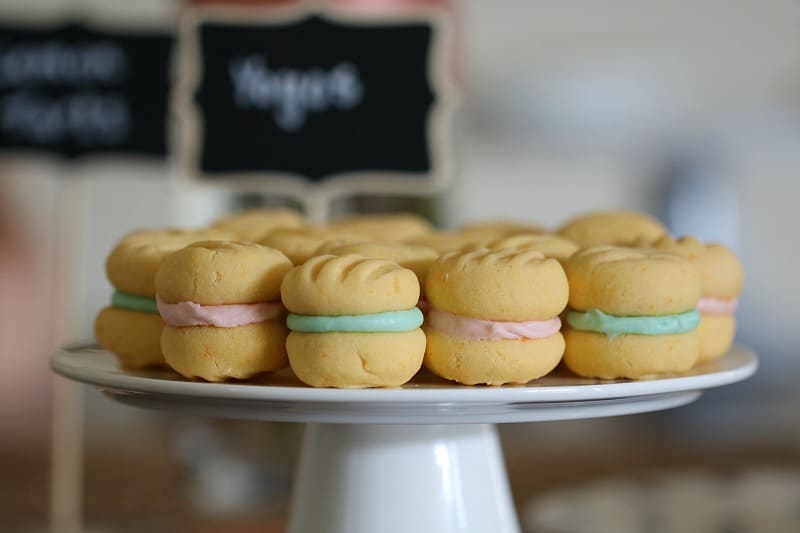
What You Need
There's no need to break the bank! These simple biscuits are made using basic ingredients:
Note: please scroll to the printable recipe card at the bottom of the post for ingredient quantities and the full detailed method.
- butter - you can use either salted or unsalted butter for this recipe.
- vanilla extract - this helps to give the yo yo's a sweet vanilla flavour (which goes beautifully with the custard powder).
- icing sugar - also known as powdered sugar
- self-raising flour
- plain flour - also known as all-purpose flour
- custard powder - this is a powdered mix that is used to make custard. It gives the yo yo's the most amazing flavour and melt-in-your-mouth texture.
- lemon juice - this is added to the sweet filling.
- food colouring (optional) - you can leave your icing white or you can colour it with a tiny drop of food colouring (my personal fave is pink!). Go easy on the food colouring as you only need the teensiest little bit!
Recipe Tips
Yo yo biscuits are so easy to make - but these simple tips will ensure you have perfect little yo yo's every single time!
- Roll the dough into very small balls - because you will be sandwiching two of the biscuits together with the filling, you want to ensure that they are small in size. Think petite little afternoon tea bites!
- Press down lightly with a fork - get that classic lined appearance by very gently pressing down on the top of the dough balls with a fork.
- Make sure your oven isn't too hot - avoid the biscuits cracking by not over-heating your oven. Turn the trays partway through cooking.
- Don't overcook - these cookies do not take long at all to bake! Remove from the oven after 10 minutes (12 minutes if your biscuits are slightly bigger) and allow to cool. The biscuits will firm on cooling.
- Icing sugar options - you can use either soft icing sugar mixture or pure icing sugar for the filling. I like to use pure icing sugar as it helps to set the filling firm. Either soft icing sugar mixture or pure icing sugar can be used in the biscuit mixture.
FAQ
Yo yos are traditionally a dry and crumbly biscuit - so well done! The crumbliness is what gives the biscuits that delicious melt-in-your-mouth texture. If you think that they are too dry, reduce the cooking time slightly.
Yes, absolutely! Omit the food colouring and the lemon juice and add a small amount of passionfruit pulp. This is one of my favourite filling ideas.
No, of course not! Lots of people enjoy the biscuits on their own without any filling. You can also add chocolate chips to the mixture if you like. Note: the sweet, creamy and soft filling is a delicious contrast to the crumbly biscuits, so definitely give this recipe a try with the icing filling first!
No they are not. The Arnott's biscuits are flat sweet honey biscuits that do not have any filling. They are completely different biscuits to homemade yo yo's.
Yes, yes, of course! You know how much I love my Thermomix! The recipe card below includes both conventional (stand-mixer or beaters) and Thermomix methods for making yo yos.
Storing & Freezing Yo Yos
Store the yo yo biscuits in an airtight container at room temperature for up to 1 week.
Alternatively, freeze in an airtight container for up to 1 month.
More Classic Australian Recipes
Have a browse through my collection of Australian recipes - including Milo inspired desserts, to Tim Tam sweet treats, choc ripple cakes, iced vovo tarts, lamington ice-cream cake and more!
Click here to browse my Australian recipes.
WANT EVEN MORE DELICIOUS RECIPES? Subscribe to my newsletter or follow along on Facebook or Instagram. And if you love baking, then please come and join my Facebook cooking club group or subscribe to my YouTube channel.
Yo-Yo Biscuits
Ingredients
- 180 g butter at room temperature
- 1 tsp vanilla extract
- ⅓ cup (50g) icing sugar
- 1 cup (150g) self raising flour
- ½ cup (75g) plain flour
- ½ cup (60g) custard powder
For the filling
- 250 g icing sugar
- 40 g butter at room temperature
- 2 tsp vanilla esence
- ½ tsp lemon juice
- 1 drop pink food colouring optional
Instructions
Conventional Method
- Preheat oven to 160 degrees celsius (fan-forced).
- Line two baking trays with baking paper.
- Sift the icing sugar into a large bowl.
- Add the butter and vanilla essence.
- Beat with a stand mixer or hand-held beaters until smooth and creamy.
- Sift into the bowl the self raising flour, plain flour and custard powder. Stir well to combine.
- Roll mixture into teaspoonful sized balls and place 5cm apart on the prepared baking trays.
- Press the tops of the balls lightly with a fork.
- Bake for 10-12 minutes or until just ever so lightly golden.
- Leave to cool on the trays for 10 minutes before moving to a wire rack to cool completely.
- To make the filling, beat the butter, vanilla essence and lemon juice until smooth and creamy.
- Slowly add the sifted icing sugar, beating well in between additions.
- When the mixture is completely combined and smooth, add one drop of pink food colouring and beat until the colour is evenly dispersed.
- Join two biscuits together with 1tsp of filling.
Thermomix Method
- Preheat oven to 160 degrees celsius (fan-forced). Line two baking trays with baking paper.
- Measure the self raising flour, plain flour and custard powder into the TM bowl and sift on Speed 3 for 30 seconds to combine. Place the flour mixture into a separate bowl and set aside.
- Place the butter, vanilla essence and icing sugar in the TM bowl. Beat on Speed 4 for approximately 1 minute or until the mixture is pale, fluffy and smooth.
- Add the flour mixture and combine on Speed 1, slowly increasing to Speed 4 until smooth and completely combined (if your mixture is too sticky, add a little more flour).
- Roll mixture into teaspoonful sized balls and place 5cm apart on the prepared baking trays. Press the tops of the balls lightly with a fork.
- Bake for 10-12 minutes or until just lightly golden. Leave to cool on the trays for 10 minutes before moving to a wire rack to cool completely.
- To make the filling, combine the butter and icing sugar on Speed 4 until pale and smooth. Add the vanilla essence, lemon juice and one drop of pink food colouring. Beat for 1 minute, Speed 6, or until smooth and fluffy.
- Join two biscuits together with 1 teaspoon of filling.
Notes
- Roll the dough into very small balls – because you will be sandwiching two of the biscuits together with the filling, you want to ensure that they are small in size. Think petite little afternoon tea bites!
- Press down lightly with a fork – get that classic lined appearance by very gently pressing down on the top of the dough balls with a fork.
- Make sure your oven isn’t too hot – avoid the biscuits cracking by not over-heating your oven. Turn the trays partway through cooking.
- Don’t overcook – these cookies do not take long at all to bake! Remove from the oven after 10 minutes (12 if your biscuits are slightly bigger) and allow to cool. The biscuits will firm on cooling.
- Icing sugar options – you can use either soft icing sugar mixture or pure icing sugar for the filling. I like to use pure icing sugar as it helps to set the filling firm. Either soft icing sugar mixture or pure icing sugar can be used in the biscuit mixture.
- Store the yo yo biscuits in an airtight container at room temperature for up to 1 week.
- Alternatively, freeze in an airtight container for up to 1 month.









Jo
Delicious
Vani
Best and easy biscuits so easy make and so tasty thank you
Lucy
Thank you!
Toini
Thanks Lucy i enjoy your recipes.
Lucy
Thank you!
Alison
Can you use gluten free flour for these biscuits?
Lucy
I haven't personally made with these gluten-free flour (you may have to experiment!)
Mim
delicious