

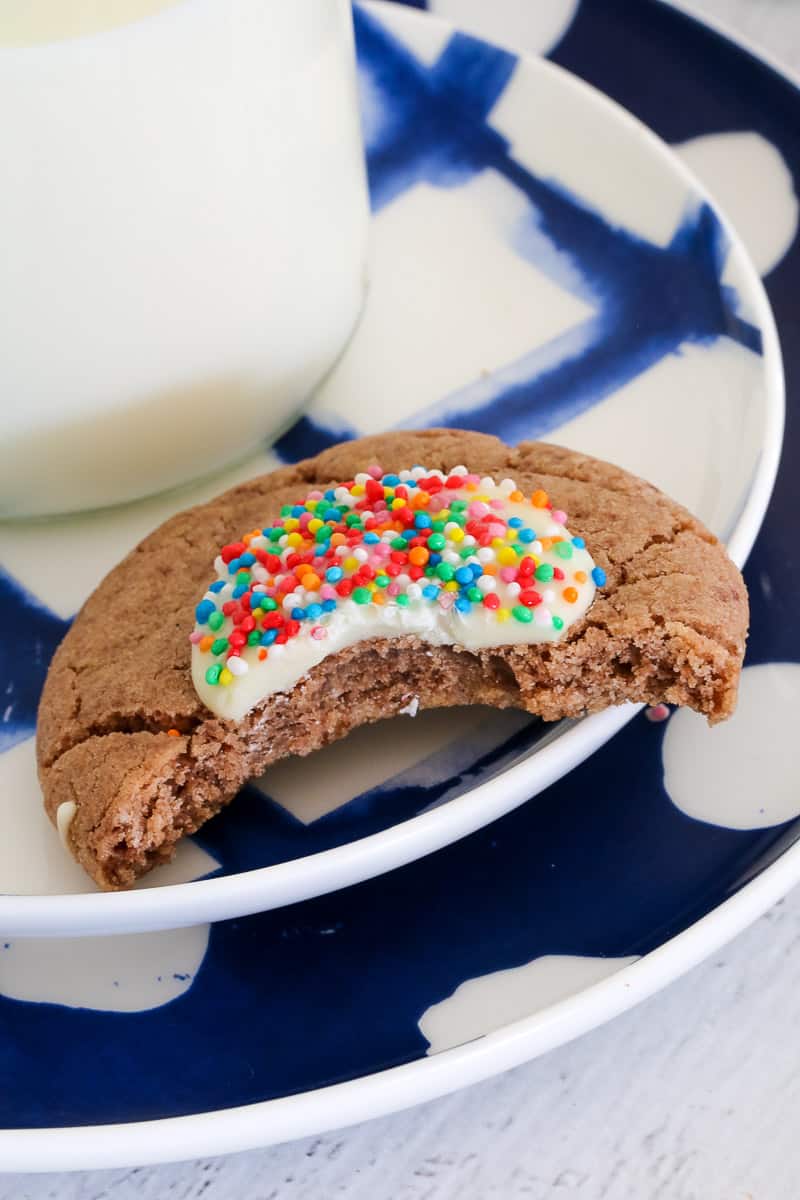
Milo Biscuits are an all-time Australian favourite! Made from just 5 basic ingredients, these quick and easy biscuits are sure to be a hit with the entire family.

5 Ingredient Milo Biscuits
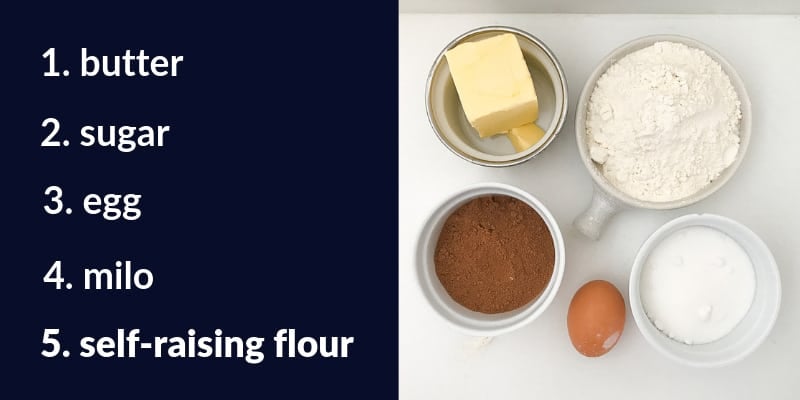
This is such a budget-friendly biscuit recipe using only 5 basic ingredients:
- caster sugar
- butter
- egg
- Milo (*or any malted milk powder)
- self-raising flour
I also like to add a little bit of melted white chocolate and some sprinkles (100s and 1000s) on top for decoration - but this is completely optional!
How To Make Milo Biscuits - 1 Bowl Recipe
We all love eating delicious cookies, but no one wants to spend hours washing up! These biscuits are made using just 1 bowl... so you can spend less time cleaning up and more time eating!

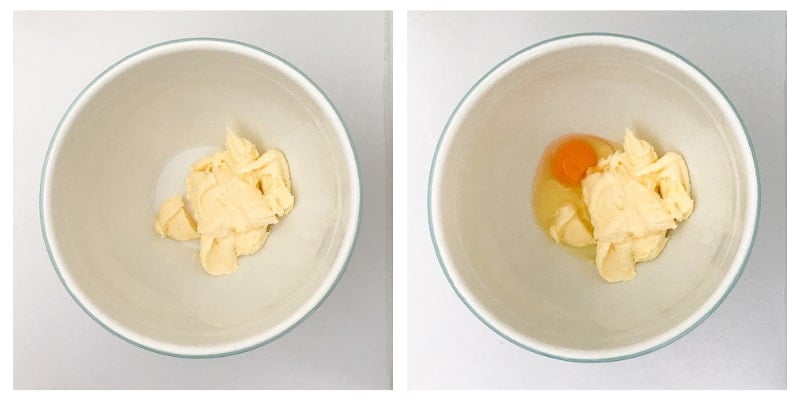
Step 1 - Cream the butter and sugar
Begin by placing the butter (which has been softened to room temperature) and the caster sugar into a bowl. Cream together with a stand-mixer or hand-held beaters until pale and creamy. If you don't have either of these, you can use a spoon and beat for a few minutes.
Step 2 - Add the egg and beat
Add the egg to the mixture and continue beating until well combined.
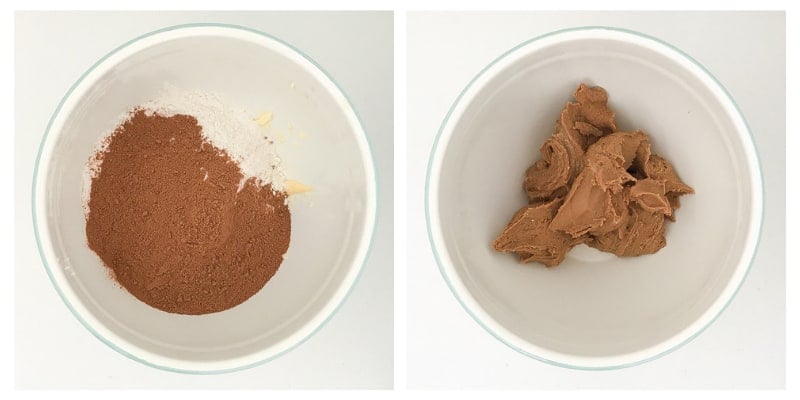
Step 3 - Mix through the Milo and self-raising flour
Use a spoon or your beaters to mix through the dry ingredients. The mixture will be quite sticky - this is totally normal.
Step 4 - Chill the dough (optional)
Chilling the dough in the fridge for 30 minutes will help the cookies to hold their shape when cooked. Even after chilling, the cookies will still spread a little when baked (thanks to the self-raising flour) but not as much as as non-chilled dough. Please note: chilling the dough is an optional step - the cookies are just as delicious without chilling the mixture first.
Step 5 - Roll into balls and bake
Roll tablespoon-sized balls of the mixture and place onto flat baking trays. Leave enough room between each cookie to allow for spreading. Press the biscuits down slightly. Bake for 15 minutes. Please note that the biscuits will still be soft at this stage, but will firm up on cooling.
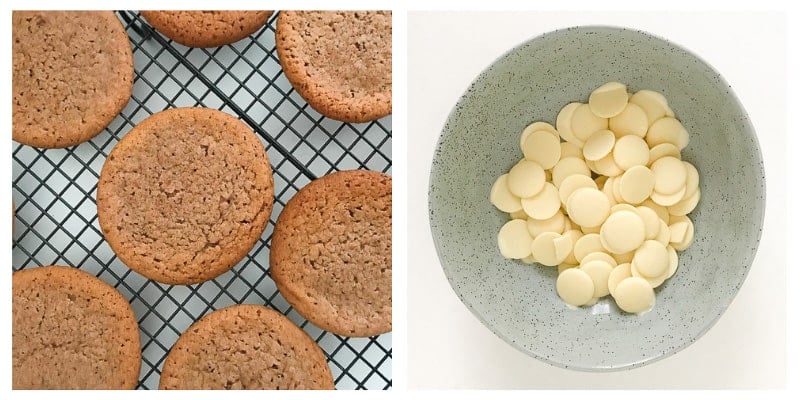
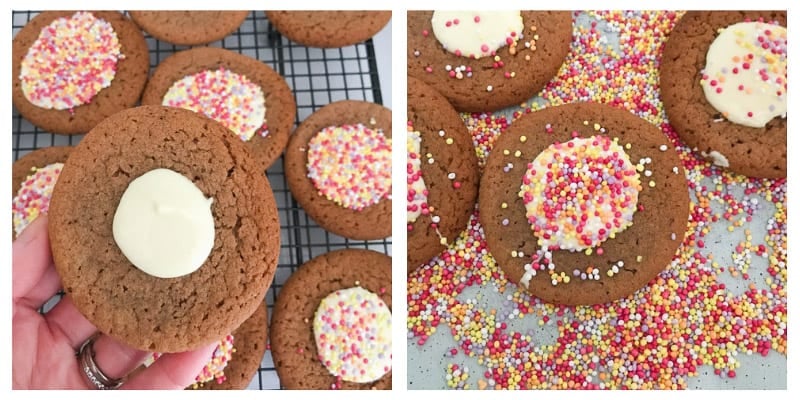
Step 6 - Decorate the cookies (optional)
Add a small amount of melted white chocolate to the middle of each cookie and spread out with a spoon. Sprinkle over 100s and 1000s (sprinkles).
How To Store Milo Biscuits
These cookies can be stored in an airtight container at room temperature for up to 1 week. Alternatively they can be frozen for up to 1 month. The biscuits will start to soften after a few days (but are still super yummy!).

Can You Make Milo Biscuits In The Thermomix?
Yes, absolutely!!! Making Milo biscuits using your Thermomix is so super simple. Check out my detailed instructions in the recipe card below for a step-by-step method. And don't forget to melt your chocolate in there too when decorating!

Substitutes For Milo
Milo is a brand of malted milk powder made by Nestle and readily available from all supermarkets in Australia. If you can't buy Milo, you can use any brand of malted milk powder you like. I often use the Aldi brand when making these biscuits and they're just as delicious.
More Milo Recipes
If there's always a tin of Milo open in your house (like mine!), then you need these recipes in your life!
- 4 Ingredient Milo & Weet-Bix Balls
- Easy Oat & Milo Slice
- 4 Ingredient Milo Balls
- Microwave Tim Tam & Milo Fudge
- Milo Mousse Chocolate Slice
WANT EVEN MORE DELICIOUS RECIPES? Subscribe to my newsletter or follow along on Facebook or Instagram. And if you love baking, then please come and join my Facebook cooking club group or subscribe to my YouTube channel.

Milo Biscuits
Ingredients
- 170 g (¾ cup) caster sugar
- 125 g butter softened to room temperature
- 1 egg
- 65g (½ cup) Milo (or malted milk powder)
- 225 (1 ½ cups) self raising flour
- 150 g white chocolate melted, optional
- sprinkles (or 100s and 1000s), optional
Instructions
Conventional Method
- Preheat oven to 160 degrees celsius (fan forced) and line two flat baking trays with baking paper. Set aside.
- Cream the caster sugar and butter until pale.
- Add the egg and beat to combine.
- Add the Milo and self raising flour and mix to combine.
- Chill the dough in the fridge for a minimum of 30 minutes to help the biscuits keep their shape when cooked (optional step).
- Roll the mixture into tablespoon-sized balls and place onto the prepared trays (leaving a gap to allow for spreading). Press the balls down slightly.
- Bake for 15 minutes. Allow to cool on the trays for 10 minutes before transferring to a wire rack to cool completely.
- Optional: When the biscuits are completely cooled, decorate with a small amount of melted white chocolate and sprinkles.
Thermomix Method
- Preheat oven to 160 degrees celsius (fan forced) and line two flat baking trays with baking paper. Set aside.
- Place the caster sugar and butter into the Thermomix bowl. Add the butterfly and mix on Speed 4, 20 seconds. Scrape down the sides and repeat once more (or until pale and fluffy).
- Add the egg and mix for a further 10 seconds, Speed 4.
- Remove the butterfly, add the Milo and self raising flour and mix on Interval (knead function) for 1 minute (or until completely combined).
- Chill the dough in the fridge for a minimum of 30 minutes to help the biscuits keep their shape when cooked (optional step).
- Roll the mixture into tablespoon-sized balls and place onto the prepared trays (leaving a gap to allow for spreading).
- Press the balls down slightly. Bake for 15 minutes.
- Allow to cool on the trays for 10 minutes before transferring to a wire rack to cool completely.
- Optional: When the biscuits are completely cooled, decorate with a small amount of melted white chocolate and sprinkles.


Em says
These are so simple to make and taste amazing! I did mine with Milo icing. Definitely going to make again really soon and have shared the recipe and your site with a few friends. Thank you!
Lucy says
Fantastic! And thank you so much!!!