
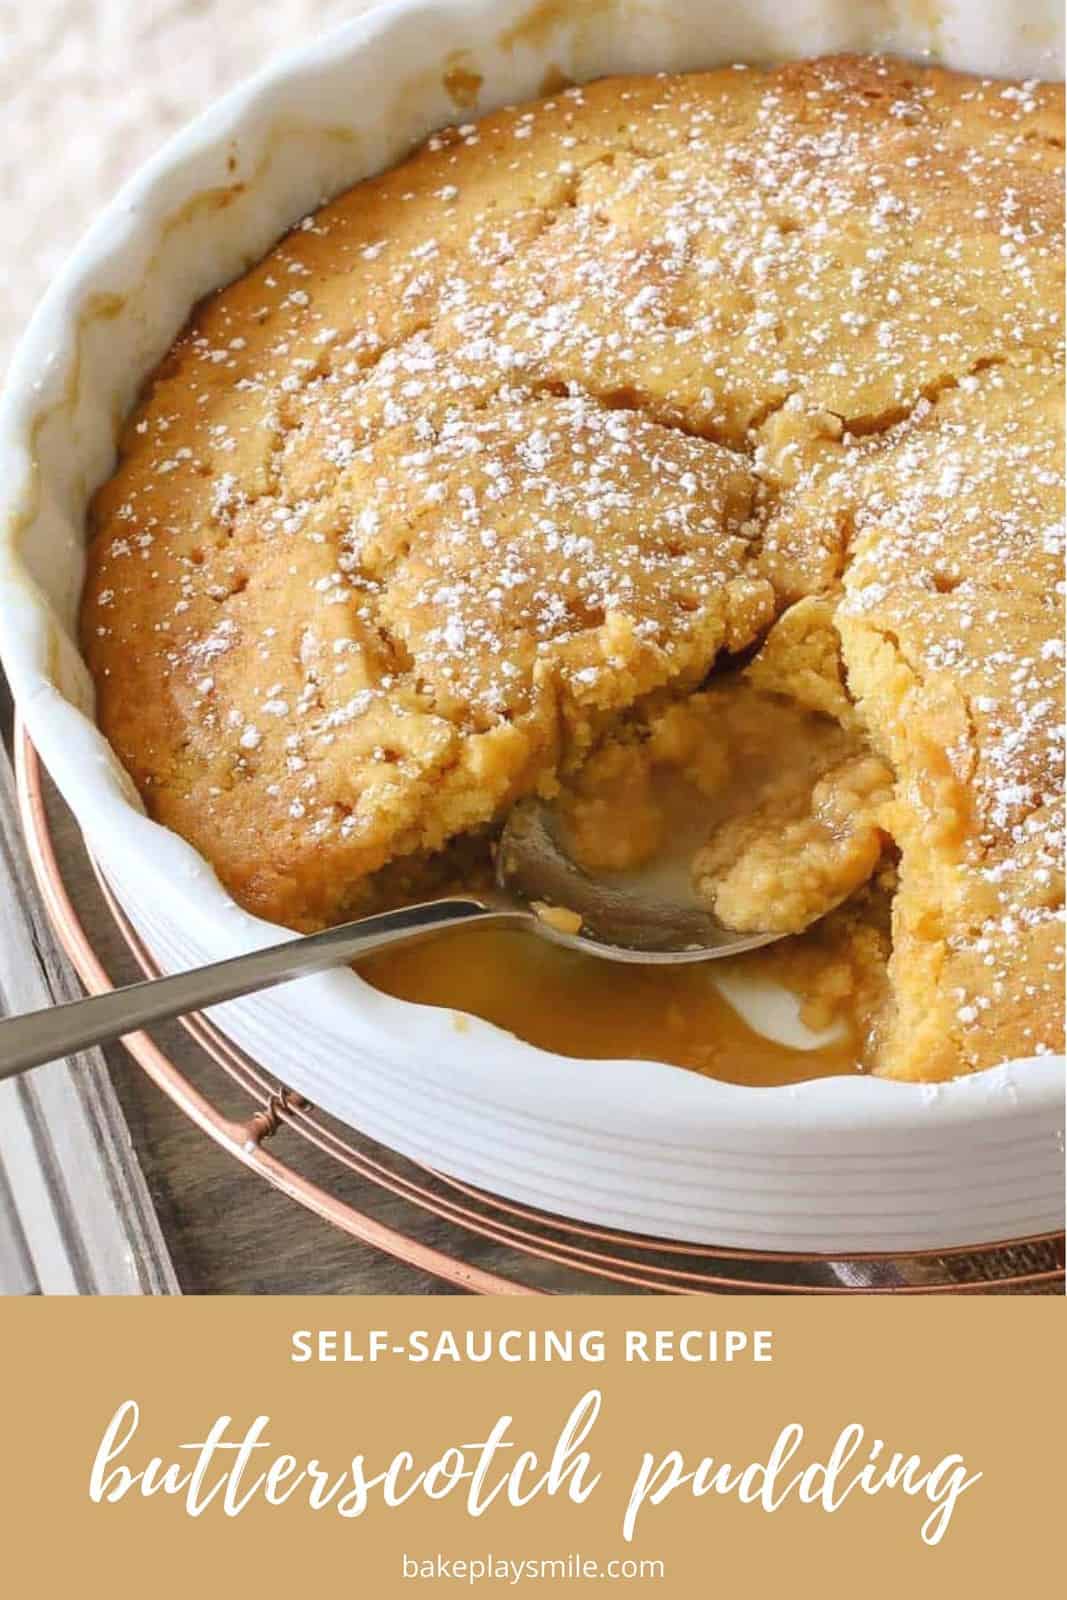
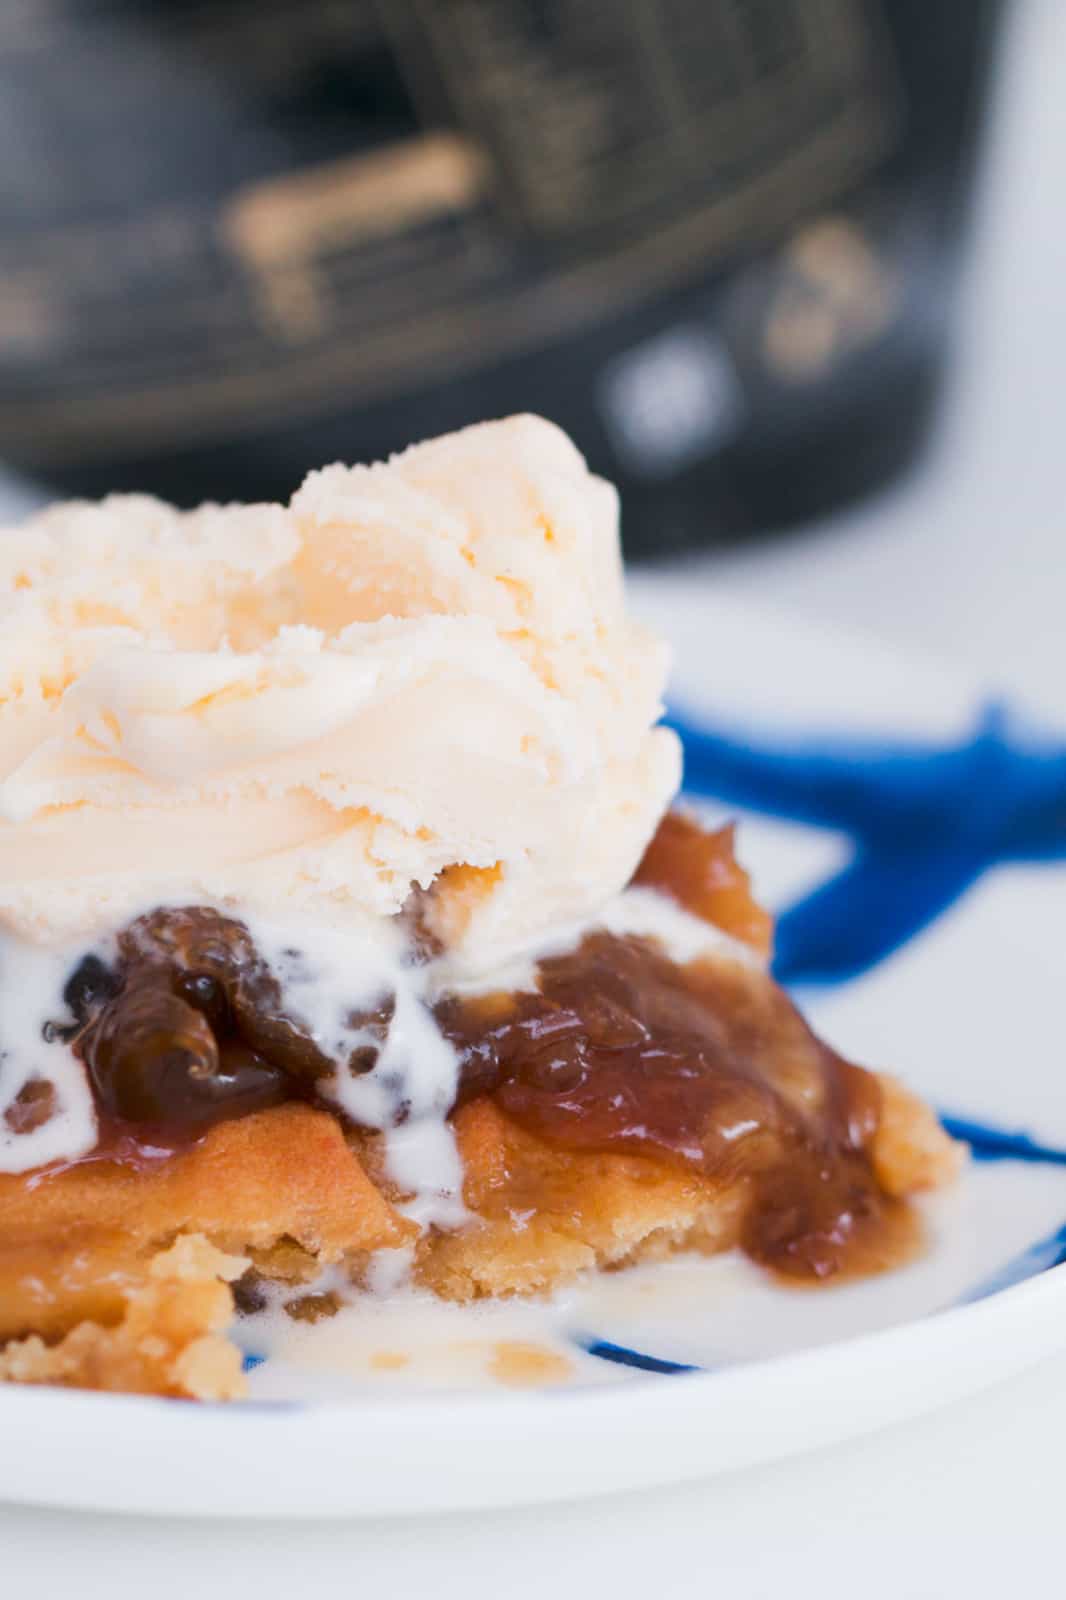
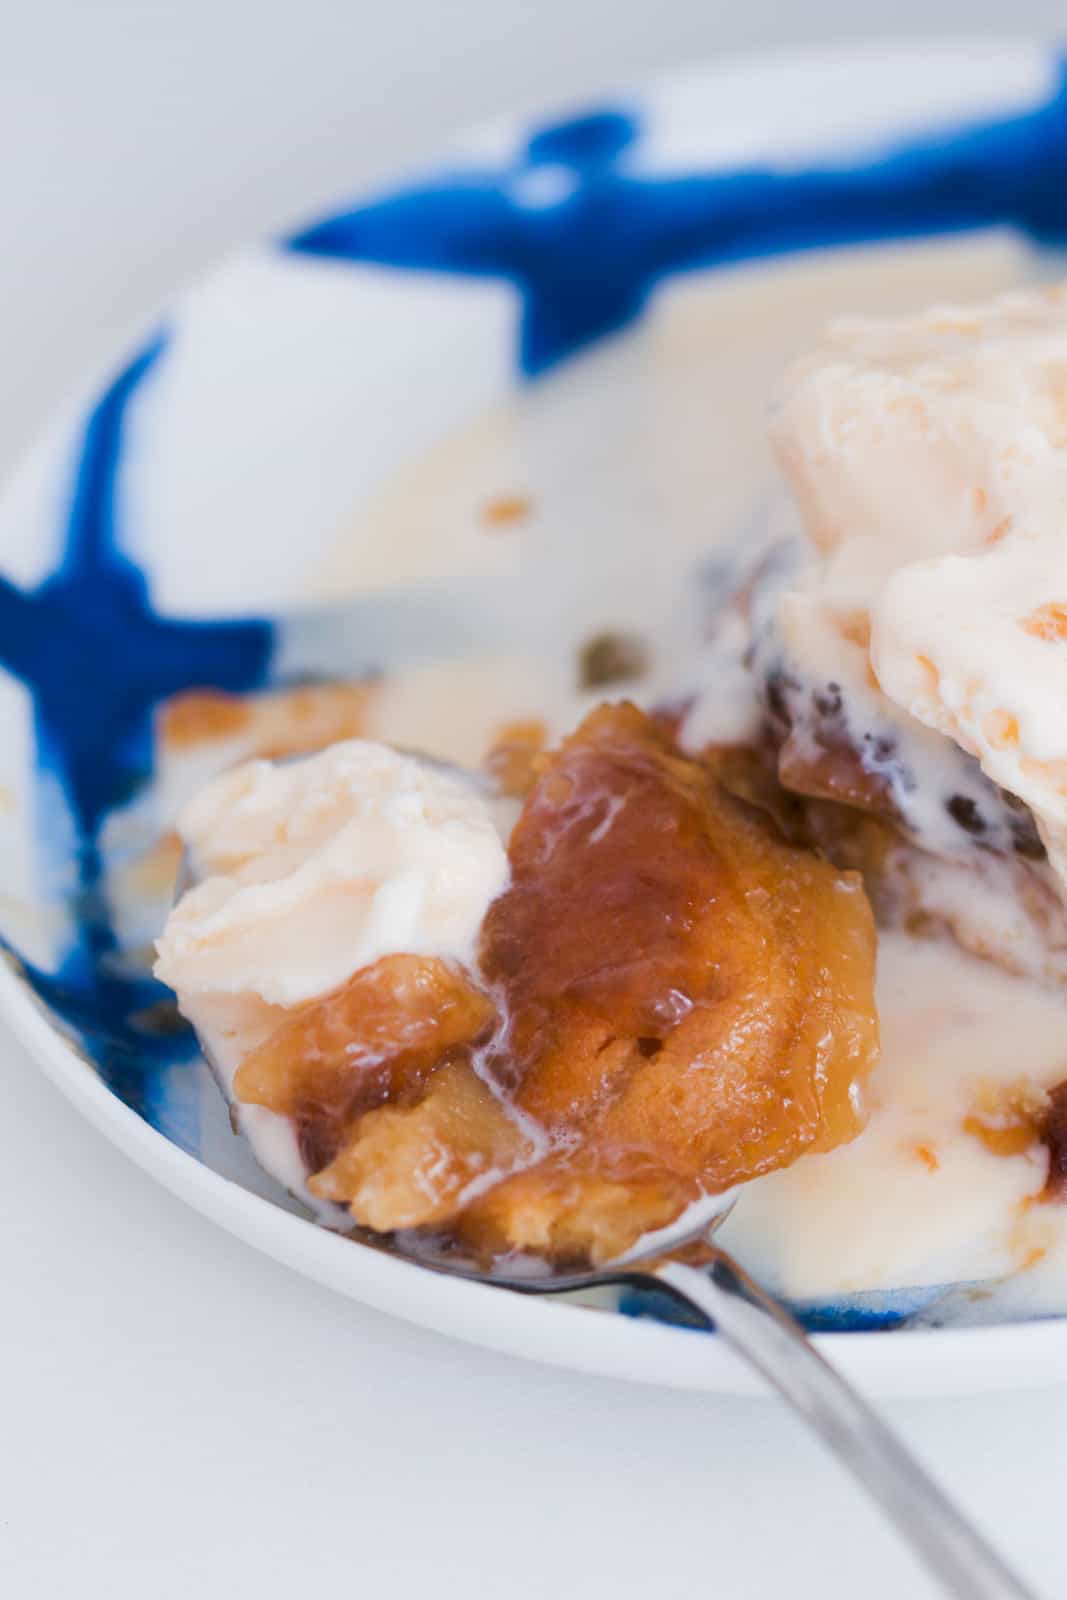
Our simple butterscotch self saucing pudding is the ultimate winter comfort food. A soft and fluffy sponge pudding covered with sweet and rich butterscotch sauce.
For more delicious puddings, try my caramel pudding or sticky date pudding.
It's no secret that I'm a massive fan of dessert at anytime of the year... but winter desserts are my favourite! From a big cosy bowl of apple crumble (with homemade caramel sauce) to a simple apple pie with melt-in-your-mouth pastry... you really can't beat a winter warmer dessert.
And just like the lemon delicious and chocolate self-saucing pudding versions, this butterscotch pudding is always a winner!
What You Need For Butterscotch Pudding
There are two parts to this super easy self-saucing pudding:
- the fluffy sweet sponge
- the sweet butterscotch sauce
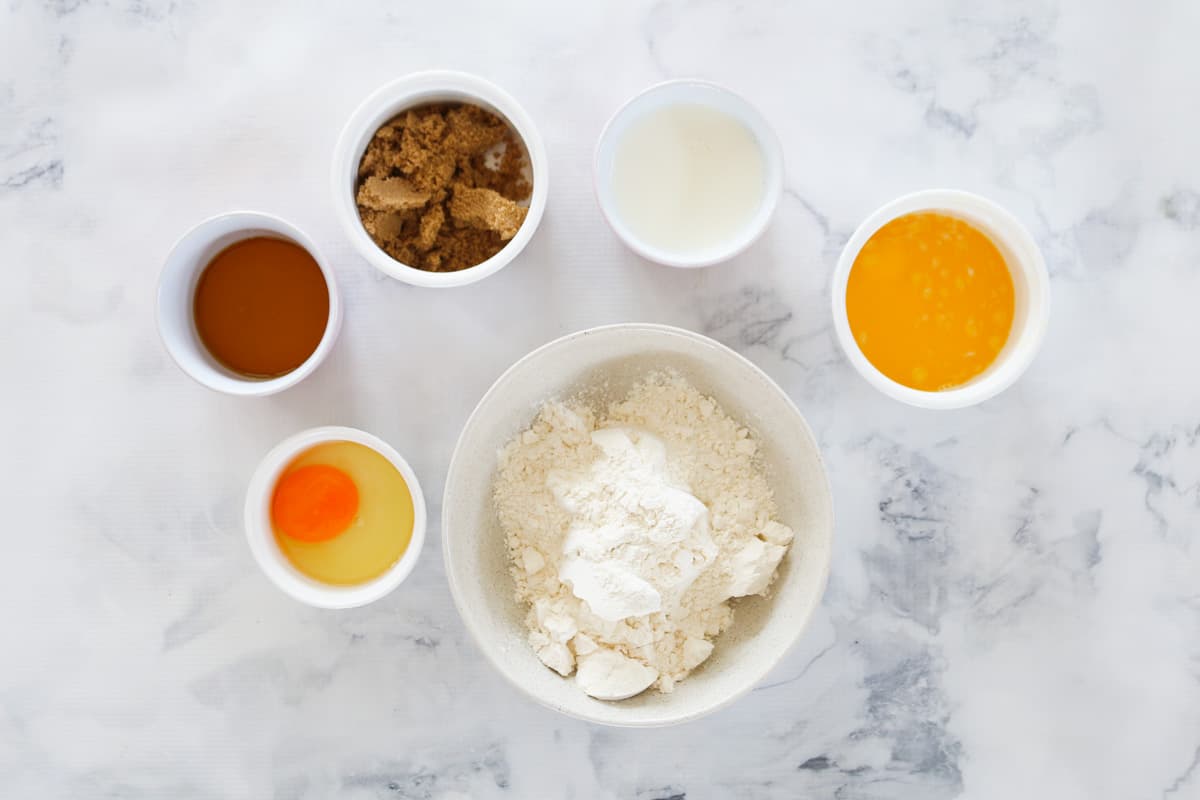
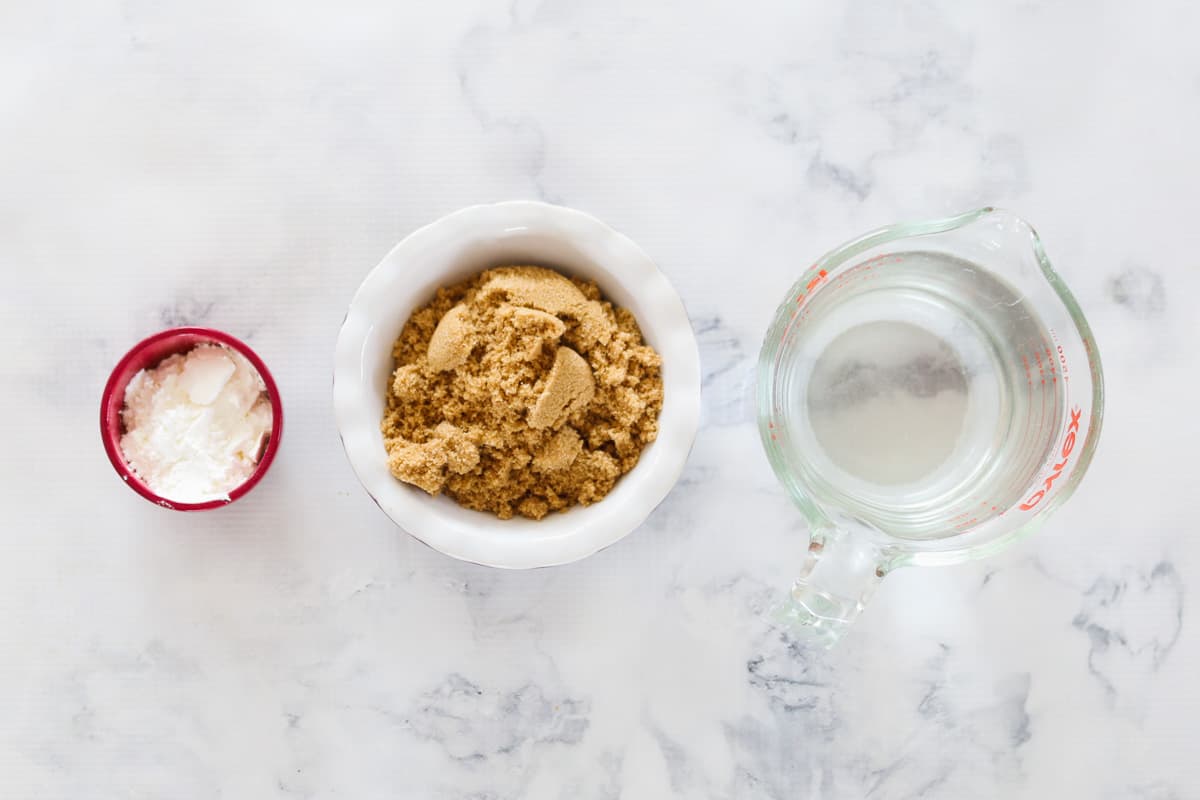
For the sponge, you'll need:
- brown sugar - I recommend using dark brown sugar as it gives the pudding a richer butterscotch flavour. If you don't have dark brown sugar, you can absolutely use normal brown sugar (and it will be just as delicious!).
- self-raising flour - also known as self-rising flour. If you don't have self-raising flour, you can make your own by sifting 2 teaspoons of baking powder through every 1 cup of plain flour.
- melted butter - you can use either salted or unsalted butter in this recipe
- egg - use a large egg (approximately 60g)
- milk - I recommend using full fat (full cream) milk for the best result
- golden syrup - this is a common baking ingredient in Australia and New Zealand. If you can't buy golden syrup, you can replace it with corn syrup, honey or maple syrup.
For the butterscotch sauce, you'll need:
- extra brown sugar - again, dark brown sugar is best but it's totally fine to use normal brown sugar
- cornflour - also known as corn starch. This acts to thicken the rich butterscotch sauce at the base of the pudding.
- boiling water
Please scroll to the recipe card at the bottom for ingredient quantities and the full detailed method.
How To Make Self-Saucing Butterscotch Pudding
A self-saucing pudding is just like a little bit of magic! Once baked, you'll end up with a deliciously soft and fluffy sponge on top... and a sweet sauce hiding underneath.
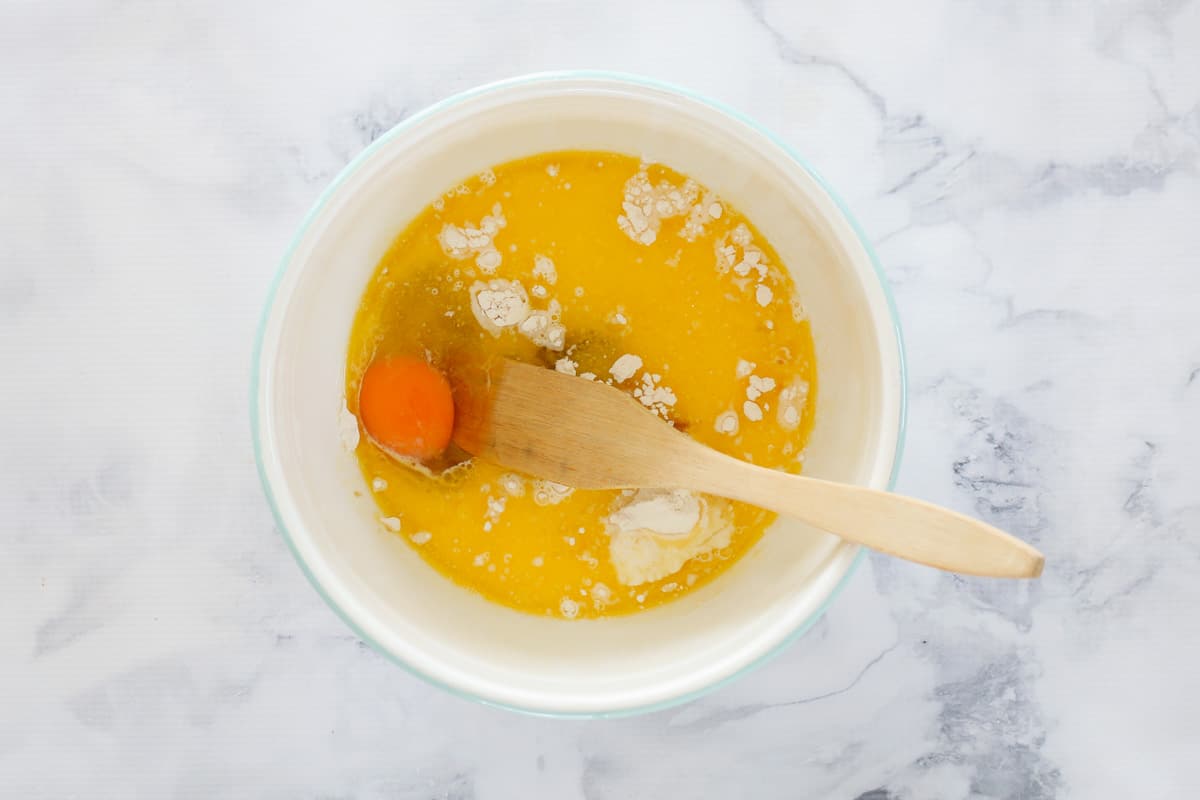
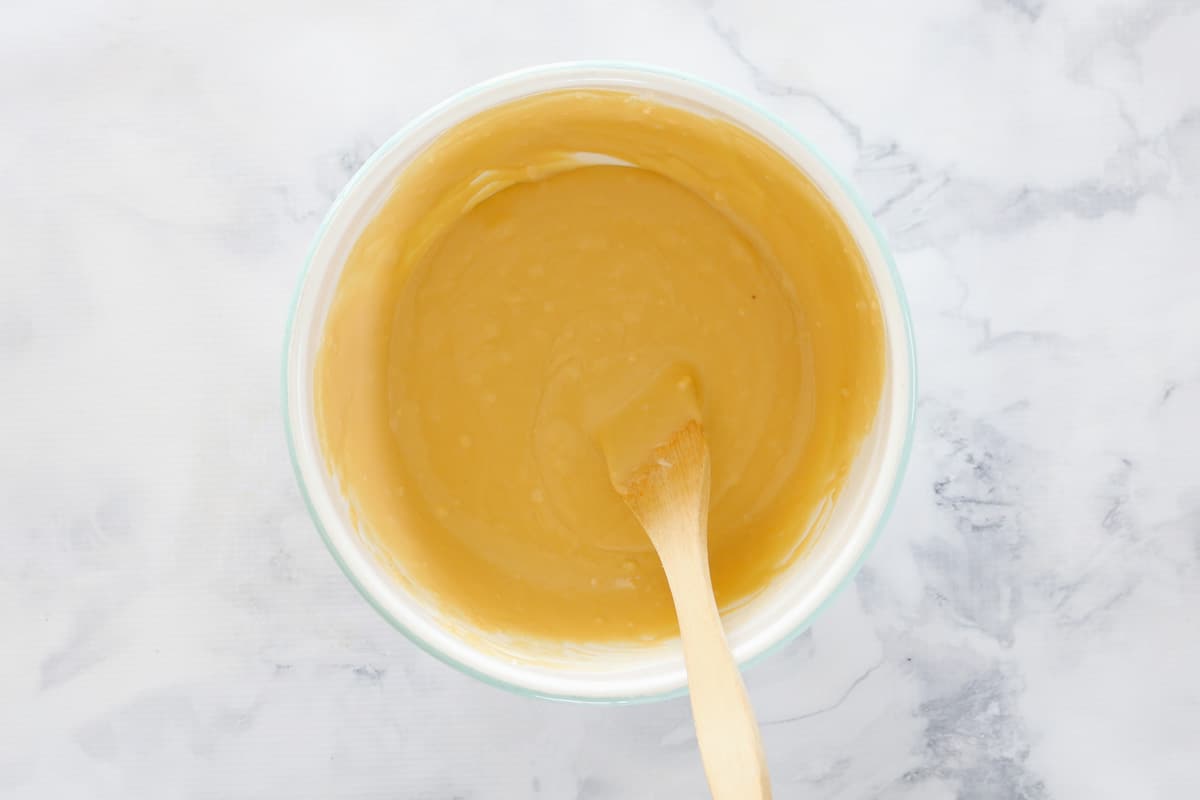
Making The Sponge
Combine all of the sponge ingredients in a large bowl and stir together.
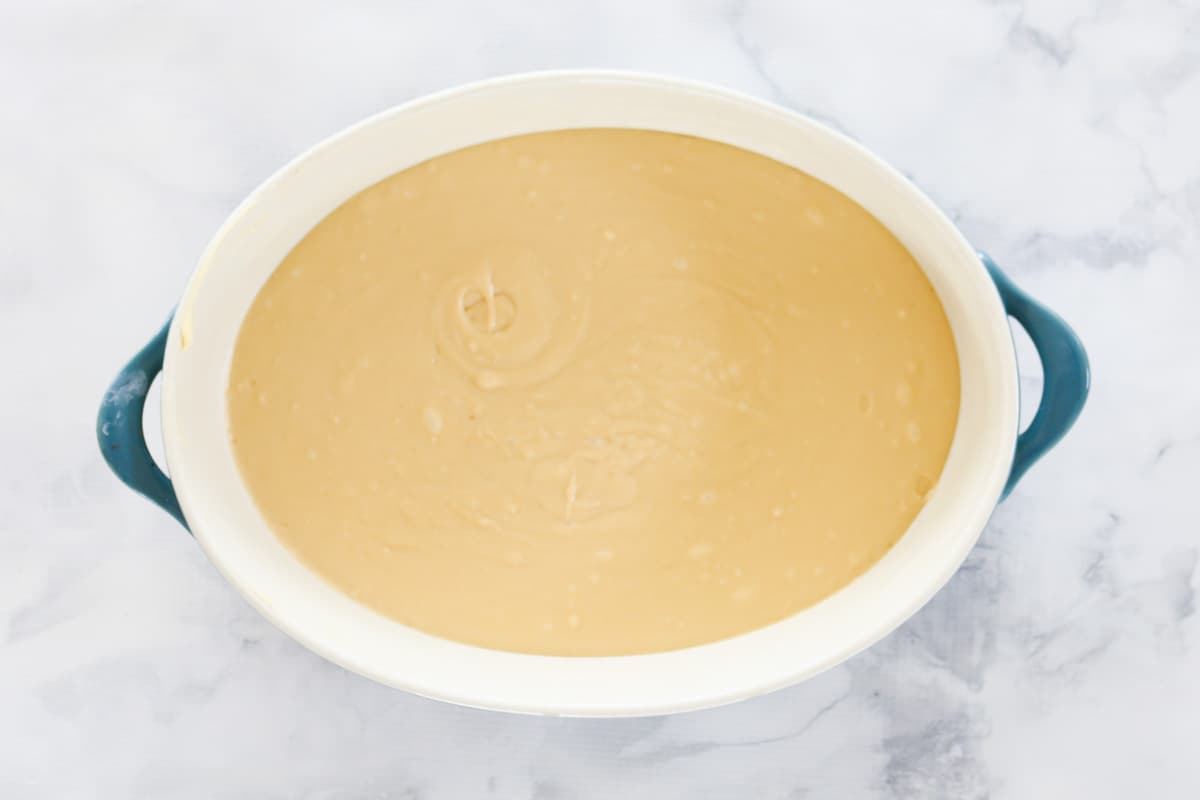
Spread into a greased baking dish.
Making The Sauce
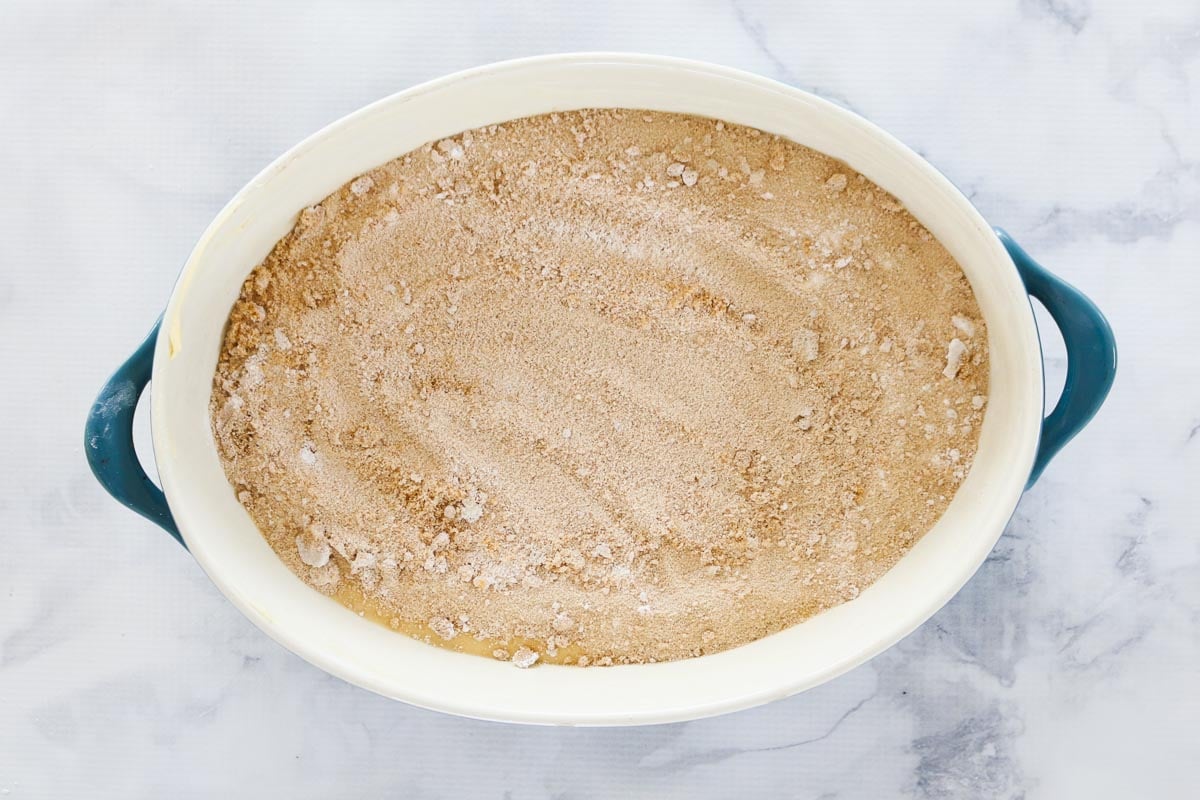
Mix the brown sugar and cornflour together and then sprinkle over the sponge mixture.
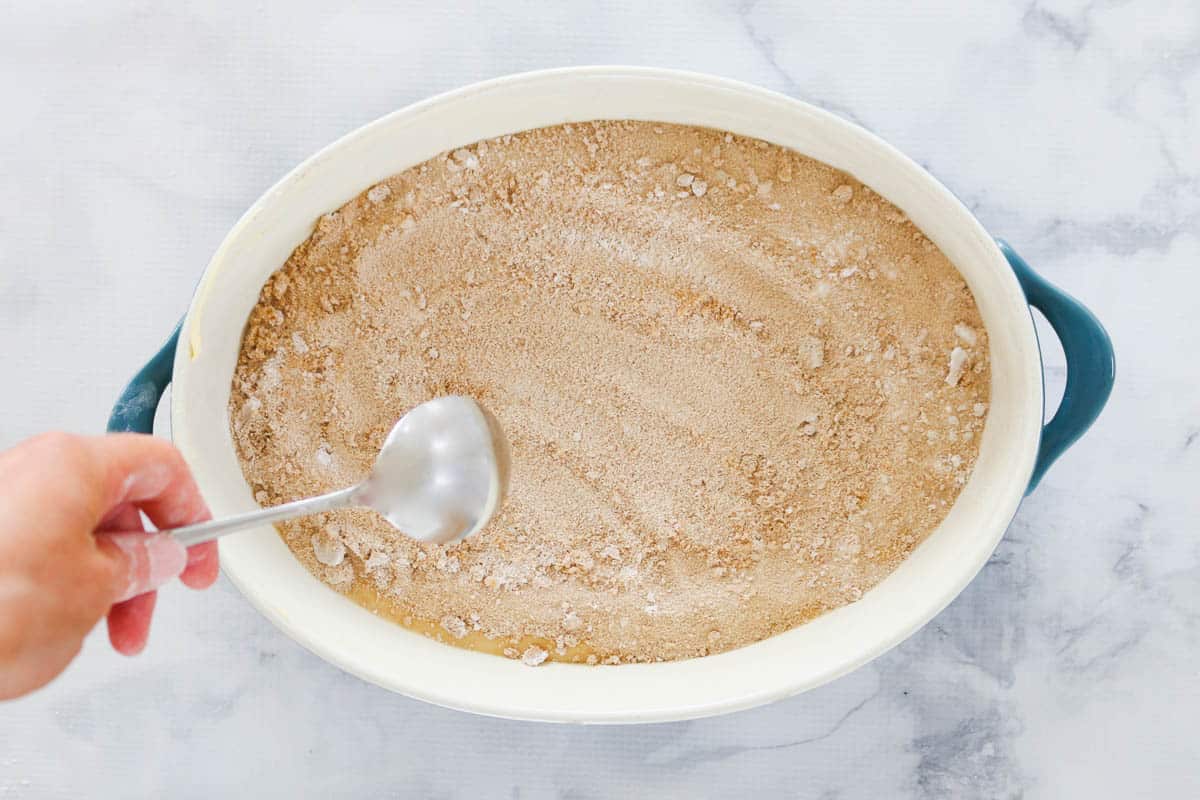
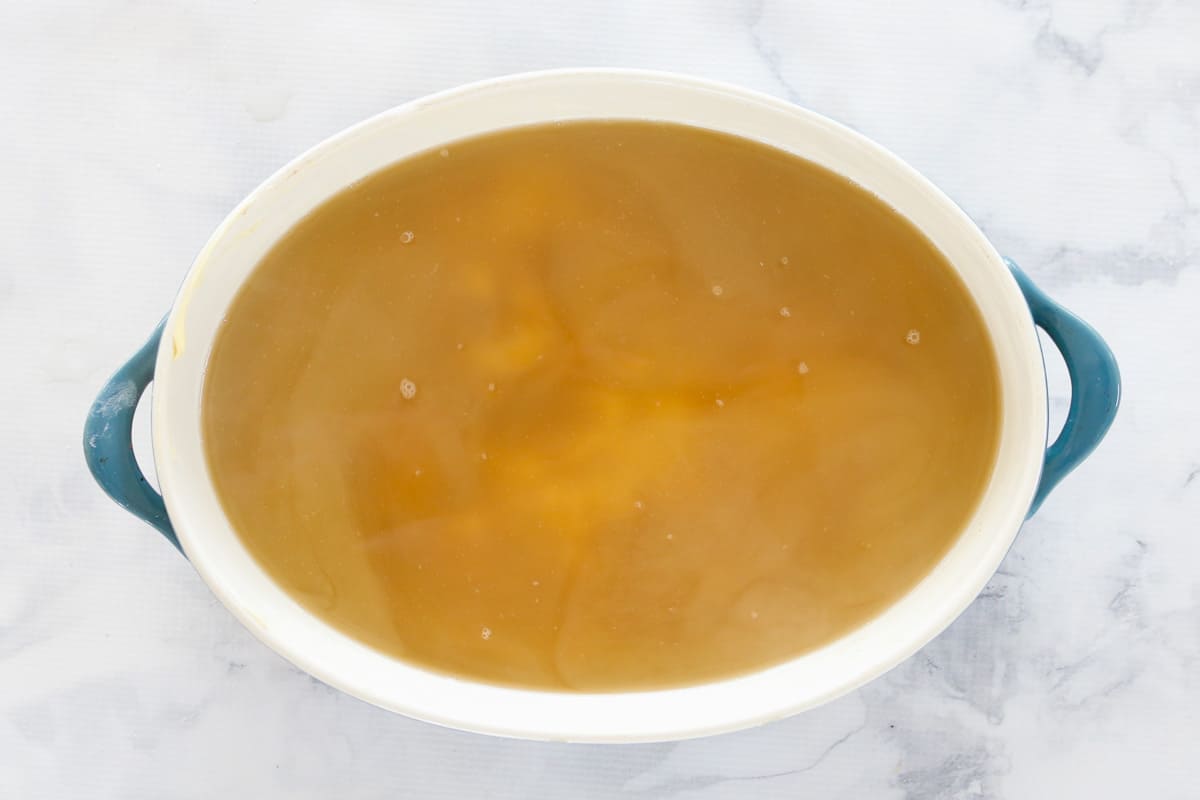
Carefully pour the boiling water over the sugar/cornflour (see my tips below) and bake until the sponge is golden and cooked through (the sauce hiding underneath will make the pudding very wobbly... this is a good thing!!!).
Tips For Making Butterscotch Pudding
- For a richer butterscotch flavour, use dark brown sugar. Alternatively, normal brown sugar is absolutely fine to use and will still be delicious!
- Mix the brown sugar and cornflour together well before sprinkling over the sponge mixture. This will ensure your sauce is smooth and thickens evenly.
- Carefully pour the boiling water over the top - it's important to very gently pour the boiling water over the top of the sugar/cornflour to avoid breaking the surface of the sponge. I recommend pouring the boiling water very slowly over the back of a large spoon and onto the sponge. This disperses the water and allows it to gently pour over the sponge.
- Equipment - you can prepare the pudding using a mixing bowl, spoon and kettle. Alternatively, you can use a Thermomix (scroll to the recipe card at the bottom for both methods).
- Don't overcook - the pudding is ready as soon as a skewer inserted into the middle of the sponge section of the pudding comes out clean. Please note that the pudding will still be very wobbly (as the sauce is hiding underneath). Overcooking will reduce the amount of sauce at the base of the pudding which we don't want to happen (we want LOTS of sauce!).
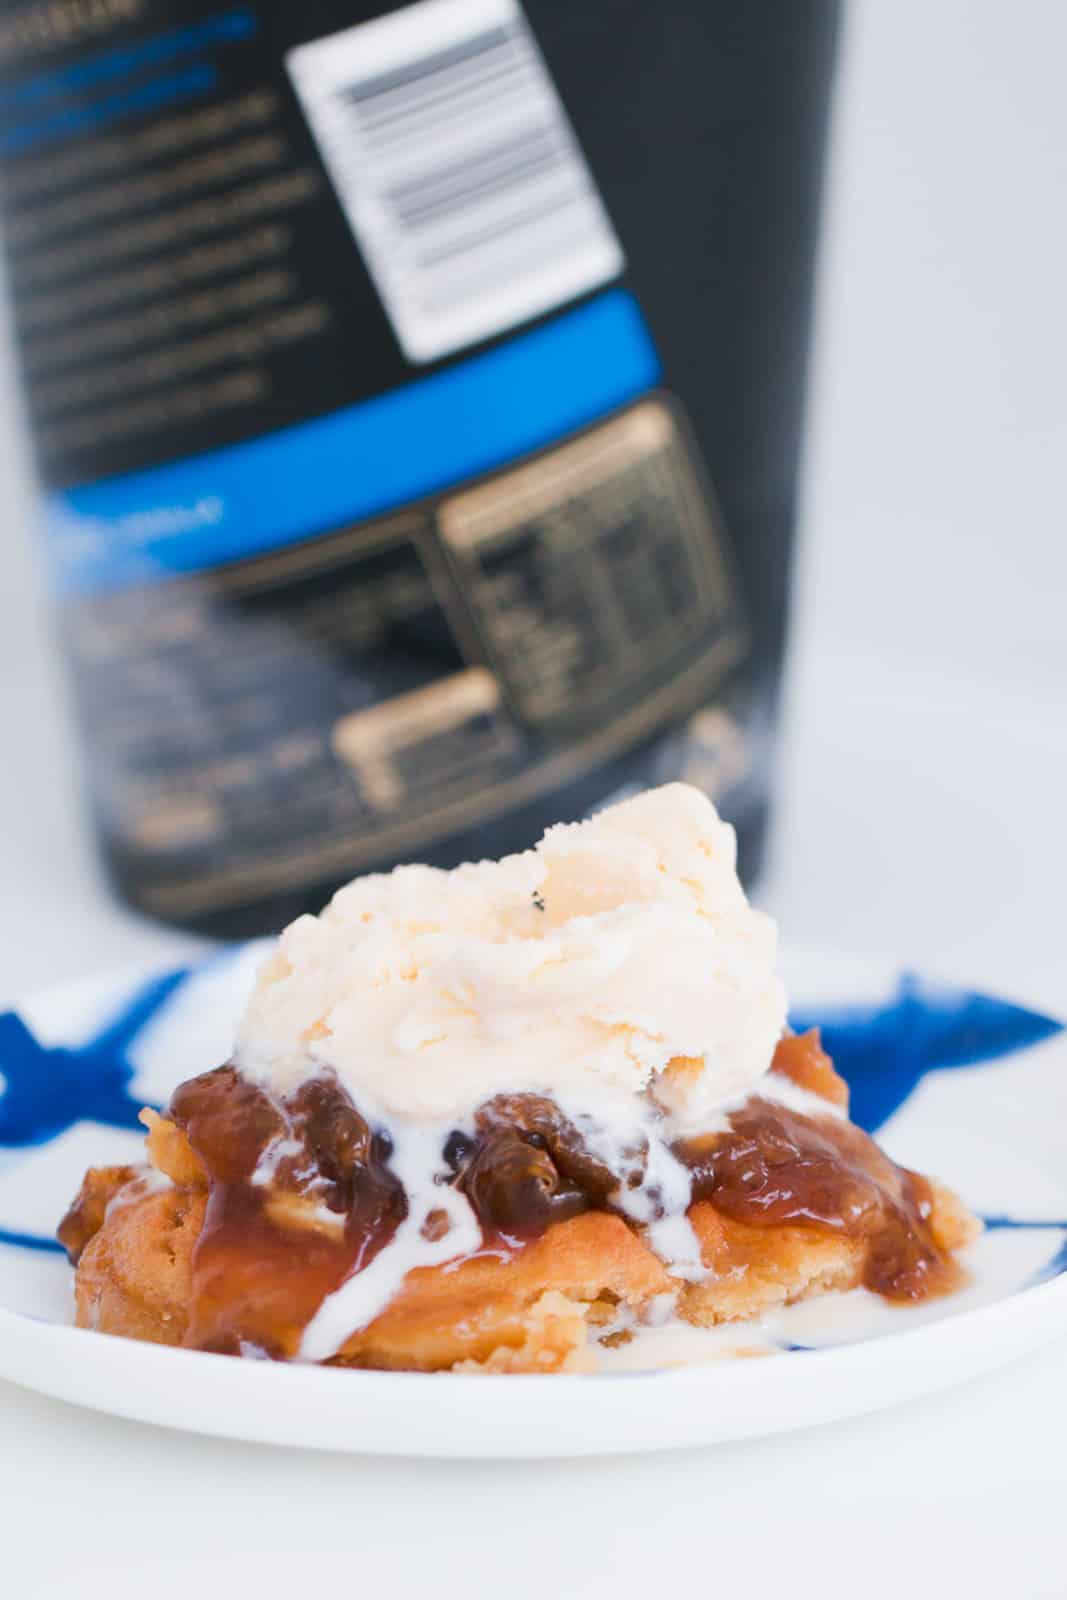
- Serve immediately - self-saucing puddings are best served immediately. Scoop a section of the sponge into a bowl, spoon over lots of sauce and top with plenty of ice-cream or cream!
More Winter Puddings, Crumbles & Pies
If you love the cosiness of comfort food desserts, then please browse my collection of yummy winter warming desserts.
WANT EVEN MORE DELICIOUS RECIPES? Subscribe to my newsletter or follow along on Facebook or Instagram. And if you love baking, then please come and join my Facebook cooking club group or subscribe to my YouTube channel.

Butterscotch Self Saucing Pudding
Ingredients
- ¼ cup (50g) brown sugar
- 1 ¼ cups (190g) self raising flour
- 100 g butter melted
- 1 egg
- ½ cup (125g) milk
- 3 tbs golden syrup
- ½ cup (100g) brown sugar for sprinkling
- 1 tbs cornflour
- 1 ½ cups (375g) boiling water
Instructions
Conventional Method
- Preheat oven to 160 degrees celsius fan-forced (180 degrees celsius conventional). Grease a large 6 cup capacity (1.6 litre) baking dish and set aside.
- Place the brown sugar, self raising flour, melted butter, egg, milk and golden syrup into a bowl and mix until well combined. Pour into the prepared dish.
- Mix the remaining brown sugar and the cornflour together and sprinkle over the pudding base.
- Carefully pour the boiling water over the top (see notes).
- Bake in the oven for 40 minutes or until the top is golden and firm to the touch.
- Serve with ice-cream or custard.
Thermomix Method
- Preheat oven to 160 degrees celsius fan-forced (180 degrees celsius conventional). Grease a large 6 cup capacity (1.6 litre) baking dish and set aside.
- Place the brown sugar, self raising flour, melted butter, egg, milk and golden syrup into the Thermomix bowl and mix together on Speed 5, 20 seconds or until well combined.
- Pour into the prepared dish.
- In a clean Thermomix bowl, mix the brown sugar and cornflour together on Speed 6, 10 seconds.
- Sprinkle over the pudding base. Carefully pour the boiling water over the top.
- Bake in the oven for 40 minutes or until the top is golden and firm to the touch.
- Serve with ice-cream or custard.
Notes
- brown sugar - I recommend using dark brown sugar as it gives the pudding a richer butterscotch flavour. If you don't have dark brown sugar, you can absolutely use normal brown sugar (and it will be just as delicious!).
- self-raising flour - also known as self-rising flour. If you don't have self-raising flour, you can make your own by sifting 2 teaspoons of baking powder through every 1 cup of plain flour.
- melted butter - you can use either salted or unsalted butter in this recipe
- egg - use a large egg (approximately 60g)
- milk - I recommend using full fat (full cream) milk for the best result
- golden syrup - this is a common baking ingredient in Australia and New Zealand. If you can't buy golden syrup, you can replace it with corn syrup, honey or maple syrup.
- cornflour - also known as corn starch. This acts to thicken the rich butterscotch sauce at the base of the pudding.
- For a richer butterscotch flavour, use dark brown sugar. Alternatively, normal brown sugar is absolutely fine to use and will still be delicious!
- Mix the brown sugar and cornflour together well before sprinkling over the sponge mixture. This will ensure your sauce is smooth and thickens evenly.
- Carefully pour the boiling water over the top - it's important to very gently pour the boiling water over the top of the sugar/cornflour to avoid breaking the surface of the sponge. I recommend pouring the boiling water very slowly over the back of a large spoon and onto the sponge. This disperses the water and allows it to gently pour over the sponge.
- Equipment - you can prepare the pudding using a mixing bowl, spoon and kettle. Alternatively, you can use a Thermomix (scroll to the recipe card at the bottom for both methods).
- Don't overcook - the pudding is ready as soon as a skewer inserted into the middle of the sponge section of the pudding comes out clean. Please note that the pudding will still be very wobbly (as the sauce is hiding underneath). Overcooking will reduce the amount of sauce at the base of the pudding which we don't want to happen (we want LOTS of sauce!).
- Serve immediately - self-saucing puddings are best served immediately. Scoop a section of the sponge into a bowl, spoon over lots of sauce and top with plenty of ice-cream or cream!
Nutrition


Kim Wyatt says
I really want to have a go at this recipe, it looks amazing and so delicious but I’m a little confused...do I pour the pudding batter into the baking dish then sprinkle the cornflour and sugar over the top and then pour the boiling water on top of that or do I sprinkle the cornflour and sugar over the base of the baking dish and then top with the pudding batter?! Thanks
Lucy Mathieson says
Hi Kim, because it's a self-saucing pudding, you pour the batter into the bottom of the dish and then sprinkle the top with the cornflour and sugar and the boiling water. When it bakes, the sauce will 'magically' end up on the bottom!
Chloe says
I made this yesterday and it was really tasty but my sauce was very thick, almost like jelly. Could it be cooked too long for my oven? Thanks
Lucy Mathieson says
Hi Chloe, it could be the temp of your oven possibly running a little hot. Simply add a little more water next time if you prefer it runnier. xx
Caroline says
Hi, not sure whist I did wrong but I had a bit of a disaster with this! i mixed it by hand, should i have used my kitchen aid? it wasn't light and fluffy it was more of a steamed sponge texture. Also the sauce stayed on top an a kind of runny liquid was underneath the sponge..
It tasted nice but wasn't anything like it should have been! Any ideas what i might have done wrong?
Lucy Mathieson says
Hi Caroline, the texture is meant to be quite spongey as it's cooked with so much liquid. You should end up with the sauce underneath - I'm not sure why yours was on top and bottom sorry!!
Charlie says
Hey I'm Charlie, I was planning to make the recipe as follows but add slices of apple on the bottom to make this a apple butterscotch pudding, would this work well??
Lucy Mathieson says
Sounds great!
Vicki says
Looks yum, Could this be made ahead of time and reheated in the oven prior to serving?
I am going to someones place for dinner and would like to take this.
Lucy Mathieson says
Hi Vicki, you could do every step except for pouring the boiling water over the top. You would need to wait until just before you pop it into the oven to do that!