
Decorate your favourite cookies with this easy 2 ingredient royal icing recipe!
This classic icing takes just 10 minutes to make and sets to a hard finish. It is perfect for decorating your favourite cookies including sugar cookies and gingerbread!
This simple royal icing recipe is the perfect icing for decorating your favourite cookies and biscuits; whether for Christmas recipes, Valentines day, parties, or just because you feel like baking!
Making homemade royal icing couldn't be easier: whisk egg whites, beat in icing sugar (and colouring if you want a coloured royal icing), then decorate cookies, gingerbread or even a Christmas fruit cake! Whether you want to pipe details or spread smoothly over the top of cookies like with these Christmas bauble cookies, this is the icing recipe to use!
Why You're Going To Love This Recipe
- Made with egg whites - this is a royal icing without meringue powder, using traditional egg whites.
- 2 ingredients - you just need two basic ingredients to make this icing!
- Versatile - keep this icing white, or add any food colour you like!
- Sets hard - this icing sets hard and doesn't soften your cookies.
- Conventional and Thermomix - both methods are included in the recipe card at the end of the post.
What You Need
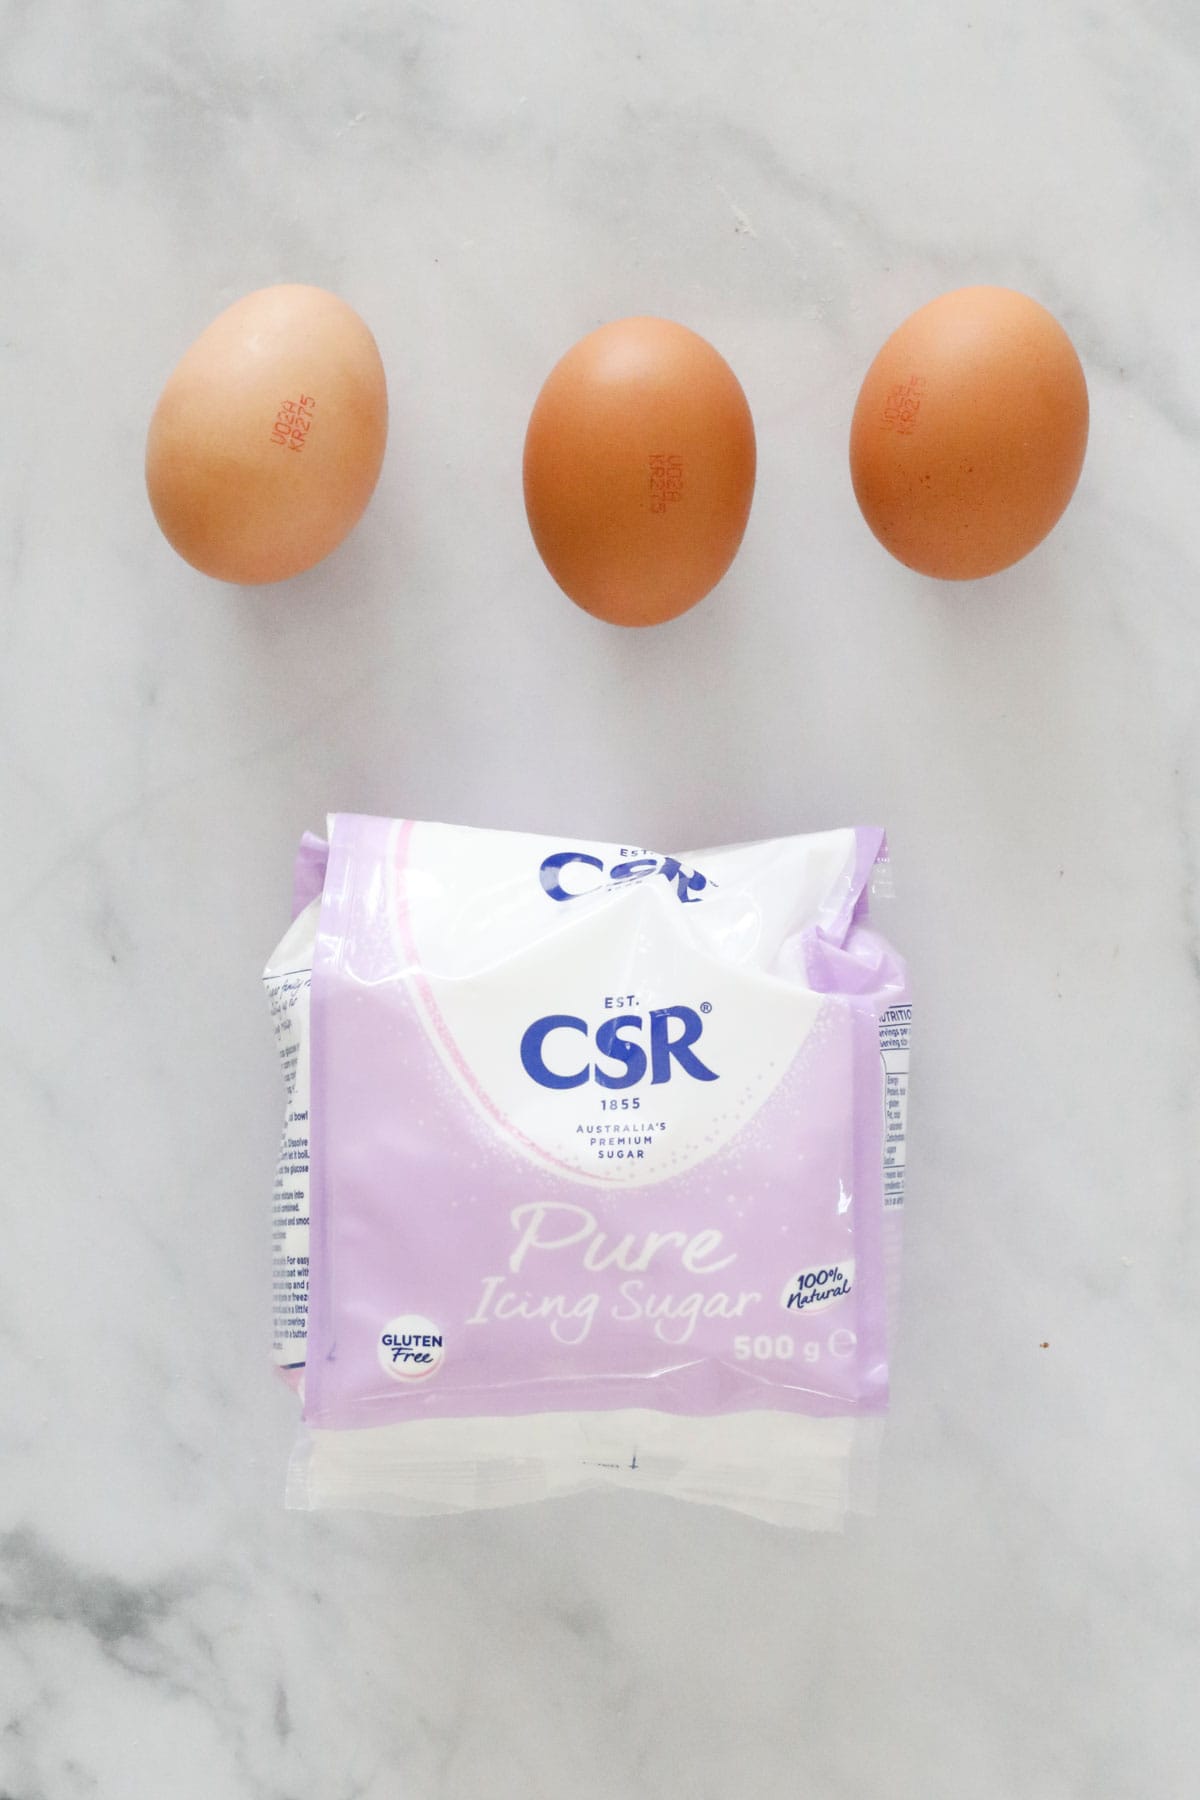
You need just 2 basic ingredients that you are likely to already have in your kitchen, plus your favourite food colouring colours to make this pretty icing!
Note: Scroll to the recipe card at the bottom for the ingredients quantities and full detailed method.
- Egg whites - I use size large eggs, weighing approx. 55g each. Use the egg yolks to make homemade custard, tiramisu or lemon curd.
- Pure icing sugar - also called confectioners sugar. Don't use soft icing sugar as this contains cornflour and won't set hard.
- Food colouring - this is optional if you want to make coloured royal icing.
Equipment Required
- Large bowl or Thermomix.
- If using food colouring: 2 or 3 smaller bowls.
Step By Step Instructions
Taking just 10 minutes, this homemade royal icing couldn't be easier to make!
Note: Scroll to the recipe card at the bottom for the ingredients quantities and full detailed method.
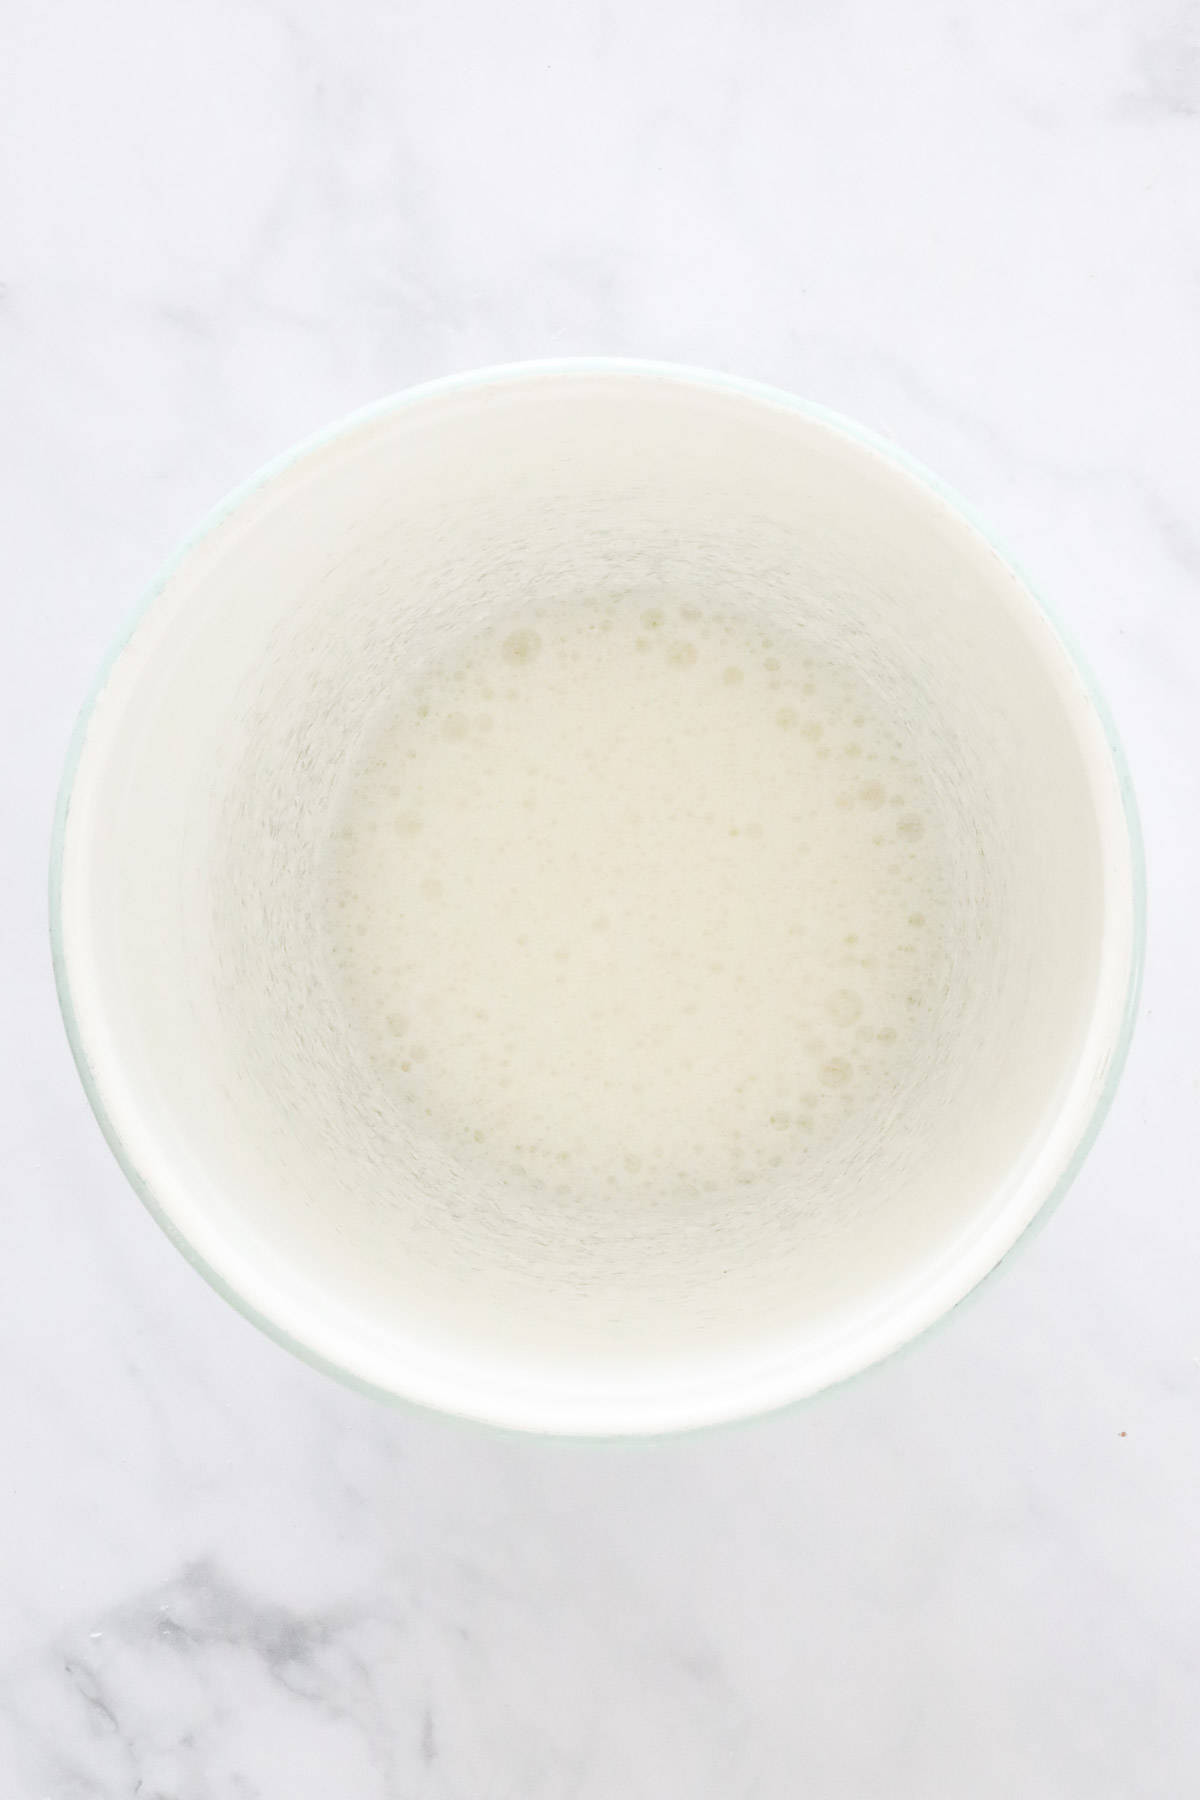
Step 1 - Beat The Egg Whites Until Frothy
Place the egg whites into a large bowl.
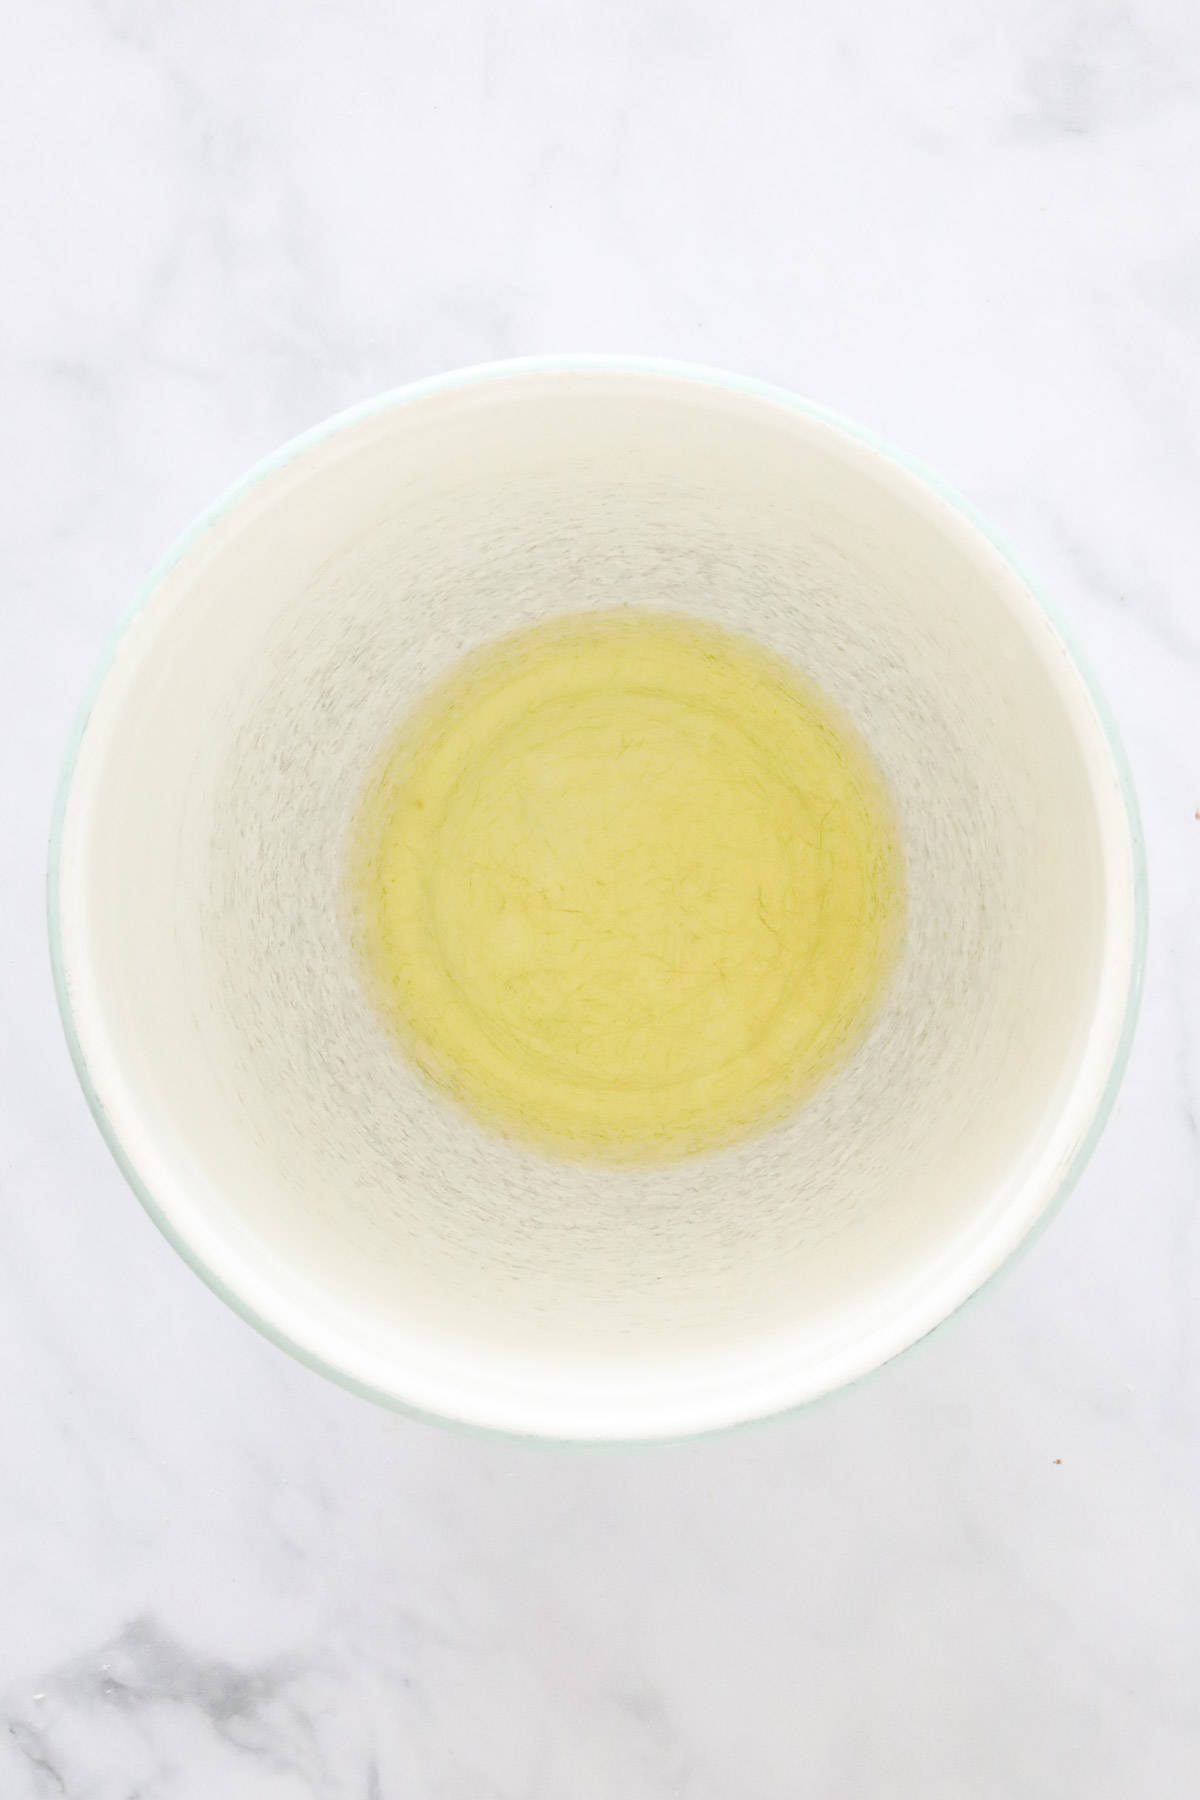
Mix until frothy.
If using a Thermomix: Insert the Butterfly attachment and mix for 3 minutes, 37 degrees, Speed 3 (with the MC removed). Remove the Butterfly.
Step 2 - Beat Through The Icing Sugar
Sift the icing (confectioners) sugar over the egg whites, one cup at a time, beating after each addition.
If using a Thermomix: Add 300g of the icing sugar and mix for 1 minute, Speed 4. Add the remaining 300g of icing sugar and mix for a further 1 minute, Speed 4. Insert the Butterly attachment and whip for 2-3 minutes, Speed 3.
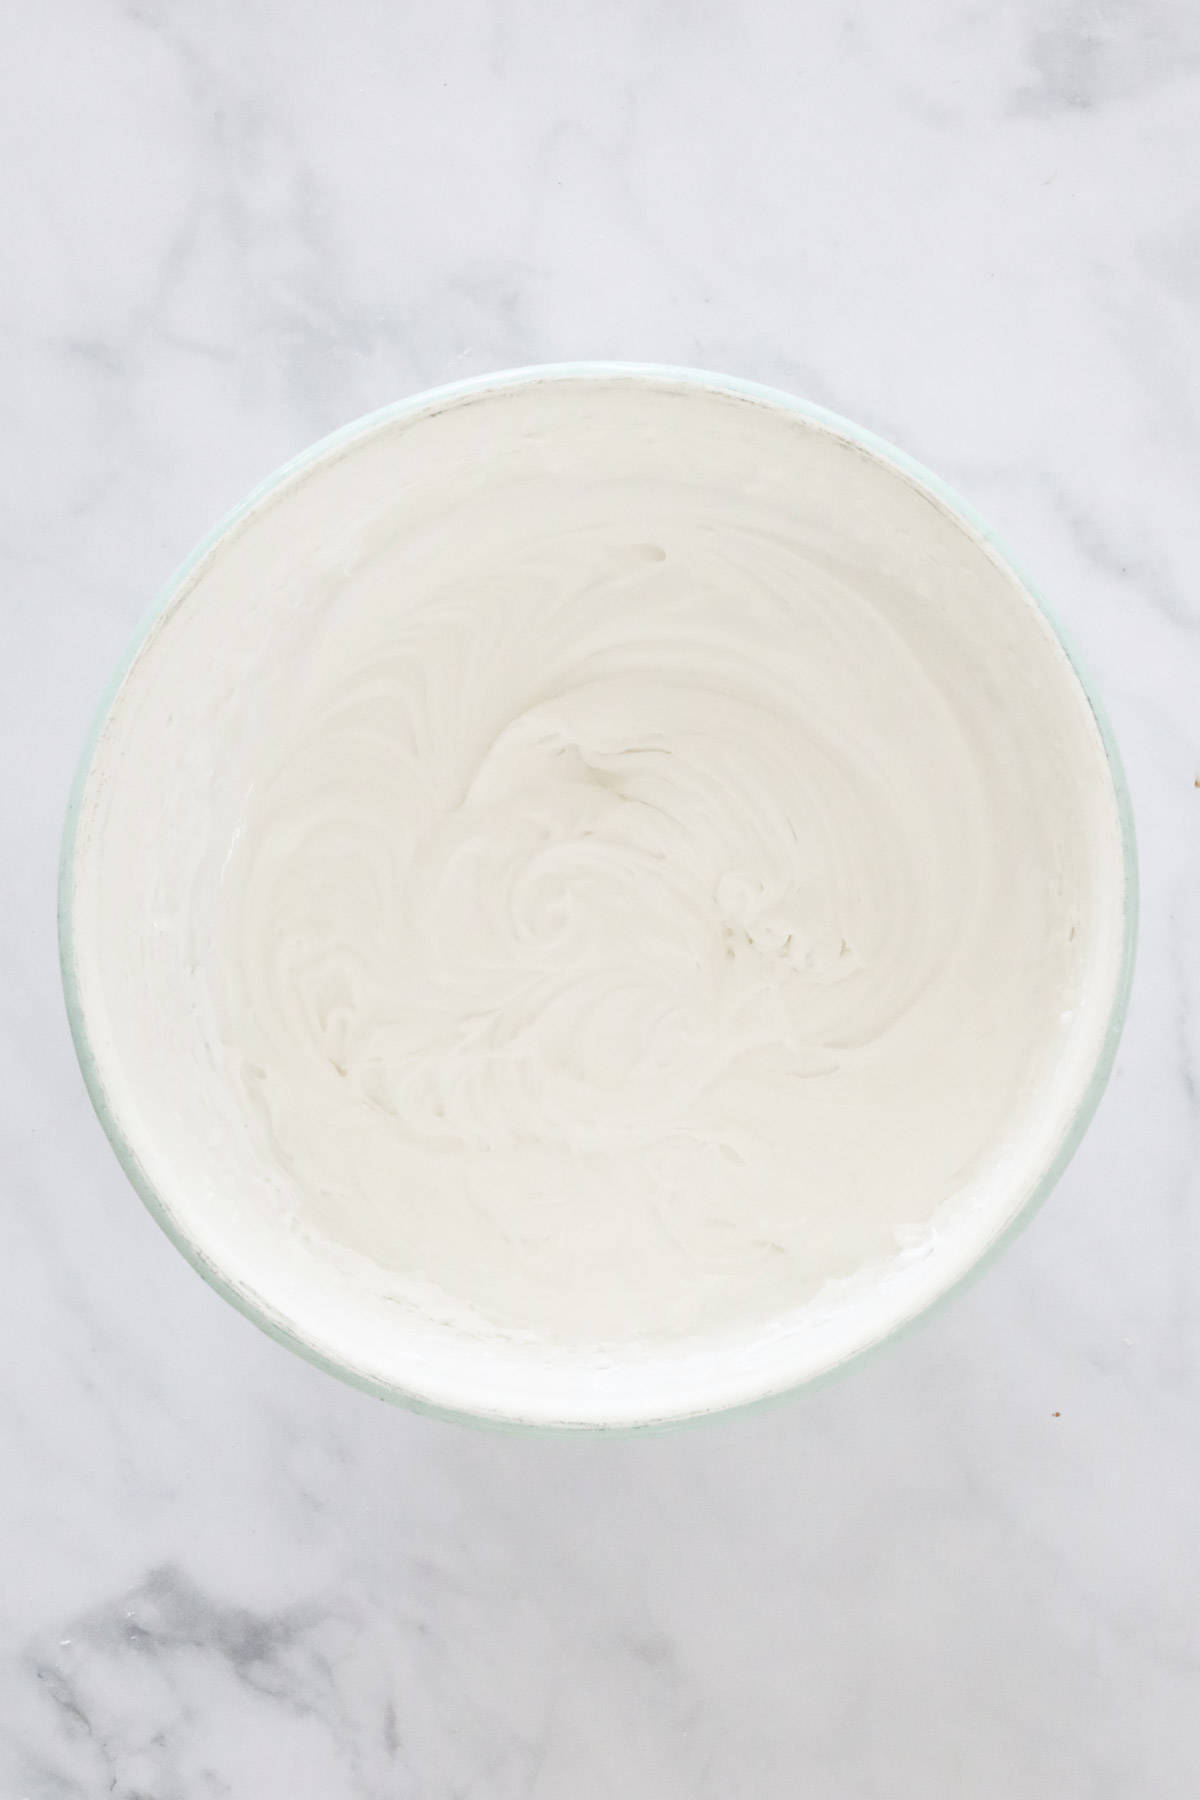
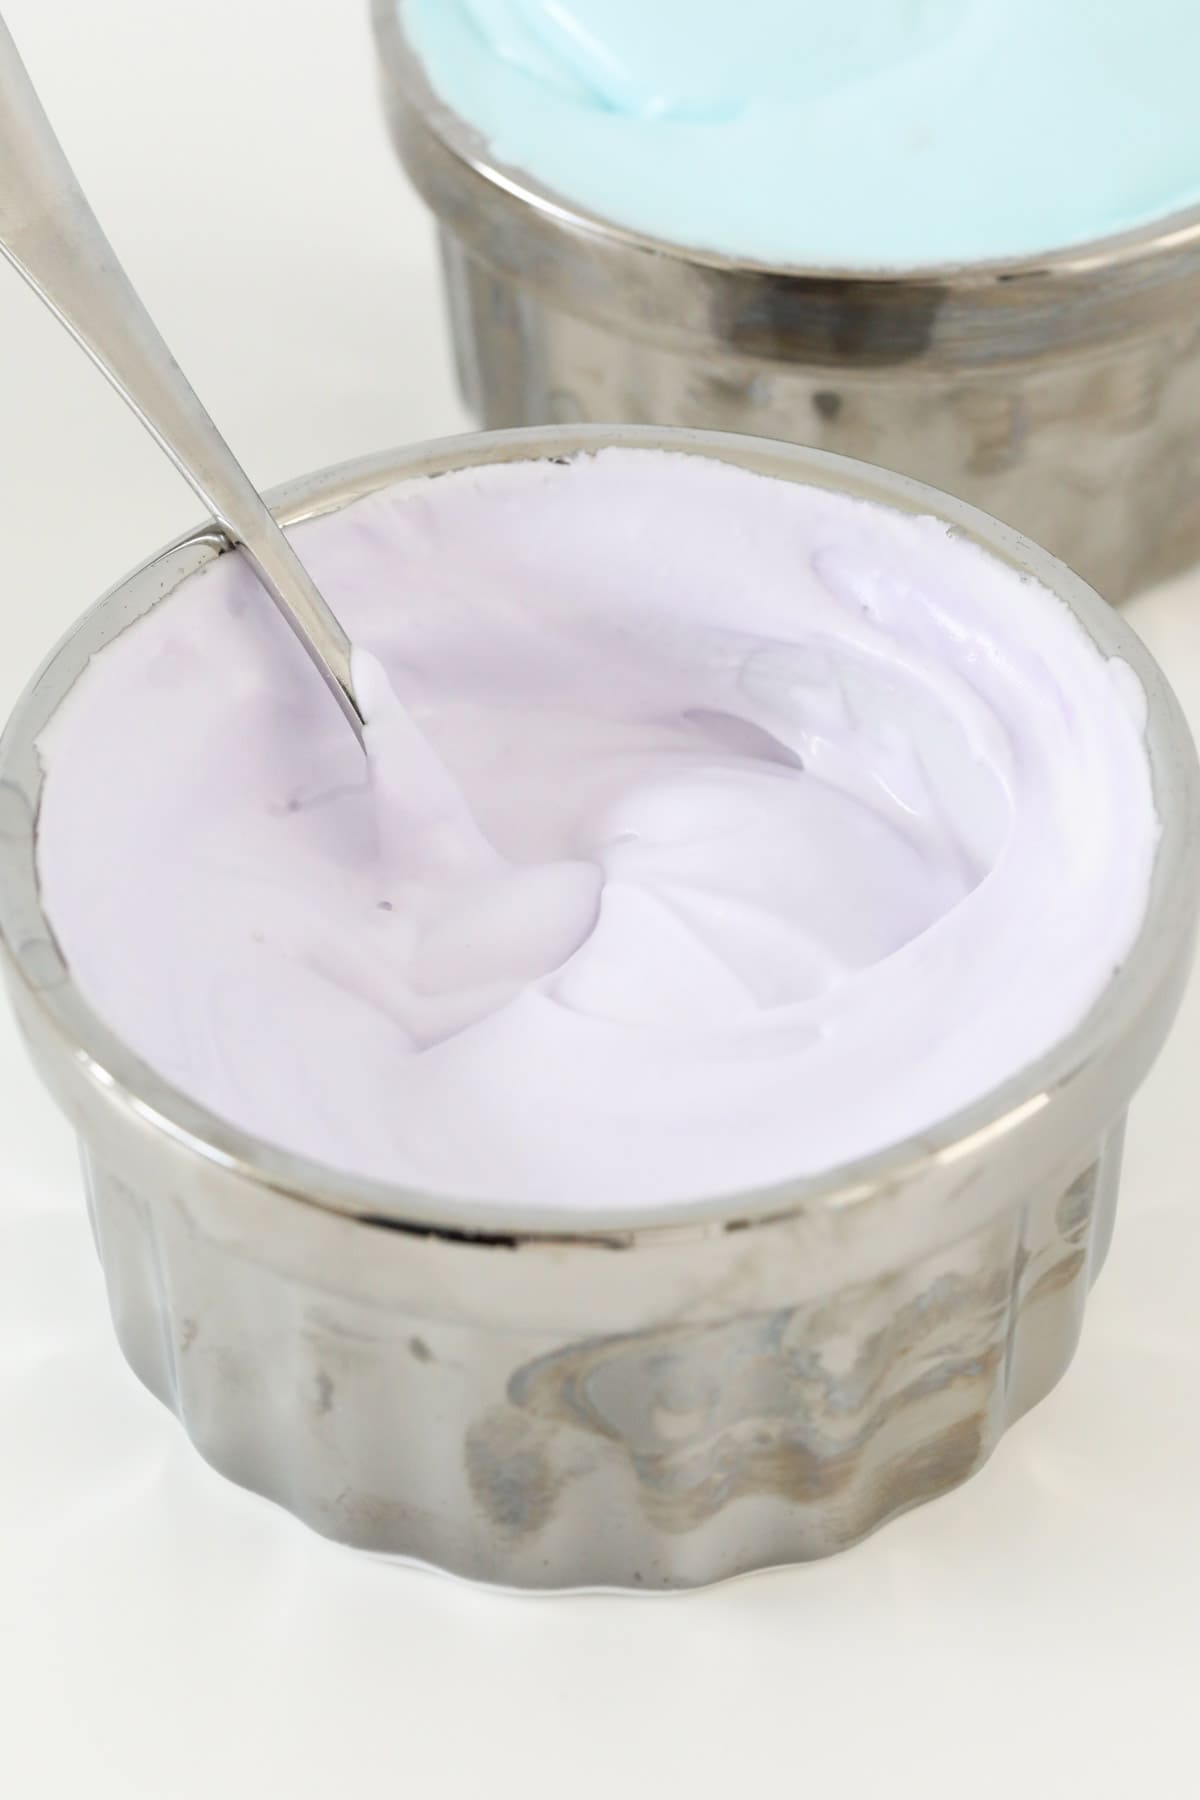
Step 3 - Beat Until Glossy & Thick
After all of the icing sugar has been added, continue beating for 3-5 minutes or until very thick and glossy.

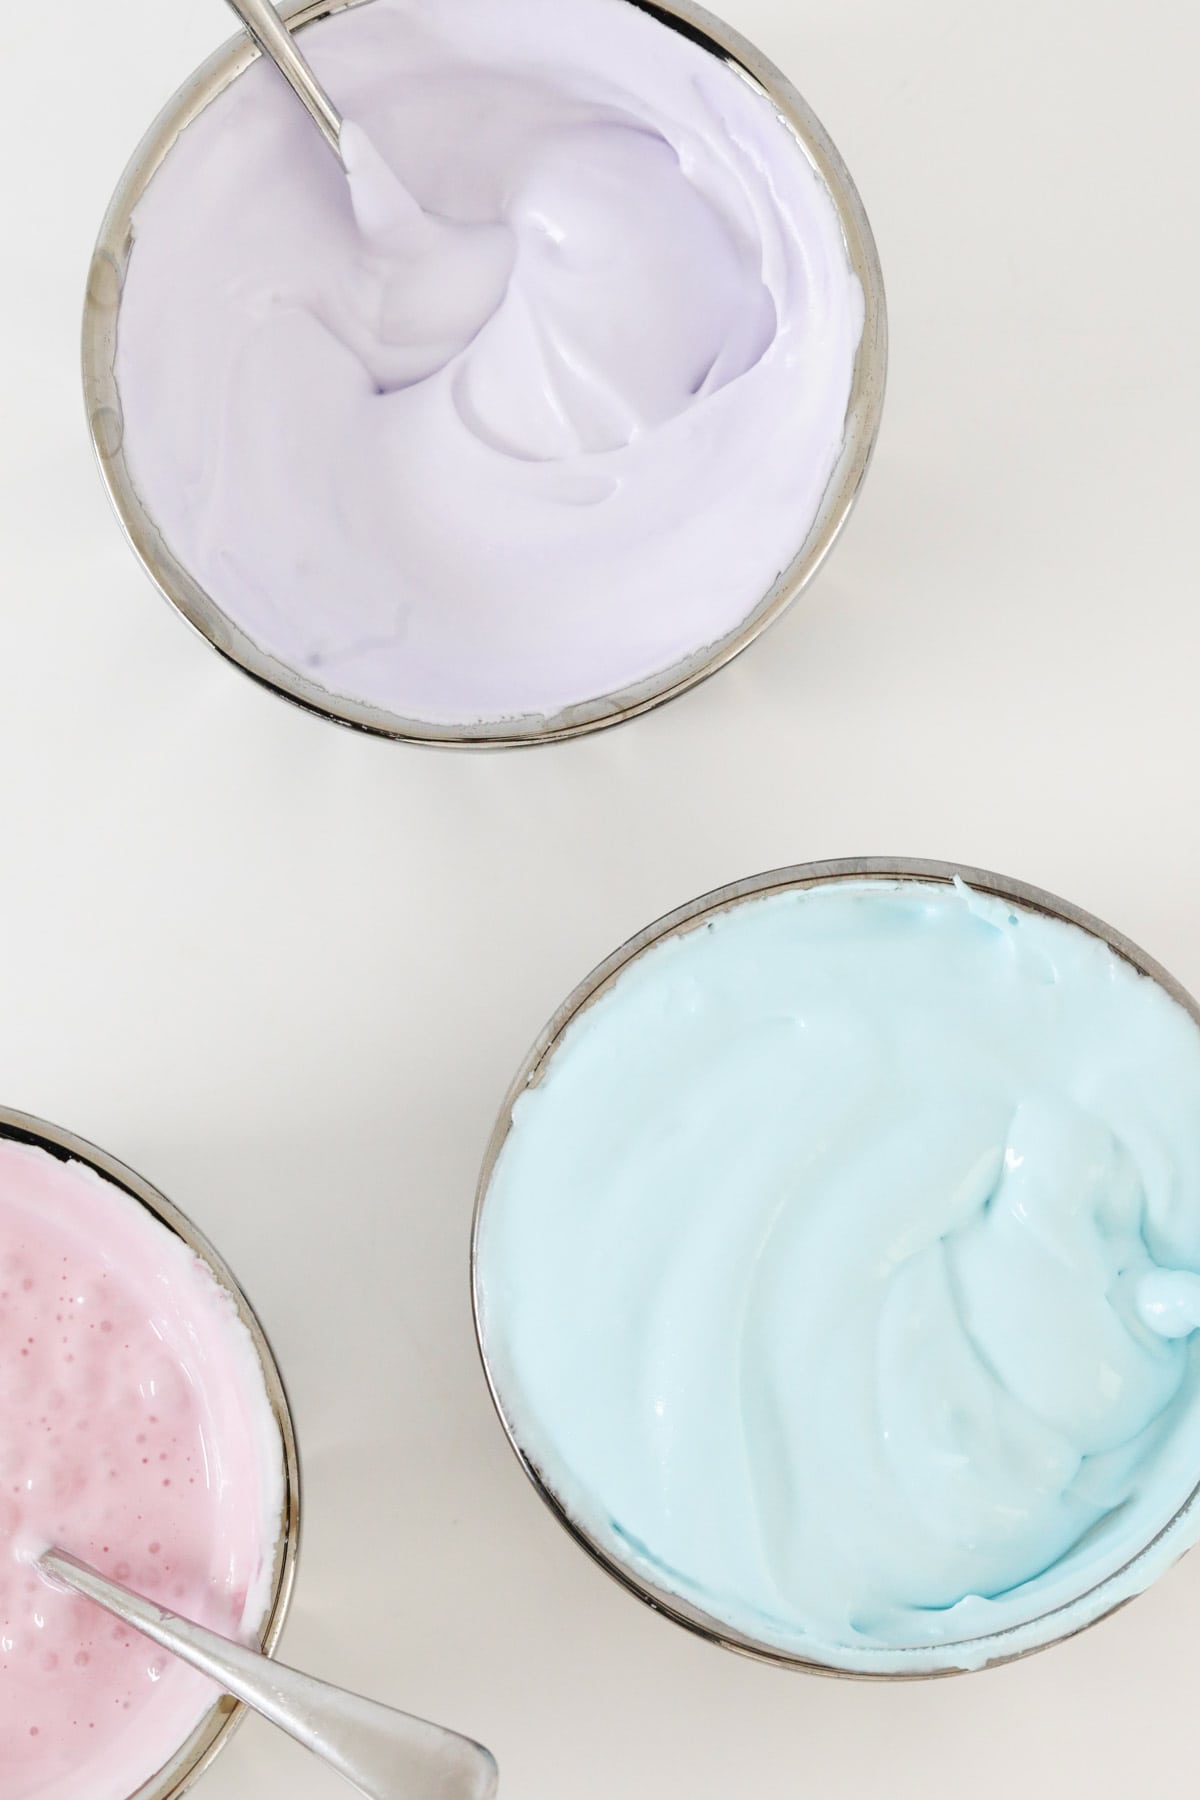
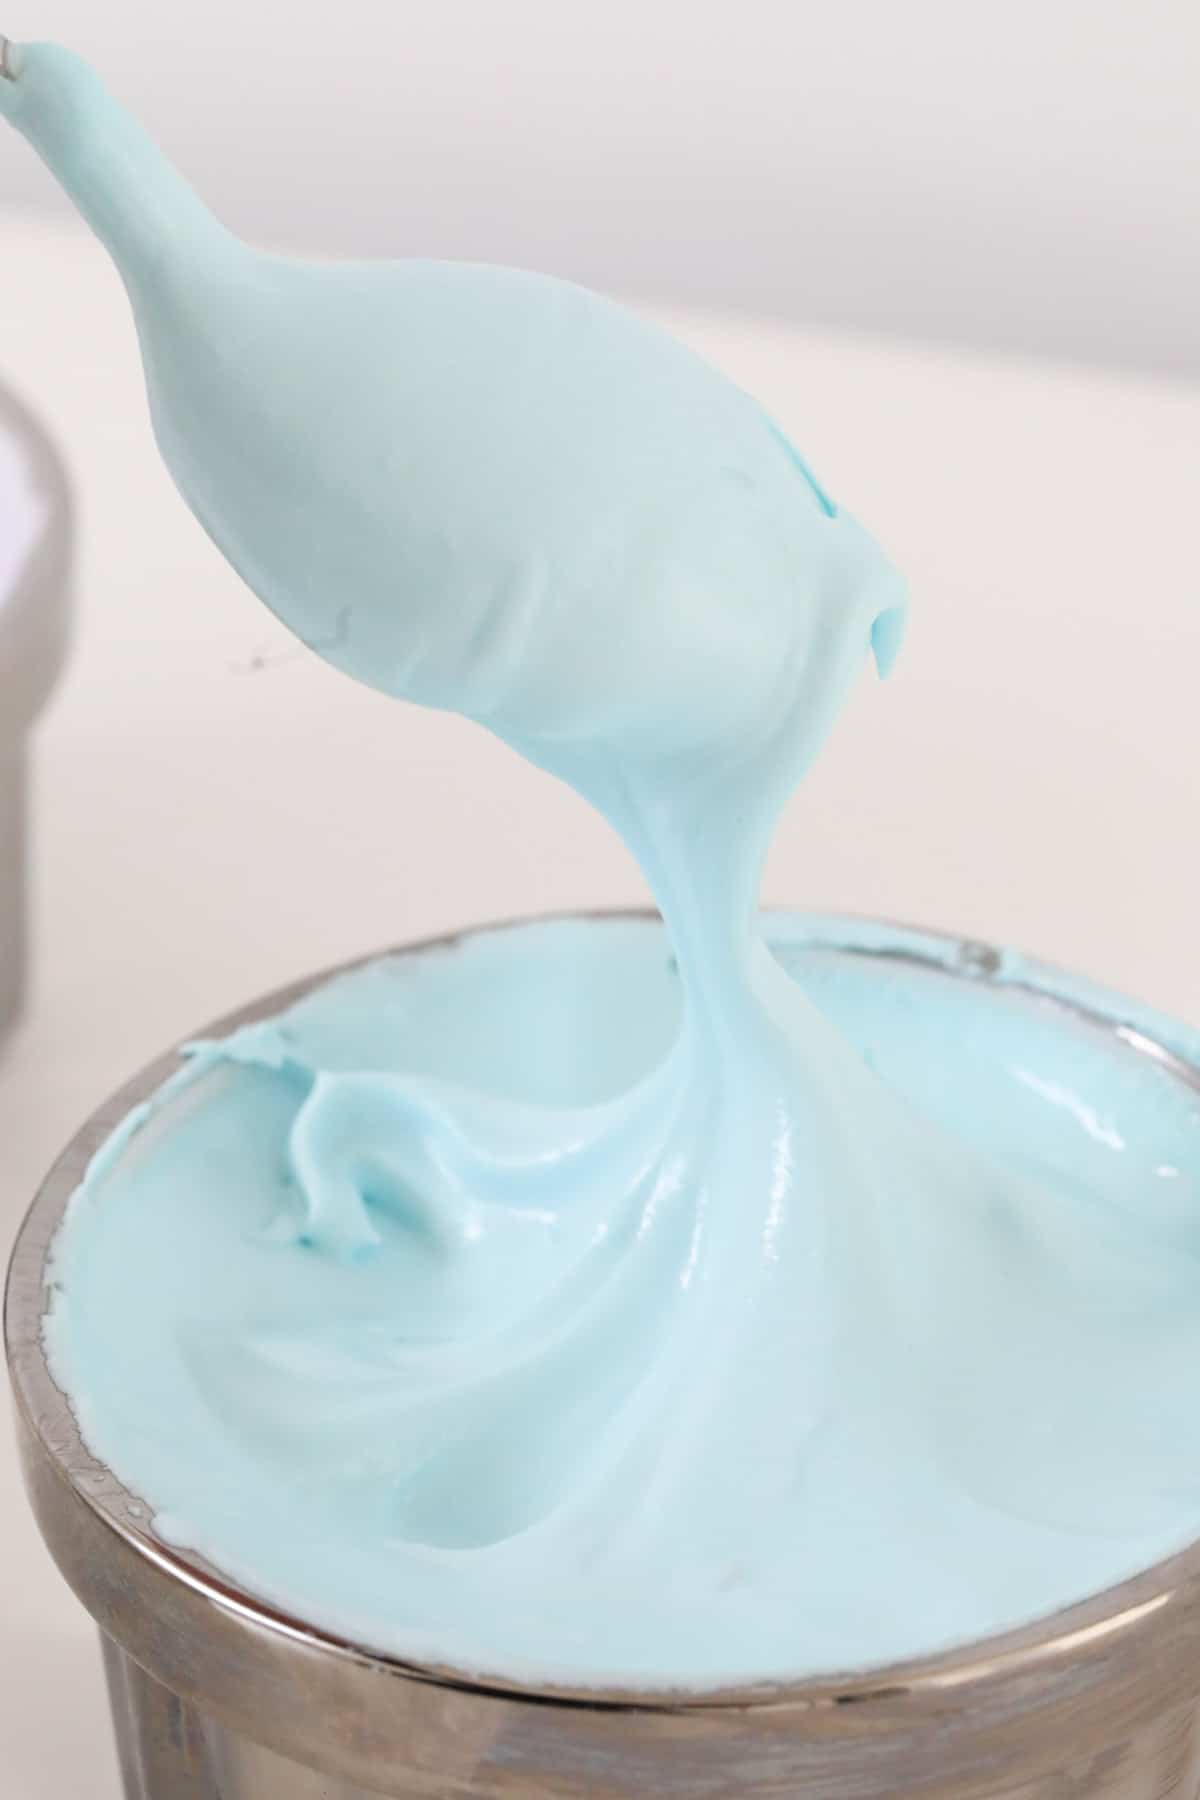
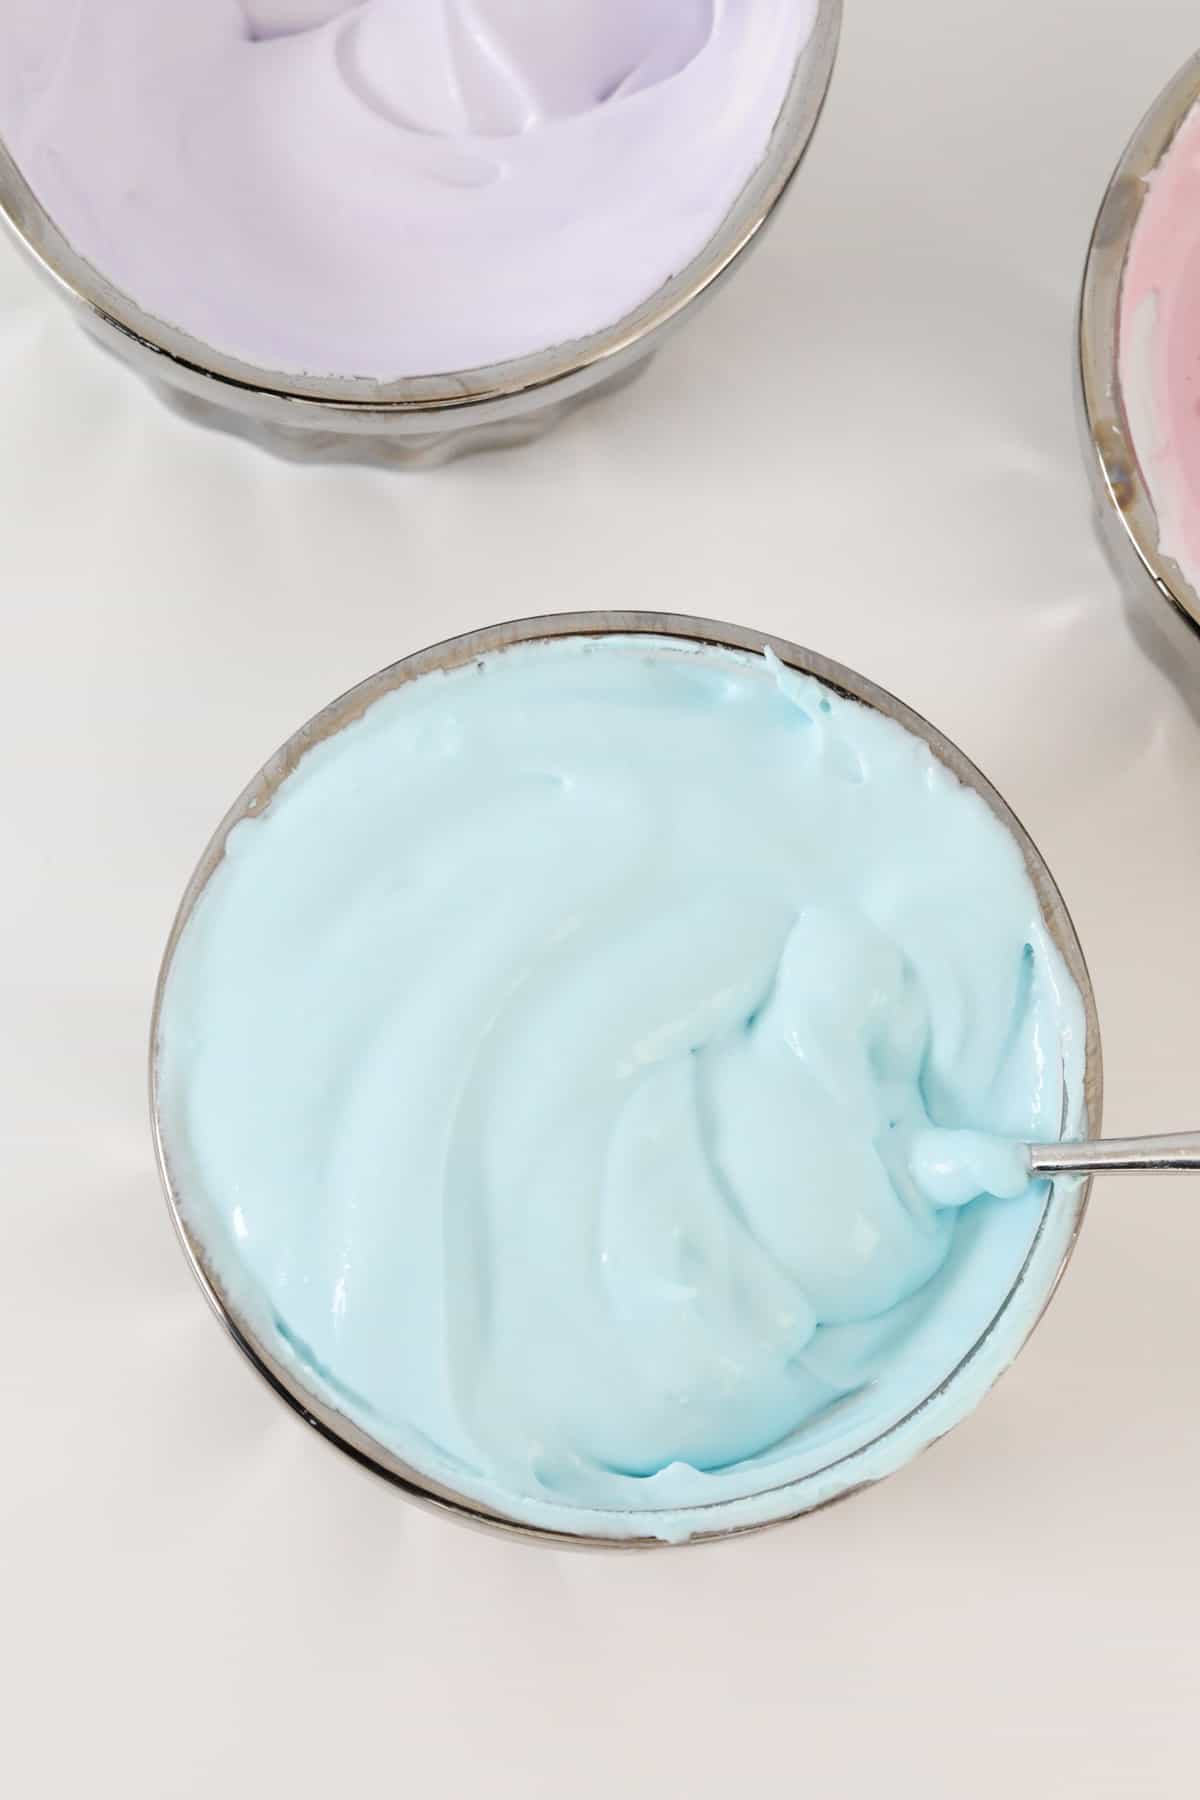
Step 4 - Add Food Colouring (optional)
Divide the icing between bowls and add food colouring (if using). Mix until well combined.
Spread the icing over your cookies. Note: the icing will set hard.
If not using the icing immediately: cover with plastic wrap and refrigerate for up to 3 days.
Expert Tips
- When separating the eggs: take care not to get any yolk in with the egg whites, otherwise they won't become thick, no matter how much you whisk.
- Adding the sugar a cup at a time ensures that icing stays light. If you add the sugar all at once it will lose the volume and become thin.
- Royal icing texture: the icing should be thick, but not too thick that it doesn't stick to the cookie when you pipe it.
- Don't over mix the icing: if you whisk the icing too much the icing may not dry properly. It should be thick rather than fluffy.
- This icing will set hard.
- Storage: If not using straight away, cover with plastic wrap and store in the fridge for up to 3 days. Bring to room temperature before using, and lightly whisk if it has separated.
FAQs
Royal icing sets hard, whereas regular icing sets to a softer finish and is glossier than royal icing.
Yes! You can make this icing up to 3 days before you need to use it. Cover the icing with plastic wrap and store in the fridge.
Royal icing can take 6-8 hours to dry at room temperature. It can take longer to dry in humid weather.
Related Recipes
If you love baking, here are some of our favourite recipes:


WANT EVEN MORE DELICIOUS RECIPES? Subscribe to my newsletter or follow along on Facebook or Instagram. And if you love baking, then please come and join my Facebook cooking club group or subscribe to my YouTube channel.

Super Easy Royal Icing
Ingredients
- 3 egg whites
- 4 cups (600g) pure icing sugar confectioners sugar
- food colouring
Instructions
- Place the egg whites into a large bowl.Mix until frothy. If using a Thermomix: Insert the Butterfly attachment and mix for 3 minutes, 37 degrees, Speed 3 (with the MC removed). Remove the Butterfly.
- Sift the icing (confectioners) sugar over the egg whites, one cup at a time, beating after each addition. If using a Thermomix: Add 300g of the icing sugar and mix for 1 minute, Speed 4. Add the remaining 300g of icing sugar and mix for a further 1 minute, Speed 4.
- After all of the icing sugar has been added, continue beating for 3-5 minutes or until very thick and glossy. If using a Thermomix: Insert the Butterly attachment and whip for 2-3 minutes, Speed 3.
- Divide the icing between bowls and add food colouring (if using). Mix until well combined.
- Spread the icing over your cookies. Note: the icing will set hard.
- If not using the icing immediately, cover with plastic wrap and refrigerate for up to 3 days.
Notes
- When separating the eggs: take care not to get any yolk in with the egg whites, otherwise they won't become worthy, no matter how much you whisk.
- Adding the sugar a cup at a time ensures that icing stays light. If you add the sugar all at once it will lose the volume and become thin.
- Royal icing texture: the icing should be thick, but not too thick that it doesn't stick to the cookie when you pipe it.
- Don't over mix the icing: if you whisk the icing too much the icing may not dry properly. It should be thick rather than fluffy.
- This icing will set hard.
- Storage: If not using straight away, cover with plastic wrap and store in the fridge for up to 3 days. Bring to room temperature before using, and lightly whisk if it has seperated.


Michelle says
I heard that it is very risky eating raw egg. What are your thoughts?
Lucy says
Hi Michelle, raw egg is not recommended for pregnant women, young children etc. Find out more here: https://www.australianeggs.org.au/facts-and-tips/eating-raw-eggs
Michelle says
Thank you Lucy. This puts my mind at ease because most of my life, I would help myself to a spoonful or two to cake batter and we Hungarians have a raw egg dessert where we basically separate egg whites and egg yolks. We add sugar and vanilla essence into both bowls and whip them until light and fluffy then eat it. So I stopped doing all this out of all these warnings, even on cake boxes now to not eat batter due to raw eggs.
Thank you again for this informative article. And I love your recipes too. 🙂
Lucy says
No problem! Thank you 🙂