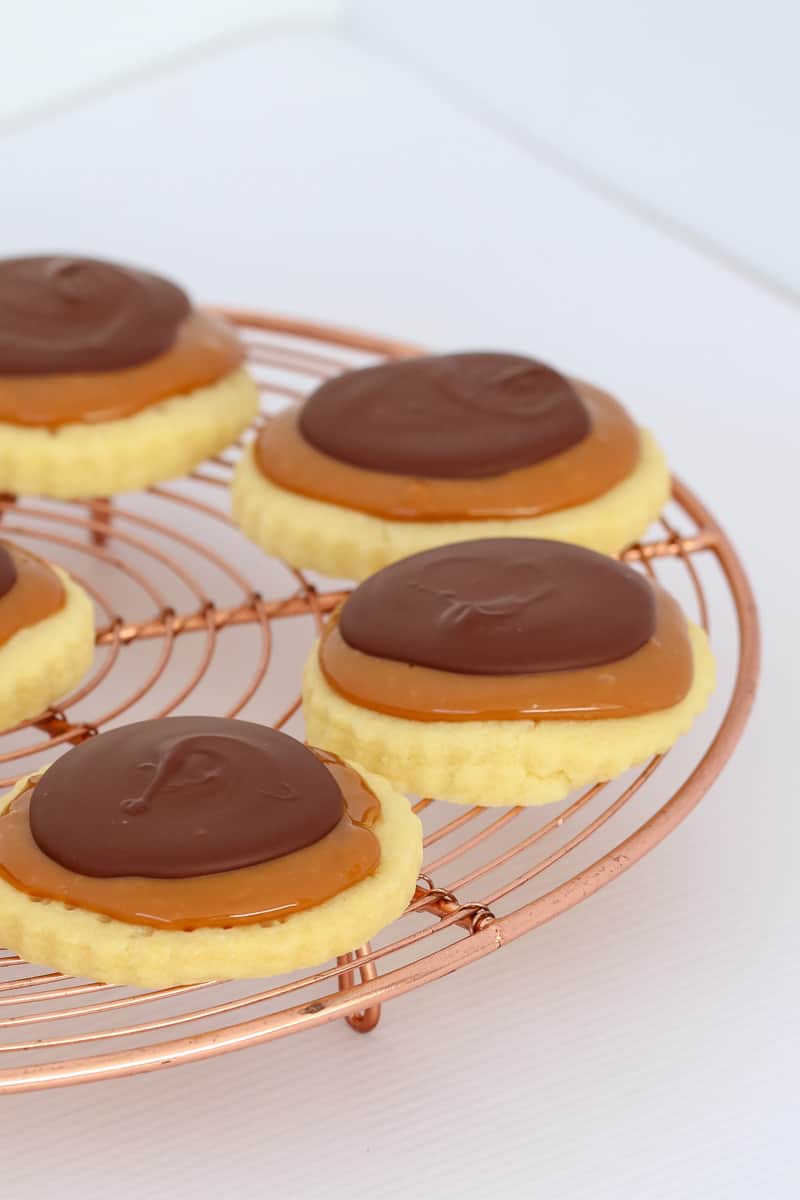
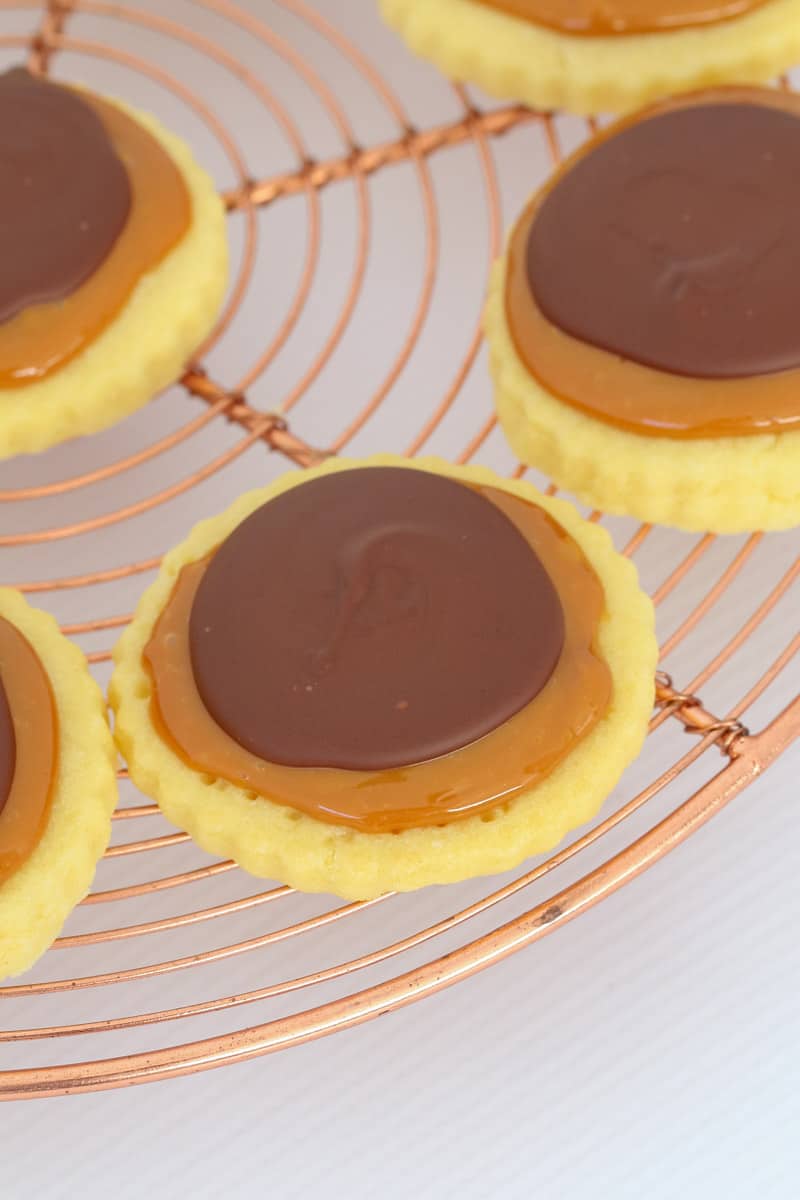
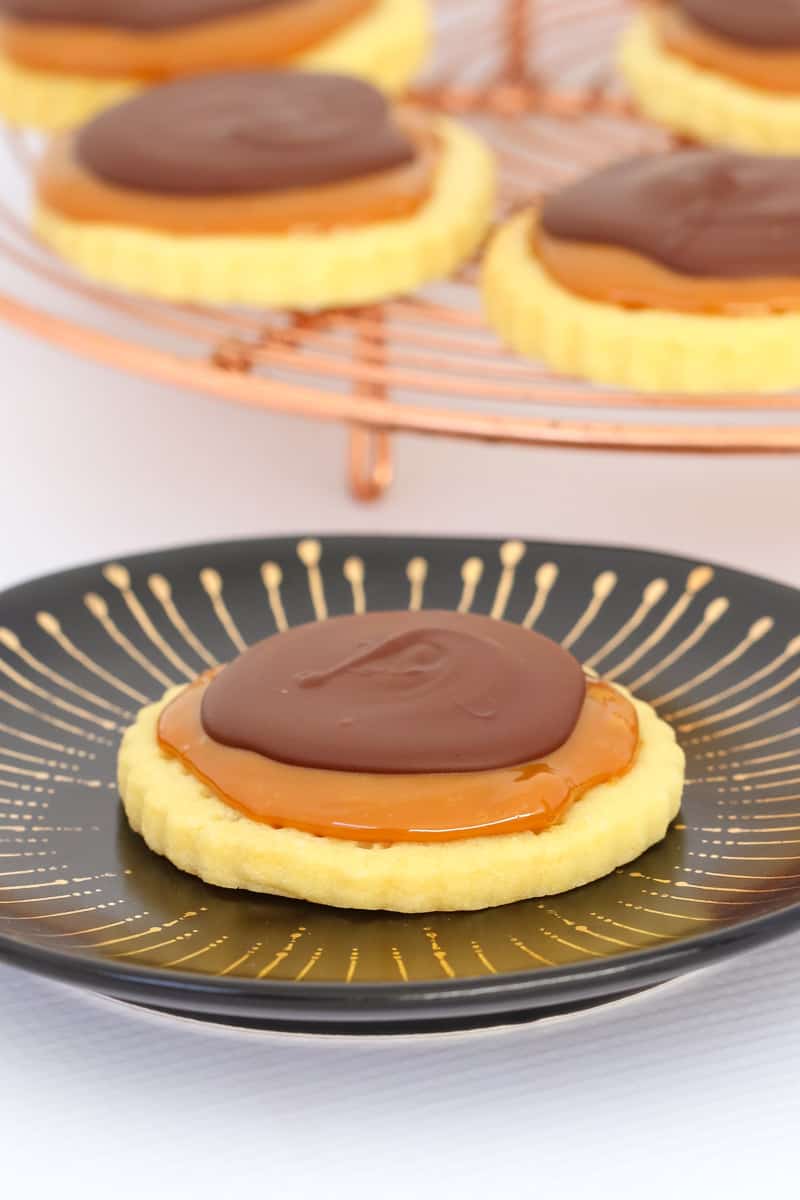
The combination of delicious gooey caramel, smooth silky chocolate and a light shortbread base in my Twix Cookies is hard to resist! Made from just 5 basic ingredients, these cookies are a fun take on everyone's favourite chocolate bar!

Twix bars are one of my absolute favourites in the confectionery aisle and these homemade Twix Cookies capture the flavour perfectly.
With only 5 ingredients, they’re quick, easy and SO delicious - just like my recipes for some of my other store-bought favourites like Iced Vovo Tarts and Monte Carlo Biscuits.
Twix Cookies are not only a fantastic addition to any self-respecting biscuit barrel, they are also a great option for party food or a sneaky late night treat.
Why You're Going To Love This Recipe
- Simple! You only need 5 ingredients, and they are super simple to make.
- No chilling - The dough holds its shape without having to be chilled, which means you can enjoy them sooner! Note: If you're in a warm climate, you may find that you need to chill the dough before rolling and cutting.
- You won't have any trouble enlisting a little helper - Spreading the caramel and chocolate is a great job for little ones – although close supervision is recommended to prevent excessive sampling!
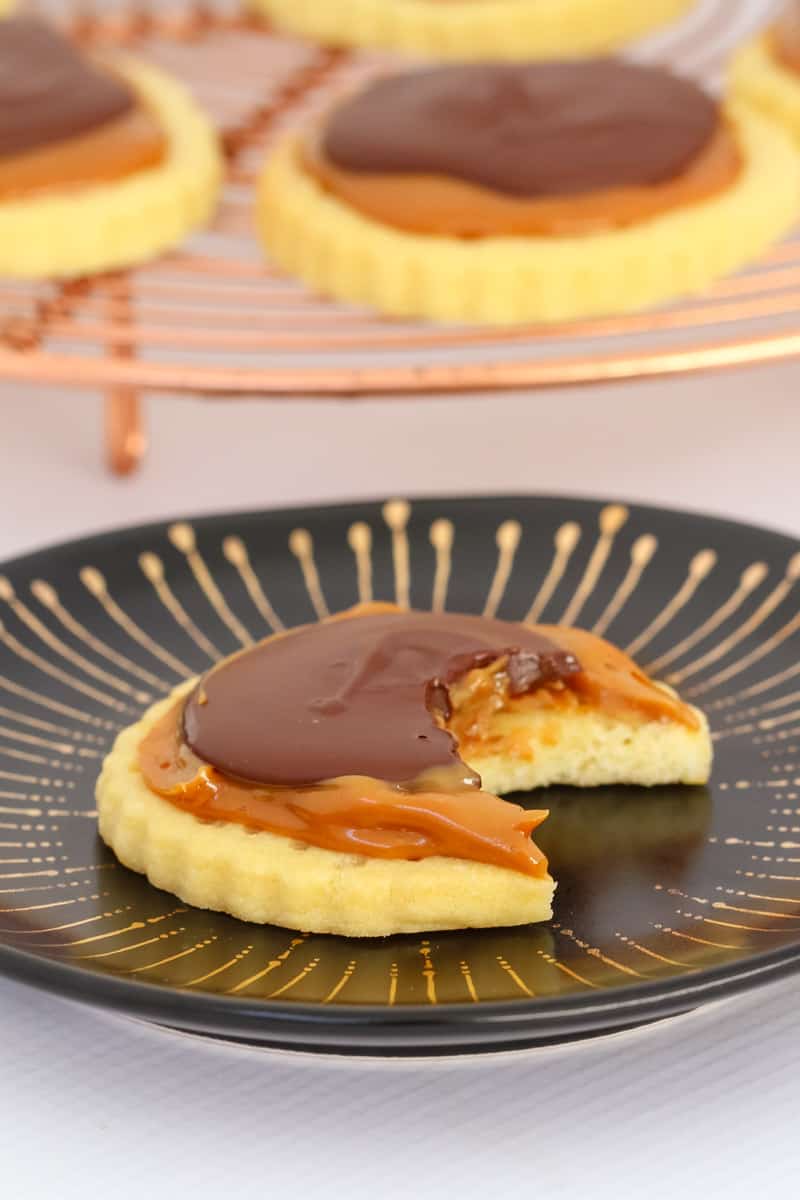
- All about the taste..... The contrasting textures and tastes of the light biscuit base, the gooey caramel and the silky chocolate are the perfect combination, and the only way to describe them is "scrumptious"!
- Plenty to go around - The recipe makes lots, so they’re perfect for gifting – and who wouldn’t want some of these?!!!
What You Need
Just 5 simple ingredients is all you need!
Note: Scroll to the recipe card at the bottom for the ingredients, quantities and full detailed method.
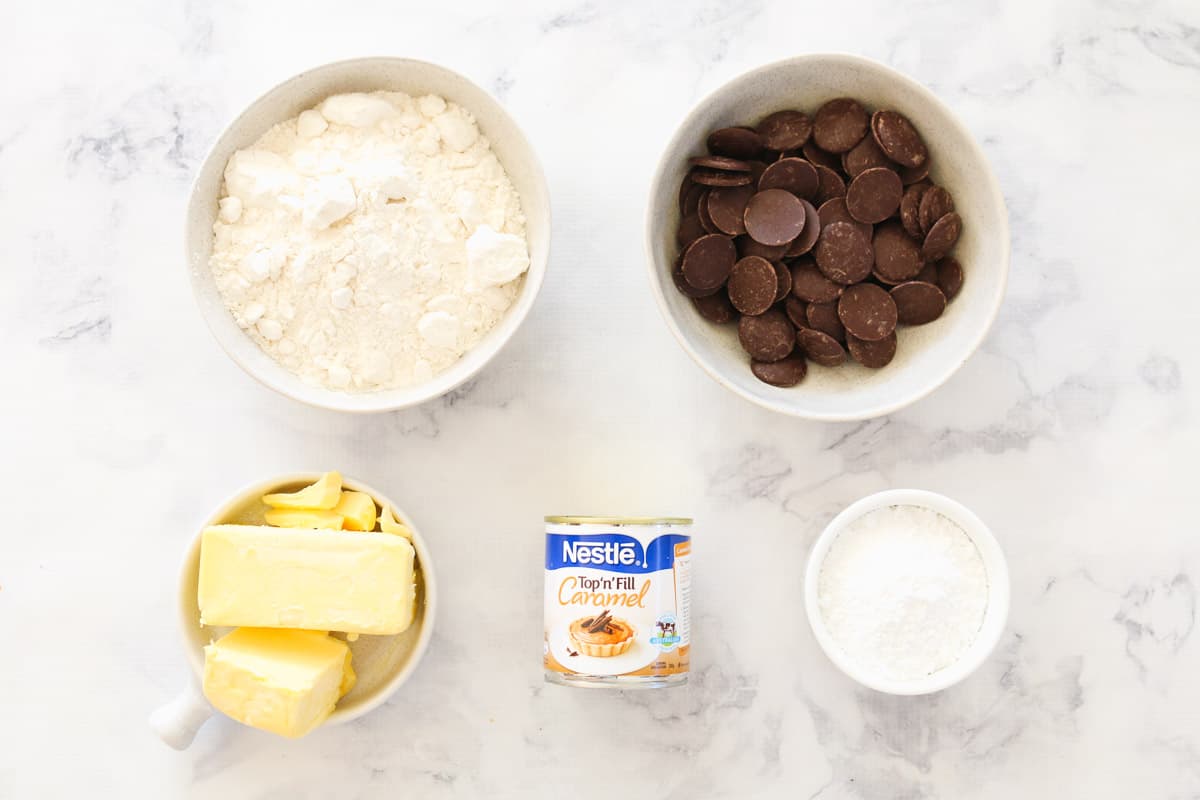
- Butter - I prefer to use unsalted butter as a baking ingredient. This is not essential, and if you usually buy salted butter, using that will be perfectly fine. Keep in mind that you will not need to add a pinch of salt, if the recipe calls for it, if using salted butter.
- Icing Sugar – There is a difference between Pure Icing Sugar and Icing Sugar mixture. I recommend using Pure Icing Sugar which doesn’t contain any cornflour, as this will give the cookies a lighter texture.
- Plain flour – Also known as all-purpose flour, this doesn't contain any raising agents.
- Nestlé Caramel Top 'n' Fill – Thick, canned caramel, that is ready to use straight from the can; just give it a good stir to get it smooth, glossy and easy to spread!
- Dark Chocolate Melts – Chocolate Melts are small, round buttons of chocolate that are easy to melt, unlike Chocolate Chips, but set hard at room temperature.
How To Make Twix Cookies
Note: Scroll to the recipe card at the bottom for the ingredients, quantities and full detailed method.
Making The Base
Making the shortbread base using the famous 3 ingredient Shortbread recipe is quick and easy!
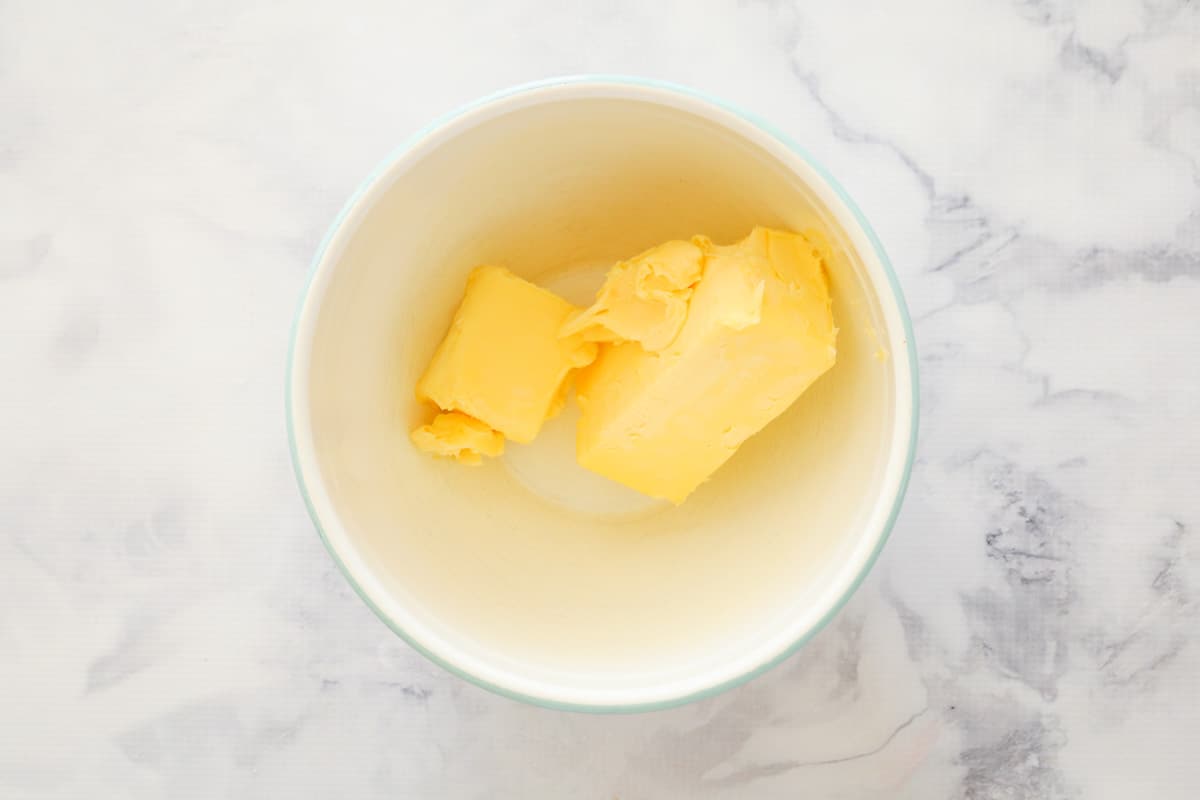
Have your butter at room temperature (or softened) for best results.
Cream The Butter
You can do this step using a food processor, beaters or a ThermBix.
Cream the butter until it turns pale and creamy.

Mix In The Icing Sugar
Using a low speed, mix in the icing sugar until well combined.

Mix In The Flour
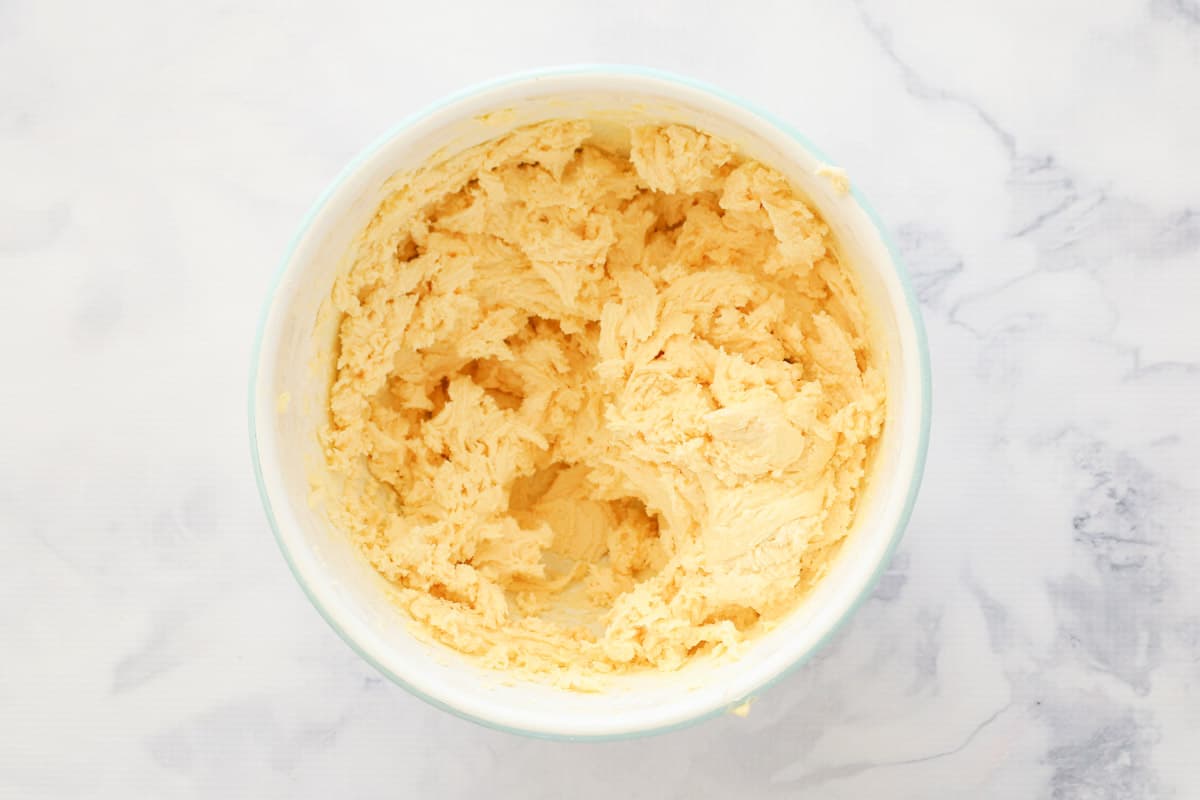
Using a low speed, mix in the flour. The mixture will be crumbly at this stage.
Knead And Roll The Dough
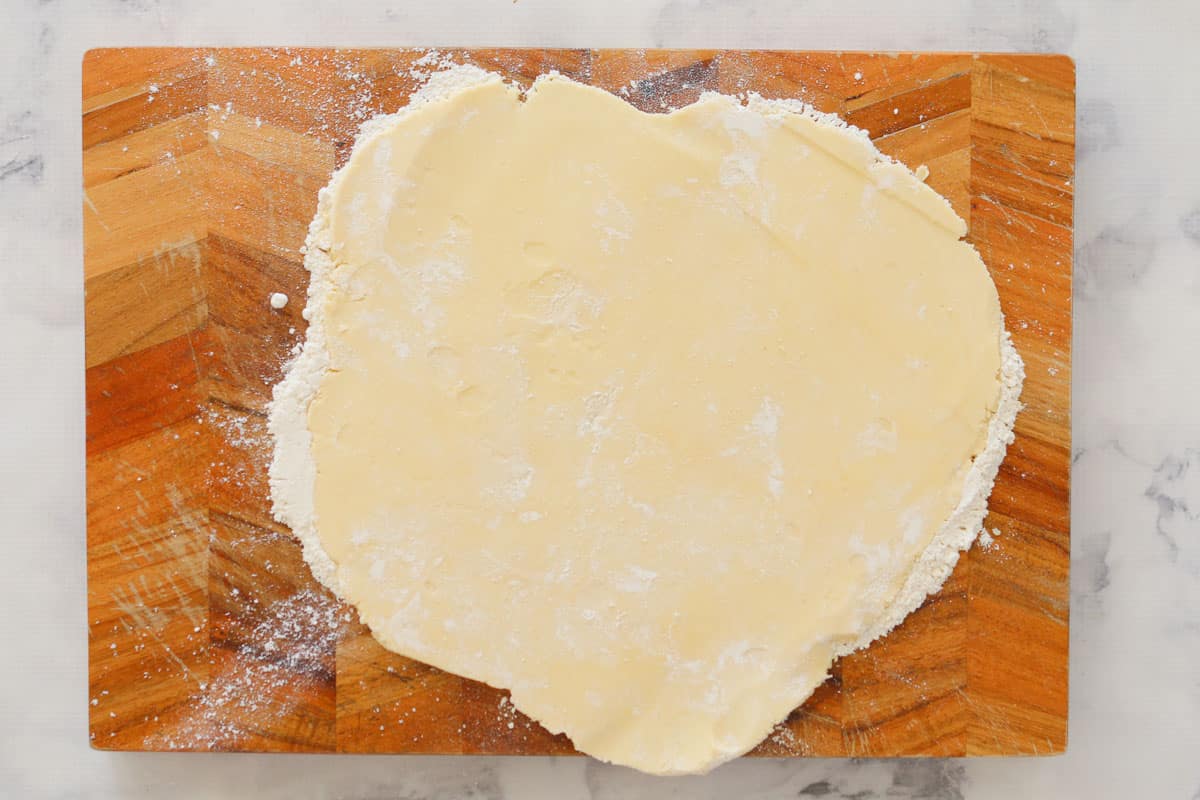
On a flour dusted board, knead the dough gently into a ball.
Roll out to ½ cm thick.
Cut Out Biscuits
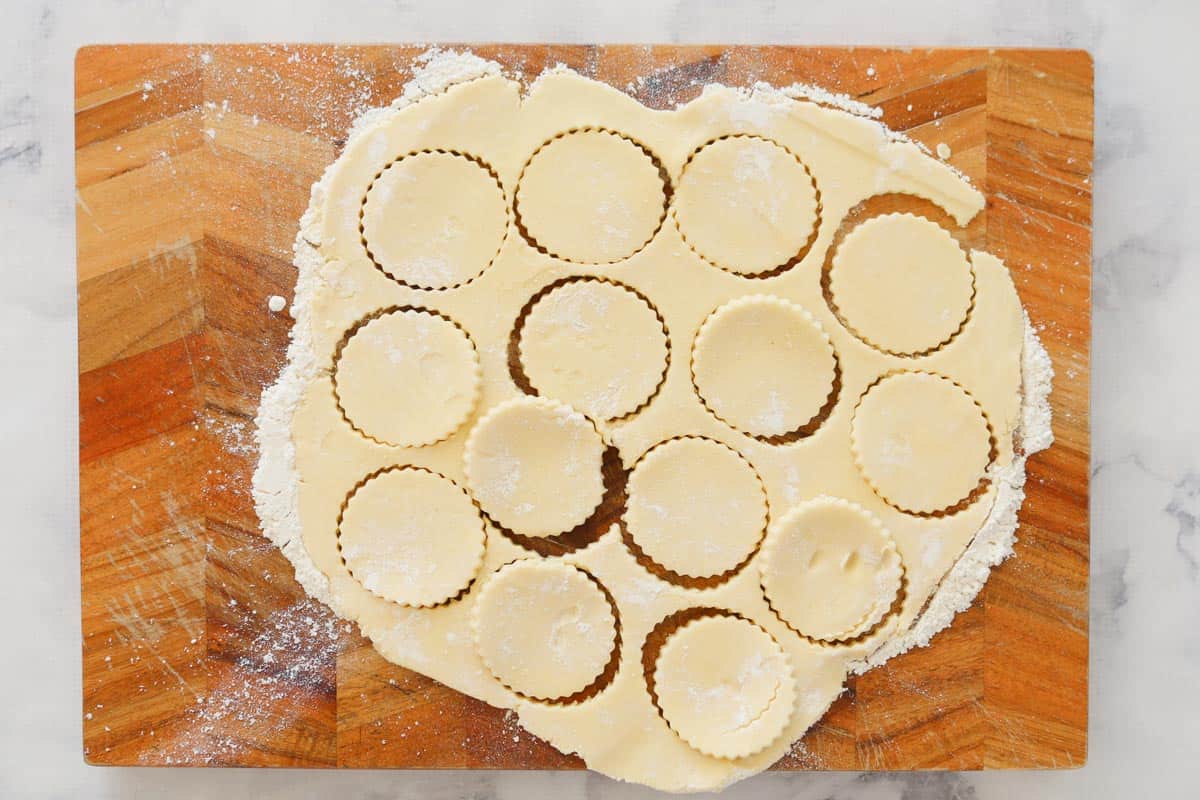
Use a cookie cutter (approximately 6cm in diameter) to cut the biscuits out.
Bake Until Lightly Golden
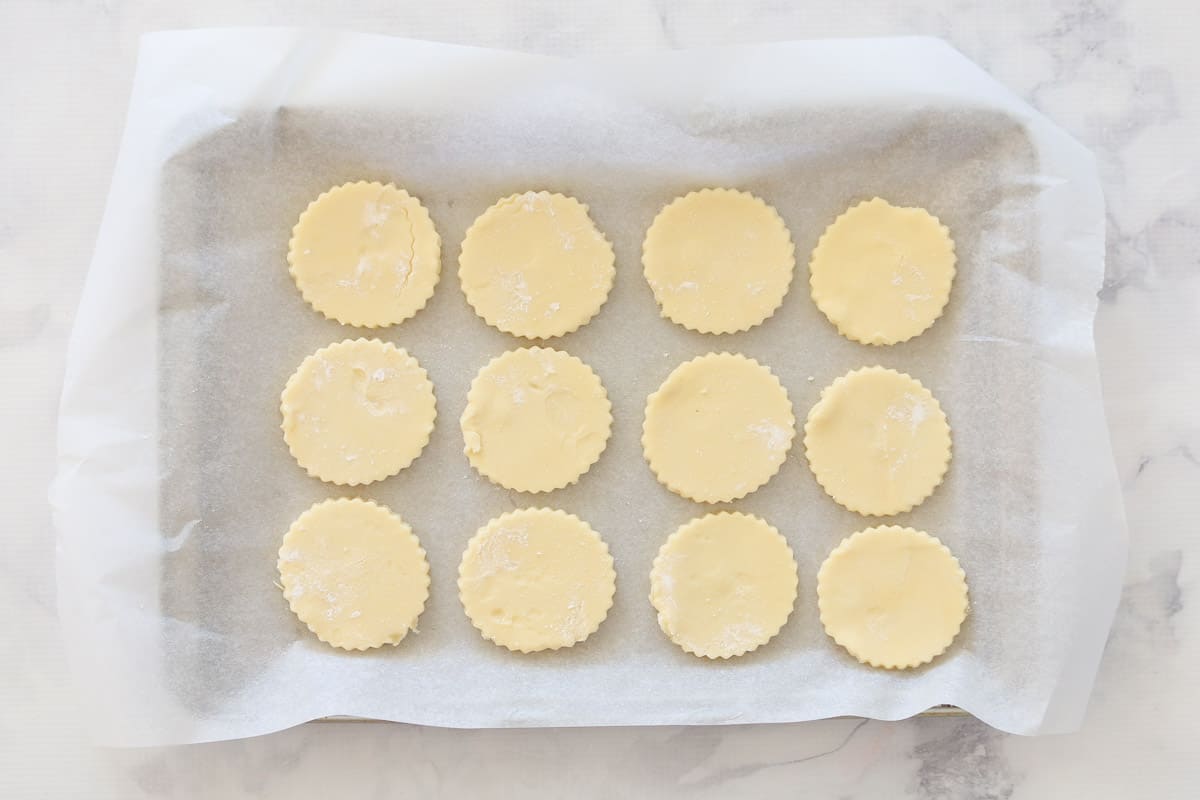
Place the biscuits onto the prepared trays.
Bake the biscuits until they are a light golden colour.
Cool The Biscuits
Transfer to a wire rack to cool after leaving them on the tray for 10 minutes.
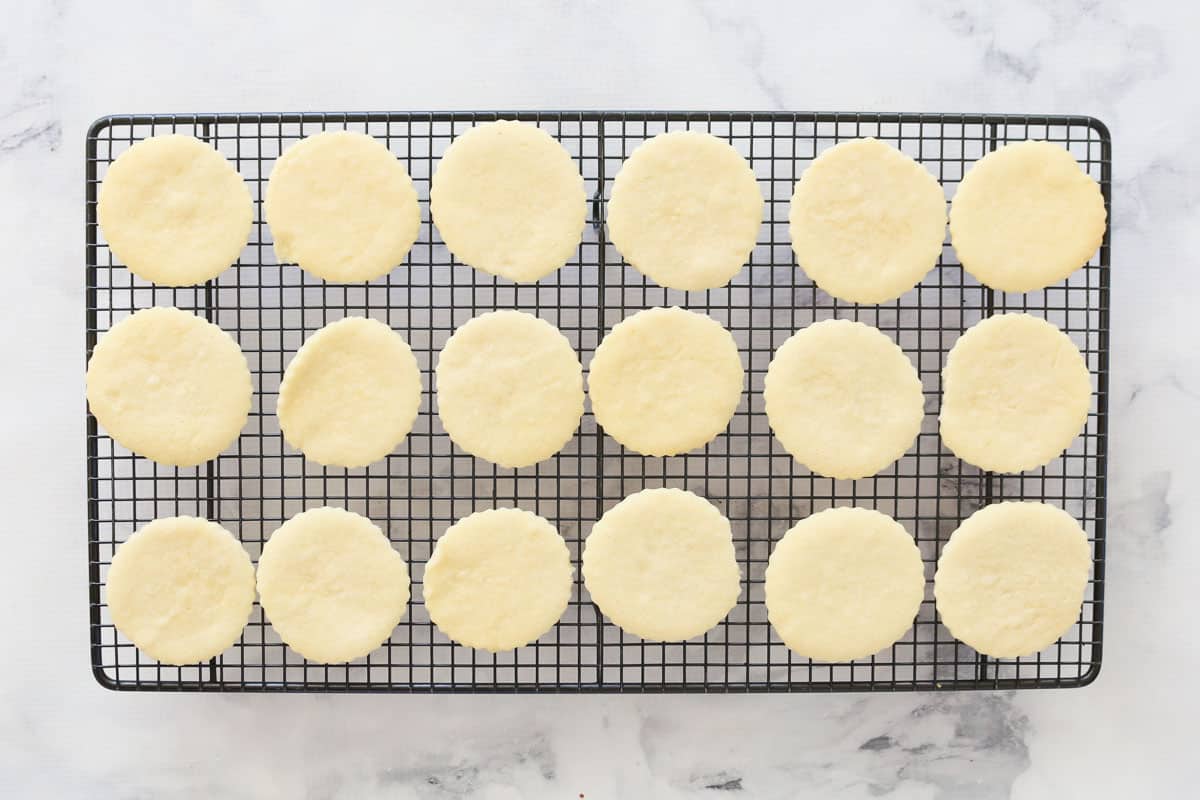
Prepare The Caramel
Stir the Caramel Top 'n' Fill until it is smooth.
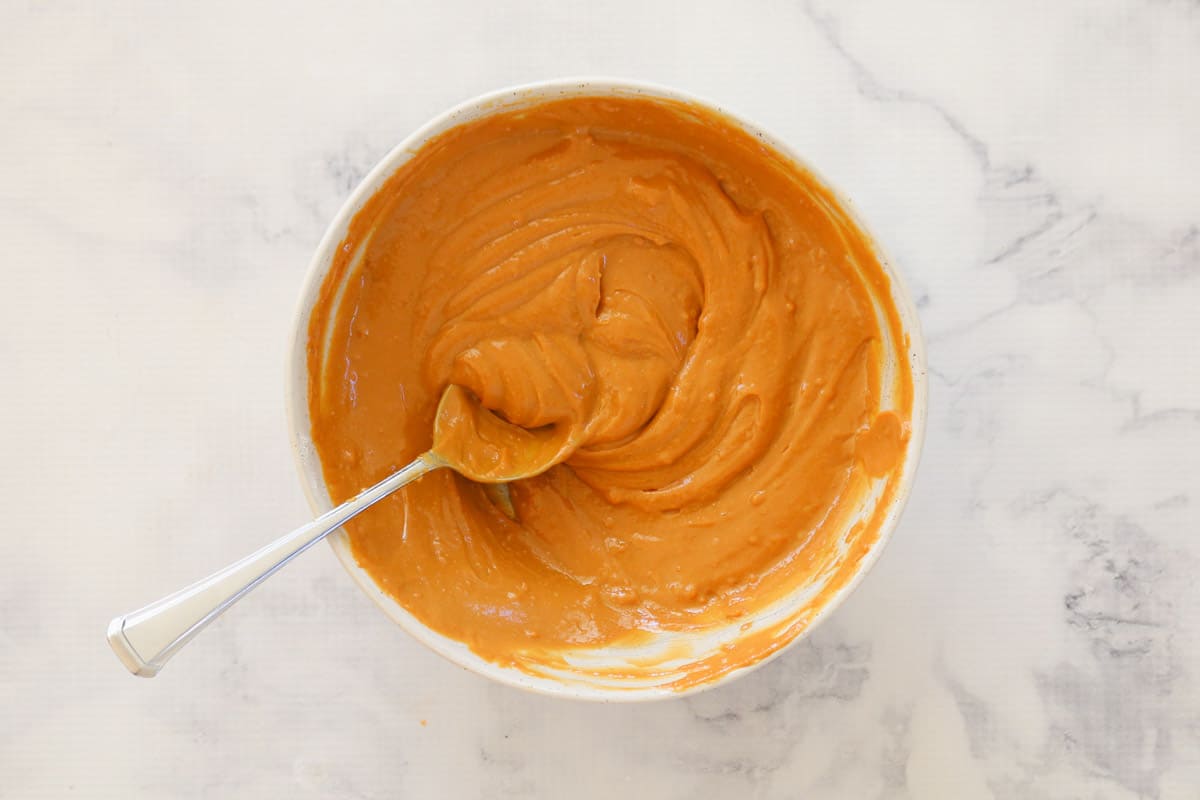
Melt The Chocolate
In a microwave safe bowl, melt the chocolate and stir with a dry metal spoon.
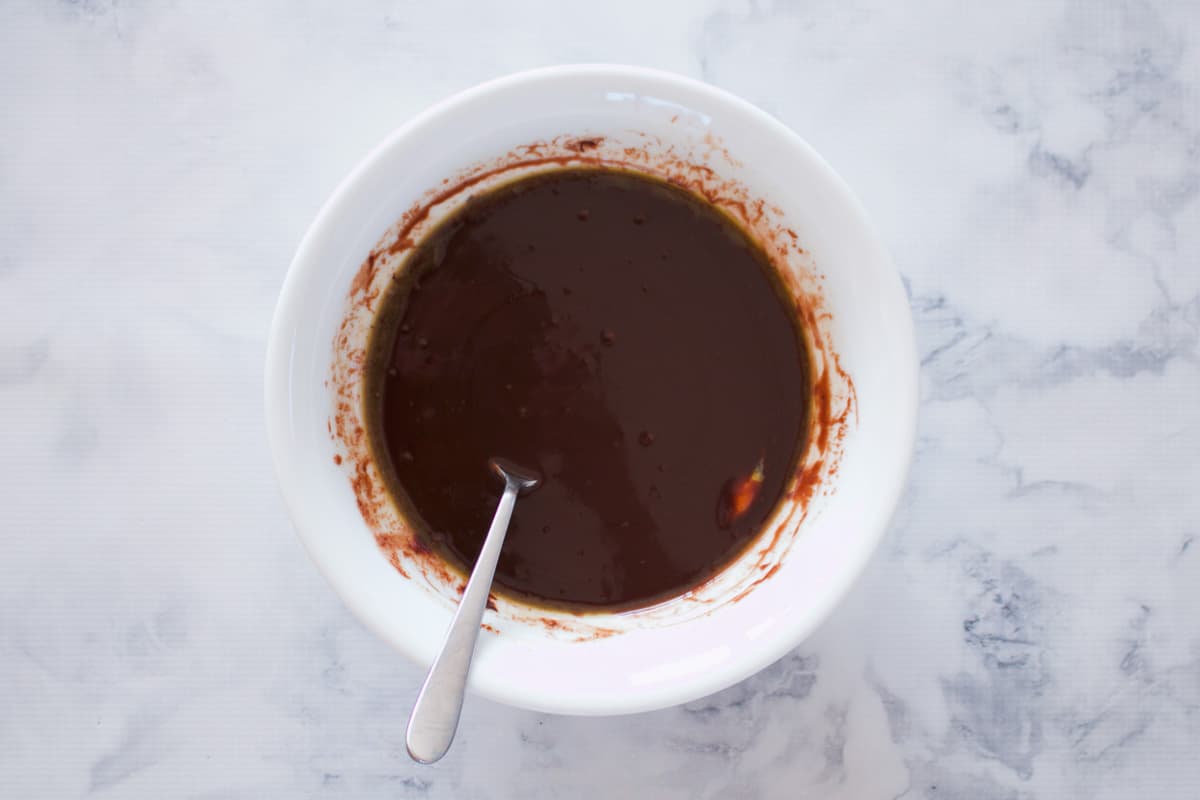
Top With Caramel
Spread a small amount of caramel on the biscuits.
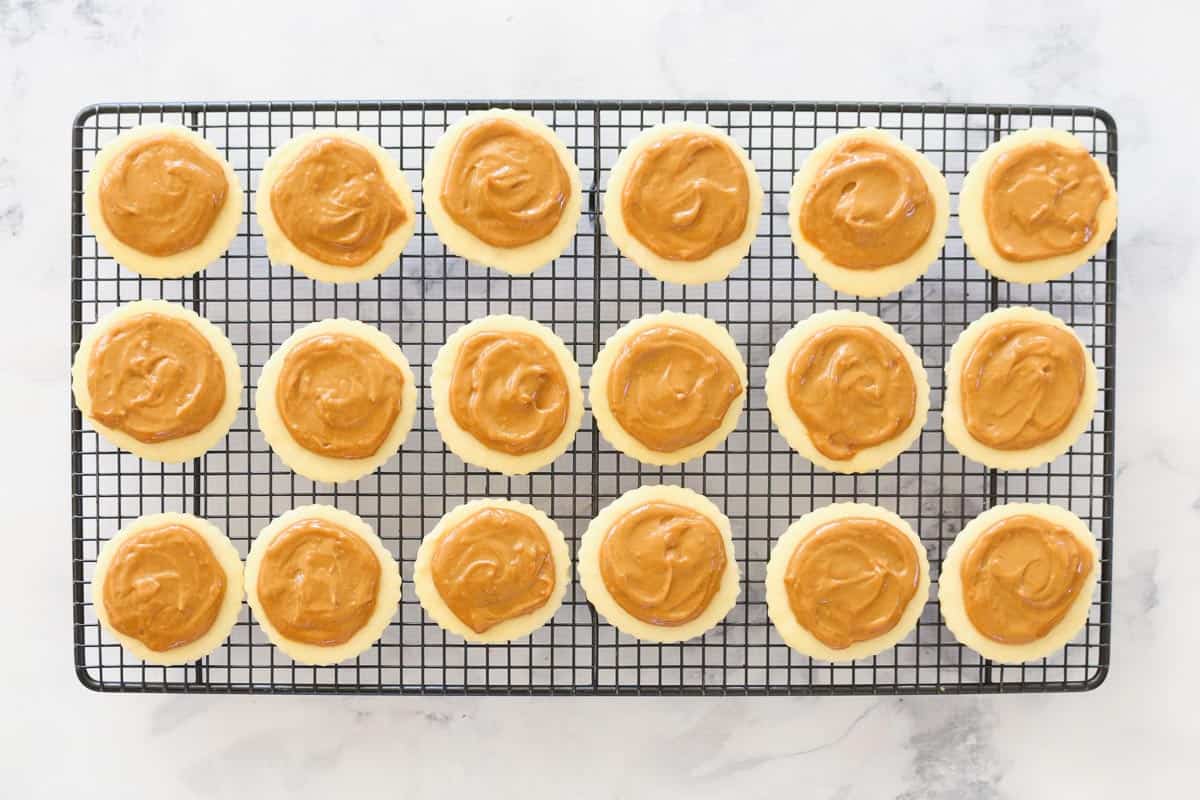
Top With Chocolate
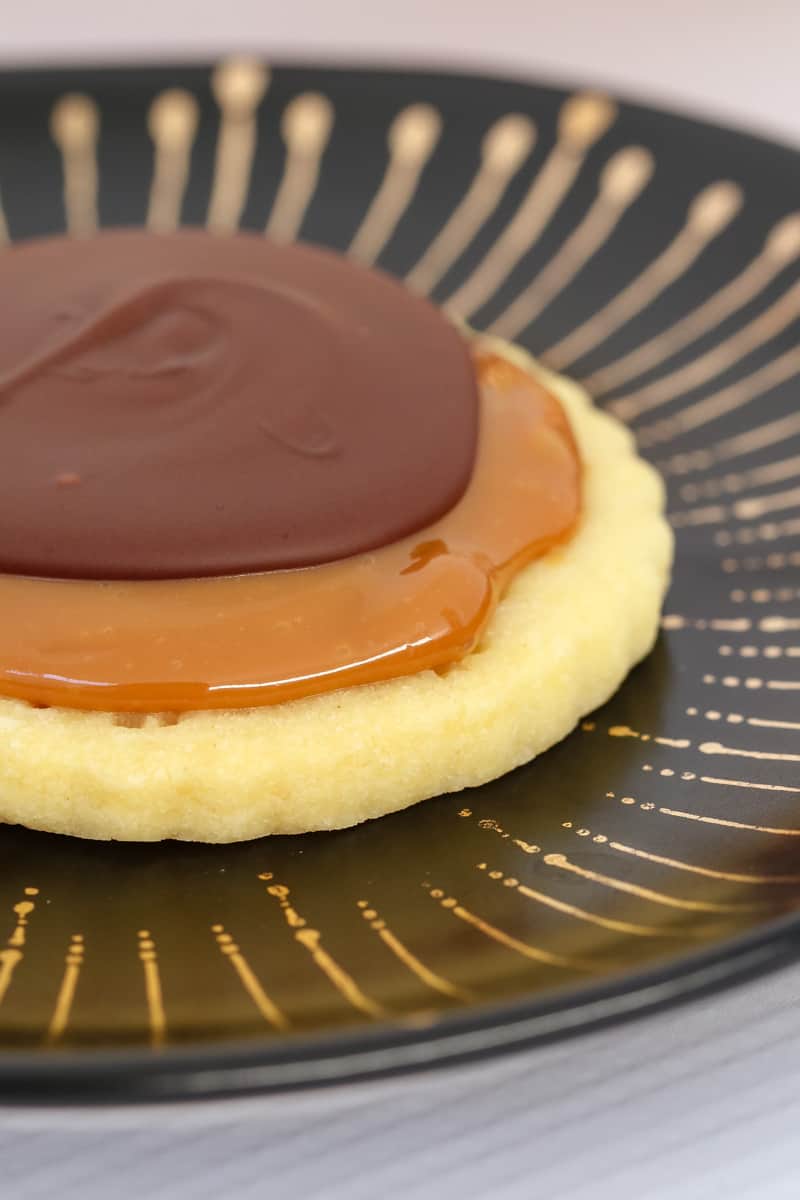
Top each biscuit with melted chocolate.

Set Aside
Set the assembled cookies aside to allow the chocolate layer to set (or place into the fridge if it's a hot day!)
Expert Tips and FAQ
I specify fan-forced oven temperatures in my recipes, so if you have a conventional oven, increase the temperature by between 10 and 20 degrees Celsius.
Monitor your baking carefully during the cooking time until you are comfortable with how the time compares to similar recipes.
If you can't find Nestlé Caramel Top 'n' Fill in your local supermarket, or it isn't available where you live, you can substitute this with any thick store-bought caramel.
The method of boiling a can of condensed milk to make caramel is no longer recommended due to safety concerns.
Homemade caramel is likely to not be thick enough, and the consistency is key to this recipe. It needs to form a layer on the biscuit that is able to hold its shape and not run off.
Dulce de leche is often a suitable alternative for caramel in baking recipes, but unfortunately not in this recipe, as the consistency and setting properties are not the same.
You can make these look more like the chocolate (candy) bar by rolling the dough into log shapes instead of cutting the dough into circles (check out my homemade Twix Bars recipe here).
As you are using plain flour, the shortbread bases will not rise, so they will be as thick or as thin as you roll the dough out to be. You can make them thinner or thicker than the ½ cm specified, but your baking time will vary.
Keep a close eye on the shortbread bases during baking, as you want just the slightest hint of golden brown to them, so that they are light and delicate.
This recipe uses Dark Chocolate Melts, but they are just as delicious with either Milk or White chocolate Melts, so feel free to choose whichever you prefer.
A marbled mixture of Milk and White Chocolate, or even just a contrasting drizzle would make them look extra special for gift-giving!
Although chocolate melts are made to melt easily and harden or set at room temperature, the time it takes to set your chocolate layer will depend greatly on the ambient temperature.
You may need to put the cookies in the fridge for the chocolate to harden properly if it's a warm day, or even to speed setting time up so you can eat them sooner!
Related Recipes
- Mars Bar Slice - an all-time Aussie fave in school lunch boxes!
- Crunchie Slice - the combination of crunchy chocolate and sweet honeycomb is the BEST!
- Turkish Delight Slice - oozy-gooey Turkish Delight chocolate takes this slice to the next level.
- Toblerone Cheesecake - smooth, creamy and perfect for any celebration.
WANT EVEN MORE DELICIOUS RECIPES? Subscribe to my newsletter or follow along on Facebook or Instagram. And if you love baking, then please come and join my Facebook cooking club group or subscribe to my YouTube channel.

Twix Cookies
Ingredients
- 340 g butter, room temperature (3 sticks)
- 130 g pure icing sugar (1 cup)
- 375 g plain flour (3 cups)
- 380 g Nestlé Caramel Top 'n' Fill (see notes)
- 300 g dark chocolate melts
Instructions
Conventional Method
- Preheat oven to 160 degrees celsius (fan-forced). Line two large flat baking trays with baking paper and set aside until needed.
- Beat the butter in a large bowl using handheld electric beaters or the stand mixer on medium until smooth (approximately 30 seconds).
- Slowly add the icing sugar and continue mixing until well combined. Scrape down the sides of the bowl.
- Add the flour and mix on low speed until combined (please note that the mixture will be crumbly at this stage).
- Gently knead the dough into a ball on a lightly floured kitchen bench, taking care not to overwork it, and then roll out to ½ cm thick. Use a round cookie cutter to cut circles out of the dough.
- Place the biscuits onto the prepared trays and bake for 12-15 minutes or until only just very lightly golden (do not overcook).
- Allow to cool on the trays for 10 minutes before transferring to a wire rack to cool completely.
- Place the Caramel Top 'n' Fill into a small bowl and mix with a spoon until smooth and glossy.
- Place the chocolate melts into a microwave safe bowl and melt for 30 seconds bursts at 50% power, stirring with a completely dry metal spoon.
- Spread a small amount of Caramel Top 'n' Fill over the top of the cooled biscuits and then top with a small amount of melted dark chocolate. Set aside until the chocolate layer has set.
- Once the chocolate has set, the Twix Cookies are ready to serve! They can be stored in an airtight container at room temperature for up to 5 days (see notes).
Thermomix Method
- Preheat oven to 160 degrees celsius (fan-forced). Line two large flat baking trays with baking paper and set aside until needed.
- Place the icing sugar into the Thermomix bowl and sift for 10 seconds, Speed 8. Scrape down the sides of the bowl.
- Weigh the butter and plain flour into the Thermomix bowl. Mix 10-15 seconds, Speed 6, and then knead for 1 minute, Kneading function.
- Tip the dough out onto a lightly floured bench or Thermomat, and gently knead it into a ball, taking care not to overwork it. Roll out to ½ cm thick and use a round cookie cutter to cut circles out of the dough.
- Place the biscuits onto the prepared trays and bake for 12-15 minutes or until only just very lightly golden (do not overcook).
- Allow to cool on the trays for 10 minutes before transferring to a wire rack to cool completely.
- Place the Caramel Top 'n' Fill into a small bowl and mix with a spoon until smooth and glossy.
- In a clean, completely dry Thermomix bowl, melt the chocolate for 2 minutes, 50 degrees, Speed 2. Stir with a spatula and then melt for a further 2 minutes, 50 degrees, Speed 2 or until completely melted.
- Spread a small amount of Caramel Top 'n' Fill over the top of the cooled biscuits and then top with a small amount of melted dark chocolate. Set aside until the chocolate layer has set.
- Once the chocolate has set, the Twix Cookies are ready to serve! They can be stored in an airtight container at room temperature for up to 5 days (see notes).



Rachael Conomy
Another fab recipe Luce!
Just whipped up a double batch of the scrumptious morsels for the after school foodies!
They will no doubt get rave reviews!
Lucy Mathieson
Thank you so much!!! Yay! Hope the kids love them!! xx