
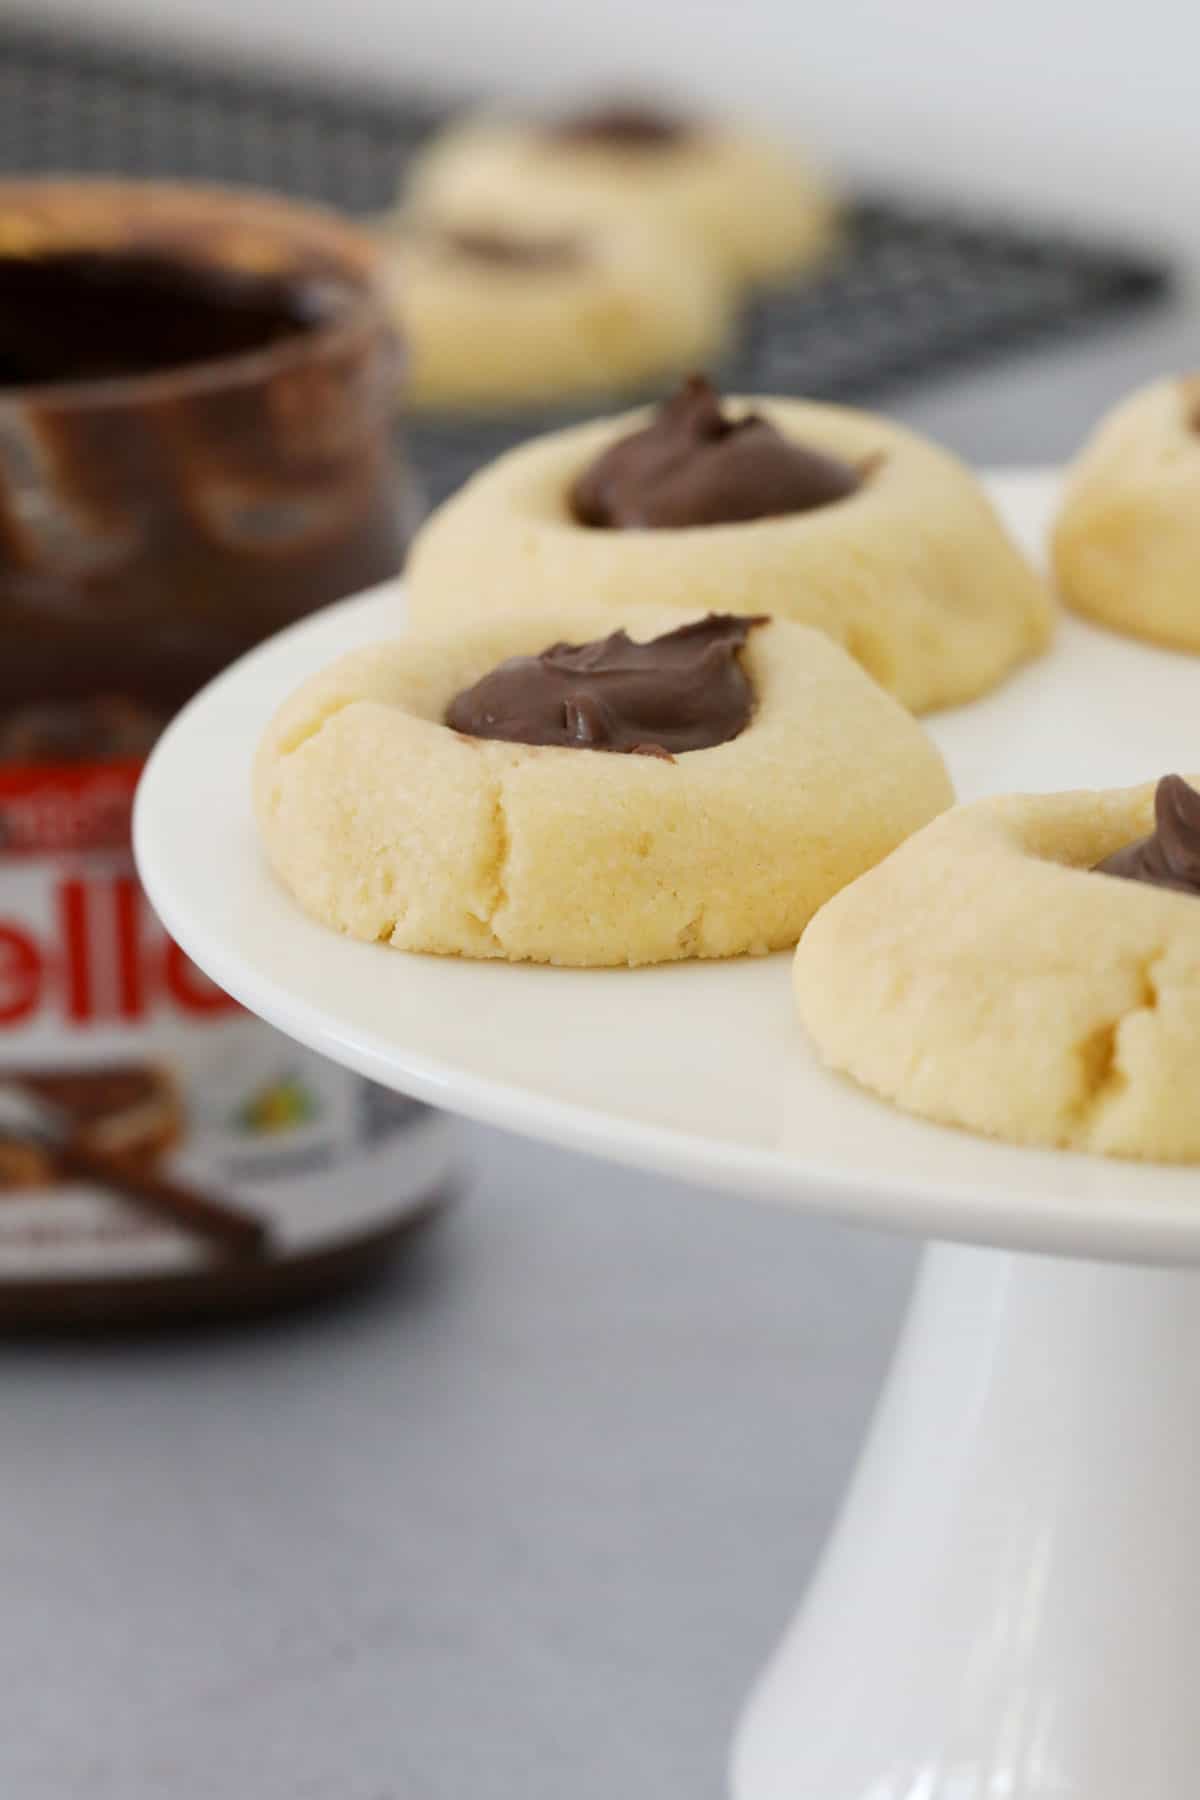
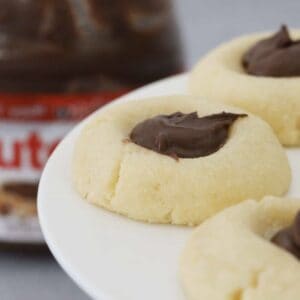
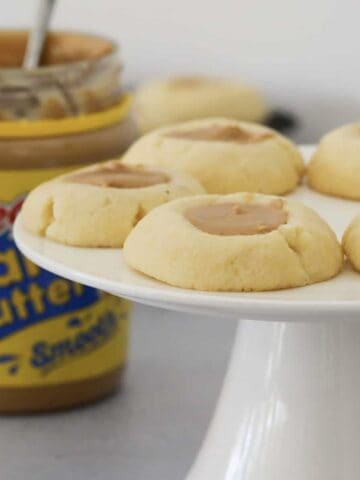
If you're a fan of rich, chocolatey treats (who isn't?!), you're going to fall head over heels for these Nutella Thumbprint Cookies.
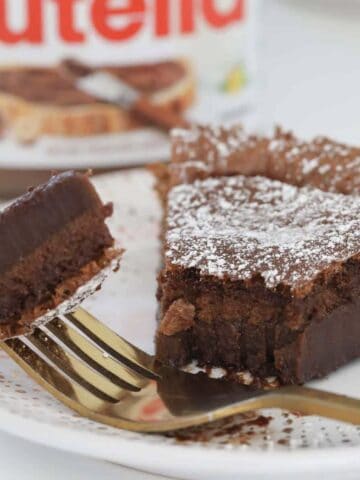
Buttery, melt-in-your-mouth cookies with a gooey Nutella centre - they're just as irresistible as my Nutella Stuffed Chocolate Chip Cookies and always a hit like these classic Jam Drop Biscuits and Salted Brownie Cookies. One batch is never enough!
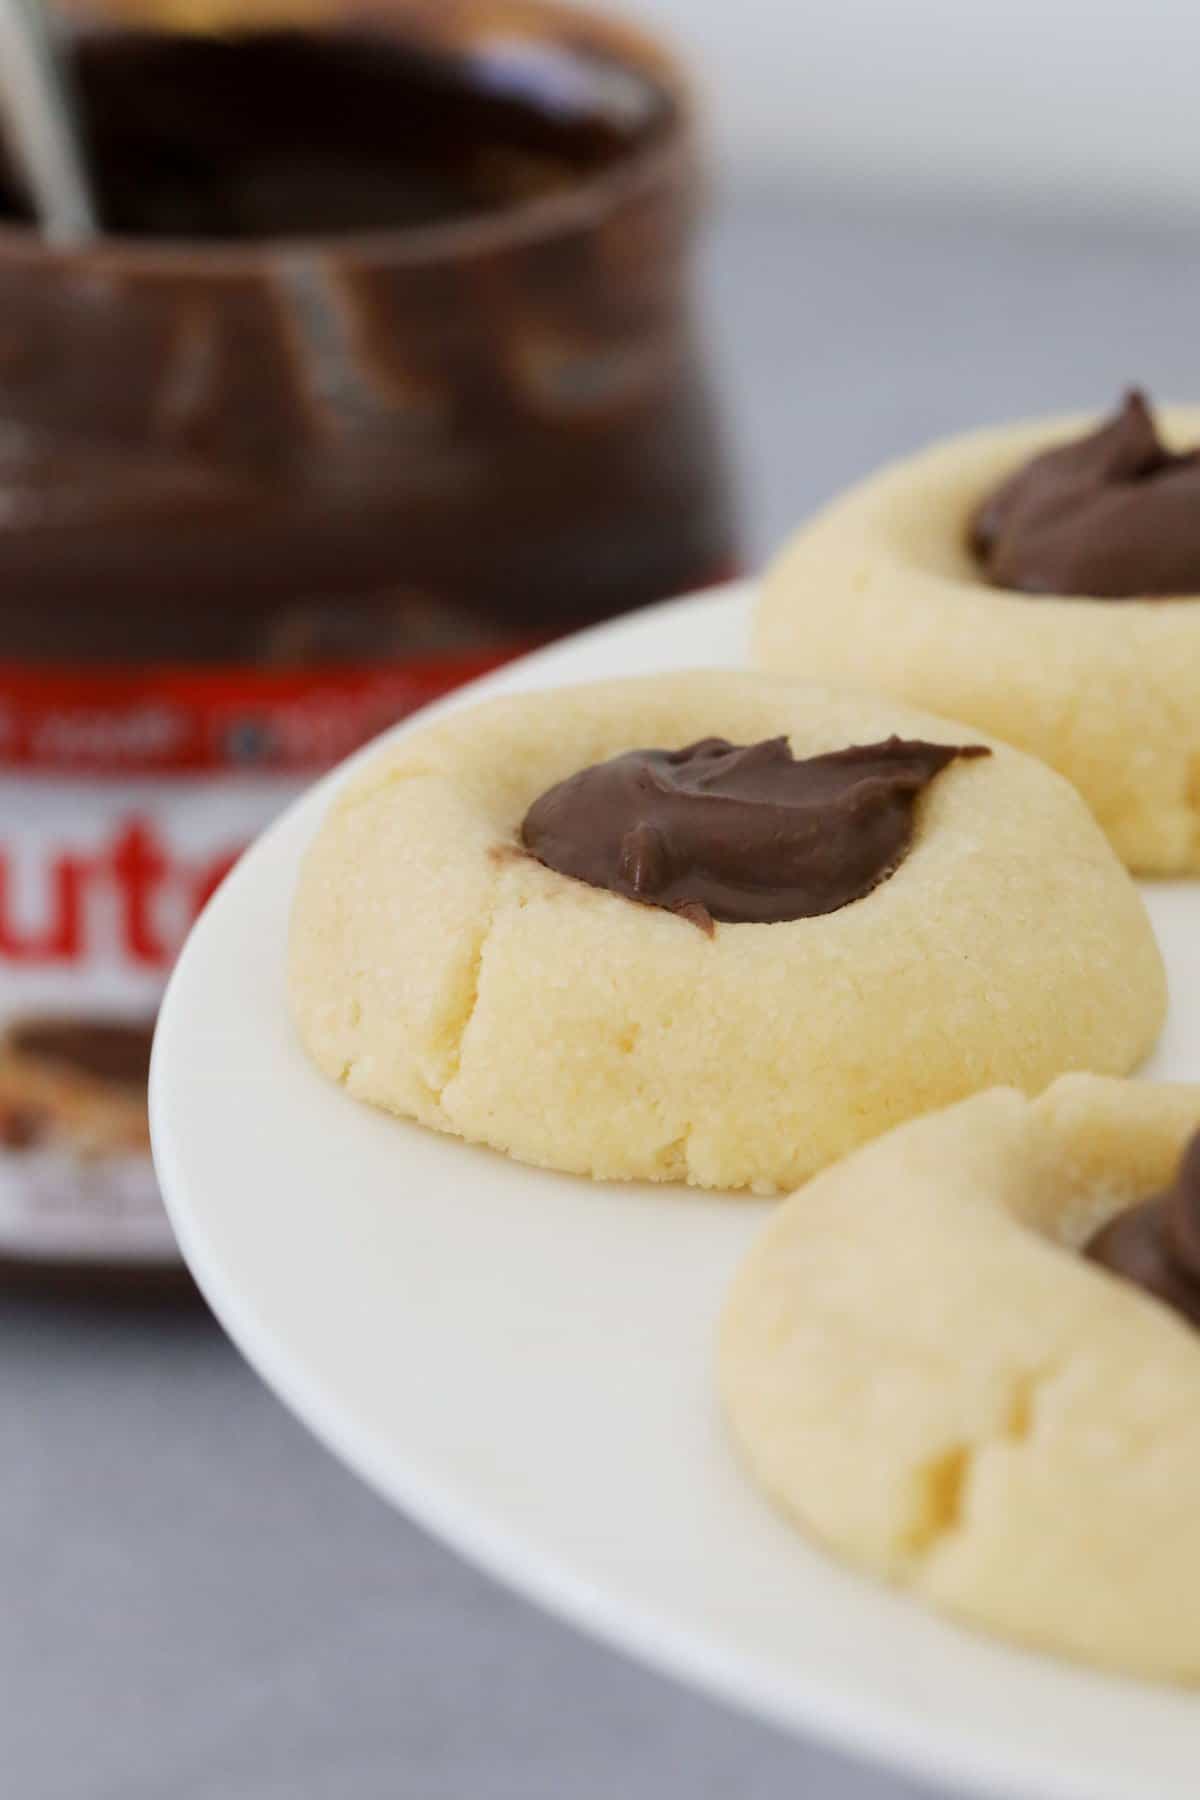
With a soft, buttery base and a gooey Nutella centre, these thumbprint cookies are the ultimate sweet treat - perfect for lunchboxes, afternoon tea, or a cosy night in with a cuppa.
If you've got kids, chances are there's a jar of Nutella in the pantry! It's a fave in our house - I use it in everything from Banana Nutella Muffins to Healthy Nutella Protein Balls for the lunchbox.
Why You're Going To Love This Recipe
- Quick & Easy - This recipe comes together in no time with 6 simple ingredients and minimal effort to make 30 cookies!
- Irresistibly Delicious - The combination of a buttery cookie and creamy hazelnut chocolate spread is a match made in heaven.
- Great for Any Occasion - These baked cookies are perfect for afternoon tea, school lunchboxes, or even as a homemade gift.
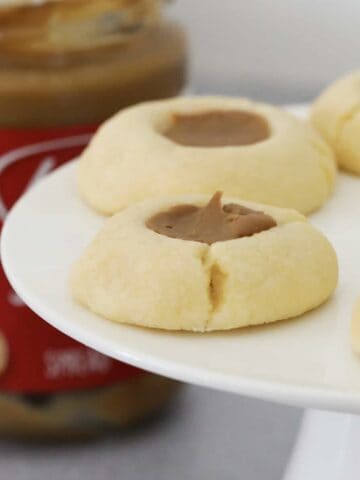
- Customisable - Swap out the Nutella for peanut butter, caramel, or jam to create your own twist.
Jump to:
Cookie Ingredients
These easy Nutella thumbprint cookies are made with just 6 basic baking staples - plus a generous dollop of Nutella for that deliciously gooey centre!
Note: Scroll to the recipe card at the bottom for the ingredients quantities and full detailed method.
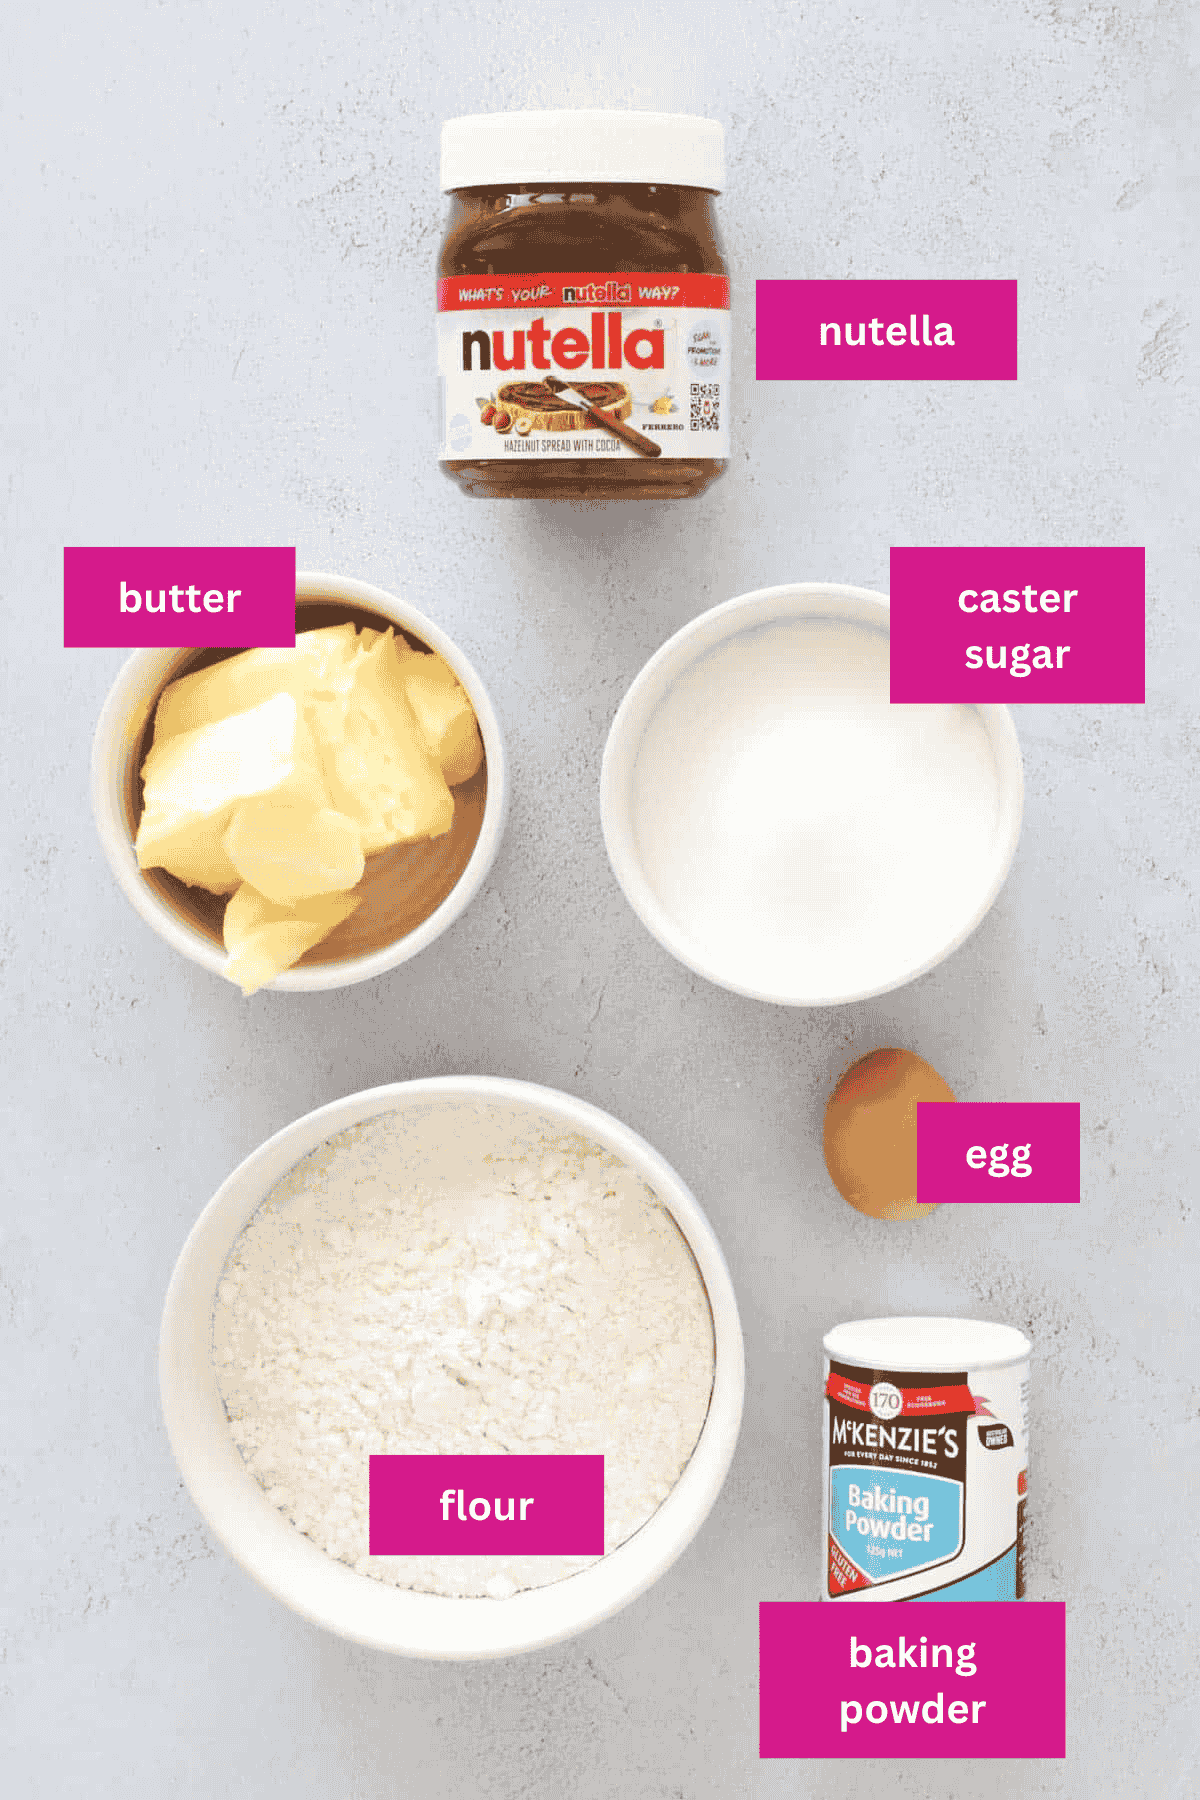
- Butter - Make sure it's softened to room temperature for that rich, melt-in-your-mouth cookie texture. You can use either salted or unsalted.
- Caster sugar - This superfine sugar dissolves quickly, giving the dough a smooth consistency and tender crumb.
- Nutella - The hero ingredient! This creamy chocolate hazelnut spread creates the perfect gooey centre in every bite.
Variations
- Alternative fillings - Swap the Nutella for peanut butter, Biscoff, caramel, or your favourite jam for a fun twist on this classic recipe.
- Gluten-free option - Simply use a good-quality gluten-free plain flour to make these cookies coeliac-friendly.
- Add some crunch - Roll the dough balls in crushed hazelnuts or chopped almonds before baking for extra texture and flavour.
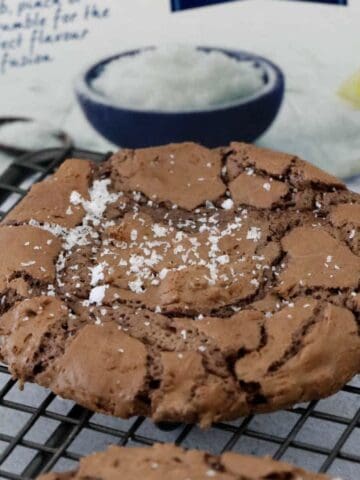
- Extra chocolatey - Once the cookies have cooled, drizzle over some melted chocolate for an indulgent finish.
How To Make Nutella Thumprint Cookies
This classic Nutella thumbprint cookies recipe requires only 10 minutes of prep time, followed by chilling and baking.
Note: Scroll to the recipe card at the bottom for the ingredients quantities and full detailed method.
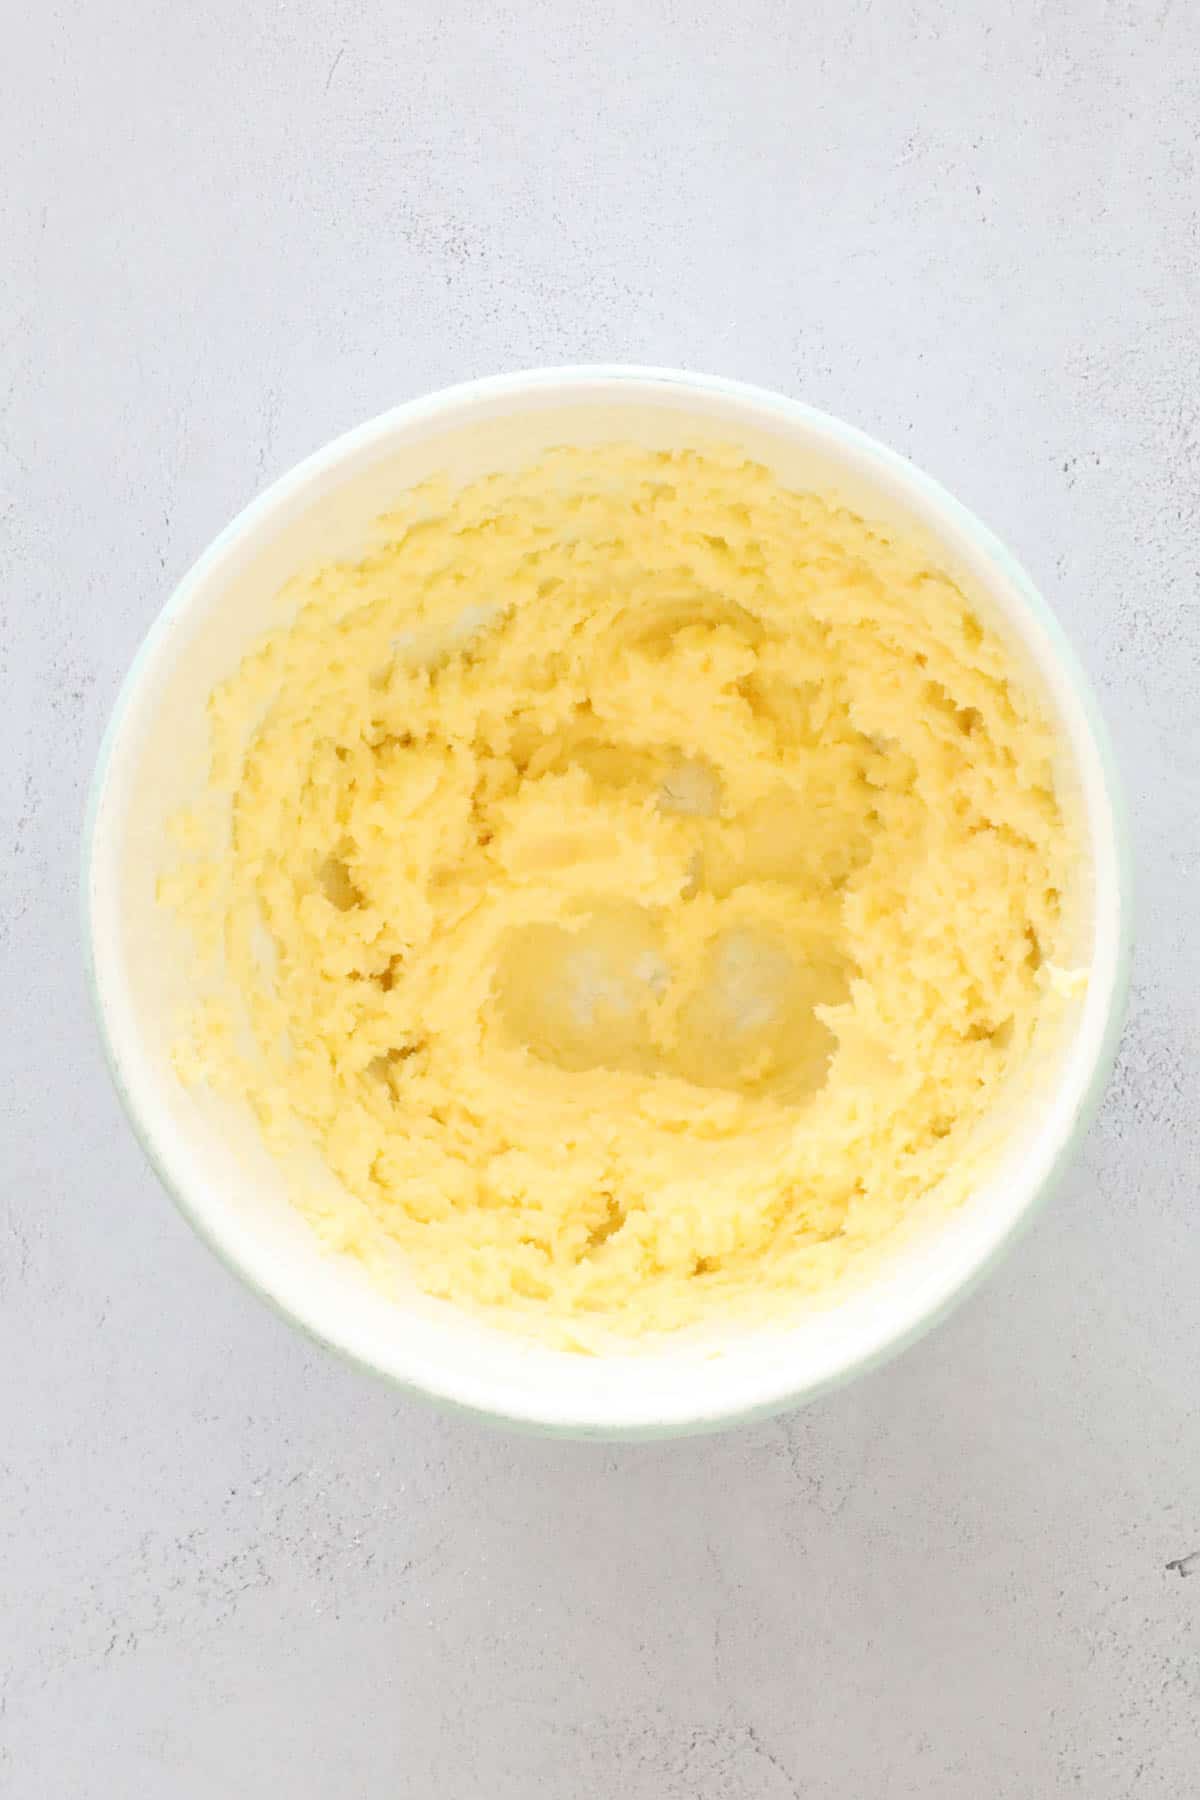
- Step 1: Using electric beaters or a stand mixer and a large bowl, beat the softened butter and caster sugar together on a medium speed until the mixture is light and fluffy.
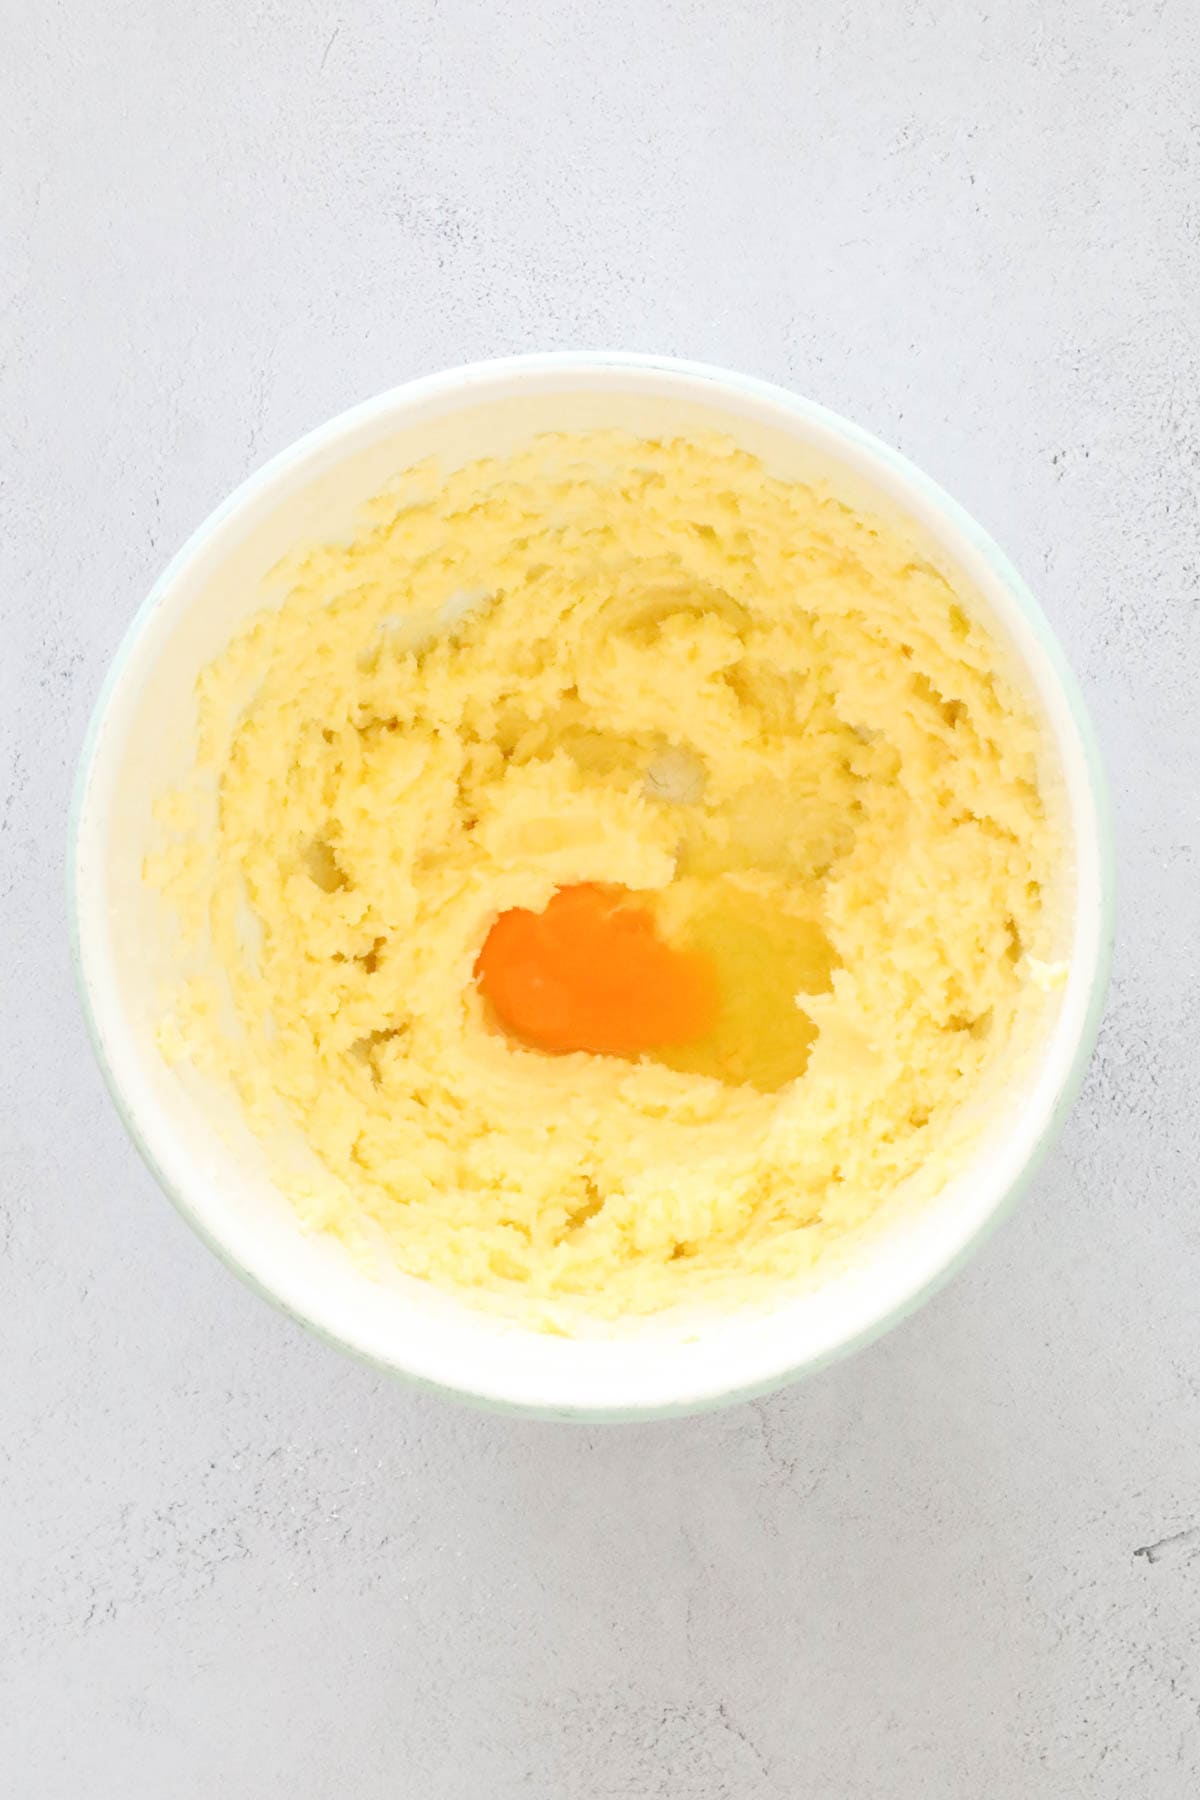
- Step 2: Crack in the egg and continue mixing on low speed until the mixture is smooth and well combined.
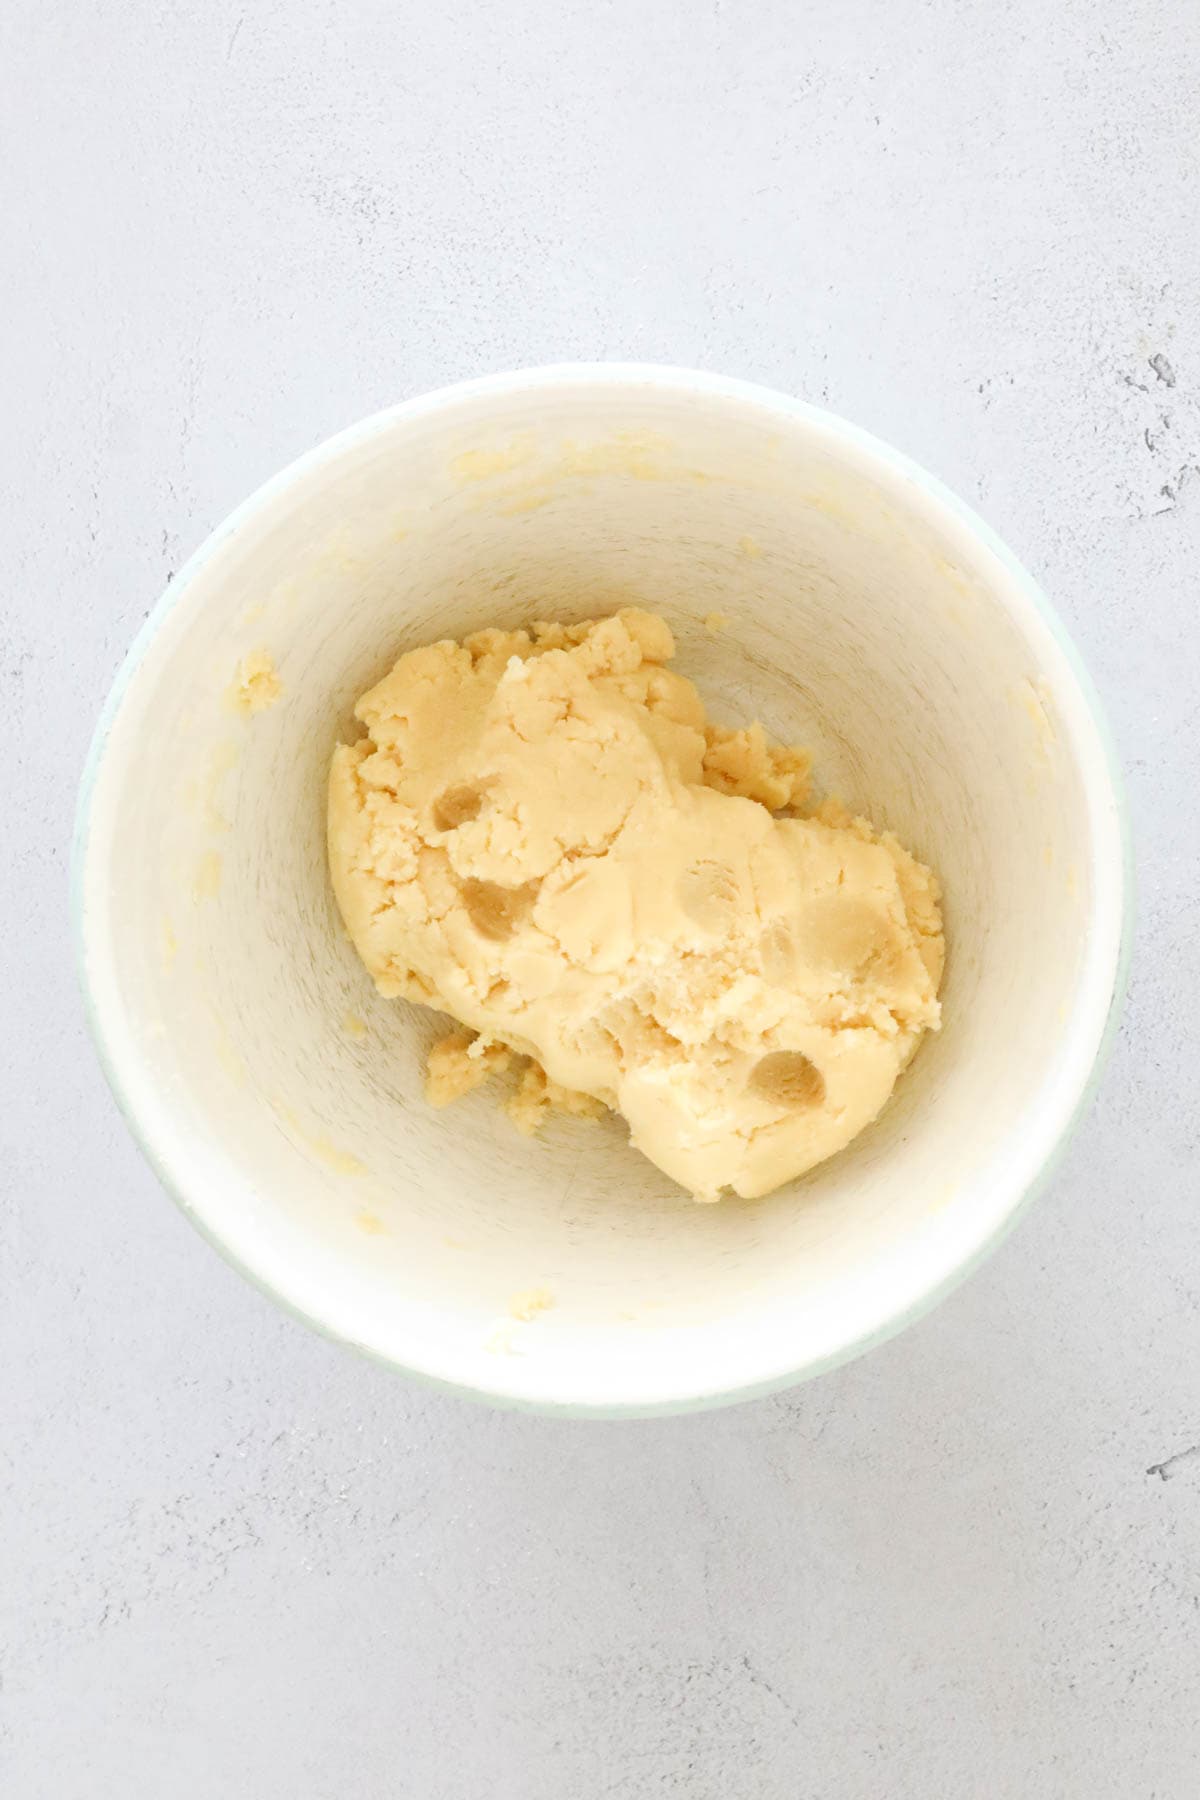
- Step 3: Sift the plain flour and baking powder into the mixture, then gently fold this through with a wooden spoon until a soft dough forms.
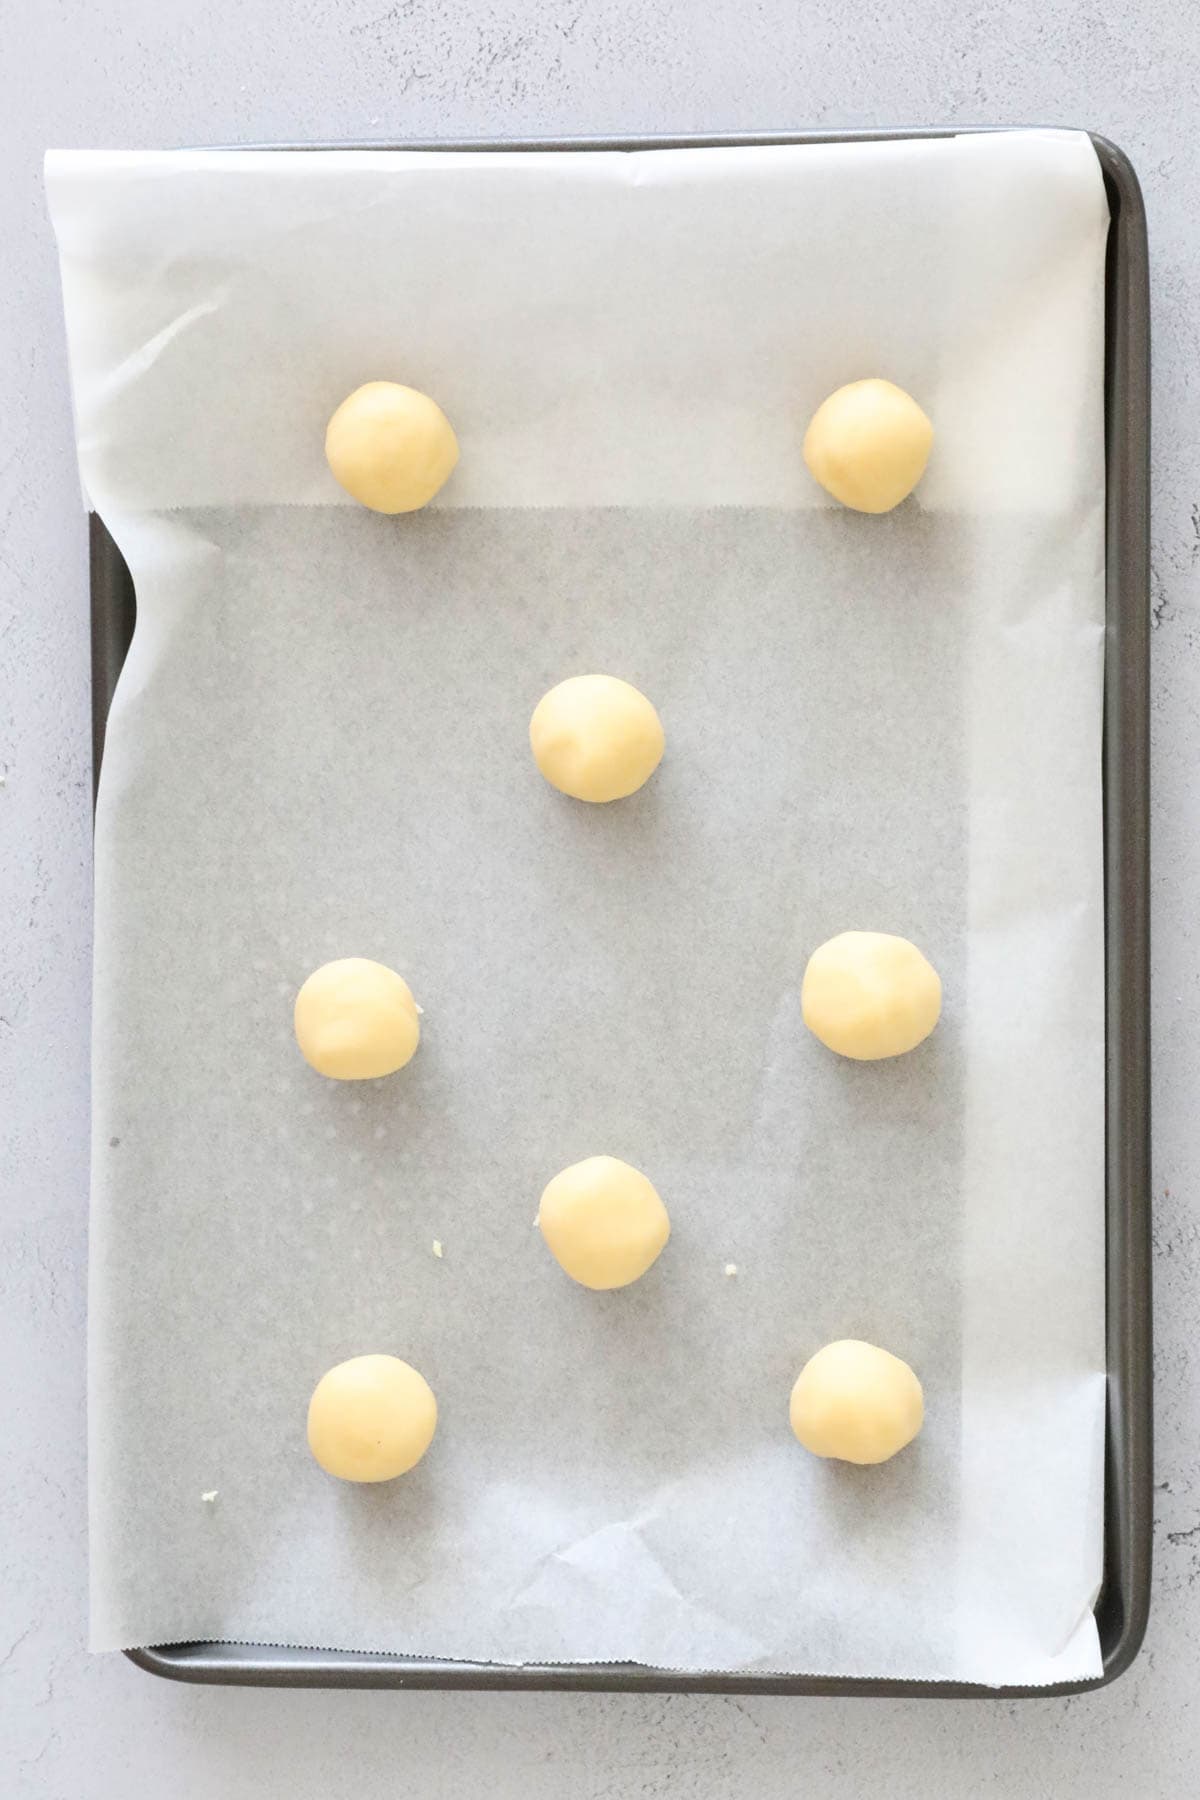
- Step 4: Using a teaspoon measure, roll small portions of the dough into balls and place them onto prepared baking sheets, leaving space between each for spreading.
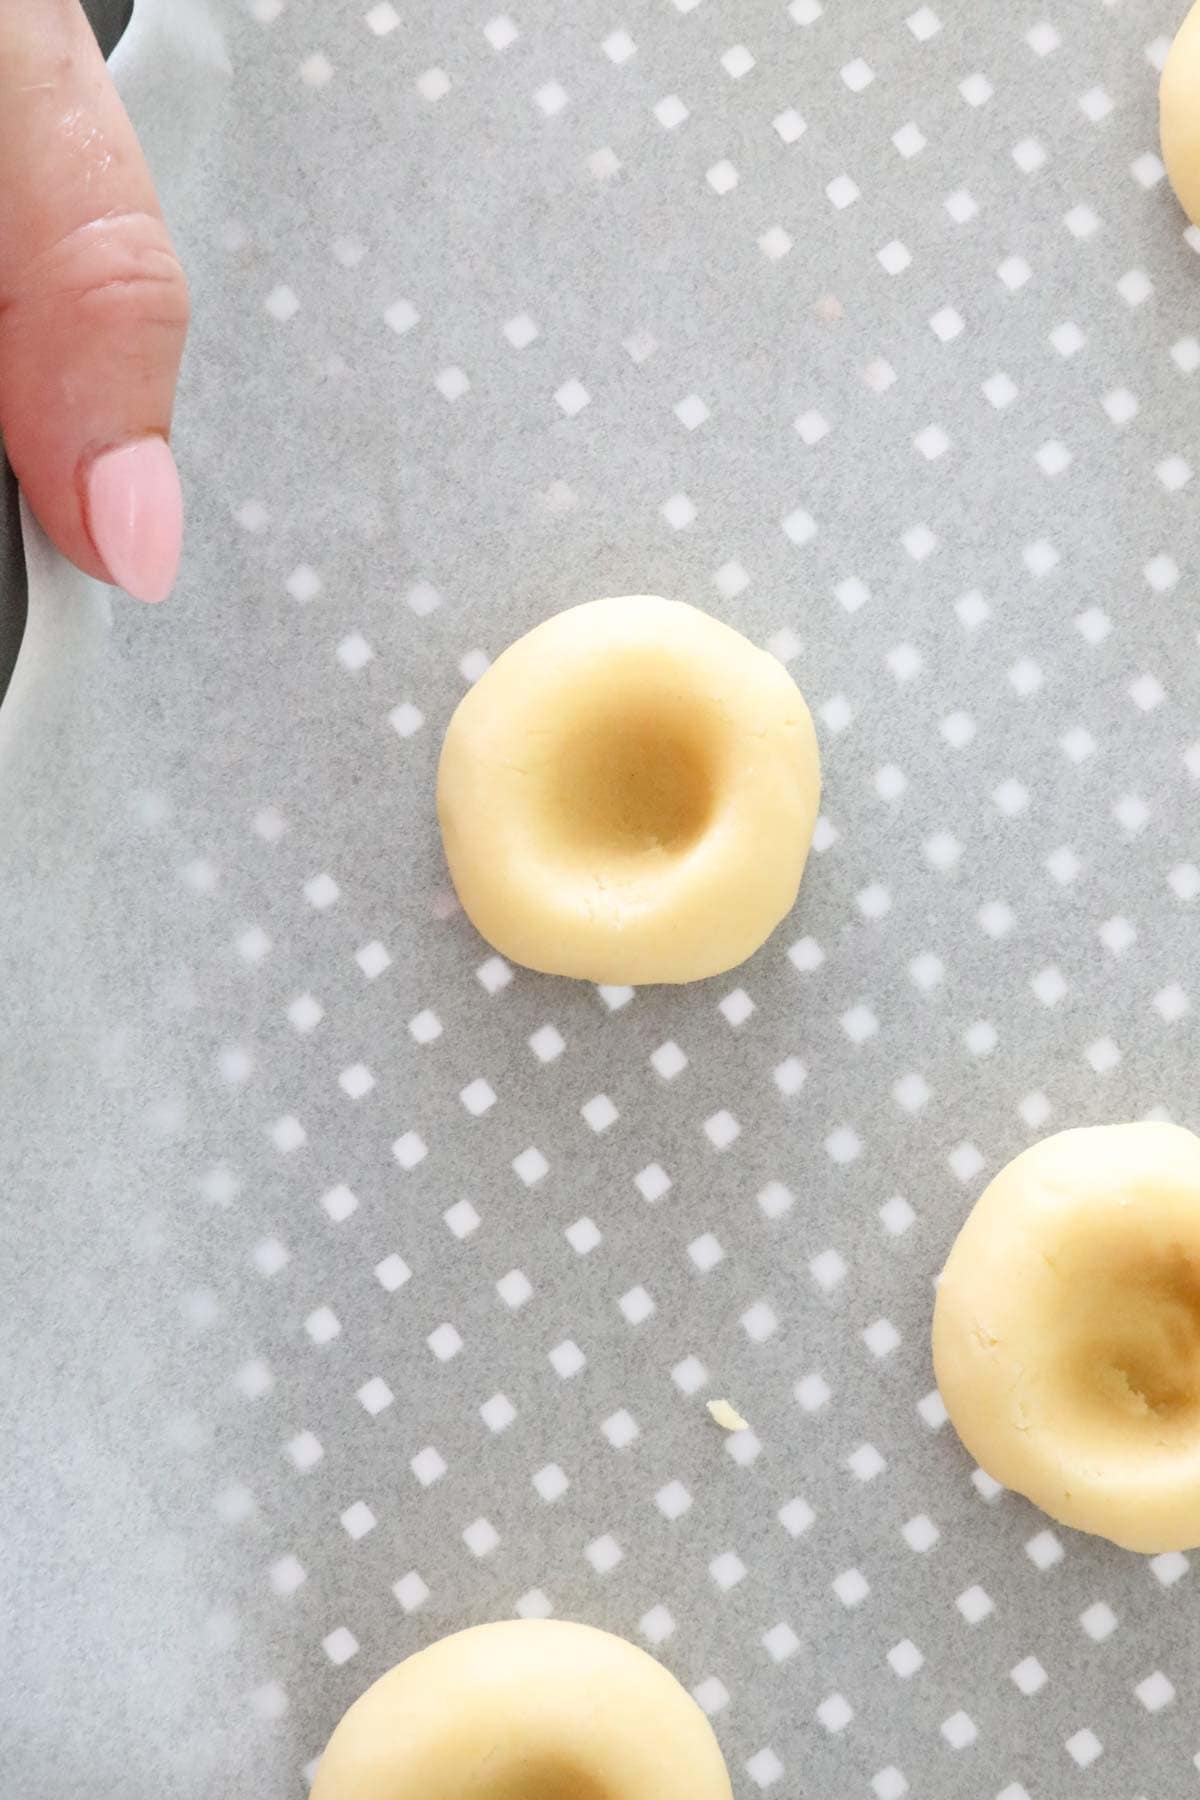
- Step 5: Using the tip of your little finger, press a small indentation into the centre of each cookie dough ball. This will hold the Nutella filling.
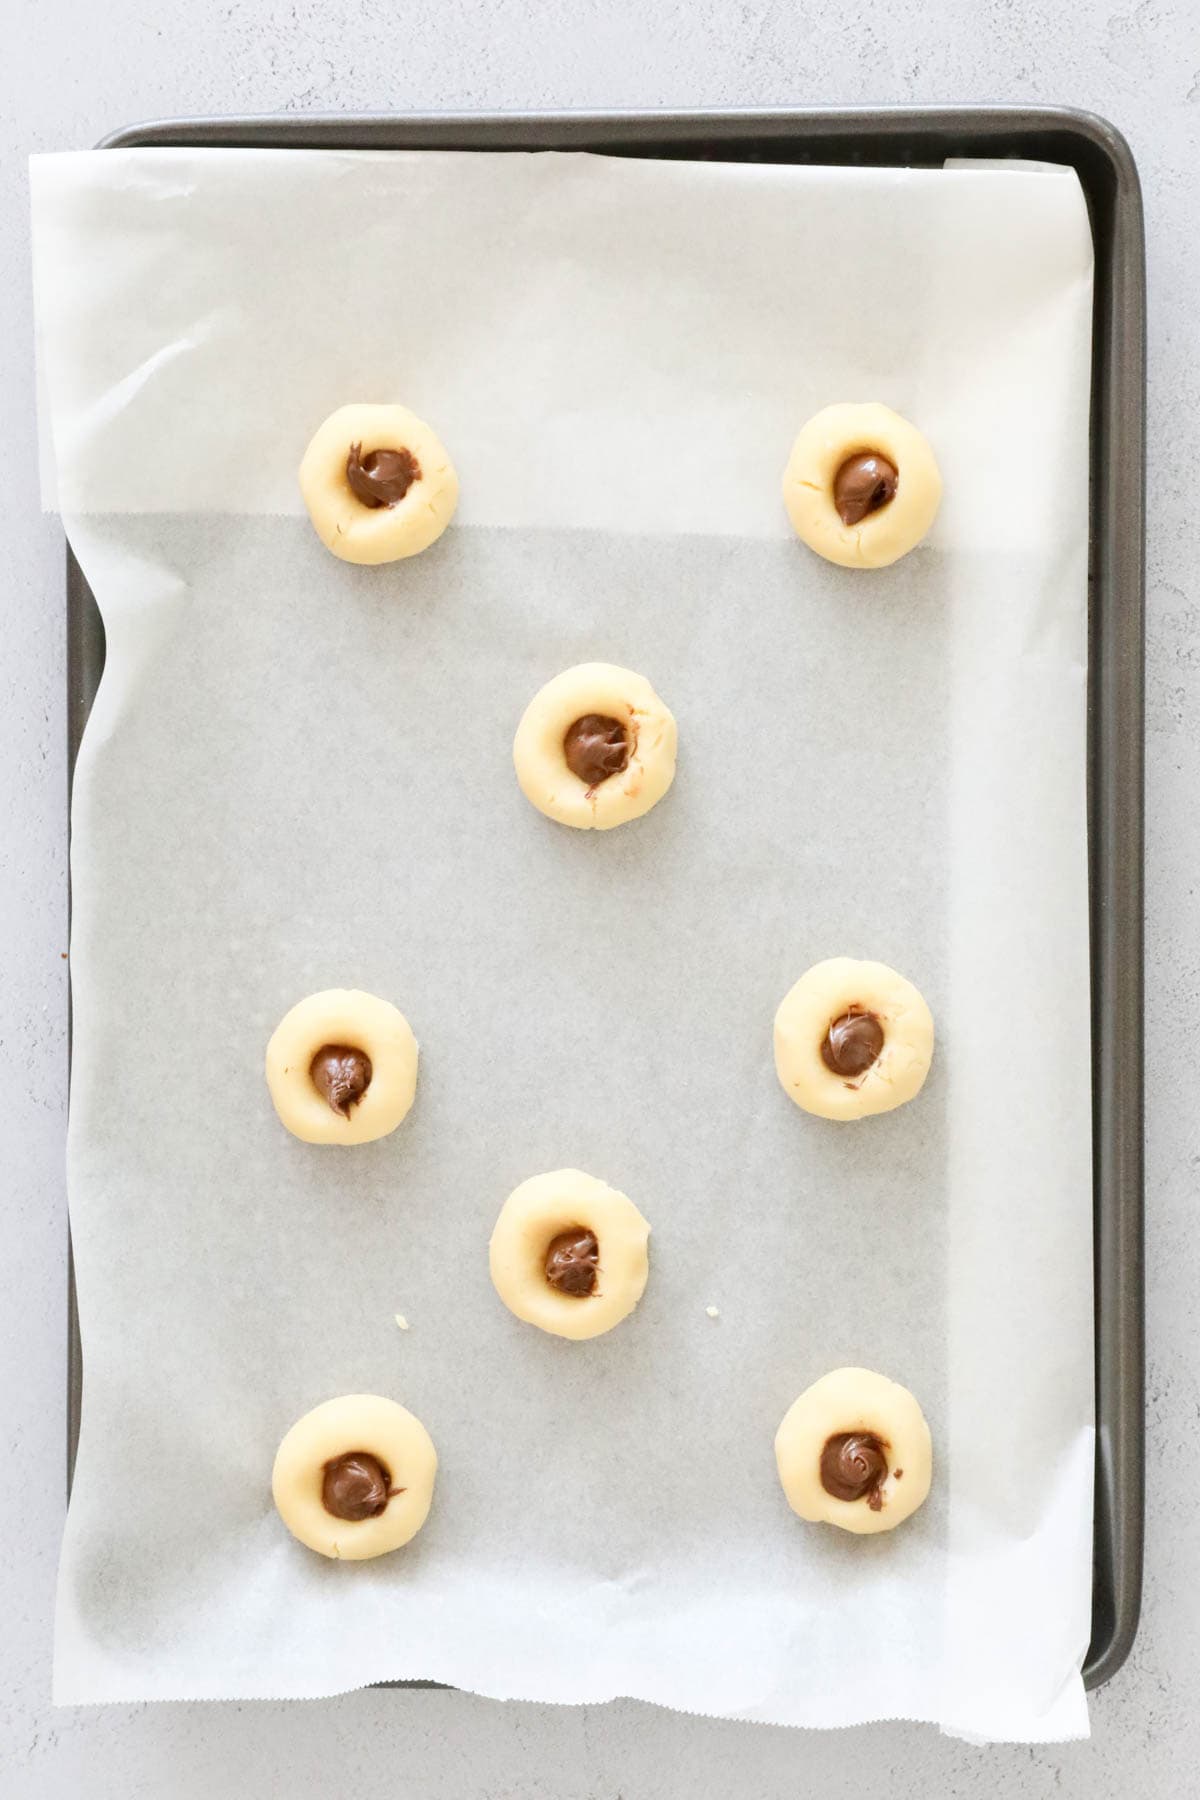
- Step 6: Spoon a small amount of Nutella into the indentation of each cookie. Place the trays in the fridge for 30 minutes.
Preheat the oven and then bake cookies for 8-10 minutes until they are lightly golden.
Top Tip
Chilling the dough is essential - Don't skip this step! It helps the butter solidify, which keeps the cookies from spreading too much in the oven.
Recipe Tips
Here are a few simple tips for these easy Nutella thumbprint cookies:
✅ Soften your butter - Using room-temperature butter gives you a soft, creamy dough and ensures the cookies bake evenly.
✅ Measuring the baking powder - Only a small amount is needed! Too much can cause the cookies to puff up and lose that classic thumbprint shape.
✅ Make a good dent - Press firmly (but gently) to create a deep enough thumbprint - this helps hold plenty of filling without it spilling over.
✅ Even spacing - Leave space between each cookie on the tray, as they will spread slightly while baking.
✅ Nutella after baking? - If you prefer an extra gooey centre, you can add the Nutella once the cookies have cooled slightly.
✅ Storage - Keep cookies in an airtight container at room temperature for up to 5 days.
✅ Freezer-friendly - Freeze unfilled, baked cookies in an airtight container for up to 3 months. Simply thaw at room temperature, then add the Nutella before serving.
Nutella Thumbprint Cookies FAQs
Yes! You can prepare the dough, roll it into balls, and store them in the fridge for up to 24 hours before baking these easy Nutella cookies in the oven. If the dough has been refrigerated, increase the baking time to 10-12 minutes.
For best results, I recommend using store-bought Nutella or a similar brand, as homemade versions can be runnier and may spread too much during baking.
Yes! You can roll the dough into balls, place them on a tray to freeze until firm, then transfer to an airtight container or ziplock bag. Freeze for up to 3 months. When ready to bake, add the thumbprint and Nutella and bake straight from frozen-just add an extra minute or two to the baking time.
More Nutella Recipes
These Nutella thumbprint cookies are a guaranteed crowd-pleaser - simple to make, fun to bake, and even better to eat! Whether you're baking for a special occasion, for lunch boxes or after-school snacks, these buttery cookies are sure to become a household favourite.

WANT EVEN MORE DELICIOUS RECIPES? Subscribe to my newsletter or follow along on Facebook or Instagram. And if you love baking, then please come and join my Facebook cooking club group or subscribe to my YouTube channel.
Nutella Thumbprint Cookies
Ingredients
- 180 g butter softened to room temperature
- 220 g (1 cup) caster sugar
- 1 egg room temperature
- 300 g (2 cups) plain flour sifted
- ½ teaspoon baking powder
- Nutella
Instructions
- Beat the sugar and softened butter with electric beaters or a stand mixer until light and fluffy.If using a Thermomix: Cream the butter and sugar for 20 seconds, Speed 4. Scrape down the sides of the bowl and repeat for a further 20 seconds, Speed 4.
- Add the egg and continue to mix until combined.If using a Thermomix: Add egg and mix for 10 seconds, Speed 4.
- Sift in the plain flour and baking powder. Stir gently to combine.If using a Thermomix: Add flour and baking powder and mix for 20 seconds, Speed 5.
- Roll the mixture into small balls (2 teaspoons of mixture per ball).
- Place the cookie balls onto the baking trays and use the tip of your little finger to create an indent in the middle that goes approximately one-half of the way down). Fill the indent with Nutella.
- Place the trays into the fridge and chill for 30 minutes (very important!!!)
- Preheat oven to 170 degrees celsius (fan-forced). Grease and line two baking trays with baking paper.
- Bake the cookies for approximately 10 minutes or until lightly golden.
- Leave the cookies on the baking trays for 10 minutes and then transfer to a wire rack to cool completely.
Notes
- Soften your butter - Using room-temperature butter gives you a soft, creamy dough and ensures the cookies bake evenly.
- Chilling the dough is essential - Don't skip this step! It helps the butter solidify, which keeps the cookies from spreading too much in the oven.
- Measuring the baking powder - Only a small amount is needed! Too much can cause the cookies to puff up and lose that classic thumbprint shape.
- Make a good dent - Press firmly (but gently) to create a deep enough thumbprint - this helps hold plenty of filling without it spilling over.
- Even spacing - Leave space between each cookie on the tray, as they will spread slightly while baking.
- Nutella after baking? - If you prefer an extra gooey centre, you can add the Nutella once the cookies have cooled slightly.
- Storage - Keep cookies in an airtight container at room temperature for up to 5 days.
- Freezer-friendly - Freeze unfilled, baked cookies in an airtight container for up to 3 months. Simply thaw at room temperature, then add the Nutella before serving.
Leave a Reply