
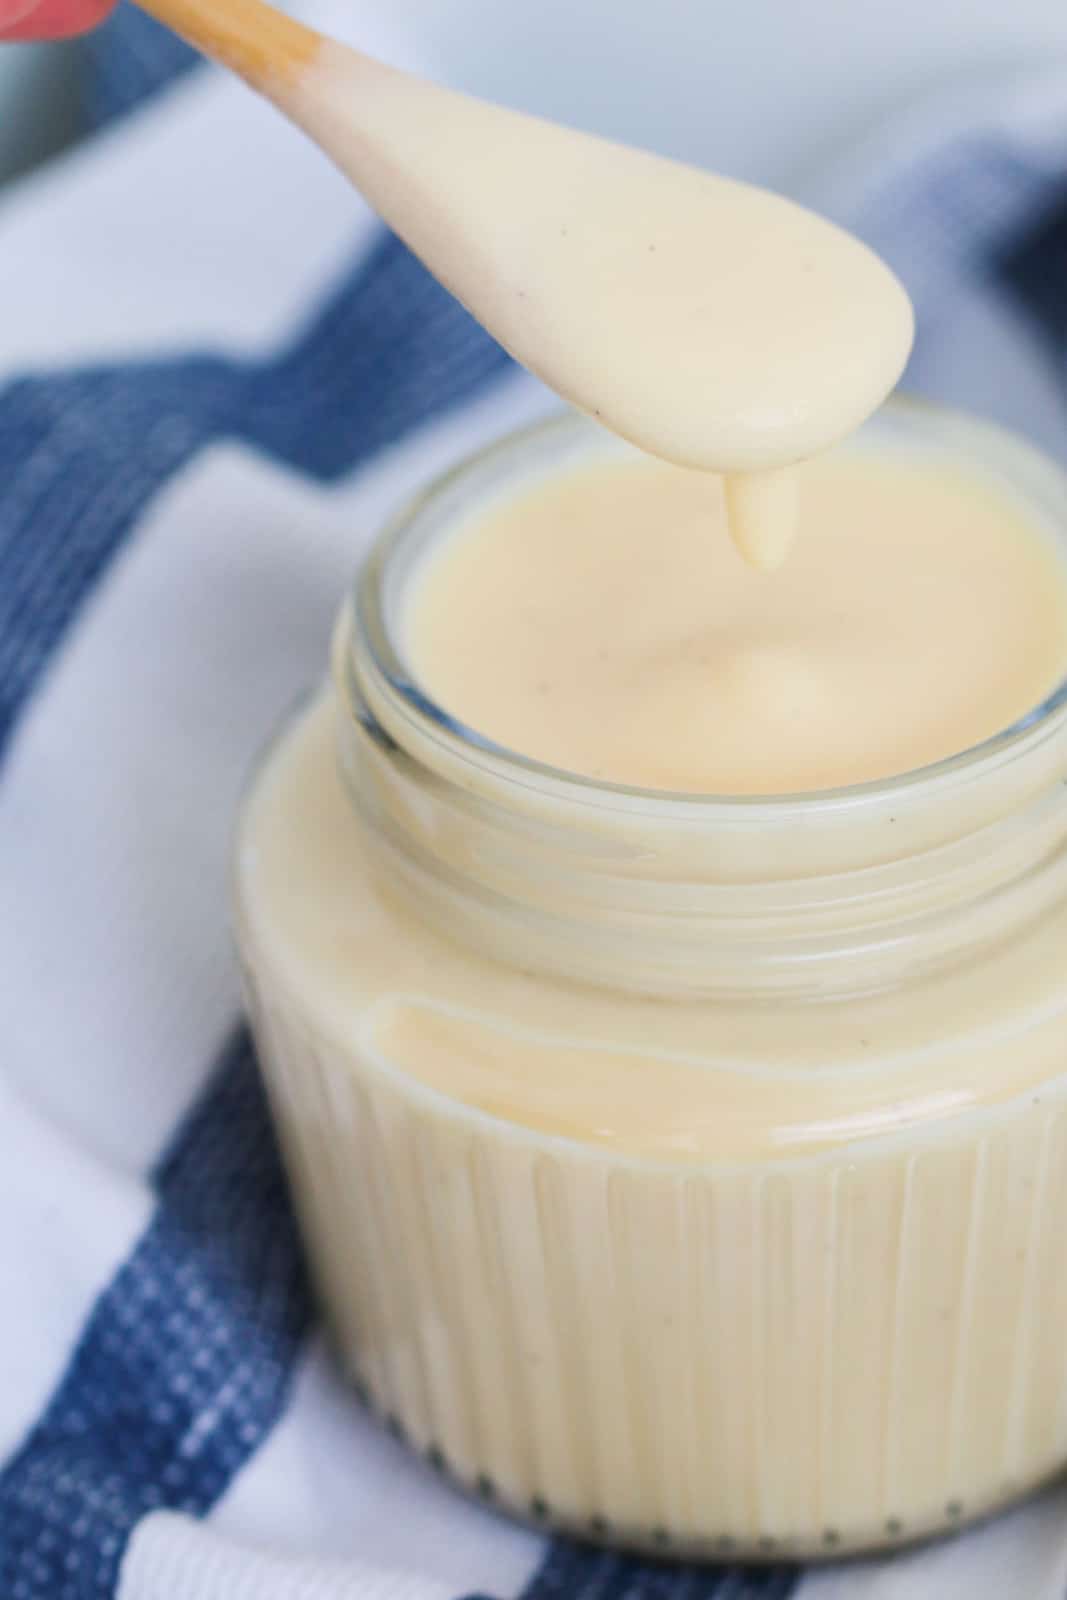
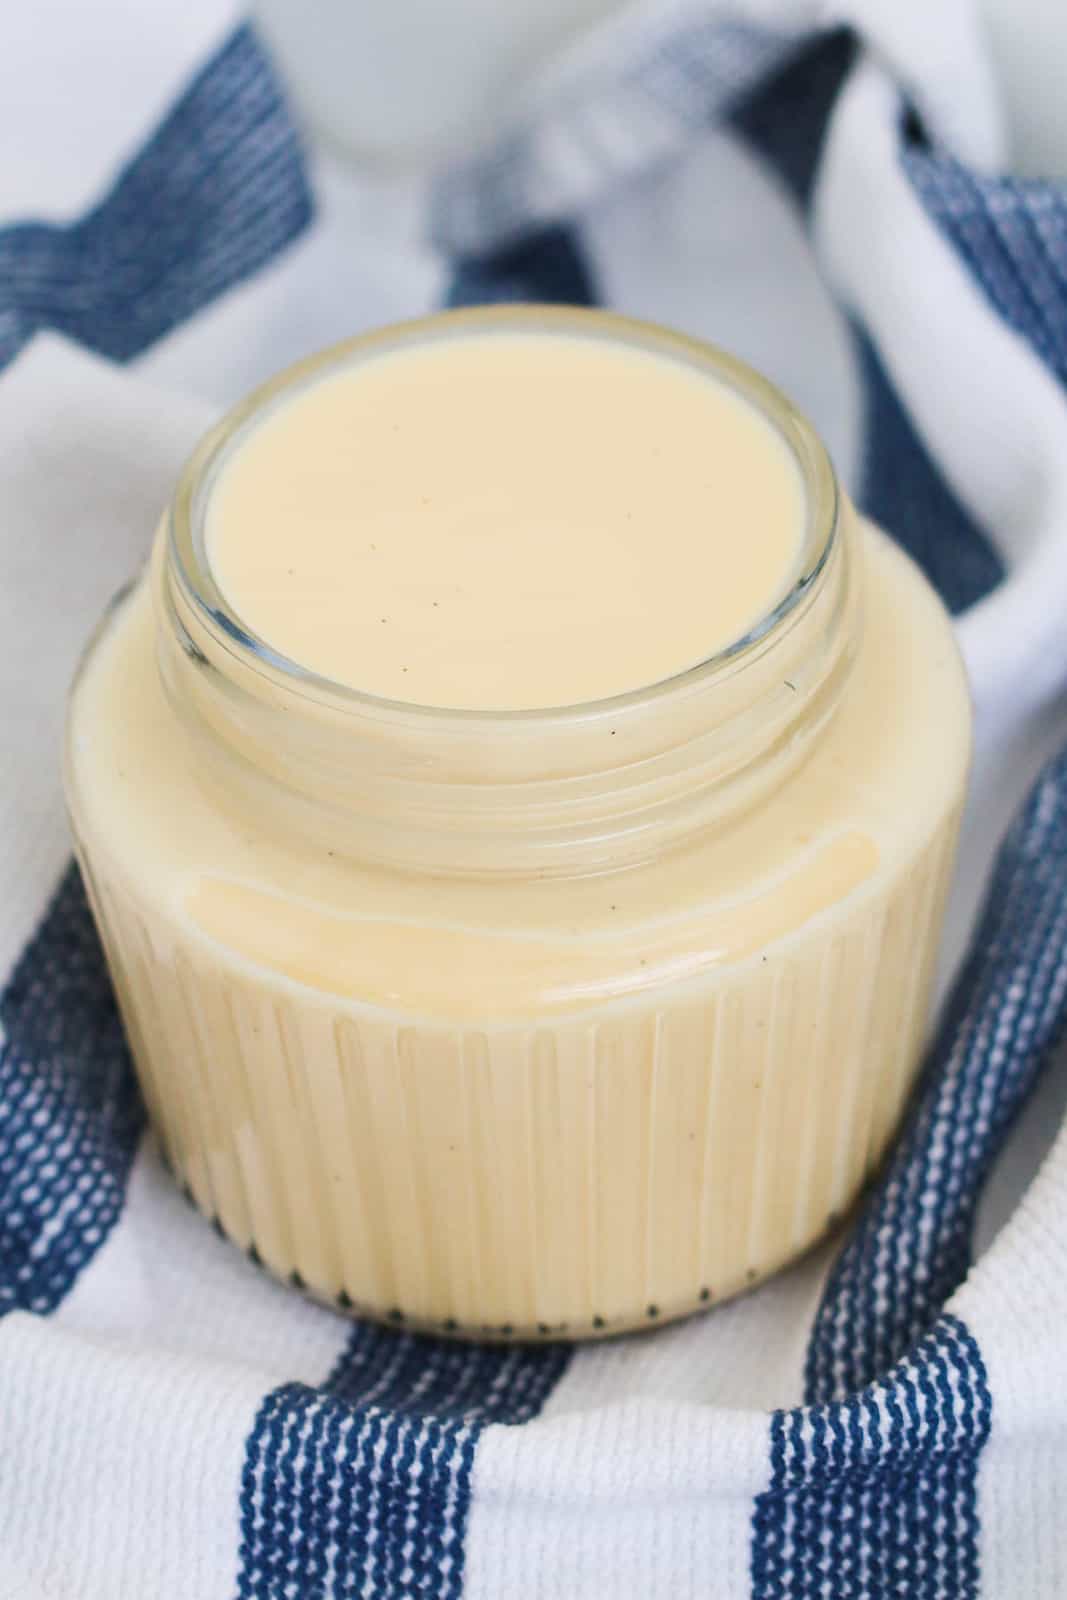
Make thick, creamy homemade vanilla custard with my traditional stove-top recipe, using just 5 basic ingredients. It's silky, properly rich and turns a simple Apple Crumble or Pecan Pie into a proper dessert.
A Quick Look At The Recipe
🍮 Recipe: Homemade Custard (Creme Anglaise)
⏰ Cook Time: 10 minutes in the Thermomix, or 15-20 minutes of gentle stove-top whisking
🔧 Method: Thermomix or stove-top instructions included
🥣 Main Ingredients: vanilla bean, full cream milk, egg yolks, caster sugar, cornflour
🌱 Dietary Info: naturally gluten-free, vegetarian
💛 Why You'll Love It: just 5 ingredients, no thickeners you can't pronounce, and it's endlessly better than anything from a tin
SUMMARIZE & SAVE THIS CONTENT ON
This one's a proper old-school kitchen skill, and once you've got it down you'll use it for everything. Pour it warm over a pecan pie or a bowl of blueberry crumble, or just eat it cold straight out of the jar with a spoon (no judgement here).
Jump to:
Why You're Going To Love This Recipe
- Just 5 ingredients, most of which are already in your fridge and pantry
- No packet mix, no preservatives, just real vanilla flavour
- Naturally gluten-free
- Keeps in the fridge, so you can make it ahead for a dinner party
- Goes with almost every dessert you own (crumbles, pies, puddings, tarts, the lot)
Custard Ingredients
With the exception of the vanilla bean, custard is made from pantry and refrigerator staples.
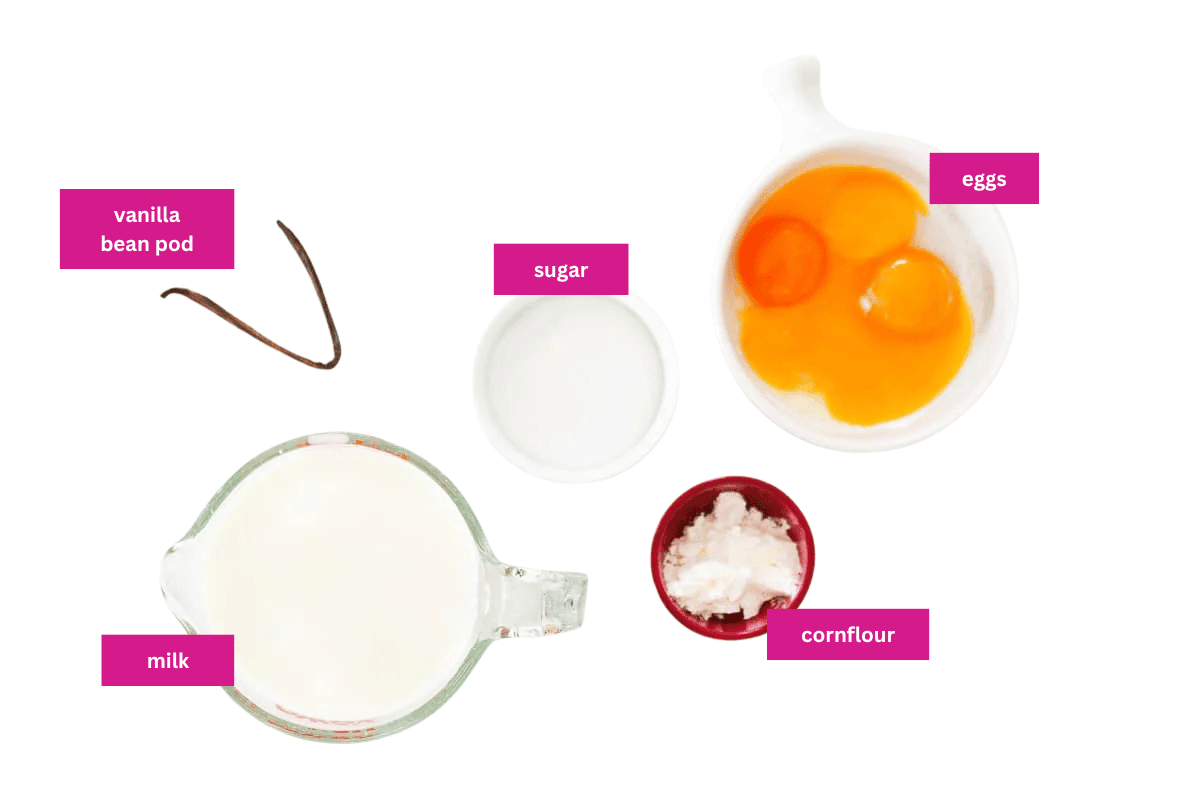
- Vanilla bean - also known as a vanilla pod. Vanilla beans can be bought from the baking section of any supermarket. They're pricey (around $5-6 for a two pack), but they give the custard a really rich, proper vanilla flavour. If you can't get hold of one, use 1 teaspoon of vanilla bean paste or vanilla extract instead. Vanilla essence isn't a good swap here, it just doesn't give the same flavour.
- Full cream milk - don't use skim or light milk, it won't thicken properly.
- Egg yolks - use large eggs (around 55g each). Save the whites for something else, like meringue or a batch of macarons.
- Cornflour - also known as cornstarch. This works with the egg yolks to thicken the custard.
Variations
- No vanilla bean: swap it for 1 teaspoon of vanilla bean paste or vanilla extract, added straight to the milk while it heats. Skip straining the milk afterwards since there's no pod to remove.
- A hint of spice: whisk a pinch of ground nutmeg or cinnamon in with the sugar for a warmer, spiced custard, lovely over apple desserts in particular.
- Boozy custard: stir a splash of brandy or sherry through at the very end, off the heat, for a grown-up version that's perfect with Christmas pudding.
- Pouring custard: if you want a thinner, pourable custard rather than a thick spoonable one, take it off the heat a minute or so earlier than the recipe states. It will keep thickening a little more as it cools.
How To Make Homemade Custard
Making custard on the stove-top takes a bit of time and patience (and a lot of whisking), but it's honestly worth every minute.
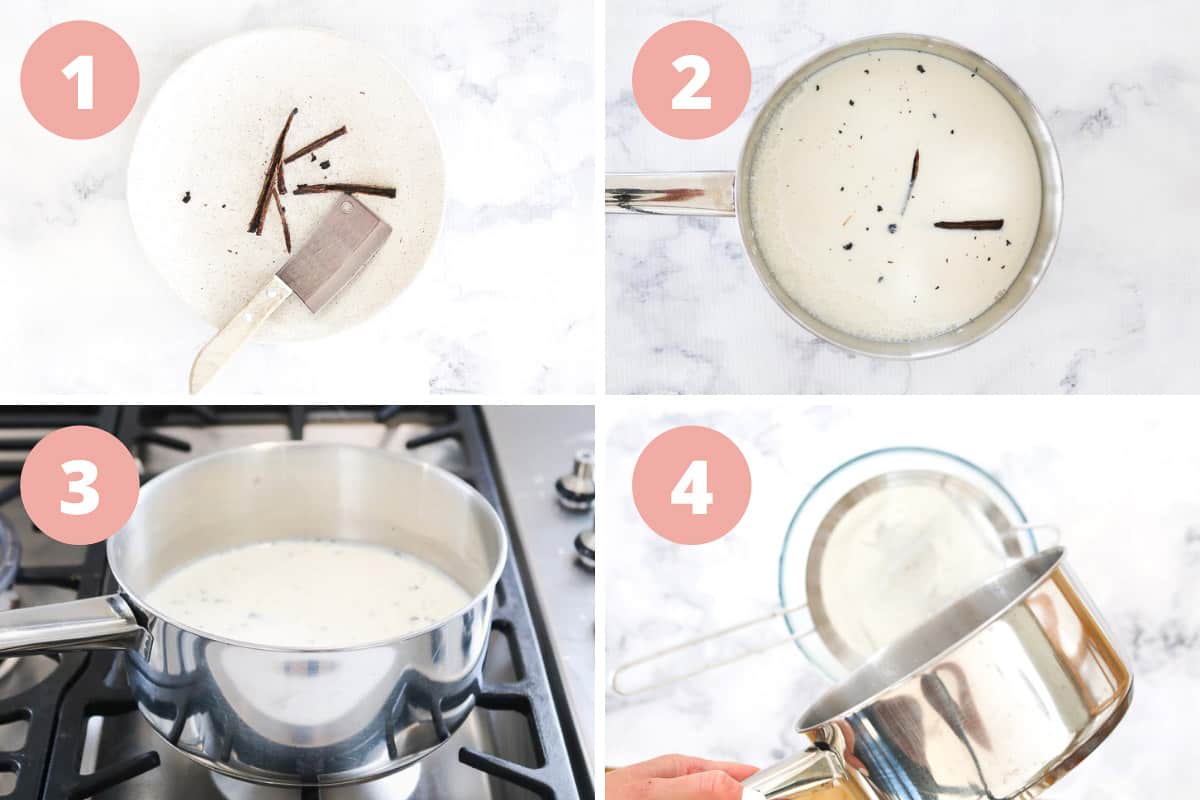
- Step 1: Prepare and infuse. Cut a slit down the vanilla bean and scrape out the seeds. Add the bean and seeds to the milk and heat until just boiling, then pour through a sieve and set aside.
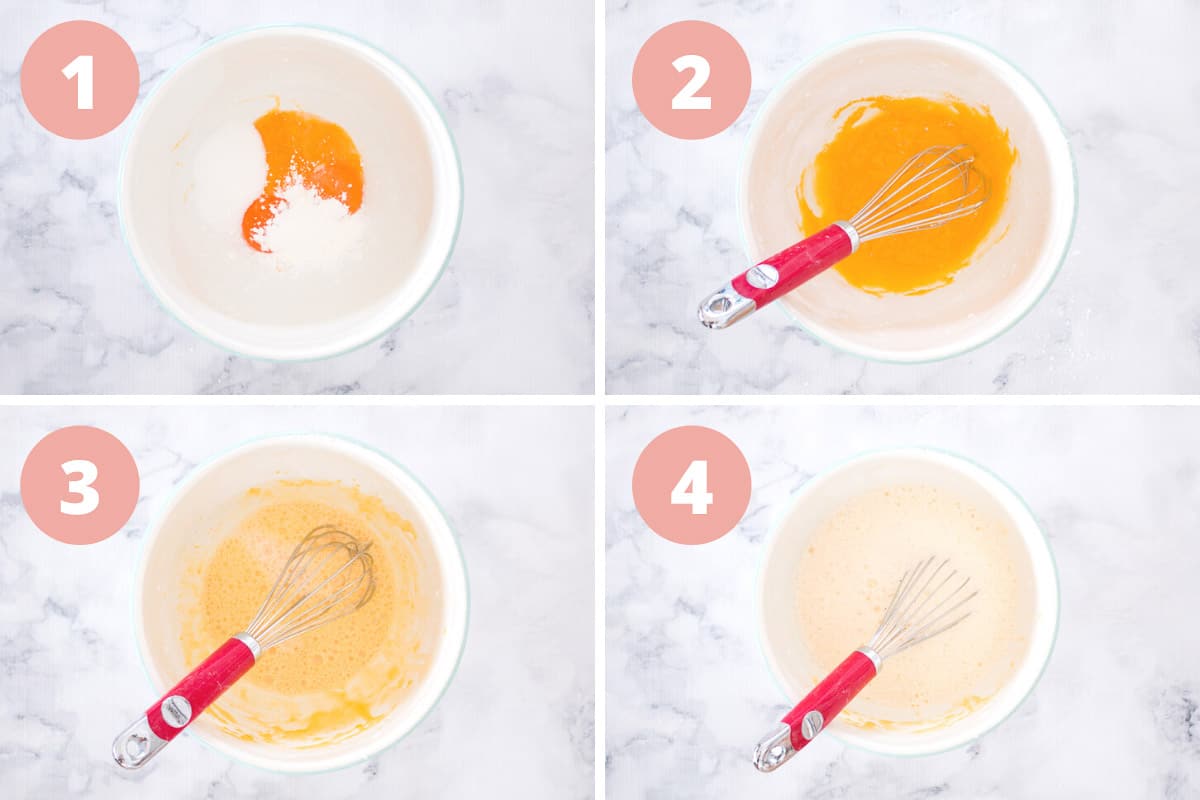
- Step 2: Mix and combine. Whisk the egg yolks, sugar and cornflour together until pale and smooth. Very slowly add the warm milk, half a cup at a time, whisking well between each addition.
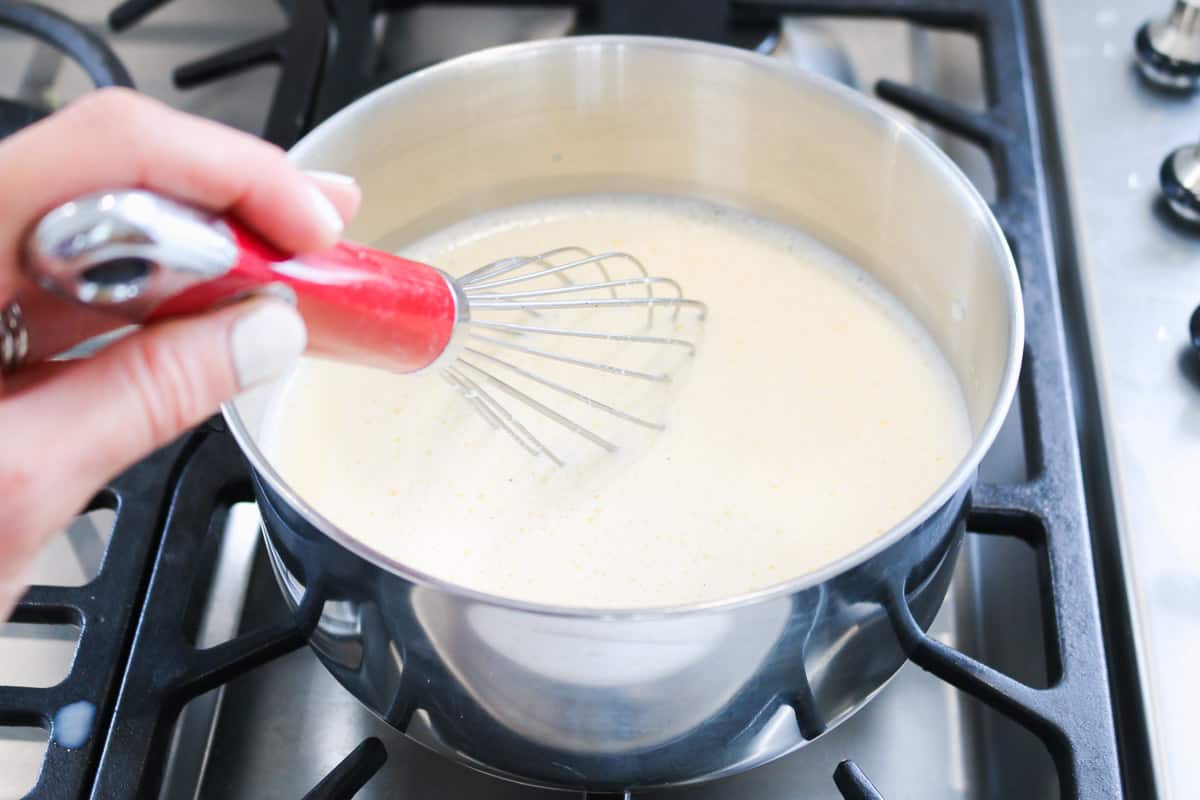
Step 3: Cook it low and slow. Pour the mixture back into the saucepan and cook over a low heat, whisking constantly, for 15-20 minutes or until thickened. Don't rush this part, low heat and constant whisking is what keeps it smooth. It's ready once it coats the back of a spoon.
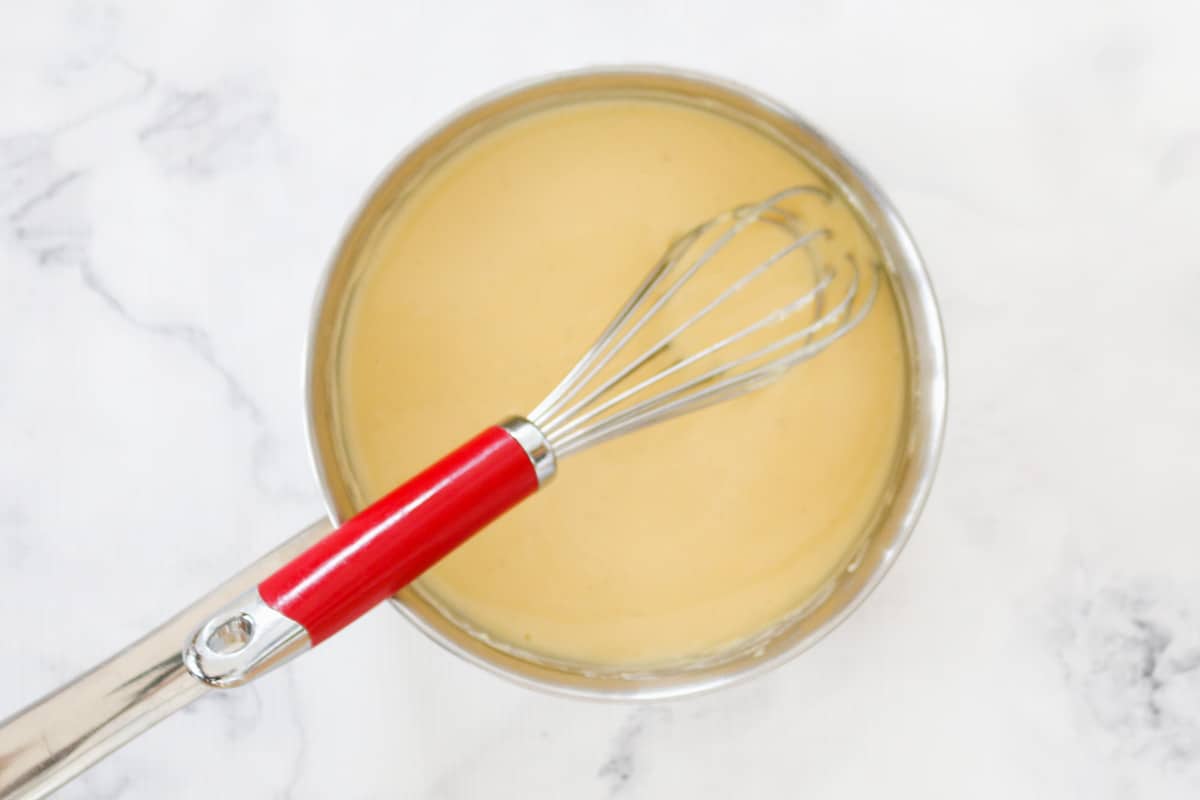
Note: don't panic if it looks a bit thin straight off the heat, custard keeps thickening as it cools, so it will set up more once it's in the fridge.
Team Thermomix? You can make this custard in your Thermomix too, with no standing at the stove whisking.
- Step 1: Add everything. Cut the vanilla bean down the middle and scrape out the seeds. Add the seeds and the pod to the mixing bowl with the full cream milk, egg yolks, caster sugar and cornflour.
- Step 2: Cook. Cook for 10 minutes at 90 degrees, speed 4, on reverse. Reverse stops the vanilla pod from being chopped into tiny pieces.
- Step 3: Strain and serve. Pour the custard through a sieve to remove the vanilla pod. Serve warm, or press plastic wrap onto the surface and chill.
Recipe Tips
- Whisk constantly. The secret to smooth, thick custard is patience and a lot of whisking. Keep the heat low the whole time, if you turn it up your custard will scramble and go lumpy.
- If it starts to scramble or go lumpy, take it off the heat straight away. Pour it into a bowl and give it a good whisk. If it's still lumpy, blitz it for a few seconds with a stick blender, then strain it through a sieve to catch anything left over. It will still taste great.
- If it's too thin, pour it back into the saucepan and cook it a little longer over low heat, whisking the whole time. Remember it will also keep thickening as it cools, so don't overcook it trying to chase a thick texture straight off the stove.
- Stop a skin forming. Press a piece of plastic wrap directly onto the surface of the custard while it cools or while it's in the fridge. This stops air getting to it, which is what causes that skin on top.
- Reheating: warm leftover custard gently over low heat on the stove-top, whisking often, or microwave it in short 15-20 second bursts, stirring between each one. Don't reheat it on high heat, it can split.
- Storing: custard will keep in the fridge for 3 days. Note that it will keep thickening the longer it sits.
- Freezing: custard isn't suitable for freezing, it splits and goes watery once thawed.
- Is it suitable for babies? Custard is a great recipe for babies who've started on solids, but it's not suitable for babies under 6 months because it contains egg.
- Thermomix custard too thin? Cook it for another 2-3 minutes at the same settings. It will still thicken as it cools, so don't overdo it.
- Serving suggestions: homemade custard is the ultimate addition to your favourite cake or dessert. Try it poured over my Pecan Pie, Apple Crumble, Easy Apple Cake, Easy Apple Pie, Golden Syrup Dumplings or Sticky Date Pudding.
Homemade Custard FAQs
Use 1 teaspoon of vanilla bean paste or vanilla extract instead. Add it straight to the milk while heating and skip straining the milk afterwards, since there's no pod to remove. Vanilla essence isn't a good swap, it doesn't give the same rich flavour.
This happens when the heat is too high or the milk was added too quickly. Take it off the heat straight away, pour it into a bowl and whisk well. If it's still lumpy, blitz it for a few seconds with a stick blender, then strain through a sieve. It will still taste great even if this happens.
It might just need more time. Pour it back into the saucepan and keep cooking over low heat, whisking constantly, until it coats the back of a spoon. Keep in mind custard also keeps thickening as it cools, so it will be noticeably thicker once it's chilled in the fridge.
Press a piece of plastic wrap directly onto the surface of the custard while it cools or while it's stored in the fridge. Keeping air off the surface is what stops the skin from forming.
Warm it gently over low heat on the stove-top, whisking often, or microwave it in short 15-20 second bursts, stirring between each burst. Avoid high heat, it can cause the custard to split.
No, custard isn't suitable for freezing. It splits and goes watery once thawed. It will keep in the fridge for 3 days, and will continue to thicken while stored.
Yes, custard is a great recipe for babies who've started on solids. It's not suitable for babies under 6 months old because it contains egg.
Yes. Add the vanilla seeds and pod, milk, egg yolks, caster sugar and cornflour to the bowl and cook for 10 minutes at 90 degrees, speed 4, on reverse. Strain out the pod and serve warm or chilled. If it's thinner than you like, cook it for another 2-3 minutes.
More Custard-Friendly Dessert Recipes
If you loved this homemade custard, here are a few more desserts worth trying it with.

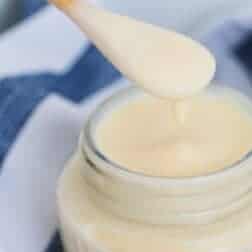
Homemade Custard
Ingredients
- 1 vanilla bean
- 600 ml full cream milk not skim or light milk
- 4 egg yolks approximately 55g each
- 2 tbs (30g) caster sugar superfine sugar
- 1 tbs (10g) cornflour
Instructions
Conventional Method
- Using a small sharp knife, cut a slit down the middle of the vanilla bean and then scrape out seeds.
- Add both the bean and the seeds to a saucepan over a medium-low heat, pour in the full cream milk and bring only just to the boil.
- Take the saucepan off the heat and allow to cool slightly. Pour through a sieve and discard any of the remaining vanilla bean. Set the milk aside.
- In a large bowl, add the egg yolks, caster sugar and cornflour and whisk until smooth and pale.
- Very slowly add the reserved warm milk, half a cup at a time, whisking well each time.
- Once all of the milk has been added and whisked, pour the mixture back into the saucepan and cook very gently on low heat for 15-20 minutes while whisking constantly. The custard is ready once it coats the back of a spoon and has thickened considerably.
Thermomix Method
- Add the vanilla seeds and pod, milk, egg yolks, caster sugar and cornflour to the bowl and cook for 10 minutes at 90 degrees, speed 4, on reverse. Strain out the pod and serve warm or chilled. If it's thinner than you like, cook it for another 2-3 minutes.
Notes
- Vanilla beans - also known as vanilla pods. Vanilla beans can be bought from the baking section of any supermarket. They are quite expensive (approximately $5-6 dollars for a two pack), but are needed to give the custard a beautiful rich vanilla flavour. If you're unable to source vanilla beans, you can use 1 teaspoon of vanilla bean paste or vanilla extract. Vanilla essence is not suitable for this recipe as it doesn't give the same rich vanilla flavour as vanilla beans, vanilla bean paste or vanilla extract.
- Milk - use full cream milk for this recipe. Do not use skim or light milk as it will not thicken as well as full cream milk.
- Egg yolks - use large eggs (approximately 55g each). Discard the egg whites as they are not needed for this recipe.
- Caster sugar - also known as superfine sugar. This type of sugar is perfect for custard as it dissolves when heated.
- Cornflour - also known as cornstarch. This works with the egg yolks to thicken the mixture.
Kelly says
No Thermomix conversion for this one? I don't think I can physically stand at the stove for that long.
Lucy says
Hi Kelly, sorry this one is just an old school stove-top recipe!
Marion says
You could do the first steps and then instead of standing and whisking, put it back into the thermomix with the butterfly whisk and manually step the temp and speed. Im going to try it.