
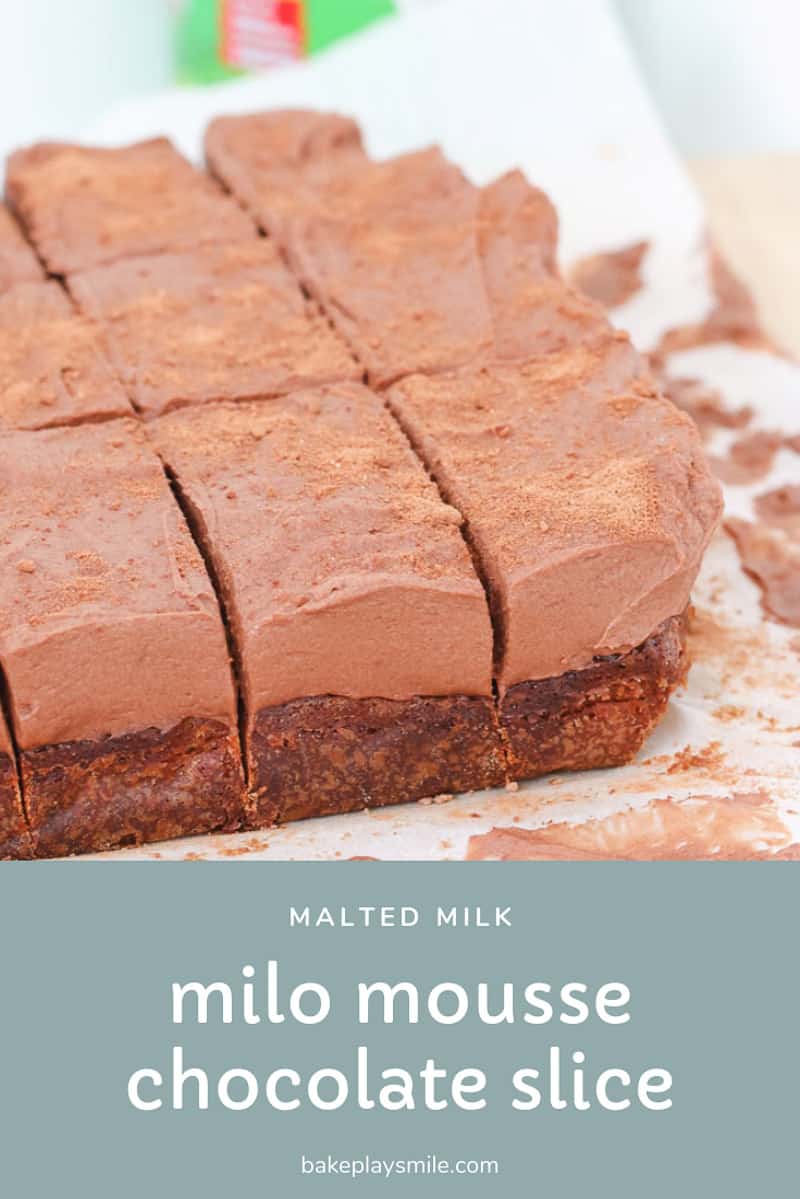
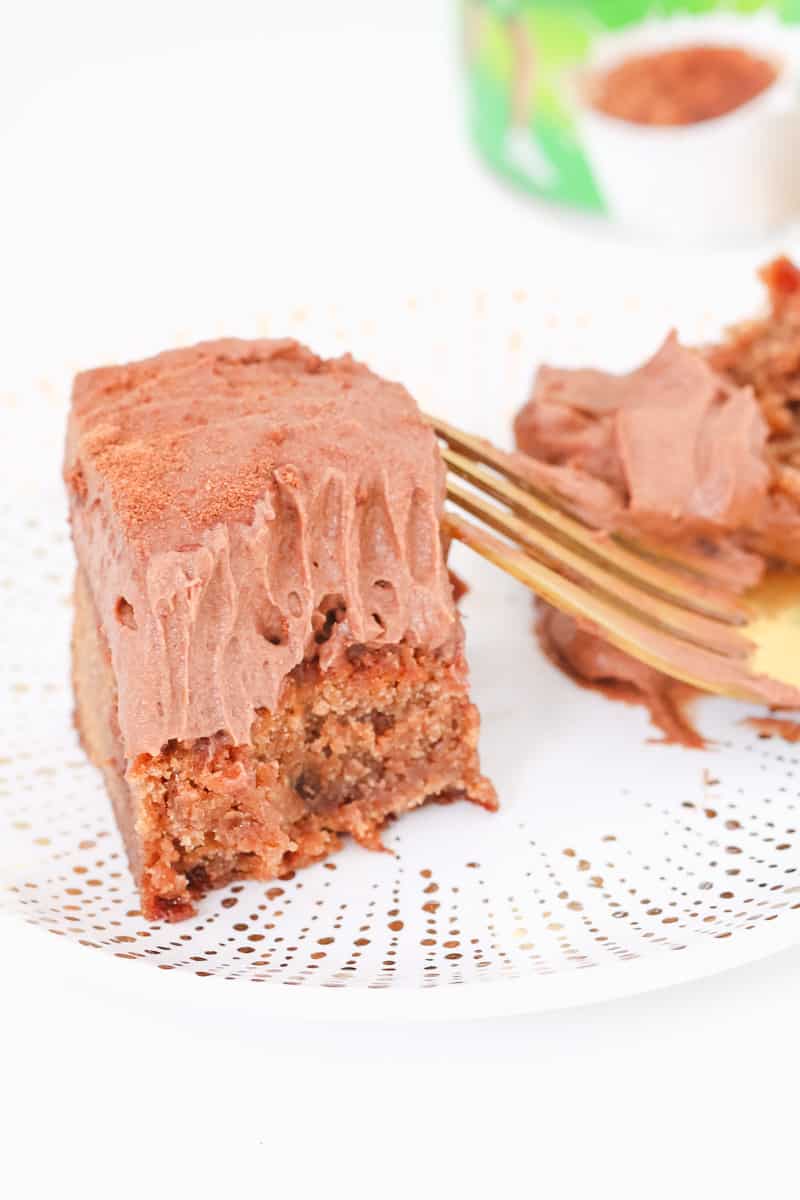
Delicious Milo Mousse Chocolate Slice made with a chewy, rich chocolate base and a soft and creamy mousse topping.
If you love Milo and chocolate... then you've come to the right place!!! This cheeky little slice combines both of those things into a decadent dessert! So if you've got a tin of Milo sitting in the cupboard (and you've been able to resist making 4 Ingredient Milo Weet-Bix Balls, Milo Biscuits, Oat & Milo Slice, Easy Milo Balls or Tim Tam & Milo Microwave Fudge) then you're all set to make this slice!
Milo Mousse Chocolate Slice
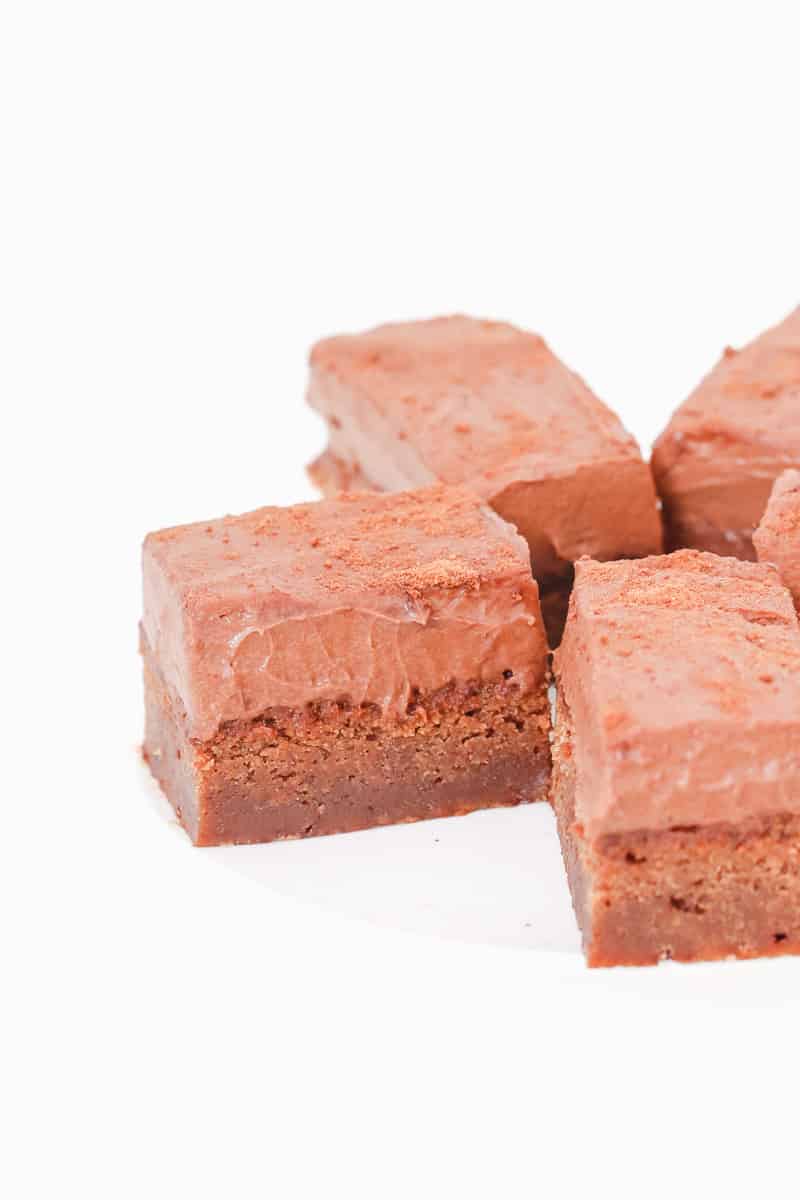
This slice has a chewy and dense chocolate base which is topped with an EPIC chocolate mousse layer! You're going to LOVE it!
Ingredients
For the base:
- butter
- Milo (malted milk powder)
- cocoa powder
- caster sugar
- vanilla
- eggs
- plain flour
For the Milo mousse topping:
- dark chocolate
- thickened cream for whipping (not low fat or light cream)
- Milo (malted milk powder)
- cocoa powder
- caster sugar
* Please scroll to the recipe card at the bottom for ingredient quantities and the method
Egg-Free Chocolate Milo Mousse
A classic chocolate mousse is made with eggs... but of course not everyone can eat mousse made with eggs (egg allergies, unable to eat raw egg due to pregnancy etc) and so this recipe is the perfect solution!
Even though it's egg-free, it's still got that beautiful light and fluffy creamy chocolate mousse texture and you're going to LOVE it. It's perfect in this slice, but it also tastes AMAZING all on it's own.
It's based on this recipe from Twins and a Blog.
Tips For Cutting The Slice
When it comes to cutting slices into perfect little pieces, my OCD really comes out to shine! To cut this slice into pretty pieces, here's a few tips:
- wait until the mousse has set before cutting
- use a really large flat knife
- slowly and lightly press the knife down through the mousse layer and then press slightly harder when you feel the resistance from the chocolate base
- wipe the knife clean between cuts
- cut the slice into long bars before cutting into smaller pieces
* For more tips on cutting slices, check out my entire post here!

More of my favourite Milo recipes
When you've got a tin of Milo sitting in the cupboard, it's IMPOSSIBLE not to use it. So here's some more yummy recipes to keep your Milo-loving tummy happy.
- 4 Ingredient Milo Weet-Bix Balls
- Milo Biscuits
- Oat & Milo Slice
- Easy Milo Balls
- Tim Tam & Milo Microwave Fudge
- Milo Mug Cake
WANT EVEN MORE DELICIOUS RECIPES? Subscribe to my newsletter or follow along on Facebook or Instagram. And if you love baking, then please come and join my Facebook cooking club group or subscribe to my YouTube channel.

Milo Mousse Chocolate Slice
Ingredients
For the brownies:
- 150 g butter
- 275 g (1 and ¼ cups) caster sugar
- 25 g (¼ cup) Milo (see notes)
- 50 g (½ cup) cocoa powder
- 2 teaspoon vanilla extract
- 3 eggs
- 75 g (½ cup) plain flour
For the chocolate mousse topping:
- 100 g dark chocolate
- 600 ml thickened cream
- 6 heaped tbs Milo see notes
- 2 tbs cocoa powder
- 2 tbs caster sugar
- extra Milo to decorate
Instructions
Conventional Method
- Preheat oven to 160 degrees celsius (fan-forced) and line a 20cm square tin with baking paper. Set aside.
- Place the butter into a microwave-safe bowl. Heat for 1 minute.
- Add the caster sugar, Milo and cocoa powder and stir to combine.
- Heat in the microwave on 30 second bursts (50% power) until melted and combined - stirring each time. Allow to cool slightly.
- Add the vanilla extract and the eggs and whisk until combined.
- Sift the plain flour into the bowl and mix gently.
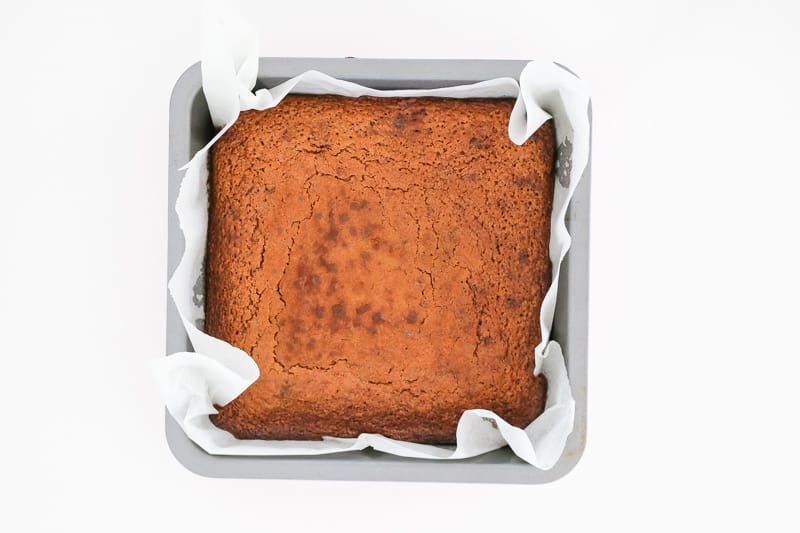
- Pour the brownie mixture into the prepared tin and bake for 30 minutes or until cooked through.
- Leave in the tin to cool completely.
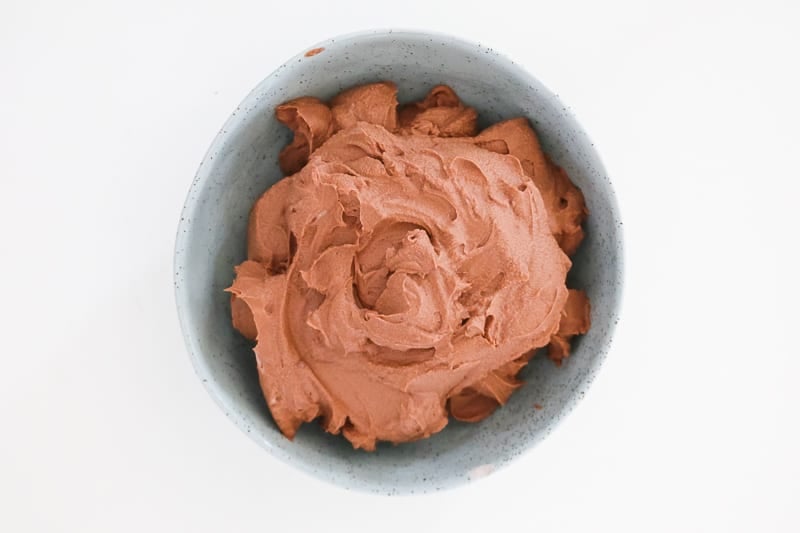
- To make the mousse, melt the dark chocolate in a microwave-safe bowl on 50% power in 30 seconds bursts until melted (stirring every 30 seconds). Allow to cool slightly.
- Place the thickened cream, Milo, cocoa powder and caster sugar into a large bowl. Beat with hand-held beaters or a stand mixer until soft peaks form.
- Add the cooled melted chocolate and continue to beat until firm peaks have formed.
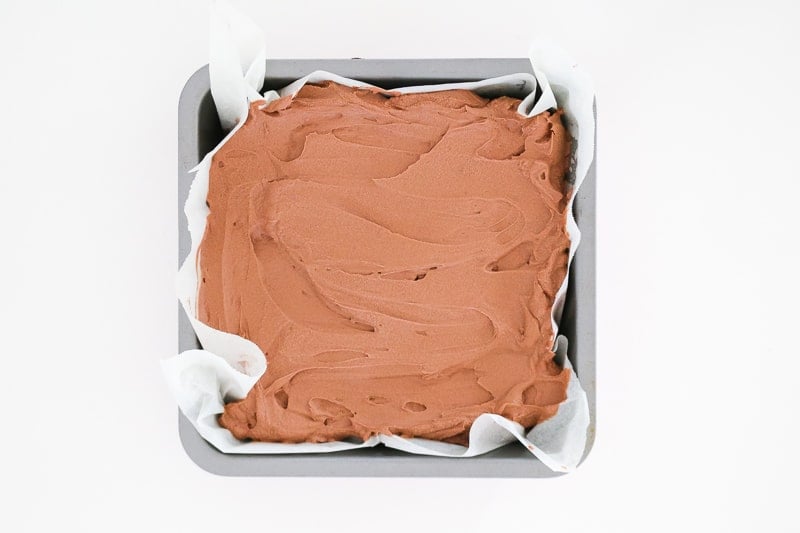
- Spread the chocolate mousse over the top of the brownie.
- Place into the fridge for 5 hours to set and then sprinkle with extra Milo before serving.
- Store in an airtight container in the fridge for up to 5 days.
Thermomix Method
- Preheat oven to 160 degrees celsius (fan-forced) and line a 20cm square tin with baking paper. Set aside.
- Place the butter into the Thermomix bowl. Melt on 80 degrees, Speed 2, 3 minutes.
- Add the caster sugar, Milo powder and cocoa powder and mix on Speed 4, 10 seconds. Scrape down the sides of the bowl and repeat for a further 10 seconds. Allow to cool slightly.
- Add the vanilla extract and the eggs and mix on Reverse, Speed 4, 10 seconds. Scrape down the sides and repeat.
- Add the plain flour and mix on Speed 4, 5 seconds. Scrape the sides of the bowl and repeat.
- Pour the brownie mixture into the prepared tin and bake for 30 minutes or until cooked through. Leave in the tin to cool completely.
- To make the mousse, place the dark chocolate into the Thermomix bowl and mix for 5 seconds, Speed 7. Set aside.
- Insert the butterfly into the Thermomix bowl. Add the thickened cream, Milo, cocoa powder and caster sugar and mix for 20 seconds, Speed 4.
- Add grated chocolate and beat for 10 seconds, Speed 4. If the mousse has not thickened, continue to mix in 5 second bursts until thickened (do not over-mix).
- Spread the chocolate mousse over the cooled brownie. Place into the fridge for 5 hours to set and then sprinkle with extra Milo before serving.
- Store in an airtight container in the fridge for up to 5 days.


Theresa Swanepoel says
Love it we are diabetics and hope this isnt gonna be bad for our sugar intake
Lucy says
Hehehe I think it might be a little bit bad for your sugar intake!!!