

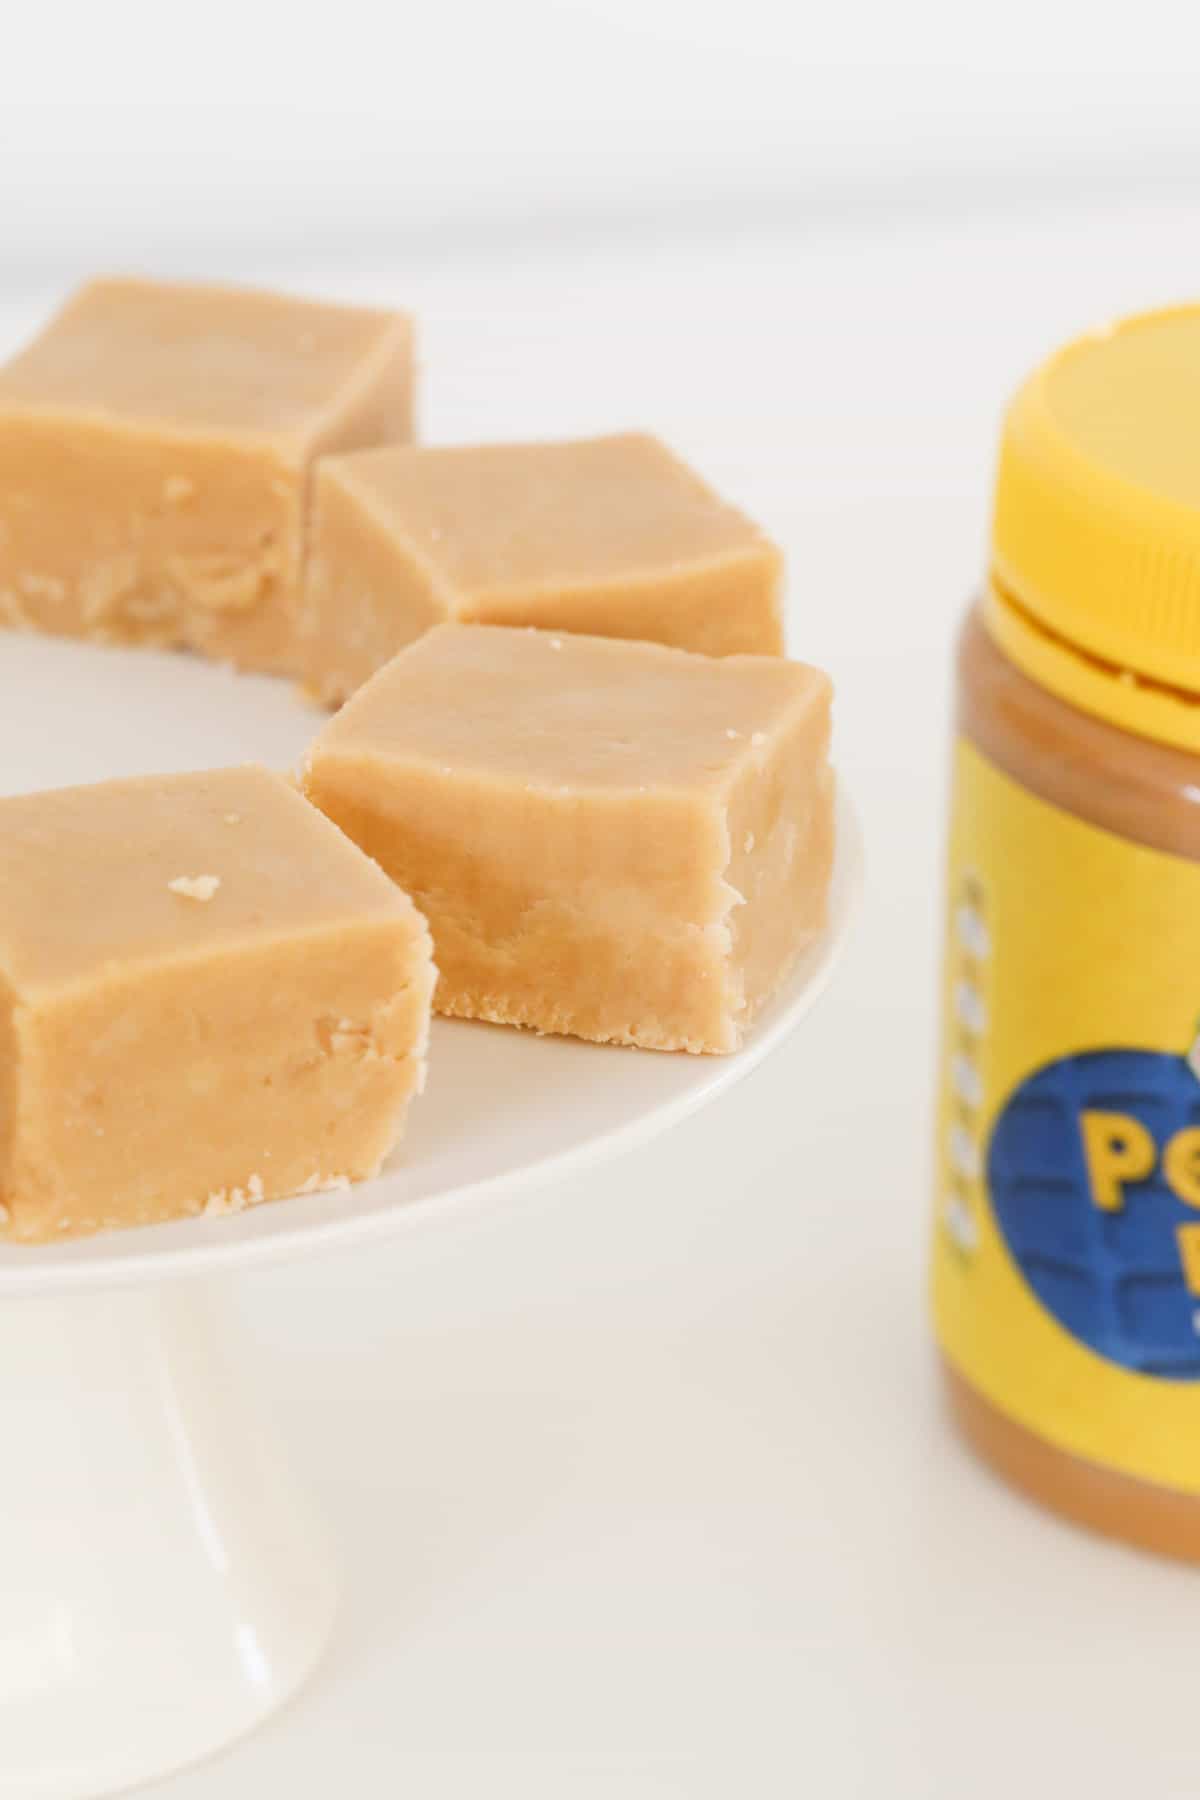
Microwave Peanut Butter Fudge made with just 3 ingredients is the simplest recipe ever! For all you peanut butter fans out there, this is the best 10 minutes you could spend in the kitchen...
Made in the microwave in just minutes, this recipe is perfect for a quick and delicious treat!
Love peanut butter? Try my one-bowl Peanut Butter Brownies too!
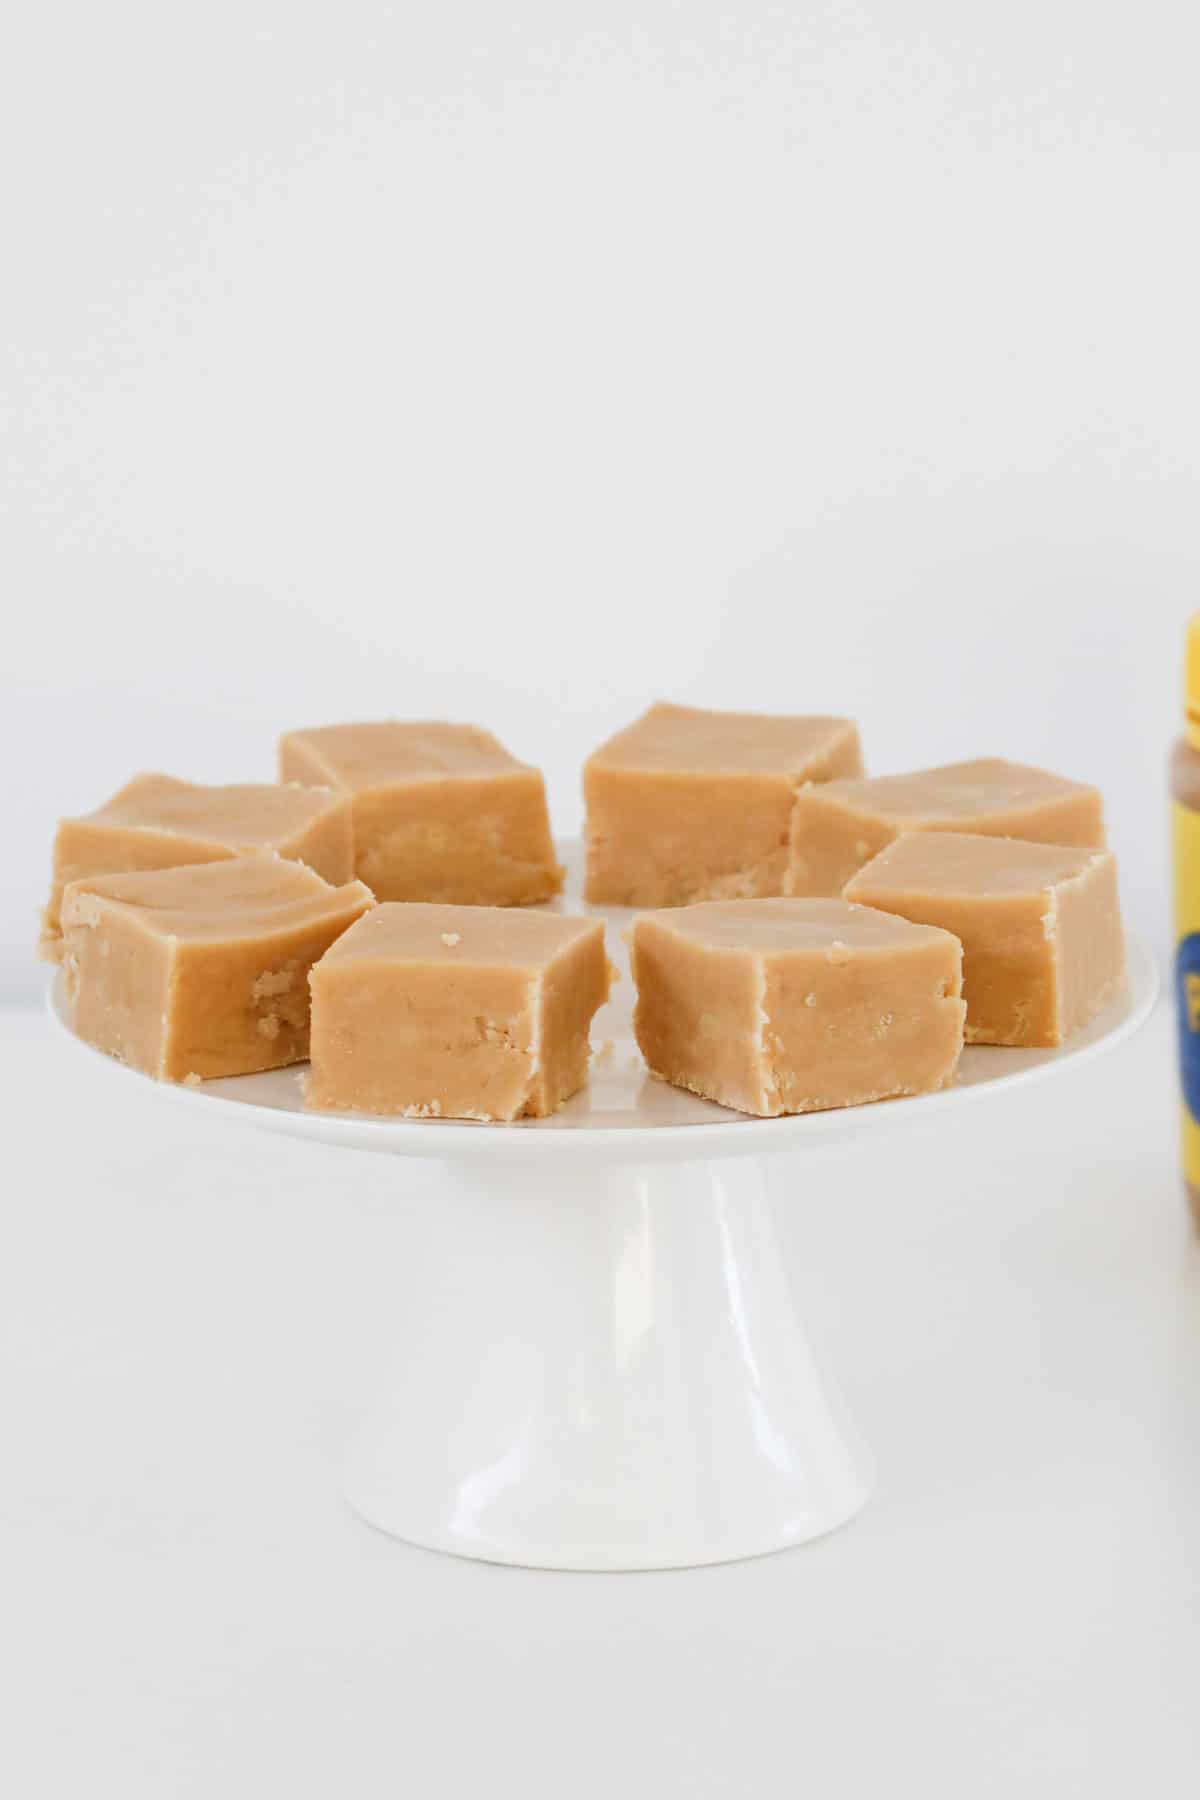
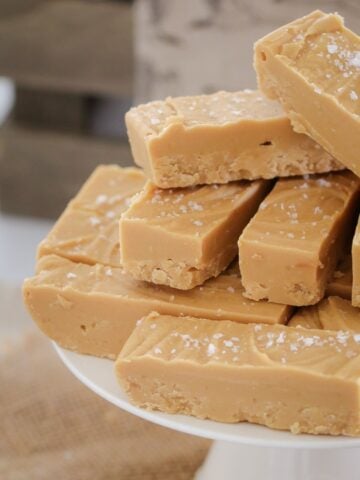
I have a real sweet tooth and love a little something sweet to nibble on, so this irresistibly smooth Peanut Butter Fudge certainly ticks the box when I need a quick and easy treat!
Of course, I have a stash of other favourite fudge recipes too, all made in minutes in the microwave, such as Tim Tam & Milo Fudge, microwave chocolate Rocky Road (mmmm), creamy Salted Caramel Fudge, and my late night favourite, Chocolate Baileys Fudge!
With just one bowl and a couple of ingredients, you can soon be watching a movie and nibbling on this dreamy fudge too!
Why You're Going To Love This Recipe
When you find a recipe that only needs three basic ingredients, and is ready in no time, what's not to love???
- Only 3 ingredients - have a look in the cupboard, you probably have all three!
- Great for the older kids to make - no oven required!
- Homemade gift or bake sale - wrapped up all pretty, this microwave Peanut Butter fudge makes a fabulous little surprise gift for someone special, and will also be a sell-out at a cake stall.
- No mess to clean up! - just one bowl!
- Microwave or Thermomix - both simple methods are included.
What You Need
There's times in life when we all just need a special treat... just like tonights movie night!
Note: Scroll to the recipe card at the bottom for the ingredients quantities and full detailed method.
- Butter - unsalted is best as the peanut butter already contains salt.
- Smooth Peanut Butter - use a quality brand of smooth peanut butter for the creamiest fudge, or you even could make your own (although we want this fudge quick fast, don't we??)
- Icing sugar mixture - also known as soft icing sugar or powdered sugar.

Equipment Required
No fussing with equipment such as food processors and beaters here! Microwave Peanut Butter Fudge can be made so easily with hardly any washing up!
- Large microwave safe mixing bowl.
- Microwave - or Thermomix (optional).
- Square baking tin - a 20cm square tin lined with baking paper.
Step By Step Instructions
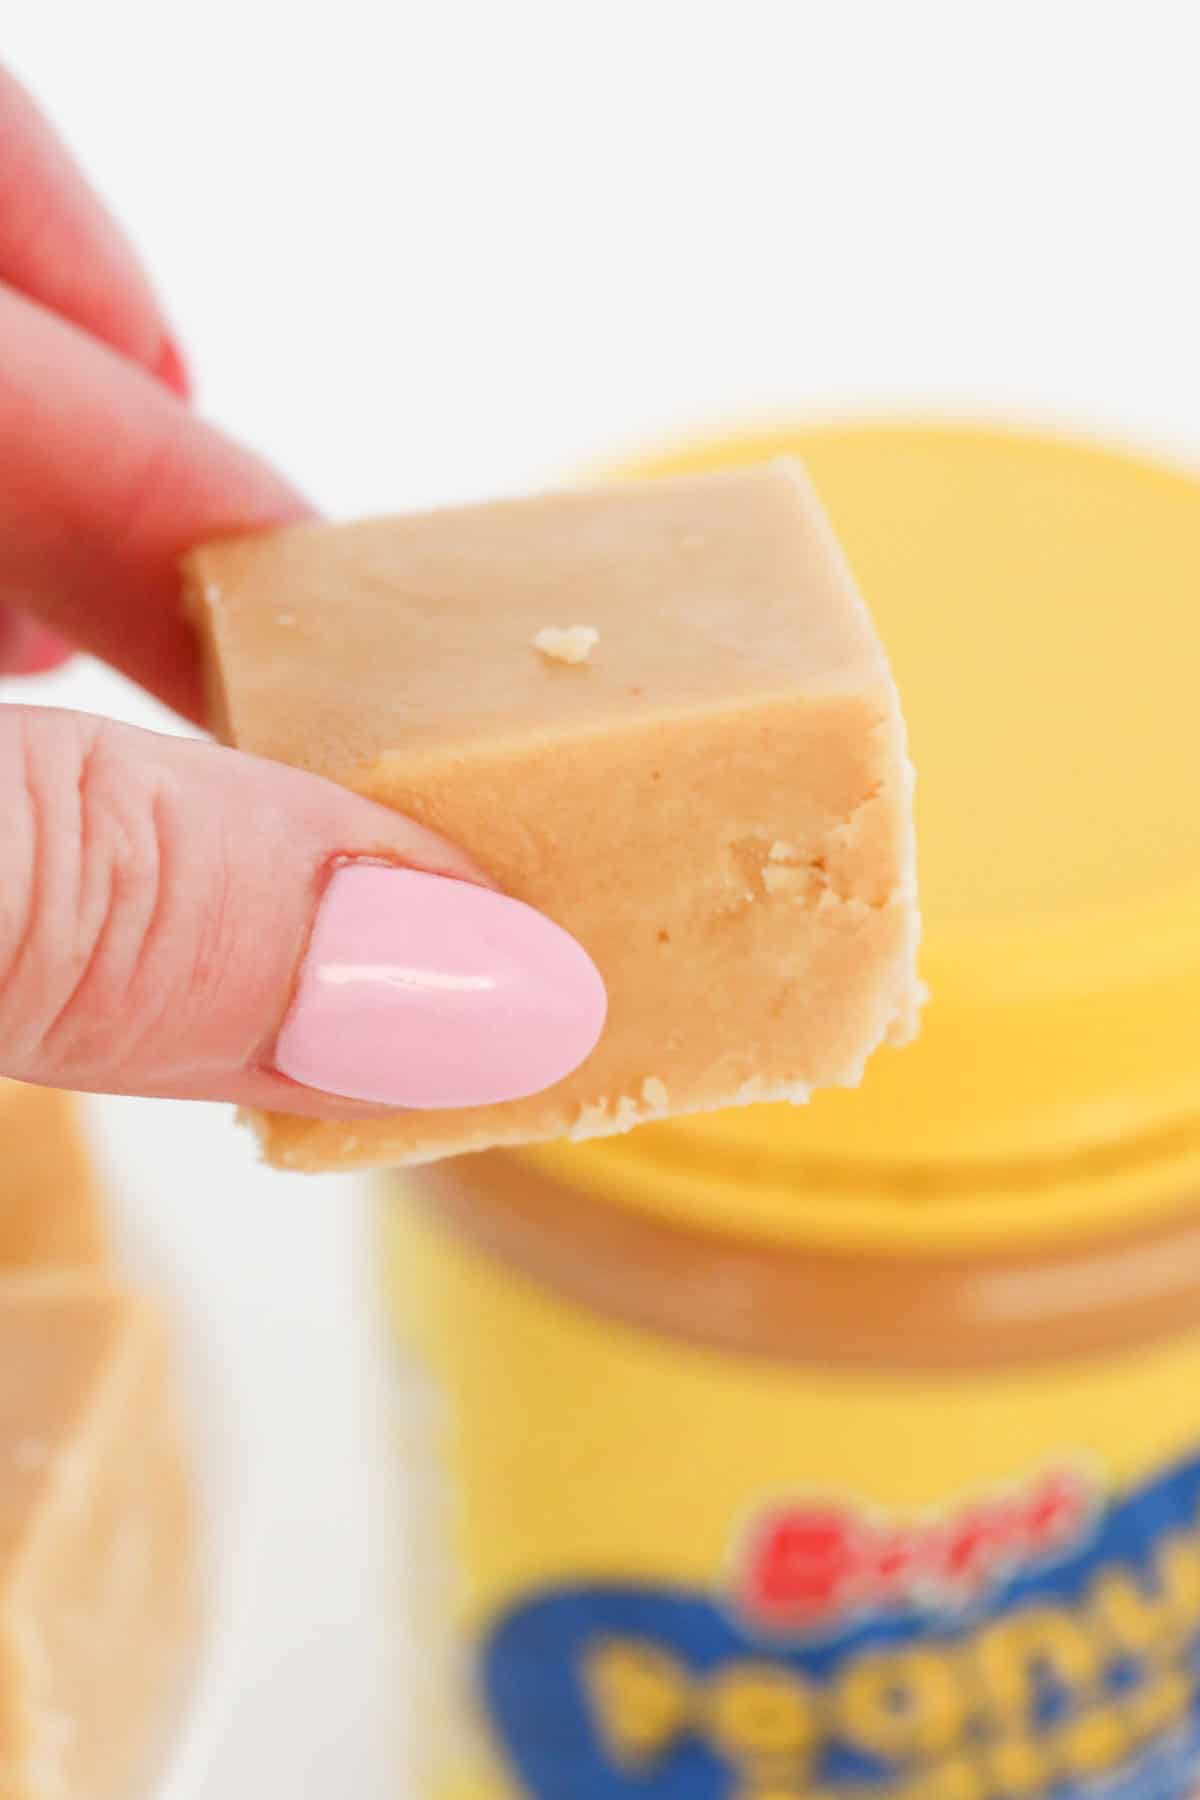
Great for beginner bakers, peanut butter fudge requires just a couple of easy steps - melt, mix, and chill!
Note: Scroll to the recipe card at the bottom for the ingredients quantities and full detailed method.
Step 1 - Heat The Peanut Butter
Firstly, grease and line a 20cm square baking tin with baking paper.
Place the butter and peanut butter in a large microwave safe bowl, and heat on high for one minute in the microwave.
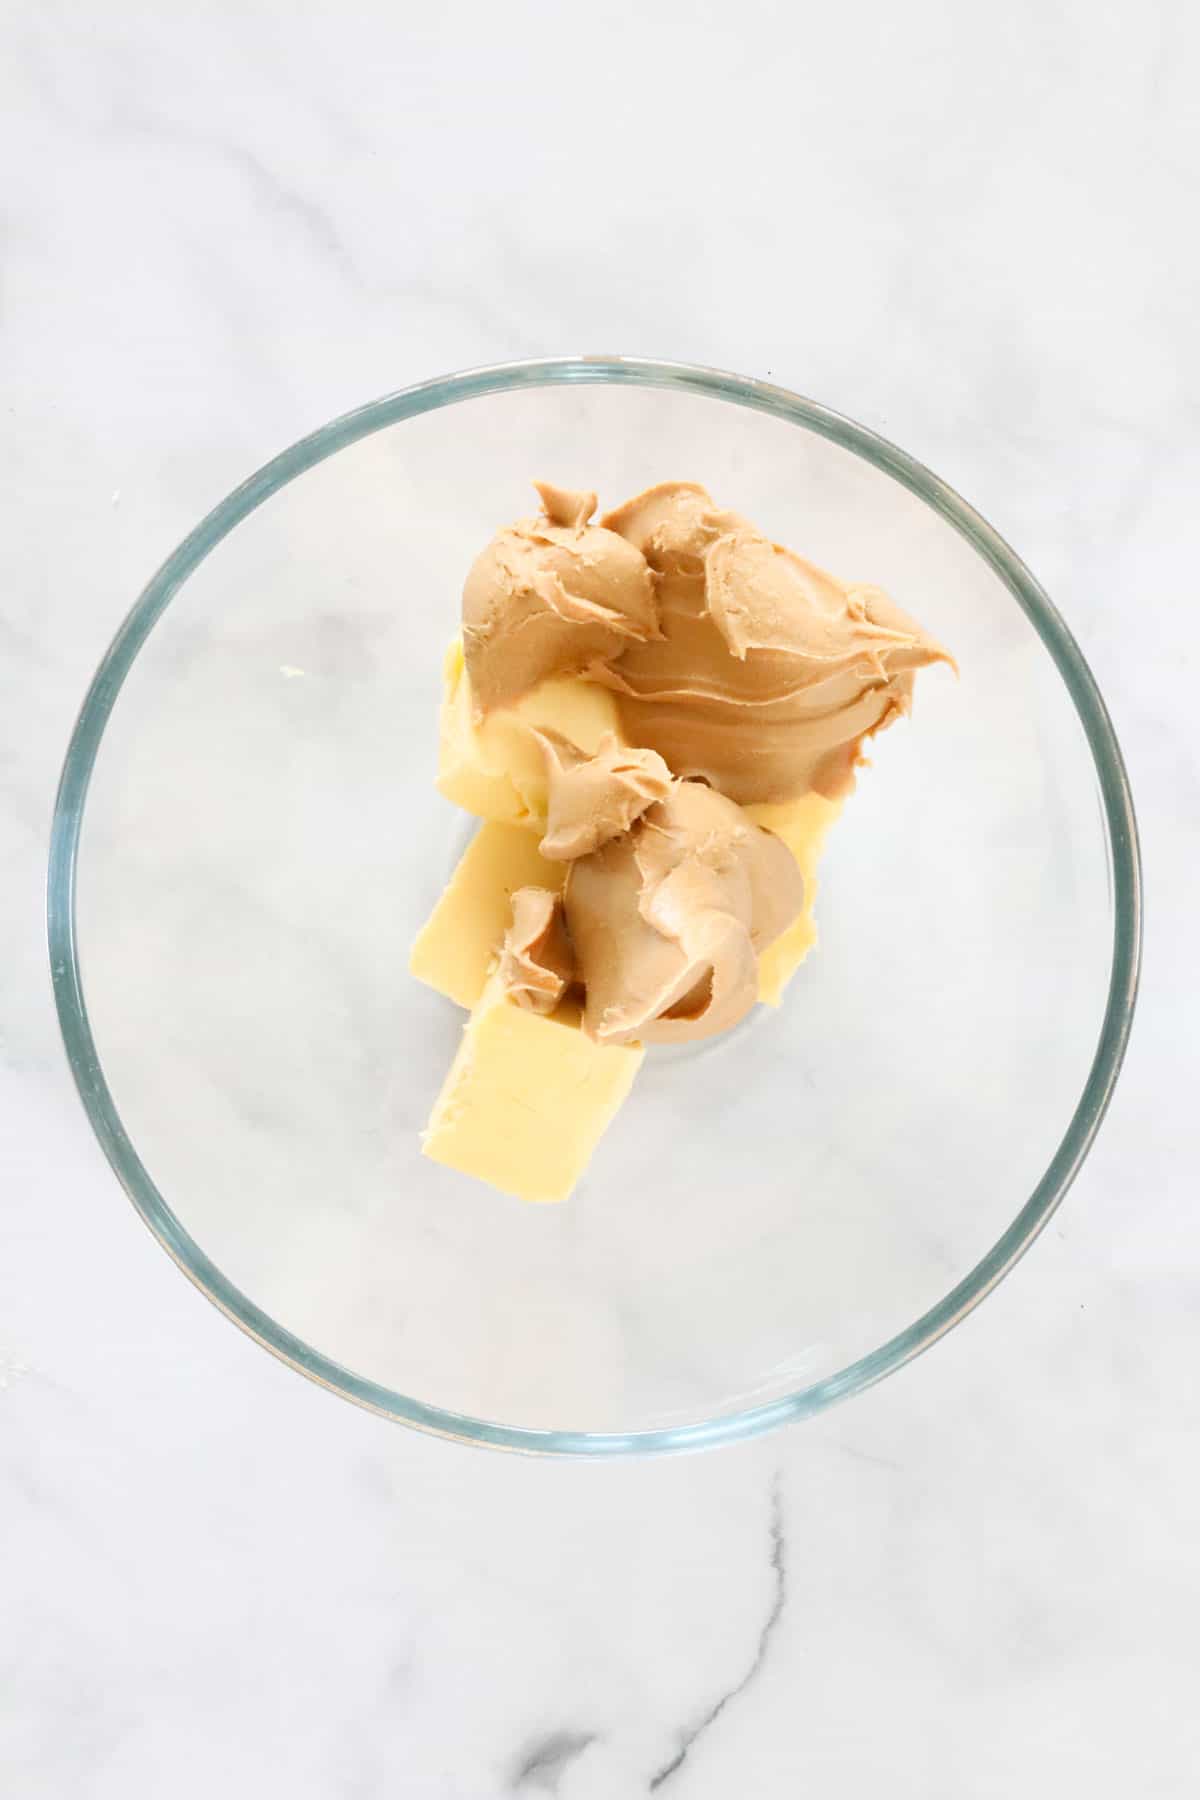
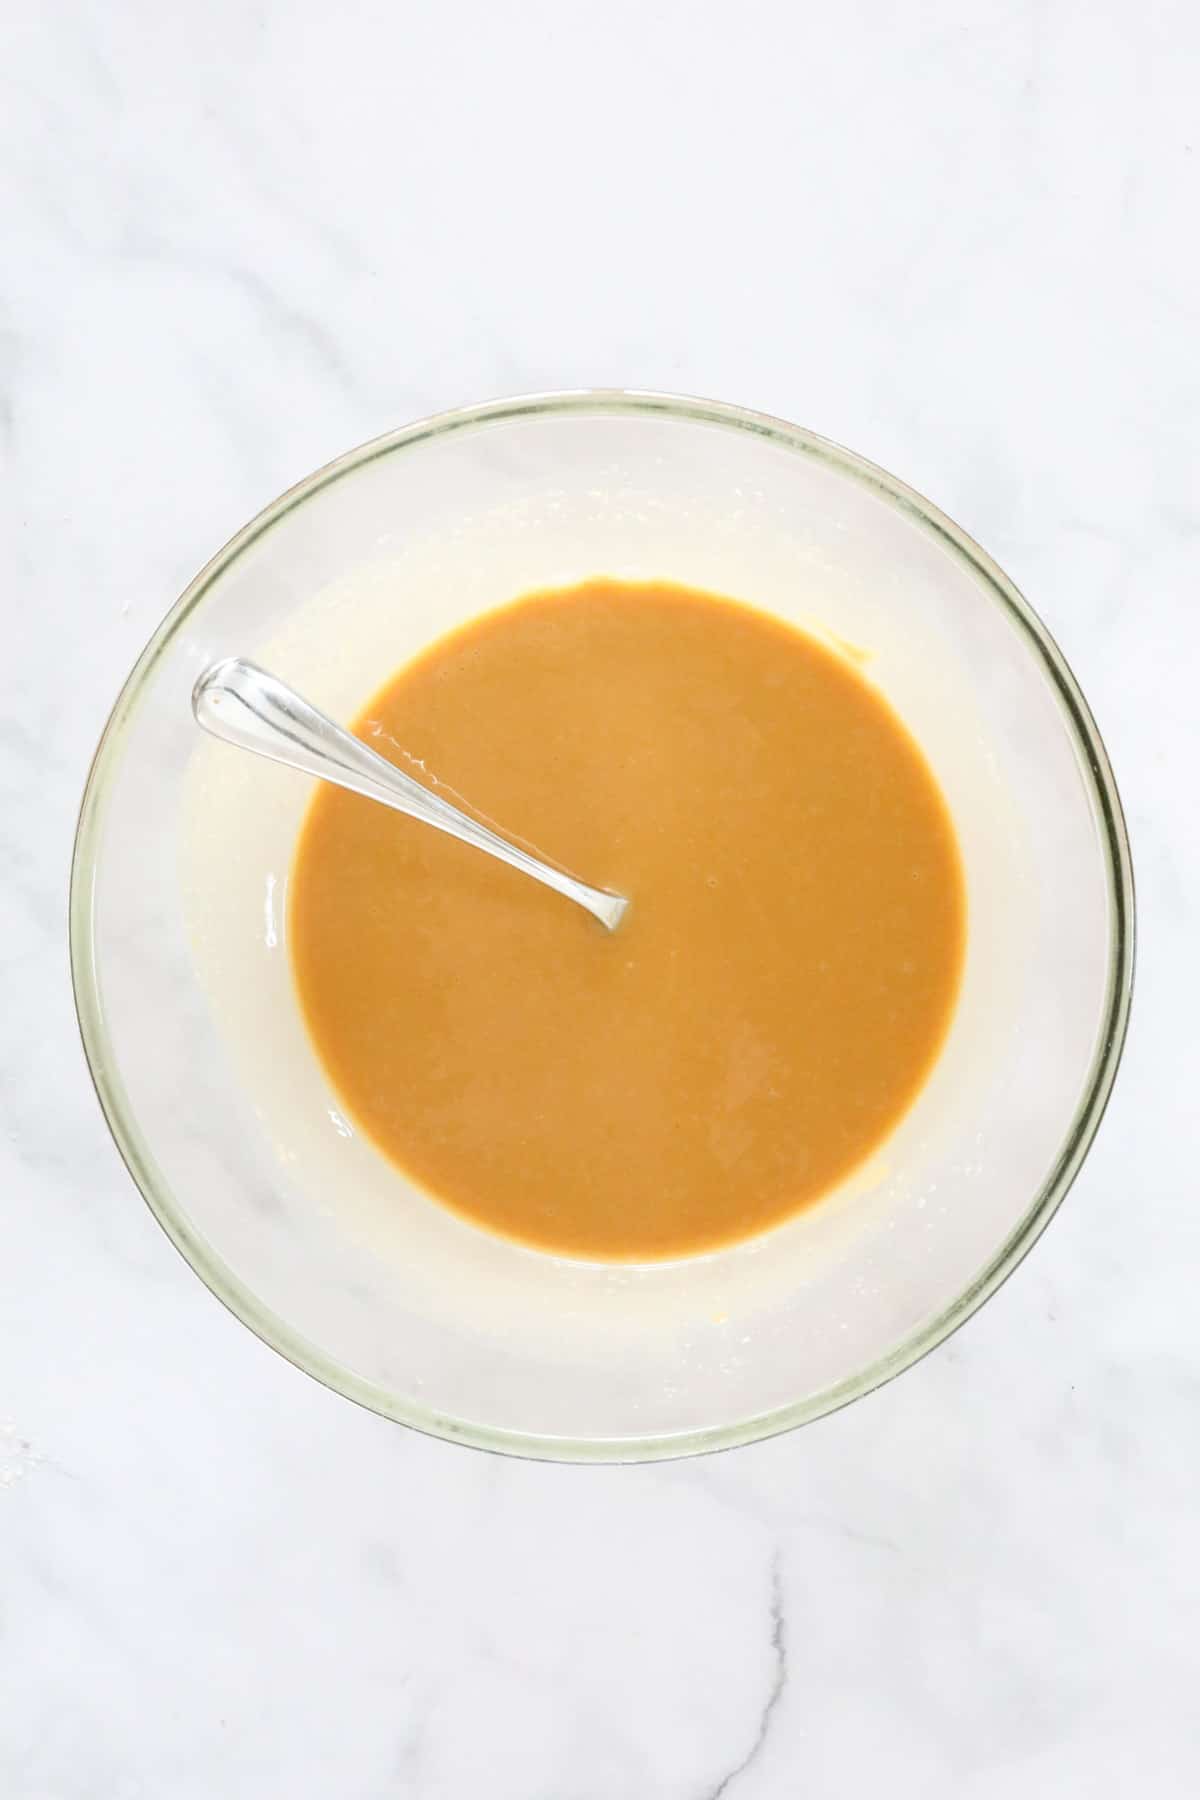
Stir, then heat for a further minute on high.
If using a Thermomix: Place the butter and peanut butter into the Thermomix bowl and melt for 3 minutes, 80 degrees, Speed 2 (or until melted).
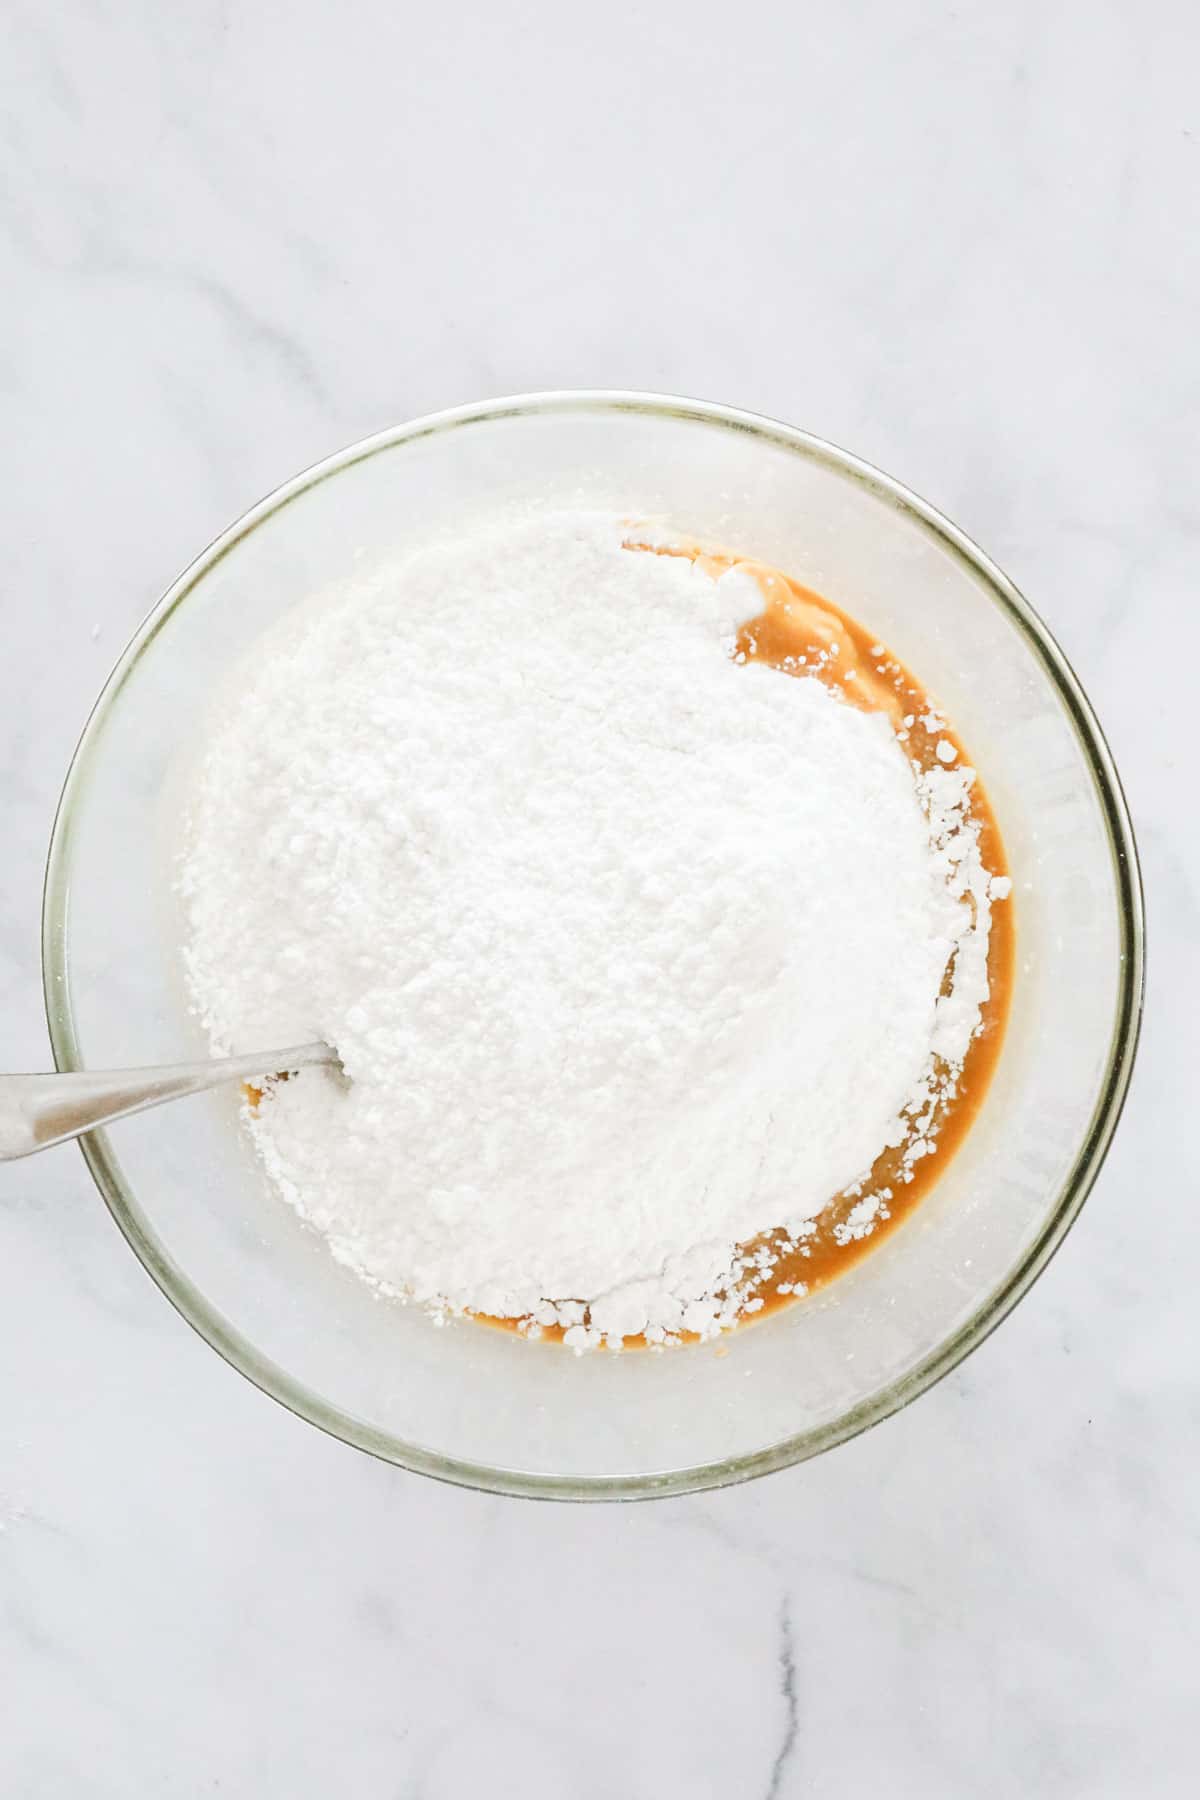
Step 2 - Add The Icing Sugar
Once the peanut butter and butter have melted, add the icing sugar mixture to the bowl.
If using a Thermomix: Add the icing sugar mixture and mix for 10 seconds, Speed 4. Scrape down the sides of the bowl and mix for a further 10 seconds or until combined and smooth.
Stir until all ingredients are combined.
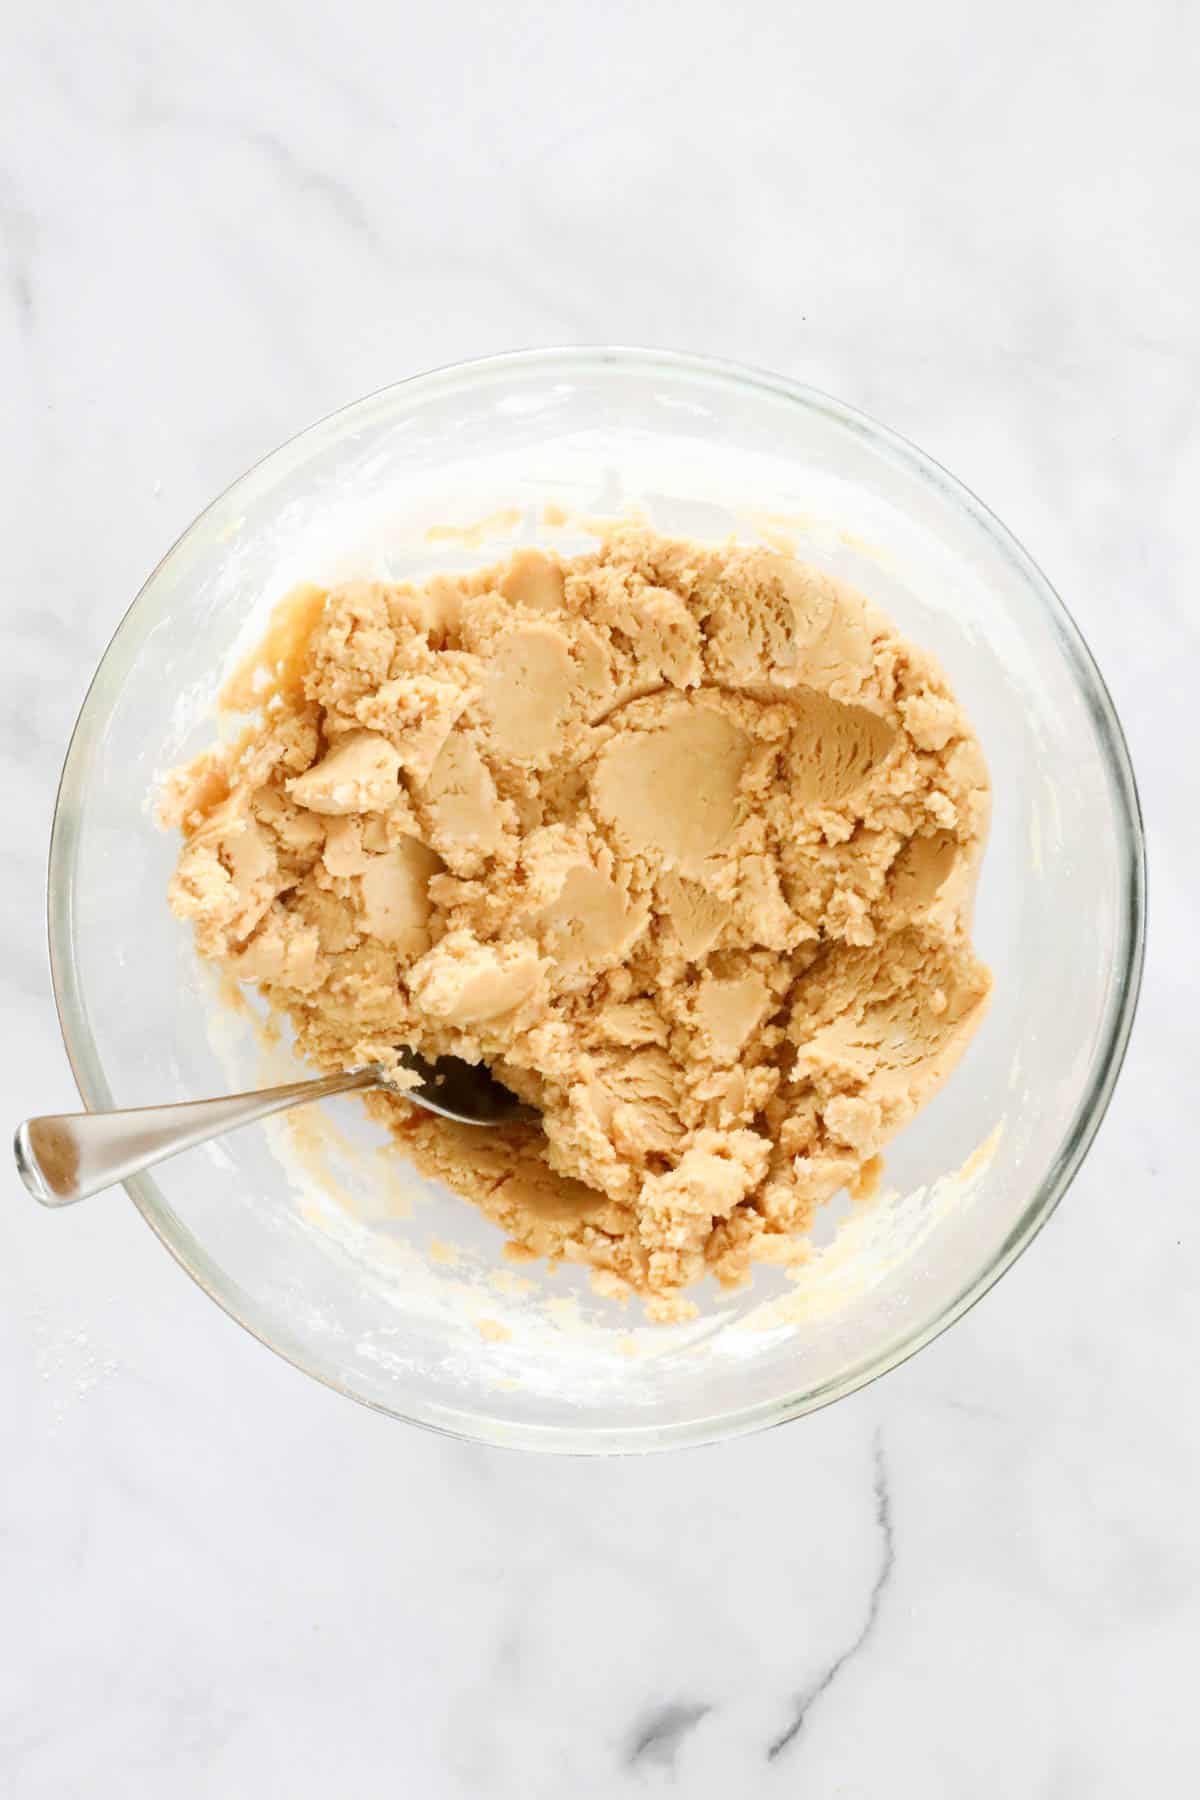
Step 3 - Chill
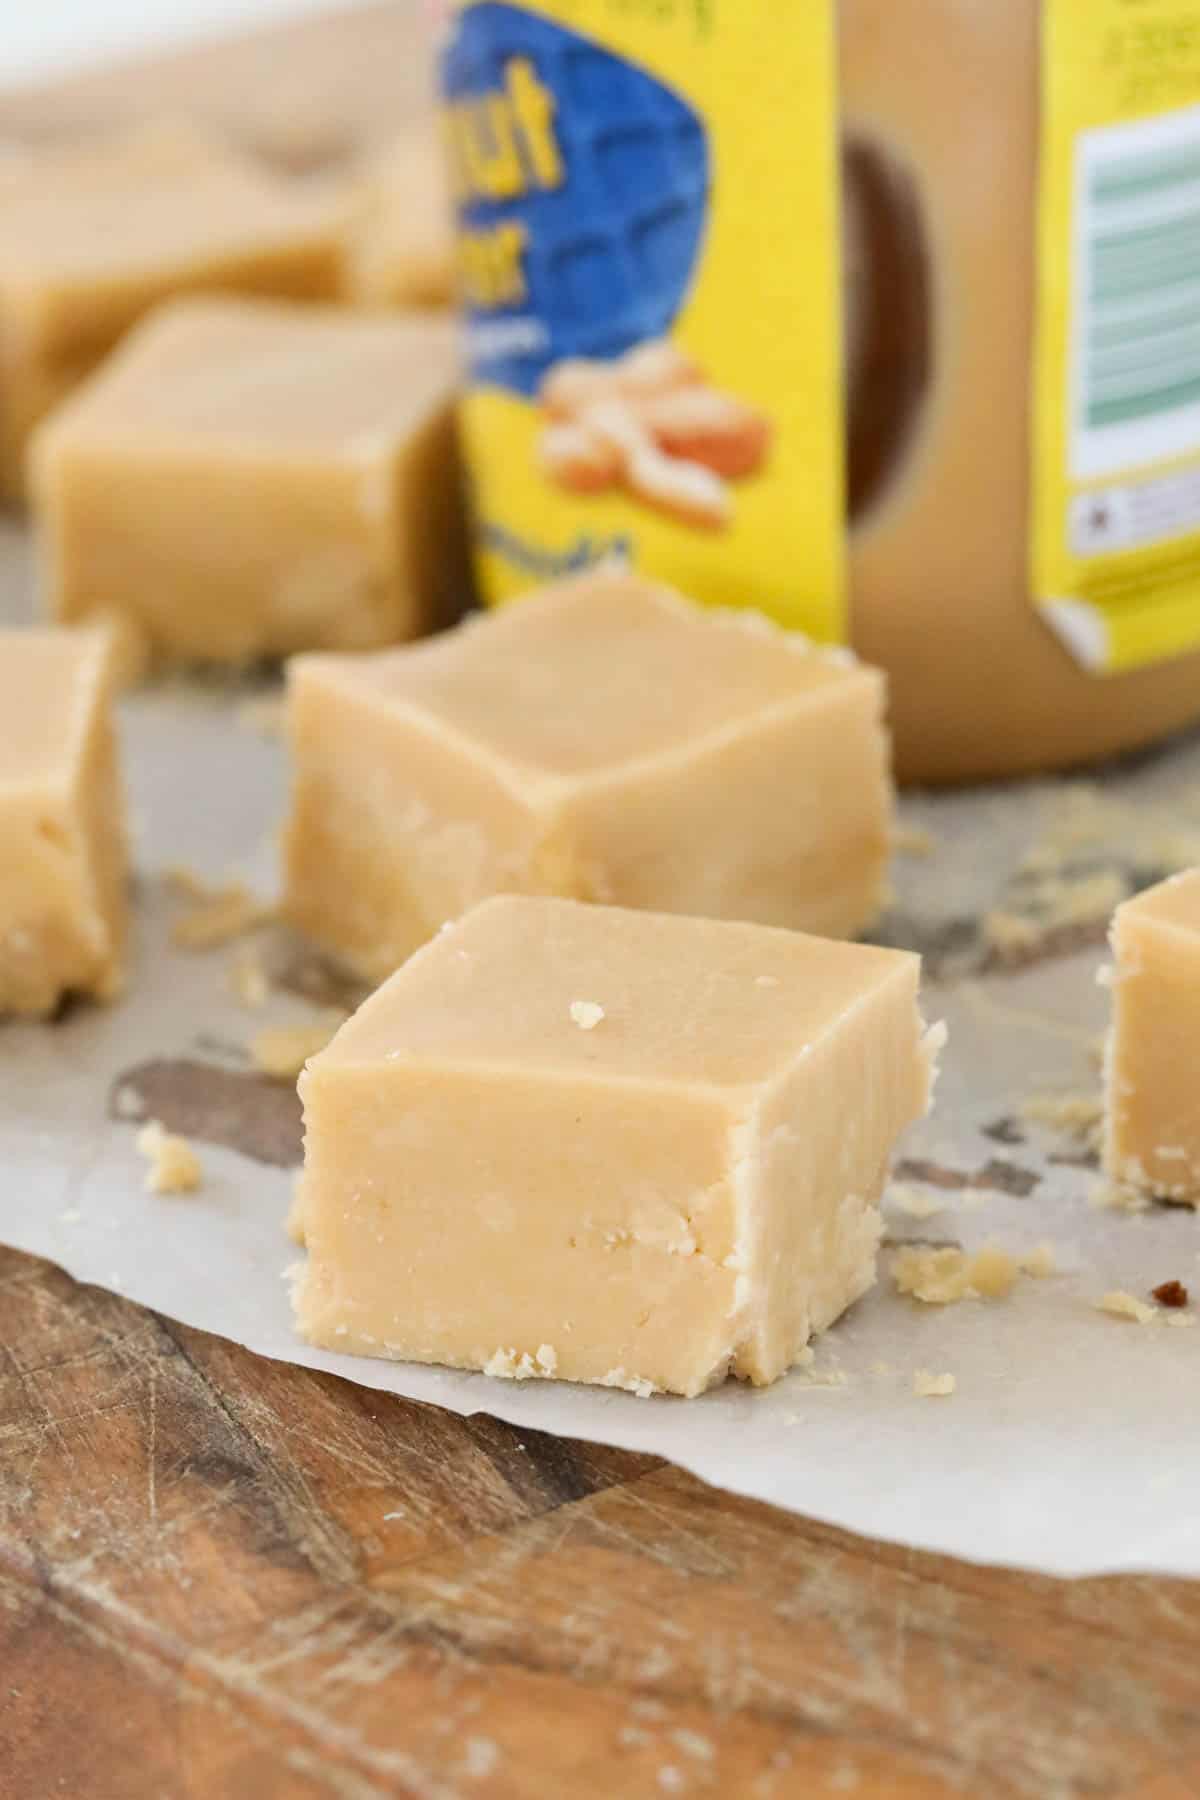
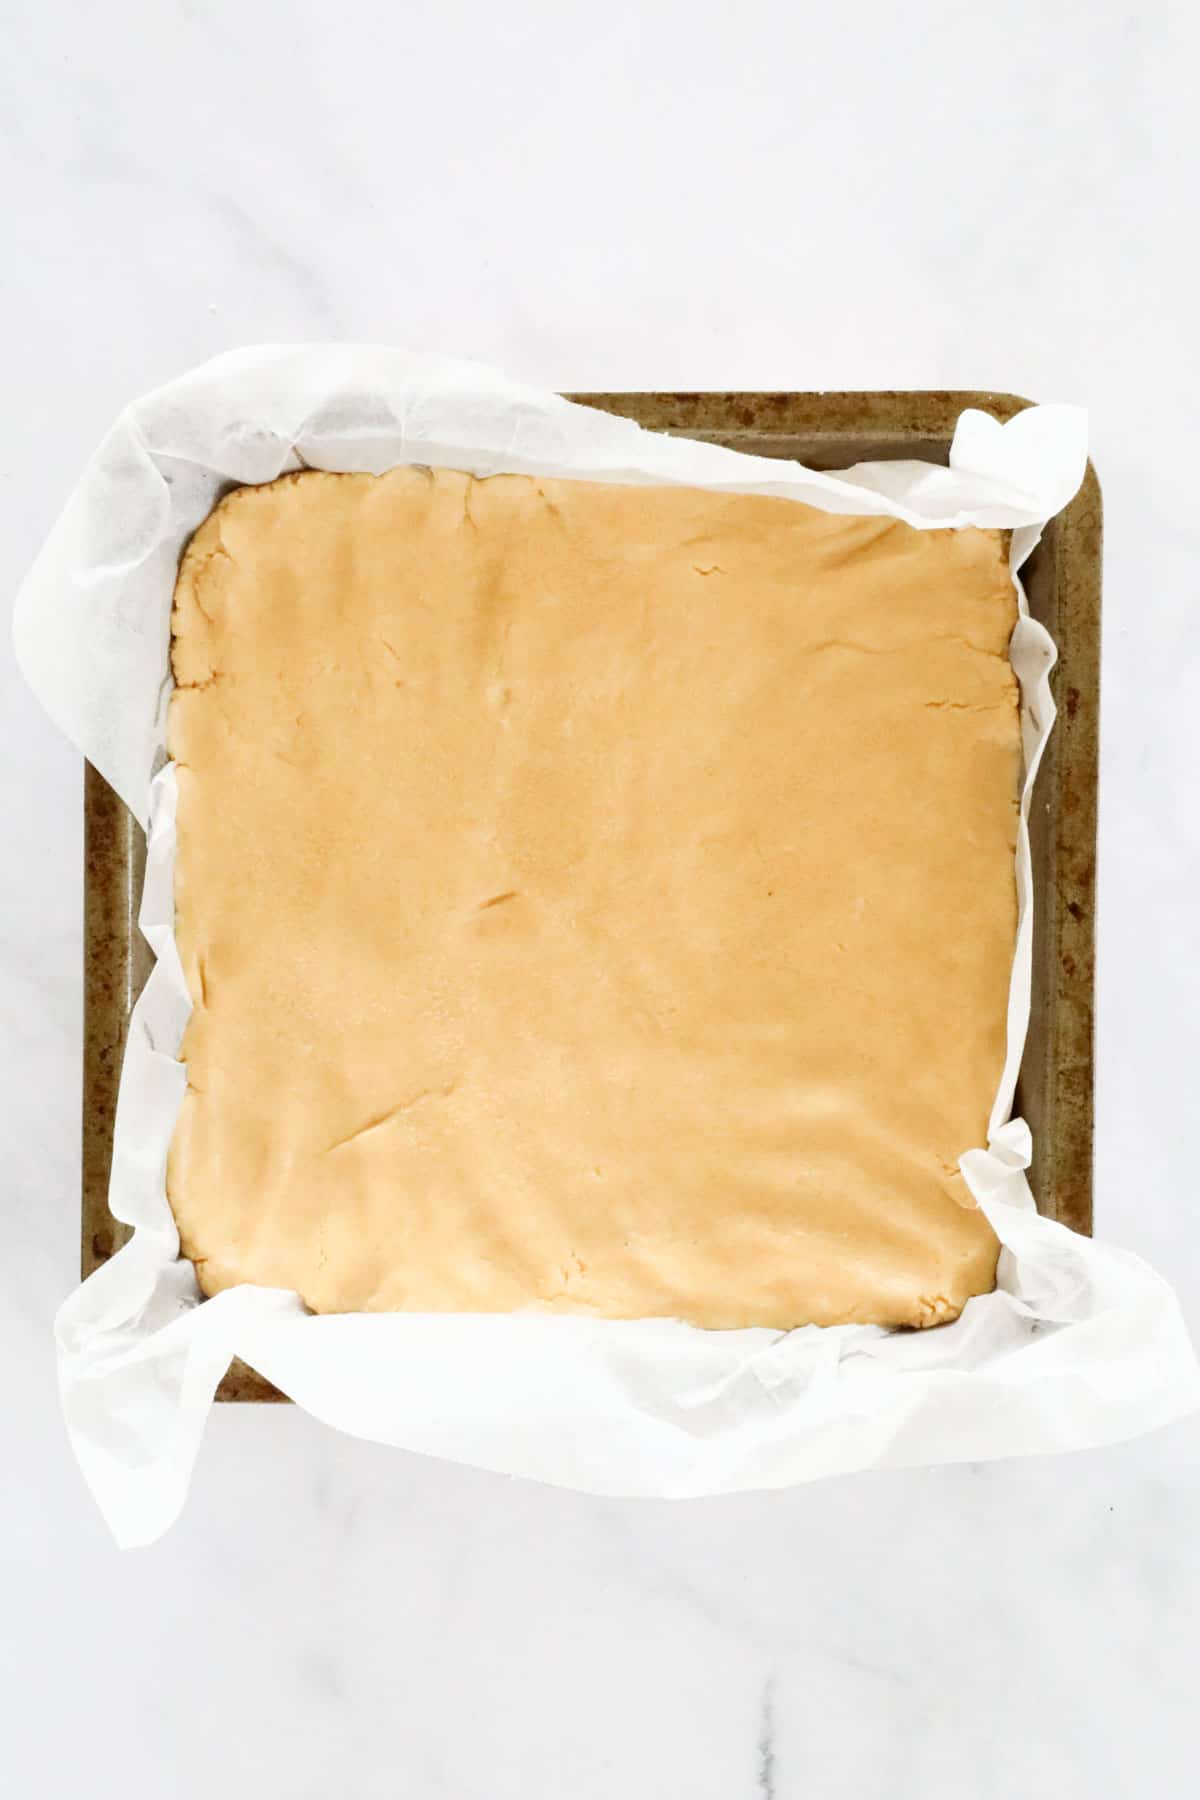
Spread the fudge mixture into your prepared tin, press down firmly and smooth the top.
Place in the fridge for up to 2 hours, or at least 30 minutes, before cutting into squares.
Expert Tips
You really can't go wrong with this easy fudge!
- I use a good quality store-bought smooth peanut butter for the creamiest consistency.
- You could substitute peanut butter for cashew butter if you prefer.
- If the mixture is too thick when your icing sugar has been added, just add a touch of milk and mix this through.
- Line your baking tin with baking paper to allow for easy removal once the fudge has been chilled and is ready to be cut into pieces.
- Chill for a minimum of 30 minutes (if you can't wait any longer!) or up to 2 hours to firm up well.
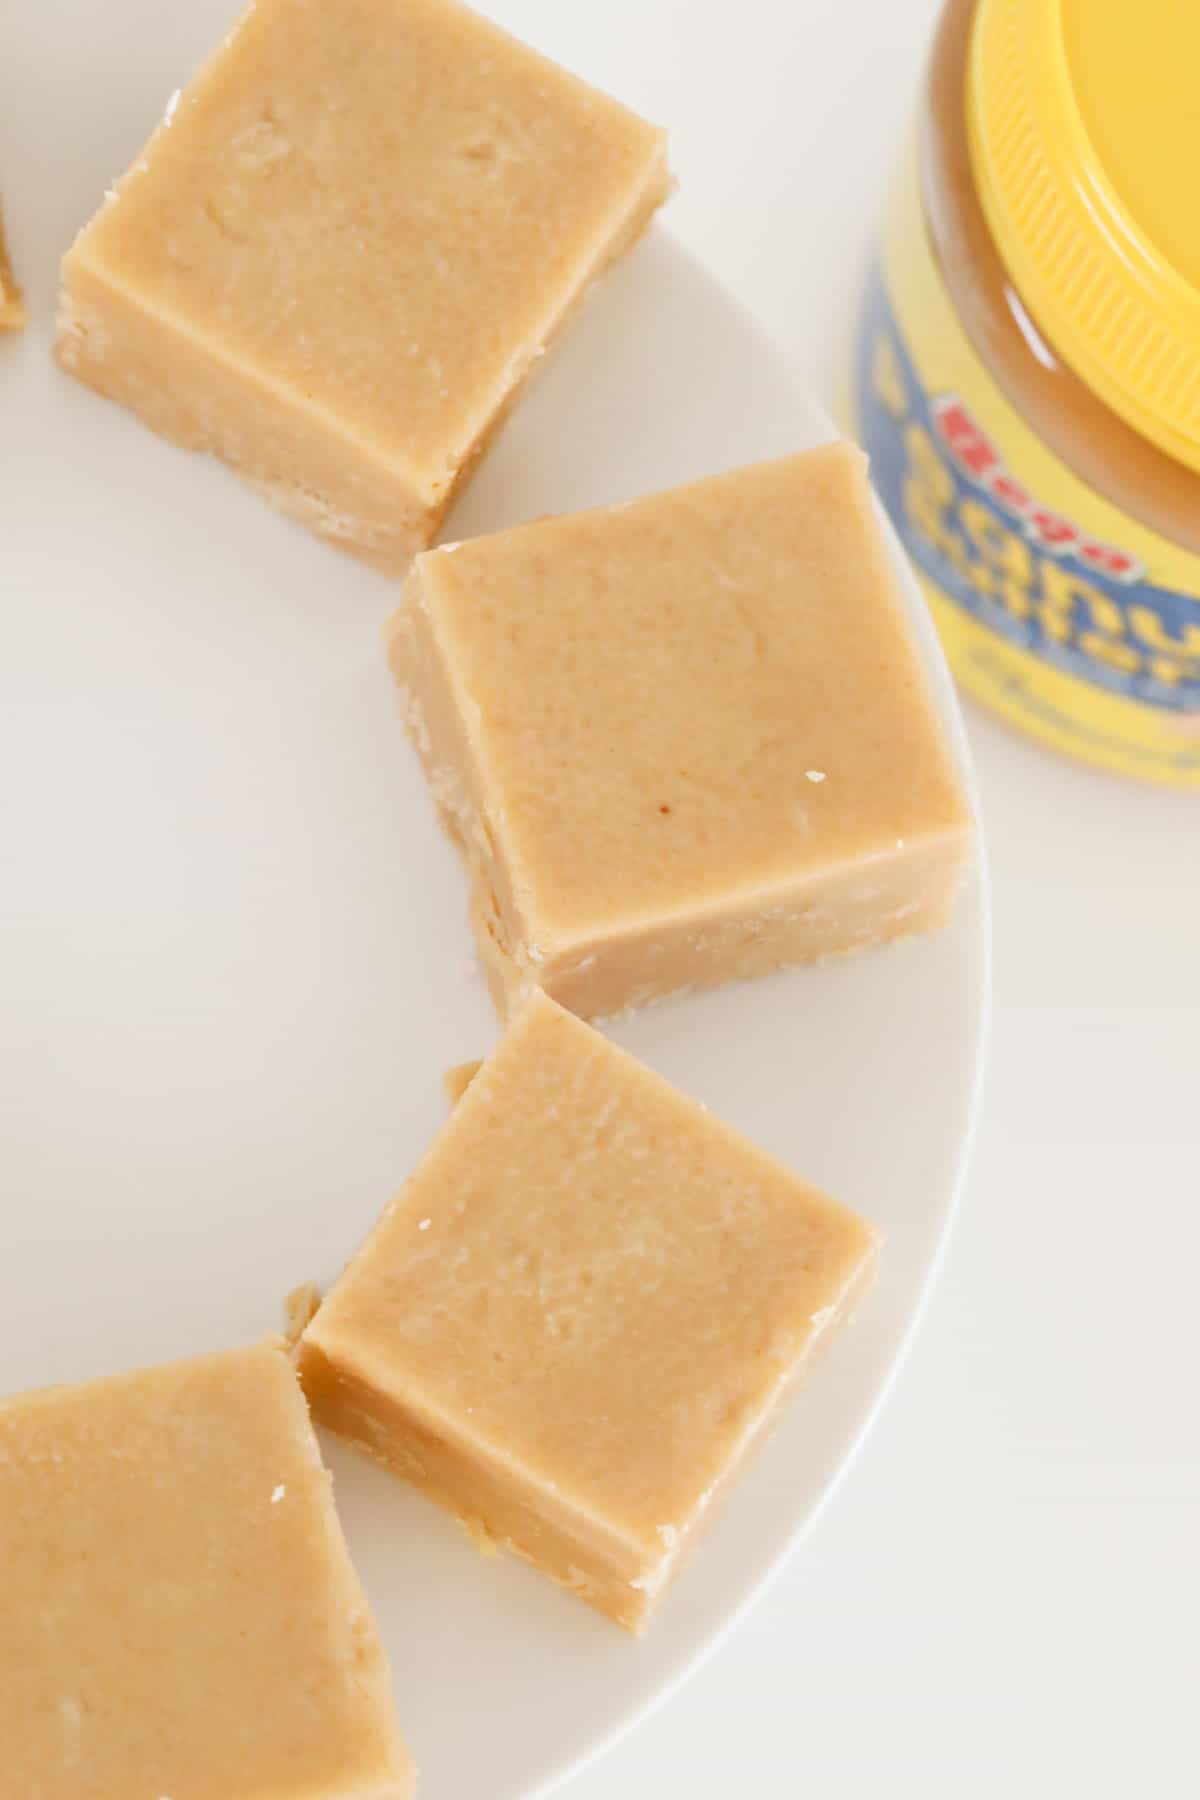
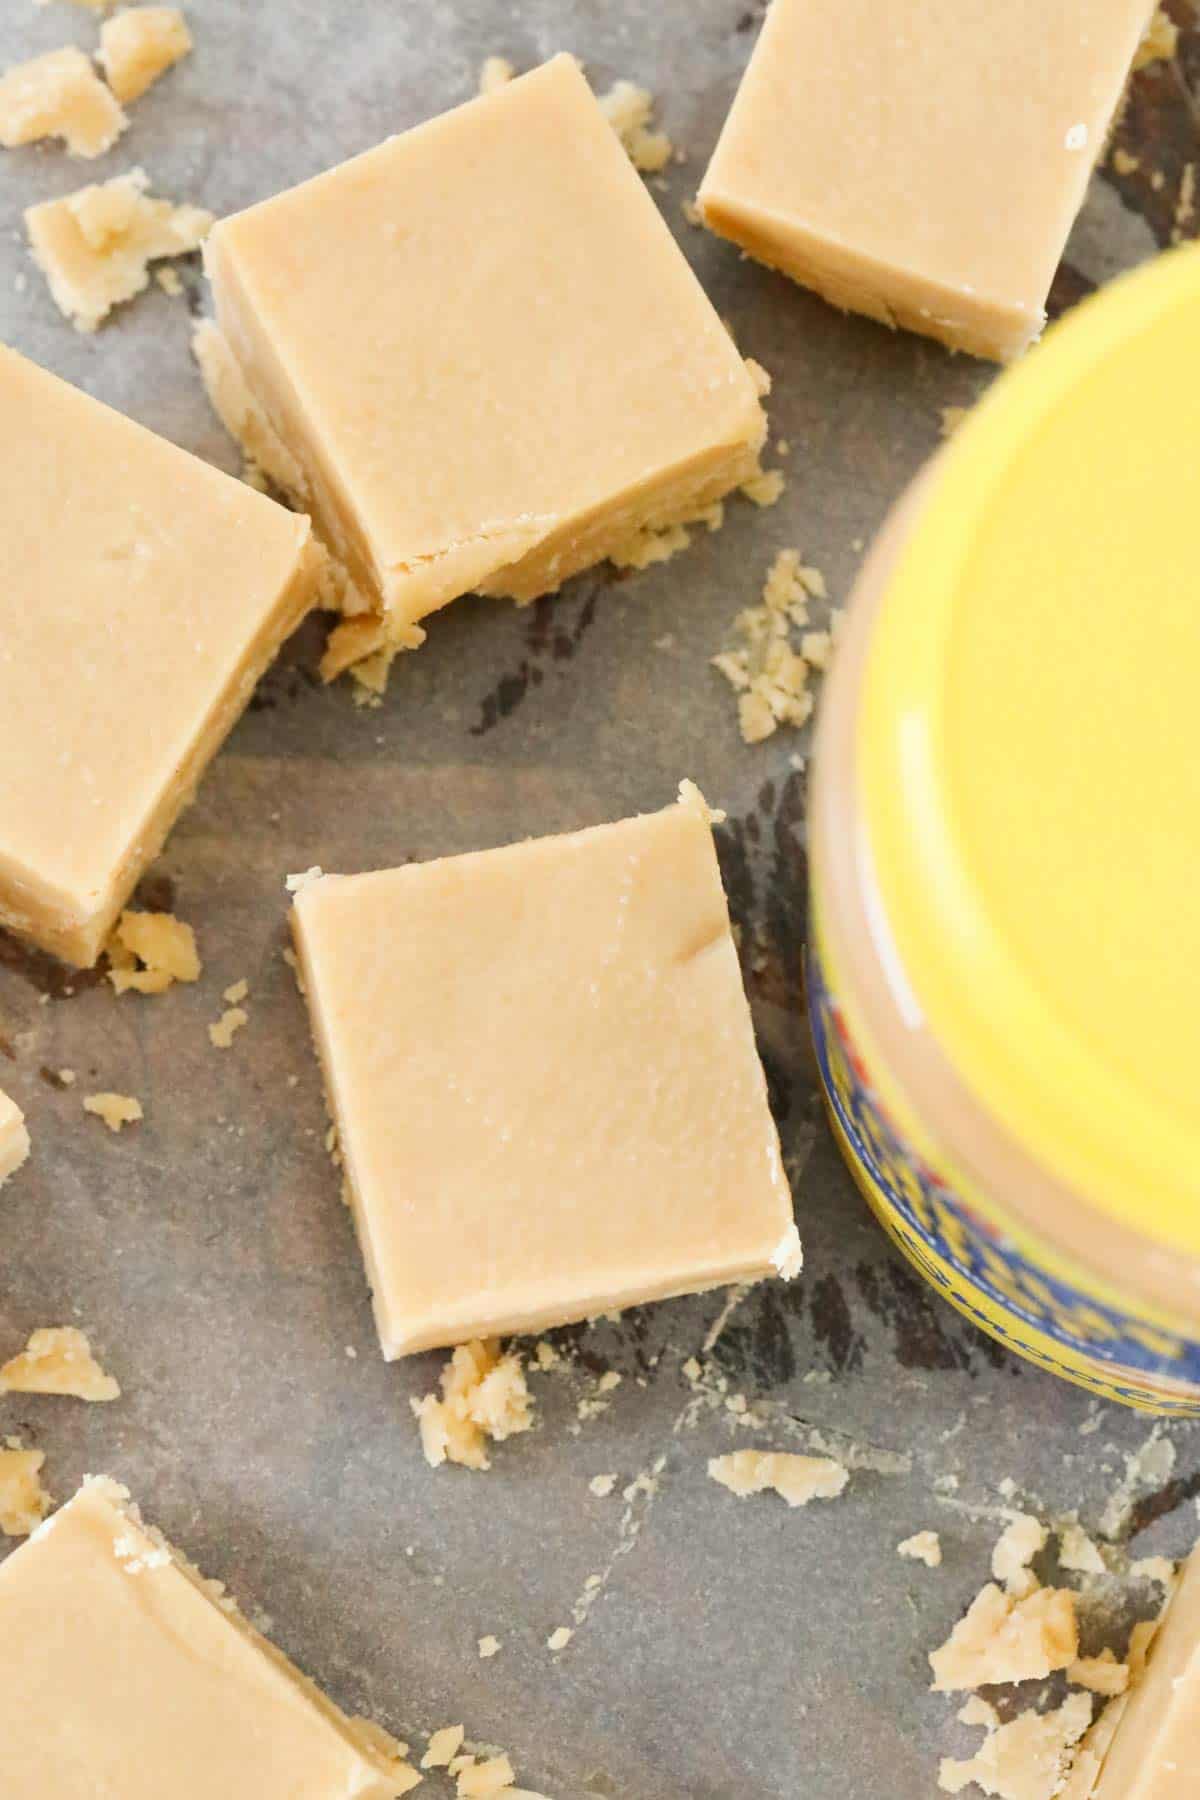
- Use a sharp knife to cut the fudge into squares once it has chilled. See my instructions on how to cut the perfect slice for tips on presentation.
- Store microwave peanut butter fudge for up to a week in an airtight container at room temperature, or for 2-3 weeks in the fridge.
- Freezing - wrap fudge well in clear wrap or foil and place in an airtight container for up to 3 months. Allow to defrost in the fridge before consuming.
FAQs
A little salt always helps to bring out the flavour in both sweet and savoury dishes, but as the peanut butter already has salt added, I recommend using unsalted butter for this microwave peanut butter fudge. However, if salted butter is all you have, use that, as the difference is slight.
I do recommend lining your tin with baking paper, as this makes it a lot easier to remove microwave peanut butter fudge from the tin - and makes cleaning up easier too!
Remove the fudge from the fridge 20 minutes before cutting. Use a hot and dry knife (dip the knife in hot water and then dry completely) to score the fudge. Once the fudge has been scored, press down firmly with the knife to slice all the way through. See my instructions on cutting the perfect slice for additional tips on presentation.
Related Recipes
I think my sweet tooth is clearly apparent by the number of fudge recipes I have for you here, but they're all so quick and easy to make, require only a couple of ingredients - and taste simply sensational!!!!


WANT EVEN MORE DELICIOUS RECIPES? Subscribe to my newsletter or follow along on Facebook or Instagram. And if you love baking, then please come and join my Facebook cooking club group or subscribe to my YouTube channel.

Microwave Peanut Butter Fudge
Ingredients
- 225 g unsalted butter
- 280 g (1 cup) smooth peanut butter
- 450 g (3 ½ cups) icing sugar mixture
Instructions
Conventional Method
- Grease and line a 20cm square tin with baking paper and set aside.
- Place the butter and peanut butter into a large microwave-safe bowl. Heat on High for 1 minute. Stir then heat for a further 1 minute on High.
- Once melted, add the icing sugar mixture and stir until smooth.
- Pour the fudge into the prepared tin and press down firmly and evenly.
- Place into the fridge to set for 2 hours before cutting into pieces.
Thermomix Method
- Grease and line a 20cm square tin with baking paper and set aside.
- Place the butter and peanut butter into the Thermomix bowl and melt for 3 minutes, 80 degrees, Speed 2 (or until melted).
- Add the icing sugar mixture and mix for 10 seconds, Speed 4. Scrape down the sides of the bowl and mix for a further 10 seconds or until combined and smooth.
- Pour the fudge into the prepared tin and press down firmly.
- Place into the fridge to set for 2 hours before cutting into pieces.
Notes
- I use a good quality smooth peanut butter for the creamiest consistency.
- You could substitute peanut butter for cashew butter if you prefer.
- If the mixture is too thick when your icing sugar has been added, just add a touch of milk and mix this through.
- Line your baking tin with baking paper to allow for easy removal once the fudge has been chilled and is ready to be cut into pieces.
- Chill for a minimum of 30 minutes (if you can't wait any longer!) or up to 2 hours to firm up well.
- Use a sharp knife to cut the fudge into squares once it has chilled. See my instructions on how to cut the perfect slice for tips on presentation.
- Store microwave peanut butter fudge for up to a week in an airtight container at room temperature, or for 2-3 weeks in the fridge.
- Freezing - wrap fudge well in clear wrap or foil and place in an airtight container for up to 3 months. Allow to defrost in the fridge before consuming.


Kaidyn G. says
The best peanut butter fudge I have ever made! It is so good, sweet and if you heat it up a bit, it melts so smoothly in your mouth. I don't even like peanut butter stuff, but this is an exception, I loved this and so did my family!
Lucy says
I'm so glad you liked it!