


This easy chocolate slice is one bowl, five minutes of mixing and zero fuss, a proper old school favourite that never goes out of style.
If you love a fuss-free lunchbox slice, my Chocolate Coconut Slice and Weetbix Slice are two more that vanish just as fast around here.
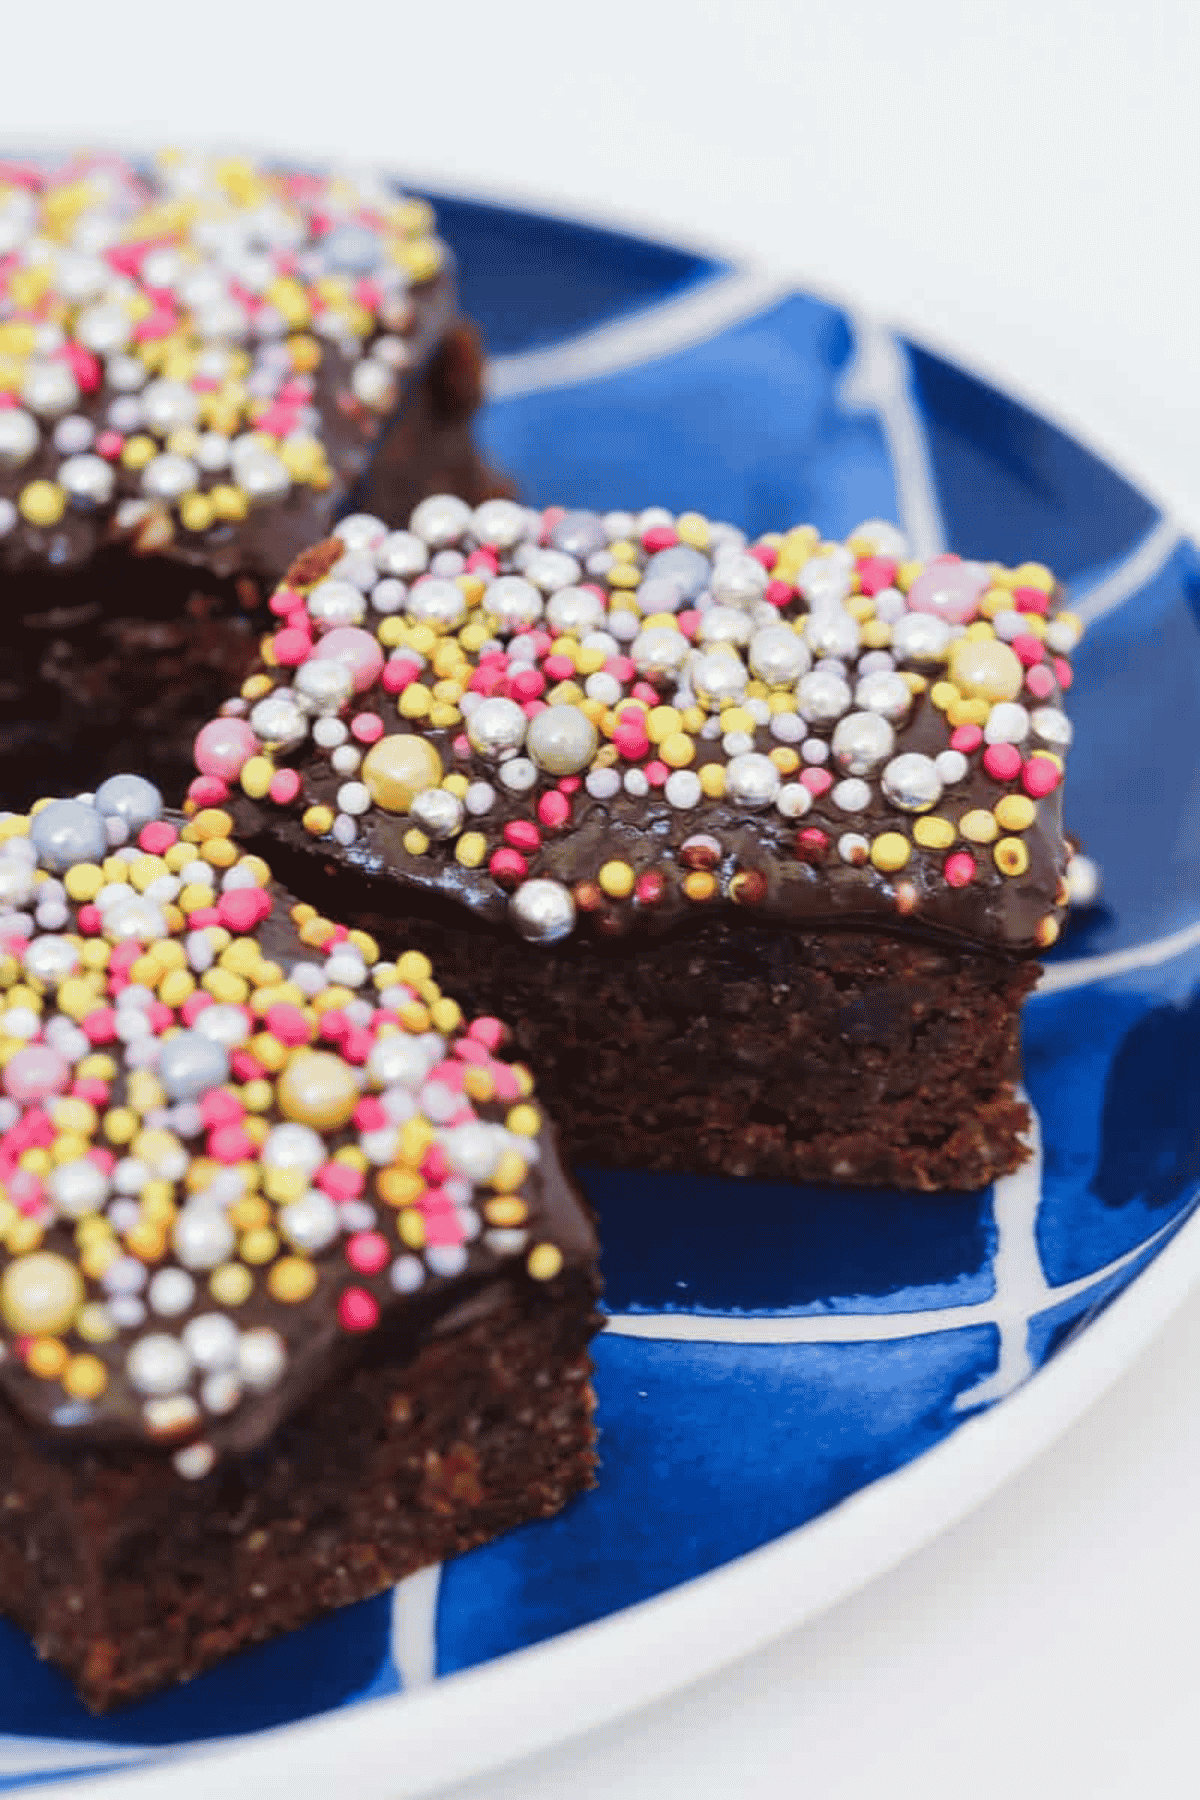
A Quick Look At The Recipe
✅ Recipe Name: Easy Chocolate Slice
🕒 Ready In: 35 minutes
👪 Serves: 16
🔥 Calories: 229kcal per serve
🥣 Main Ingredients: butter, brown sugar, cocoa powder, desiccated coconut, self-raising flour
🌿 Dietary: vegetarian
⭐ Why You'll Love It: one bowl, melt and mix, no fancy equipment needed.
SUMMARIZE & SAVE THIS CONTENT ON
Very easy and quick treat for school lunchboxes. Thank you!
- Sarah
Sarah's not the only lunchbox convert, one reader even said her whole class polished off a batch without a crumb left.
If you're after more easy melt and mix slices, try my Chocolate Hedgehog Slice, Chocolate Rocky Road and Chocolate Crunchie Slice, they're all just as simple.
Jump to:
Why You're Going To Love This Recipe
- One Bowl, No Fuss - melt the butter, mix in the wet ingredients, mix in the dry ingredients, bake. That's genuinely it.
- Basic, Budget-Friendly Ingredients - nothing fancy, you've probably got it all in the pantry right now.
- Classic Chocolate Icing - rich, glossy and made in the same bowl while the base cools.
- Freezer-Friendly - make a double batch and freeze the extras for later; see my Recipe Tips below.
- Conventional and Thermomix - both methods are in the recipe card.
Chocolate Slice Ingredients
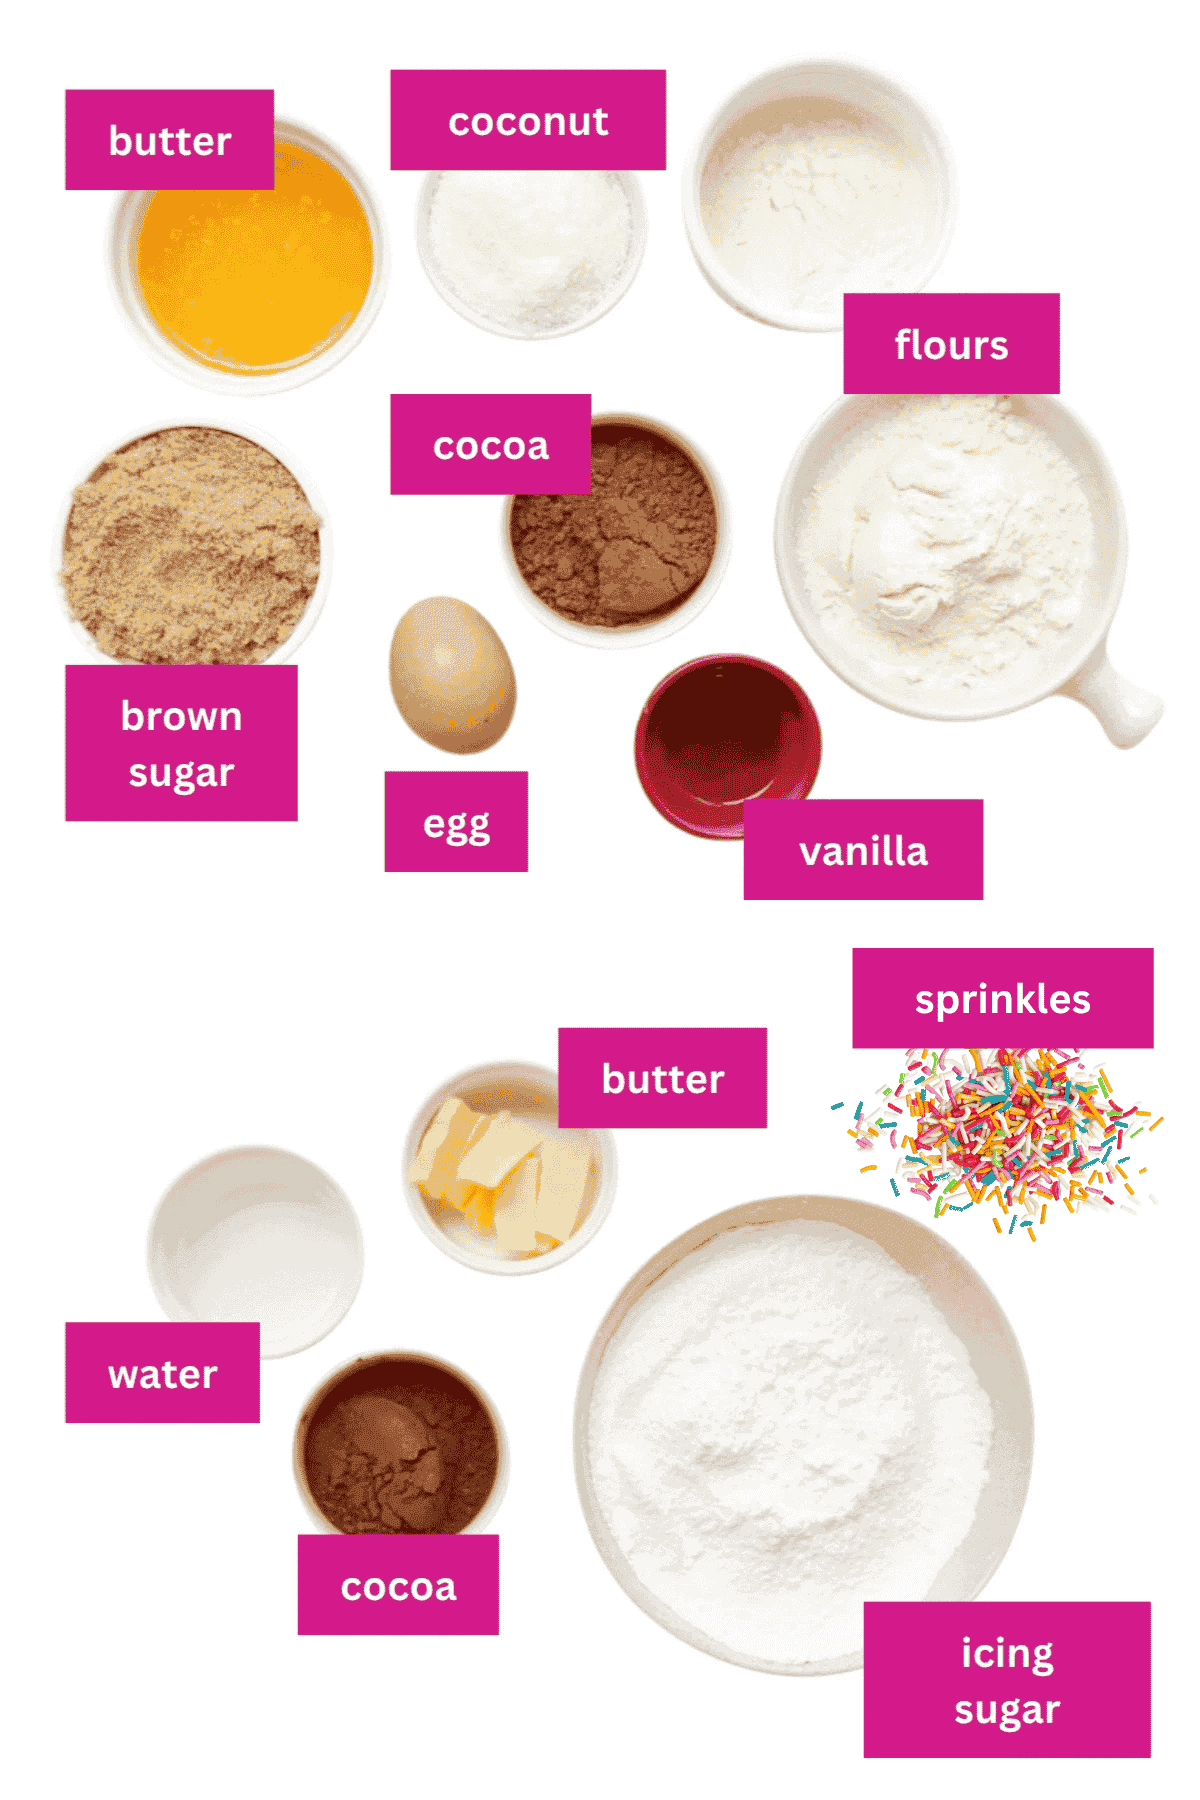
Most of this is basic pantry stuff, but here are the ones worth a mention:
- Cocoa powder - a good quality Dutch-processed cocoa gives a smoother, richer chocolate flavour than the cheap stuff, but any cocoa powder you've got will still work fine.
- Desiccated coconut - this is the fine, dry coconut, not shredded or moist flaked coconut. Using the wrong type will change the texture of the base.
- Self-raising flour - make sure it's fresh, old self-raising flour loses its rising power. In a pinch, you can make your own by adding 2 teaspoons of baking powder to every cup of plain flour.
- Icing sugar - use pure icing sugar for icing that sets firm (best if the slice is going in lunchboxes), or icing sugar mixture if you prefer a softer, runnier icing.
Variations
- Weet-Bix version - swap the coconut for 3 crushed Weet-Bix for a different classic bakery-style base; my Weetbix Slice uses this exact combo if you want the full recipe.
- Extra fudgy - swap 30g of the desiccated coconut for extra cocoa powder for a richer, less coconutty bite.
- No coconut - leave it out altogether if the texture's not your thing, just add an extra tablespoon of plain flour to keep the base firm.
- Double batch - use a 20x30cm tin instead and add an extra 5-10 minutes to the bake time. Handy if you're feeding a crowd or want extra in the freezer.
- Freeze for later - see my Recipe Tips below for the full freezing method.
How To Make Easy Chocolate Slice
Melt, mix and bake, that's the whole method.
Note: Scroll to the recipe card at the bottom for the ingredient quantities and full detailed method (plus the Thermomix version).
- Step 1: Mix the wet ingredients. Preheat the oven to 160°C fan-forced and line a 20x20cm square tin. Place the melted butter, sugar, egg and vanilla in a bowl and stir until combined.
- Step 2: Add the dry ingredients. Sift in the plain flour, self-raising flour and cocoa, then add the coconut and stir until just combined; don't overmix.
- Step 3: Bake. Spread the mixture evenly into the tin and press down firmly with the back of a spoon to flatten it. Bake for 25-30 minutes or until just firm to touch.
- Step 4: Ice and decorate. Sift the icing sugar and cocoa into a bowl, add the butter and boiling water and stir until smooth. Spread over the still-warm (not hot) slice and top with sprinkles.
Recipe Tips
- Don't ice it straight out of the oven - this is the most common mistake. Let the base cool until it's just warm, not hot, or the icing will melt straight off. If you're in a hurry, pop it in the fridge for 10 minutes first.
- Press the base down firmly - a flat, even surface means the icing spreads evenly, and the slice cuts into neat squares.
- Let it set before cutting - cutting while the icing is still soft will drag it around and make a mess. Leave it to set fully at room temperature or pop it in the fridge to speed things up.
- Storage - keep in an airtight container in the fridge, or in a cool spot at room temperature, for up to 5 days.
- Freezing - freeze the iced slice for up to 3 months. Cut into pieces first and separate the layers with baking paper so they don't stick together, then defrost at room temperature.
Easy Chocolate Slice FAQs
Yes, this is the most common mistake. The base needs to be just warm, not hot, before you spread on the icing, otherwise it will simply melt and slide straight off. If you're short on time, pop the base in the fridge for about 10 minutes to speed up the cooling.
Definitely. It actually keeps really well, so it's a great one to make a day or two ahead for lunchboxes, a bake sale or a party plate. Store it in an airtight container in the fridge or a cool spot for up to 5 days.
Yes, just add 2 teaspoons of baking powder for every cup of plain flour to make your own self-raising flour. Make sure it's mixed through evenly so the base rises properly.
This usually happens if it's cut before it's fully cooled and set, or if the base wasn't pressed down firmly enough before baking. Press the mixture down firmly with the back of a spoon before baking, and let the whole slice cool and set completely before cutting into it.
Yes, just use a larger 20x30cm tin instead of the 20x20cm and add an extra 5-10 minutes to the bake time, checking it's just firm before you take it out.
More Slice Recipes
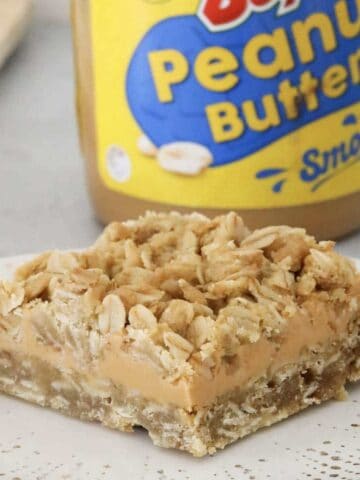
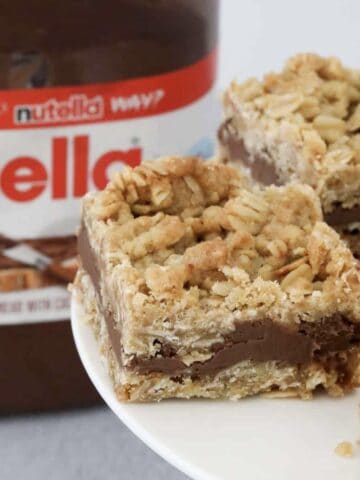
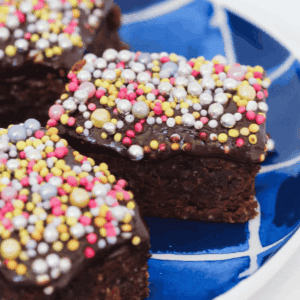
If chocolate slice is your thing, here are a few more melt and mix favourites worth adding to the rotation.

Easy Chocolate Slice
Ingredients
For the base:
- 150 g butter melted & cooled
- 200 g (1 cup) brown sugar
- 1 egg lightly beaten
- 1 teaspoon vanilla extract
- 60 g (½ cup) plain flour
- 45 g (⅓ cup) self raising flour
- 30 g (¼ cup) cocoa powder
- 40 g (½ cup) desiccated coconut
For the chocolate icing
- 200 g (1 ½ cups) icing sugar sifted, see notes
- 30 g (¼ cup) cocoa powder
- 20 g butter
- 2 tbs boiling water see notes
- sprinkles or 100s and 1000s to decorate
Instructions
Conventional Method
- Preheat oven to 160 degrees celsius (fan-forced).
- Grease and line with a 20x20cm square tin with baking paper.
- Place butter, sugar, egg and vanilla in a bowl and stir until combined.
- Sift plain flour, self raising flour and cocoa into bowl. Add the coconut and stir until mixture has combined.
- Spread the mixture evenly into pan and press down with a spoon to flatten the surface. Bake for 25-30 minutes or until just firm.
- To make the icing, sift the icing sugar and cocoa into bowl.
- Add the butter and boiling water and stir together.
- Spread the icing over the still warm slice and decorate with sprinkles.
Thermomix Method
- Preheat oven to 160 degrees celsius (fan-forced). Grease and line a square baking tin with baking paper and set aside.
- Place butter into the Thermomix bowl and melt for 3 minutes, 100 degrees, Speed 1. Allow to cool.
- Add the sugar, egg and vanilla extract to the Thermomix bowl and mix on Speed 5, 20 seconds. Scrape down the sides of the bowl.
- Sift the flour and cocoa into the bowl and add the coconut. Mix on Speed 2, 20 seconds or until mixture has combined (use the spatula to assist with mixing).
- Spread mixture evenly into pan and smooth the surface with a spoon. Bake for 25-30 minutes or until just firm.
- Place the icing sugar and cocoa powder into the Thermomix bowl and press Turbo 5 times to sift.
- Add butter and boiling water and mix together on Speed 5, 15 seconds or until smooth (add a little more water if the icing is too thick).
- Spread warm slice with icing and decorate with sprinkles.

Judy Funder says
I found this recipe to be a bit sloppy- ratio seemed out? I added a bit more flour so it didn't just pour into the pan like a liquid? Is this how it's meant to be?
Lucy says
Hey! Yes absolutely it should be pourable! It hardens as it bakes!
Ange says
I make this recipe with Nuttelex and it is so quick, easy and yummy.
Gabriella says
Yum this was delicious!! Highly recommend. I’m making a dessert box to take to family Christmas and this will be one of the desserts in the box.
Lucy says
Fantastic!
Venice Scurr says
They are delicious and have made them like a thousand times and they have all turned out great.
Lucy says
Fantastic!
Tara says
Super easy and quick, winner with my family
Kaylah Jackson says
This is one of my most favourite slices to make & eat
Elizabeth Lee says
Hi Kaylah Jackson, I couldn’t agree more! This is a great tasty recipe, and definitely a favourite!