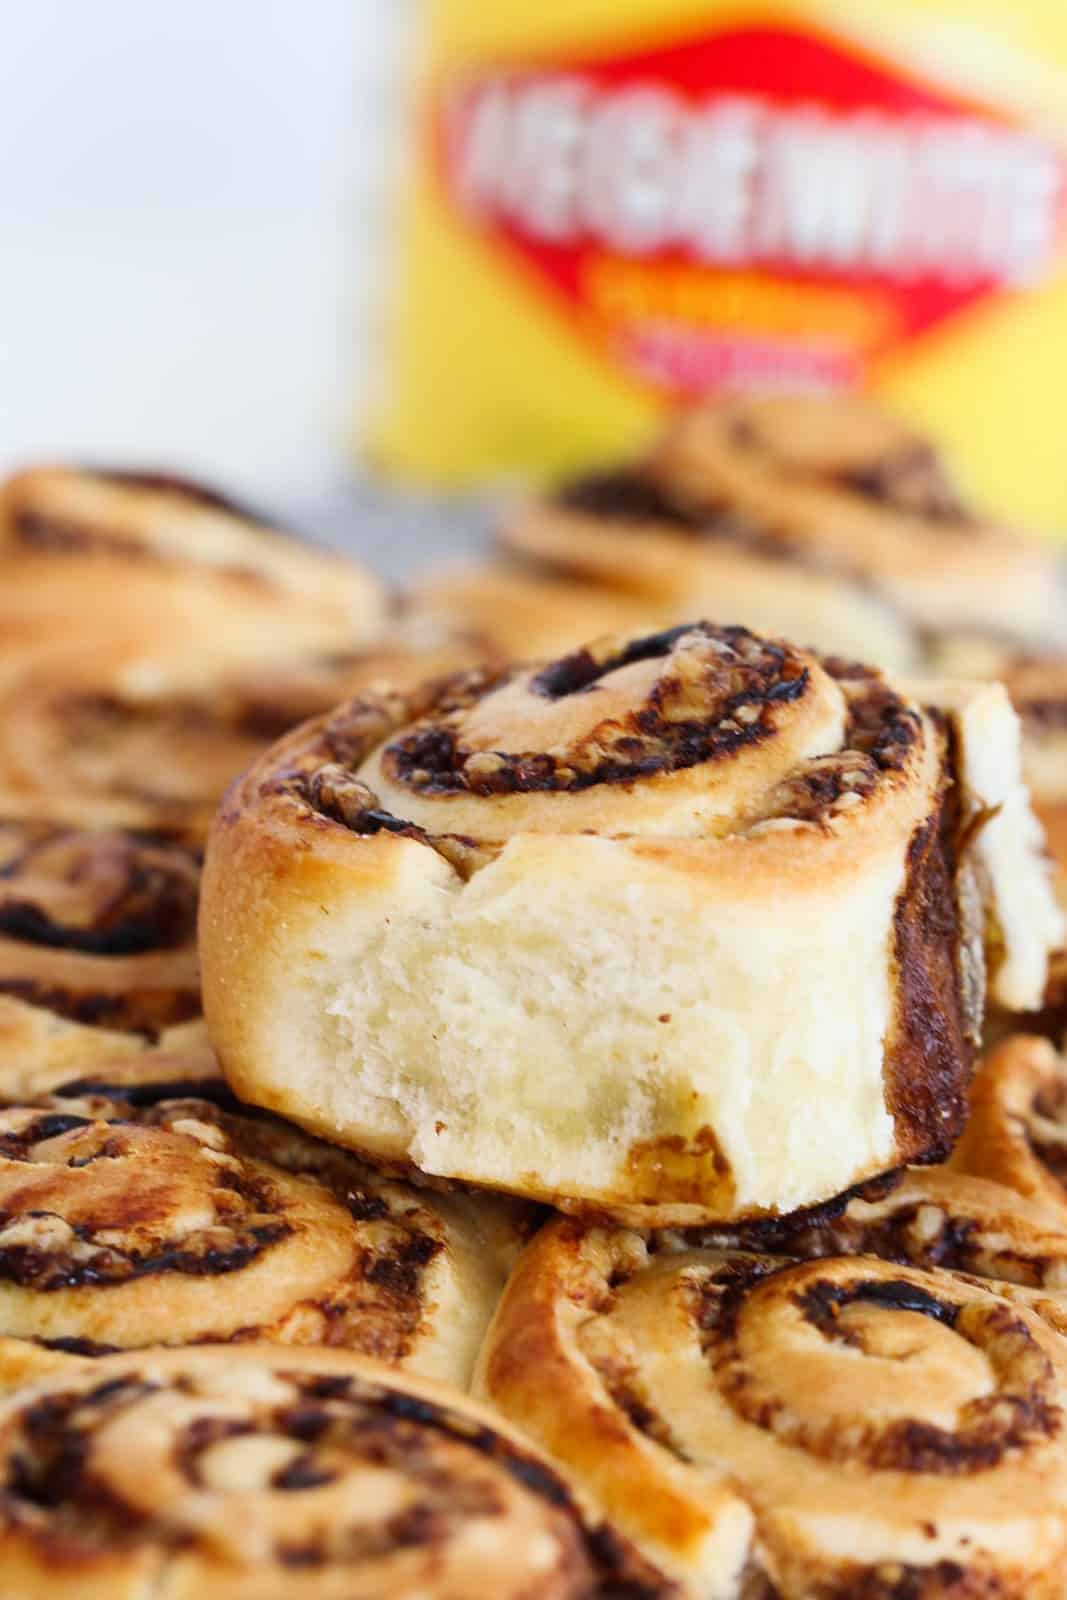
Cheese and Vegemite Scrolls combine the much-loved, classic Australian flavour combination with a soft, fluffy bread dough. You simply can't find an easier and more delicious Aussie lunchbox favourite than these!
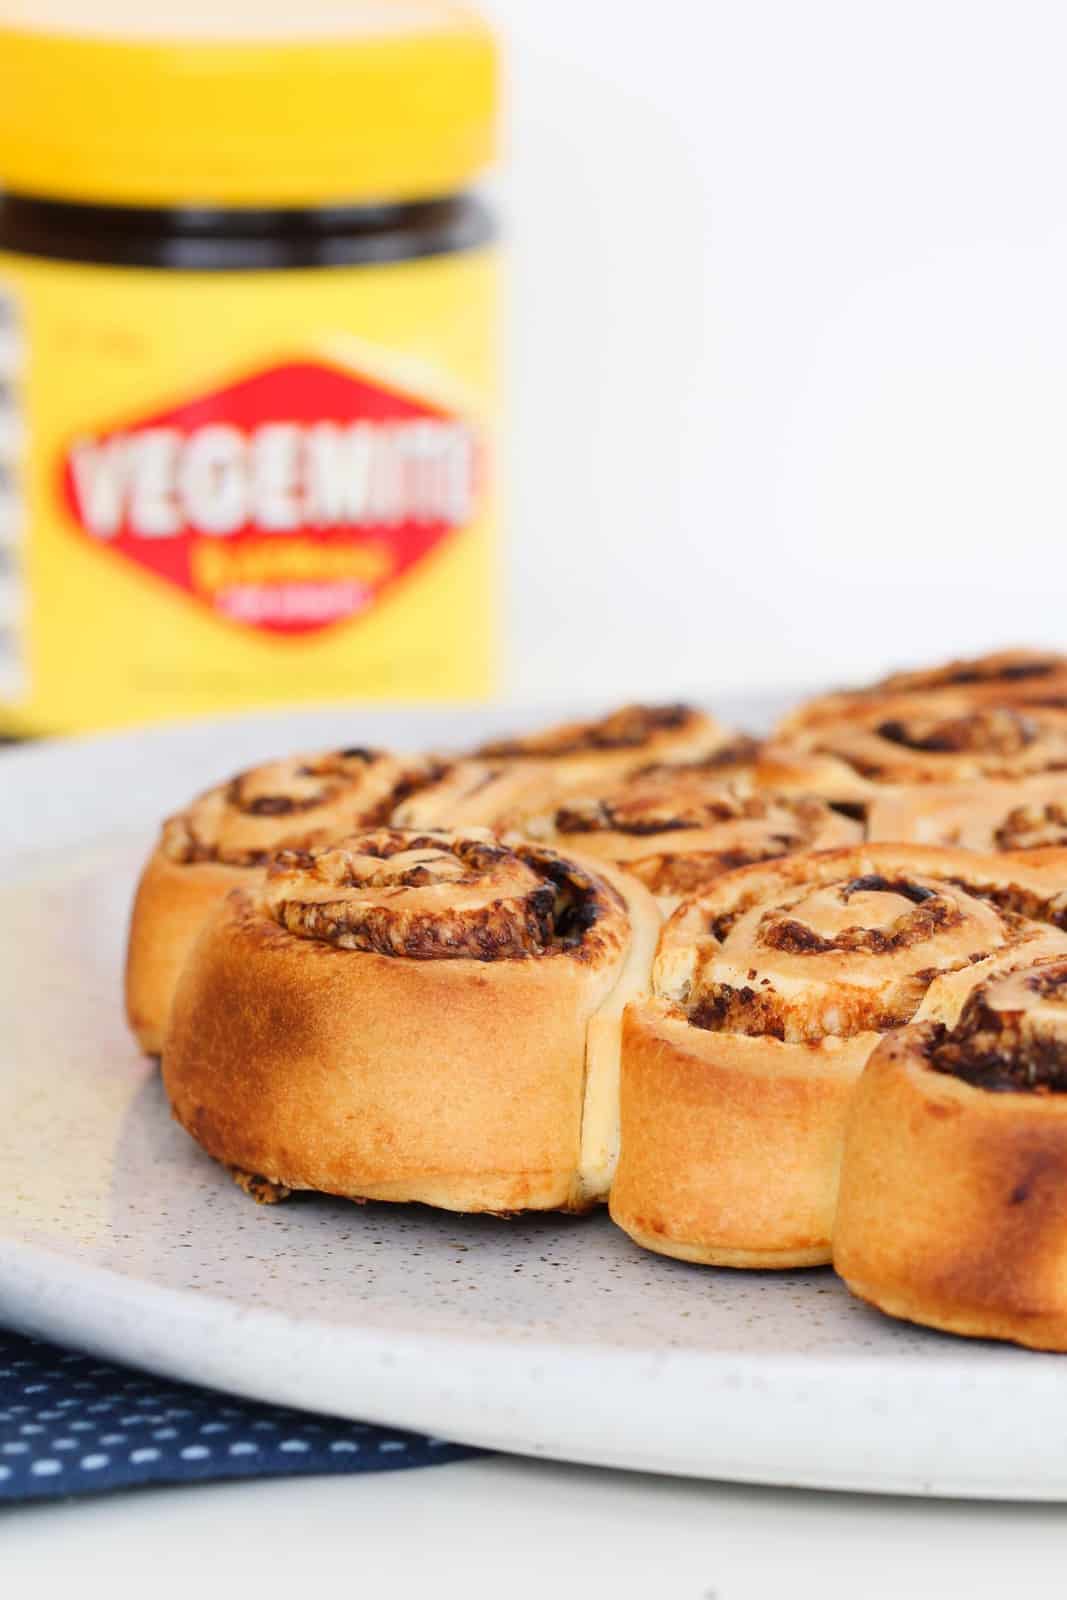
Cheese and Vegemite Scrolls, or Cheesymite scrolls as they are also commonly known, are a fantastic alternative to a sandwich for lunch.
These kid-approved scrolls are a great freezer-friendly lunchbox option, along with chocolate chip granola bars, mini jam tarts, and the award winning ABCD muffins.
School mornings are made so each easier with the lunchbox prep taken care of. Simply pack the lunchbox straight from the freezer, and the snacks will defrost and be ready to eat by the mid-morning break!
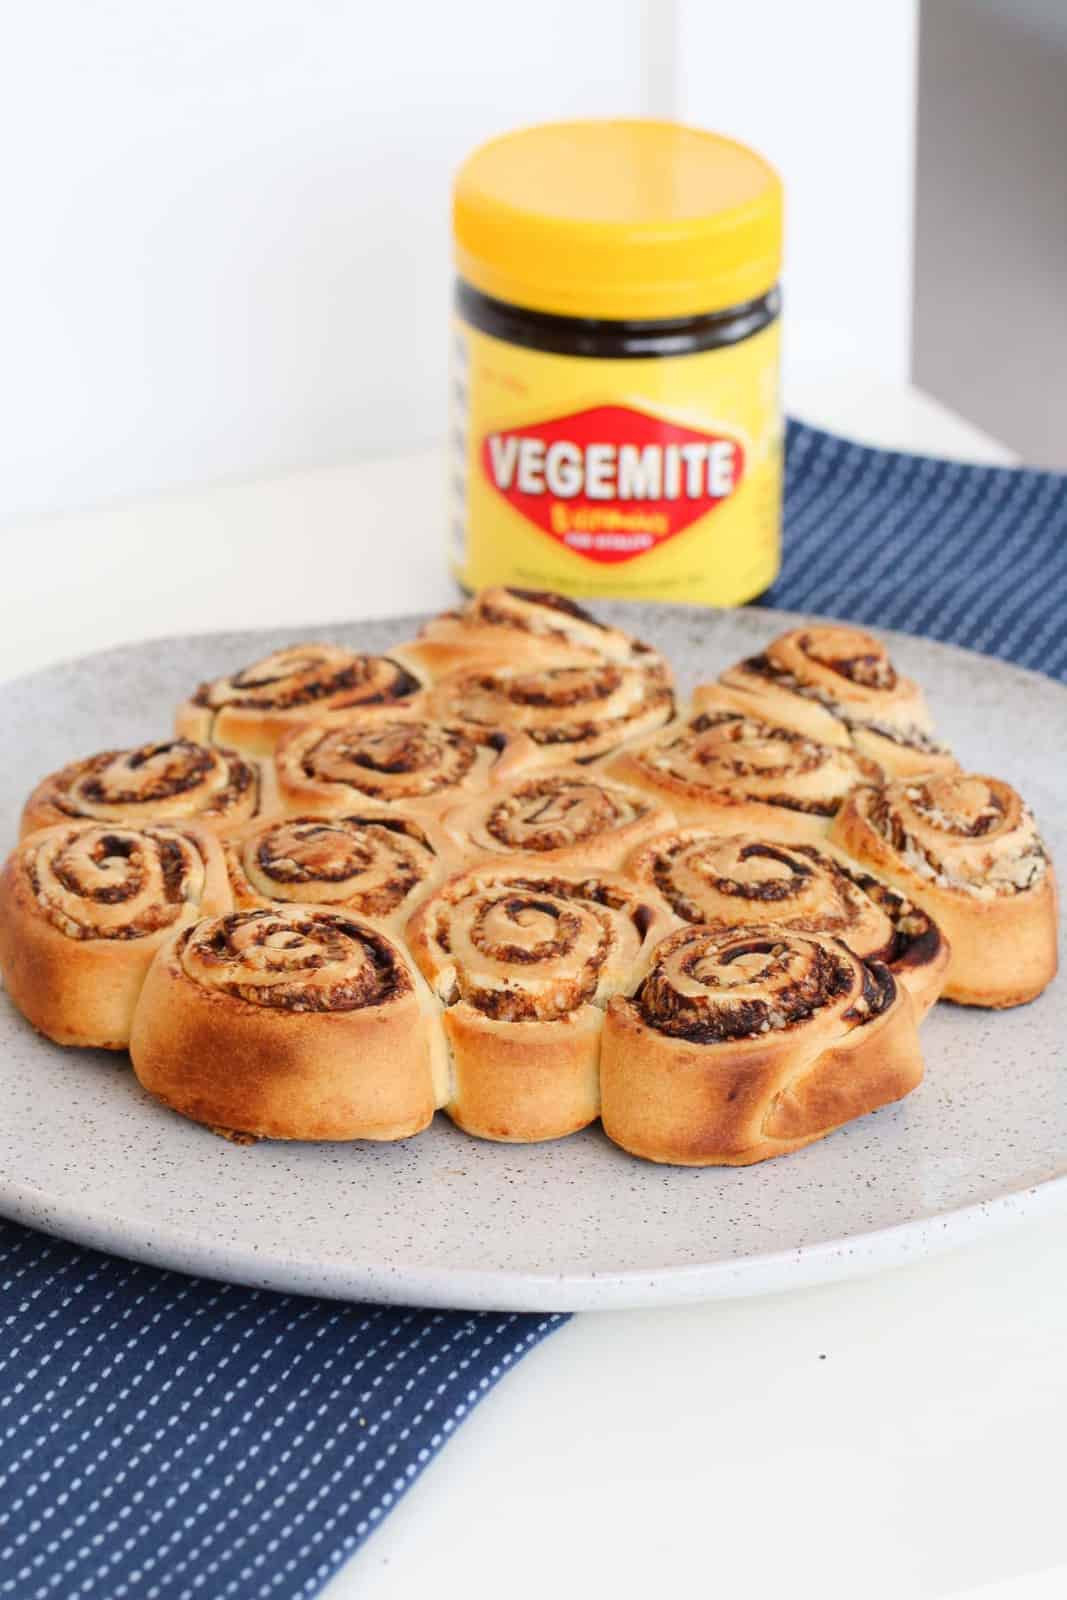
Why You're Going To Love This Recipe
Cheese and Vegemite scrolls are bursting with flavour, and are a quick and easy lunchbox or anytime snack!
"Really straightforward and easy to make." "The whole family loves them!"
No Proving Time - Since there is no yeast in this dough, there is no resting or proving time required with this recipe.
Freezer-friendly - These scrolls are perfect to have made up and frozen, as they defrost beautifully and taste just as good cold as they do warm.
Budget friendly - Made with pantry staples and other simple ingredients, this makes a good sized batch of scrolls at a fraction of the price of store bought ones.
Meat-Free - With no meat in the filling, these are a great option for summer lunchbox snacks as they don't need to be kept cold.
What You Need
Note: Scroll to the recipe card at the bottom for the ingredients, quantities and full detailed method
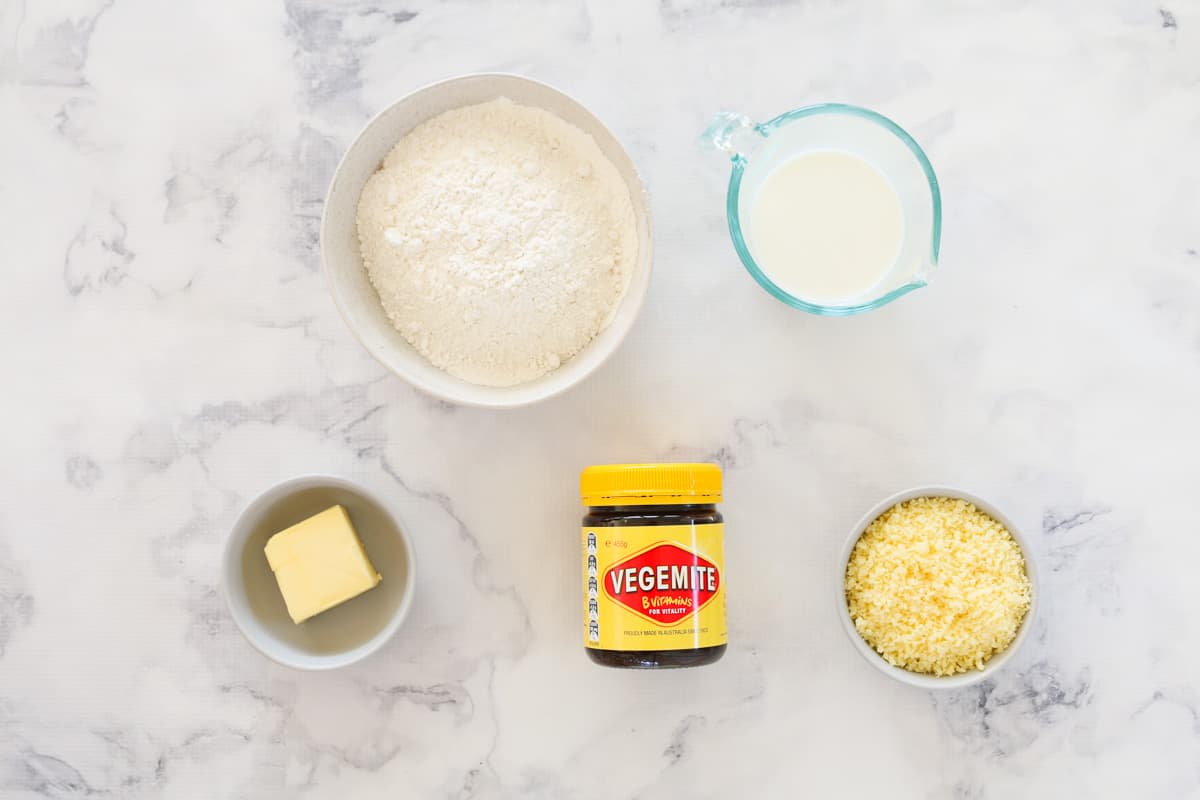
Butter - I prefer to use unsalted butter as a baking ingredient. This is not essential and if you usually buy salted butter, using that will be perfectly fine. The butter should be straight from the fridge and used while as cold as possible.
Self-Raising Flour – Also known as self-rising flour, this is a blend of plain (or all-purpose) flour, and a raising agent. You can make your own by adding 2 tsp baking powder to every 1 cup plain flour.
Milk – I buy and use full-fat or full-cream milk, as it really does make a difference to the texture.
Vegemite - This is an iconic Australian spread made from yeast extract and enriched with B vitamins. It is thick and dark, and has a distinct salty, slightly bitter, umami flavour.
Cheddar Cheese - One of the more commonly bought blocks of cheese is "Tasty" cheese. This is an aged cheddar cheese, which is perfect as an everyday cheese and as an ingredient in these scrolls.
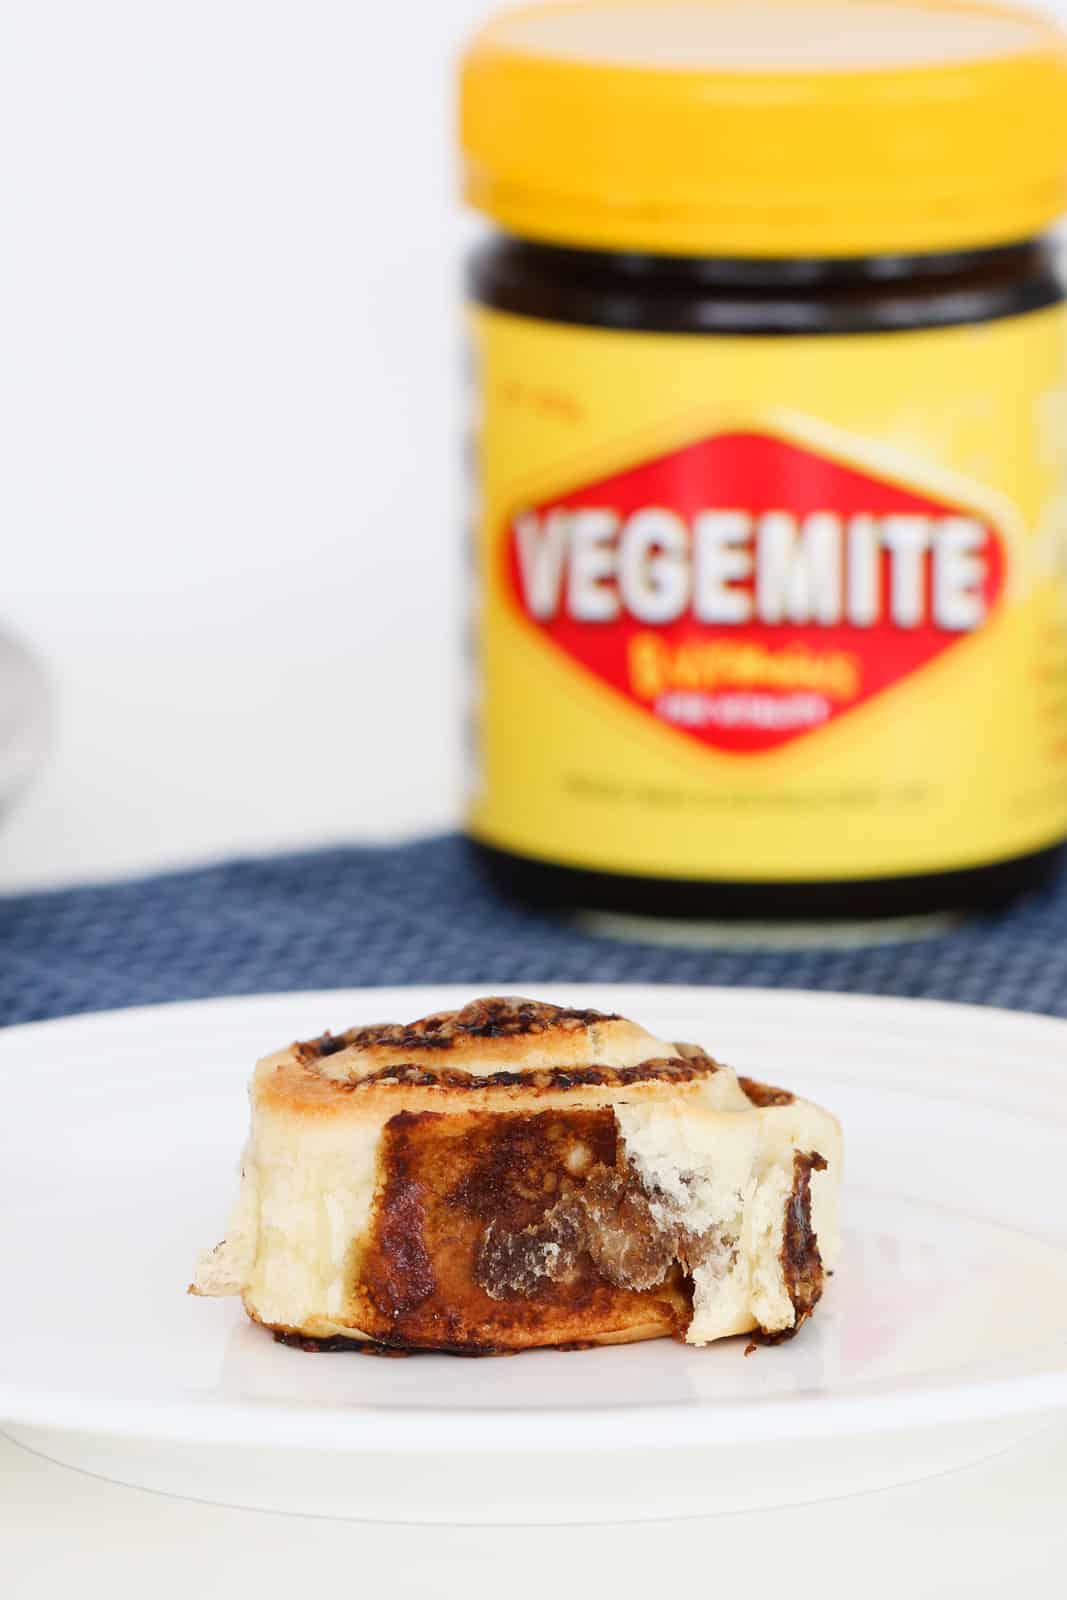
Step By Step Instructions
Once you see how quick and easy homemade Cheese and Vegemite Scrolls are, and how much better they taste, store-bought scrolls will not get a look in anymore!
Note: Scroll to the recipe card at the bottom for the ingredients, quantities and full detailed method.
Step 1 - Make The Dough
Weigh the sifted self-raising flour and roughly chopped butter into a mixing bowl, or the Thermomix bowl.
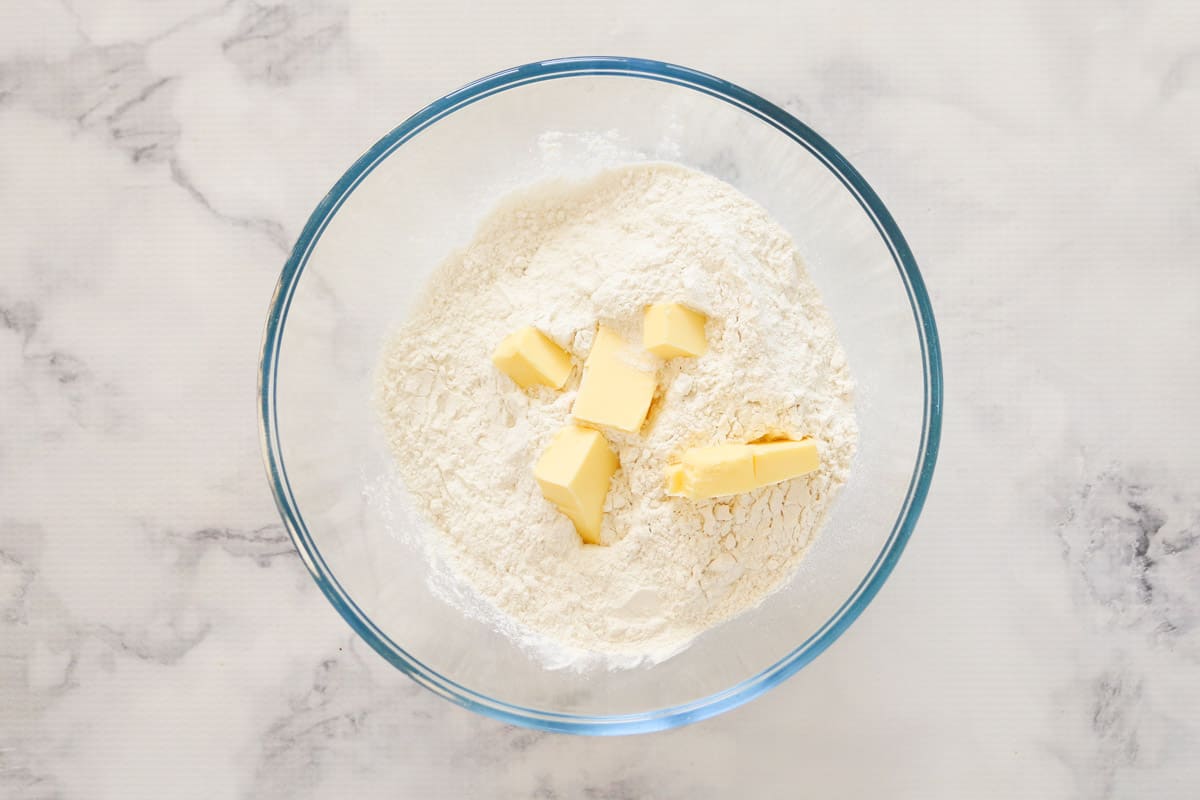
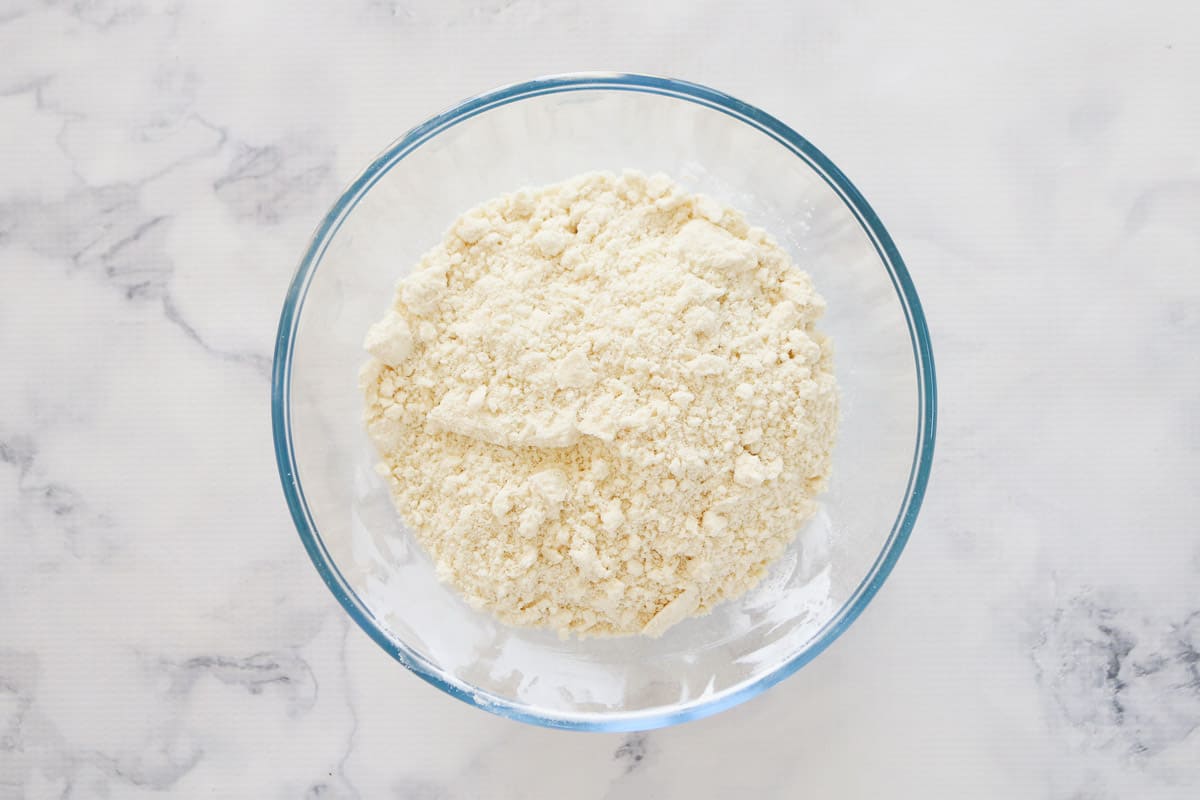
Rub the butter into the flour until it resembles breadcrumbs.
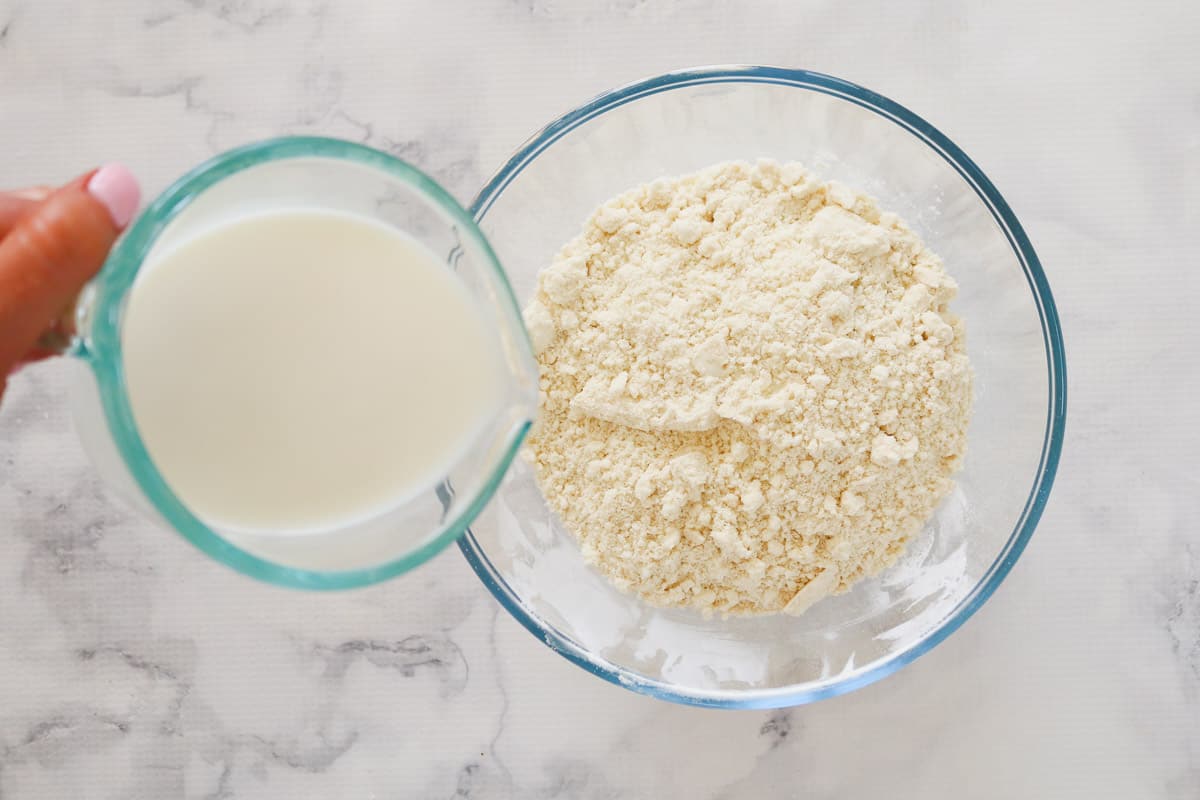
Add the milk to the self-raising flour and butter mixture.
Mix the ingredients together until a dough is formed and knead gently until smooth.
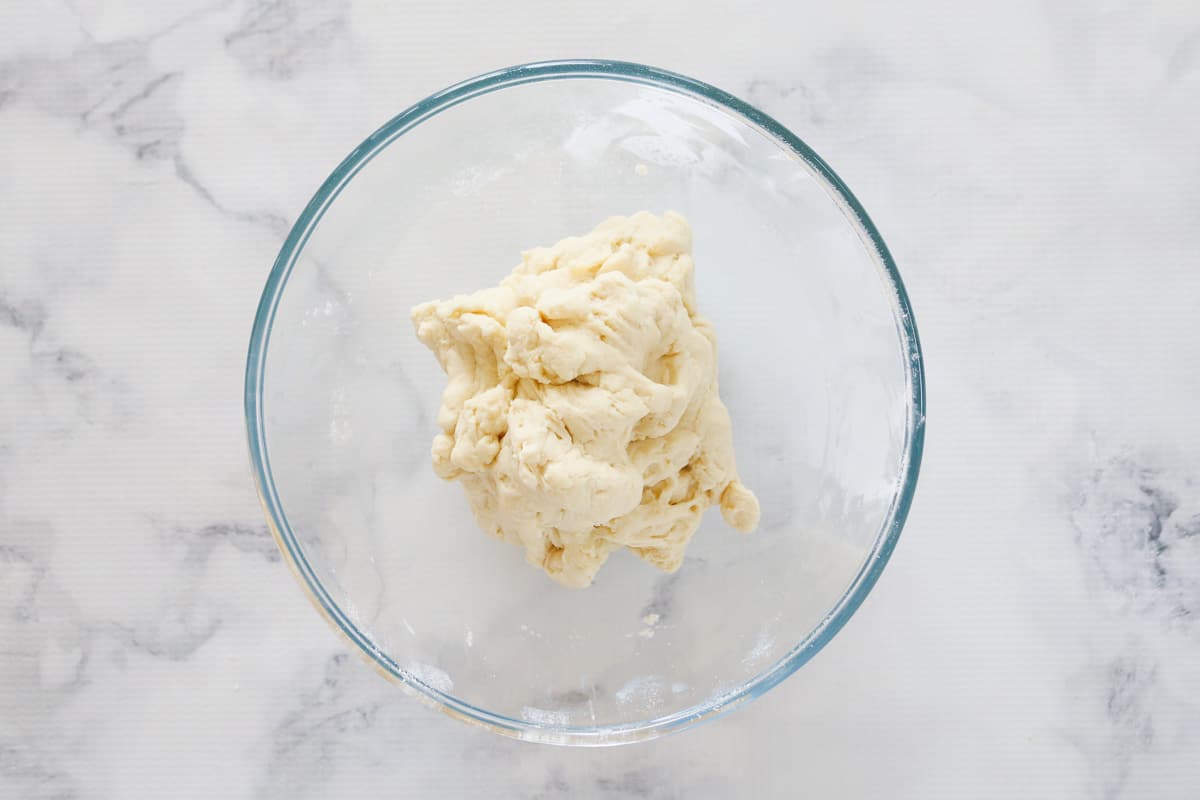
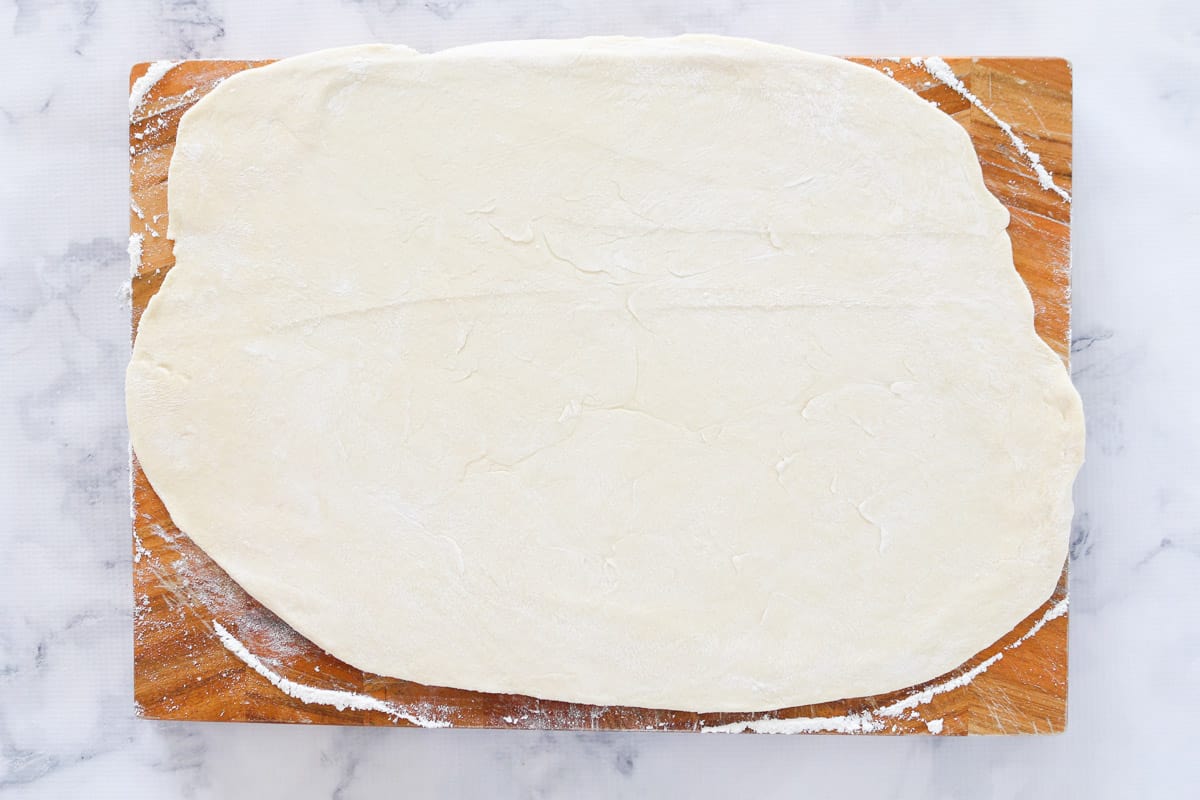
Roll the dough out into a rectangle on a lightly floured board.
Step 2 - Add the Fillings
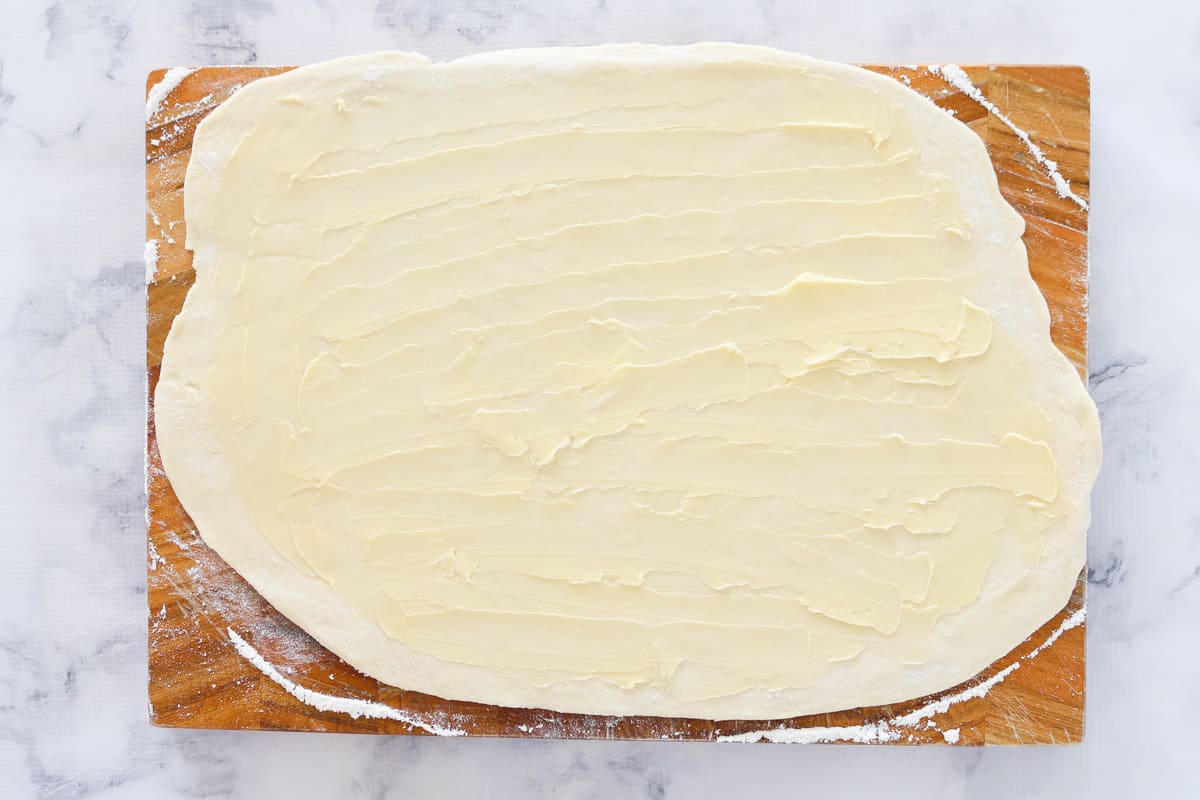
Spread the butter over the dough.
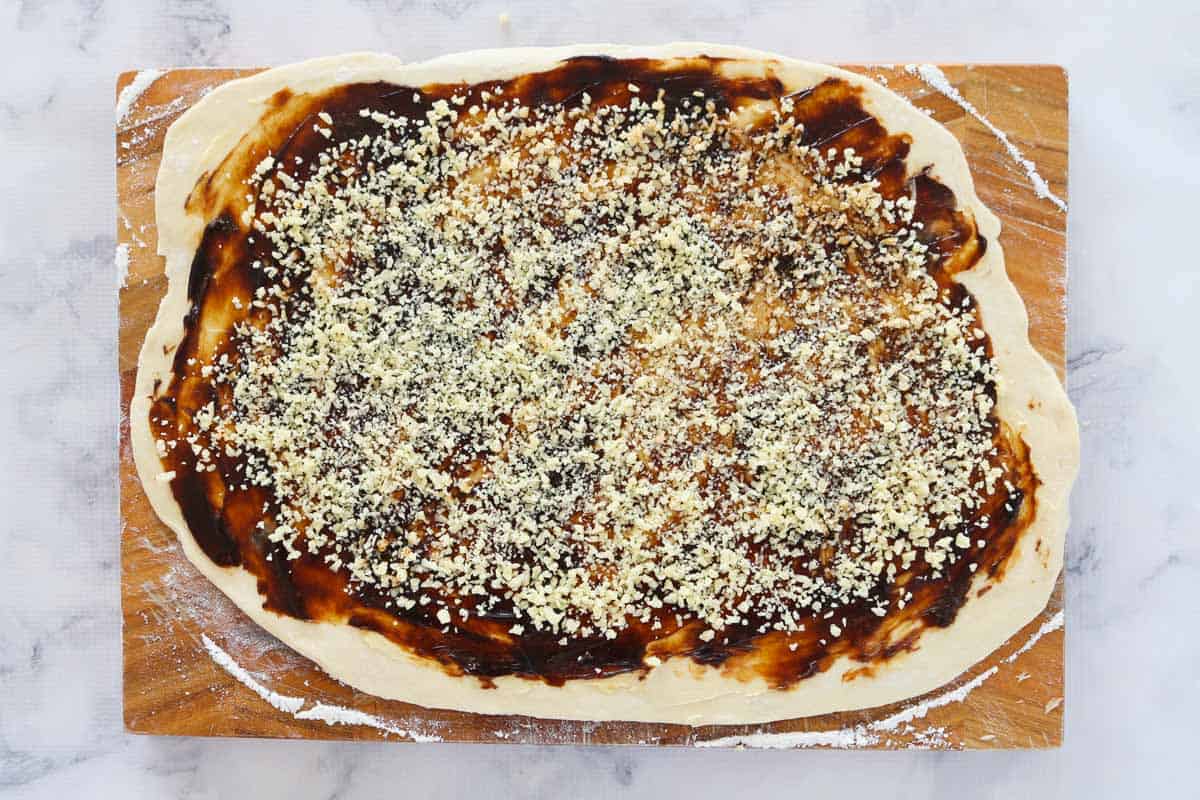
Spread the Vegemite over the dough, leaving about a 1cm border around the edge, and sprinkle with grated cheese.
Step 3 - Form The Scrolls
Roll the dough up into a log, starting from the long edge.
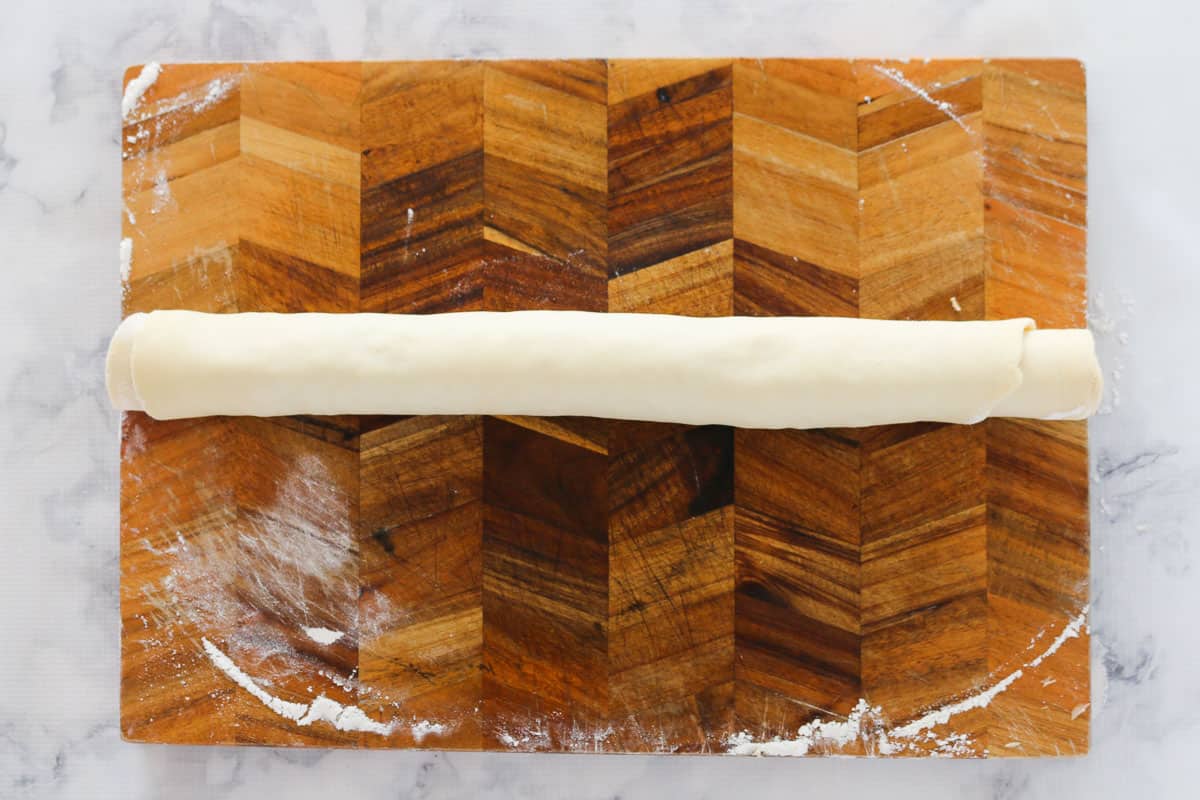
Use a sharp knife to cut the dough into 3-4 cm wide slices.
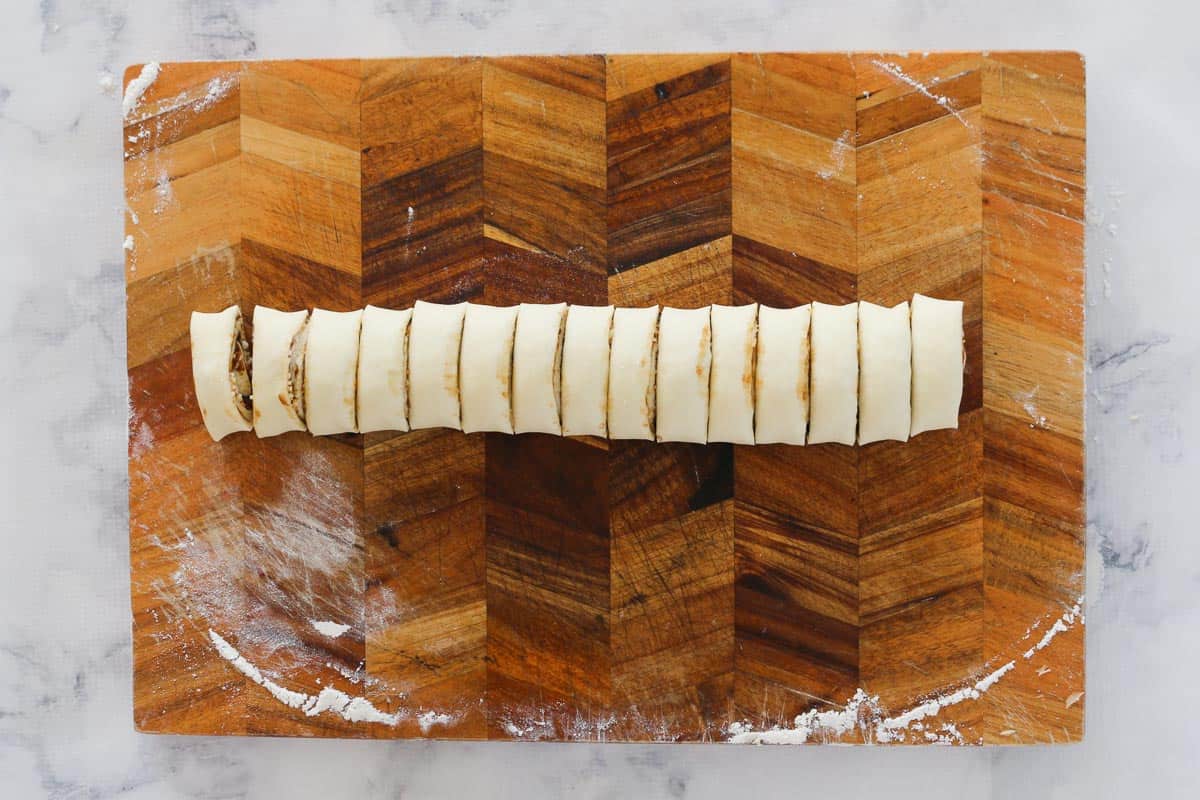
Arrange the scrolls into the prepared baking tin.
Bake in a preheated oven for about 15-20 minutes, or until golden.
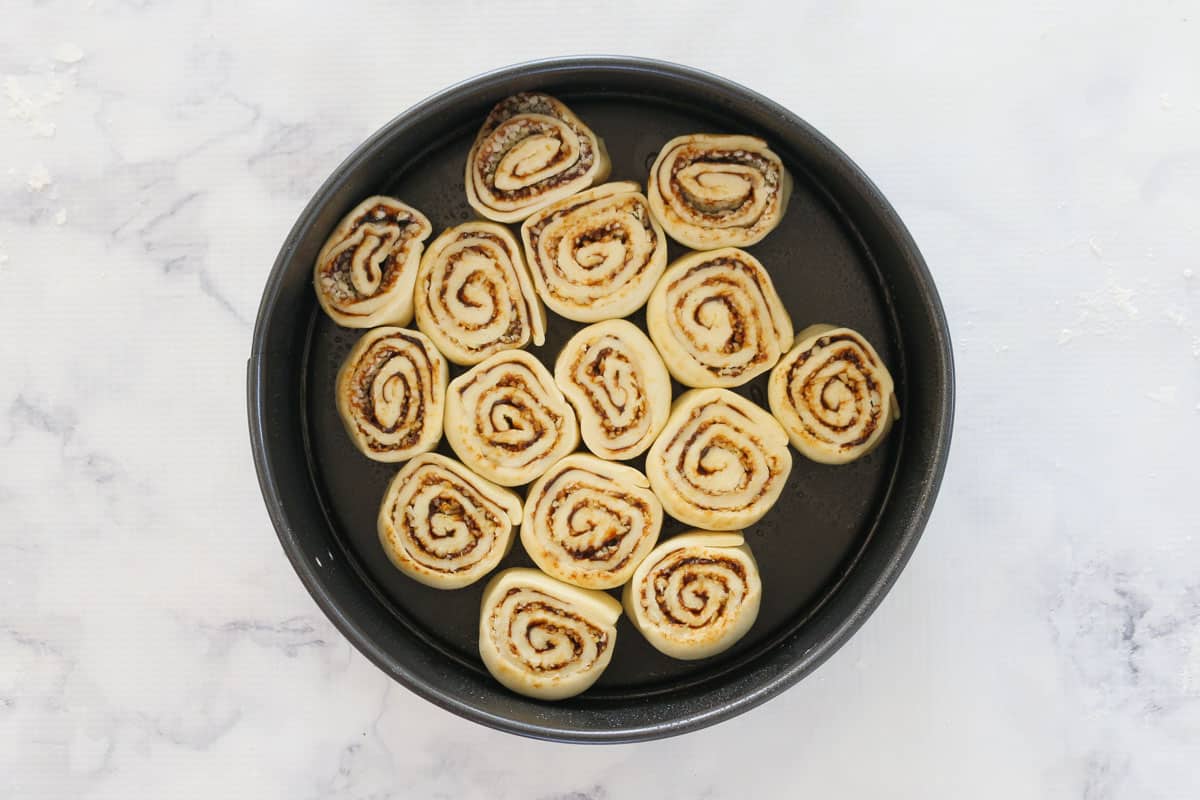
Leave in the tin for 10 minutes to cool slightly.
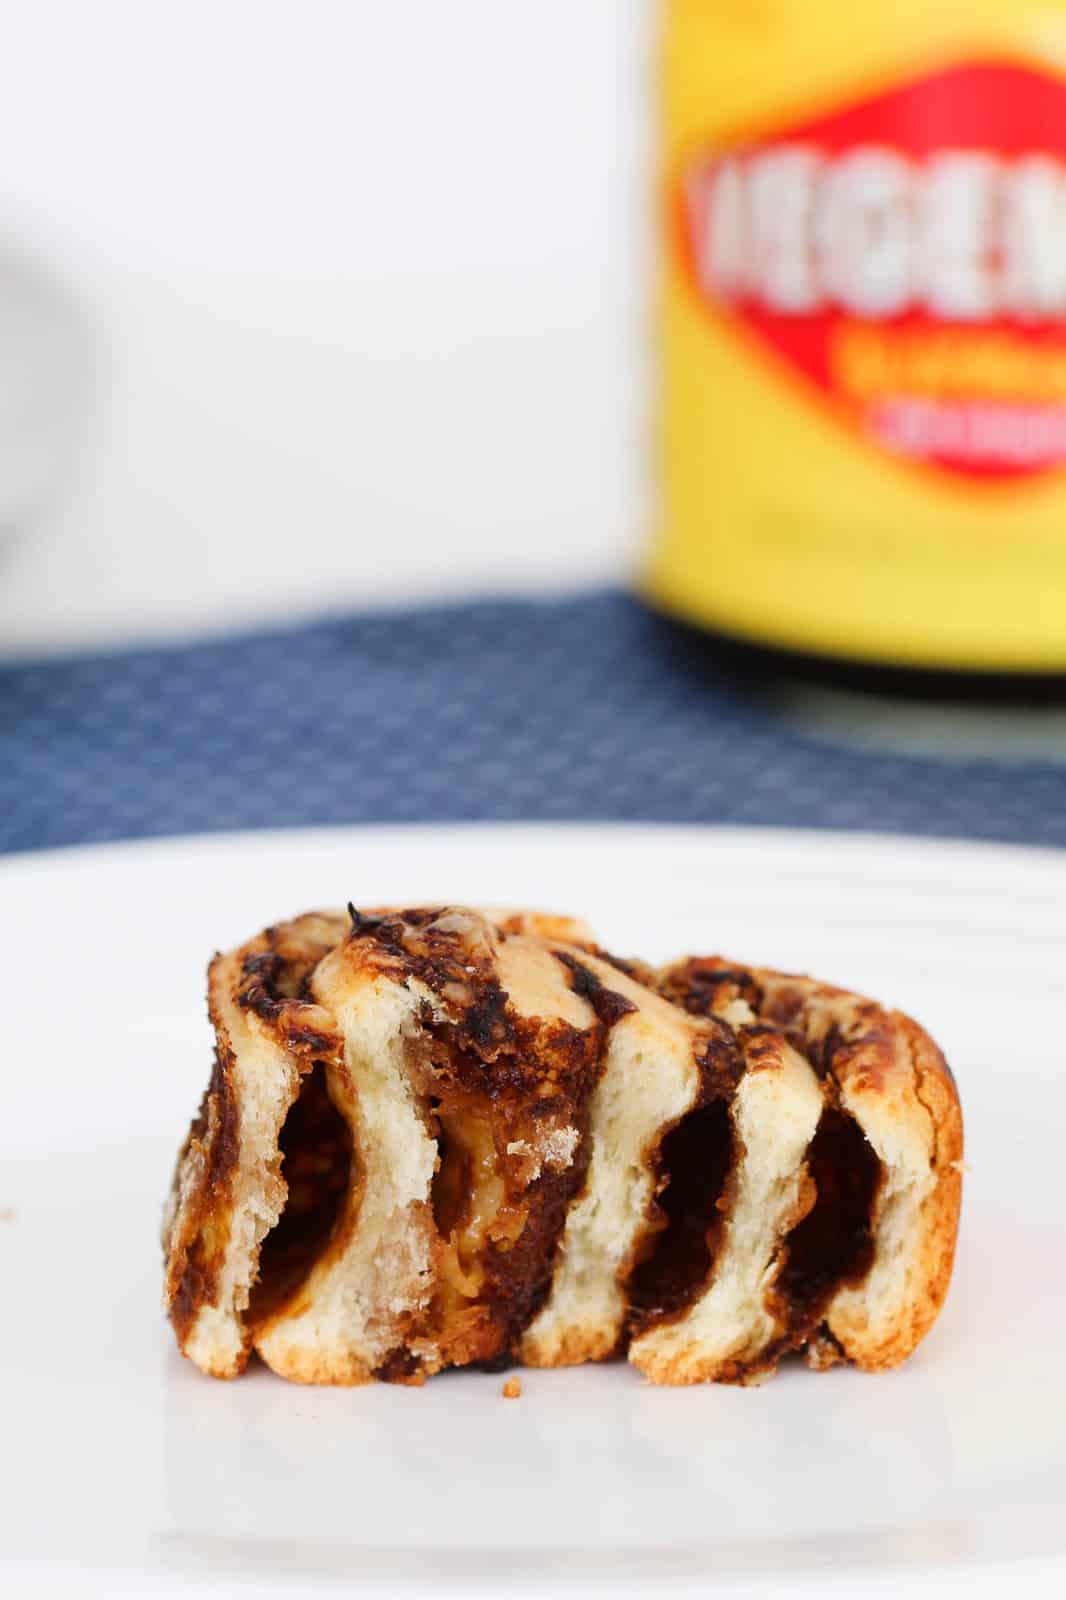
These scrolls are delicious warm, so set one aside as a sample!
If your Cheese and Vegemite Scrolls are headed for the freezer, cool completely on a wire rack before freezing.
Expert Tips & FAQ
I like to bake the scrolls in a round cake tin that has been greased and lined with baking paper, preferably a springform tin.
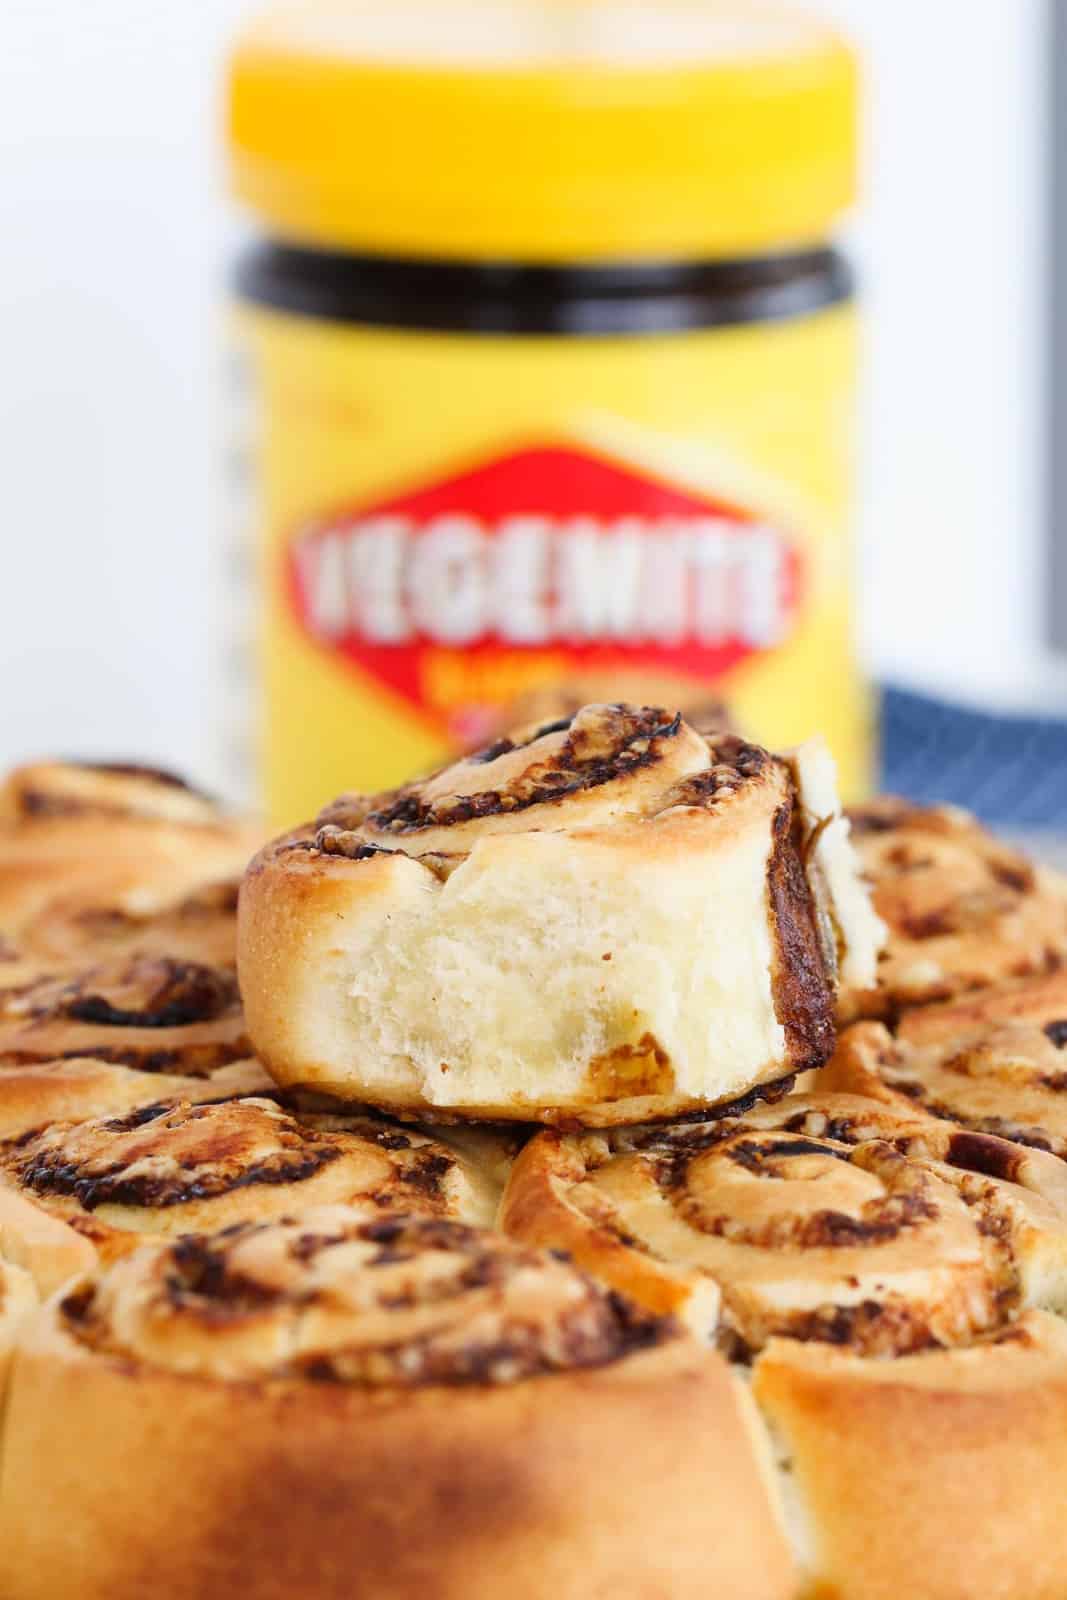
When baked in an enclosed tin, the edges of the scrolls stay lovely and soft. The outer edge of the outside scrolls will be slightly crustier than those on the inside, but they will still have a softer finish than if baked on a flat tray.
Yes, you can definitely use a flat baking tray that has been greased and lined with baking paper. Place the scrolls on the tray with a little room to spread, but don't leave too big a gap between them.
I highly recommend using baking paper, even in a non-stick baking tin, as the cheese melts during baking and can make the scrolls stick.
You can certainly experiment with different types of cheese. A blend of grated cheddar and mozzarella cheese is lovely!
The scrolls can be stored in a refrigerated, airtight container for up to 2 days. Alternatively, they can be frozen, in an airtight container, or resealable bags, for up to 3 months.
.
More Kid-Approved Lunchbox Recipes
For more quick and easy lunchbox snacks, try some of my other recipes:
- Apple, Zucchini and Carrot Bread - this nut-free bread is great in lunchboxes. It can be cut into slices and frozen for a quick and easy grab-and-go snack.
- Weetbix Slice - This slice is a chocolatey hit with the wholegrain goodness of Weetbix.
- Apple and Cinnamon Scrolls - With all the flavours of a warm apple pie, these soft and sweet scrolls are a delicious lunchbox snack.
- Homemade Mini Jam Tarts - These quick and easy tarts, with buttery pastry and a sweet jam filling, make a great lunchbox treat or after school snack.
WANT EVEN MORE DELICIOUS RECIPES? Subscribe to my newsletter or follow along on Facebook or Instagram. And if you love baking, then please come and join my Facebook cooking club group or subscribe to my YouTube channel.

Cheese and Vegemite Scrolls
Ingredients
- 300 g (2 cups) self raising flour
- 90 g butter chilled, roughly chopped
- 150 ml (150g) milk
- 2 tbs butter (or margarine), for spreading
- 5 tbs Vegemite
- 80 g cheddar cheese
Instructions
Conventional Method
- Preheat oven to 200 degrees Celsius (fan-forced). (See notes)
- Grease and line a 23cm round, springform baking tin with baking paper, and set aside until needed.
- Sift the self-raising flour into a bowl.
- Add the butter and rub into the flour until the mixture resembles breadcrumbs.
- Add the milk and mix gently until the mixture forms a dough.
- Knead the dough, on a lightly floured cutting board, until smooth.
- Roll the dough into a long rectangular shape, about 1 cm thick.
- Spread the butter and then the Vegemite over the dough, leaving a 1cm border.
- Grate the cheese before sprinkling it over the Vegemite.
- Starting from the long edge of the rectangle, roll the dough firmly into a log.
- Using a sharp knife, cut the roll into 3-4 cm slices.
- Place the slices, cut side up, into the prepared tin.
- Bake for 15-20 minutes or until golden. The scrolls will sound hollow when tapped once baked.
- Leave the scrolls to cool in the tin for 10 minutes. Transfer to a wire rack to cool completely.
Thermomix Method
- Preheat oven to 200 degrees Celsius (fan forced). (See notes)
- Grease and line a 23cm round, springform baking tin with baking paper, and set aside until needed.
- Weigh the self-raising flour and butter into the Thermomix bowl. Mix for 6 seconds, Speed 6.
- Add the milk and knead for 2 minutes, Kneading Function.
- Transfer the dough to a lightly floured cutting board and roll into a long rectangular shape, about 1 cm thick.
- Spread the butter and then the Vegemite over the dough, leaving a 1cm border.
- Weigh the cheese, roughly chopped into cubes, into the Thermomix and grate for 8 seconds, Speed 8.
- Sprinkle the grated cheese over the Vegemite.
- Starting from the long edge of the rectangle, roll the dough firmly into a log.
- Using a sharp knife, cut the roll into 3-4 cm slices.
- Place the slices, cut side up, into the prepared tin.
- Bake for 15-20 minutes or until golden. The scrolls will sound hollow when tapped once baked.
- Leave the scrolls to cool in the tin for 10 minutes. Transfer to a wire rack to cool completely.











Kaex
Delicious, easy to make, fun. The first time I made bread was using this recipe, and I loved it so I made one again! It was sooooooo delicious!
Lucy
Yay! I'm so happy to hear that!
Mark Sanders
Easy to make especially for a beginner like me
Katrina
Hey Lucy. I’m looking for some make ahead recipes for my daughter birthday party. Do you think I could prepare and freeze this uncooked, and then pop straight into the oven from frozen on party day?
Lucy
Hi Katrina, I haven't personally tried that sorry!