
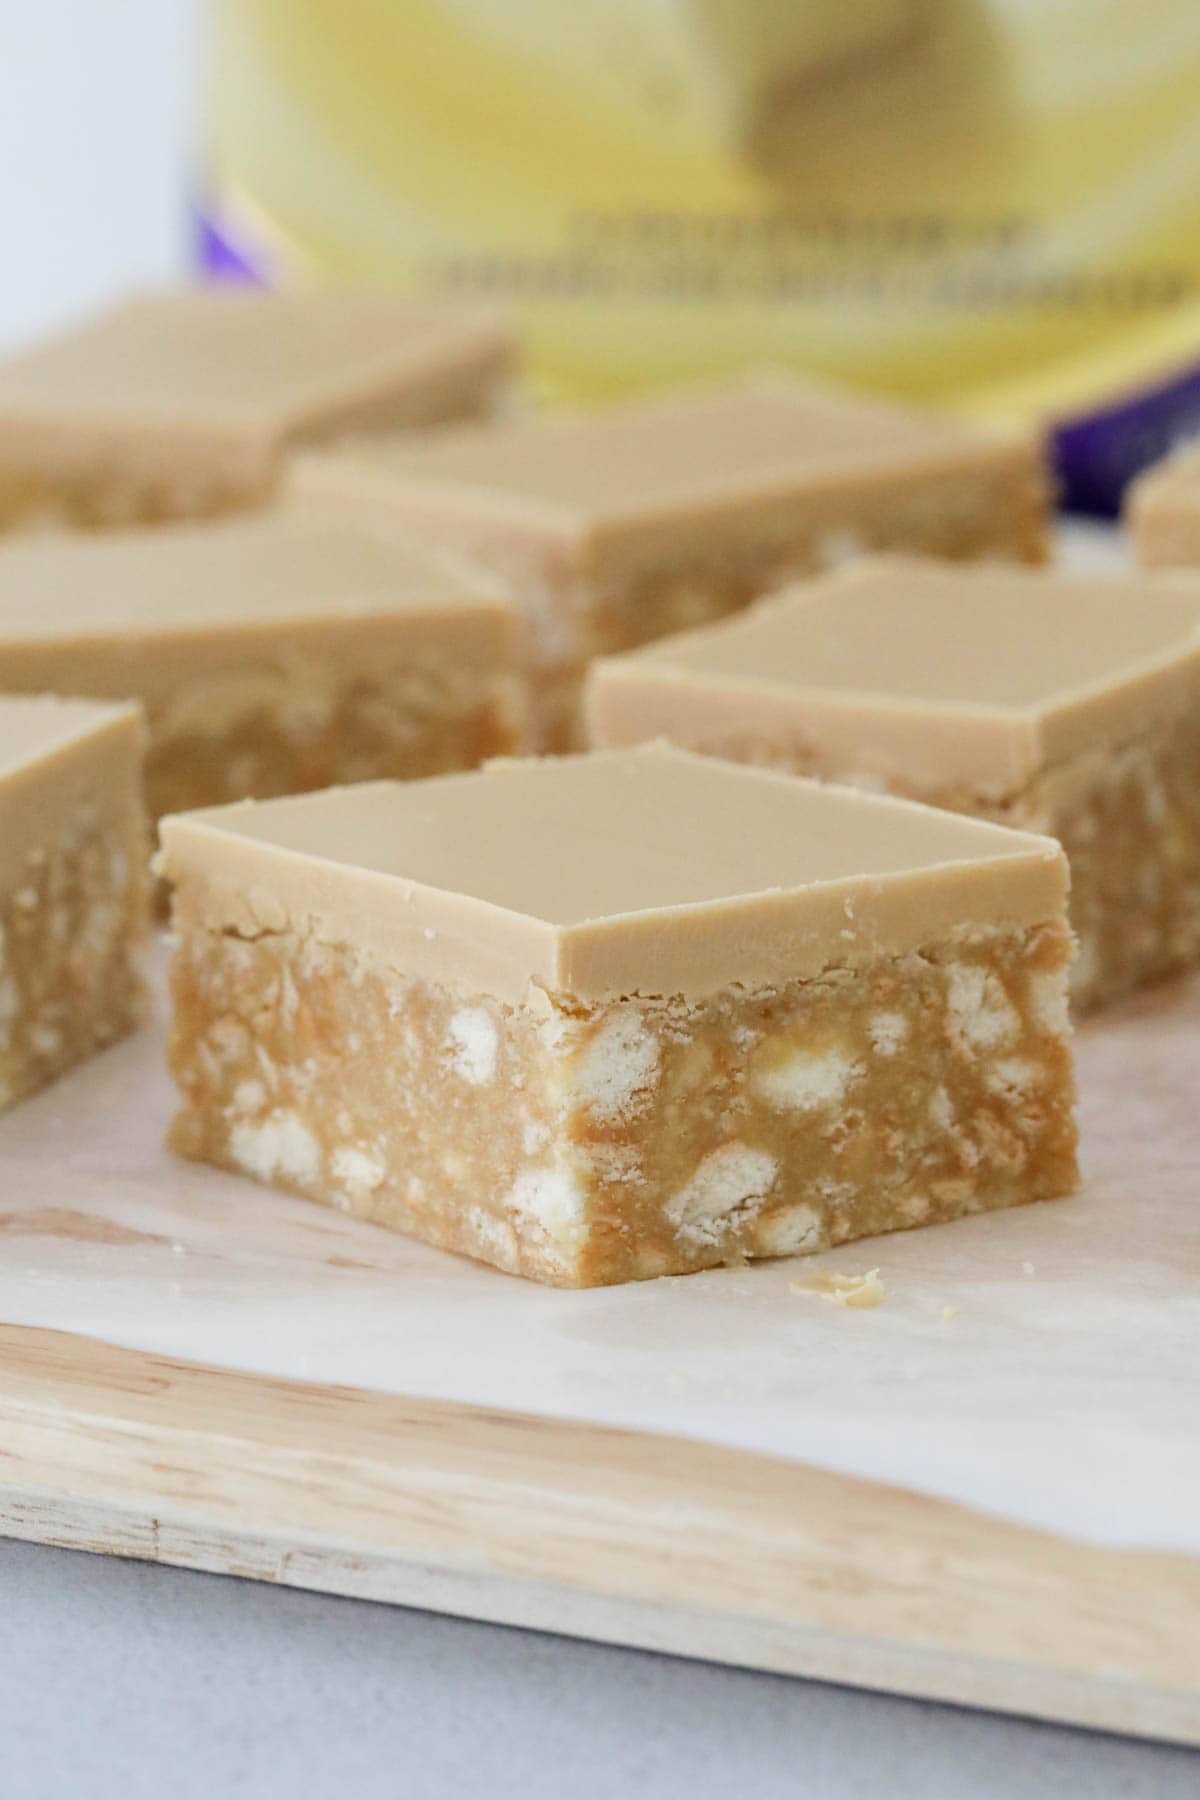
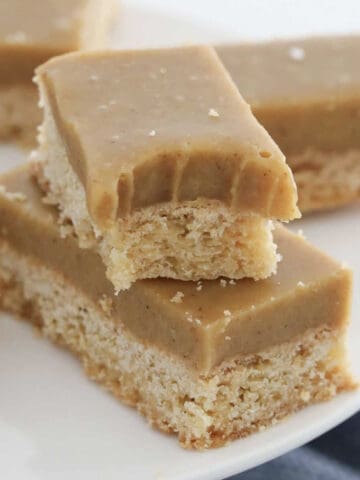
A rich and chewy base, a buttery caramel flavour, and a creamy Caramilk topping… this Caramel Hedgehog Slice is the ultimate sweet tooth treat! It's completely no-bake, so perfect for when you want a quick, easy slice without turning on the oven.
Like my most popular Chocolate Hedgehog Slice and crunchy Malteser Slice, this one is a family favourite - and always disappears fast from the fridge!
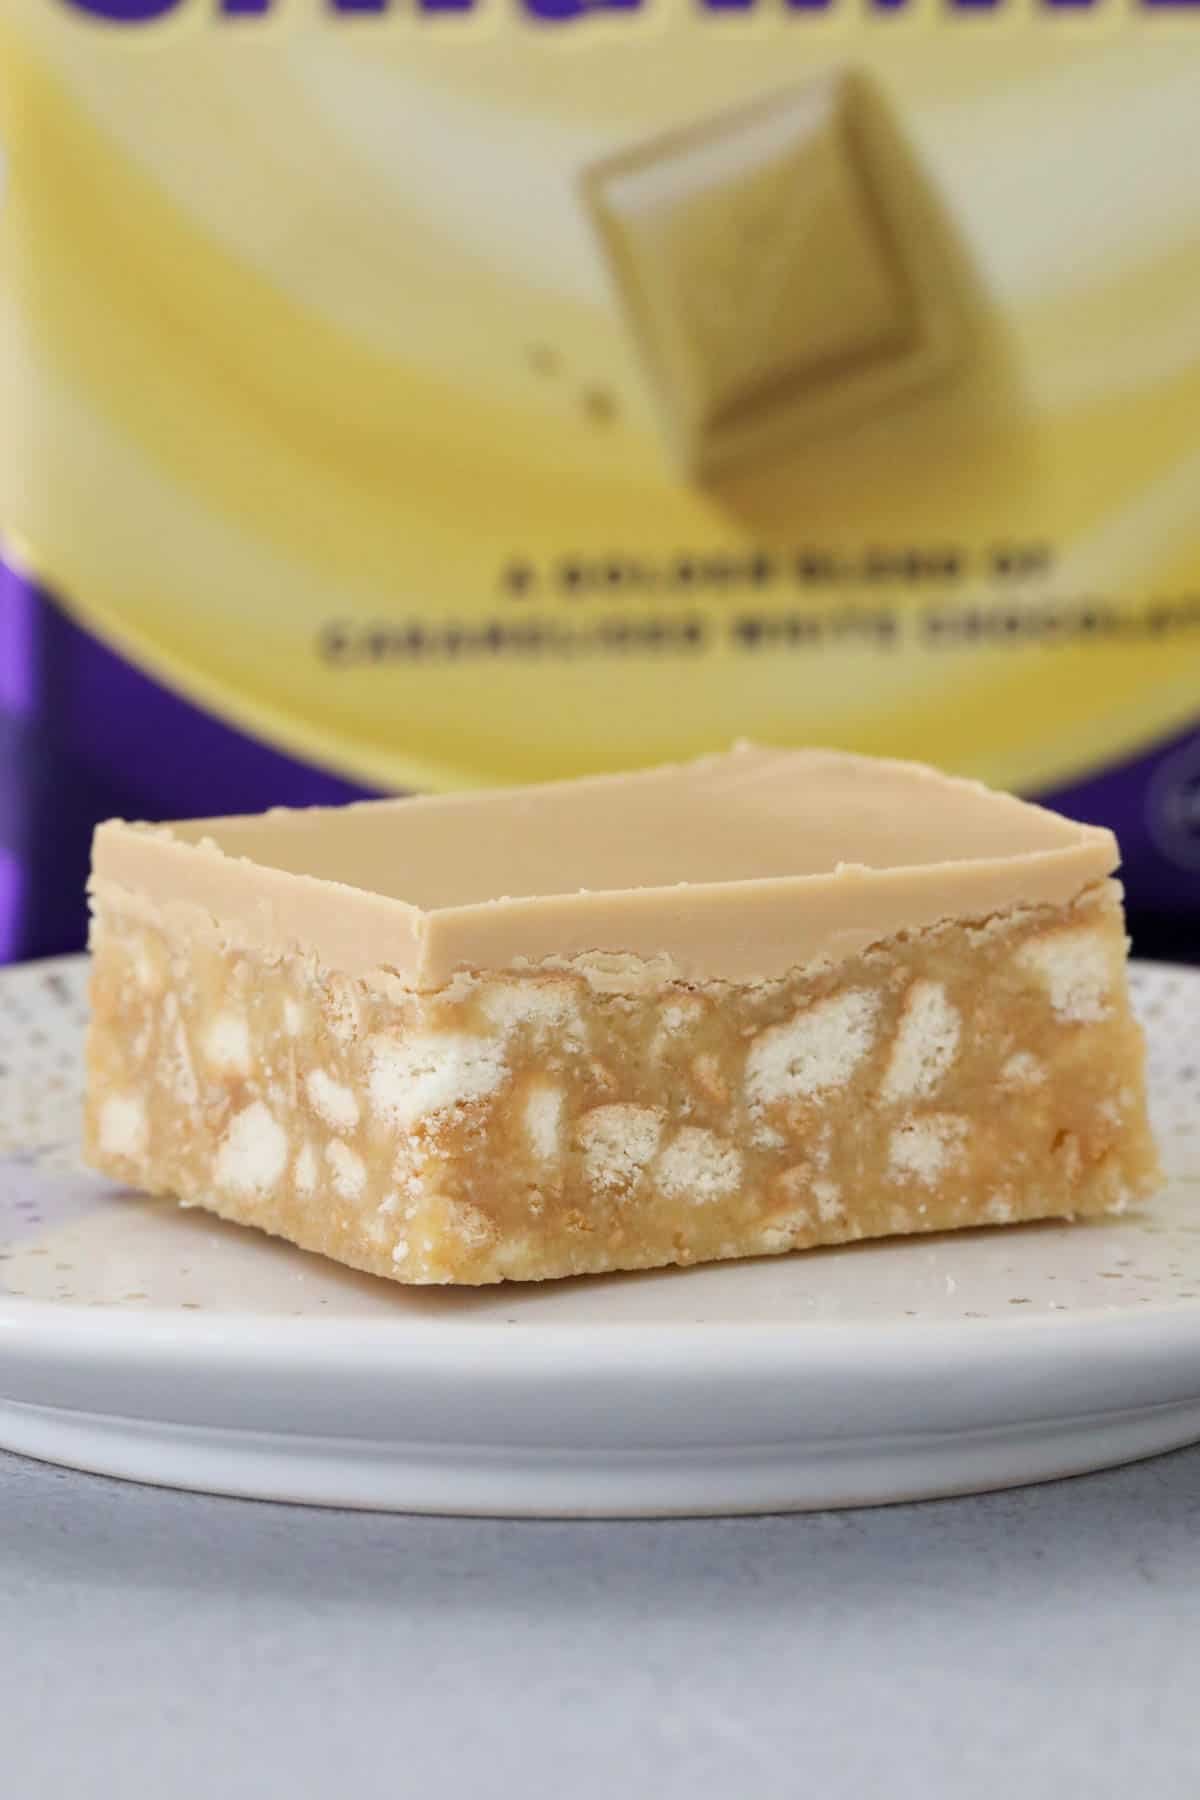
There's something nostalgic about a hedgehog slice - it brings back memories of birthday parties, tuckshop treats and Nan's biscuit tin. This Caramel Hedgehog Slice puts a fun twist on the classic with a creamy caramel filling and a Caramilk topping.
Instead of cocoa or dark chocolate, this version uses sweetened condensed milk, golden syrup and Caramilk for a slice that's crunchy, chewy, and totally irresistible.
It's perfect for lunch boxes, bake sales, morning teas, or stashing in the fridge for an after-dinner sweet fix - just like my Chocolate Spiders, Clinkers Slice or Licorice Allsort Slice.
Why You're Going To Love This Recipe
- No-bake and fuss-free - Just melt, mix, chill and slice. No oven needed!
- That creamy caramel layer - Thanks to sweetened condensed milk and golden syrup, the flavour is next level.
- Perfect for entertaining - A crowd-pleaser for parties, lunchboxes, or sharing a plate.
- Make ahead & freezer-friendly - Whip this slice up in advance and pop it in the freezer until needed.
- Customisable - Make it gluten-free or swap in different chocolate to suit your taste!
Jump to:
Slice Ingredients
Here's what you'll need to make this delicious caramel hedgehog slice:
Note: Scroll to the recipe card at the bottom for the ingredients quantities and full detailed method.
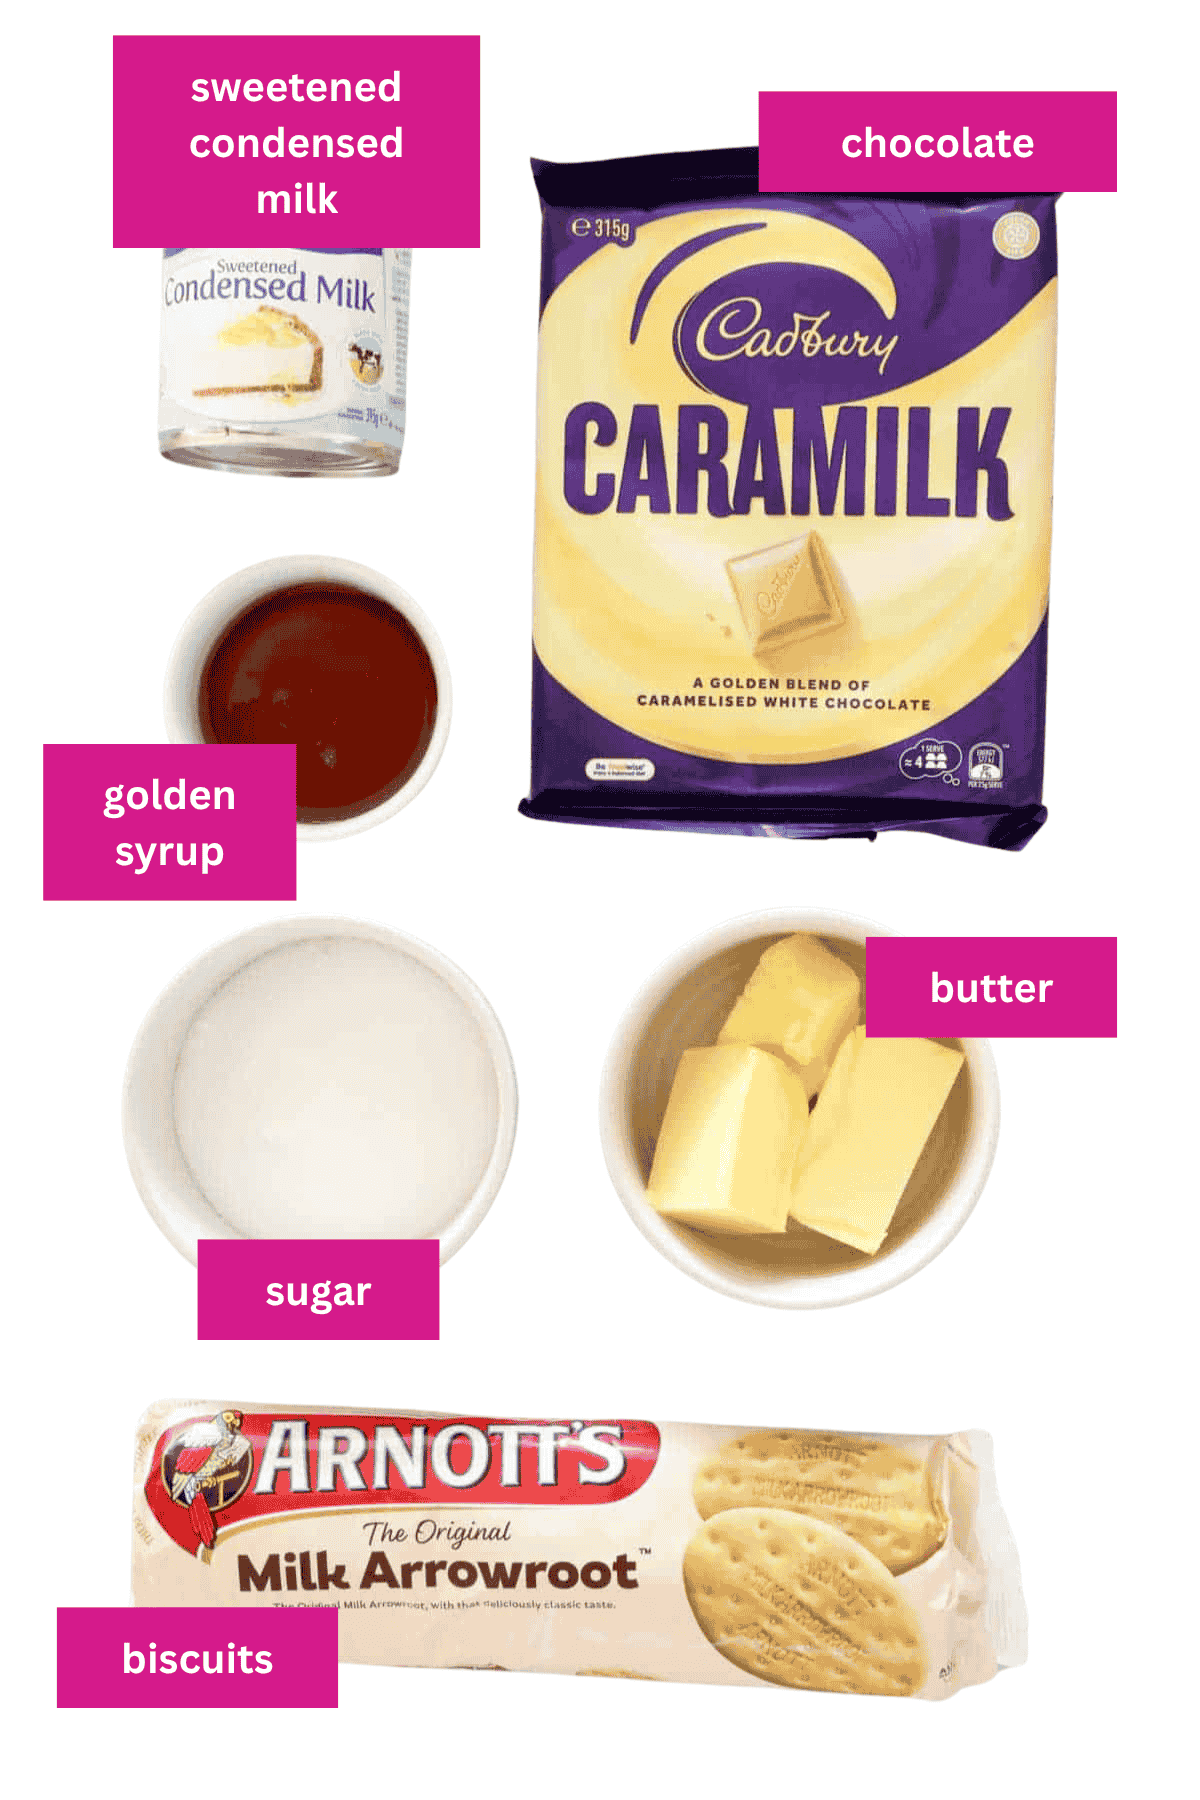
- Sweetened condensed milk - Be sure to use full-fat for the best texture and set. Skim varieties don't firm up as well.
- Plain sweet biscuits - I use Arnott's Marie biscuits, but any plain variety will do. Crush them roughly so you get that nice chunky hedgehog texture.
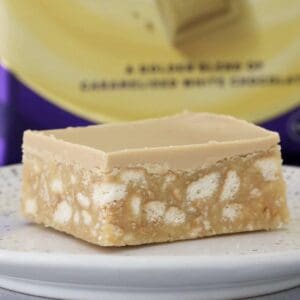
- Caramilk chocolate - This gives the slice its signature caramel top layer. You can use any caramel-flavoured chocolate block if you don't have Caramilk.
Everything else is most likely already in your pantry - just everyday baking staples like butter, sugar and golden syrup.
Variations
Want to mix things up a little? Try one of these simple variations:
- Gluten-Free Caramel Hedgehog Slice - Use gluten-free plain sweet biscuits (like Aldi's or Arnott's GF range) and double-check your Caramilk is gluten-free.
- Salted Caramel Twist - Add a pinch of sea salt to the caramel base before mixing in the biscuits for a delicious salty-sweet kick.
- Nutty Crunch - Stir in ½ cup of chopped roasted almonds or pecans for a toasty crunch.
- Choc-Caramel Combo - Use a mix of Caramilk and milk chocolate on top for a layered swirl effect.
How To Make Caramel Hedgehog Slice
Here's how to make this irresistible slice step-by-step:
Note: Scroll to the recipe card at the bottom for the ingredients quantities and full detailed method.
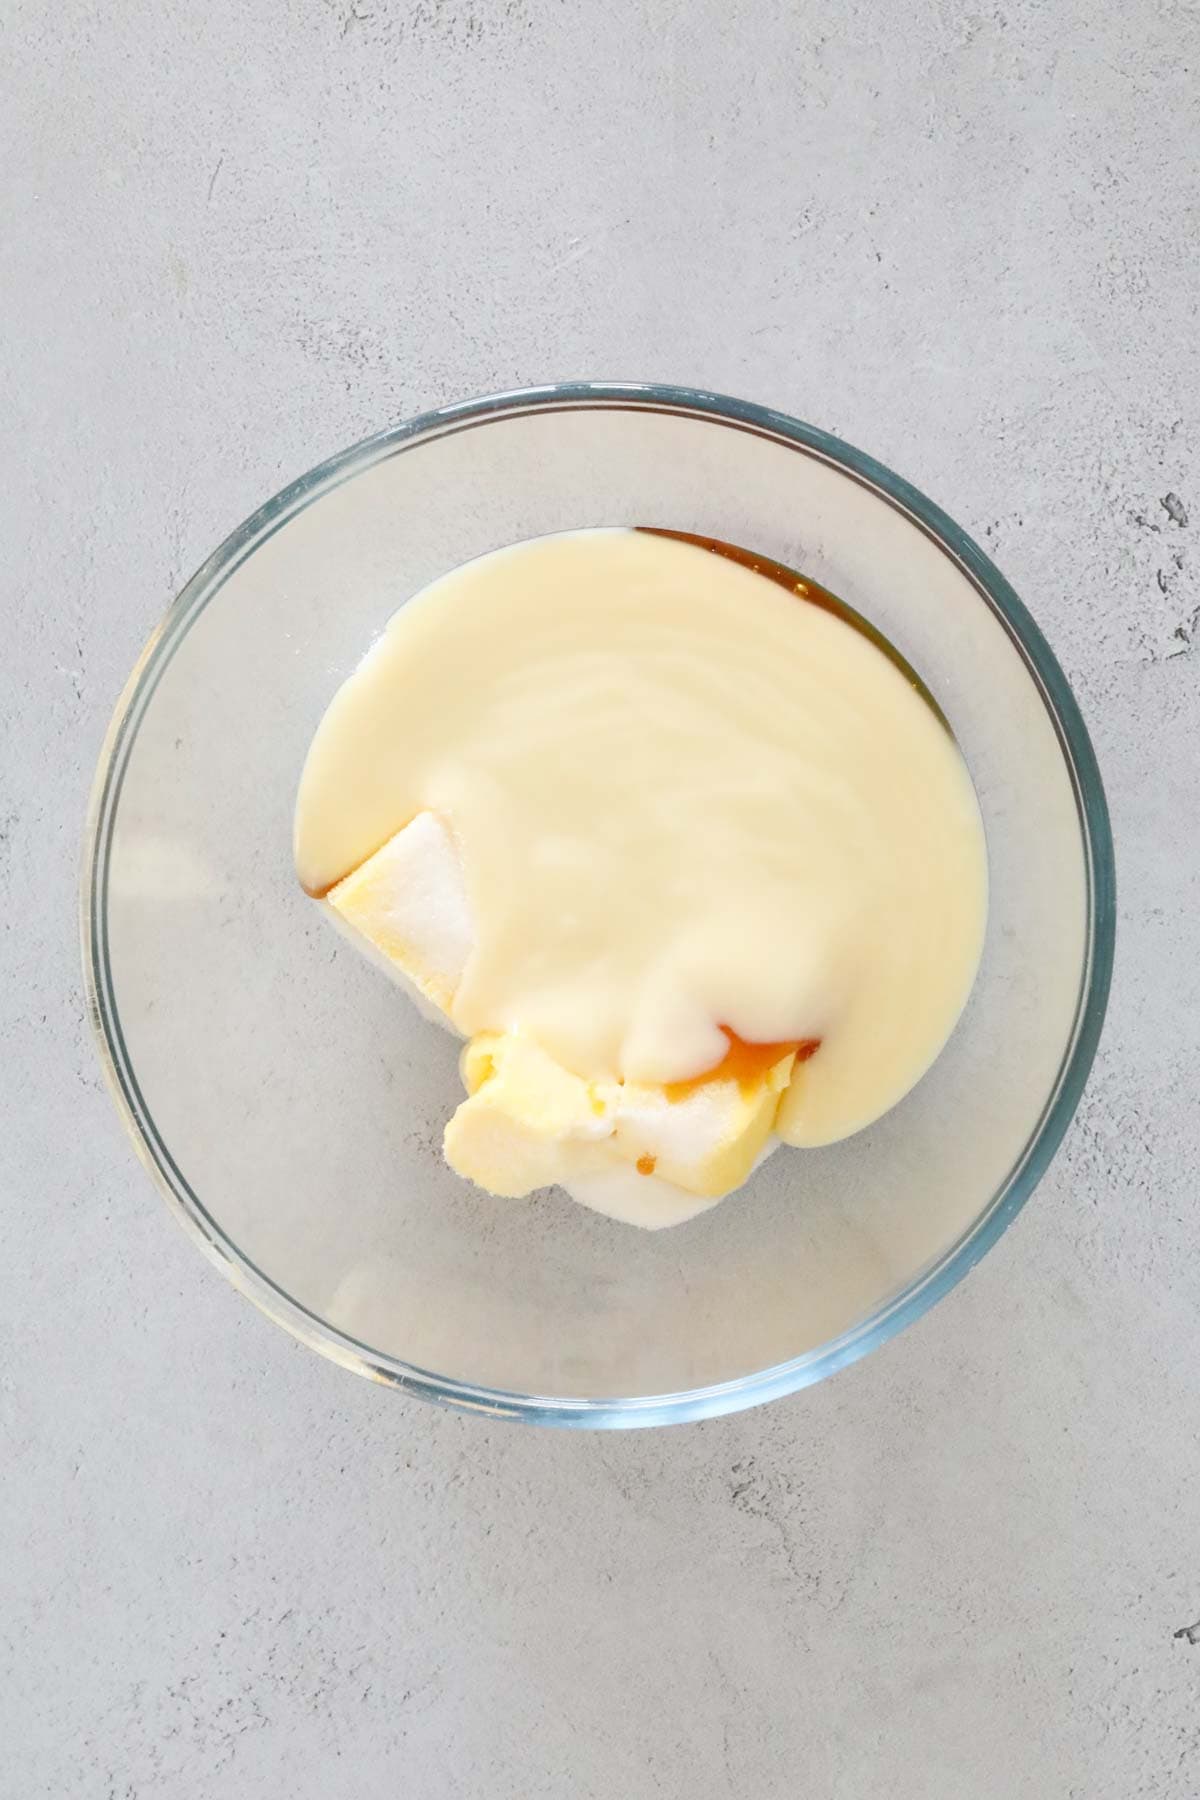
- Step 1: In a microwave-safe bowl, combine butter, caster sugar, golden syrup and sweetened condensed milk. Microwave on 50% power for around 3-4 minutes, stirring every 30 seconds until smooth and fully melted.
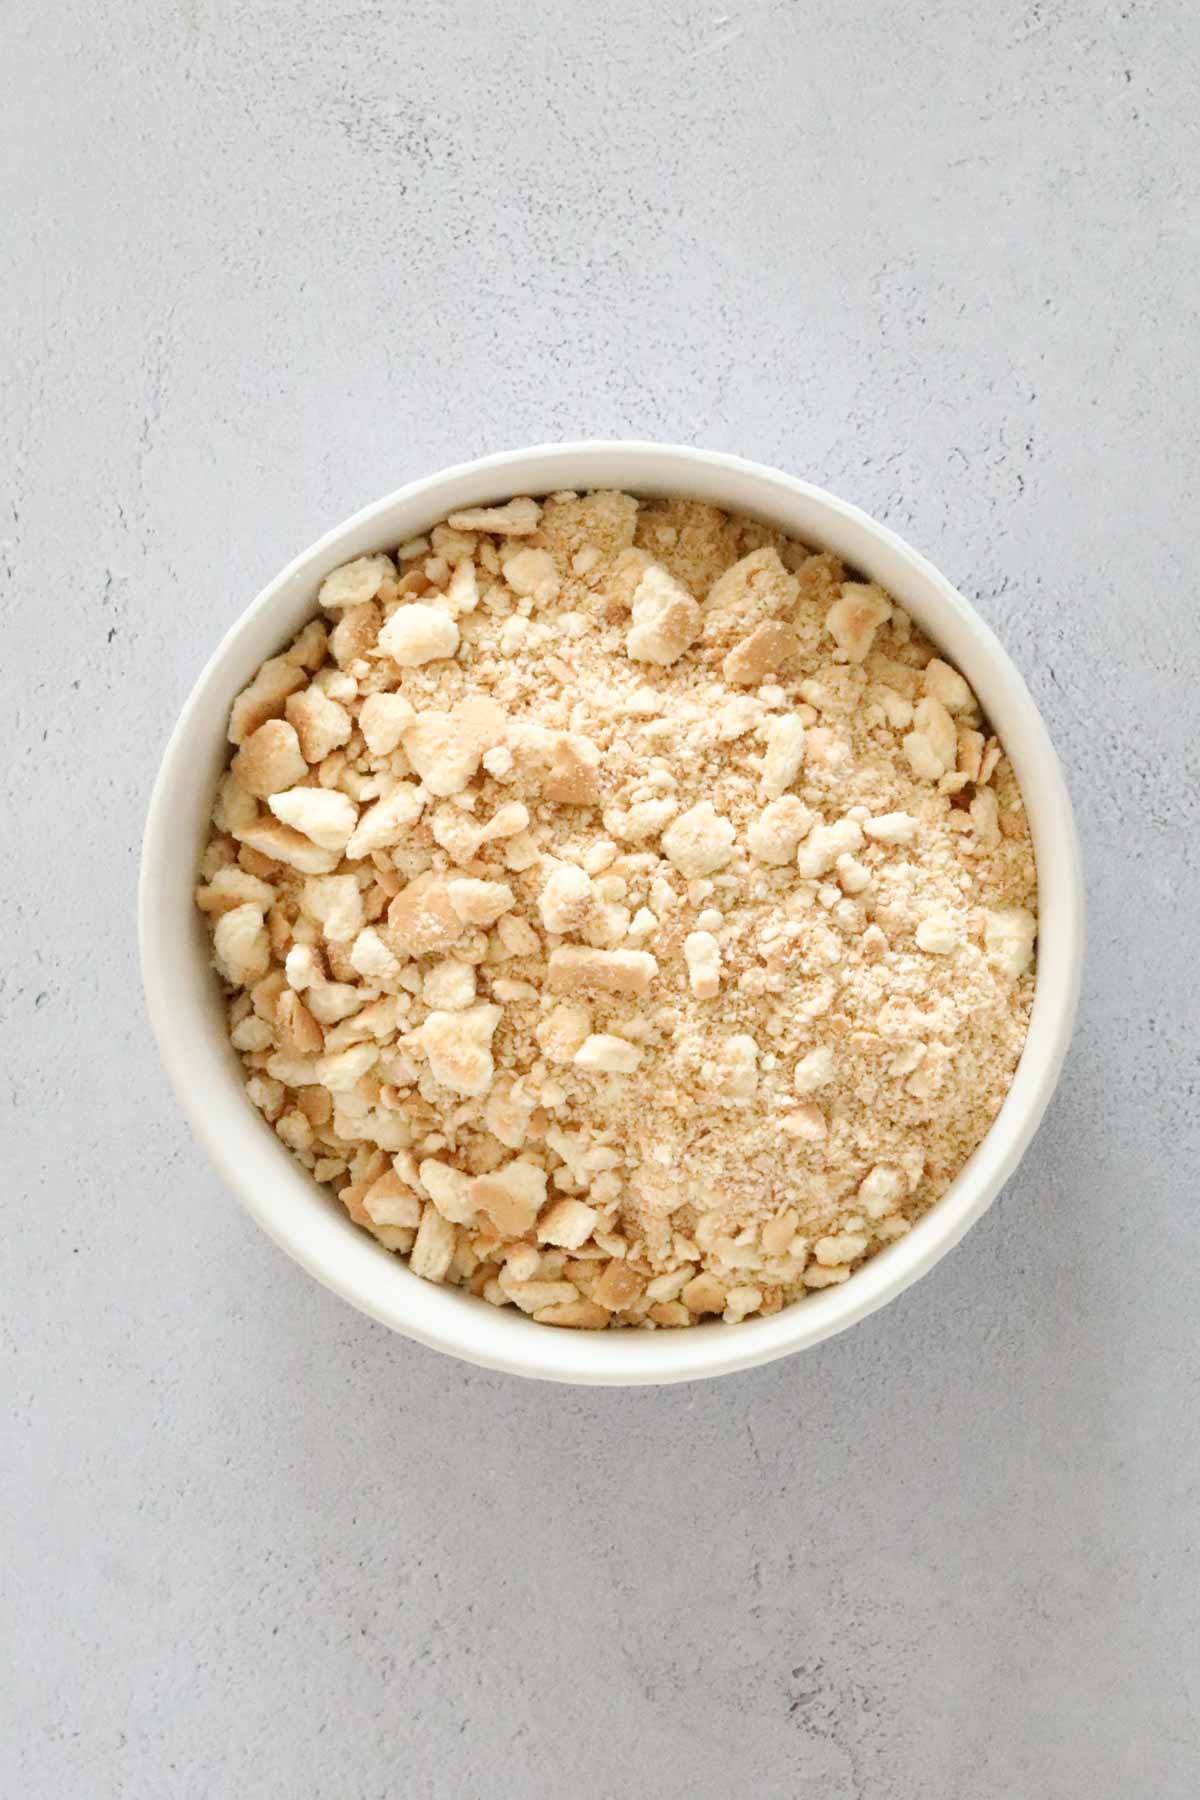
- Step 2: Crush the plain sweet biscuits, some chunks are fine.
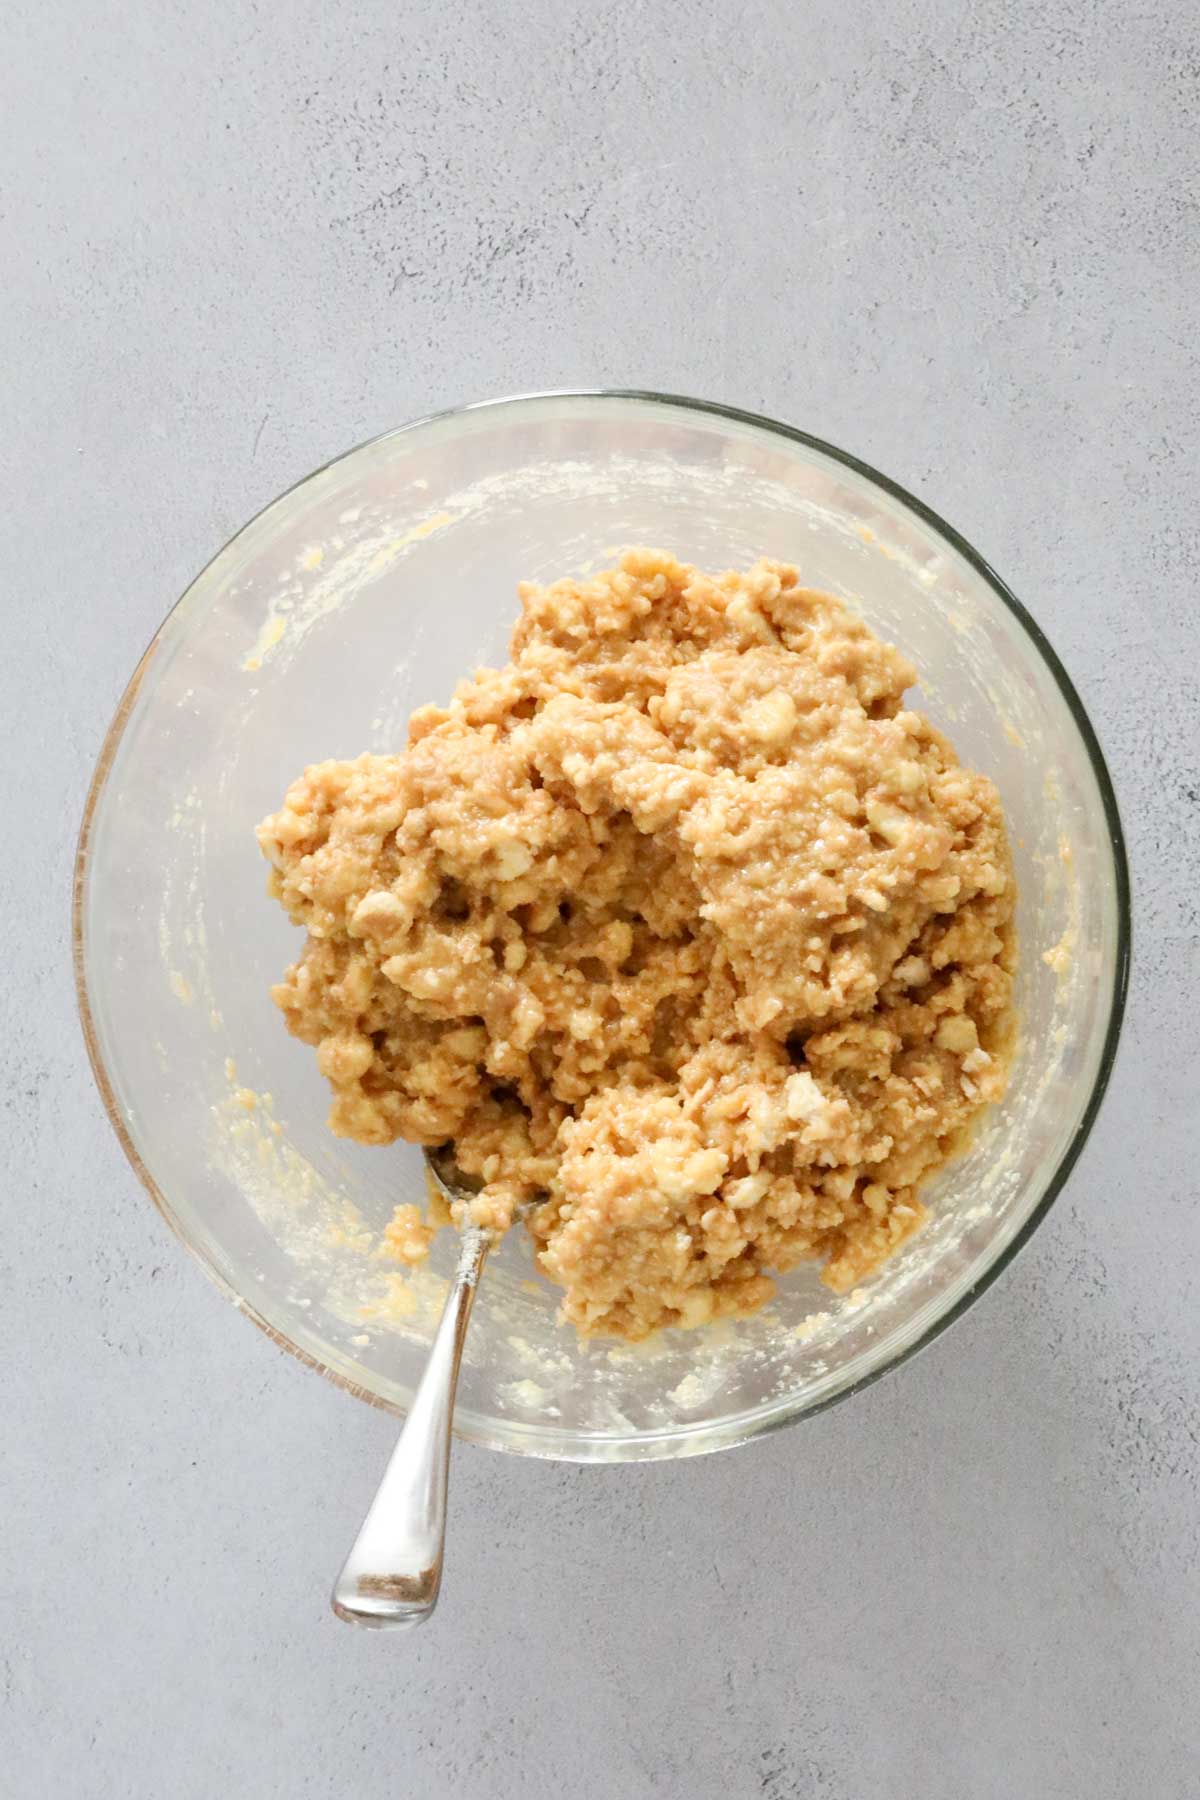
- Step 3: Add the crushed biscuits to the melted butter and condensed milk mixture. Mix well to coat the biscuit crumbs evenly.
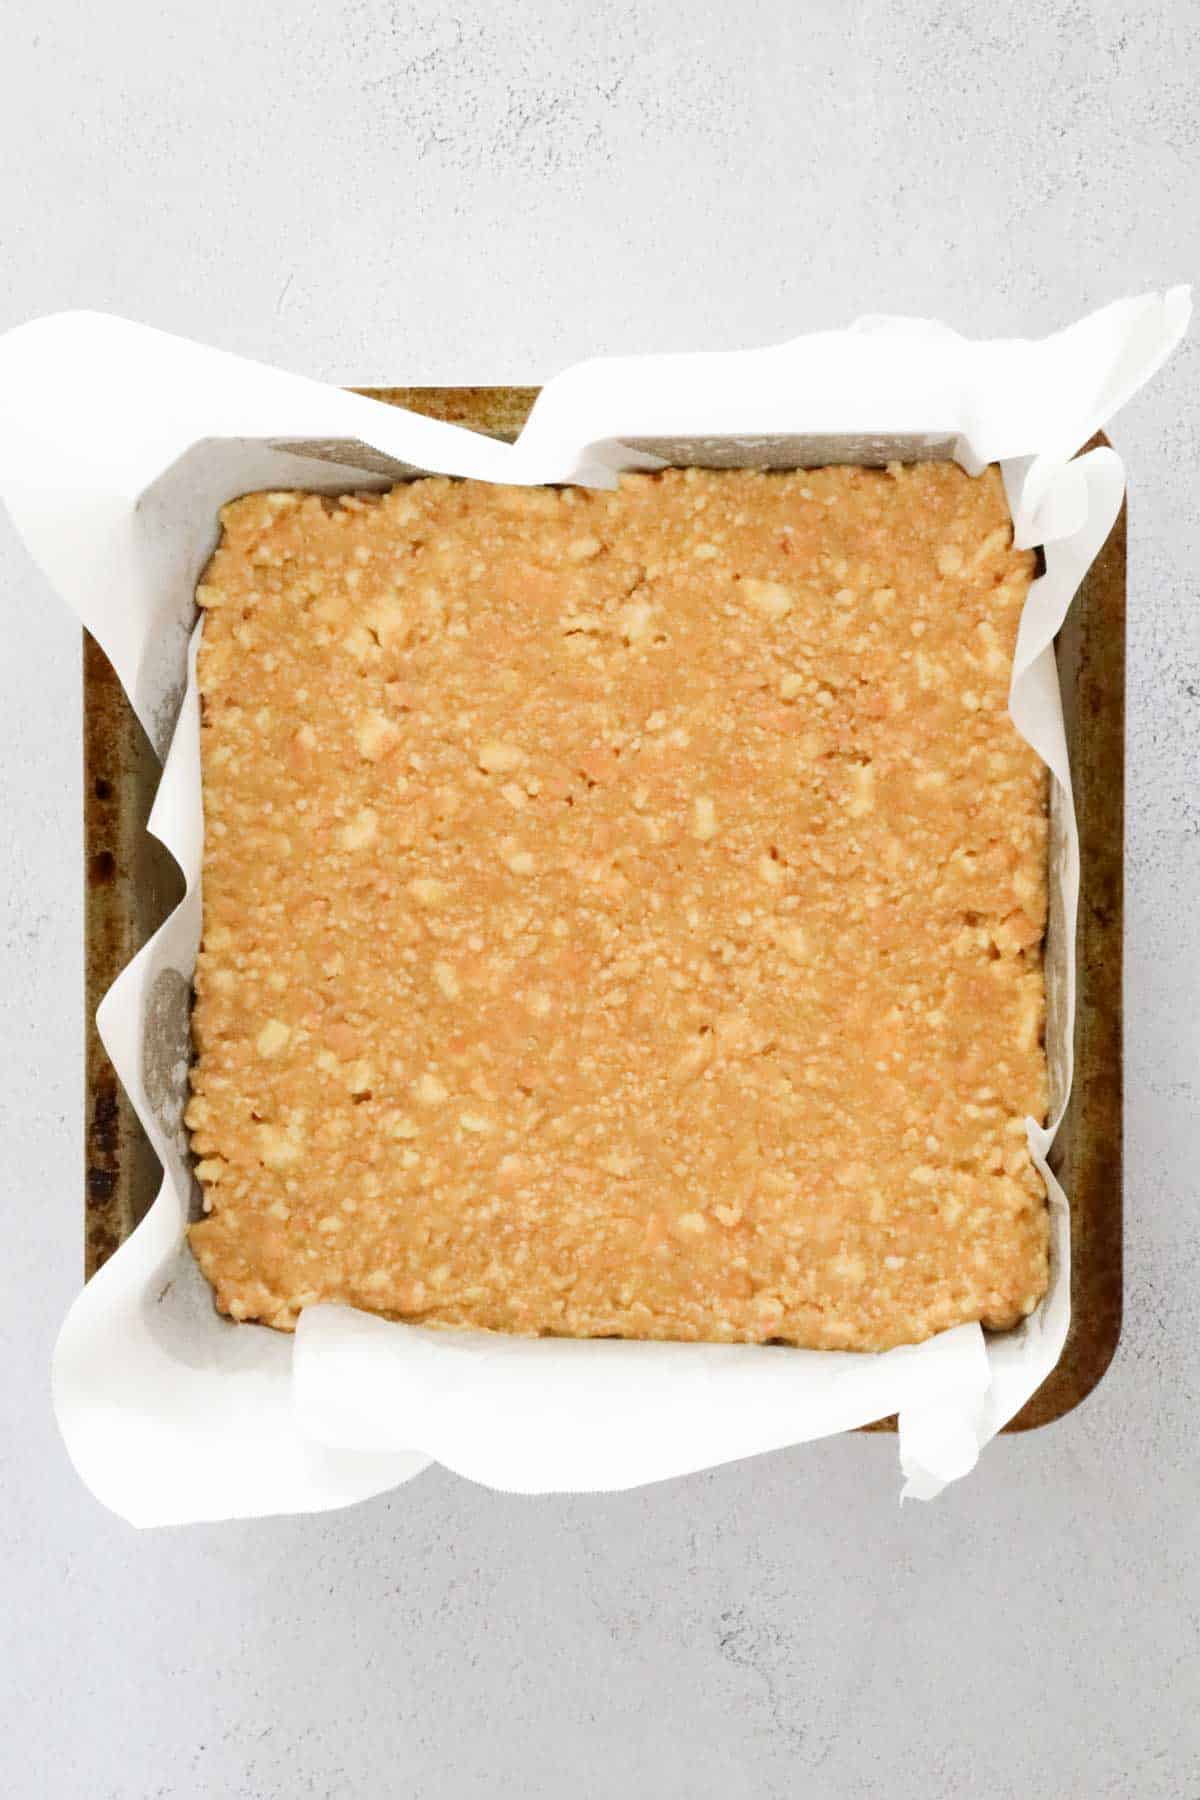
- Step 4: Spoon the mixture into the baking paper-lined tin and press down firmly with the back of a spoon or a spatula.

- Step 5: In a separate bowl, melt the Caramilk chocolate with a little oil (optional), again at 50% power, stirring every 30 seconds until melted and smooth.
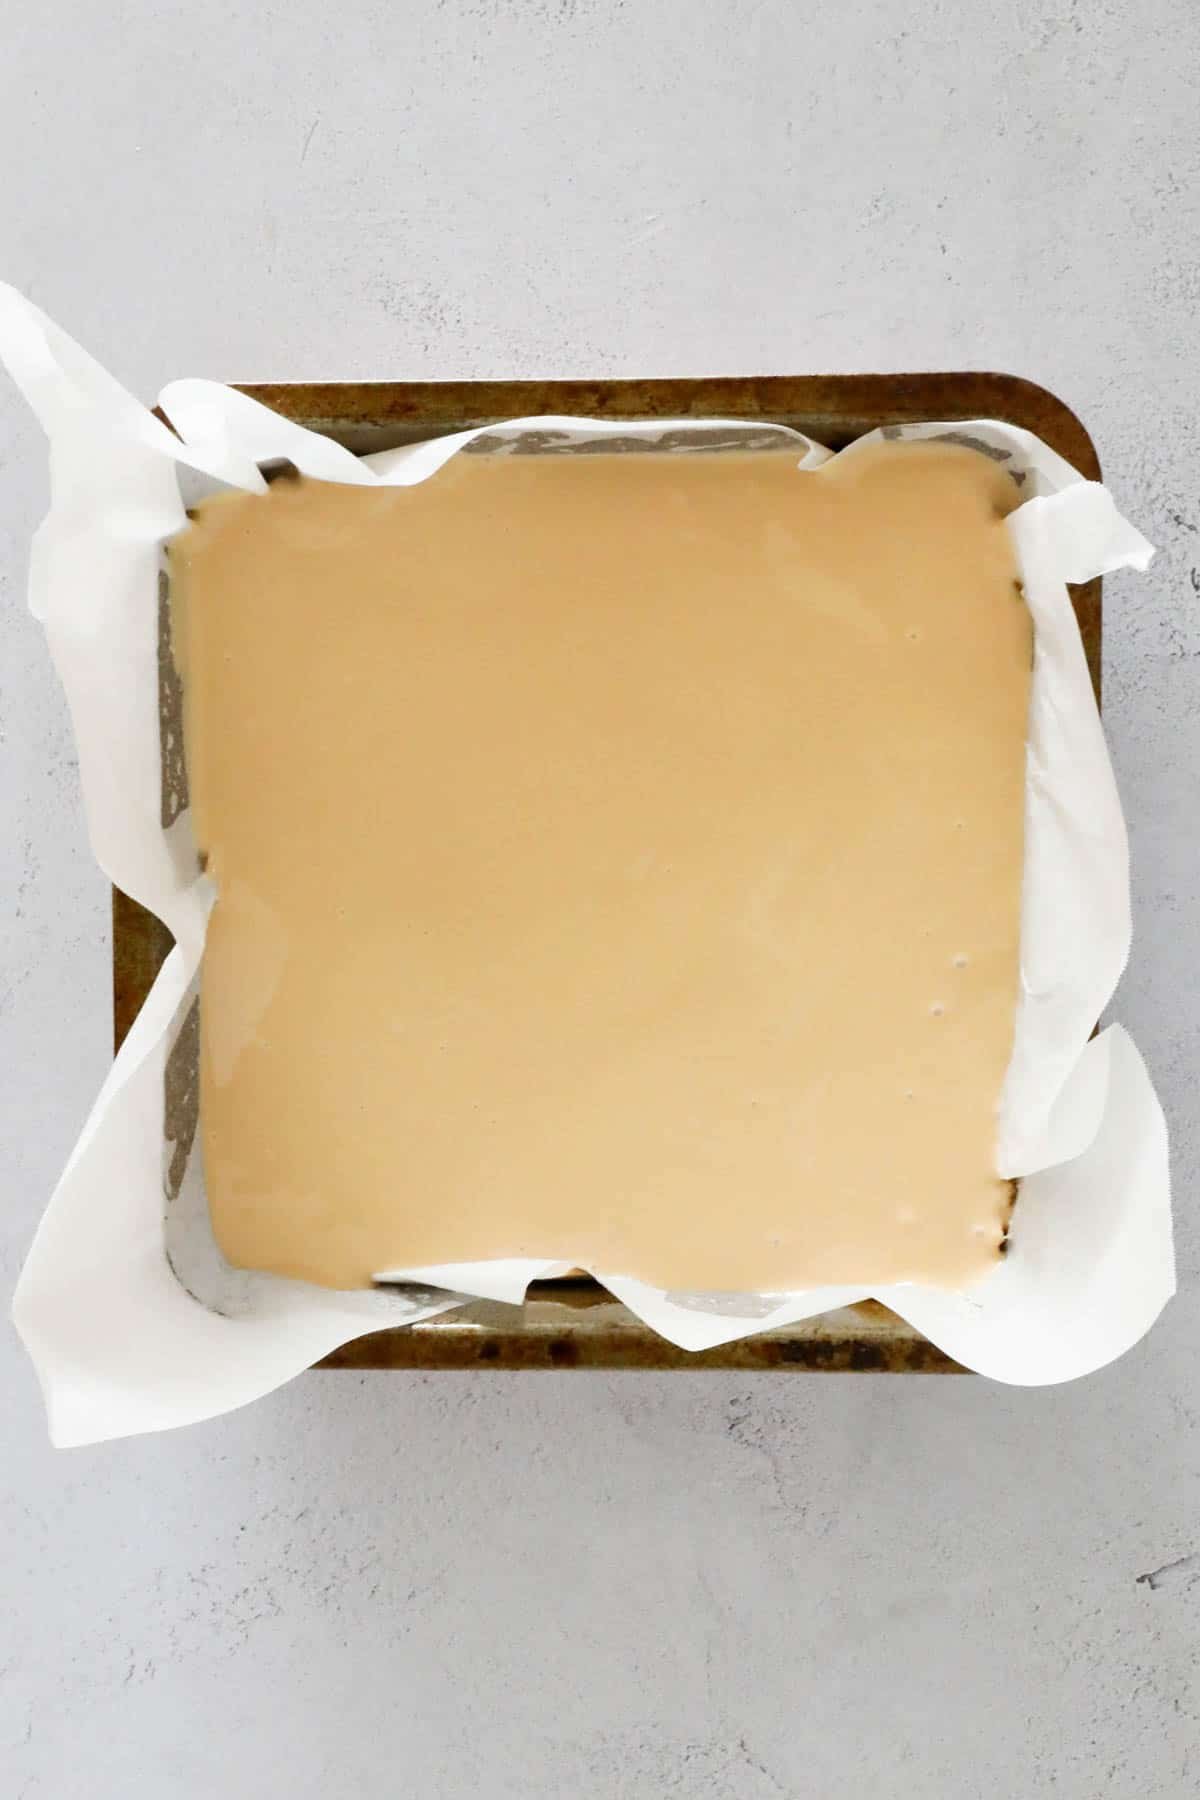
- Step 6: Pour the melted chocolate over the base, spread evenly, and pop the slice in the fridge for at least 3 hours or until fully set.
Recipe Tips
Make sure your Caramel Hedgehog Slice turns out perfectly every time with these handy tips:
- Use full-fat condensed milk - This sets firmer than the skim version.
- Crush the biscuits partially - You want some chunks for texture, not fine crumbs.
- Line your tin well - Let the baking paper overhang so you can lift the slice out easily.
- Melt chocolate slowly - Use 50% power in the microwave and stir often to avoid seizing.
- Add oil to the chocolate - Just a little helps prevent the top from cracking when sliced.
- Chill thoroughly - Give it at least 3 hours to set completely.
- Cut with a warm knife - Let the slice sit at room temperature for 20 minutes before cutting - this helps prevent the chocolate from cracking. Run a sharp knife under hot water, dry it off, then slice for clean cuts.
- Store properly - Keep in an airtight container in the fridge for up to 5 days or freeze in layers (with baking paper in between) for up to 3 months.
Caramel Hedgehog Slice FAQs
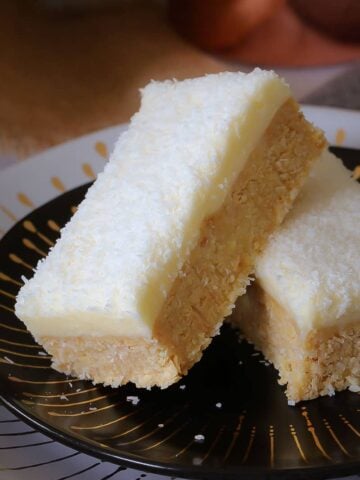
Absolutely! You can use white chocolate or even milk chocolate instead-it'll still be delicious, just slightly less caramel-flavoured.
To avoid a crumbly slice, make sure that you use full-fat condensed milk and melt the wet ingredients until melted and smooth. Coat the biscuit crumbs well - a firm set comes from that rich, sticky caramel mixture binding the biscuits together. Press the base firmly into the lined tin then chill for at least 3 hours.
It's optional, but recommended! It helps the chocolate top stay silky and makes slicing much neater. See my instructions on how to cut perfect slices.
More No-Bake Slice Recipes
Here are four other sweet no-bake slices that are just as easy and irresistible:


WANT EVEN MORE DELICIOUS RECIPES? Subscribe to my newsletter or follow along on Facebook or Instagram. And if you love baking, then please come and join my Facebook cooking club group or subscribe to my YouTube channel.
Caramel Hedgehog Slice
Ingredients
- 125 g butter
- 120 g (½ cup) caster sugar
- 200 g sweetened condensed milk
- 2 tbs golden syrup
- 250 g plain sweet biscuits crushed - some chunks are fine (like Arnotts Arrowroot or Marie)
- 250 g Caramilk chocolate
- 1 tbs vegetable oil or coconut oil optional
Instructions
- Grease and line a 20cm square tin with baking paper and set aside.
- Place the butter, caster sugar, golden syrup and sweetened condensed milk into a microwave-safe bowl. Heat on 50% power, 3-4 minutes, (stirring every 30 seconds), or until melted. Stir well. If using a Thermomix: Crush the biscuits by pressing Turbo for 2-3 seconds. Set aside. Place the butter, caster sugar, golden syrup and sweetened condensed milk into the Thermomix bowl. Melt for 4 minutes, 80 degrees, Speed 2 (or until melted).
- Add the biscuits and mix together well. If using a Thermomix: Add the crushed biscuits and mix for 10 seconds, Speed 5.
- Spread the mixture evenly into the prepared tin, pressing down firmly.
- Melt the Caramilk (broken into chunks) and the vegetable oil (or coconut oil) in a microwave-safe bowl on 50% power, 3-4 minutes (stirring every 30 seconds), or until just melted. Alternatively, you can use a stove-top for this step. If using a Thermomix: Melt the Caramilk (broken into chunks) and vegetable oil in a clean and dry Thermomix bowl for 3 minutes, 60 degrees, Speed 2.
- Pour the melted chocolate over the top of the slice and refrigerate for a minimum of 3 hours.
- Cut into slices and store in an airtight container in the fridge for up to 5 days.
Notes
- Use full-fat condensed milk - This sets firmer than the skim version.
- Crush the biscuits partially - You want some chunks for texture, not fine crumbs.
- Line your tin well - Let the baking paper overhang so you can lift the slice out easily.
- Melt chocolate slowly - Use 50% power in the microwave and stir often to avoid seizing.
- Add oil to the chocolate - Just a little helps prevent the top from cracking when sliced.
- Chill thoroughly - Give it at least 3 hours to set completely.
- Cut with a warm knife - Let the slice sit at room temperature for 20 minutes before cutting - this helps prevent the chocolate from cracking. Run a sharp knife under hot water, dry it off, then slice for clean cuts.
- Store properly - Keep in an airtight container in the fridge for up to 5 days or freeze in layers (with baking paper in between) for up to 3 months.


Lucy says
An absolute fave in our house!