
Bake Play Smile

MENUMENU
  • Recipes
  • Thermomix
  • Desserts
  • Shop
  • Subscribe
menu icon
go to homepage
  • Recipes
  • Thermomix
  • Desserts
  • Shop
  • Subscribe
    • Facebook
    • Instagram
    • Pinterest
    • YouTube
  • subscribe
    search icon
    Homepage link
    • Recipes
    • Thermomix
    • Desserts
    • Shop
    • Subscribe
    • Facebook
    • Instagram
    • Pinterest
    • YouTube
  • ×
    Home » Recipes for Toddlers & Kids

    Playdough Recipe

    A picture of Lucy the baker from Bake Play Smile.
    Modified: Aug 12, 2026 · Published: Mar 6, 2020 by Lucy Mathieson · This post may contain affiliate links · 52 Comments
    Jump to Recipe

    Add us as a trusted site on Google
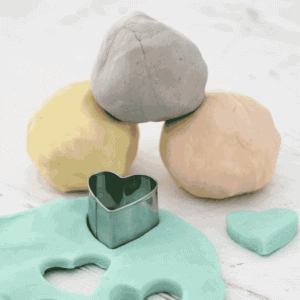
    4 discs of homemade playdough in pastel colours.

    This cooked playdough recipe takes minutes to make and keeps the kids busy for way longer than the mess takes to clean up.

    If you're after more easy screen-free activities the kids can help with, my Milo Biscuits and Tiny Teddy Racing Cars are both fun ones to make together.
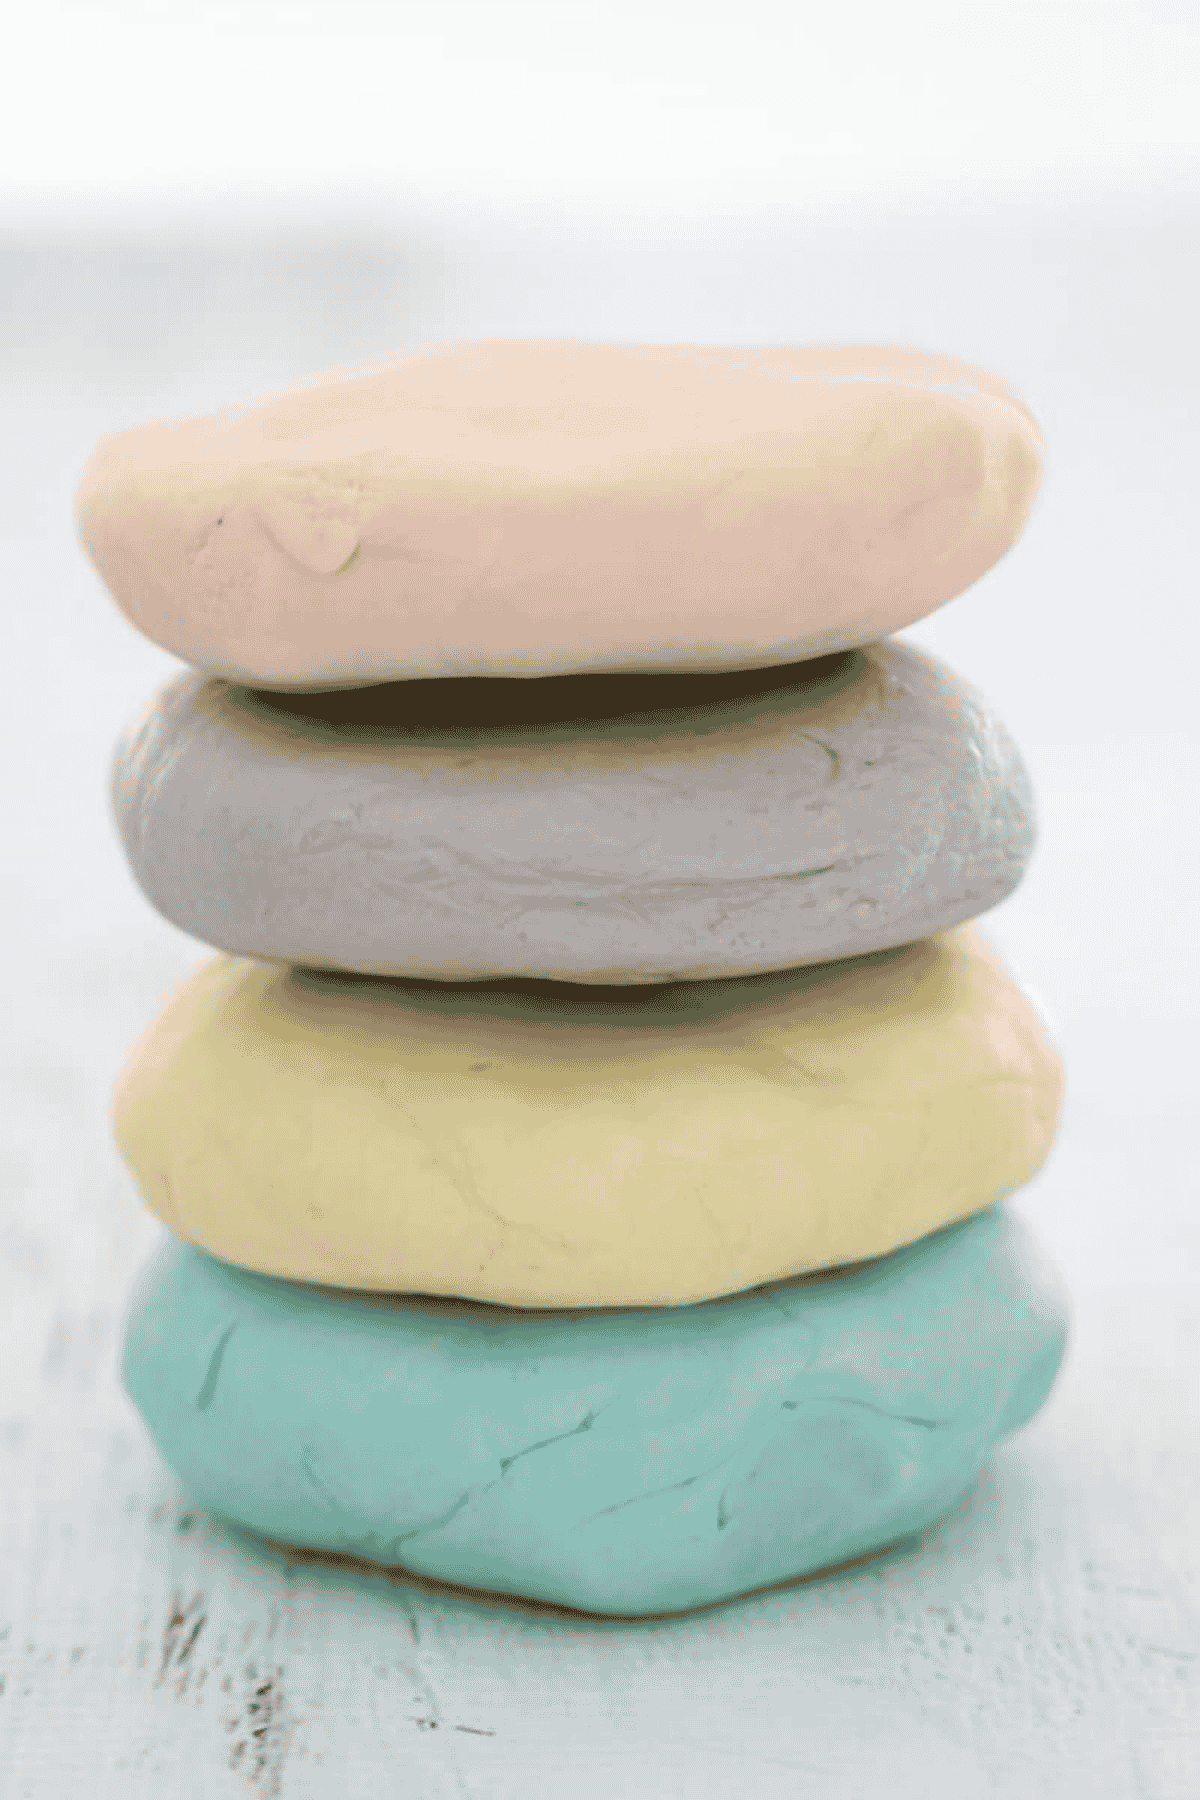
    Discs of colourful playdough on a bench.

    A Quick Look At The Recipe

    ✅ Recipe Name: Cooked Playdough
    🕒 Ready In: 11 minutes
    👪 Makes: 1 batch (enough for 3-4 colours)
    💰 Cost: just a couple of dollars a batch
    🥣 Main Ingredients: salt, water, cream of tartar, plain flour, oil
    🌿 Dietary: non-edible, egg-free, nut-free
    ⭐ Why You'll Love It: cheap, quick to make on the stove-top or Thermomix, and it lasts up to 3 months.

    SUMMARIZE & SAVE THIS CONTENT ON

    ChatGPT
    Google AI
    Perplexity
    Claude

    I love this playdough. I do it in the Thermomix normally but would love a microwave version for at school.

    - Aimee

    Funnily enough, another reader answered Aimee's question for me in the comments, so I've added a microwave method below too.

    If you're stocking up on easy activities for the kids, my 40+ Easy Kids Recipes are worth a bookmark too (especially the Tiny Teddy Cars and Tic Toc Tea Cup Biscuits!).

    Jump to:
    • A Quick Look At The Recipe
    • Why You're Going To Love This Recipe
    • Playdough Ingredients
    • Variations
    • How To Make Playdough
    • Recipe Tips
    • Playdough FAQs
    • More Easy Toddler And Kids Recipes
    • Playdough Recipe

    Why You're Going To Love This Recipe

    • Cheap As Chips - a whole batch costs just a couple of dollars, using stuff you've probably already got in the pantry.
    • Better Than Uncooked - cooked playdough has a far better texture and lasts way longer than the mix-and-go versions.
    • 3 Ways To Make It - stove-top, Thermomix or microwave, whatever you've got handy.
    • Lasts For Months - up to 3 months stored properly, so one batch goes a long way.

    Playdough Ingredients
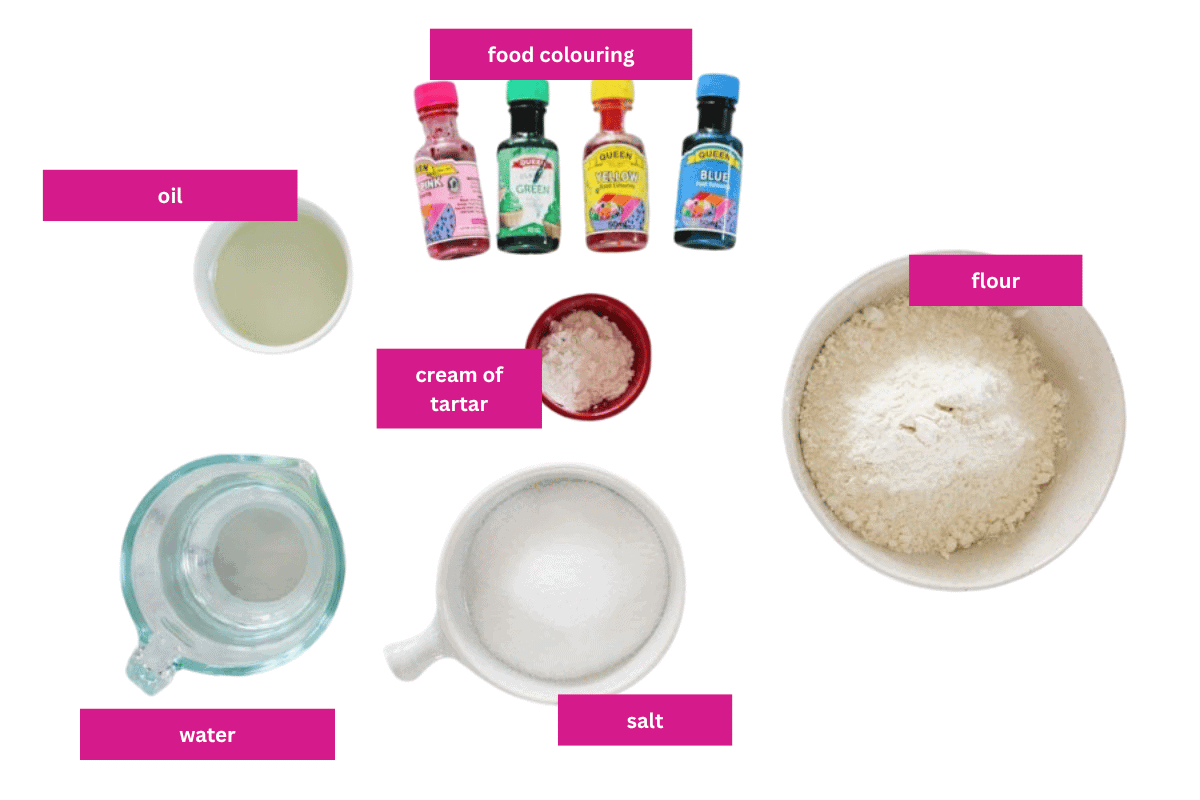
    The ingredients for playdough.

    This is about as simple as ingredient lists get, here are the ones worth a mention:

    • Cream of tartar - this is the ingredient that makes the difference between playdough that stays smooth and stretchy, and playdough that crumbles apart. Don't leave it out.
    • Oil - vegetable, canola or coconut oil all work, it's what keeps the dough soft and stretchy instead of dry and cracked. Coconut oil gives it a nice subtle scent too.
    • Salt - regular table salt is what makes this playdough last for months instead of going mouldy in a couple of weeks.
    • Food colouring - mix it into the water before you start cooking if you want an even colour without kneading it through later, or knead it in at the end for a marbled effect.

    Variations

    • Microwave method - no stove or Thermomix? Combine everything except the oil and food colouring in a microwave-safe bowl and heat in 1 minute bursts, stirring well between each burst, until it thickens into a dough. Knead through the oil while it's still warm (careful, use gloves), then colour and knead as normal.
    • Scented playdough - add a few drops of essential oil (lavender or orange work well) for a lovely smell while the kids play.
    • Glitter playdough - knead through a sprinkle of glitter with the food colouring for a bit of sparkle.
    • Multiple colours - double the recipe and split the plain dough into as many bowls as colours you want before kneading through the food colouring.

    How To Make Playdough

    This works just as well on the stove-top or in the Thermomix, pick whichever's easiest for you.

    Note: Scroll to the recipe card at the bottom for the ingredient quantities and full detailed method (plus the Thermomix version).
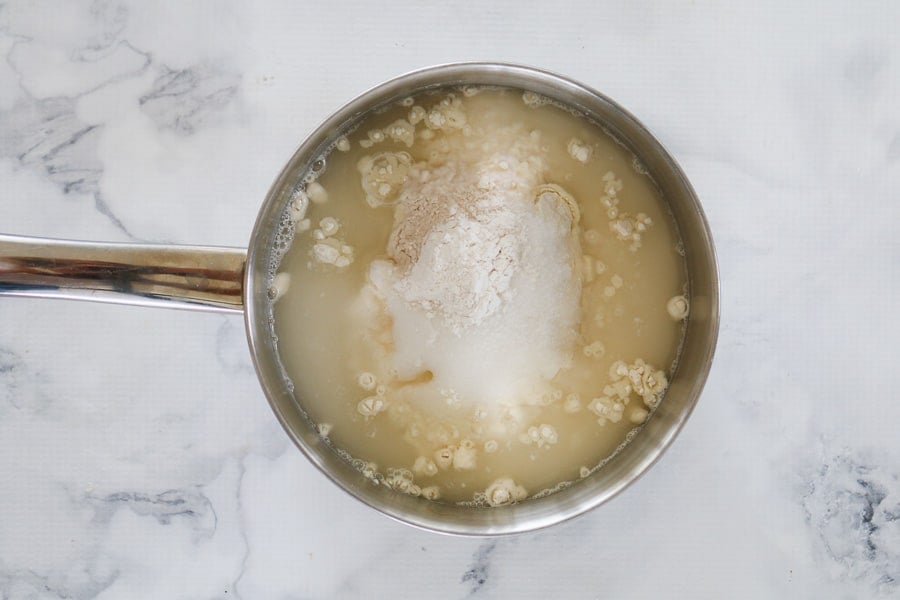
    Water, flour and cream of tartar in a saucepan.
    1. Step 1: Mix and cook. Place the flour, water, cream of tartar and salt into a saucepan over medium heat and stir continuously until it thickens into a dough.
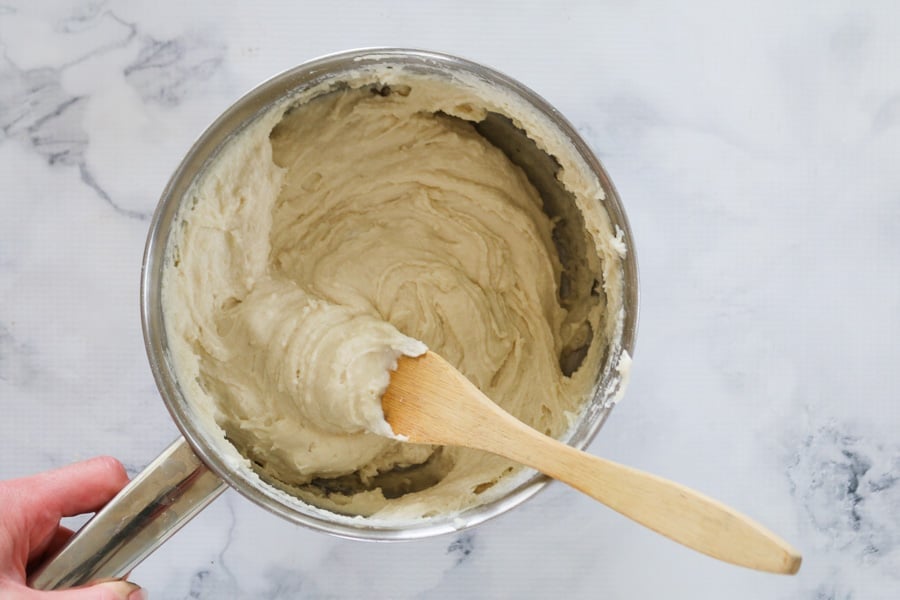
    Homemade playdough mixture being stirred in a saucepan.
    1. Step 2: Cool. Take the pan off the heat and leave the mixture to cool until it's safe to handle.
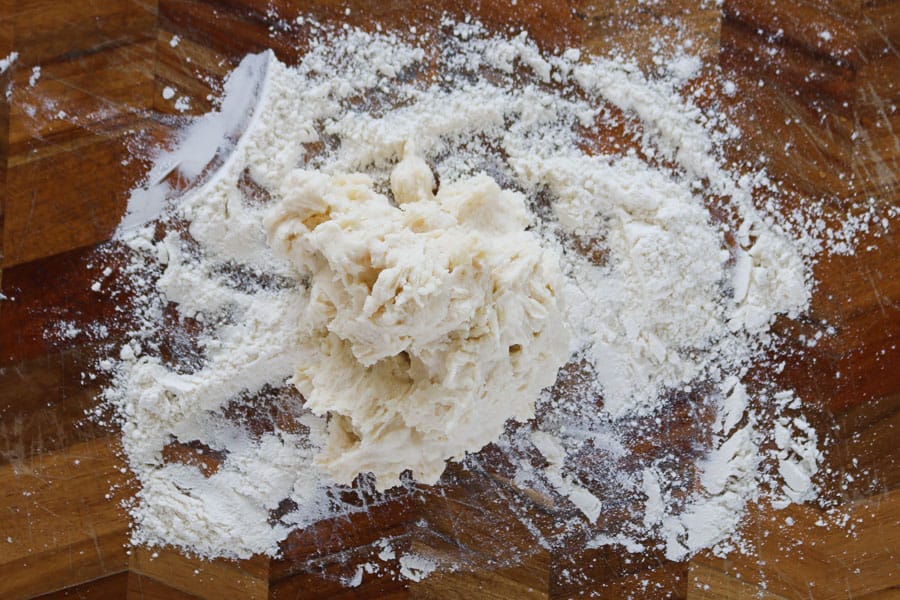
    A handful of cooked playdough mixture on a chopping board.
    1. Step 3: Knead through the oil. Place the dough onto a well-floured board and knead the oil through really well until it's smooth and stretchy.
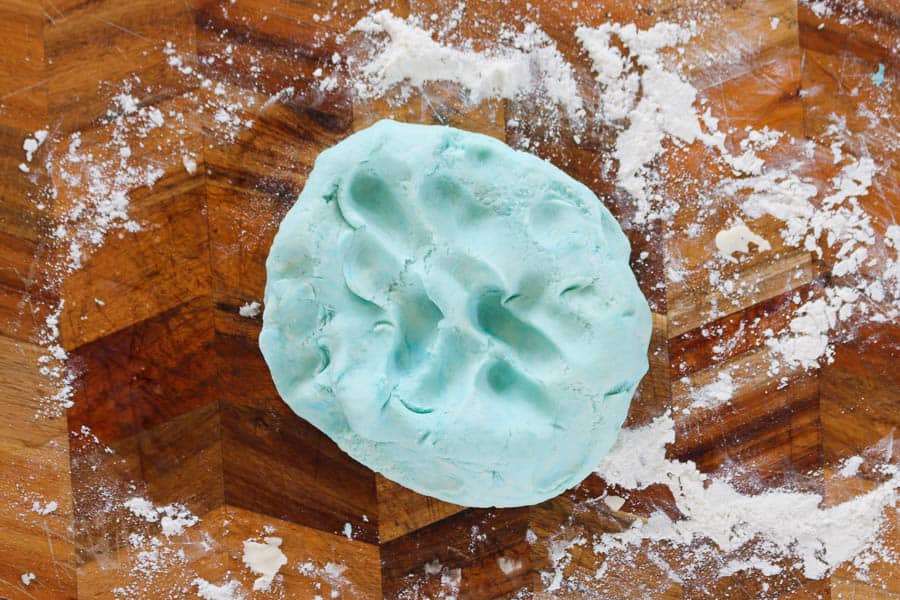
    Green playdough being kneaded on a floured chopping board.
    1. Step 4: Colour and store. Divide into portions, then knead through the food colouring with gloves on until evenly coloured. Wrap in cling wrap and store in an airtight bag or container.

    Recipe Tips

    • Wear gloves when kneading through the food colouring, unless you want stained hands for a few days.
    • Colour the water first if you want an even, solid colour without any streaks left over from kneading.
    • Add glitter or essential oils while kneading for a sparkly, scented version.
    • If it starts drying out, just knead through a small amount of oil to bring it back to life.
    • Storage - keep each colour in its own ziplock bag or airtight container. It'll last up to 3 months at room temperature, or even longer stored in the fridge.
    • Freezing - you don't need to. It's shelf-stable thanks to the salt, so there's no need to take up freezer space with it.
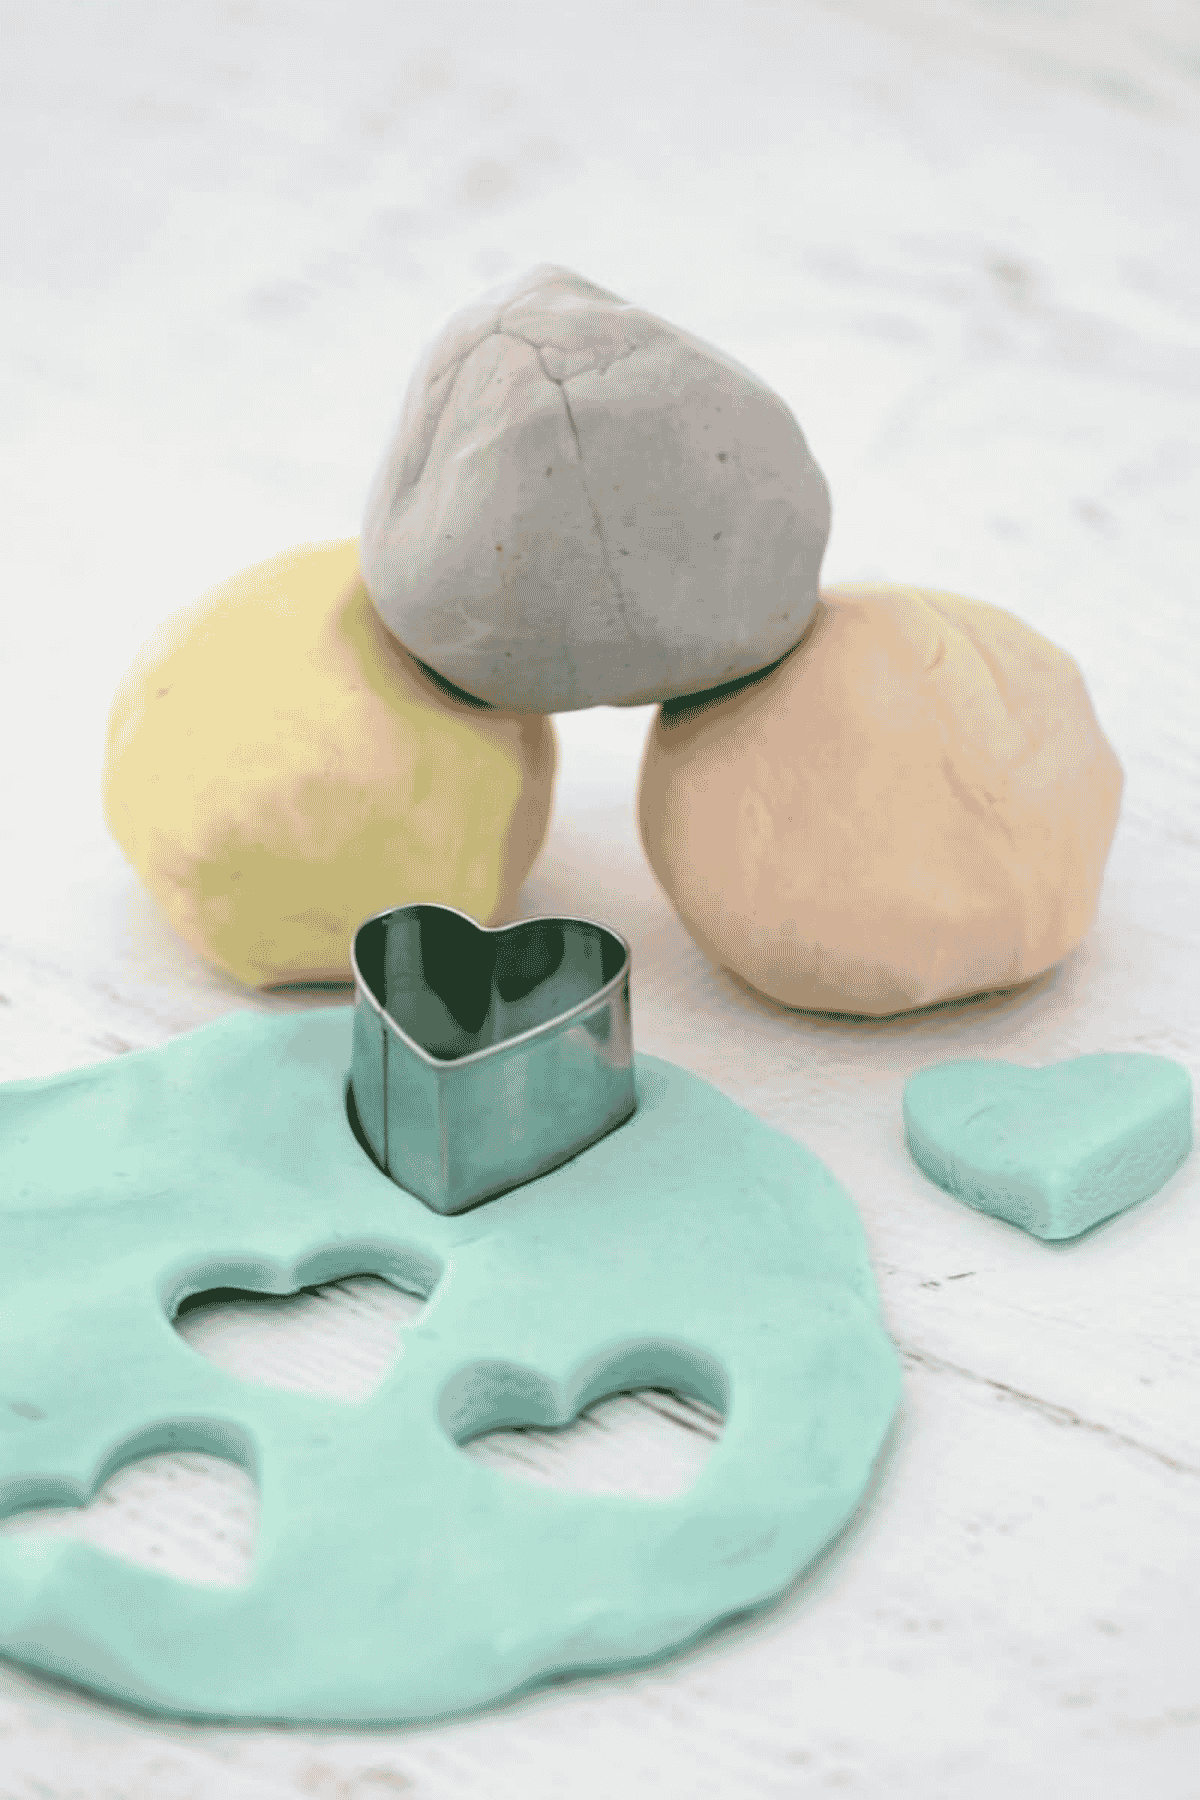
    Colourful playdough balls on a bench.

    Playdough FAQs

    How long does homemade playdough last?

    Stored in an airtight ziplock bag or container, this playdough lasts up to 3 months at room temperature. Keeping it in the fridge will make it last even longer.

    Why is cooked playdough better than uncooked?

    Cooked playdough has a much better texture, smoother and more stretchy, and it lasts a lot longer than an uncooked mix, for the sake of a couple of extra minutes on the stove.

    Can I make this playdough without a stove or Thermomix?

    Yes, see my microwave method in the Variations above. Heat everything except the oil and colouring in short bursts, stirring between each one, until it thickens.

    My playdough is dry and crumbly, what do I do?

    Just knead through a small amount of oil until it comes back to a smooth, soft texture. This happens naturally over time as playdough dries out a bit with use.

    Is this playdough safe if my toddler eats a bit?

    It's non-toxic and made from edible ingredients, but it's still not meant to be eaten and has a very salty taste that should put most kids off quickly. Always supervise young children during play.

    More Easy Toddler And Kids Recipes

    If you're after more easy ways to keep the kids busy and happy, these are worth a look.
    • These Milo Biscuits are an all-time Australian favourite! Made from just 5 basic ingredients, these quick and easy biscuits are sure to be a hit with the entire family. 
      Milo Biscuits | Lunch Box Recipe
    • Close view of crackles
      Chocolate Crackles Recipe | Party Food
    • A honey joy in a yellow paper case.
      Honey Joys
    • A butterfly cake dusted with icing sugar on a floral plate.
      Butterfly Cakes
    Balls of homemade playdough on a bench.

    Playdough Recipe

    Our simple cooked playdough recipe is sure to provide hours of fun for the kids! Follow our step-by-step instructions for making playdough using a stove-top or a Thermomix. 
    5 from 33 votes
    Print Pin Rate
    Course: Non-Edible
    Cuisine: Non-Edible
    Prep Time: 5 minutes minutes
    Cook Time: 6 minutes minutes
    Total Time: 11 minutes minutes
    Servings: 1 batch
    Calories:
    Author: Lucy Mathieson

    Ingredients

    • 110 g salt
    • 250 g water
    • 1 tbs cream of tartar
    • 250 g plain flour
    • 1 tbs oil coconut, vegetable etc are all fine
    • food colouring
    • glitter optional
    Key Takeaways
    Make a Checklist
    Apply this to Me
    Add us as a Google Trusted Source

    Instructions

    Thermomix Method

    • Place the salt into the Thermomix bowl and mix on Speed 10 for 5 seconds.
    • Scrape down the sides of the bowl.
    • Add the water and cream of tartar and cook for 5 minutes, 60 degrees, Speed 3.
    • Leave to cool for 5 minutes.
    • Add the plain flour and the oil and mix together for 50 seconds, Speed 4.
    • Knead for 1 minute on Interval Speed.
    • Check the texture and if it's a little sticky, add some more flour and knead for a further 30 seconds.
    • Separate the playdough into several bowls.
    • Add 1 tiny drop of food colouring (and a sprinkle of glitter - optional) to each bowl and mix together with your hands until the colour is evenly dispersed (wear gloves!).
    • Wrap the playdough in cling wrap and store in an airtight container in the fridge (see notes).

    Conventional Method

    • Place the flour, water, cream of tartar and salt into a saucepan over medium heat.
    • Stir continuously until thickened. Leave the mixture to cool.
    • Place the dough onto a well-floured board or bench.
    • Add the oil and knead it through really well.
    • Divide the playdough into equal portions, add food colouring and knead until the colour is completely even.
    • Wrap the playdough in cling wrap and store in an airtight container in the fridge (see notes).
    Notes

    RECIPE NOTES & TIPS
    Playdough is also known as play do, play doh and play dough.
    Salt – cheap table salt works fine (you can generally buy a 1kg bag for around $1.00). The salt helps to preserve the playdough so that it lasts longer.
    Cream of tartar – I use McKenzies brand but you can substitute with any brand you like.
    Plain flour – cheap home brand flour works fine.
    Oil – you can use vegetable oil, coconut oil, canola oil etc. I generally use vegetable oil. The oil helps maintain the elasticity of the playdough.
    Food colouring – add 1-2 drops for pastel colours or increase the amount of food colouring for more vibrant colours.
    Wear gloves when kneading through the food colouring (to avoid your hands being stained).
    You can add glitter to this recipe for a sparkly appearance.
    You can add essential oils to the playdough to give it a beautiful scent.
    Storing playdough - store in individual ziplock plastic bags (one bag per colour) for up to 3 months (either in the fridge or at room temp). Storing in the fridge will make the playdough last even longer. If the playdough starts to dry out, simply knead through a small amount of oil.
    Did you try this recipe?Mention @BakePlaySmileBlog or tag #BakePlaySmile!

    More Easy Toddler and Kids Recipes

    • Freshly baked chicken fajita casserole topped with golden melted cheese and garnished with fresh coriander.
      Chicken Fajita Casserole
    • A chocolate crinkly cookie on a wire rack sprinkled with sea salt.
      Salted Brownie Cookies
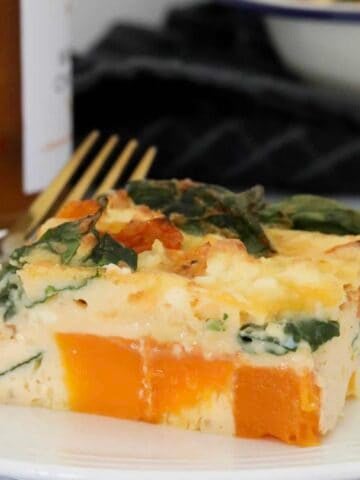
    • A piece of frittata with pumpkin, spinach and feta on a white plate.
      Pumpkin Frittata
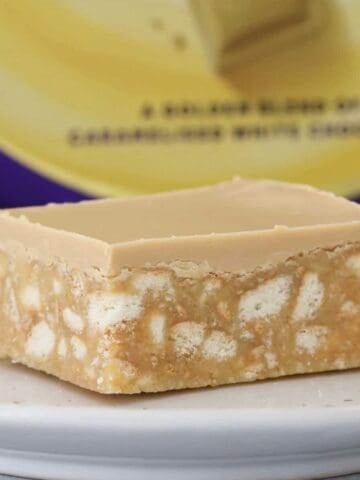
    • A piece of no bake caramel hedgehog slice in front of a block of caramel chocolate.
      Caramel Hedgehog Slice

    Comments

    1. Aimee says

      September 22, 2025 at 10:58 pm

      5 stars
      I love this playdough. I do it in the thermomix normally but would love a microwave version for at school.

      Reply
      • Katrina Olive says

        July 15, 2026 at 7:36 pm

        5 stars
        Ingredients
        • food colouring
        • 500ml (2 cups) water
        • 60ml (1 tbsp) oil
        • 1 cup table salt
        • 1 tbsp cream of tartar
        • 2 cups plain flour

        I either use boiling water or cook in microwave in 1 min spurts and stir each time as best you can.
        Rubber gloves and knead as soon as you can manage the heat.
        Knead really well and it will go smooth. Ziplock bag and into fridge once cooled.

        Reply
    2. Bryanna says

      April 17, 2025 at 1:28 pm

      5 stars
      Hi, I haven’t tried this yet but want too on my new thermocook would you place the butterfly whisk on first to make the dough in the thermo? Or is it all done with the blade? Thanks xx

      Reply
      • Lucy says

        April 19, 2025 at 7:46 am

        Hi Bryanna, just the blade 🙂

        Reply
    « Older Comments
    5 from 33 votes (19 ratings without comment)

    Leave a Reply Cancel reply

    Your email address will not be published. Required fields are marked *

    Recipe Rating


    I’m Lucy! A mum, a wife, a food blogger and a lover of all things to do with food! I love creating delicious, no-fuss Thermomix and conventional recipes the whole family will love. Classic baking favourites, lunch box snacks, quick and easy family dinners and more!

    More about me →

    🔥 Everyone's Obsessed Right Now

    • This new and improved Lemon & Coconut Slice recipe is absolutely perfect! A beautiful tangy base topped with a creamy lemon frosting... it seriously doesn't get any better than this!
      Lemon Coconut Slice - New & Improved
    • No-Bake Rum Balls made with coconut, biscuits, condensed milk and cocoa powder.
      Kid-Friendly Rum Balls
    • A quick and easy classic dark chocolate hedgehog slice made with crushed biscuits, walnuts, coconut and condensed milk... the perfect melt and mix slice!
      Chocolate Hedgehog Slice
    • Introducing the famous 100 Cookie Recipe made with just 4 ingredients... butter, caster sugar, condensed milk and self-raising flour. This freezer-friendly cookie dough can be flavoured with any add-ins you like!
      The Famous 100 Cookie Recipe | Easy Condensed Milk Cookies

    🎒 Lunch Box Legends

    • Two pieces of rice bubble slice with 100s and 1000s on a blue and white plate.
      Homemade LCM Bars
    • A pile of cheese and vegemite scrolls.
      Cheese And Vegemite Scrolls
    • A piece of Milo oat slice on a grey plate in front of a jar of Milo.
      Oat & Milo Slice | Lunch Box Recipe
    • Soft finger buns with pink icing and sprinkles.
      Finger Buns
    Names of brands that Bake Play Smile has had recipes featured in.

    🥪 5pm Dinner SOS

    • A piece of egg and bacon pie with chutney in the background.
      Egg and Bacon Pie
    • a baking dish of lasagne, with a tea towel wrapped around it, with a serving being lifted out
      Easy Beef Lasagne
    • Creamy Tuscan Slow Cooker Chicken with sun-dried tomatoes, baby spinach and parmesan cheese is the ultimate winter comfort food. Serve with pasta for a simple meal the whole family will love. #creamy #tuscan #slowcooker #crockpot #chicken #dinner #family #recipe #meal 
      Slow Cooker Tuscan Chicken
    • A flakey pastry case filled with a cheesy, creamy chicken and bacon filling.
      Chicken Vol Au Vent

    Footer

    Subscribe for weekly updates!

    Subscribe
    • Contact
    • Privacy Policy
    • Terms & Conditions
    • Accessibility Policy
    • ↑ back to top

    Copyright © 2025 Bake Play Smile

    ↑ back to top

    Rate This Recipe

    Your vote:


    A rating is required
    A name is required
    An email is required

    Recipe Ratings without Comment

    Something went wrong. Please try again.