

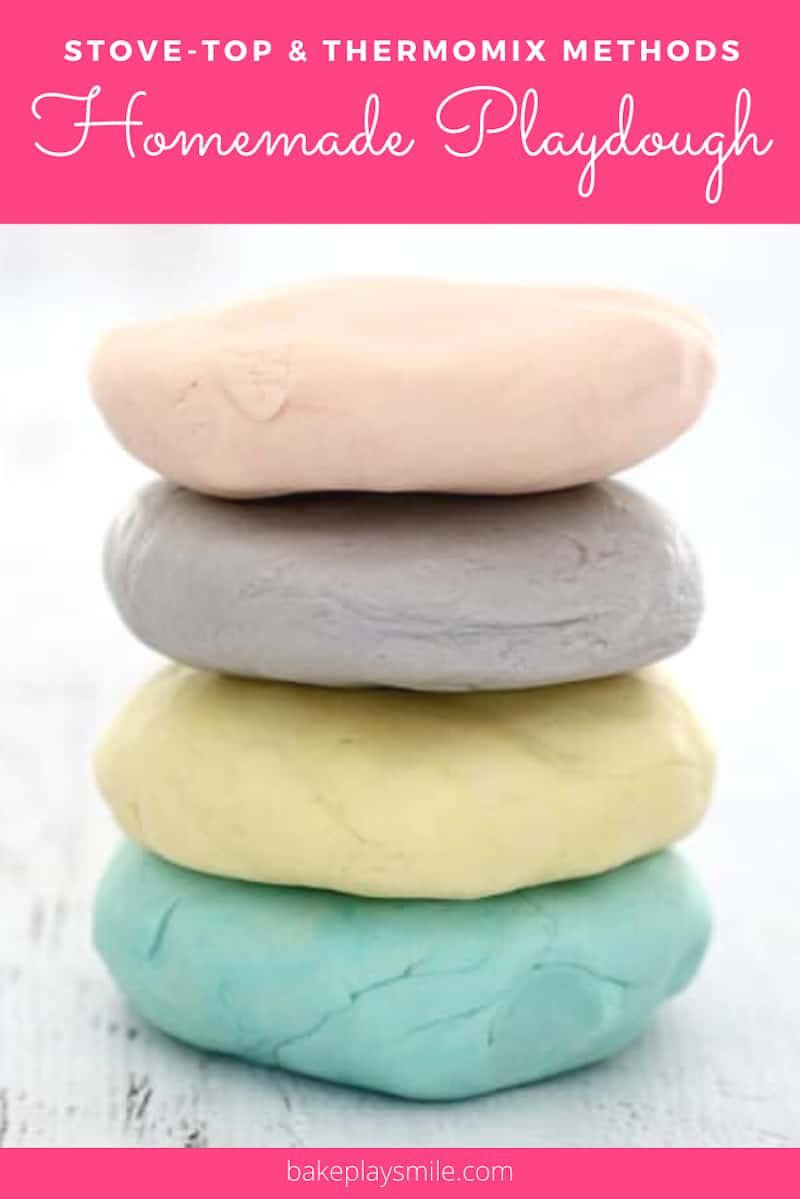
Our simple cooked playdough recipe is sure to provide hours of fun for the kids! Follow our step-by-step instructions for making playdough using a stove-top or a Thermomix.
Playdough (also known as play do, play doh and play dough) provides one of the most valuable learning experiences for toddlers and kids.
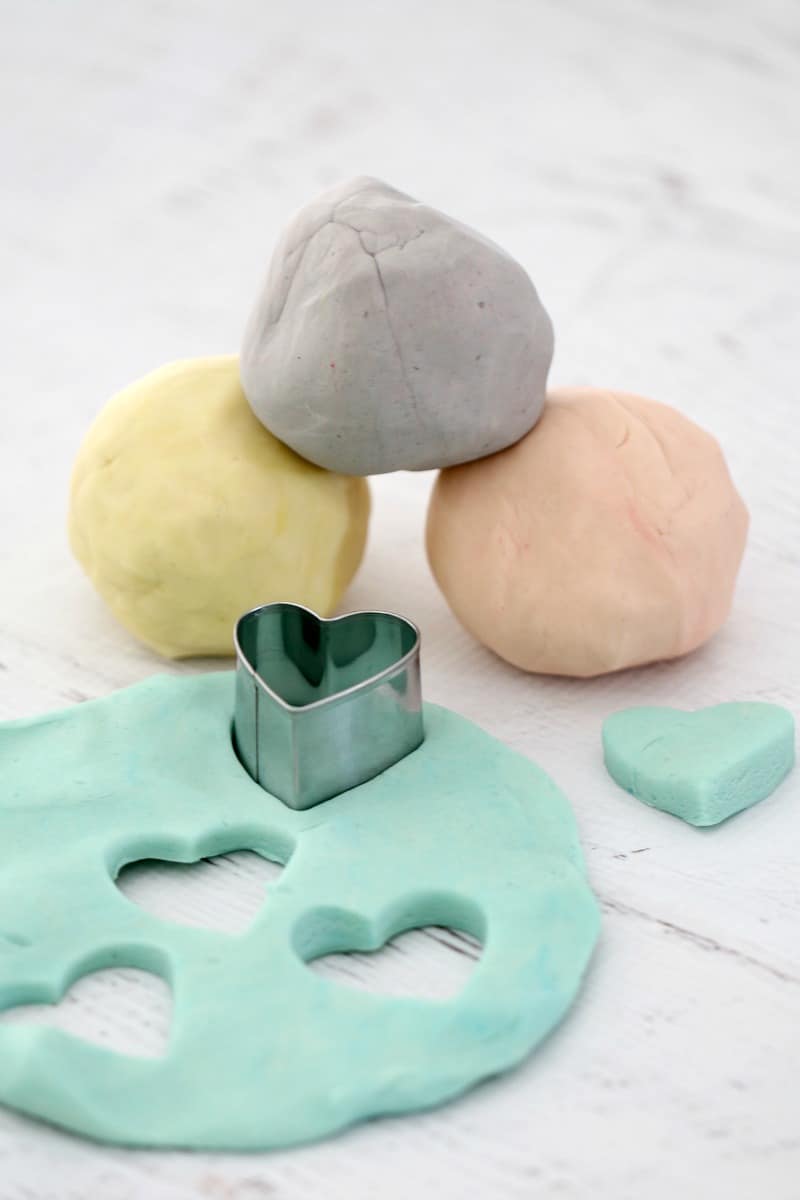
Not only does it assist with motor skills such as rolling, pinching, stretching, pushing and cutting, it also encourages imaginative play through a range of sensory and tactile activities.
What You Need To Make Playdough
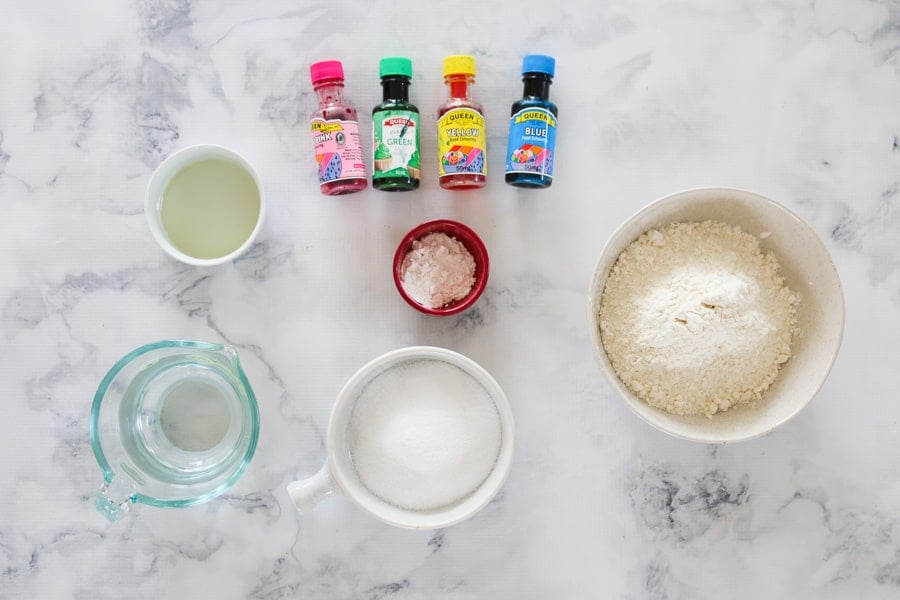
- salt - cheap table salt works fine (you can generally buy a 1kg bag for around $1.00). The salt helps to preserve the playdough so that it lasts longer
- water
- cream of tartar - I use McKenzies brand but you can substitute with any brand you like
- plain flour - cheap home brand flour works fine
- oil - you can use vegetable oil, coconut oil, canola oil etc. I generally use vegetable oil. The oil helps maintain the elasticity of the playdough.
- food colouring - add 1-2 drops for pastel colours or increase the amount of food colouring for more vibrant colours
How To Make Playdough On A Stove-Top
*scroll to the printable recipe card at the bottom of the post for full instructions
Step 1 - Mix the flour, water and cream of tartar in a saucepan
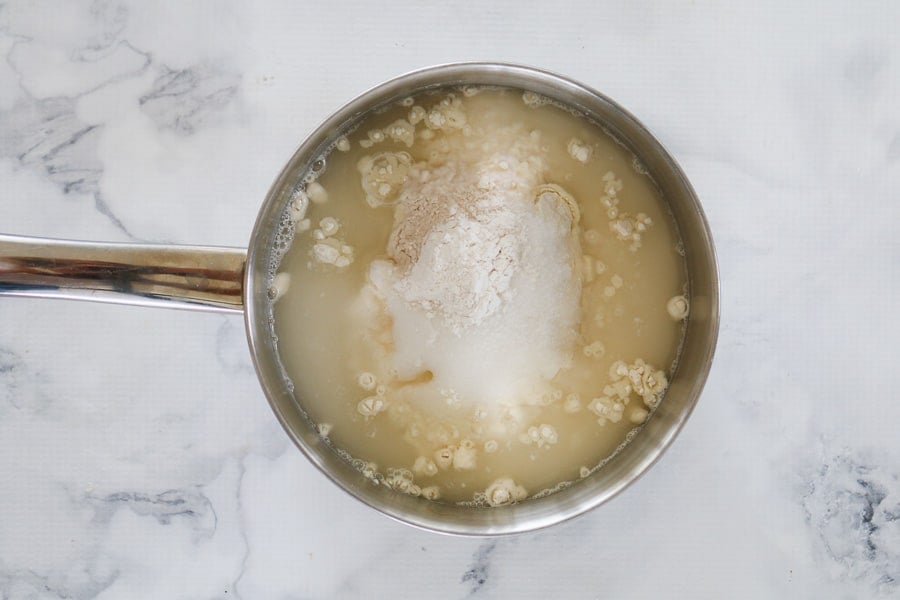
Step 2 - Cook on the stovetop, stirring until thickened
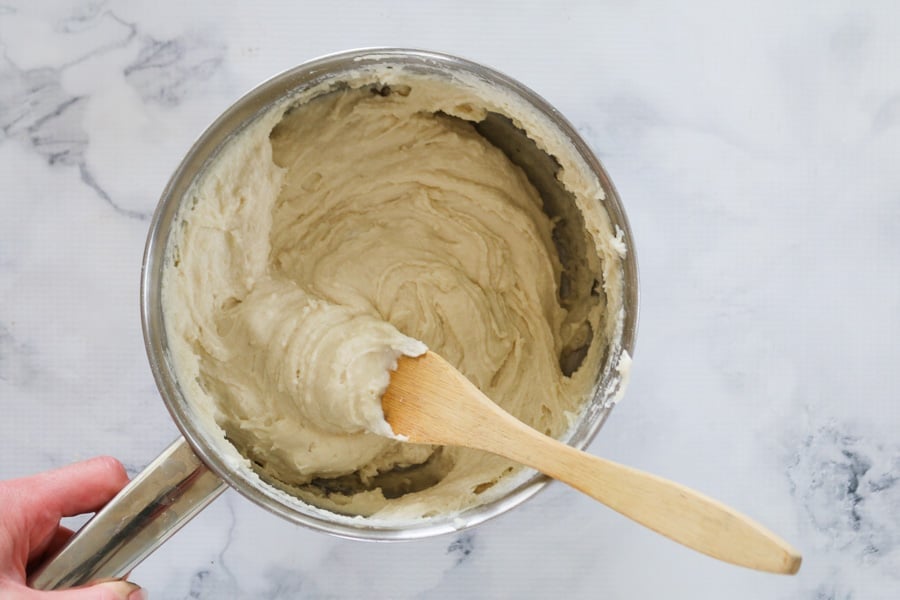
Step 3 - Knead the dough on a chopping board
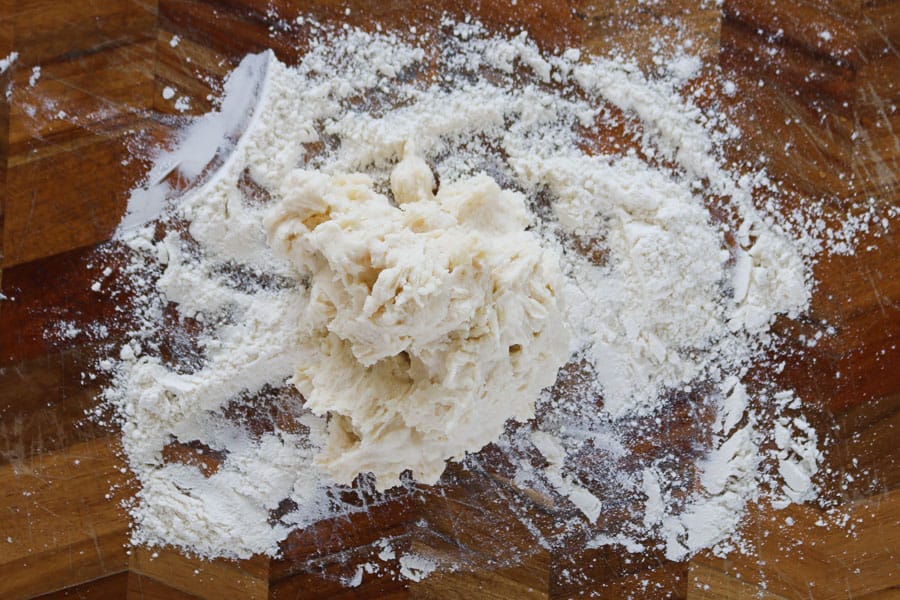
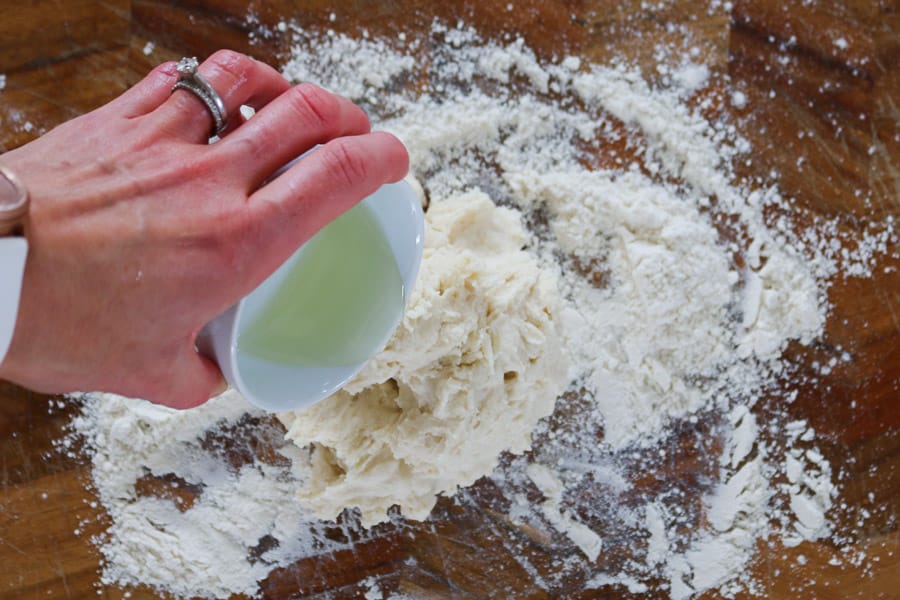
Step 4 - Knead through the oil
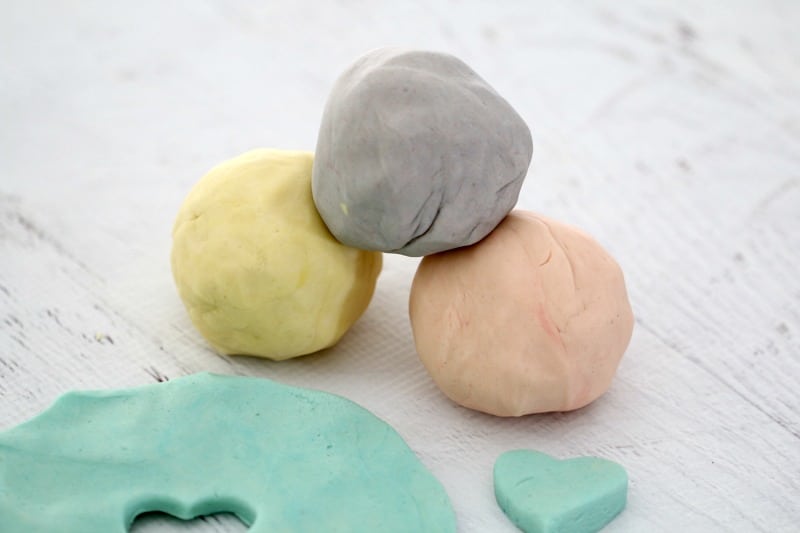
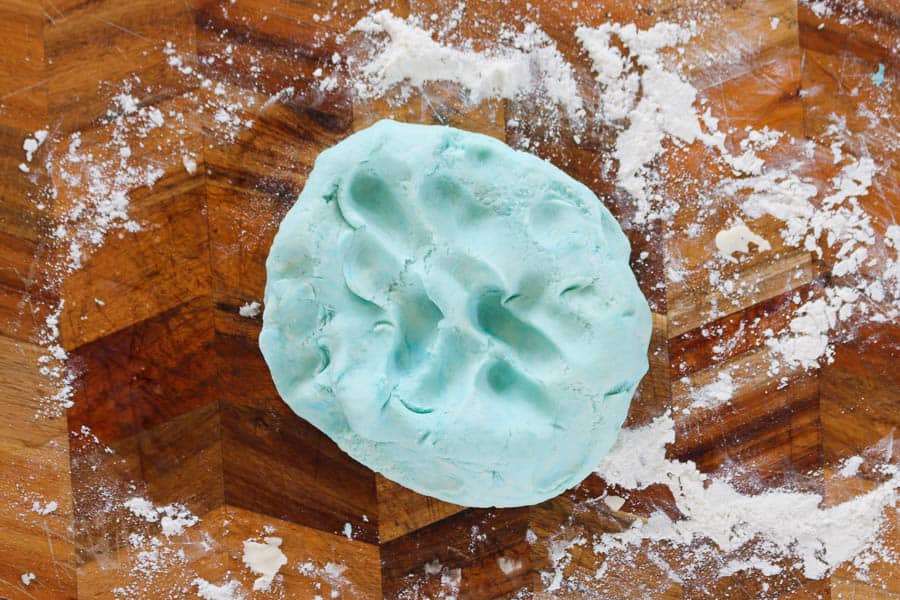
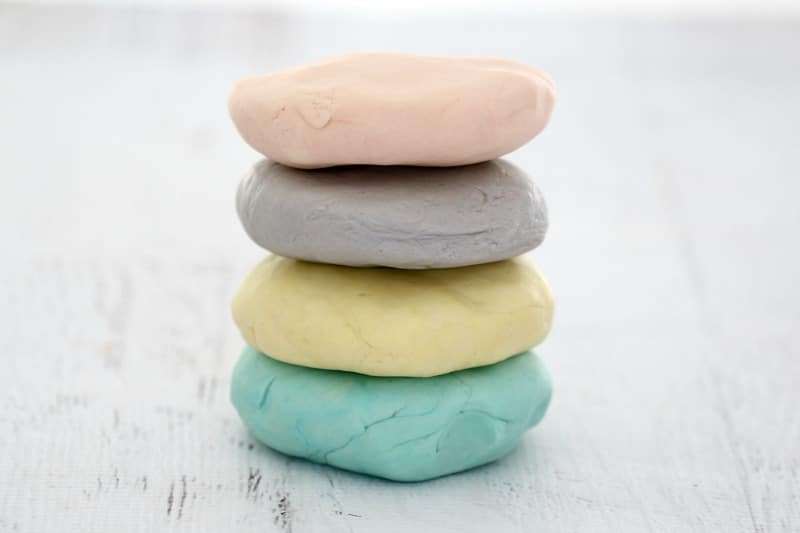
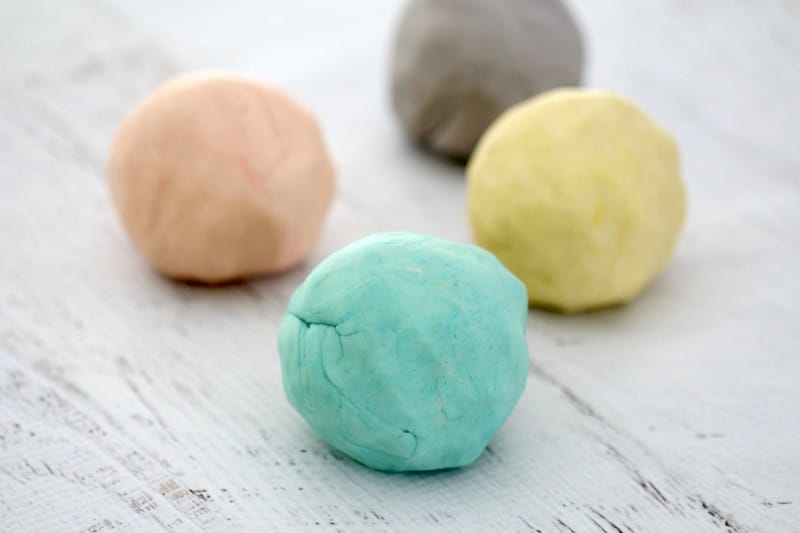
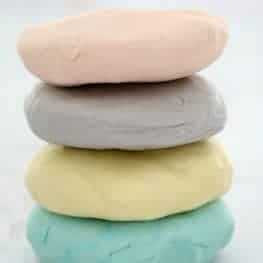
Step 5 - Divide into portions and mix through the food colouring
How To Make Playdough In a Thermomix
*scroll to the printable recipe card at the bottom of the post for full instructions
My favourite way to make playdough is in the Thermomix! It's so incredibly quick and easy!
Start by milling the salt then add the water and cream of tartar and heat for 5 minutes. Allow to cool slightly.
Add the flour and oil and mix together, then use the Interval/Knead function.
Remove from the Thermomix, divide into portions and knead through the food colouring with your hands.
The Pros And Cons - Cooked Playdough Vs Uncooked Playdough
While uncooked playdough is easy to make (and this is a good recipe to use), I prefer cooked playdough for the following reasons:
- cooked playdough lasts longer than uncooked playdough
- cooked playdough has a far better texture than uncooked playdough
- it only takes a couple of minutes to cook playdough (either on the stove-top or in a Thermomix)
What Makes This The BEST Playdough Recipe
I've been making this recipe for YEARS... from way back when I was a primary school teacher to now making it with my son. It's the BEST recipe I've ever used and it's so simple.
Here's why you're going to LOVE it:
- it's super cheap to make (an entire batch costs just a couple of dollars)
- it makes enough for 3-4 colours
- the recipe can easily be doubled
- it lasts up to 3 months stored at room temperature
How To Store Playdough
Store playdough in individual ziplock plastic bags (one bag per colour) at room temperature for up to 3 months.
If the playdough starts to dry out, simply knead through a small amount of oil.
Tips For Making Our Cooked Playdough Recipe
- Wear gloves when kneading through the food colouring (to avoid your hands being stained)
- You can add glitter to this recipe for a sparkly appearance
- You can add essential oils to the playdough to give it a beautiful scent
- If you'd like more than 1 colour playdough, simply divide the plain (uncoloured) mixture between several bowls and mix through the colours you would like
- Playdough can be prepared ahead of time as this recipe will last for up to 3 months.
WANT EVEN MORE DELICIOUS RECIPES? Subscribe to my newsletter or follow along on Facebook or Instagram. And if you love baking, then please come and join my Facebook cooking club group or subscribe to my YouTube channel.
Super Easy Playdough Recipe
Ingredients
- 110 g salt
- 250 g water
- 1 tbs cream of tartar
- 250 g plain flour
- 1 tbs oil coconut, vegetable etc are all fine
- food colouring
- glitter optional
Instructions
Thermomix Method
- Place the salt into the Thermomix bowl and mix on Speed 10 for 5 seconds.
- Scrape down the sides of the bowl.
- Add the water and cream of tartar and cook for 5 minutes, 60 degrees, Speed 3.
- Leave to cool for 5 minutes.
- Add the plain flour and the oil and mix together for 50 seconds, Speed 4.
- Knead for 1 minute on Interval Speed.
- Check the texture and if it's a little sticky, add some more flour and knead for a further 30 seconds.
- Separate the playdough into several bowls.
- Add 1 tiny drop of food colouring (and a sprinkle of glitter - optional) to each bowl and mix together with your hands until the colour is evenly dispersed (wear gloves!).
- Wrap the playdough in cling wrap and store in an airtight container in the fridge (see notes).
Conventional Method
- Place the flour, water, cream of tartar and salt into a saucepan over medium heat.
- Stir continuously until thickened. Leave the mixture to cool.
- Place the dough onto a well-floured board or bench.
- Add the oil and knead it through really well.
- Divide the playdough into equal portions, add food colouring and knead until the colour is completely even.
- Wrap the playdough in cling wrap and store in an airtight container in the fridge (see notes).
Notes


Aimee says
I love this playdough. I do it in the thermomix normally but would love a microwave version for at school.
Katrina Olive says
Ingredients
• food colouring
• 500ml (2 cups) water
• 60ml (1 tbsp) oil
• 1 cup table salt
• 1 tbsp cream of tartar
• 2 cups plain flour
I either use boiling water or cook in microwave in 1 min spurts and stir each time as best you can.
Rubber gloves and knead as soon as you can manage the heat.
Knead really well and it will go smooth. Ziplock bag and into fridge once cooled.
Bryanna says
Hi, I haven’t tried this yet but want too on my new thermocook would you place the butterfly whisk on first to make the dough in the thermo? Or is it all done with the blade? Thanks xx
Lucy says
Hi Bryanna, just the blade 🙂