
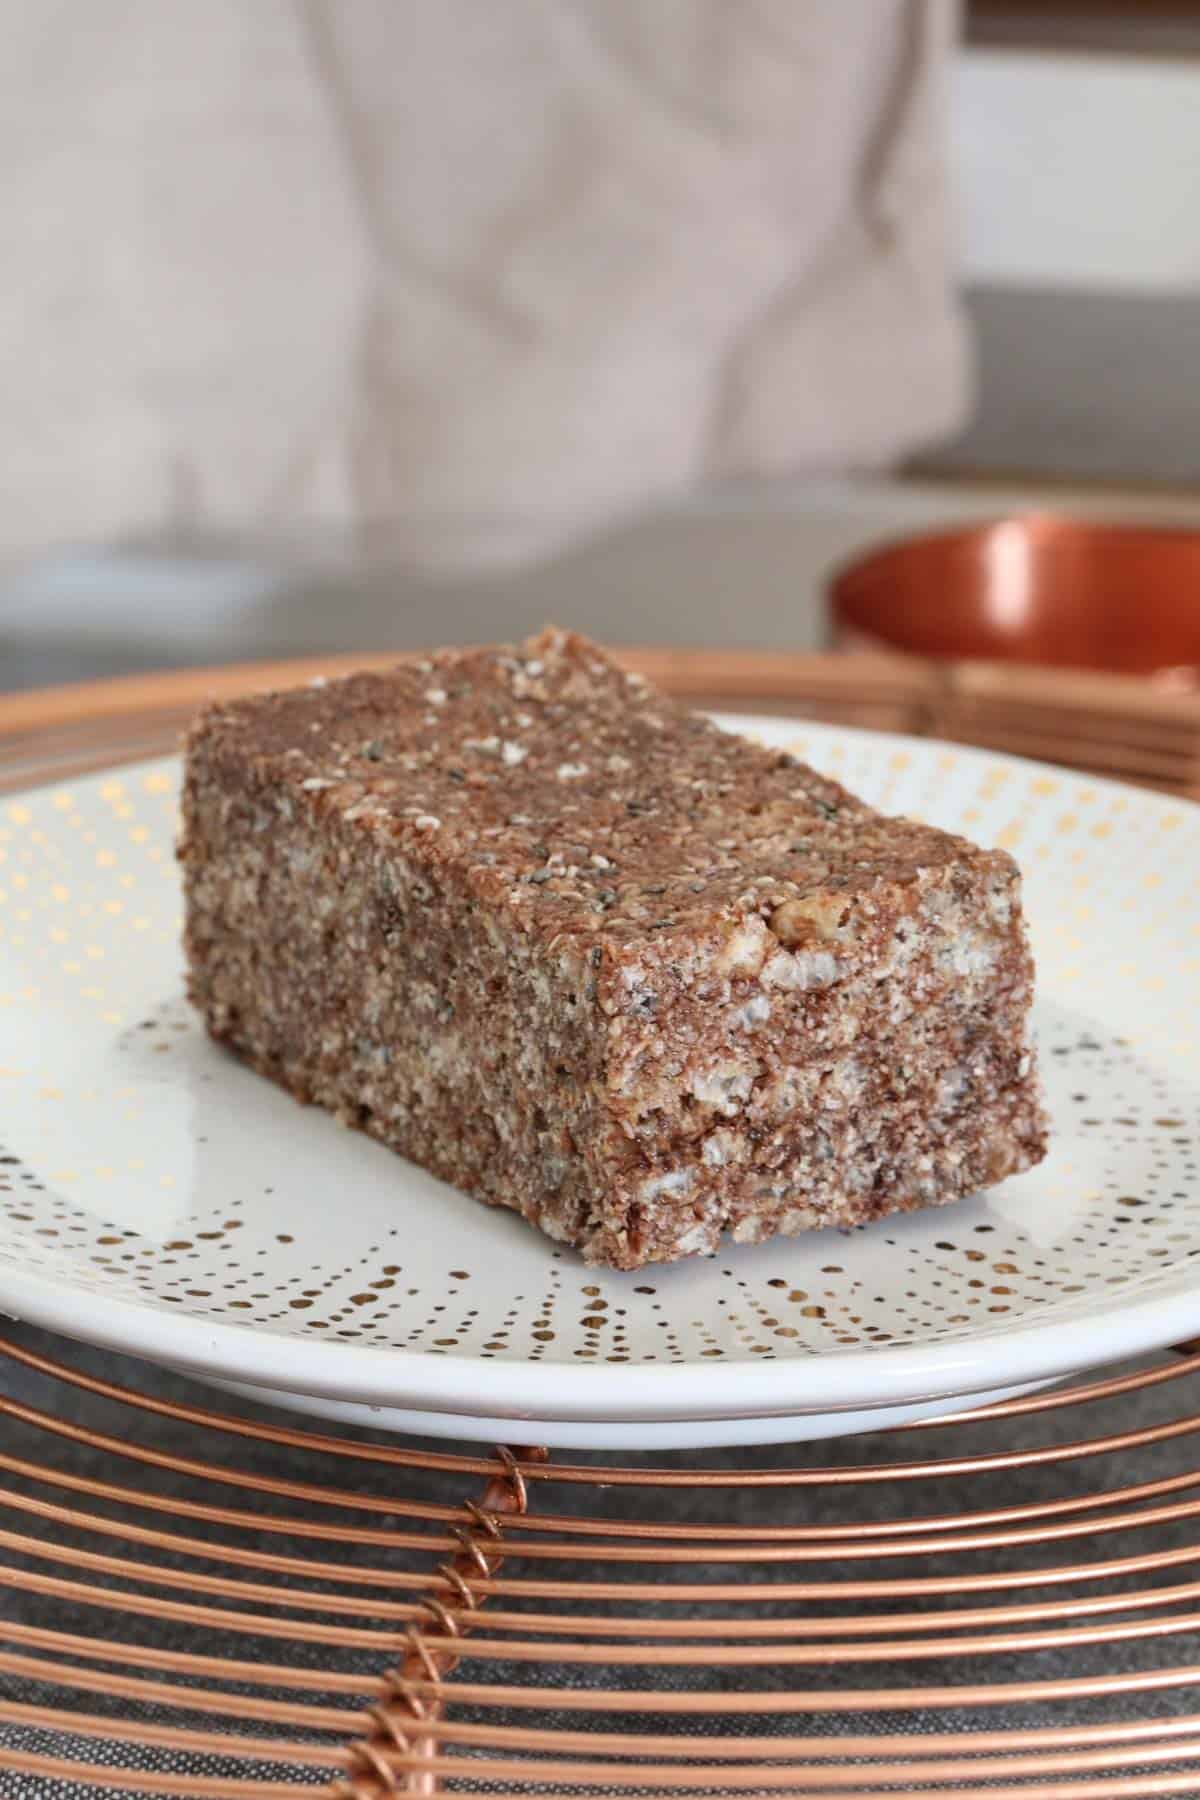
Made with only 6 ingredients including chia seeds, cacao and coconut, these delicious coco bars are the perfect 'grab and go' or after-school treat! Naturally sweetened with honey, they only take 5 minutes and one bowl to throw together - and they are a much healthier alternative to store-bought coco pop bars.
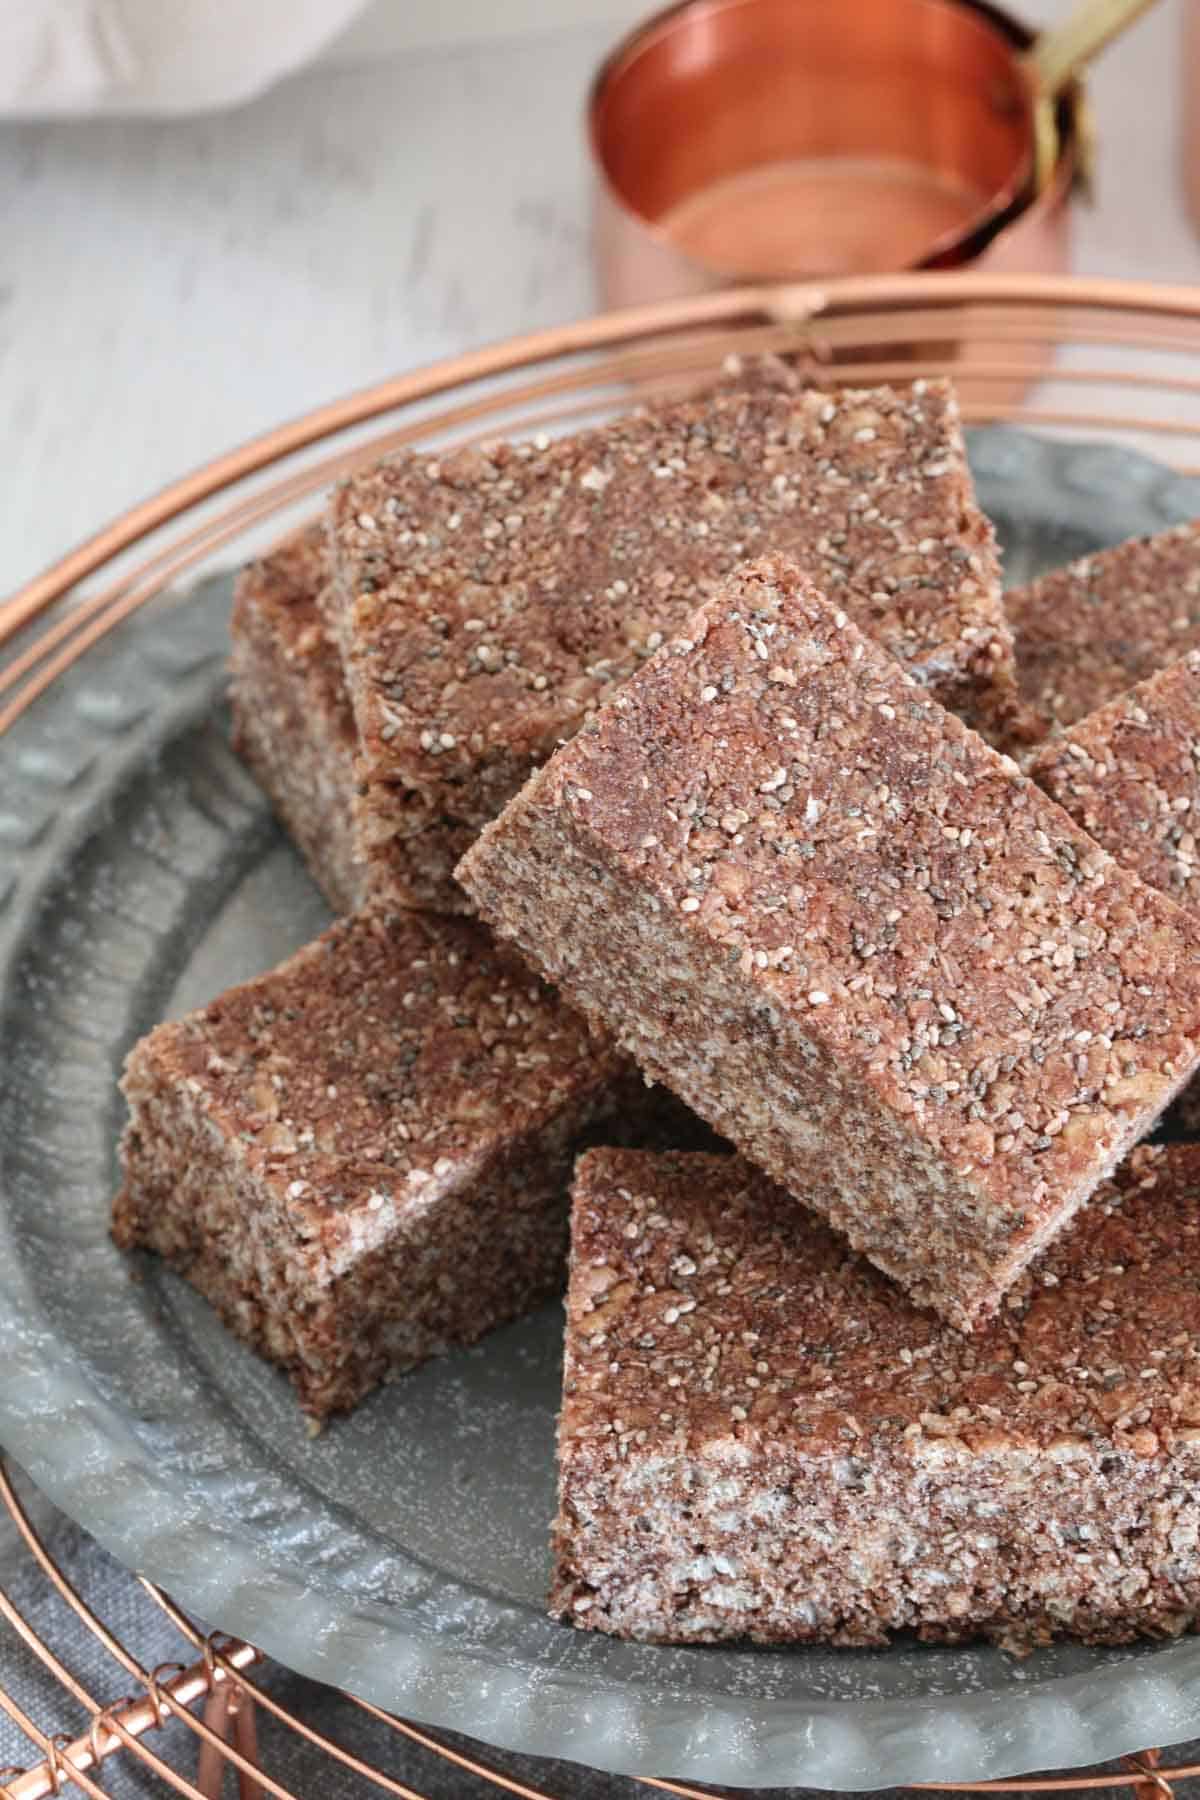
When you are craving an afternoon chocolate hit, these delicious healthy coco bars are for you!!
This recipe came about when I was experimenting with making a healthier alternative to the sugar and additive-filled LCM bars and muesli bars that are commonly found on supermarket shelves. And what a delicious experiment they turned out to be!
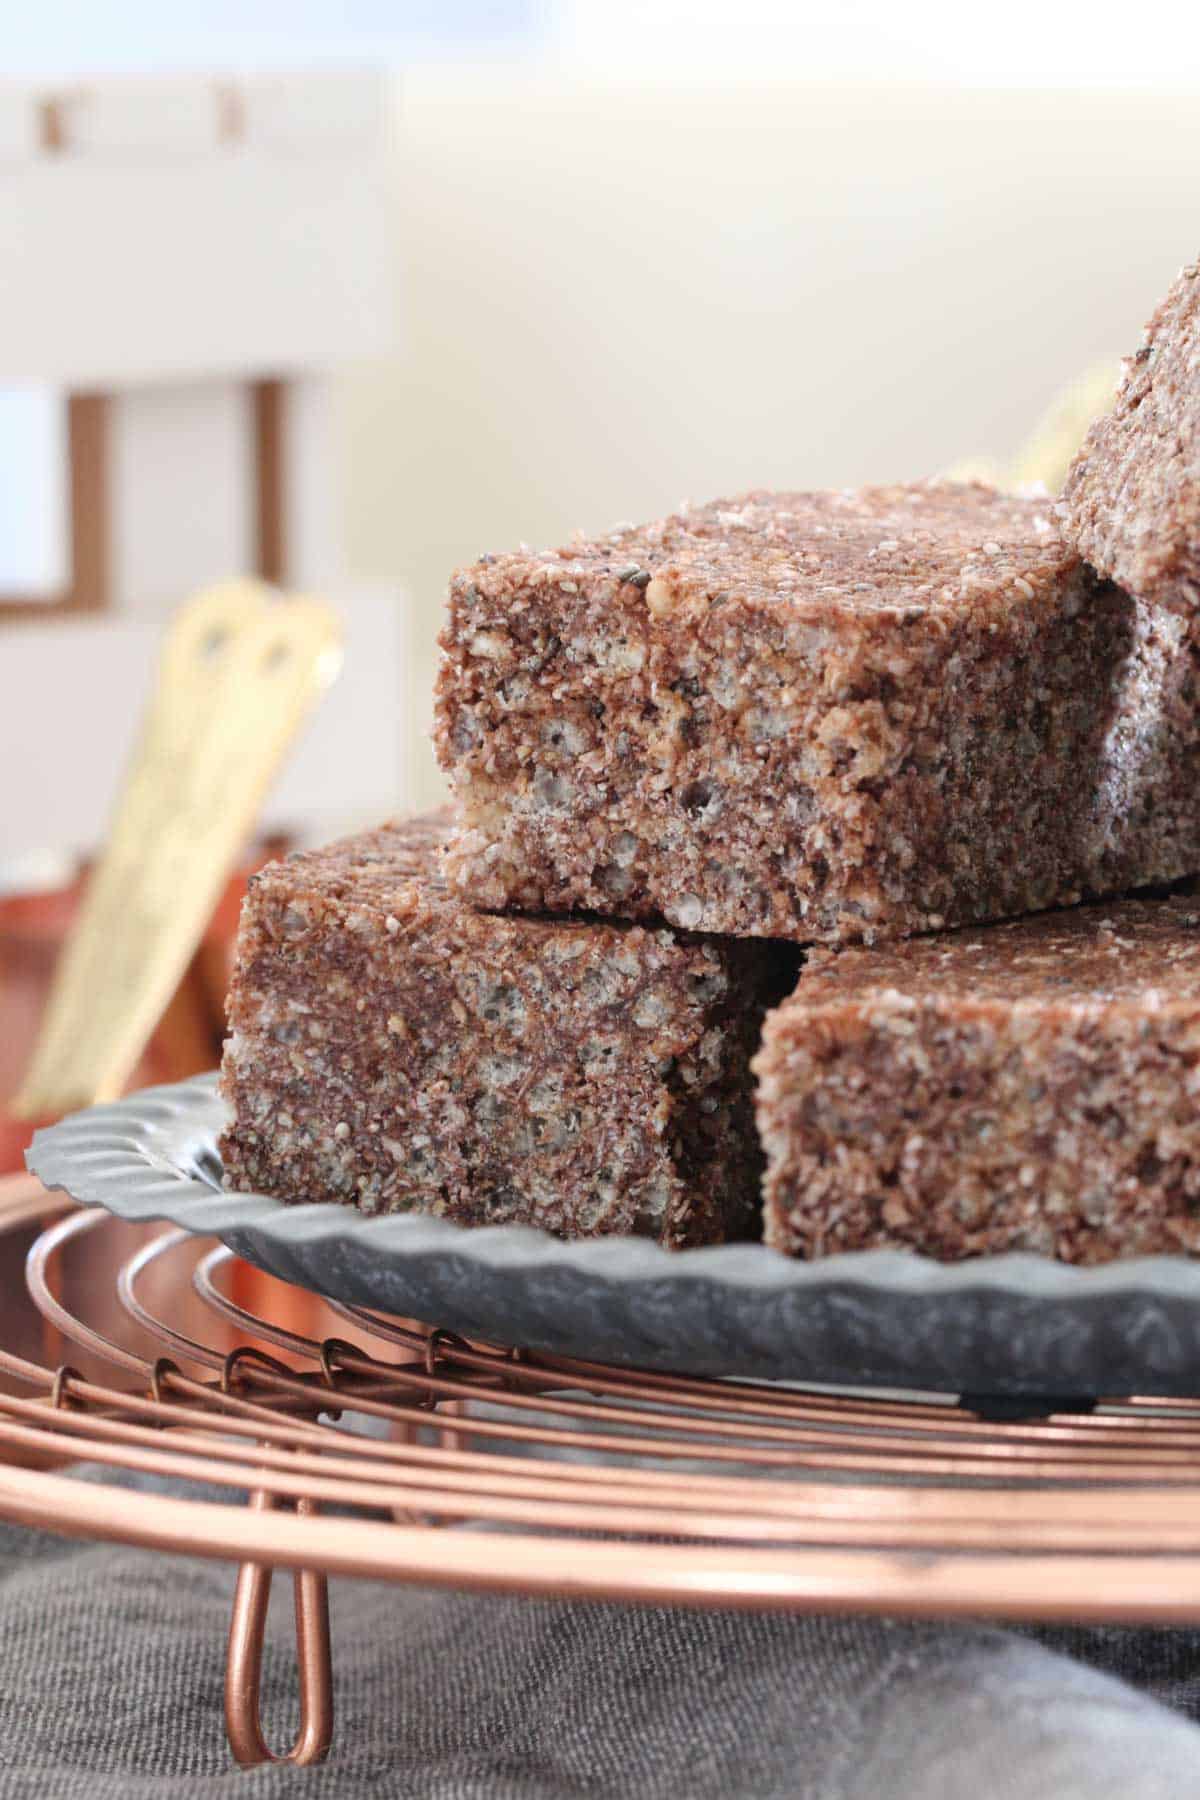
These healthy rice bubble treats are made with much healthier ingredients than the store-bought variety, making them a satisfying lunch snack when you feel like reaching for something chocolatey and energy boosting. They are also a perfect after-school snack to keep hungry kids full until dinner time.
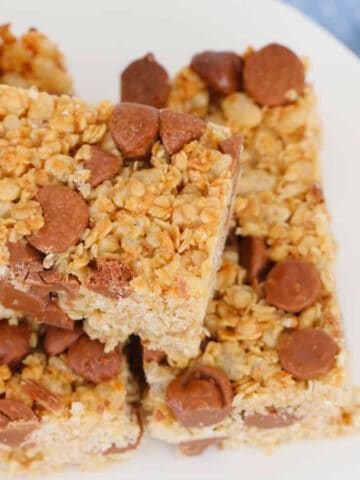
Instead of using marshmallows to hold the coco bars together, we use honey and coconut oil. Making your own bars like these honey, date, oat and nut energy bars or nut-free muesli bars at home is healthier, really easy and so much more cost effective than buying store-bought!
Why You're Going To Love This Recipe
- Quick and easy - one bowl, 6 ingredients, 5 minutes of prep and no-bake is all that's required!
- Healthier - making your own coco bars at home means you know exactly what is (and isn't) going into them.
- Perfect for snacking - make a double batch and keep them in the fridge or freezer for the perfect after school snack that kids (and adults!) will love.
- Cost effective - one batch of bars makes 24 serves, making them much more affordable than buying pre-packaged bars.
- Dietary restriction friendly - these coco bars are free from nuts, dairy, eggs, refined sugars and can also be made gluten-free (see ingredient notes below).
What You Need
Just a handful of easy pantry ingredients are needed to make this simple no-bake slice!
Note: Please scroll to the recipe card at the bottom for ingredient quantities and the full detailed method.
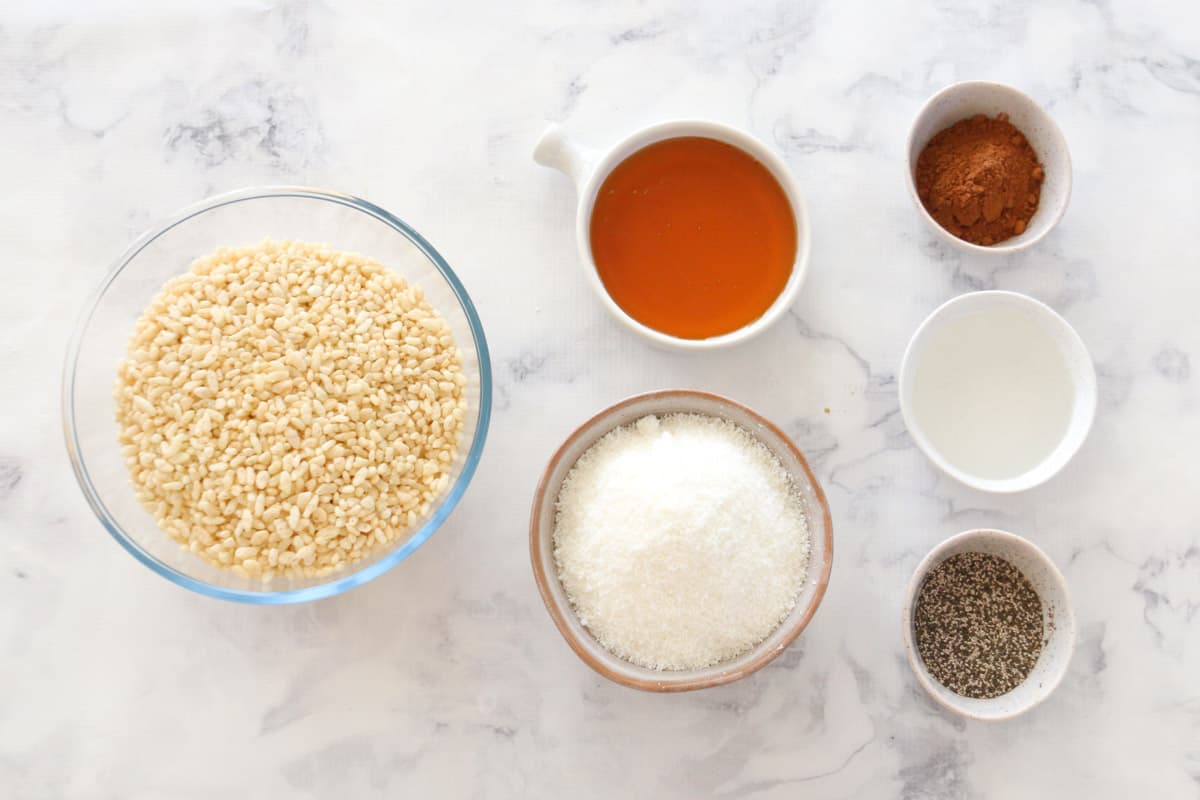
- Rice Bubbles - also known as Rice Krispies, Rice Bubbles are a cereal made with puffed white rice. Alternatively, you can also use puffed brown rice (found in the health food section) or puffed wheat. **Note - for gluten-free bars; while Rice Bubbles are not labelled gluten free, there are similar puffed rice alternatives that can be found in the health food section of supermarkets or in health food stores that can be easily substituted.
- Chia seeds - add a lovely crunch and texture as well as providing extra nutrients, omega 3, antioxidants and fibre. Black, white or a mix of chia seeds can be used here.
- Coconut - desiccated coconut is finely grated and dried coconut.
- Raw cacao powder - is used to add the natural chocolate flavour. You can find cacao powder in the health section of the supermarkets, or in health food stores. Alternatively, unsweetened cocoa powder can be used.
- Honey - is combined with the coconut oil to make a sticky "glue" for the bars. You could also use brown rice syrup or maple syrup as a substitute, although they will be a little crumblier this way.
- Coconut oil - is used to hold the coco bars together in the fridge. Coconut oil (and therefore the bars) will soften at room temperature. So the bars need to be eaten straight from the fridge to hold their shape. If you prefer a firmer bar, you can swap for equal quantities of unsalted butter.
Step By Step Instructions
I just LOVE how easy it is to make this slice. Just one bowl and a few minutes of prep is all you need!
Note: Please scroll to the recipe card at the bottom of the post for ingredient quantities and the full detailed method.
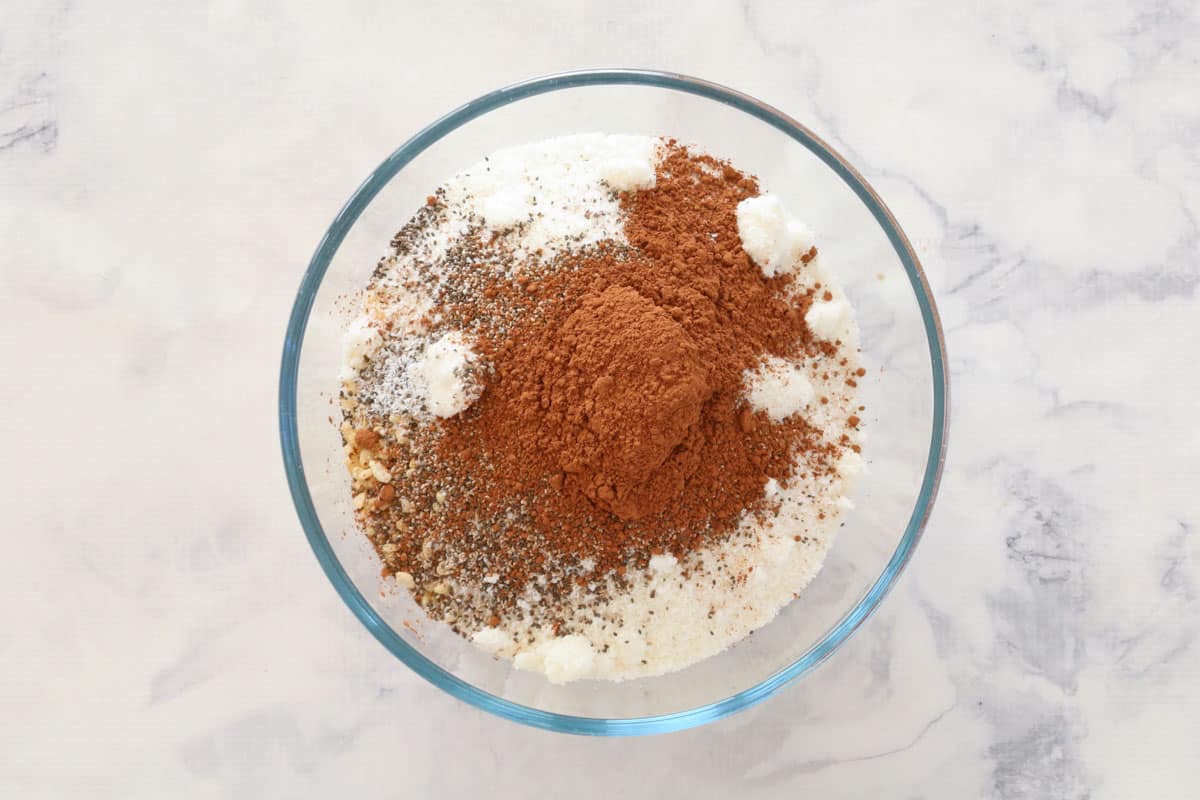
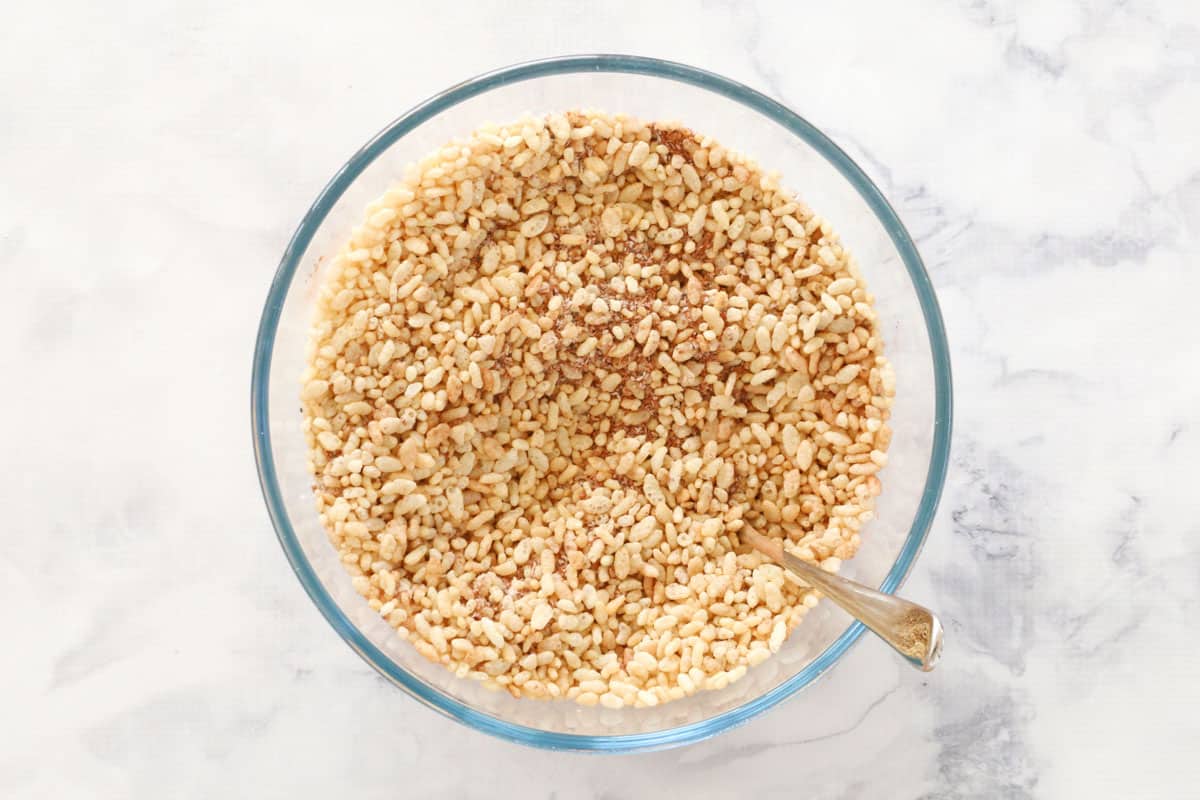
Step 1 - Mix The Dry Ingredients
Place the rice bubbles, chia seeds, coconut and cacao powder into a large bowl and stir to combine.
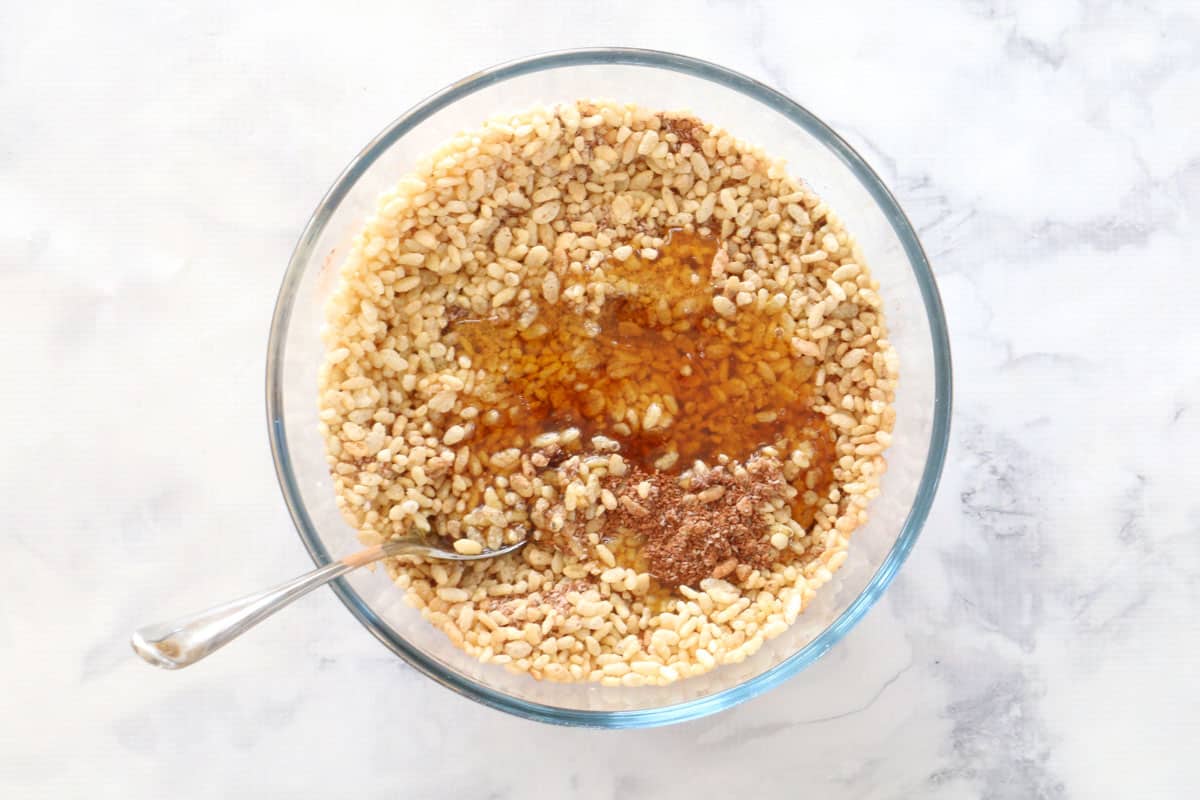
Step 2 - Add The Wet Ingredients
Pour over the honey and melted coconut oil and mix together really well.
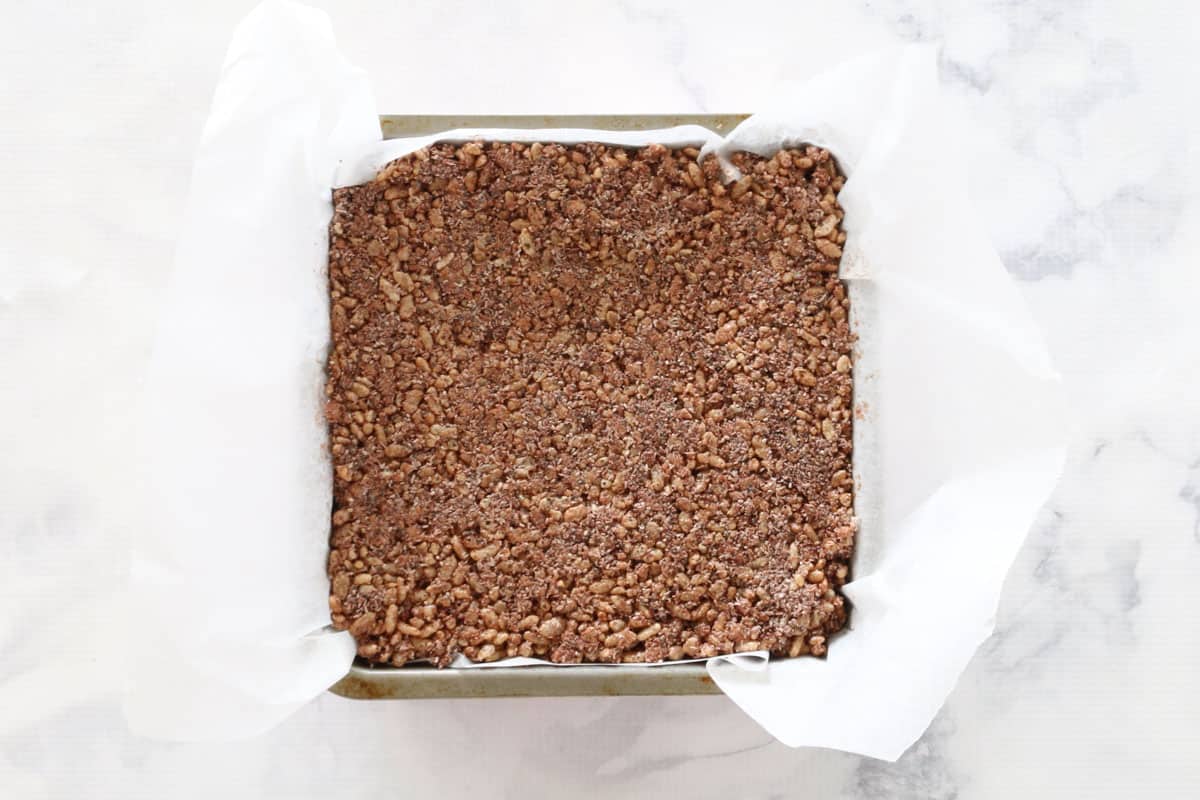
Step 3 - Press Into Tin
Place the mixture into a lined 20cm square cake tin and press down firmly. I like to use a round glass and roll it over the mixture to really press it down extra hard.
Place the tin into the fridge and leave for 2-3 hours or overnight. Once set, slice into bars and keep them in the fridge to keep their shape.
Expert Tips & FAQs
Coconut Oil is used to hold the bars together. As coconut oil softens at room temperature, these bars need to be kept refrigerated or frozen to hold their shape. They will start to fall apart at room temperature, so are best eaten straight from the fridge or freezer. For a firmer bar, butter can be used instead. If you do want to add them to lunchboxes, I recommend making them in paper cases rather than cutting into bars, and use an ice pack to keep them cool!
These bars will keep in an airtight container in the fridge for about a week and can be frozen for up to 3 months.
Use a glass or another tin to press the mixture down very firmly into the tin. It is important that the slice is pressed down very firmly so that it doesn't crumble when sliced.
If you allow the slice to come to room temperature first, the bars will crumble when cut. Use a sharp knife and slice it straight from the fridge when cold.
This recipe makes 24 bars, which makes them a much cheaper alternative to buying store-bought packaged bars. You can adjust the bar sizes to make them larger or smaller, depending on your preference.

Related Recipes
If you love these healthy coco pop bars, give these ones a try too!
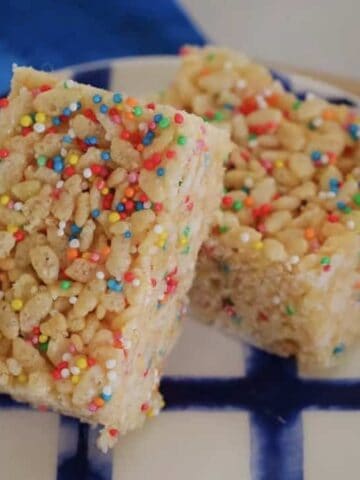

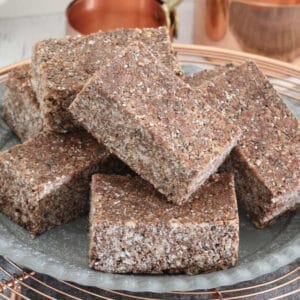
Healthy Coco Pop Bars
Ingredients
- 120 g (4 cups) rice bubbles or any puffed rice
- 40 g (¼ cup) chia seeds
- 200 g (2 cups) desiccated coconut
- 25 g (¼ cup) raw cacao powder
- 255 g (¾ cup) honey or ¾ cup rice malt or maple syrup
- 110 g (½ cup) coconut oil melted
Instructions
- Place the rice bubbles, chia seeds, coconut and cacao powder into a large bowl.
- Pour over the honey and melted coconut oil and mix together really well.
- Place the mixture into a lined 20cm square cake tin and press down firmly (I like to use a round glass and roll it over the mixture to really press it down extra hard).
- Place the tin into the fridge and leave for 2-3 hours or overnight.
- Take out of the fridge and cut into bars. Note - they will soften once out of the fridge.
- Store the bars in an airtight container in the fridge.
Notes
- Rice Bubbles (also known as Rice Krispies) are a cereal made with puffed white rice. Alternatively, you can also use puffed brown rice (found in the health food section) or puffed wheat. Rice Bubbles are not gluten free, but gluten free alternatives can be purchased from the supermarkets and health food stores if gluten free bars are required.
- Honey is combined with the coconut oil to make a sticky "glue" for the bars. You could also use brown rice syrup or maple syrup, although they will be a little crumblier this way.
- Coconut oil is used to hold the bars together in the fridge. Coconut oil (and therefore the bars) will soften at room temperature. If you prefer a firmer bar, you can swap for equal quantities of unsalted butter.
- Raw cacao powder is used to add the natural chocolate flavour. You can find cacao powder in the health section of the supermarkets, or in health food stores. Alternatively, unsweetened cocoa powder can be used.
- As coconut oil softens at room temperature, these bars need to be kept refrigerated or frozen to hold their shape. They will start to fall apart at room temperature, so are best eaten straight from the fridge or freezer. For a firmer bar, butter can be used instead.
- Use a glass or another tin to press the mixture down very firmly into the tin. It is important that the slice is pressed down very firmly so that it doesn't crumble when sliced.
- Refrigerate before cutting - if you allow the slice to come to room temperature first, the bars will crumble when cut. Use a sharp knife and slice it straight from the fridge when cold.
- Storing - these bars will keep in an airtight container in the fridge for about a week and can be frozen for up to 3 months.


Wendy says
These are the best thank you
Lucy says
I'm so thrilled you liked them!
Mel says
This slice looks great , is that 5 grams of protein per serve ?
Thanks
Lucy says
Hi Mel, yes all of the nutritional info is per serve. xx