

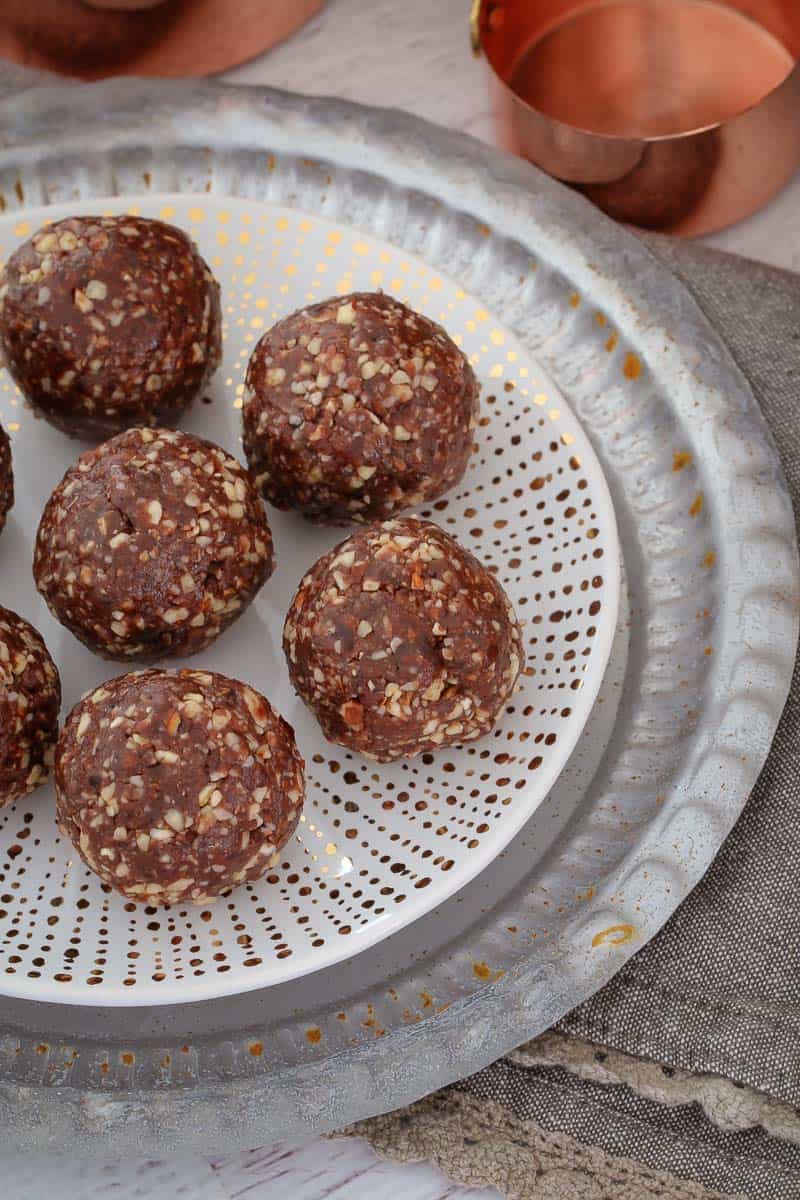
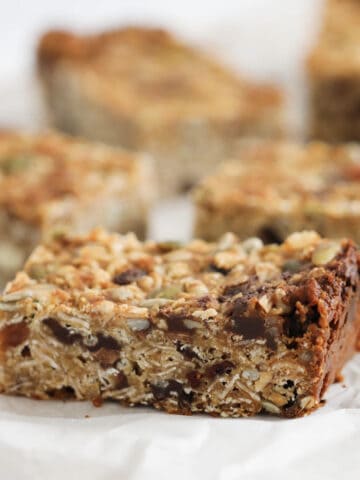
When it comes to quick and healthy snacks, Peanut Butter Bliss Balls are hard to beat. Fudgy and chocolatey with dates, cocoa and almonds, they taste indulgent but are actually wholesome, freezer-friendly, and perfect for lunchboxes, after-school snacks or a late-night choccy fix. If you love my Weet-Bix Slice or Healthy Chocolate Raspberry Brownies, these bliss balls will be a new favourite.

I made these and everyone who tasted them loved them and I've had to send them the link to this page!!! Awesome!!
- Vanessa
These peanut butter bliss balls are quick, healthy and versatile. Whether you call them protein balls, snack balls or energy bites, they're all about being fuss-free, tasty and family-friendly. Best of all, I've included both conventional and Thermomix bliss ball methods, so no matter your kitchen setup, you're sorted.
They're made from simple pantry staples: sweet dates for their natural sweetness, almonds for crunch, cocoa for a chocolatey depth, and, of course, creamy peanut butter to bring it all together. They're naturally dairy-free, can easily be made gluten-free, and store beautifully in the fridge or freezer - snack prep done!
For more healthy snacks, you might also like my Healthy Apricot Balls or Double Chocolate Bliss Balls.
Jump to:
Why You're Going To Love This Recipe
- 5 ingredients, 5 minutes - quick, easy and no-bake.
- Kid-friendly - even toddlers love these chewy little bites.
- Conventional + Thermomix methods - whatever works for you!
- Freezer-friendly - perfect for stocking up on healthy snacks.
- Tastes indulgent - fudgy, with a chocolate-peanut butter flavour and no refined sugar.
Bliss Ball Ingredients
You only need a handful of pantry staples to whip up a batch of these chocolate peanut butter protein balls.
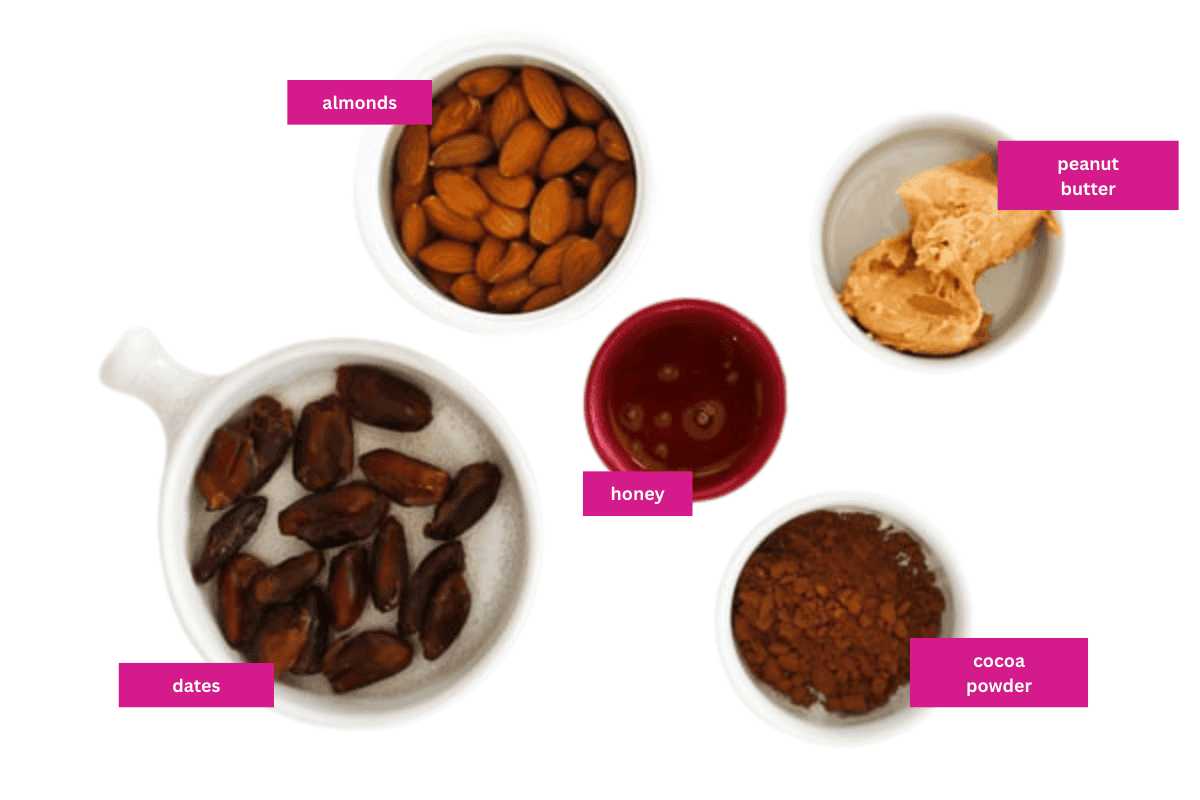
- Dates - Medjool dates are soft and sticky, so you may not need extra sweetener. If using dried dates, you'll likely need to add rice malt syrup or honey to help bind the mixture.
- Rice malt syrup (or honey) - acts as a natural binder and adds sweetness if needed.
All the other ingredients (cocoa, almonds, peanut butter) are straightforward, but scroll down to the Recipe Tips for extra guidance.
Variations
- Gluten-Free Peanut Butter Bliss Balls - simply use gluten-free oats or swap them for almond meal if you want a nutty boost.
- Nut-Free Bliss Balls - replace peanut butter with sunflower seed butter and swap almonds for rolled oats. Great for school-safe lunchboxes.
- Chocolate-Dipped - dip half the ball in melted dark chocolate for an extra indulgent treat. Alternatively, add a handful of mini chocolate chips, dark chocolate chips or cacao nibs to the mixture.
- Superfood Boost - mix in hemp seeds, chia seeds or flax seed for extra fibre and omega-3s.
- Fruity Bliss Balls - add shredded coconut, dried cranberries, apricots, raisins or goji berries for a chewy, sweet twist.
- Banana Peanut Butter Balls - add a tablespoon of mashed banana to the mixture for a softer, naturally sweet twist.
How To Make Peanut Butter Bliss Balls
Making these easy peanut butter energy balls couldn't be simpler!
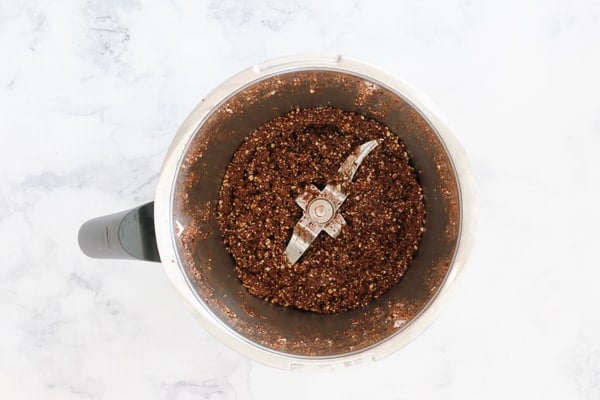
- Step 1: Blend the dates, cocoa and peanut butter in a food processor until smooth and paste-like.
Add almonds and rice malt syrup, then pulse until the mixture is slightly chunky and sticky.
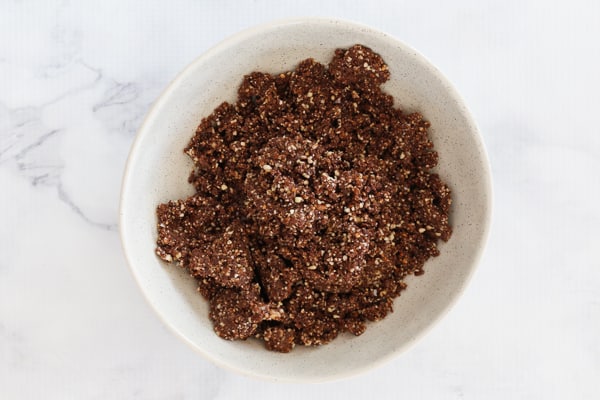
- Step 2: If the mixture feels dry, add a small amount of syrup or honey.
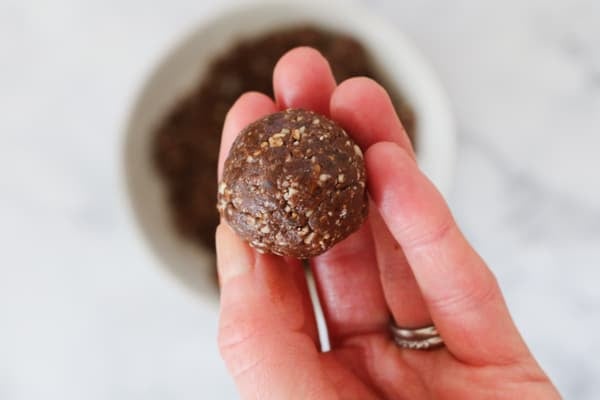
- Step 3: Roll into tablespoon-sized balls and place in an airtight container in the fridge.
Top Tip
If your mixture feels too dry, don't panic! Just add an extra drizzle of rice malt syrup or honey and pulse again until it comes together.
Recipe Tips
- Medjool vs dried dates - medjool are soft and sticky, so reduce or omit syrup. Dried dates need extra syrup/honey.
- Nut alternatives - swap almonds for cashews, walnuts or pecans.
- Nut butter swaps - almond butter or cashew butter both work well.
- Storage - keep in an airtight container in the fridge for 1 week.
- Freezer-friendly - freeze for up to 3 months. Thaw in the fridge overnight.
- Make them toddler-friendly - roll them smaller for little hands.
- Lunchbox tip - pop them straight from the freezer into lunchboxes; they'll thaw by recess.
- Texture preference - blitz longer for smooth balls, shorter for chunkier texture.
Peanut Butter Bliss Balls FAQs
Yes! Swap the dates for rolled oats and a little extra honey or maple syrup to help the mixture bind.
Yes, just roll them smaller for toddlers and skip honey for babies under 1.
Absolutely - this recipe doesn't use oats, but if you'd like to add them, replace half the almonds with rolled oats or quick oats.
Smooth and creamy natural peanut butter gives the best balance of flavour and stickiness, but crunchy also works if you want texture.
Definitely! Store in the fridge for a week or freeze for 3 months. They're the ultimate snack-prep recipe.
More Healthy Snacks
If you love bliss ball recipes, you'll enjoy these healthy snacks too!

WANT EVEN MORE DELICIOUS RECIPES? Subscribe to my newsletter or follow along on Facebook or Instagram. And if you love baking, then please come and join my Facebook cooking club group or subscribe to my YouTube channel.

Peanut Butter Bliss Balls
Ingredients
- 175 g (1 cup) pitted dates (dried or medjool)
- 2 tbs cocoa powder (or cacao powder)
- 4 tbs peanut butter
- 150 g (1 and ½ cups) raw almonds
- 3-4 tbs rice malt syrup see notes
Instructions
Conventional Method
- Place the dates, cocoa powder and peanut butter into a food processor or blender. Blend until the mixture resembles a paste.
- Add the almonds and rice malt syrup and blend until desired chunkiness is achieved.
- If your mixture is too dry, add 1tbs extra of rice malt syrup (or honey) and pulse to mix through. The mixture should be a little sticky and roll easily into balls when squished together.
- Use a spoon to roll the mixture into tablespoon sized balls.
- For best results, store in an airtight container in the fridge and consume within a week.
Thermomix Method
- Place the dates, cocoa powder and peanut butter into the Thermomix bowl and mix on Speed 6, 20 seconds (scraping down the sides of the bowl partway through).
- Add the almonds and rice malt syrup and press Turbo 10-15 times or until desired chunkiness is achieved. If your mixture is too dry, add 1tbs extra of rice malt syrup (or honey) and pulse to mix through. The mixture should be a little sticky and roll easily into balls when squished together.
- Use a spoon to roll the mixture into tablespoon sized balls.
- For best results, store in an airtight container in the fridge and consume within a week.
Notes
- Medjool vs dried dates - medjool are soft and sticky, so reduce or omit syrup. Dried dates need extra syrup/honey.
If your mixture feels too dry, don't panic! Just add an extra drizzle of rice malt syrup or honey and pulse again until it comes together. - Nut alternatives - swap almonds for cashews, walnuts or pecans.
- Nut butter swaps - almond butter or cashew butter both work well.
- Storage - keep in an airtight container in the fridge for 1 week.
- Freezer-friendly - freeze for up to 3 months. Thaw in the fridge overnight.
- Make them toddler-friendly - roll them smaller for little hands.
- Lunchbox tip - pop them straight from the freezer into lunchboxes; they'll thaw by recess.
- Texture preference - blitz longer for smooth balls, shorter for chunkier texture.


Paige says
I am excited to try these. I dont have rice malt syrup and cant find the note. Can I use honey instead?
Lucy Mathieson says
Absolutely!
Shari says
The best my kids love them so much. We make them regularly.