Crumble fans, rejoice! This incredibly moist and flavourful Raspberry Apple Crumble Cake is perfect for an afternoon tea or coffee break. It’s super easy to make and goes perfectly with warm custard or a big scoop of vanilla ice cream!
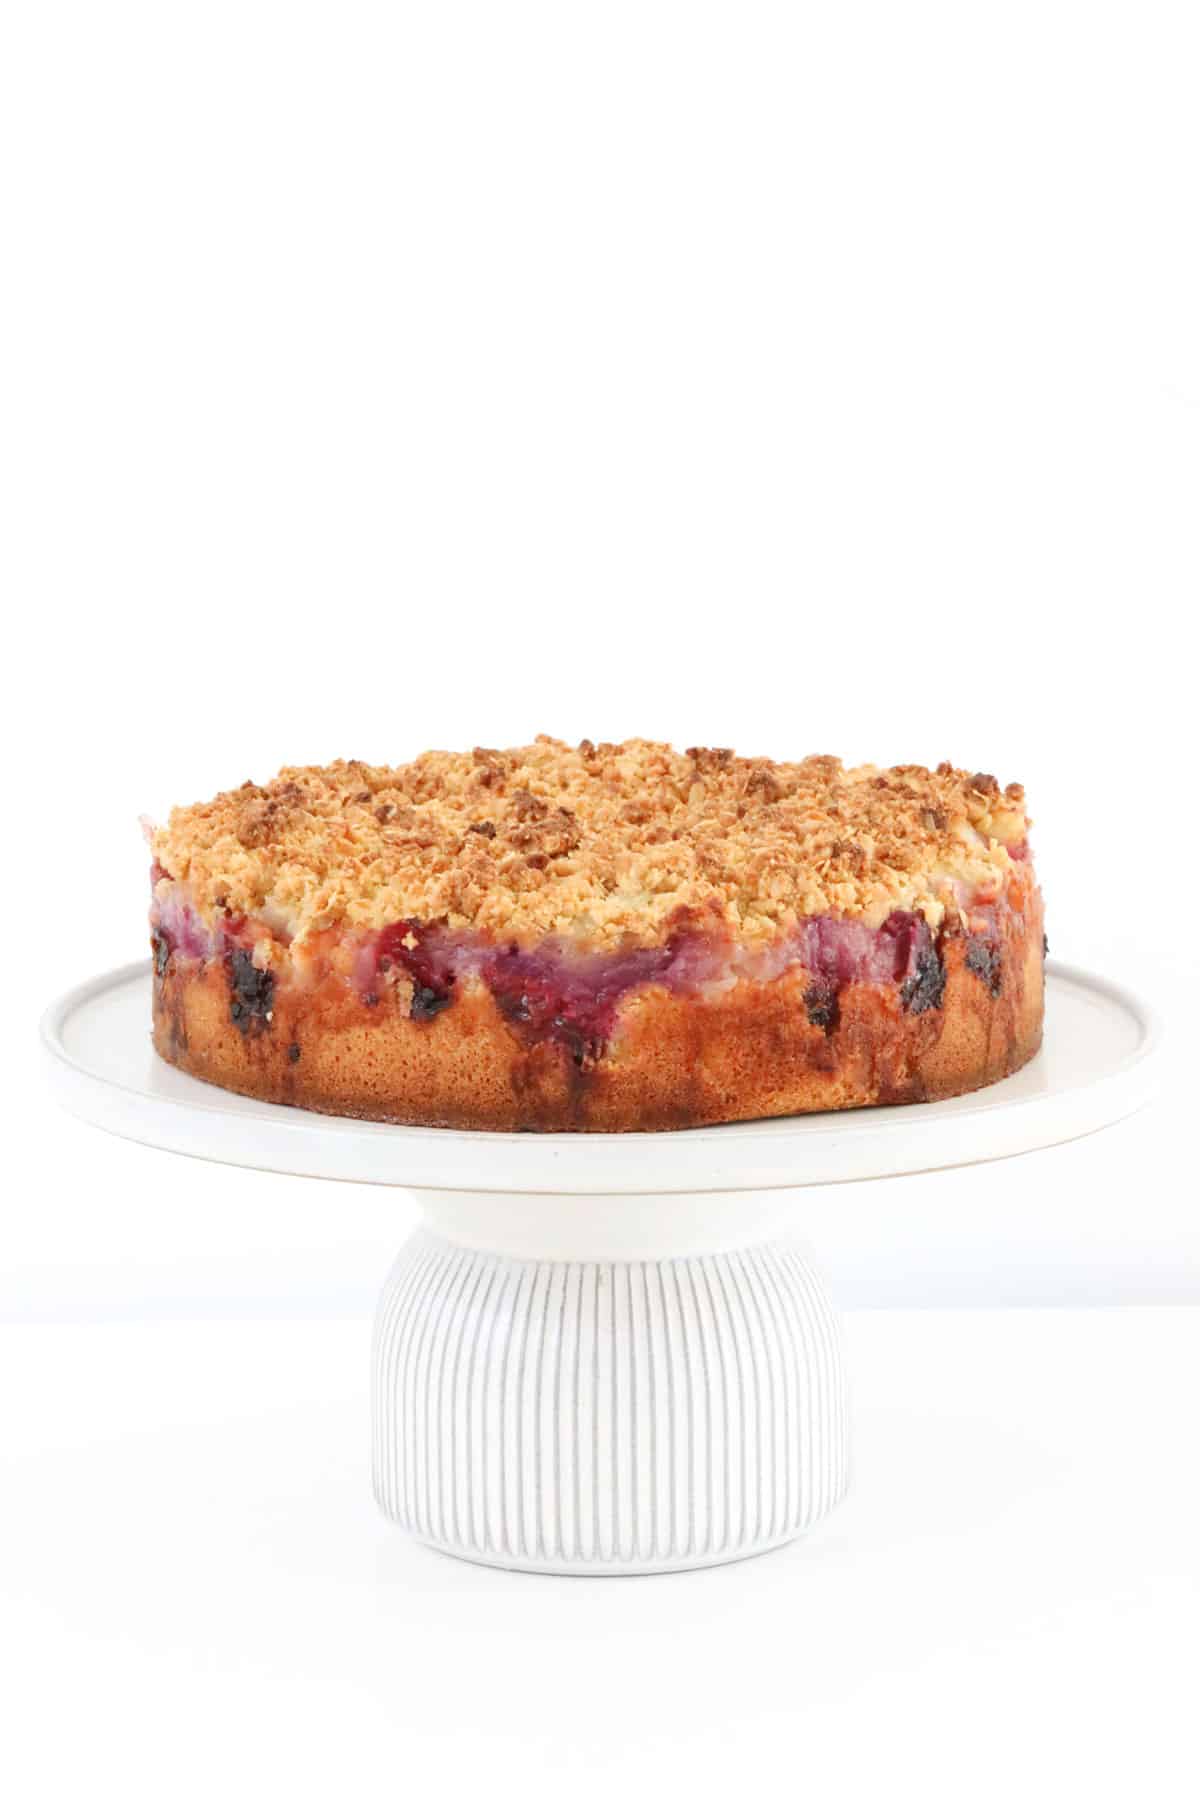
This delicious crumble cake is perfect for any occasion!
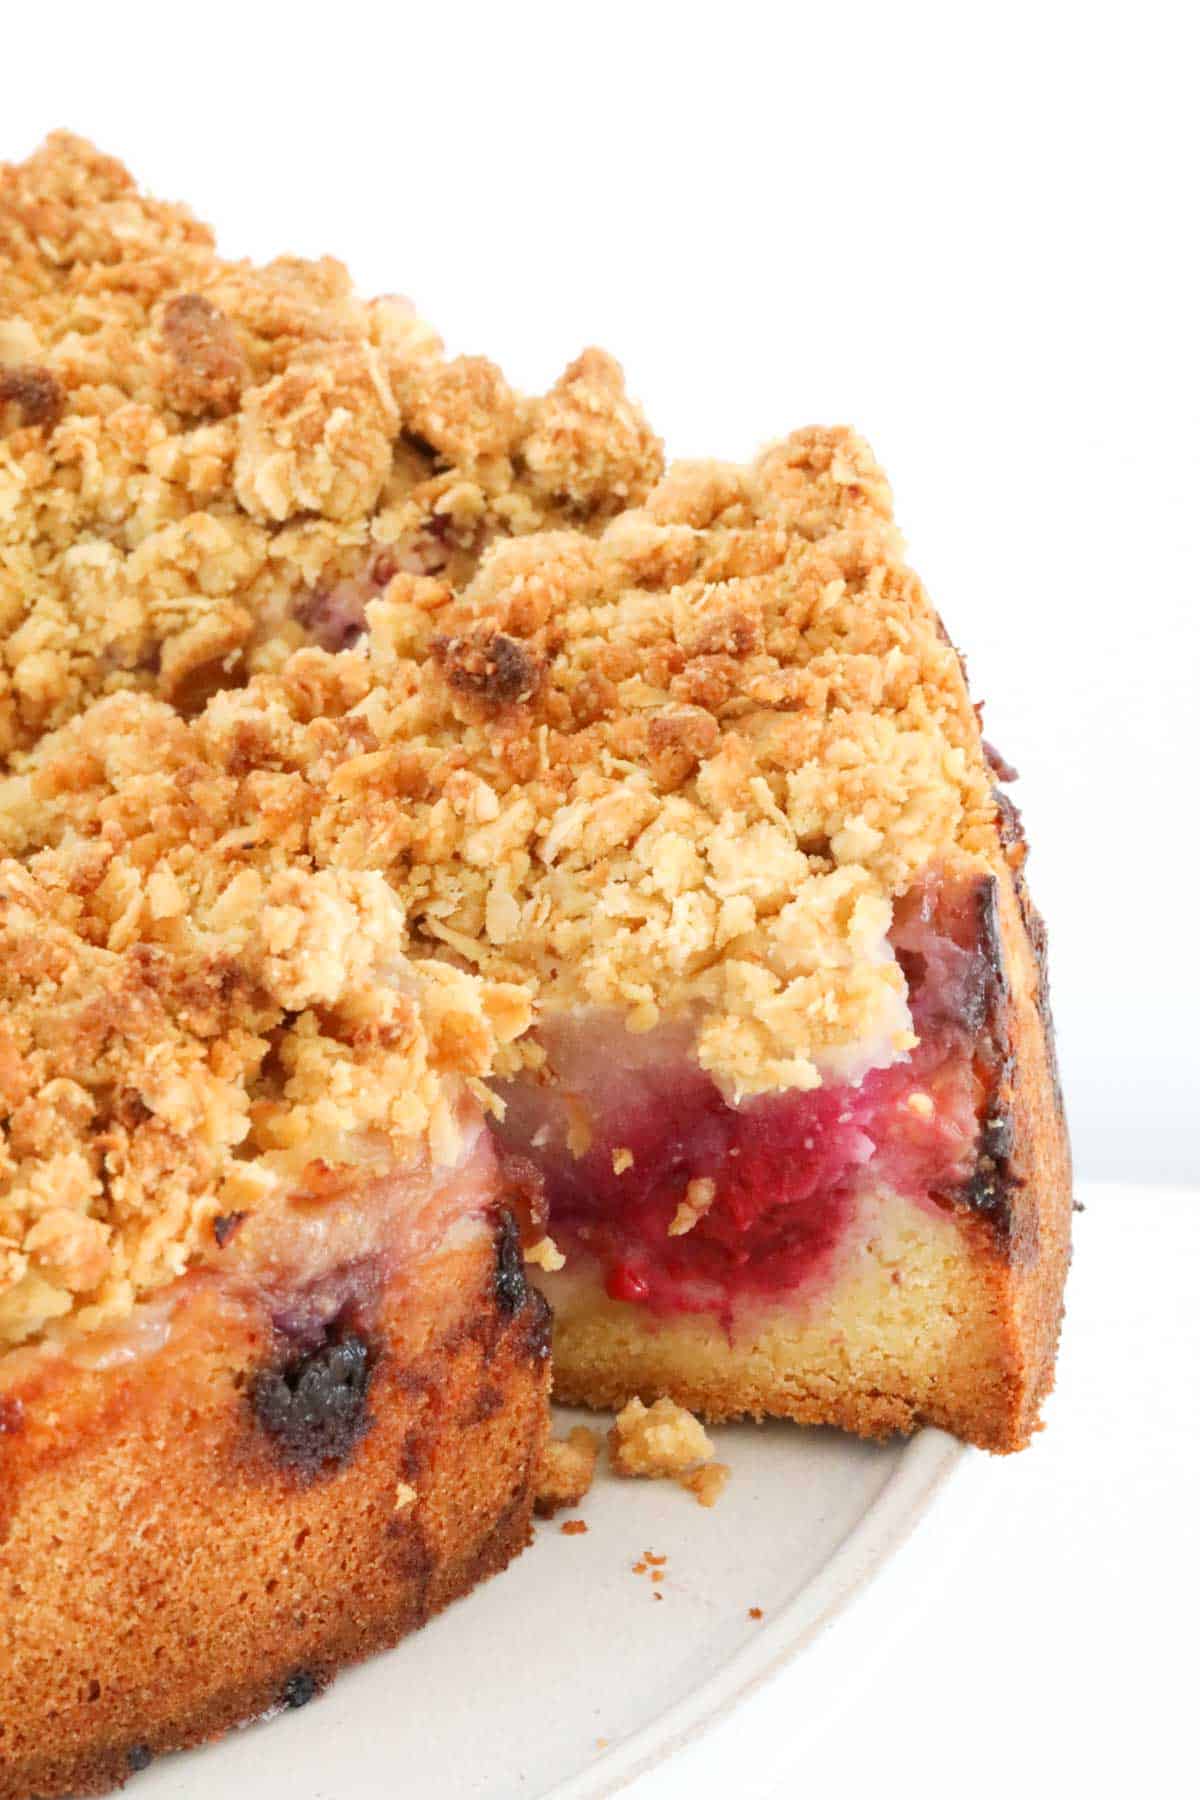
A vanilla butter cake base is studded with fresh raspberries and apple chunks, sprinkled with a crunchy oat crumble. Whether it is served at room temperature for morning or afternoon tea, or warmed up and topped with a generous amount of ice cream or some creamy, warm custard for an ultra-comforting dessert, it is sure to be love at first bite. (I’ll take the custard every time!!)
A crunchy, crumbly topping is always a winner. Whether it is a classic apple crumble dessert or apple and blueberry crumble, there’s something so comforting about the combination of sweet apples and crunchy oat crumble.
Why not try these apple crumble muffins or apple crumble slice too, perfect for popping into lunchboxes or serving for afternoon tea or a special occasion. And (I believe!) they are a perfectly acceptable way to eat dessert for breakfast. Because fruit, right?
Why You're Going To Love This Recipe
- So simple – with an easy butter cake base and canned pie apples, this raspberry apple crumble cake requires no special effort or equipment. Put away that apple peeler!
- Conventional and Thermomix - you will find both methods in the recipe card at the bottom of the post.
- Super moist – you will love how moist and tender this cake is, even after a couple of days!
- Freezer friendly – if you happen to have leftovers, they can be wrapped and kept in the freezer for a comforting dessert, any time!
- Ideal for morning/afternoon tea or dessert!
- Adaptable – swap for whatever fresh or frozen berries you have on hand. I’m sharing my raspberry and apple version, but you could add peaches, cherries, blueberries, whatever you like!
- Fruity and fragrant – the sweet apples and tart raspberries pair beautifully with the soft and buttery vanilla cake. Your kitchen will smell AMAZING!
What You Need
Simple pantry staples and canned apples make this raspberry apple crumble cake super easy to whip up any time!
Note: Please scroll to the recipe card at the bottom for ingredient quantities and the full detailed method.
For The Cake:
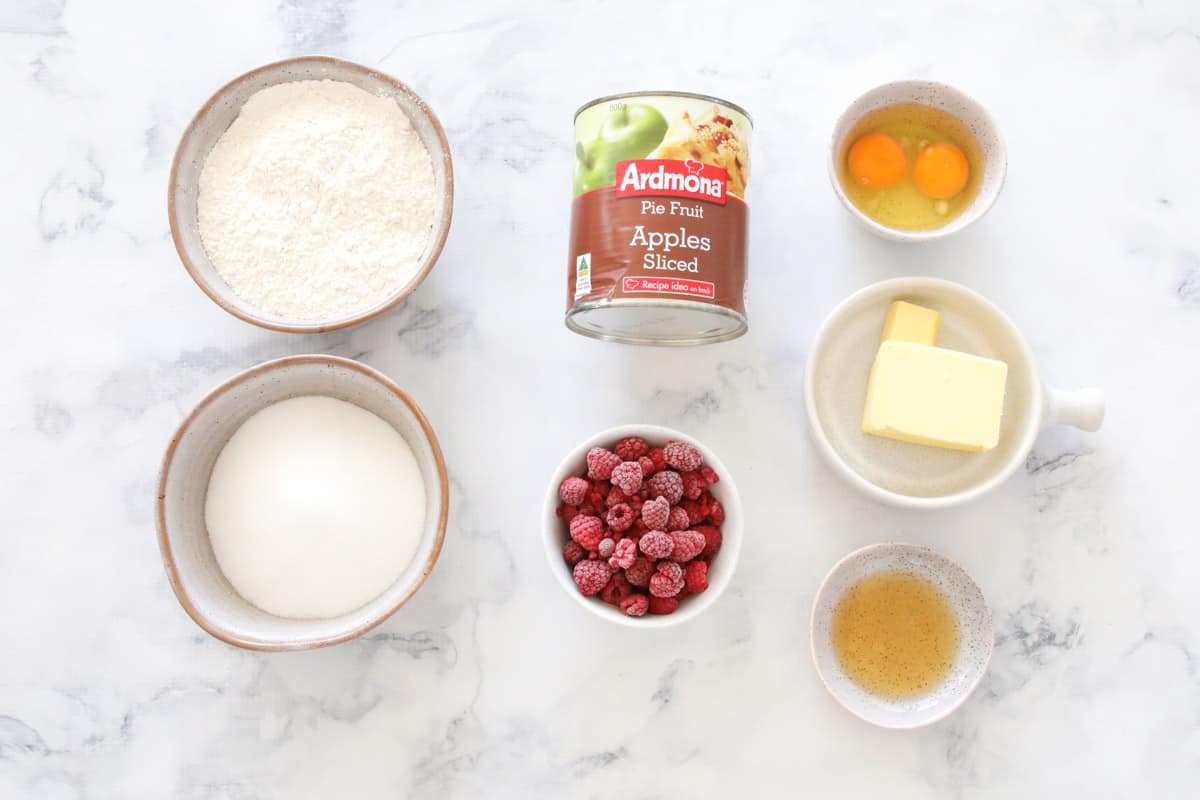
- Caster sugar – has a finer grain than regular sugar. It sweetens the cake and will incorporate into the batter more easily than granulated sugar.
- Butter – when it comes to baking, real butter will beat butter substitutes or margarine every time. It adds a rich flavour and structure to the cake. The butter needs to be softened to room temperature before beating.
- Self-raising flour – is both the structure and rising agent in the cake. S.R flour is a blend of plain flour and a rising agent. If you don’t have self-raising flour, you can make your own by adding 2 teaspoons of baking powder for every 1 cup of plain flour.
- Eggs – add moisture and bind the cake together. I recommend using large, free-range eggs. And make sure the eggs are at room temperature before adding them to the butter mixture. They will incorporate into the mixture more easily.
- Vanilla extract
- Canned pie apples – are so handy to have in the pantry and can be used to make so many delicious desserts! I like to use the canned filling because it’s super easy. If you like to make your own apple pie filling, you can do that too. Making pie apples isn’t hard, but it takes time!
- Raspberries – I use frozen raspberries for convenience and because they are available year-round. But you could swap frozen raspberries for your favourite fresh or frozen berries.
For The Crumble:
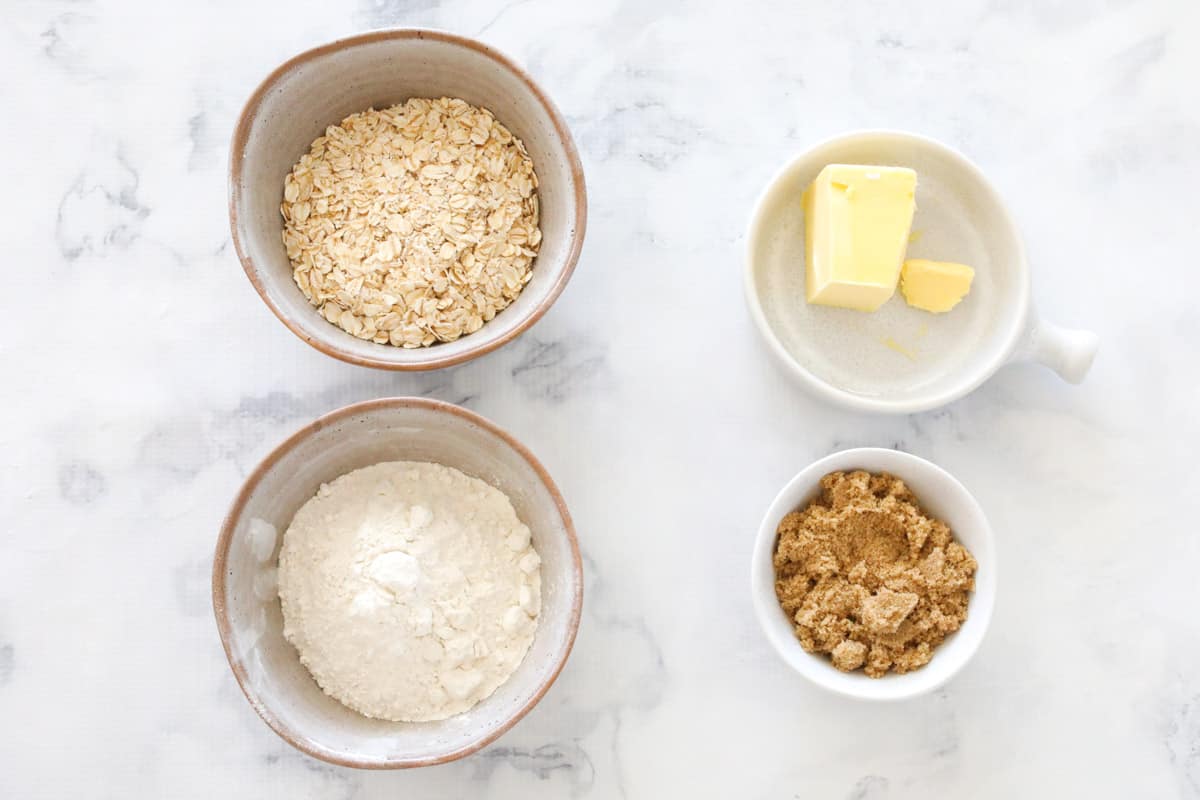
- Plain flour – also known as all-purpose flour.
- Rolled oats – not quick oats.
- Butter – real butter, salted or unsalted, softened to room temperature.
- Brown sugar – I use light brown sugar, however you can use dark brown sugar if this is what you have on hand.
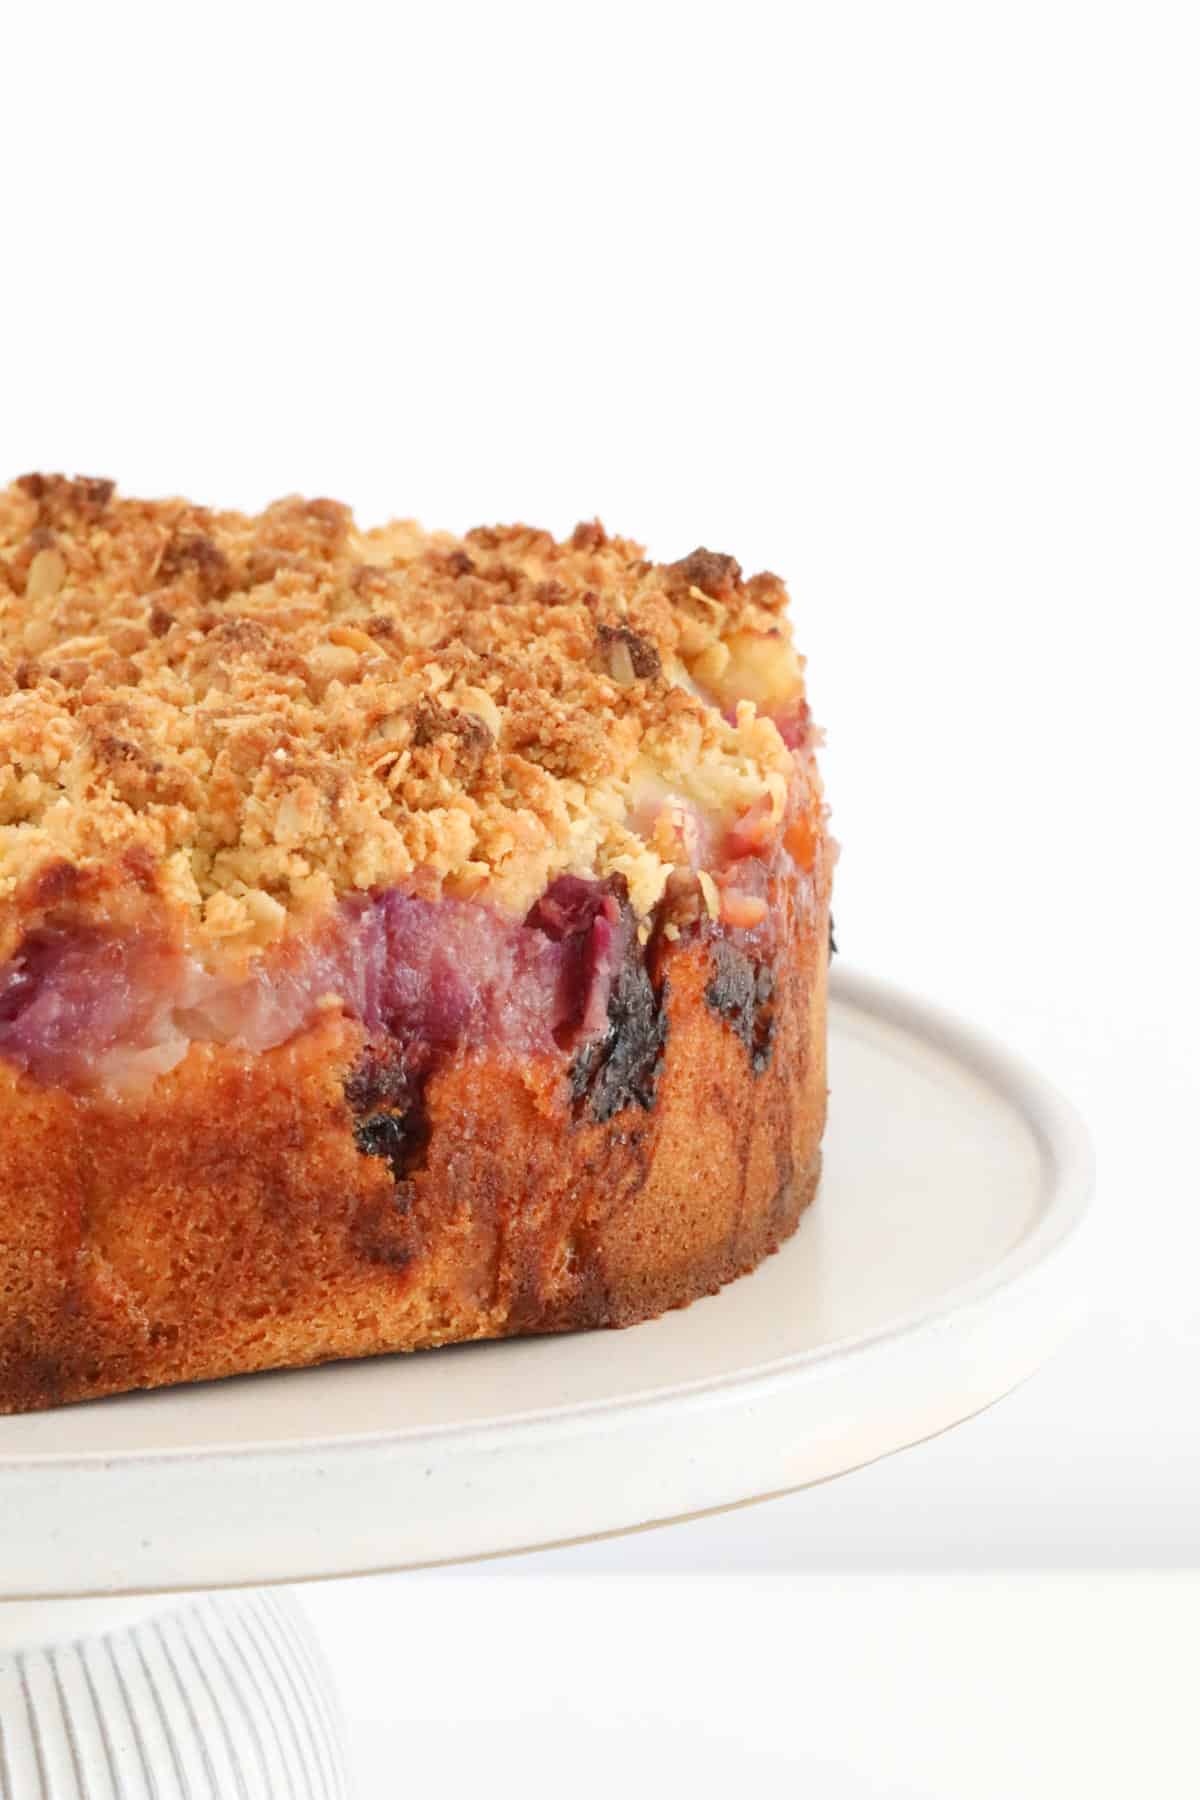
Step By Step Instructions
Just a few simple steps and a handful of pantry ingredients are all that stand between you and a big slice of this delicious raspberry apple crumble cake!
Note: Scroll to the recipe card at the bottom for the ingredients, quantities and full detailed method.
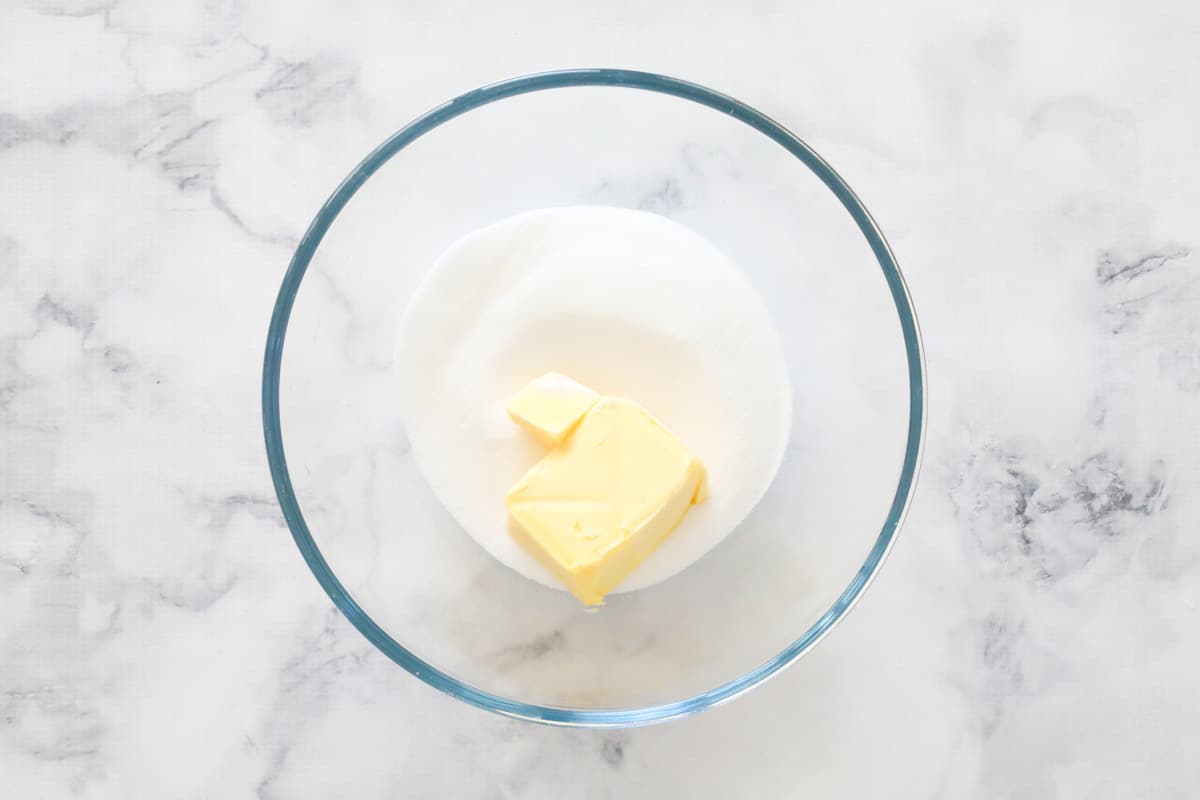
Step 1 – Cream Butter And Sugar
Cream the caster sugar and softened butter with beaters until pale and fluffy.
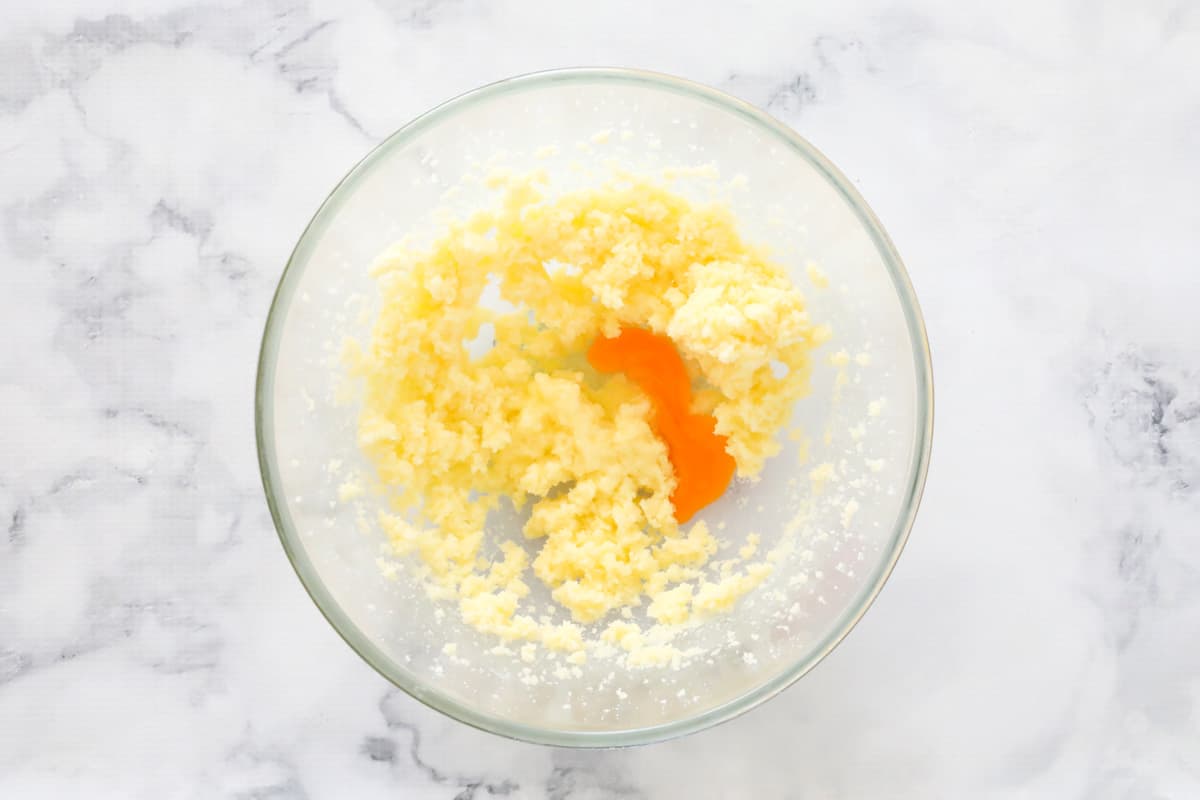
Step 2 – Add Eggs And Vanilla
Add the eggs, one at a time, and beat until well combined. Add the vanilla extract and beat until combined.
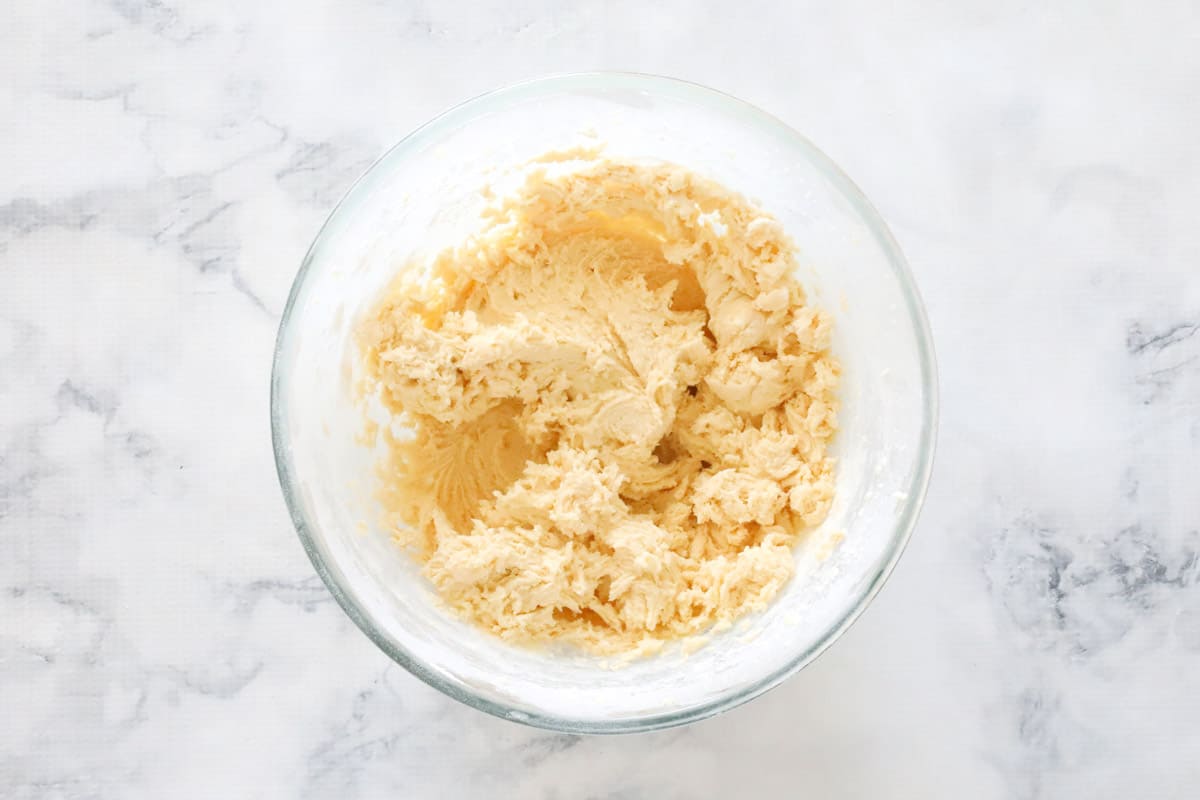
Step 3 – Add Flour
Sift in the self-raising flour and mix on low speed until just combined.
**Be careful not to overmix or the air will be pushed out of the cake and it won’t be as fluffy.
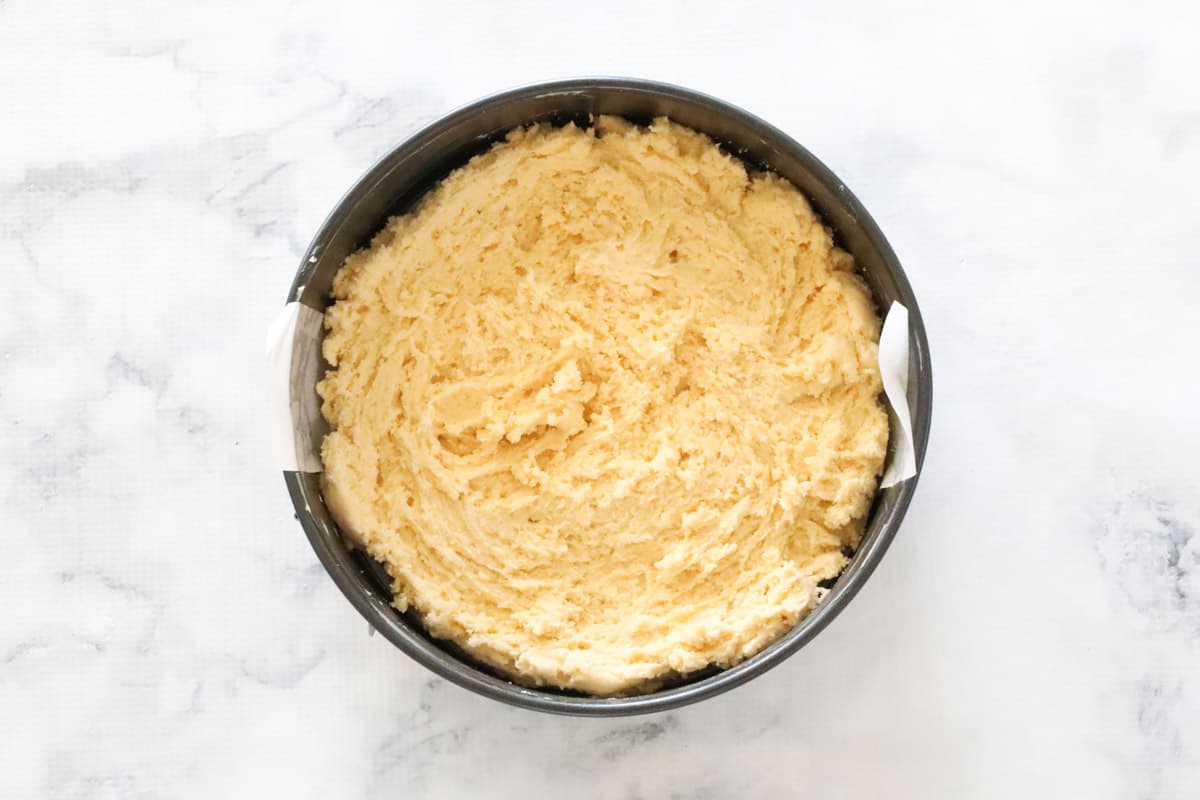
Step 4 – Spread Into Cake Tin
Pour the cake batter into the prepared tin and spread it evenly with a spoon. Note that the batter will be quite thick. This is normal!
Step 5 – Layer Berries And Apples
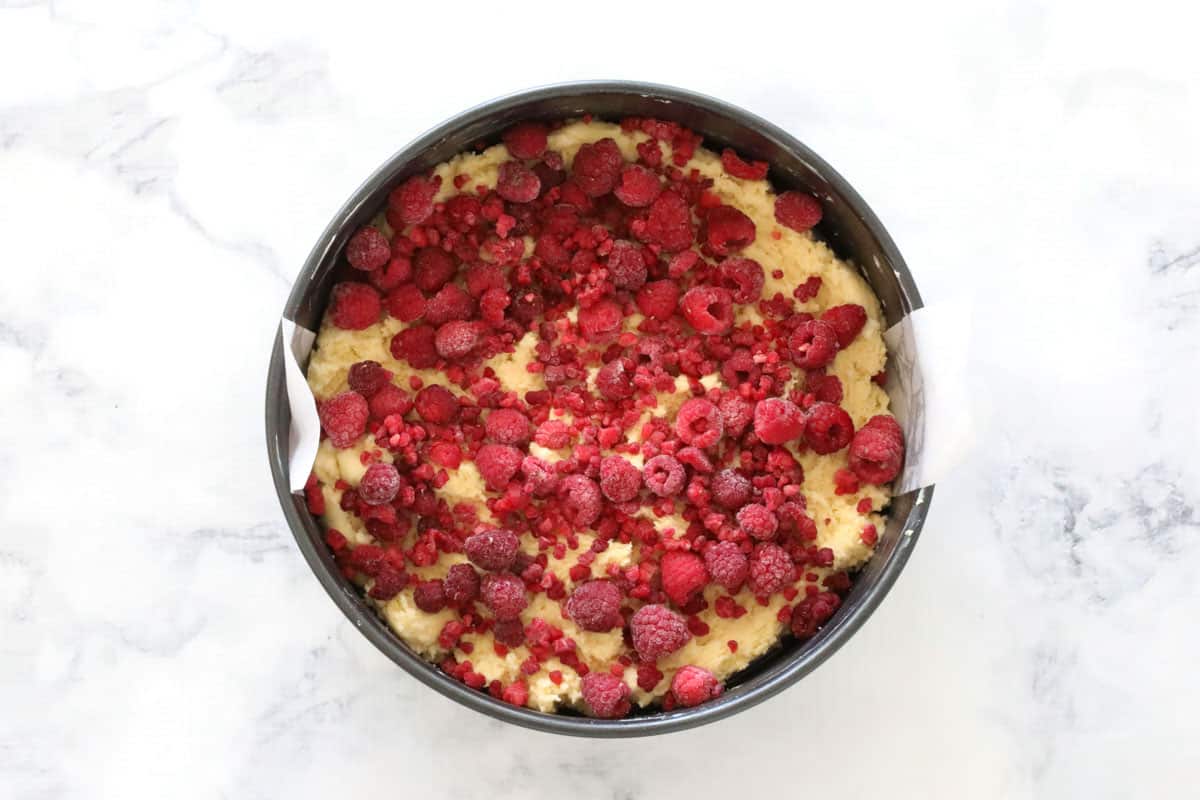
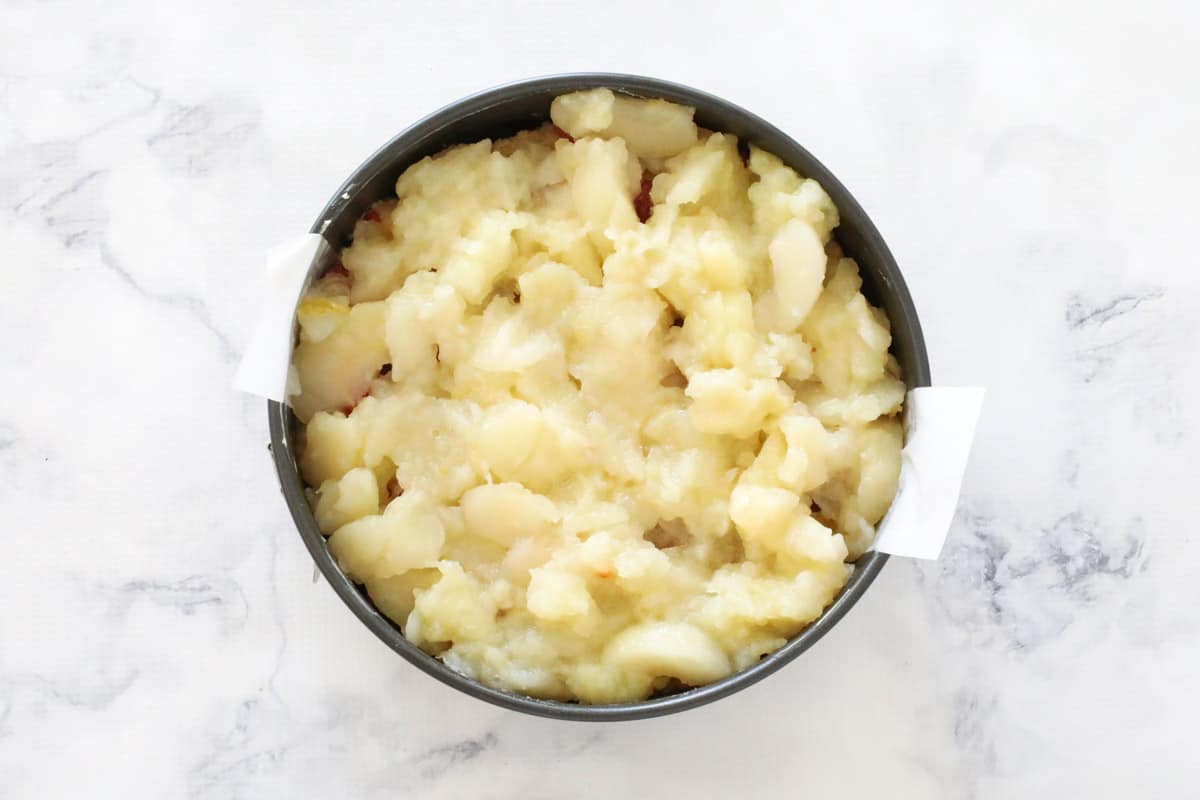
Sprinkle the frozen berries over the top of the cake batter and then spread a layer of the canned pie apples. Set aside while you prepare the crumble.
Step 6 – Make The Crumble
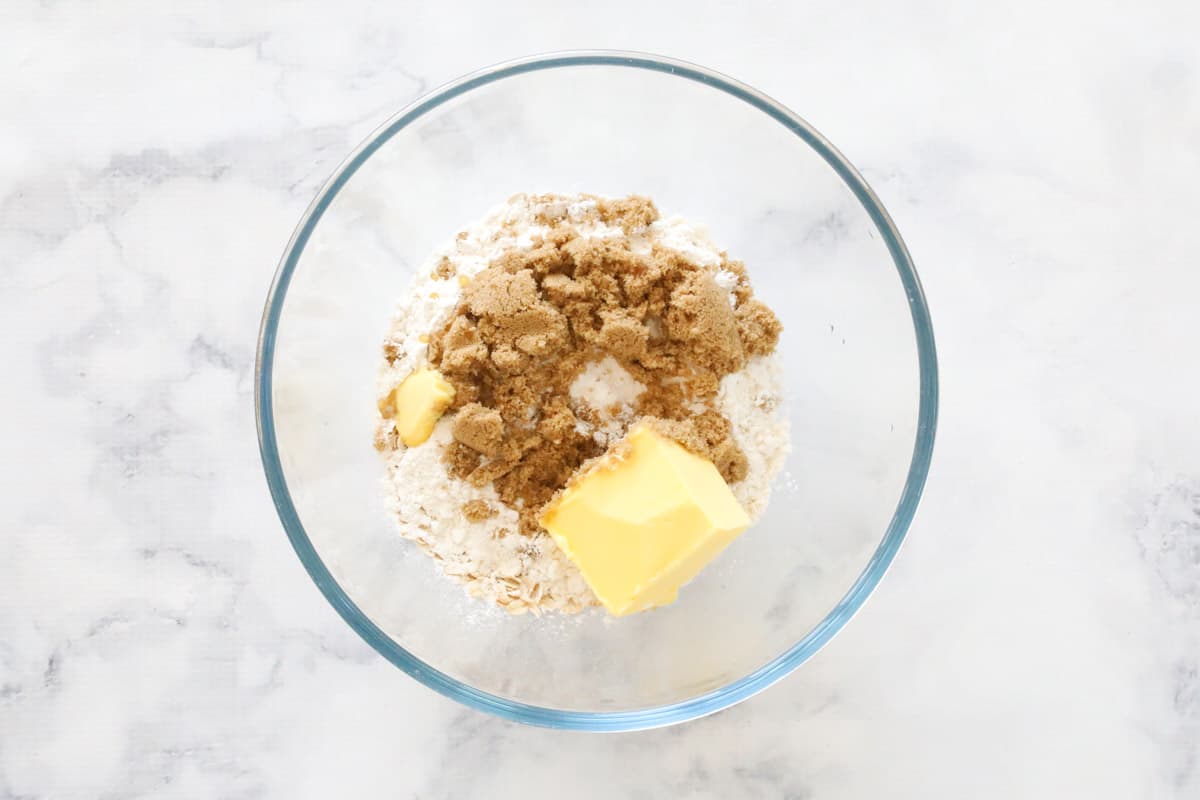
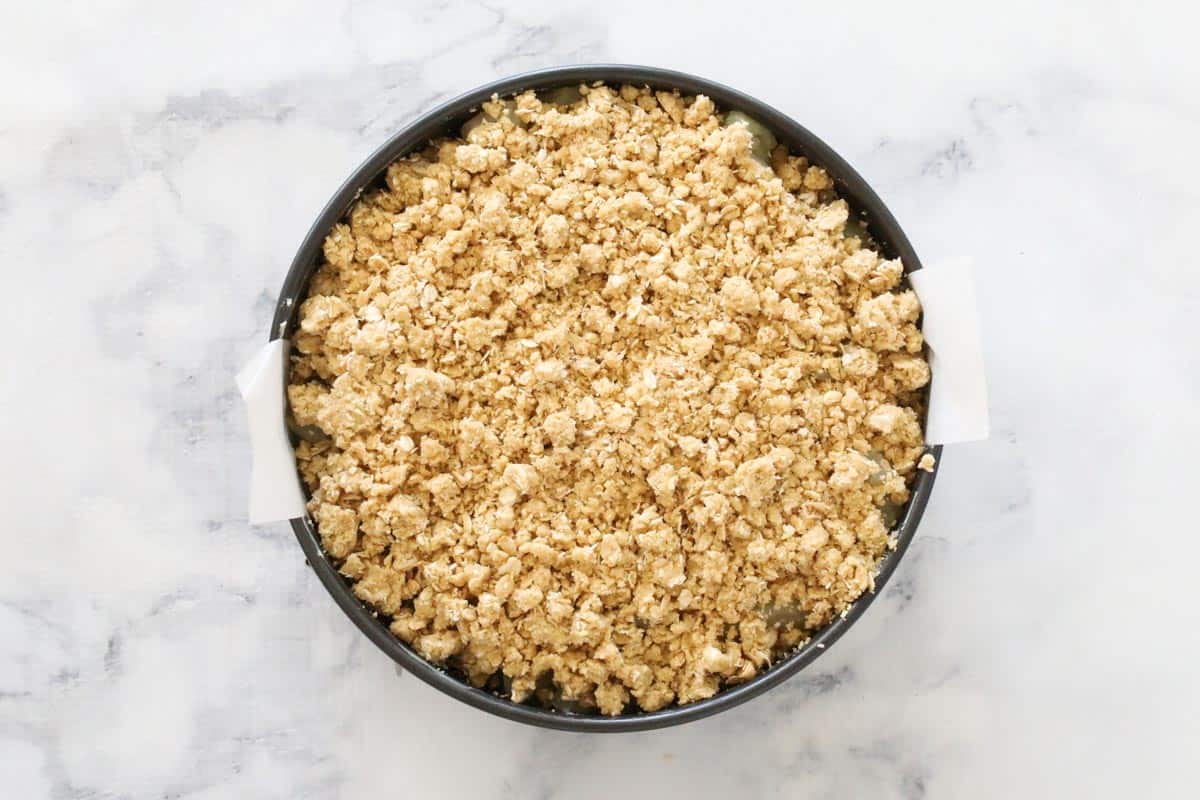
In a bowl, use your fingers to rub the butter into the flour, sugar and oats mixture, until the mix resembles fine crumbs.
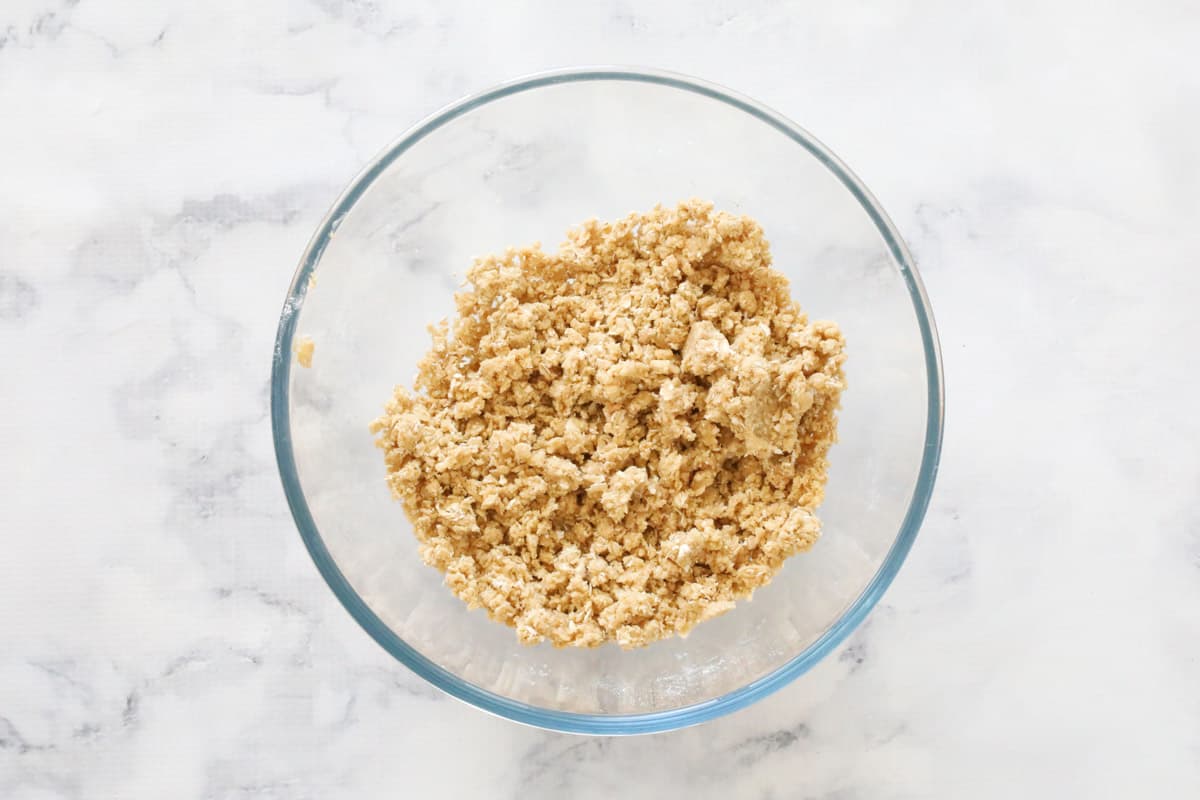
Sprinkle the crumble layer evenly over the prepared cake.
Step 7 - Bake
Bake the cake according to the instructions below, until cooked through. Allow the cake to rest in the tin for 30 minutes before transferring to a wire rack to cool completely. Serve warm, or cold, with a scoop of your favourite ice cream!
Expert Tips & FAQs
The raspberries can be swapped for any frozen berries you like. You can also swap the tinned apples for any tinned fruit you like. Try canned peaches or apricots (but drain the excess liquid first). The possibilities are endless!
Pie apple is apple that has been cooked and either tinned or jarred, all ready for adding to recipes. This makes it a very handy ingredient when apples are out of season, or time is short, as it eliminates having to peel, slice and cook the apples yourself.
If you need softened, room temperature butter in a hurry, you can grate the butter (like a stick of cheese) onto a plate. The smaller pieces will soften much faster than a whole block of butter. Alternatively, you can place cubes of butter into a microwave and heat at very low power in 20 second intervals until the butter has slightly softened.
While it tastes amazing on its own, the crumble is also divine with a little ground cinnamon and/or ground ginger! Spices are especially delicious and warming in winter, particularly as a dessert.
If you love your cakes with a little icing, you can easily make a thin vanilla or maple syrup flavoured icing to drizzle over the top.
This cake can be served either warm or cold as is, or as a dessert. Ice cream, whipped cream or warm custard make fabulous additions when serving as a dessert (or anytime really!)
I like to use a springform pan when making this cake, as it is so simple to remove the finished cake without damaging the crumble on top. If you prefer, you can use any other cake tin, but make sure it is lined before adding the batter to prevent sticking.
This cake may take longer than 60 minutes to finish cooking, depending on your oven and the size of the tin used. Keep an eye on it from 55 minutes. It will be ready when a skewer inserted into the middle comes out clean. If you notice that the crumble is browning too much, simply place a sheet of foil over the top and continue baking as normal.
Store this cake in the fridge for 3-4 days. It can also be wrapped and frozen for up to 2 months. To thaw, place it in the fridge overnight and consume within 2 days.
Related Recipes
If you love all things apple, you have come to the right place! Check out these other reader favourite recipes, or try this collection of the very best apple recipes!
Raspberry & Apple Crumble Cake
Ingredients
- 250 g (1 cup) caster sugar
- 120 g butter softened
- 2 eggs
- 1 teaspoon vanilla extract
- 300 g (2 cups) self raising flour
- 820 g can pie apple or any tinned apple slices
- 150 g raspberries frozen
For the crumble
- 125 g (1 cup) plain flour
- 75 g (¾ cup) rolled oats
- 100 g butter softened
- 80 g (⅓ cup) brown sugar
Instructions
Conventional Method
- Preheat oven to 180 degrees celsius (fan-forced).
- Grease and line a 23cm spring-form cake tin with baking paper and set aside.
- Cream the caster sugar and softened butter with beaters or a stand-mixer until pale and fluffy.
- Add the eggs one at a time and beat until well combined.
- Add the vanilla extract and beat until combined.
- Sift in the self-raising flour and mix on low speed until just combined (do not over-beat).
- Pour the cake batter into the prepared tin and spread with a spoon (the mixture will be quite thick and sticky).
- Sprinkle over the frozen berries and add an even layer of the tinned apple. Set aside.
- In a bowl, use your fingers to rub the plain flour, rolled oats, butter and sugar together until they resemble crumbs. Sprinkle the crumbs over the cake.
- Cook in the oven for 60 minutes or until a skewer inserted into the middle comes out clean (it may take a bit longer than 60 minutes depending on your oven).
- Allow to cool in the tin for 30 minutes before transferring to a wire rack to cool completely. Serve warm or cold.
Thermomix Method
- Preheat oven to 180 degrees celsius (fan-forced).
- Grease and line a 23cm spring-form cake tin with baking paper and set aside.
- Place the caster sugar, butter, eggs and vanilla extract into the TM bowl and mix for 80 seconds on Speed 4.
- Add the self-raising flour and mix for 60 seconds on Interval Speed, Knead.
- Pour the cake batter into the prepared tin and spread with a spoon (the mixture will be quite thick and sticky).
- Sprinkle over the frozen berries and add an even layer of the tinned apple. Set aside.
- Place the plain flour, soften butter and brown sugar into the TM bowl. Mix for 10 seconds on Speed 7.
- Add the rolled oats and mix for 5 seconds on Reverse, Speed 7. Sprinkle the crumbs over the cake.
- Cook in the oven for 60 minutes or until a skewer inserted into the middle comes out clean (it may take a bit longer than 60 minutes depending on your oven).
- Allow to cool in the tin for 30 minutes before transferring to a wire rack to cool completely. Serve warm or cold.
Notes
- This cake can be served warm or cold. Ice cream, whipped cream or warm custard make great additions when serving as a dessert!
- While it tastes amazing on its own, the crumble is also divine with a little ground cinnamon and/or ground ginger! This is especially delicious and warming in winter.
- The raspberries can be swapped for any frozen berries you like. You can also swap the tinned apples for any tinned fruit you like. Try canned peaches or apricots (but drain the excess liquid first). The possibilities are endless!
- Pie apple is apple that has been cooked and either tinned or jarred, all ready for adding to recipes. This makes it a very handy ingredient when apples are out of season, or time is short, as it eliminates having to peel, slice and cook the apples yourself.
- If you love your cakes with a little icing, you can easily make a vanilla or maple syrup flavoured icing to drizzle over the top.
- I like to use a springform pan when making this cake, as it is so simple to remove the finished cake without damaging the crumble on top. If you prefer, you can use any other cake tin, but make sure it is lined before adding the batter to prevent sticking.
- This cake may take longer than 60 minutes to finish cooking, depending on your oven and the size of the tin used. Keep an eye on it from 55 minutes. It will be ready when a skewer inserted into the middle comes out clean. If you notice that the crumble is browning too much, place a sheet of foil over the top and continue baking as normal.
- Store this cake in the fridge for 3-4 days. It can also be wrapped and frozen for up to 2 months. To thaw, place it in the fridge overnight and consume within 2 days.


Lynne Quimby
I've made this cake 4 times in as many months. Simple ingredients and method, it turns out great every time, looks impressive, and tastes delicious
Lucy
Fantastic!
CAROLINE CUMMINGS
Absolutely delicious!
Amy
I enjoyed this cake but I found it really hard to serve. It collapsed once cut. Is there a trick to storage?