

This New York Baked Cheesecake is thick, creamy and silky smooth, the kind of dessert that goes quiet at the table.
If you're building a dessert table, my Lemon Baked Cheesecake and Raspberry Baked Cheesecake are just as easy and just as popular with my readers.
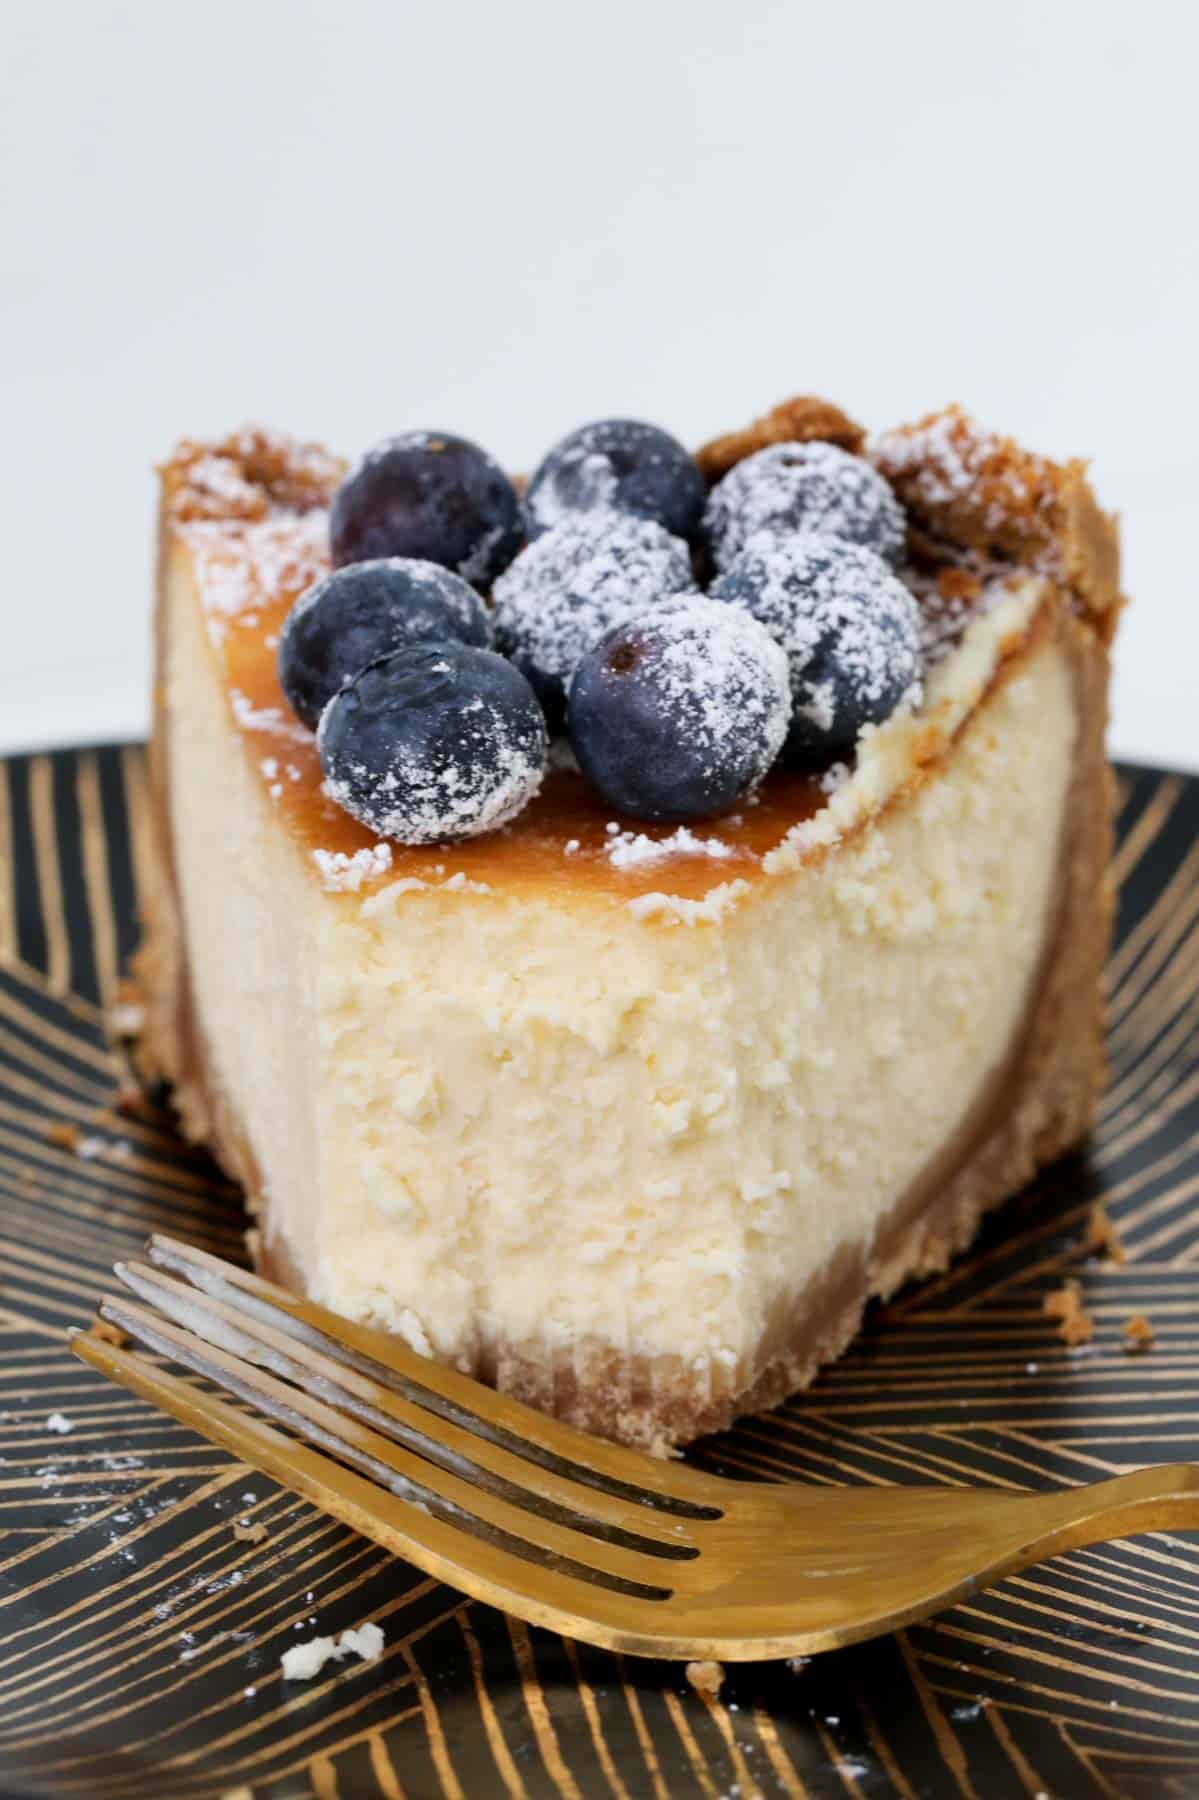
A Quick Look At The Recipe
✅ Recipe Name: New York Baked Cheesecake
🕒 Ready In: 7 hours 45 minutes (mostly chilling time)
👪 Serves: 16
🔥 Calories: 498kcal per serve
🥣 Main Ingredients: cream cheese, sour cream, eggs, sweet biscuits
🌿 Dietary: vegetarian, can be made gluten-free
⭐ Why You'll Love It: a dense, bakery-style cheesecake that's genuinely foolproof, no fancy water bath required, and it freezes brilliantly for later.
SUMMARIZE & SAVE THIS CONTENT ON
Never, ever fails. Do not change any of the method and do not substitute or alter amount of ingredients. An absolute winner in my office and for special occasions. I often get requests to make this for parties. Love it.
- Amelia Scott
Amelia's far from the only one who makes this on repeat; it's clocked up over 120 five-star reviews.
If you love a crowd-pleasing bake, my Passionfruit Cheesecake and Mars Bar Cheesecake are both just as loved, and if you want the full lowdown on baked cheesecakes generally, my Ultimate Baked Cheesecake Guide is worth a read.
Jump to:
Why You're Going To Love This Recipe
- Rich And Creamy - a proper dense New York style cheesecake, not a light and fluffy imposter.
- Genuinely Foolproof - full conventional and Thermomix instructions, no fancy pastry chef skills needed.
- Proven Favourite - over 120 five-star reviews and counting.
- Make-Ahead Friendly - it needs an overnight chill anyway, so it's perfect for getting done the day before a party.
- Freezer-Friendly - slice it up and freeze for whenever a craving hits, see my Variations below.
Cheesecake Ingredients
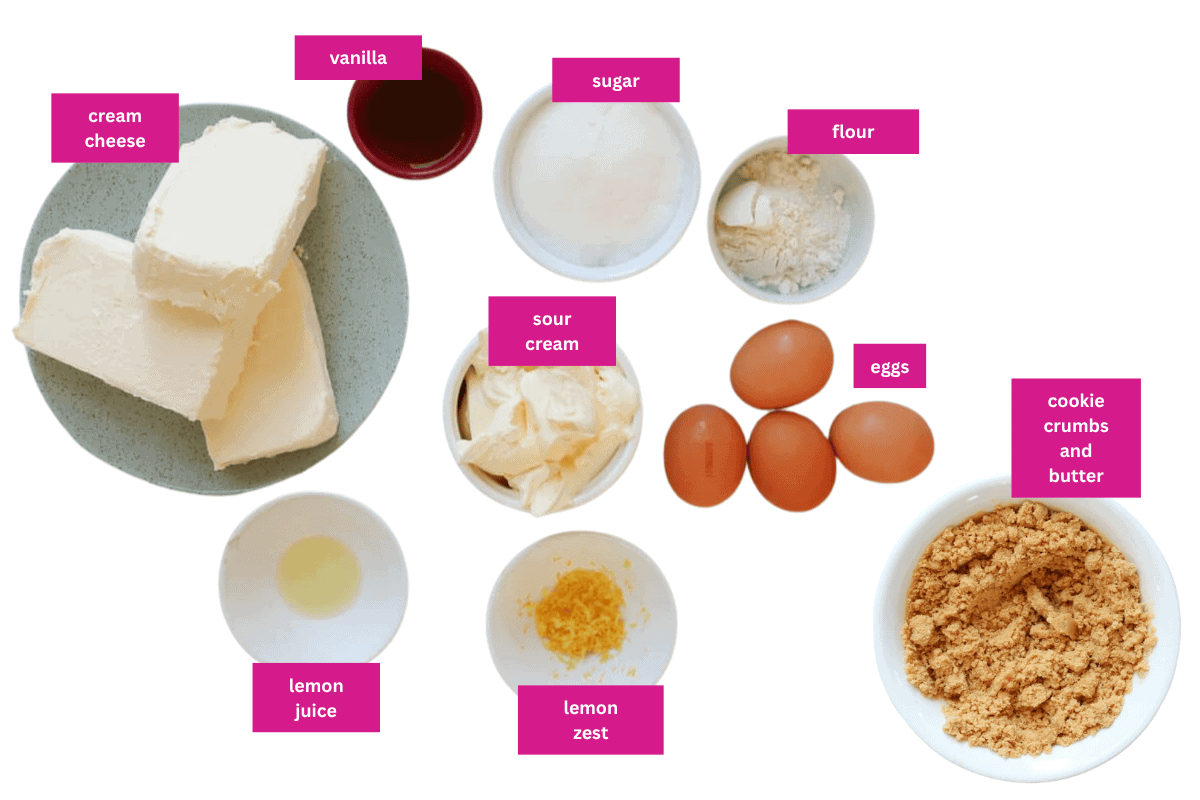
Most of this is basic fridge and pantry stuff, but here are the ones worth a mention:
- Full-fat cream cheese & sour cream - don't be tempted to grab the light versions. They hold more water, and that means a softer, less stable cheesecake that won't slice cleanly.
- Lemon zest & juice - just enough to cut through the richness, it won't taste lemony, it just stops the cheesecake feeling heavy.
- Plain sweet biscuits - I use Arnott's Nice or Marie biscuits for the base. Graham crackers or digestives work too if that's what you've got.
Variations
- Gluten-free - swap in gluten-free sweet biscuits for the crust; everything else stays the same.
- Mini cheesecakes - bake the filling in a lined muffin tray for individual serves; just cut the baking time right down and watch them closely.
- Fruit swirl - swirl through raspberry or passionfruit puree before baking. My Passionfruit Cheesecake is a good place to steal the puree idea from.
- Chocolate marble - fold melted dark chocolate through half the batter and swirl it through for a marbled look, a bit like my Toblerone Cheesecake but baked.
- Freezing leftovers - slice it first, wrap each piece tightly in cling film and foil, then freeze for up to 1 month. Thaw in the fridge overnight before eating.
How To Make New York Baked Cheesecake
This recipe works beautifully both conventionally and in the Thermomix, so pick whichever suits you.
Note: Scroll to the recipe card at the bottom for the ingredient quantities and full detailed method (plus the Thermomix version).
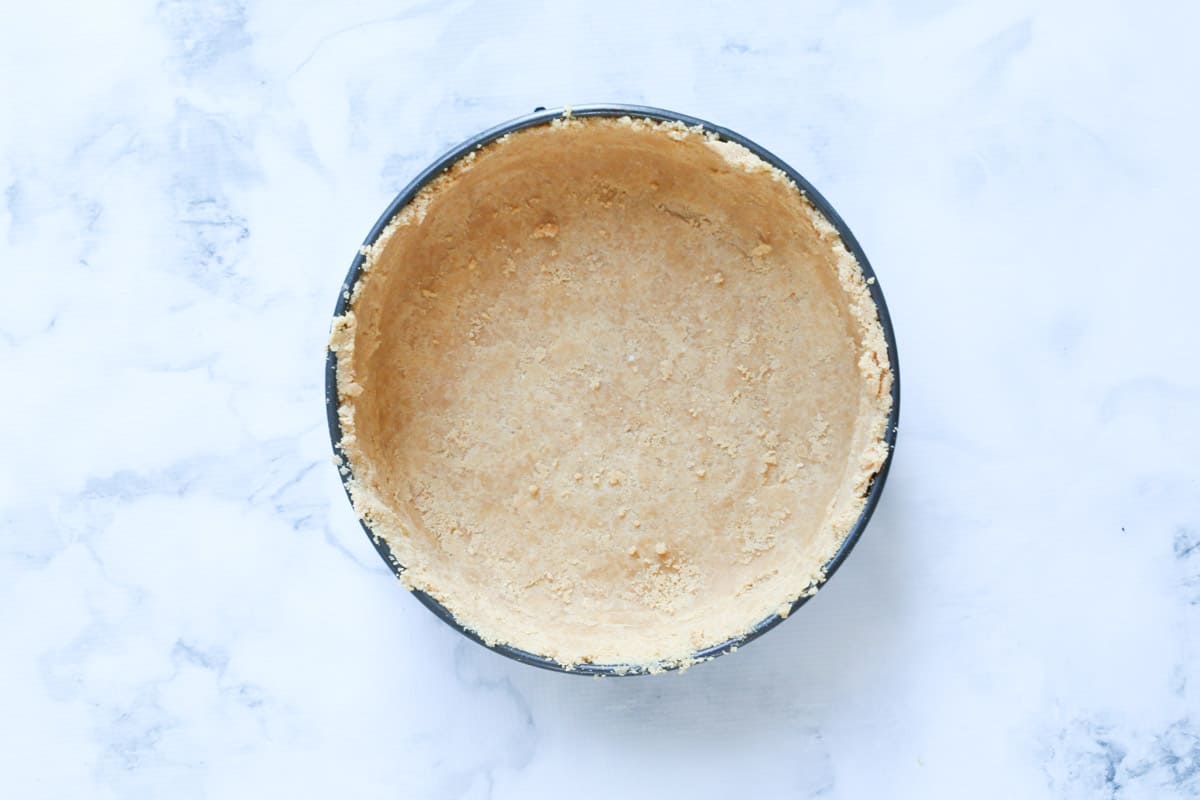
- Step 1: Make the crust. Crush the biscuits finely and mix with the melted butter. Press half into the base of a lined 23cm springform tin, then press the rest firmly up the sides (leave a small gap near the top). Chill for 30 minutes.
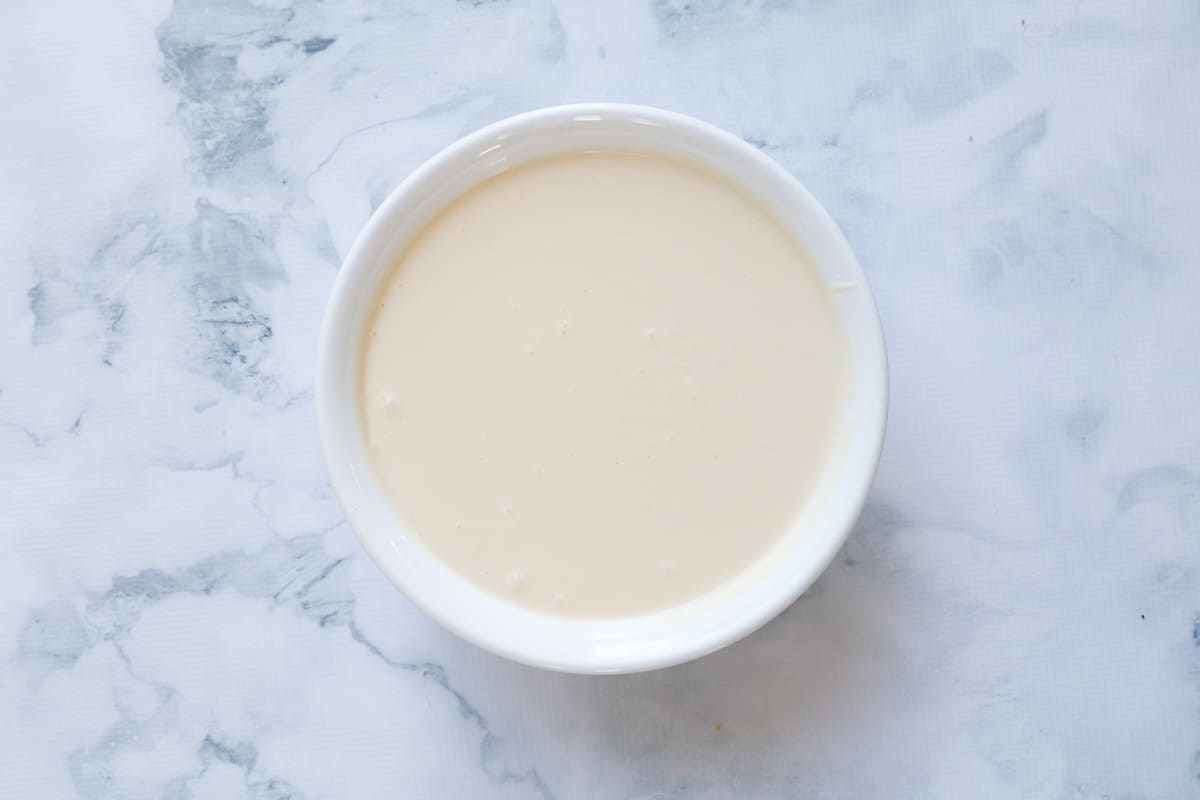
- Step 2: Mix the filling. Beat the cream cheese, sugar, lemon zest and juice, vanilla and flour on low speed until just combined, don't over-beat. Add the eggs one at a time, then fold through the sour cream by hand.
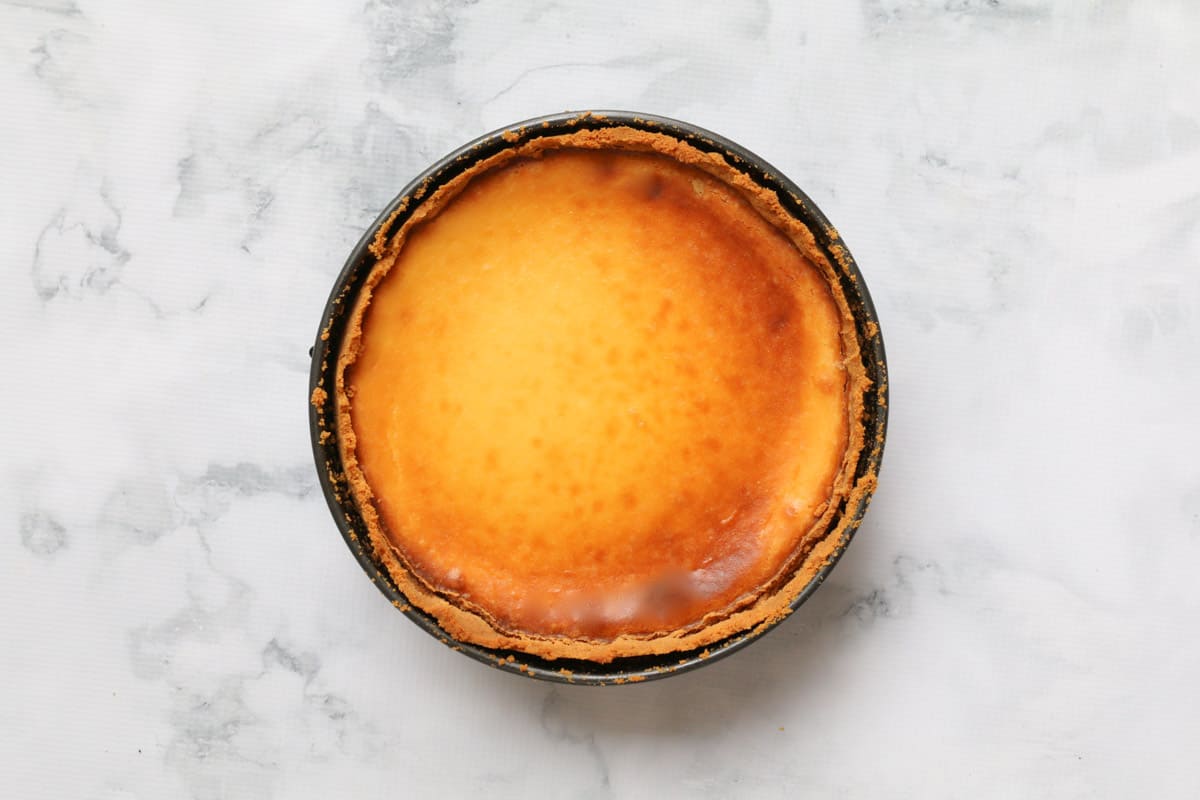
- Step 3: Bake low and slow. Pour the filling into the tin and bake at 140°C fan-forced (160°C conventional) for around 1 hour 15 minutes, until just set in the centre with a slight wobble. Don't open the oven door. Turn the oven off and leave the cheesecake inside with the door shut for 2 hours.
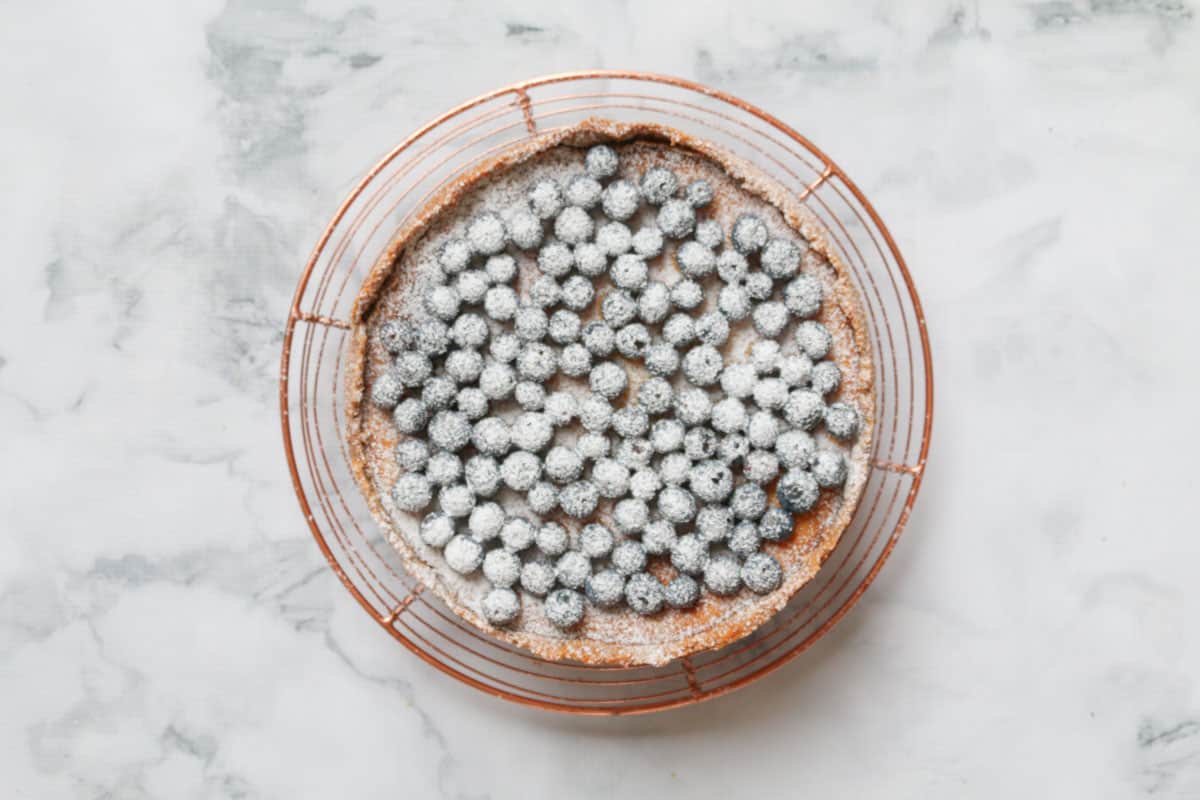
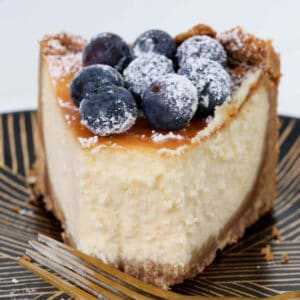
- Step 4: Chill and serve. Cool completely on the bench (still in the tin), then refrigerate for at least 4 hours, overnight is best. Remove from the tin, top with blueberries and a dusting of icing sugar, and let it sit at room temperature for an hour before slicing.
Recipe Tips
- Don't rush the cooling - slow cooling in the switched-off oven, then an overnight chill, is the real key to a crack-free, creamy cheesecake. Rushing this step is the number one reason cheesecakes crack or sink in the middle.
- Use room-temperature ingredients - cold cream cheese and eggs won't beat smoothly, and you'll end up with lumps in the batter.
- Don't over-beat - once the eggs go in, mix until just combined. Overbeating adds too much air, which is what makes the top puff up then crack as it cools.
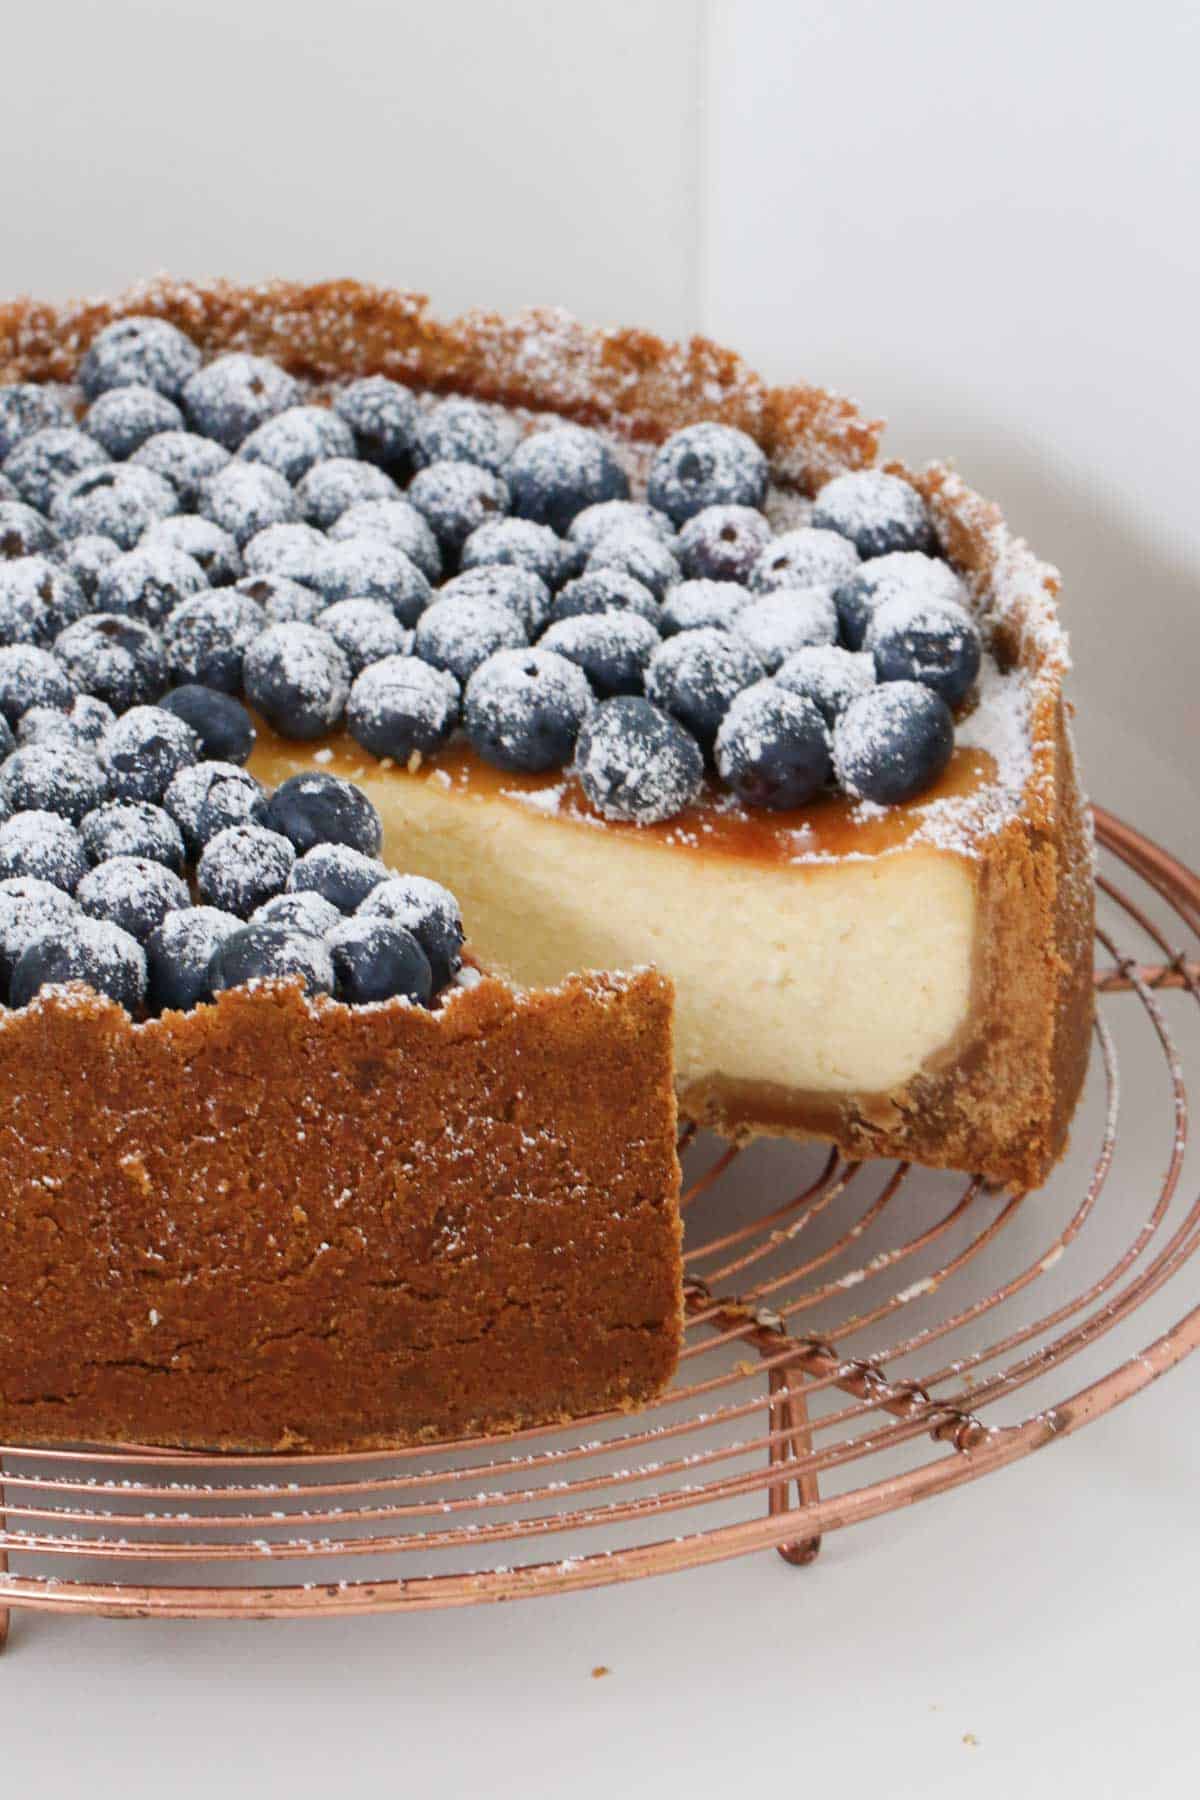
- Get clean slices - run a large knife under hot water, dry it, then slice. Wipe and reheat the knife between each cut for bakery-style clean edges.
- Storage - keep in an airtight container in the fridge for up to 5 days.
- Freezing - wrap the whole cheesecake (or individual slices) tightly in cling film then foil, and freeze for up to 1 month. Thaw overnight in the fridge before serving.
New York Baked Cheesecake FAQs
New York cheesecake is denser and richer than a regular cheesecake, thanks to the sour cream and whole eggs in the batter, plus a slow bake in a low oven. Regular cheesecakes are often lighter and fluffier, and some are no-bake, but New York style is meant to be thick, creamy and baked.
This almost always comes down to rushing the cooling. Opening the oven early, overbeating the batter, or moving straight from oven to fridge causes a sudden temperature change that cracks or sinks the top. Cool it slowly in the switched-off oven first.
No, this recipe skips the fiddly water bath. Baking low and slow, then cooling gradually in the oven, gets you the same crack-free result without wrapping your tin in foil and praying it doesn't leak.
Run a large sharp knife under hot water, dry it off, then slice. Wipe the blade clean and reheat it between each cut for neat, bakery-style slices.
Yes, I've included a full Thermomix method in the recipe card below; just follow the step-by-step instructions for a smooth, fuss-free filling.
More Cheesecake Recipes
If you loved this one, here are some more cheesecakes worth adding to the rotation.
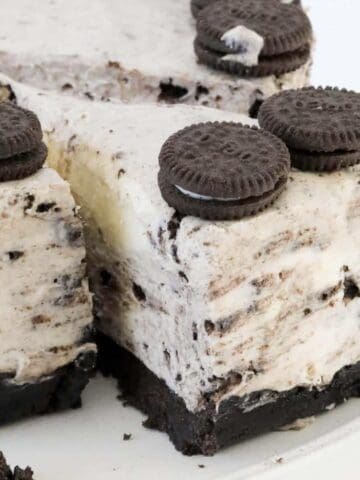
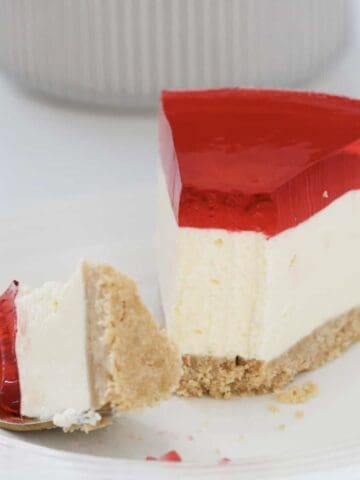
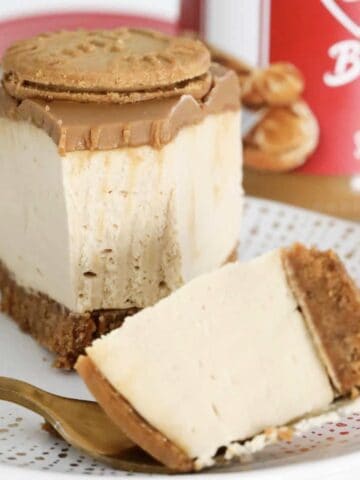
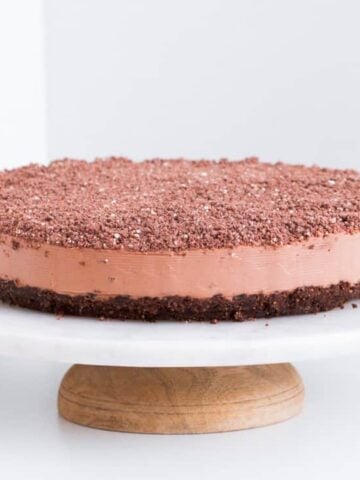
New York Baked Cheesecake
Ingredients
- 375 g plain sweet biscuits crushed, like Arnott's Nice or Marie biscuits or Graham Crackers
- 250 g unsalted butter melted
- 750 g full fat cream cheese room temp
- 215 g (1 cup) caster sugar
- ½ teaspoon vanilla extract or vanilla essence
- 2 teaspoons finely grated lemon rind
- 1 teaspoon lemon juice
- 2 tablespoons plain flour
- 4 eggs room temp
- 300 ml full fat sour cream room temp
- 125 g fresh blueberries (optional)
- 2 tb sifted icing sugar (optional)
Instructions
Conventional Method
- Preheat oven to 140 degrees celsius or 285 degrees fahrenheit with a fan forced oven (160 degrees celsius or 320 degrees fahrenheit if using a conventional oven).
- Grease and then line the base and sides of a 23cm springform pan with non-stick baking paper (see recipe tips below).
- Finely crush the biscuits in a food processor and then place into a large bowl.
- Add the melted butter and mix thoroughly until well combined.
- Spoon half of the biscuit crumbs onto the base of the prepared tin. Use a glass to press the mixture down evenly (you will also need to use a spoon to press the edges down firmly).
- Press the remaining half of the mixture firmly up the sides of the pan (leaving a small 1cm gap near the top).
- Chill in the fridge for 30 minutes.
- Beat the cream cheese, sugar, vanilla, lemon juice and lemon rind with electric beaters until just combined (don't over-beat).
- Gently beat in the flour followed by the eggs (1 at a time). Beat until just combined.
- Stir through the sour cream until combined.
- Gently pour the cheesecake mixture into the base of the tin.
- Place the the tin onto a baking tray and bake for 1 ¼ hours or until just set in the centre. Do not open the oven during the cooking time or the cheesecake will crack and sink (see recipe tips below).
- Turn the oven off and leave the cheesecake in the oven with the door closed for 2 hours.
- Place the cheesecake onto the bench until completely cooled before placing into the fridge (still in the baking tin).
- After a minimum of 4 hours in the fridge (preferably overnight), carefully remove the cheesecake from the baking tin and remove the baking paper.
- Allow to come to room temperature for 1 hour before serving and then top with fresh blueberries and icing sugar (optional).
Thermomix Method
- Preheat oven to 140 degrees celsius or 285 degrees fahrenheit with a fan forced oven (160 degrees celsius or 320 degrees fahrenheit if using a conventional oven).
- Grease and then line the base and sides of a 23cm springform pan with non-stick baking paper (see recipe tips below).
- Place the butter (chopped) into the Thermomix bowl and melt for 3 minutes on Speed 2, 80 degrees (or until melted).
- Add the biscuits and mix for 10 seconds on Speed 8, or until completely combined.
- Spoon half of the biscuit crumbs onto the base of the prepared tin. Use a glass to press the mixture down evenly (you will also need to use a spoon to press the edges down firmly).
- Press the remaining half of the mixture firmly up the sides of the pan (leaving a small 1cm gap near the top).
- Chill in the fridge for 30 minutes.
- In a clean and dry Thermomix bowl, set the Thermomix to 37 degrees, 25 minutes, Speed 3. Note: it will NOT take 25 minutes, but by setting the timer for this long will keep it at the right temperature while you add in the other ingredients). With the blades turning, place the cream cheese into the Thermomix bowl and mix until well combined.
- Slowly add in the caster sugar, followed by the flour and eggs and mix until just combined.
- Place the butterfly attachment into the bowl (with the cream cheese mixture in it). Still on Speed 3 slowly add in the grated lemon rind, lemon juice, vanilla extract and sour cream. Scrape down the sides of the bowl and mix until completely smooth (don't over mix).
- Gently pour the cheesecake mixture into the base of the tin.
- Place the the tin onto a baking tray and bake for 1 ¼ hours or until just set in the centre. Do not open the oven during the cooking time or the cheesecake will crack and sink (see recipe tips below).
- Turn the oven off and leave the cheesecake in the oven with the door closed for 2 hours.
- Place the cheesecake onto the bench until completely cooled before placing into the fridge (still in the baking tin).
- After a minimum of 4 hours in the fridge (preferably overnight), carefully remove the cheesecake from the baking tin and remove the baking paper.
- Allow to come to room temperature for 1 hour before serving and then top with fresh blueberries and icing sugar (optional).
Notes
- Use room temperature ingredients to avoid lumps.
- Always choose full-fat cream cheese and sour cream.
- Don't over-beat the batter-mix until just combined.
- Place the cheesecake tin on a tray of water in the oven to prevent cracks.
- Leave the oven door closed while baking and cooling.
- Chill for at least 4 hours, preferably overnight.
- Store in an airtight container in the fridge for up to 5 days.
- Freeze whole or sliced cheesecake for up to 1 month (wrap tightly in cling film + foil).
Jen Collier says
First timer here to baked cheesecakes! I followed this recipe and hints to the dot and studied all the notes and it’s come out 100% perfect. No cracks or pulling from the biscuit base on the sides. Must say I’m pretty impressed with myself. I made the thermomix version with my TM31 but did crush the biscuits in a food processor and mix with butter in a bowl to avoid cleaning my thermomix in between steps completely out of laziness haha. Thank you so much Lucy xx
Lucy says
That's absolutely fabulous to hear Jen!!! xx
Pei San Lam says
Hi Lucy, thanks for sharing the recipe. You have the conventional and termomix method. May I know which one comes out with better results?
Lucy says
Hi there, if you have a Thermomix, that will be less work for you, but the results will be the same either way!
Rachel says
I’ve made this 6 or 7 times now, for big events like christmases and birthdays.
My ONLY peeve is that it doesn’t brown on top. It always stays a lush cream colour.
I prepare it with a pan of water in the oven.
What’s going wrong?
Lucy says
Hi Rachel, try moving it closer to the heat source if you'd like the top browned. My oven is fan-forced with the heat elements at the top which is why it browns slightly on top! Hope that helps!
Fiona says
This sounds amazing!! I need to make a GF version, I have the base covered but wondered what i could sub the flour in the mixture for? Would almond or coconut flour work?
Lucy says
Hi Fiona, I havent personally tried that myself but can't see why it wouldn't work. Alternatively, you could just use gluten-free flour?
Suzanne says
Hi Lucy,
This was super easy to make, thank you. If I make half the recipe as there’s only two of us? How long do I cook it for? Any advice would be appreciated.
Lucy says
Hi Suzanne, this is actually one recipe I wouldn't recommend halving.