


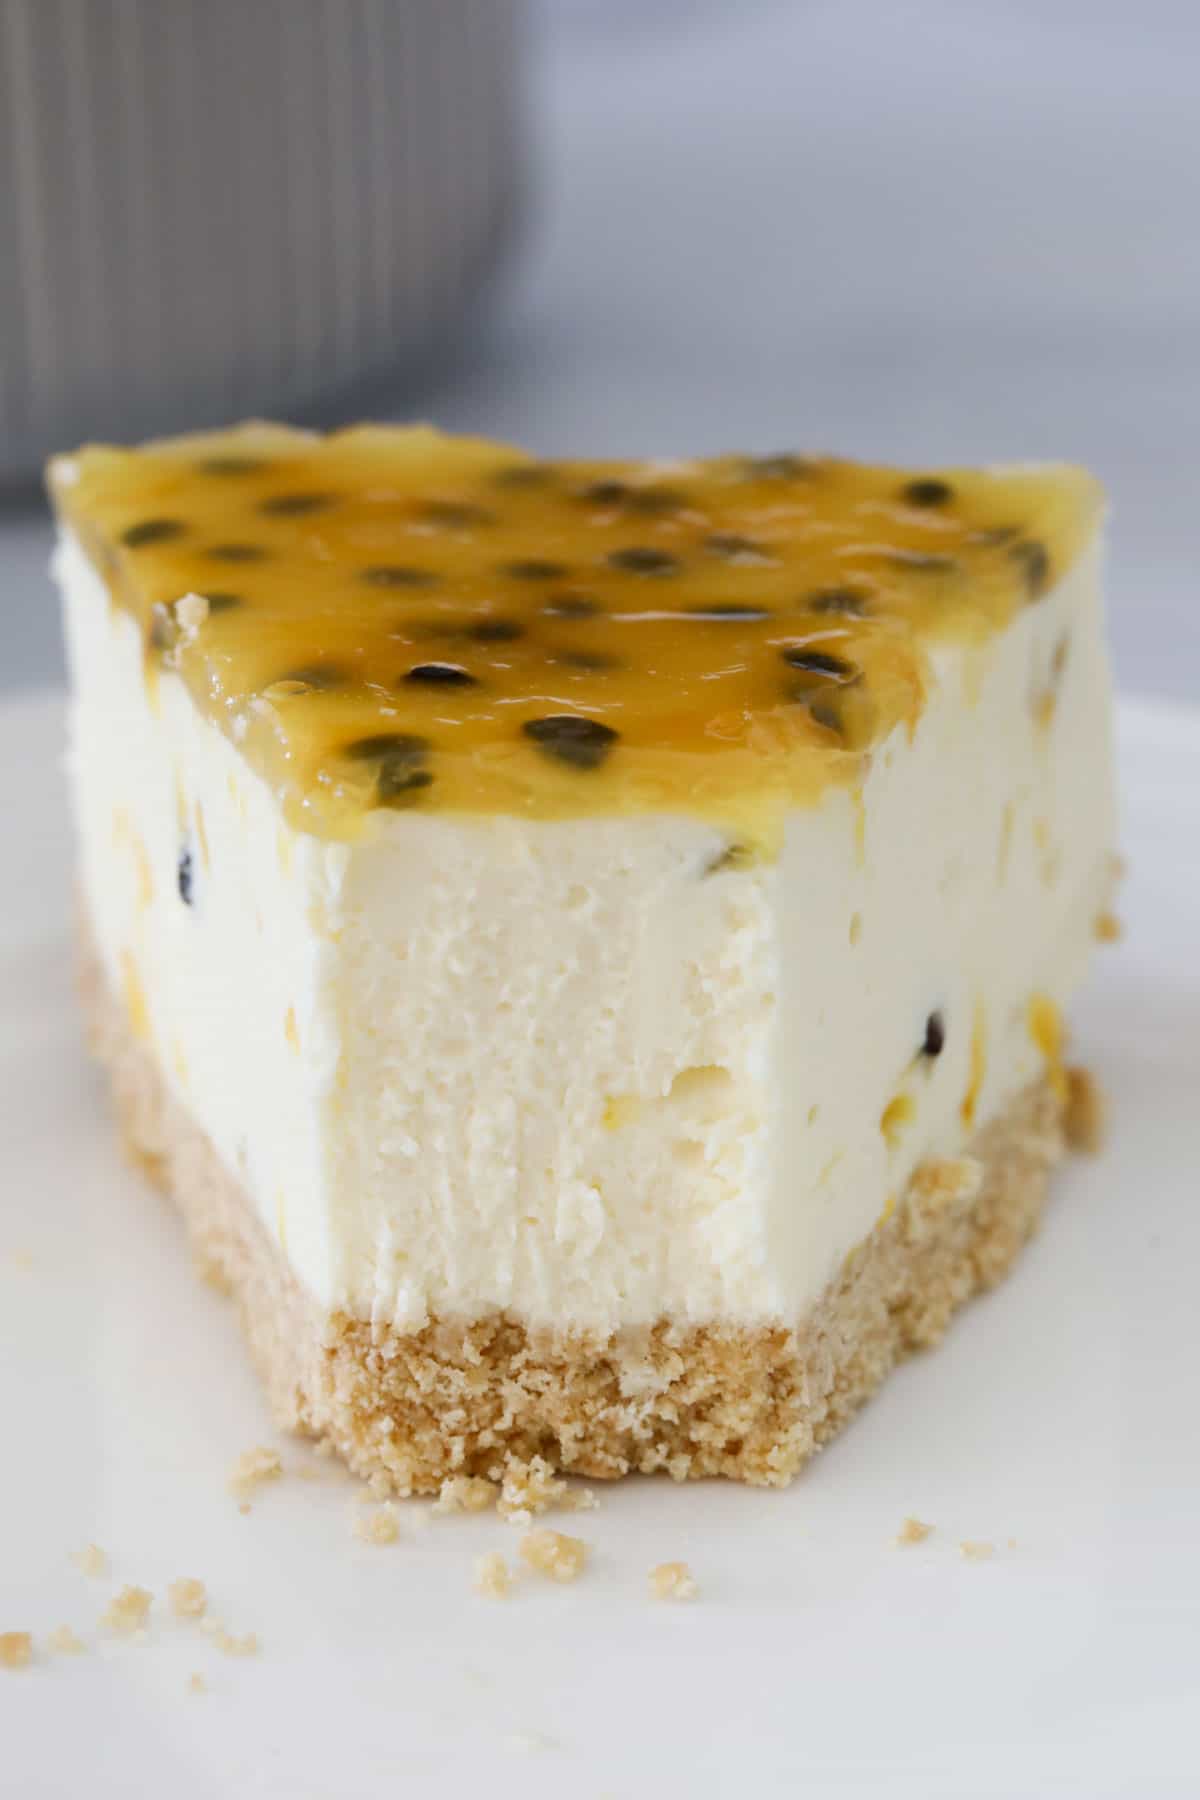
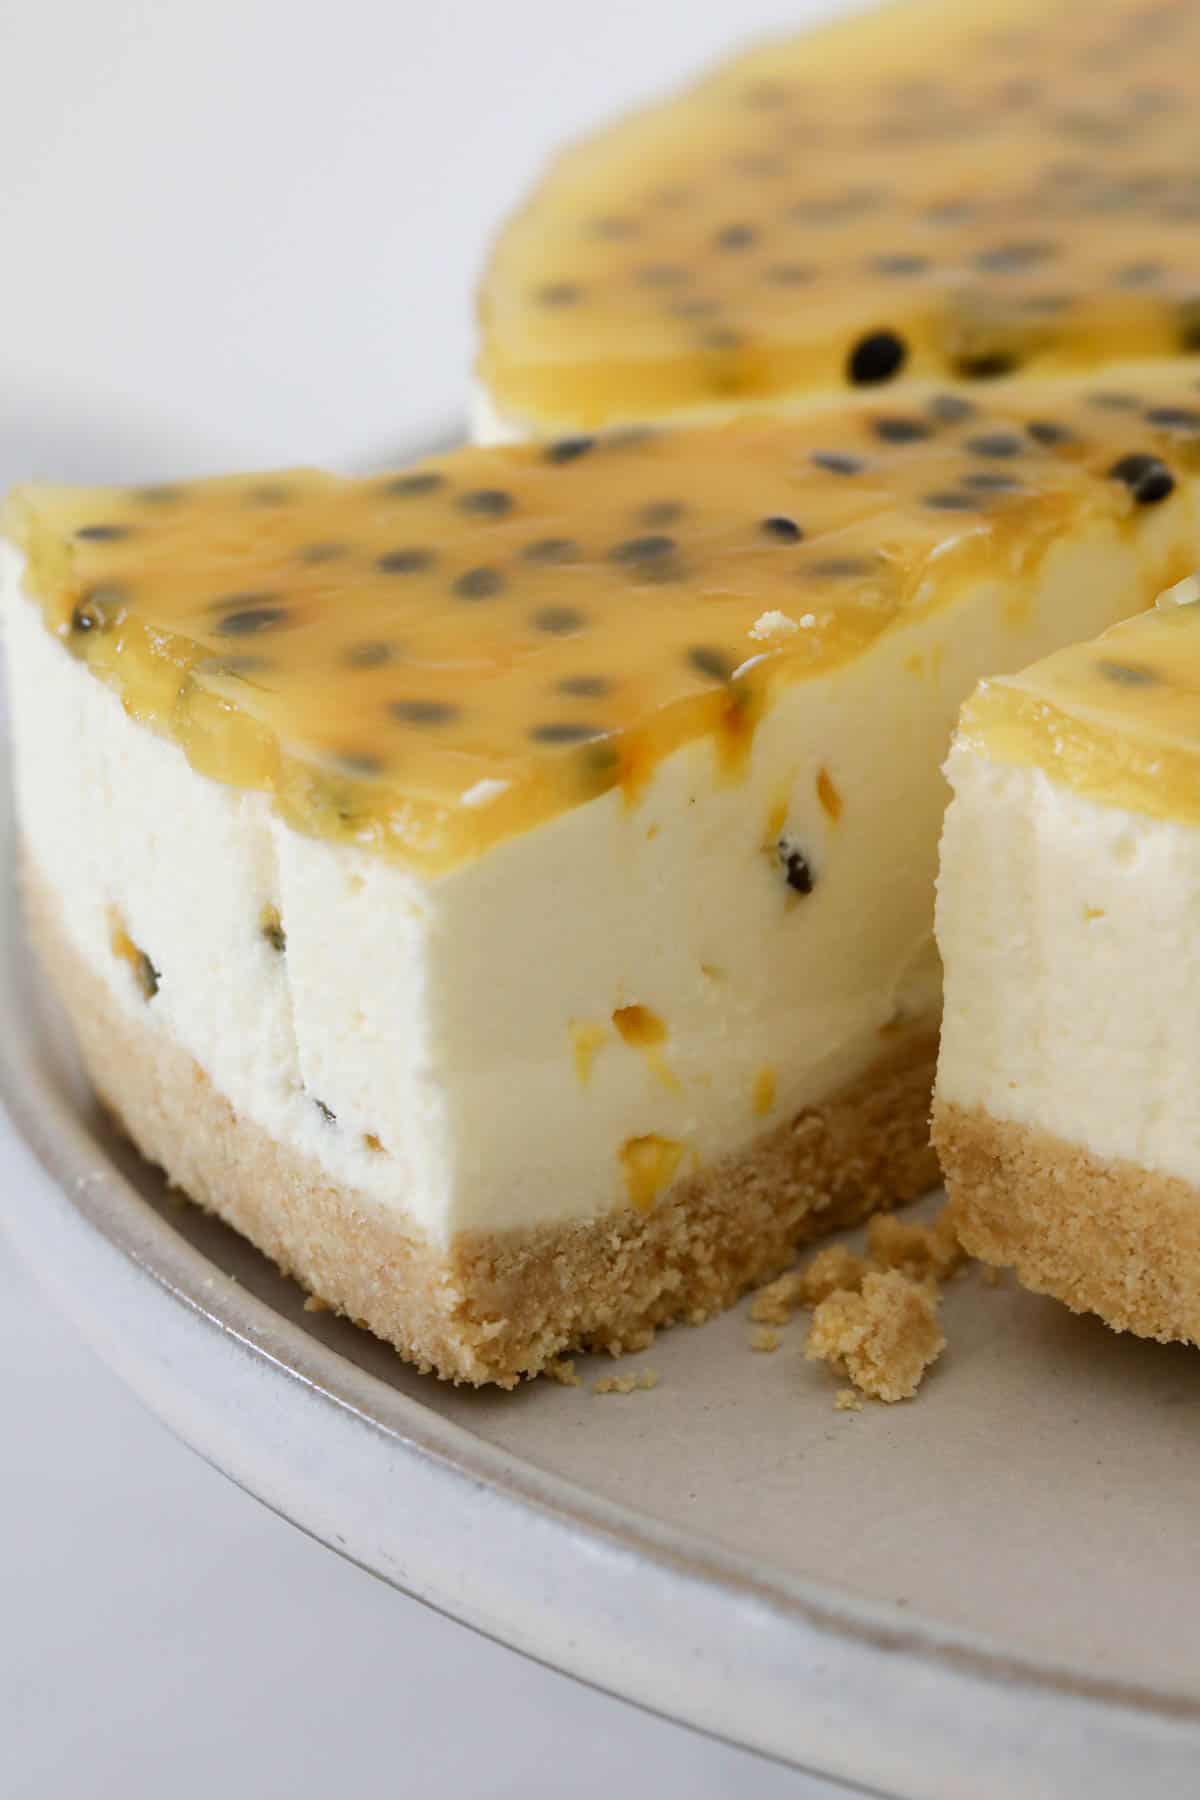
This no-bake passionfruit cheesecake is basically sunshine on a plate.
No oven, no fuss, just a creamy filling and a tangy passionfruit jelly top that beats my New York Baked Cheesecake for zero effort. It's every bit as showstopping as my Passionfruit Mango Pavlova, but with way less faff.
A Quick Look At The Recipe
🍰 Recipe: No-Bake Passionfruit Cheesecake
⏱️ Ready In: About 6 hours 30 minutes (mostly fridge time, hands-on prep is only 25 minutes)
🍽️ Serves: 16
🔥 Calories: 352 per serve
🥭 Main Ingredients: Cream cheese, passionfruit pulp, plain sweet biscuits, gelatine
🌱 Dietary Info: Vegetarian, Thermomix method included
❤️ Why You'll Love It: No oven, make-ahead friendly, and tastes like a tropical holiday in a slice
SUMMARIZE & SAVE THIS CONTENT ON
Fair warning: once you get hooked on passionfruit desserts you'll want to put it in everything, like I did with my Pecan Pie Cheesecake Bars.
If you're after other easy no-bake options, my No-Bake Chocolate Cheesecake and No-Bake Lemon Cheesecake are both cut from the same lazy-mum cloth.
Jump to:
Why You're Going To Love This Recipe
- No oven needed, it's all fridge magic.
- Make-ahead friendly, so it's one less thing to think about before a party.
- That tangy passionfruit jelly topping looks fancy but takes minutes.
- Dual method included, so it works whether you're Team Thermomix or Team Stand Mixer.
Passionfruit Cheesecake Ingredients
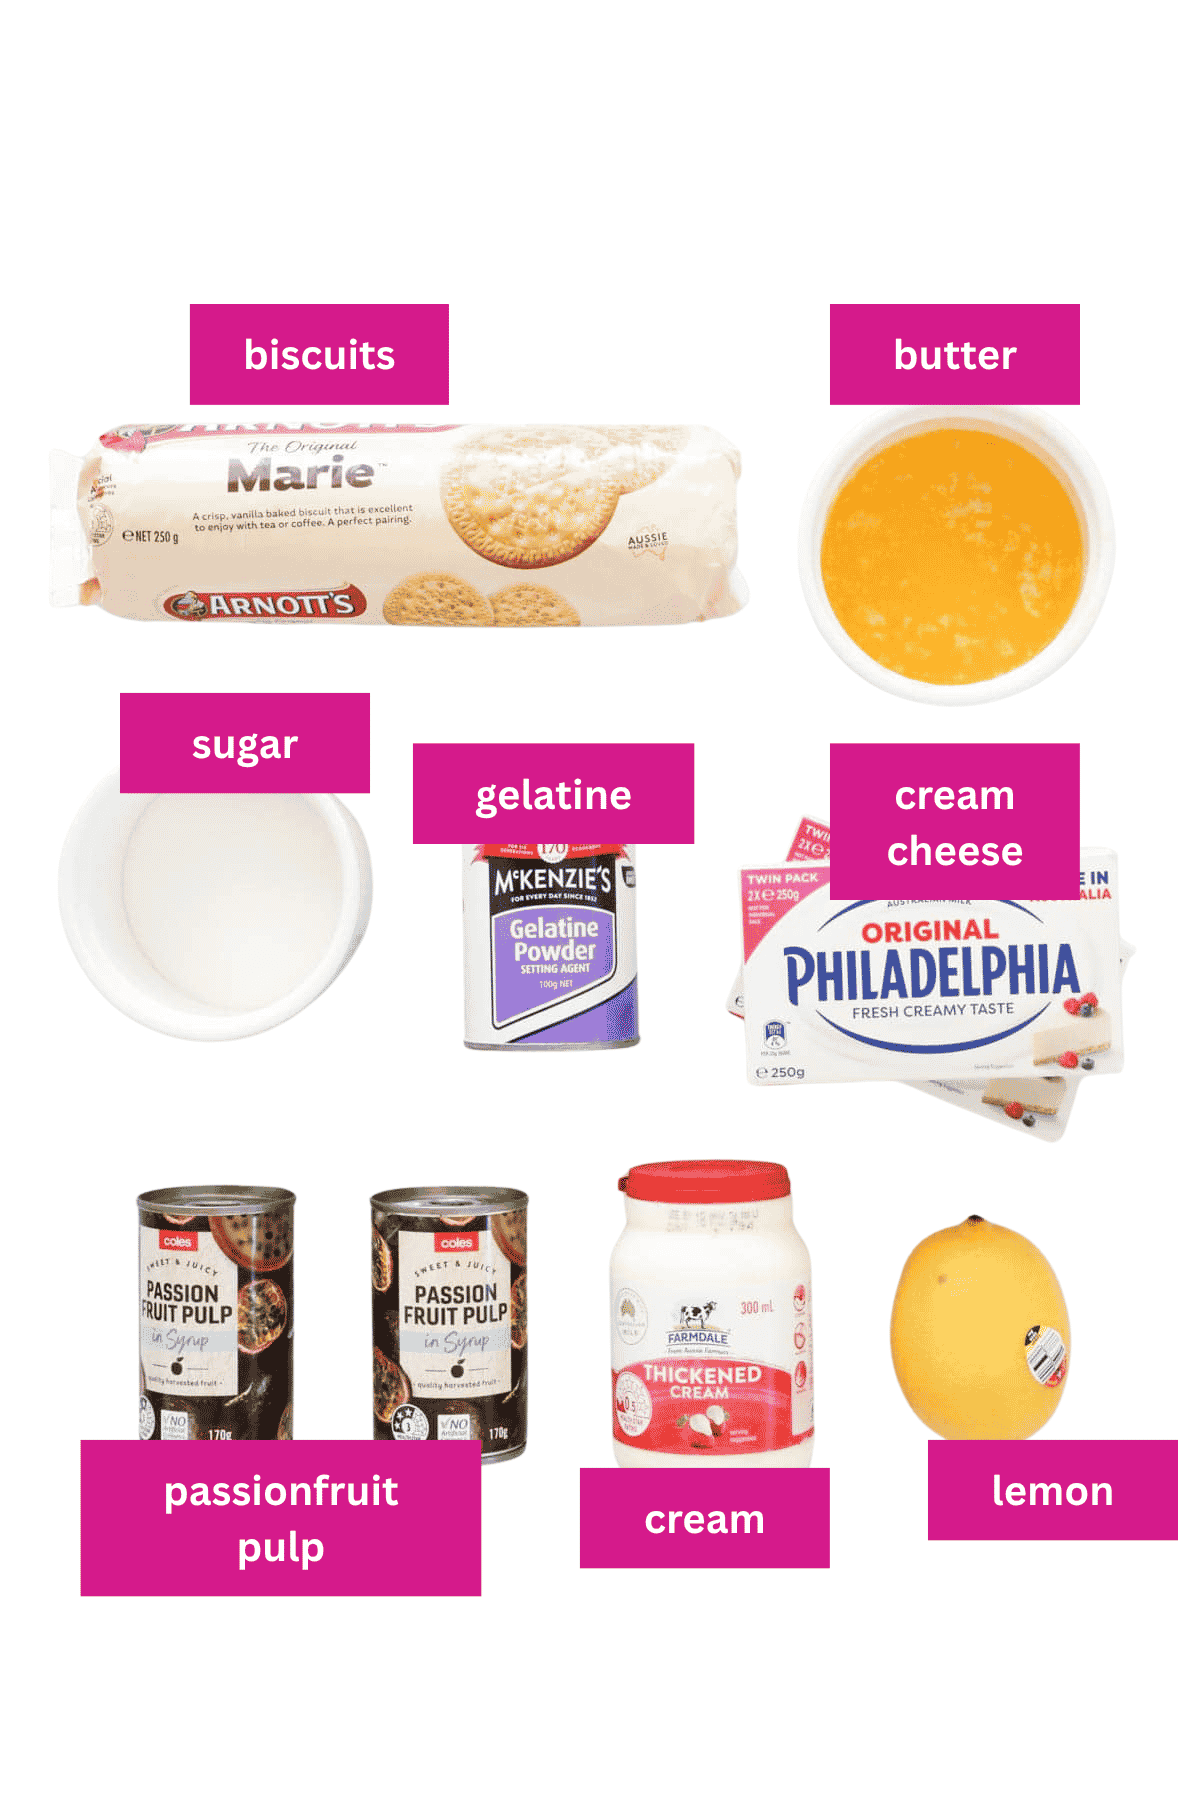
You don't need anything fancy for this one, just a few notes on the ingredients that actually matter.
- Plain sweet biscuits - I use Arnotts Marie, but any plain sweet biscuit works. Swap in a gluten-free biscuit if you need to.
- Cream cheese - have it at room temperature or you'll end up with a lumpy filling (learned that one the hard way).
- Gelatine powder - don't let the water boil when you dissolve it, and give it a proper whisk so there's no gritty bits left.
- Passionfruit pulp - canned is easiest and what I use most of the time, but fresh works just as well. You'll need roughly 6-8 fresh passionfruit to match one 170g can.
Variations
- Swap the topping - trade the passionfruit jelly for a jar of passionfruit curd if you want a thicker, less wobbly top.
- Go gluten-free - use a gluten-free plain biscuit for the base and this whole recipe is gluten-free.
- Fancy a berry version instead? Swap the passionfruit pulp in the filling and topping for the same amount of strawberry or raspberry puree.
- Want a slice instead of a whole cheesecake? My Passionfruit Slice has the same tropical flavour cut into easy party-sized squares.
How To Make Passionfruit Cheesecake
Here's the full method, with Thermomix steps included right alongside the conventional method for every step.
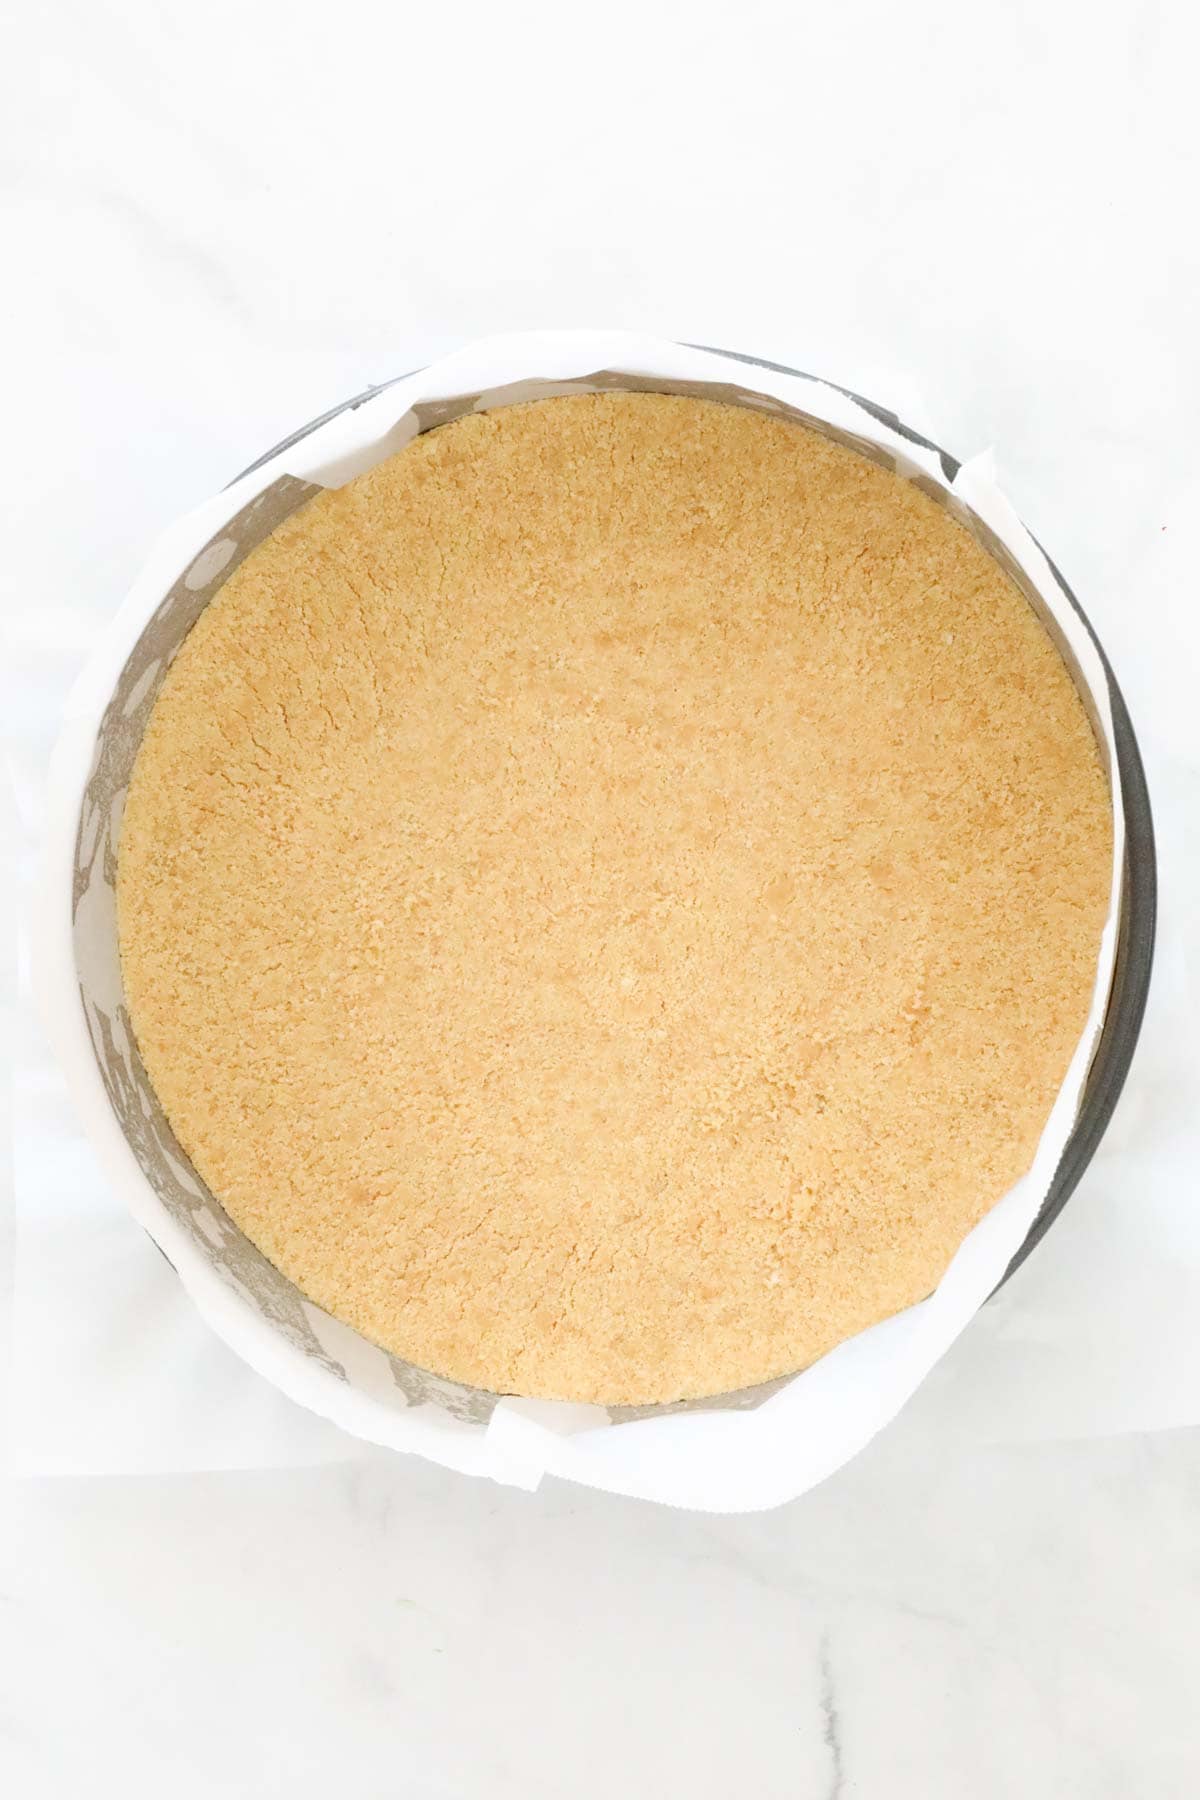
- Step 1: Make the biscuit base. Grease and line a 23cm round springform tin. Crush the biscuits in a food processor and mix through the melted butter. Firmly press the mixture into the base of the tin and chill while you make the filling.
If using a Thermomix: melt the butter in the Thermomix bowl for 2 minutes, 80 degrees, Speed 2, then add the biscuits and mix for 10 seconds, Speed 8.
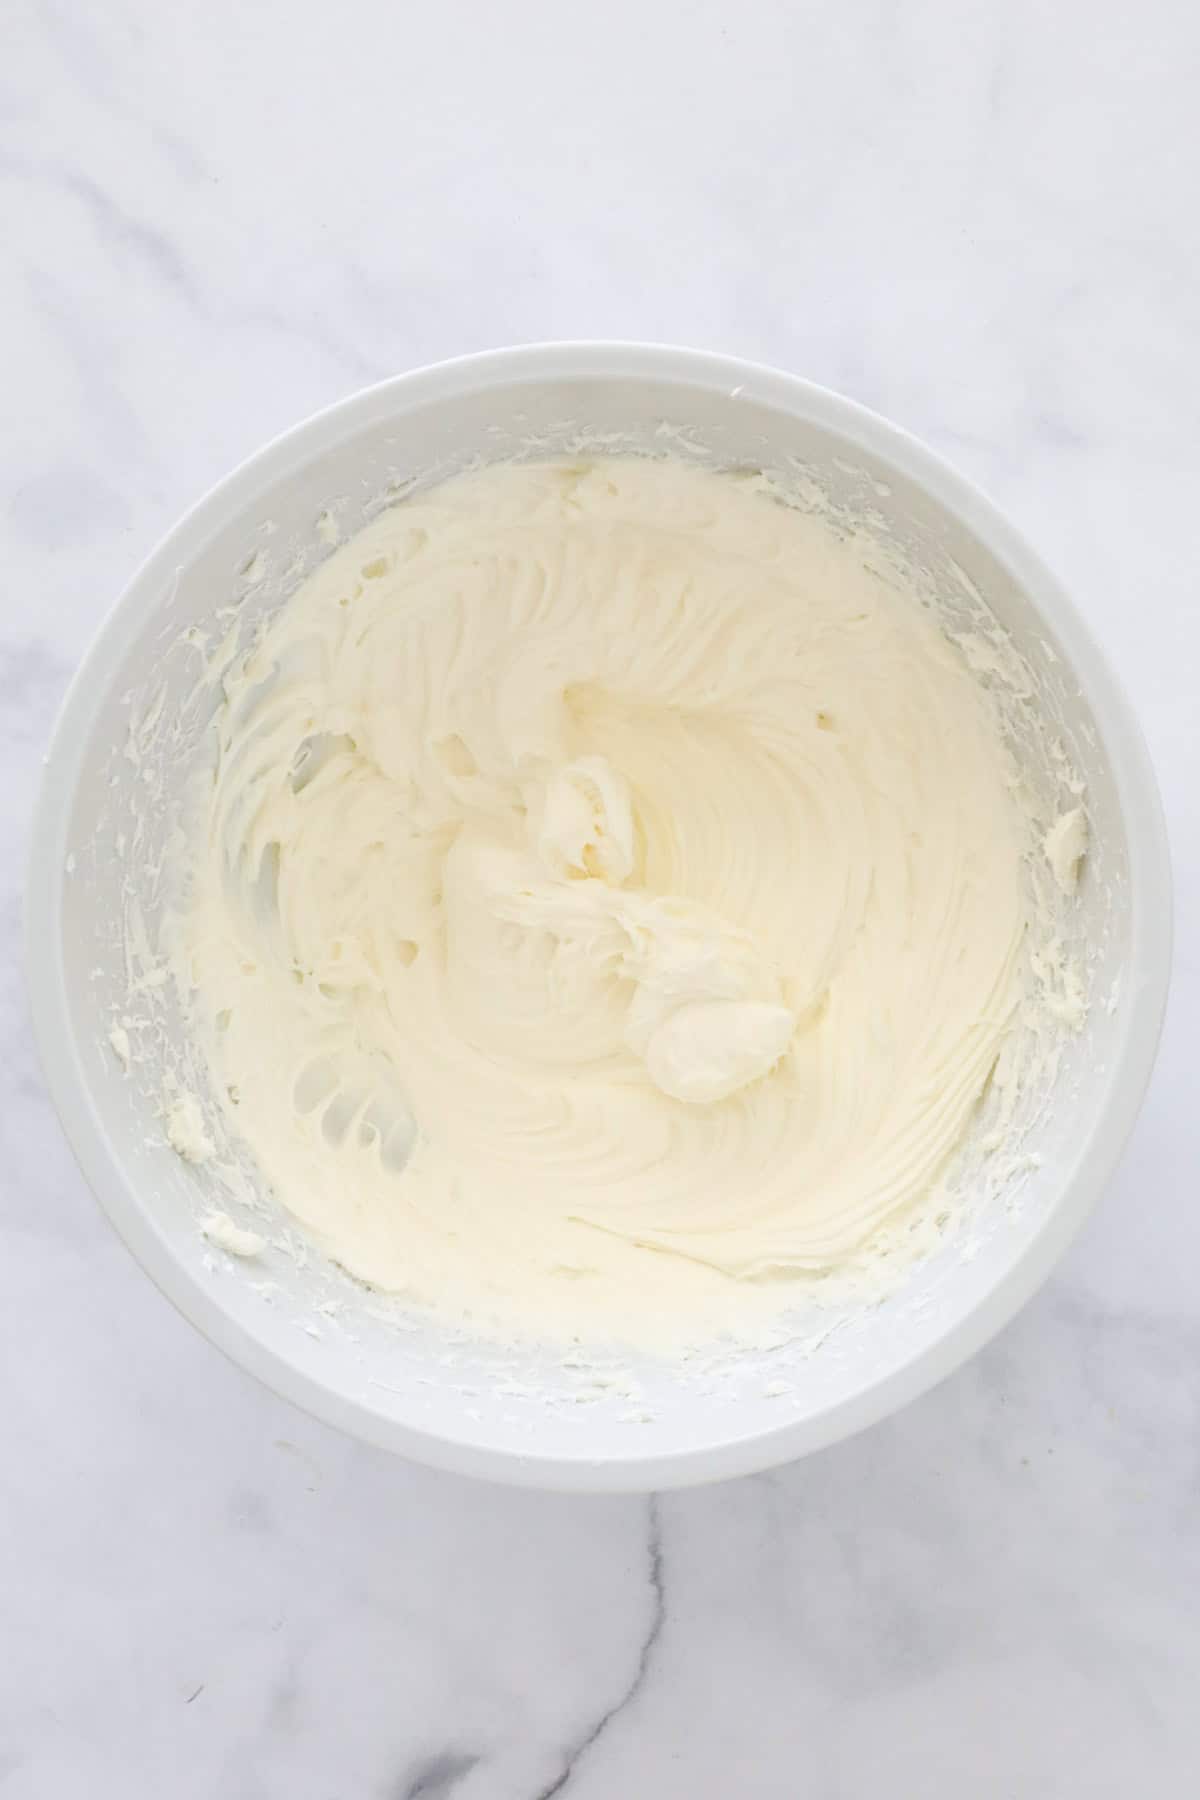
- Step 2: Dissolve the gelatine and beat the cream cheese. Dissolve the gelatine powder in the boiling water and set aside to cool slightly. Beat the cream cheese and caster sugar with hand-held beaters or a stand mixer until smooth and creamy.
If using a Thermomix: mix the cream cheese and caster sugar for 30 seconds, Speed 5, scraping down the sides and repeating until smooth.
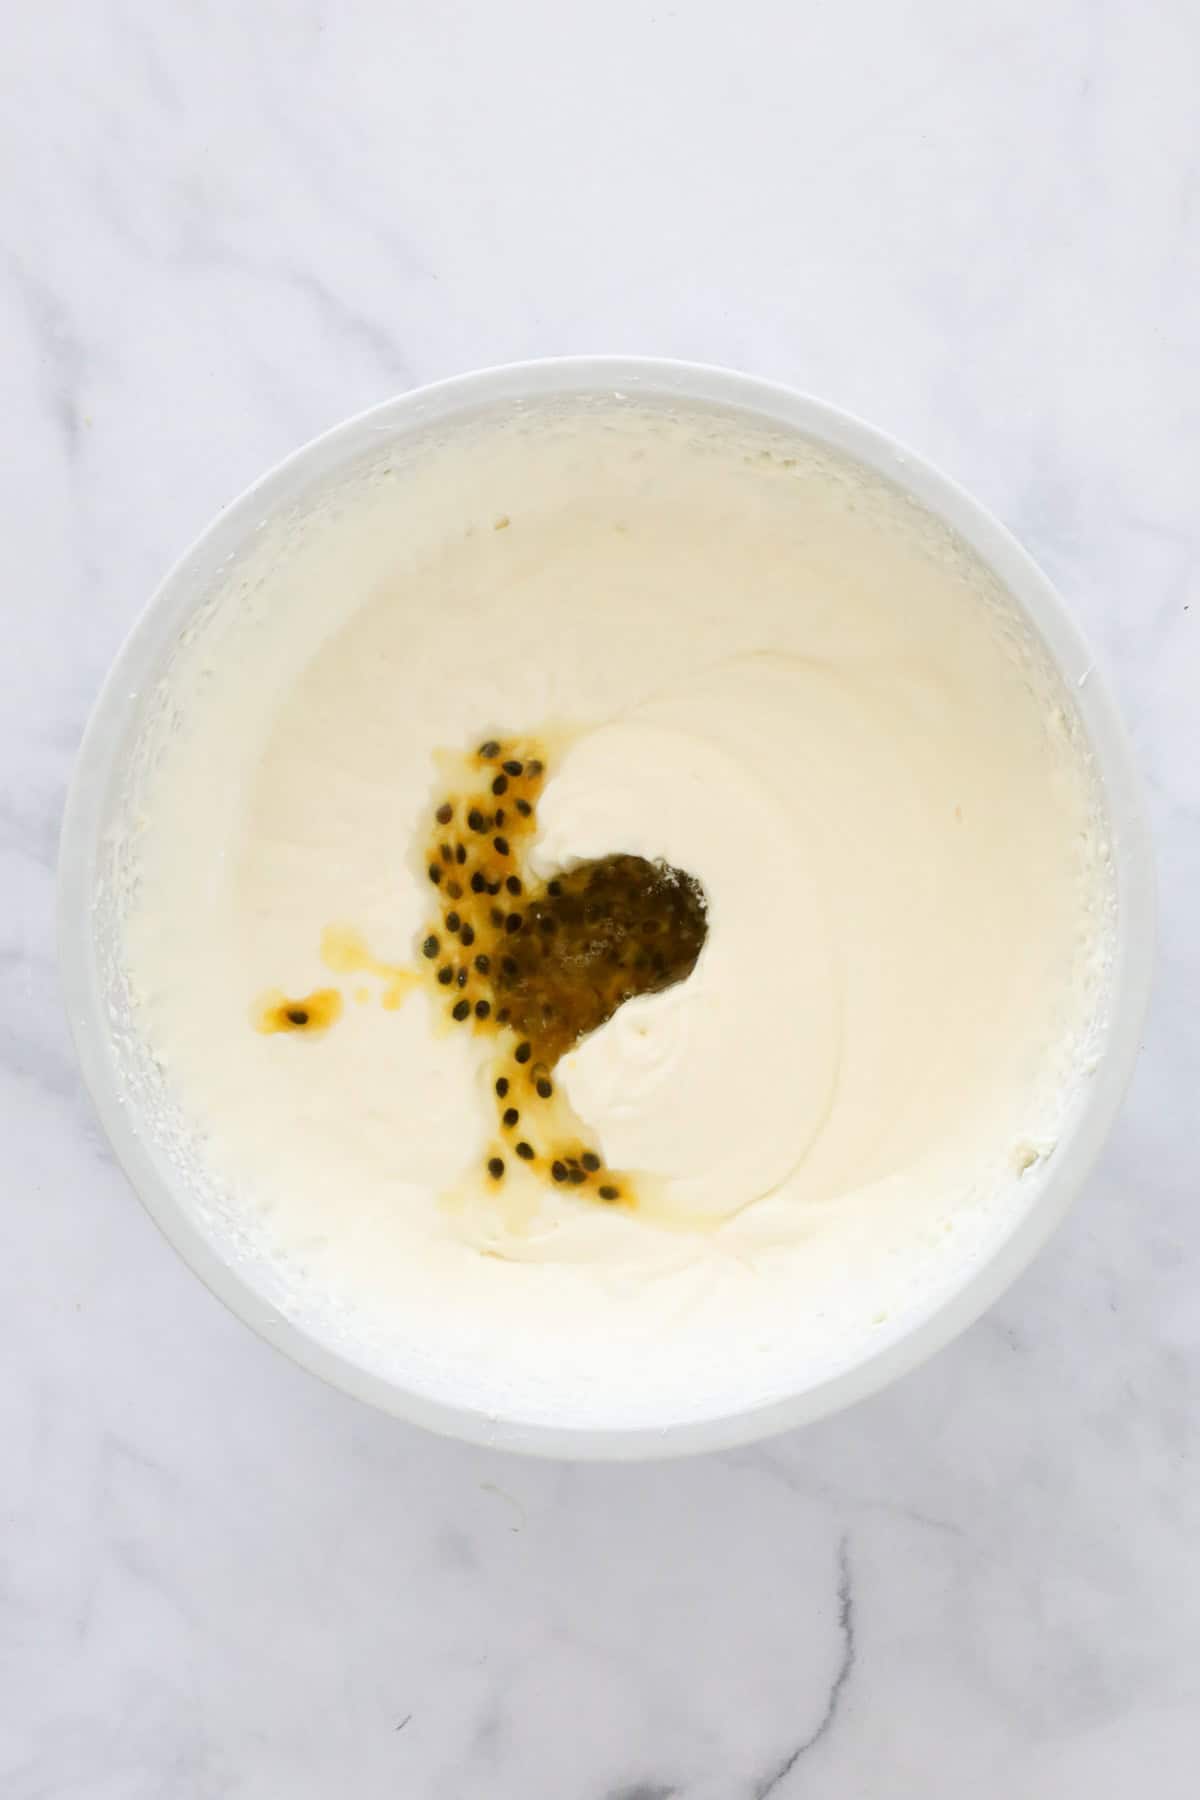
- Step 3: Add the gelatine, cream and passionfruit. Beat the dissolved gelatine through the cream cheese mixture, then add the cream and lemon juice and beat for 2 minutes or until slightly thickened. Stir through the passionfruit pulp.
If using a Thermomix: add the cooled gelatine and mix 30 seconds, Speed 5. Add the cream and lemon juice and mix 2 minutes, Speed 3. Add the passionfruit pulp and mix 10 seconds, REVERSE, Speed 2.
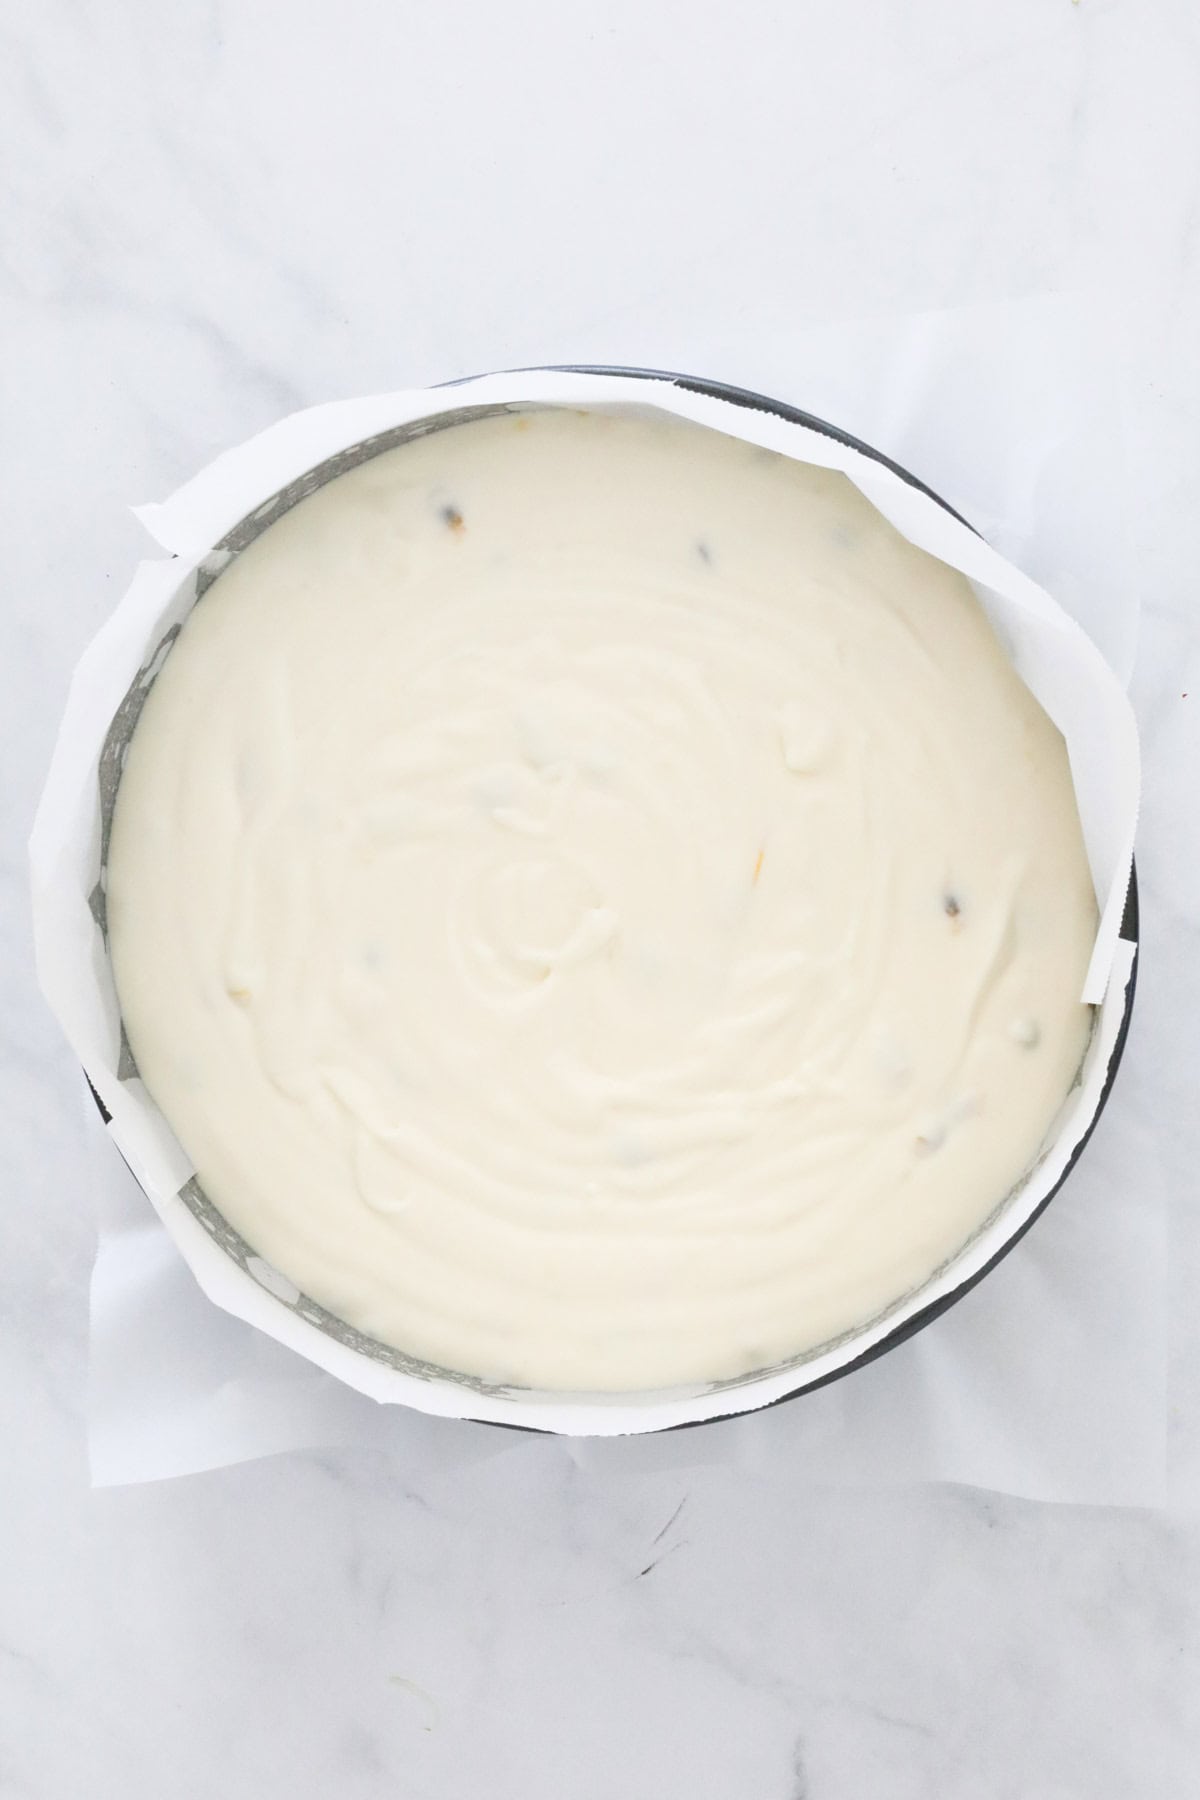
- Step 4: Pour over the base and chill. Pour the cheesecake mixture over the prepared biscuit base and place in the fridge for 1-2 hours or until set.
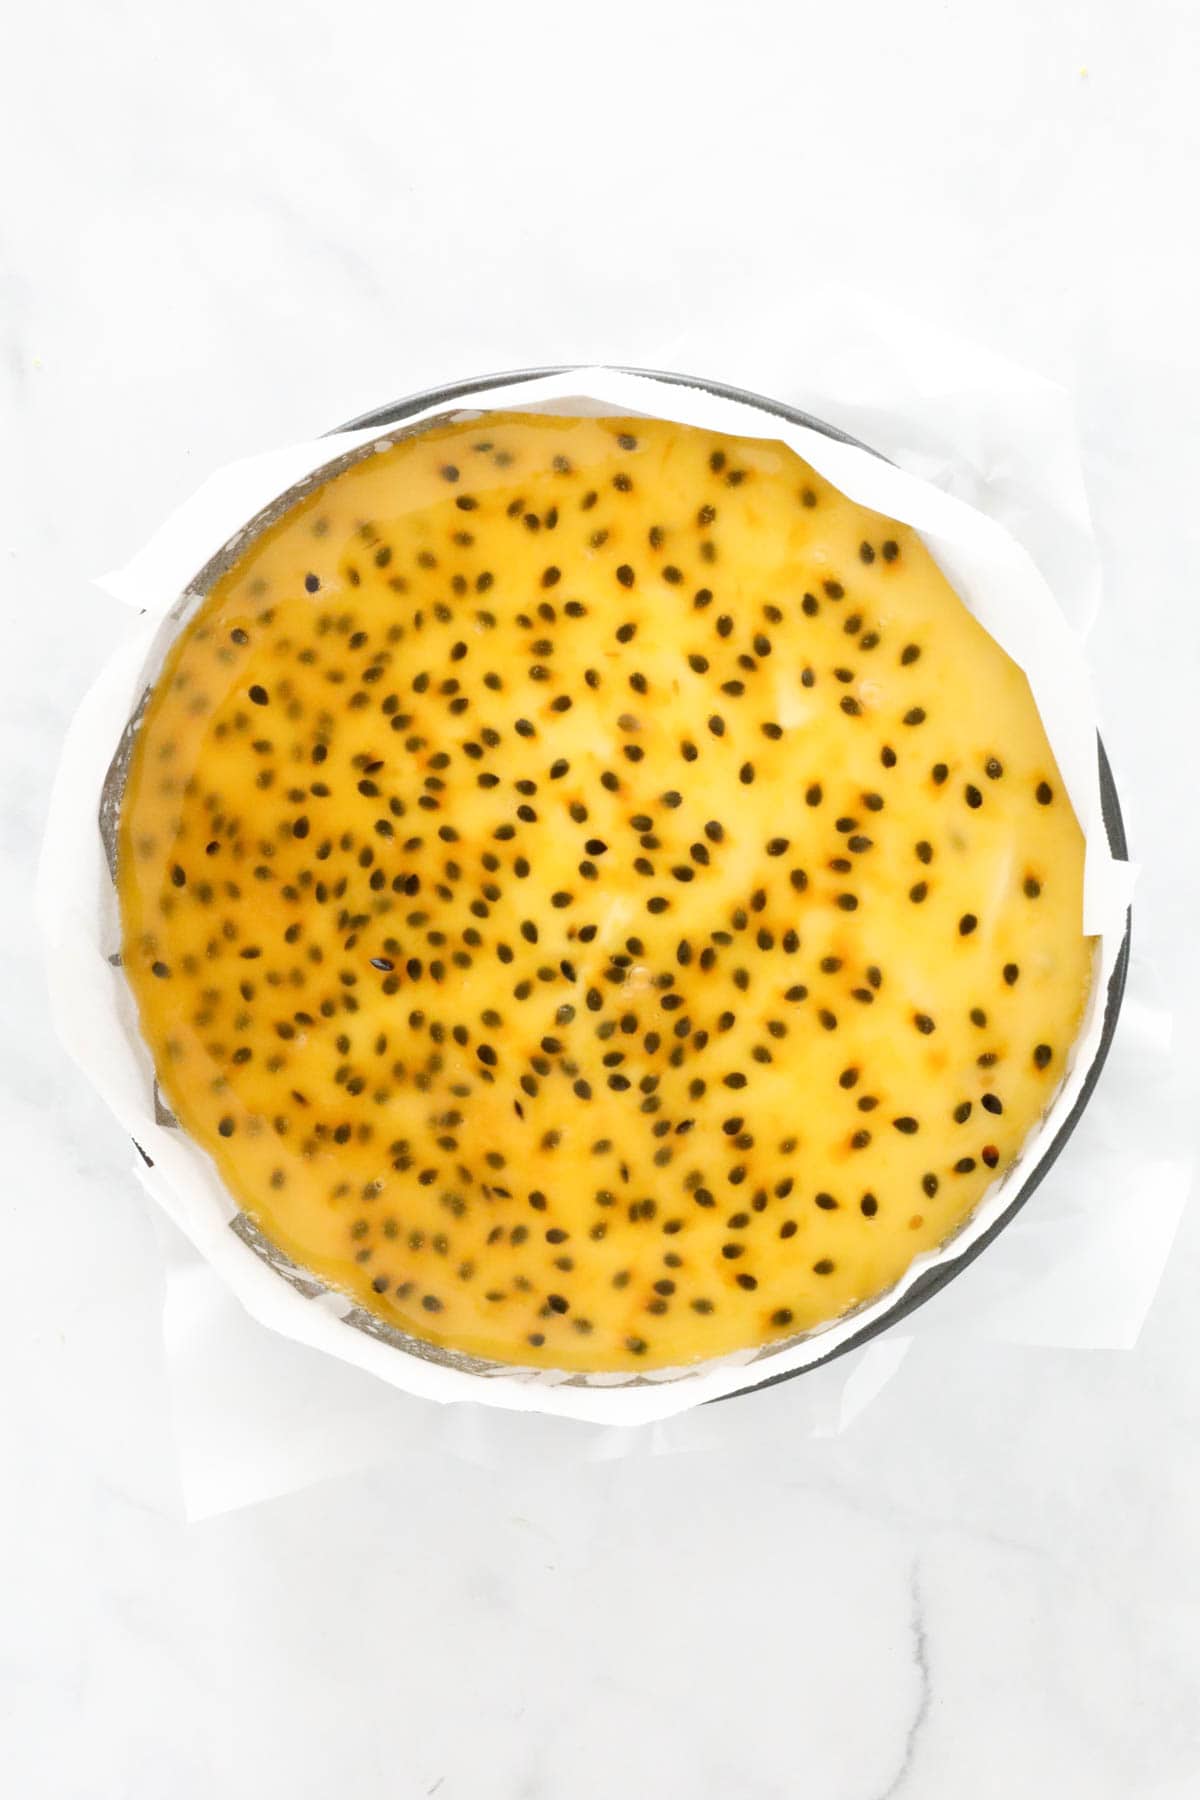
- Step 5: Make the passionfruit jelly topping. Mix the extra can of passionfruit pulp through the dissolved gelatine and gently pour it over the top of the set cheesecake.
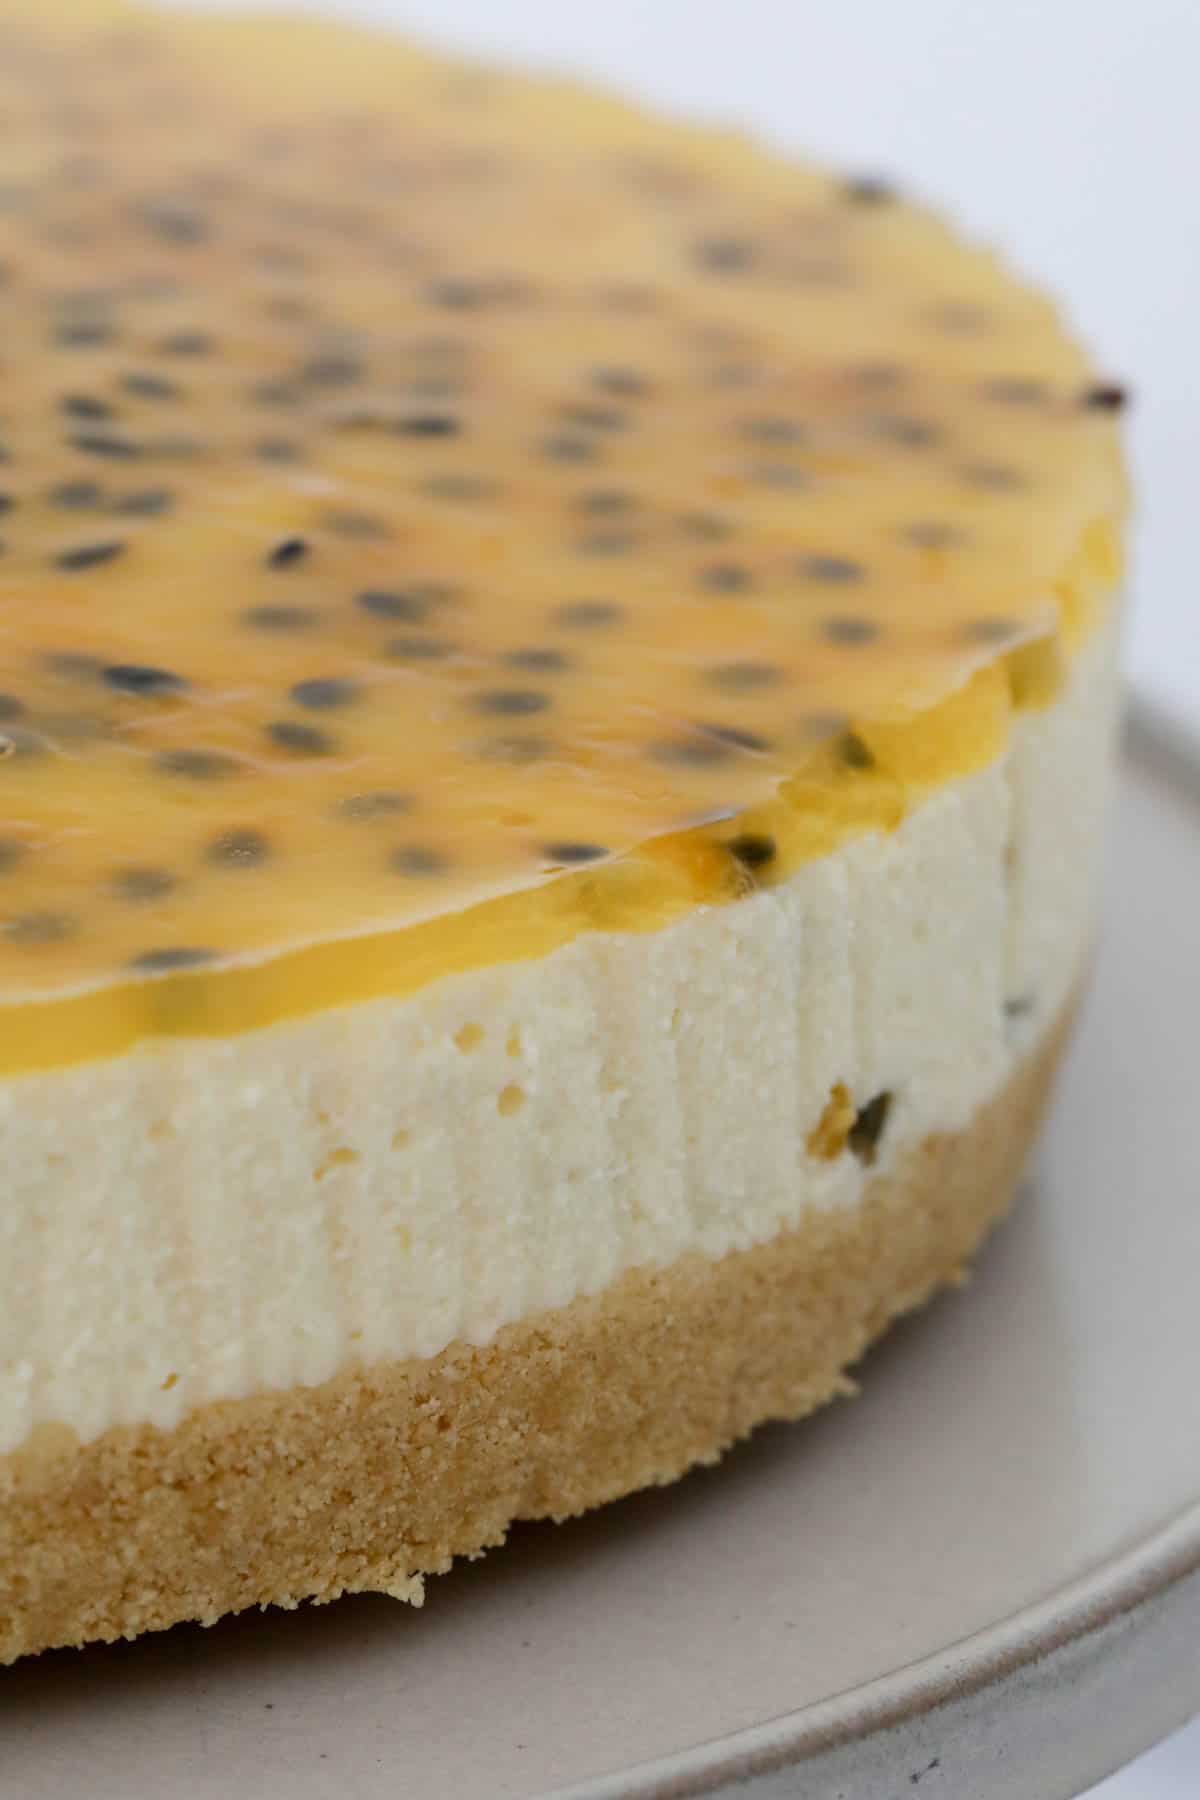
- Step 6: Chill until fully set. Return the cheesecake to the fridge for 4 hours, or until the jelly topping is fully set. Overnight is even better if you can wait that long.
Recipe Tips
- Press the base firmly - a loose biscuit base is the number one reason for a soggy slice. Really push it down with the back of a spoon (or a flat-bottomed glass) and chill it before adding the filling.
- Room temperature cream cheese - cold cream cheese means a lumpy filling. Leave it out on the bench for at least an hour first.
- Don't rush the chill - give it the full time in the fridge. A cheesecake that hasn't properly set won't slice cleanly.
- Make it ahead - this is a brilliant make-ahead dessert for parties. Make it up to 2 days ahead and keep it covered in the fridge until you're ready to serve.
- Storage - keep it in an airtight container in the fridge for up to 3 days.
- Freezing - I don't recommend freezing this one. The gelatine filling and jelly topping don't thaw back well, and you'll lose that lovely creamy texture.
Passionfruit Cheesecake FAQs
Give it at least 4 hours in the fridge (overnight is even better). Gently touch the top - if it feels firm and springs back, it's ready to slice.
Yes! Fresh works just as well. You'll need roughly 6-8 fresh passionfruit to get the same amount of pulp as one 170g can, just scoop out the flesh and seeds and you're good to go.
This is honestly one of the best make-ahead desserts around. Make it up to 2 days before your party or get-together and keep it covered in the fridge until you're ready to serve.
It's almost always the cream cheese. Make sure it's properly softened to room temperature before you start beating it, cold cream cheese just won't smooth out properly.
I don't recommend it. The gelatine filling and jelly topping change texture once frozen and thawed, so it's best made fresh (or a couple of days ahead) and kept in the fridge instead.
More No-Bake Cheesecake Recipes
Once you're hooked on no-bake cheesecakes, there's no going back. Here are a few more of my favourites.


Passionfruit Cheesecake
Ingredients
For The Base
- 250 g plain sweet biscuits (like Arnotts Marie)
- 125 g butter melted
For The Filling
- 3 teaspoon gelatine powder dissolved in ⅓ cup boiling water
- 500 g cream cheese full fat, room temperature
- 75 g (⅓ cup) caster sugar
- 300 ml thickened cream
- 1 tbs lemon juice
- 170 g can passionfruit pulp or fresh
For The Passionfruit Jelly Layer
- 1 teaspoon gelatine powder dissolved in 2 tbs boiling water
- 170 g can passionfruit pulp or fresh
Instructions
- Grease and line a 23cm round springform tin with baking paper and set aside.
- Crush the biscuits in a food processor and place into a separate bowl. Add the melted butter and mix until well combined.If using a Thermomix: Place the butter into the Thermomix bowl and melt for 2 minutes, 80 degrees, Speed 2. Add the biscuits and mix for 10 seconds, Speed 8.
- Firmly press the mixture into the bottom of the prepared tin and then place it into the fridge.
- Dissolve the gelatine powder in the boiling water (see notes). Set aside.
- Use hand-held beaters or a stand mixer to beat the cream cheese and caster sugar until smooth and creamy. If using a Thermomix: Mix the cream cheese and caster sugar for 30 seconds, Speed 5. Scrape down the sides with a spatula and repeat until smooth and creamy.
- Add the dissolved gelatine and beat through. If using a Thermomix: Add the cooled, dissolved gelatine to the mix and mix for 30 seconds on Speed 5.
- Add the cream and lemon juice and beat for 2 minutes or until slightly thickened. Stir through the passionfruit pulp.If using a Thermomix: Add the cream and lemon juice and mix for 2 minutes, Speed 3 or until thickened. Add the passionfruit pulp and mix for 10 seconds, REVERSE, Speed 2, or until combined.
- Pour the mixture over the prepared base and place into the fridge for 1-2 hours or until set.
- To make the passionfruit jelly layer, mix the extra can of passionfruit pulp through the dissolved gelatine and gently pour over the top of the set cheesecake.
- Return to the fridge for 4 hours or until set.
Notes
- Baking tin - a round springform tin is needed for this recipe. This allows for easy removal of the jelly cheesecake once set. Grease and line it with baking paper before using.
- Cream cheese - have your cream cheese at room temperature to ensure the smoothest cheesecake texture.
- To dissolve the gelatine - place boiling water into a small bowl. Sprinkle over the gelatine powder and whisk quickly with a fork to dissolve. Set aside to cool slightly.
- Chill for a minimum of 4 hours (or overnight) prior to serving - to ensure the cheesecake is fully set and will slice neatly.
- Storage - place in an airtight container and store cheesecake in the fridge for up to 3 days.
- Freezing - I do not recommend freezing this cheesecake.
Leave a Reply