

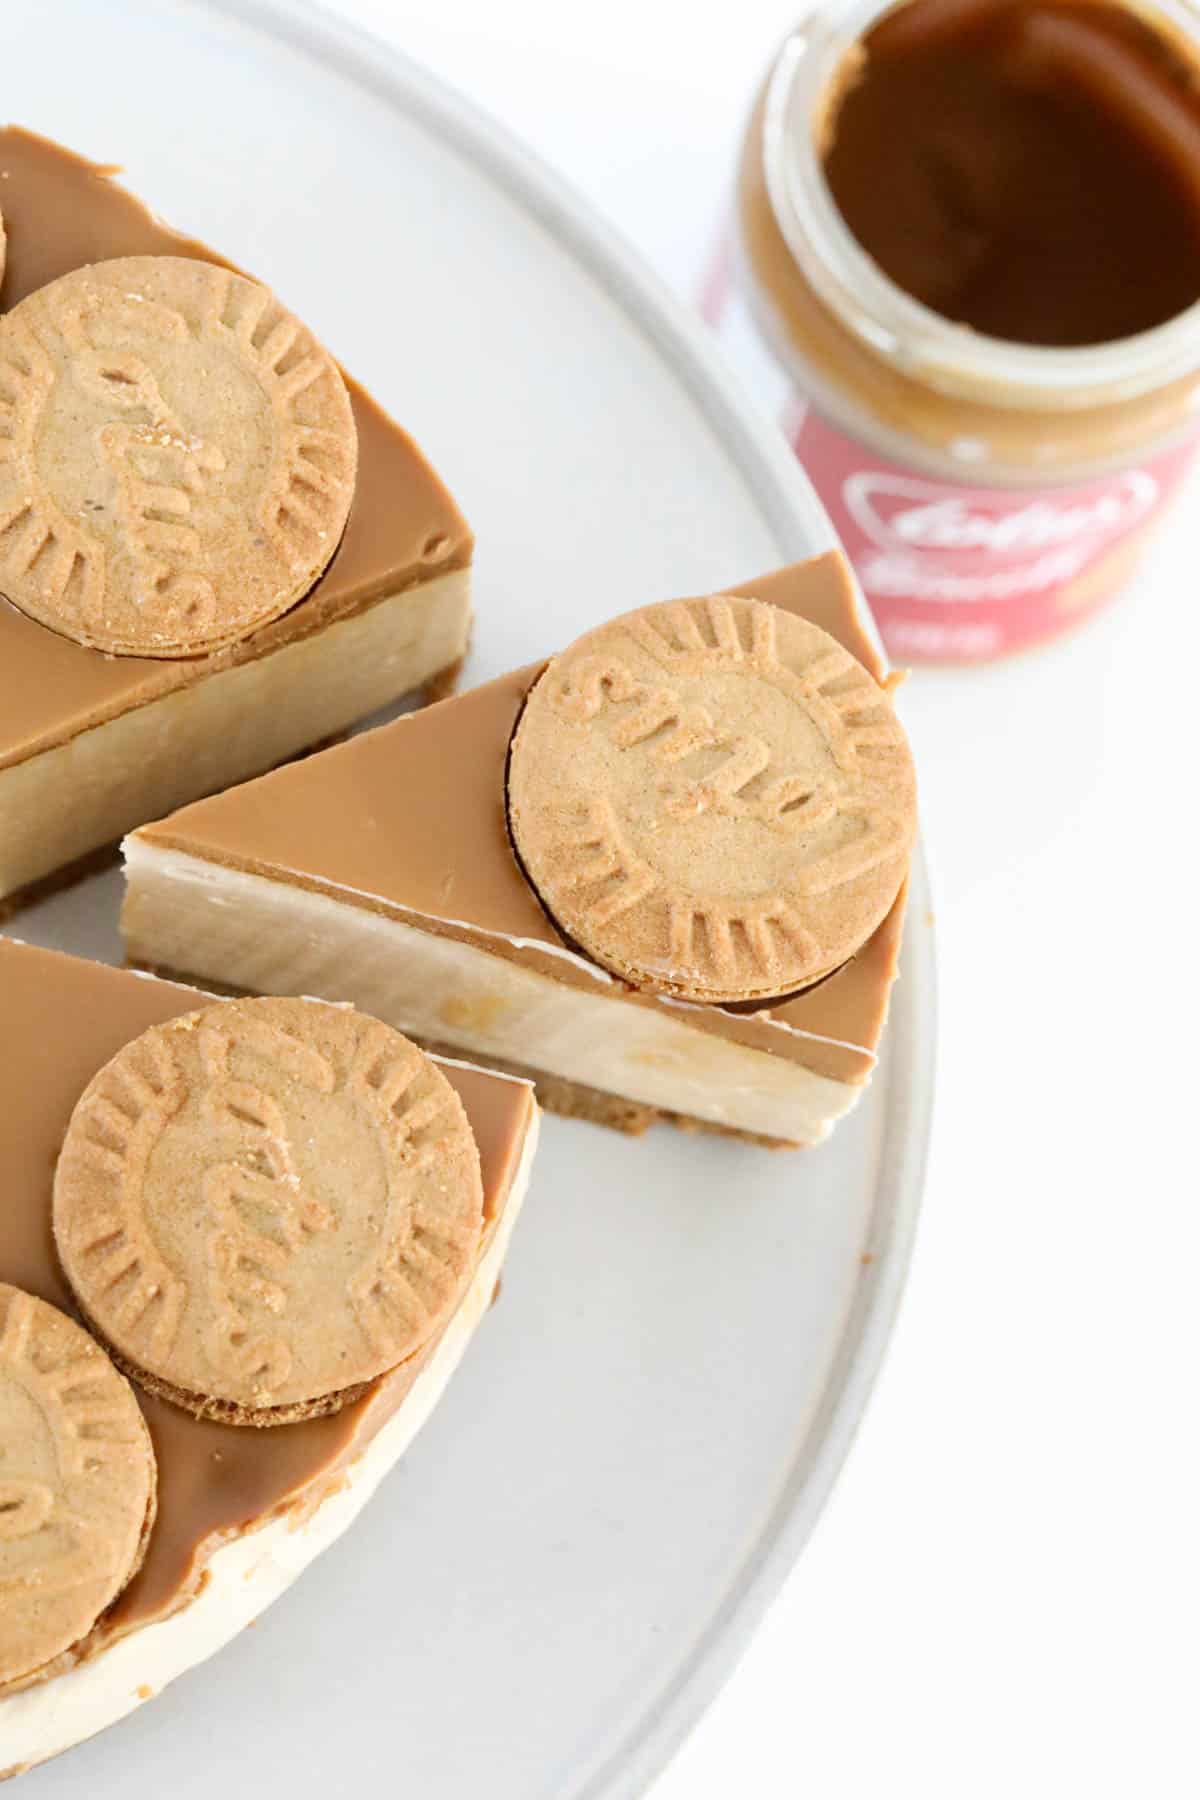
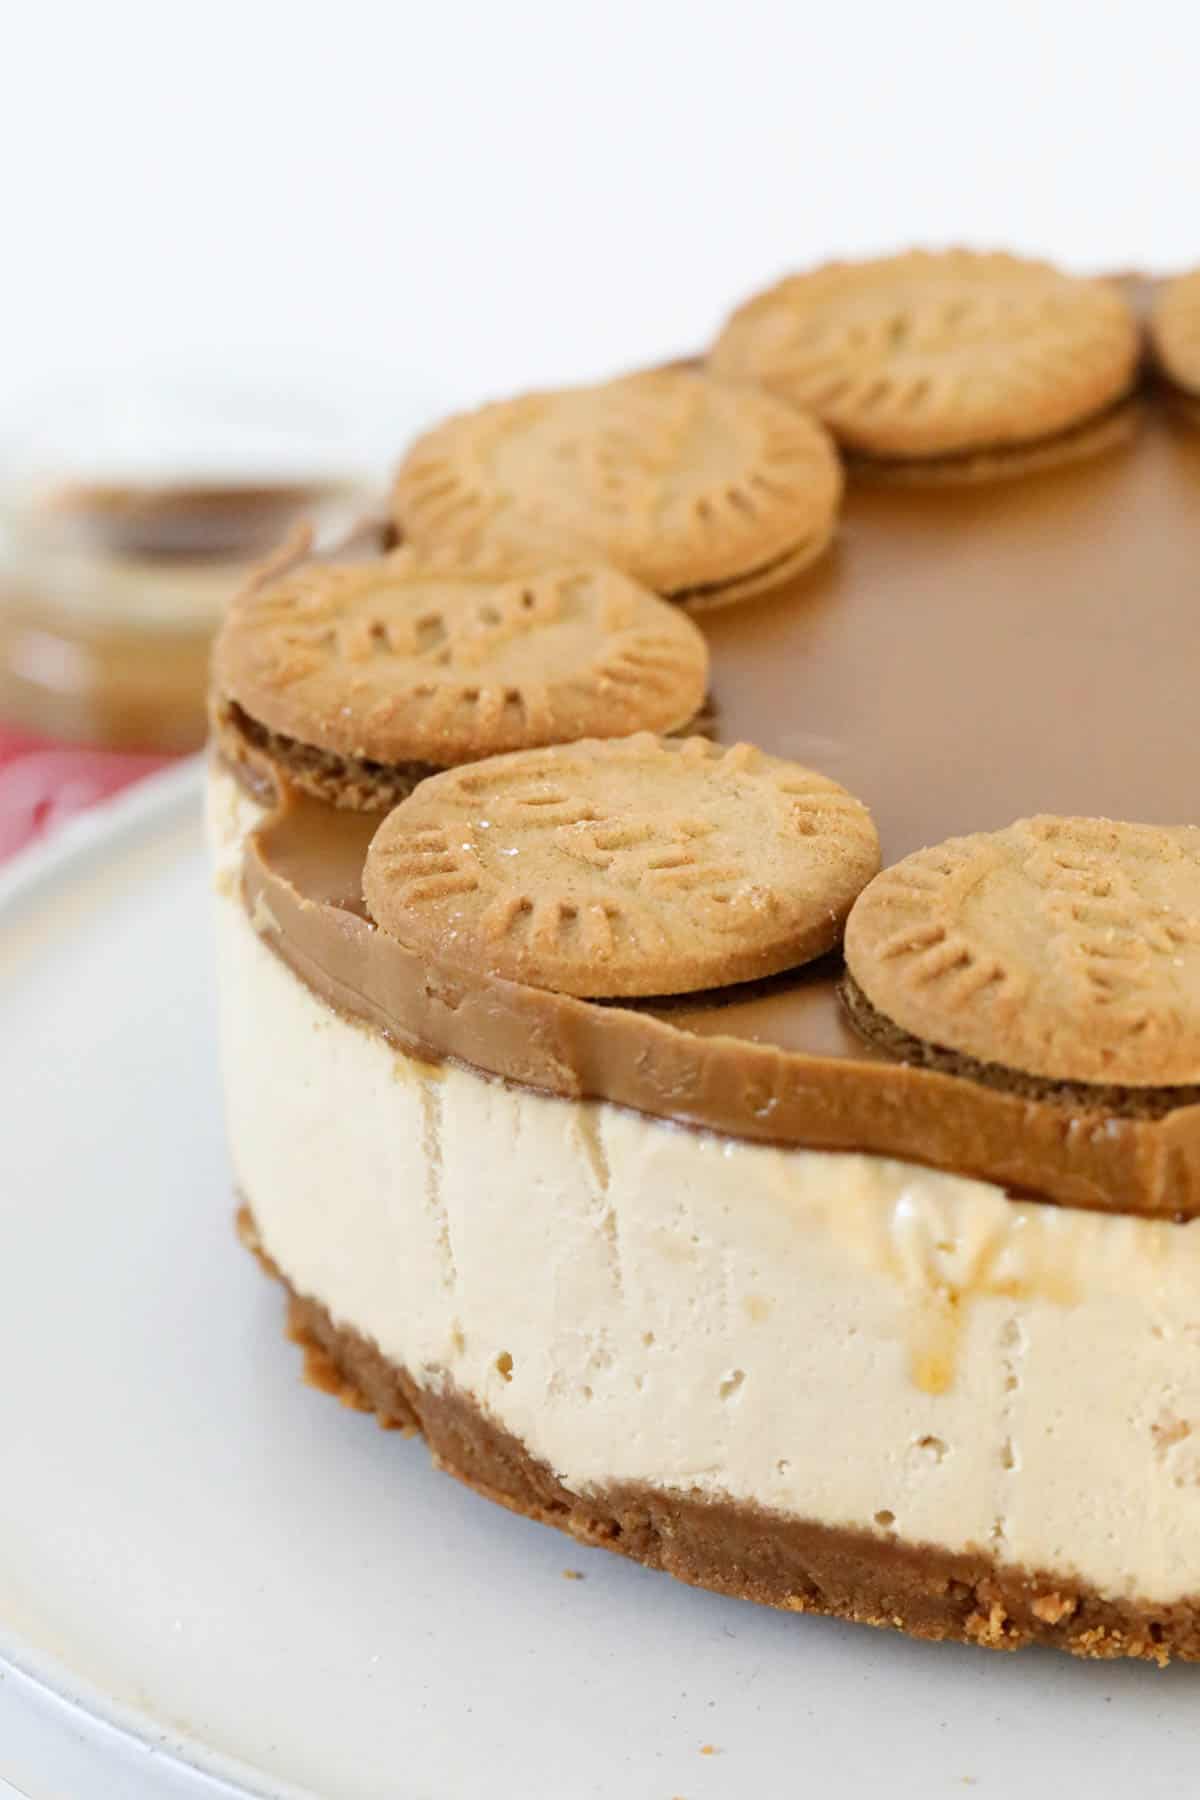
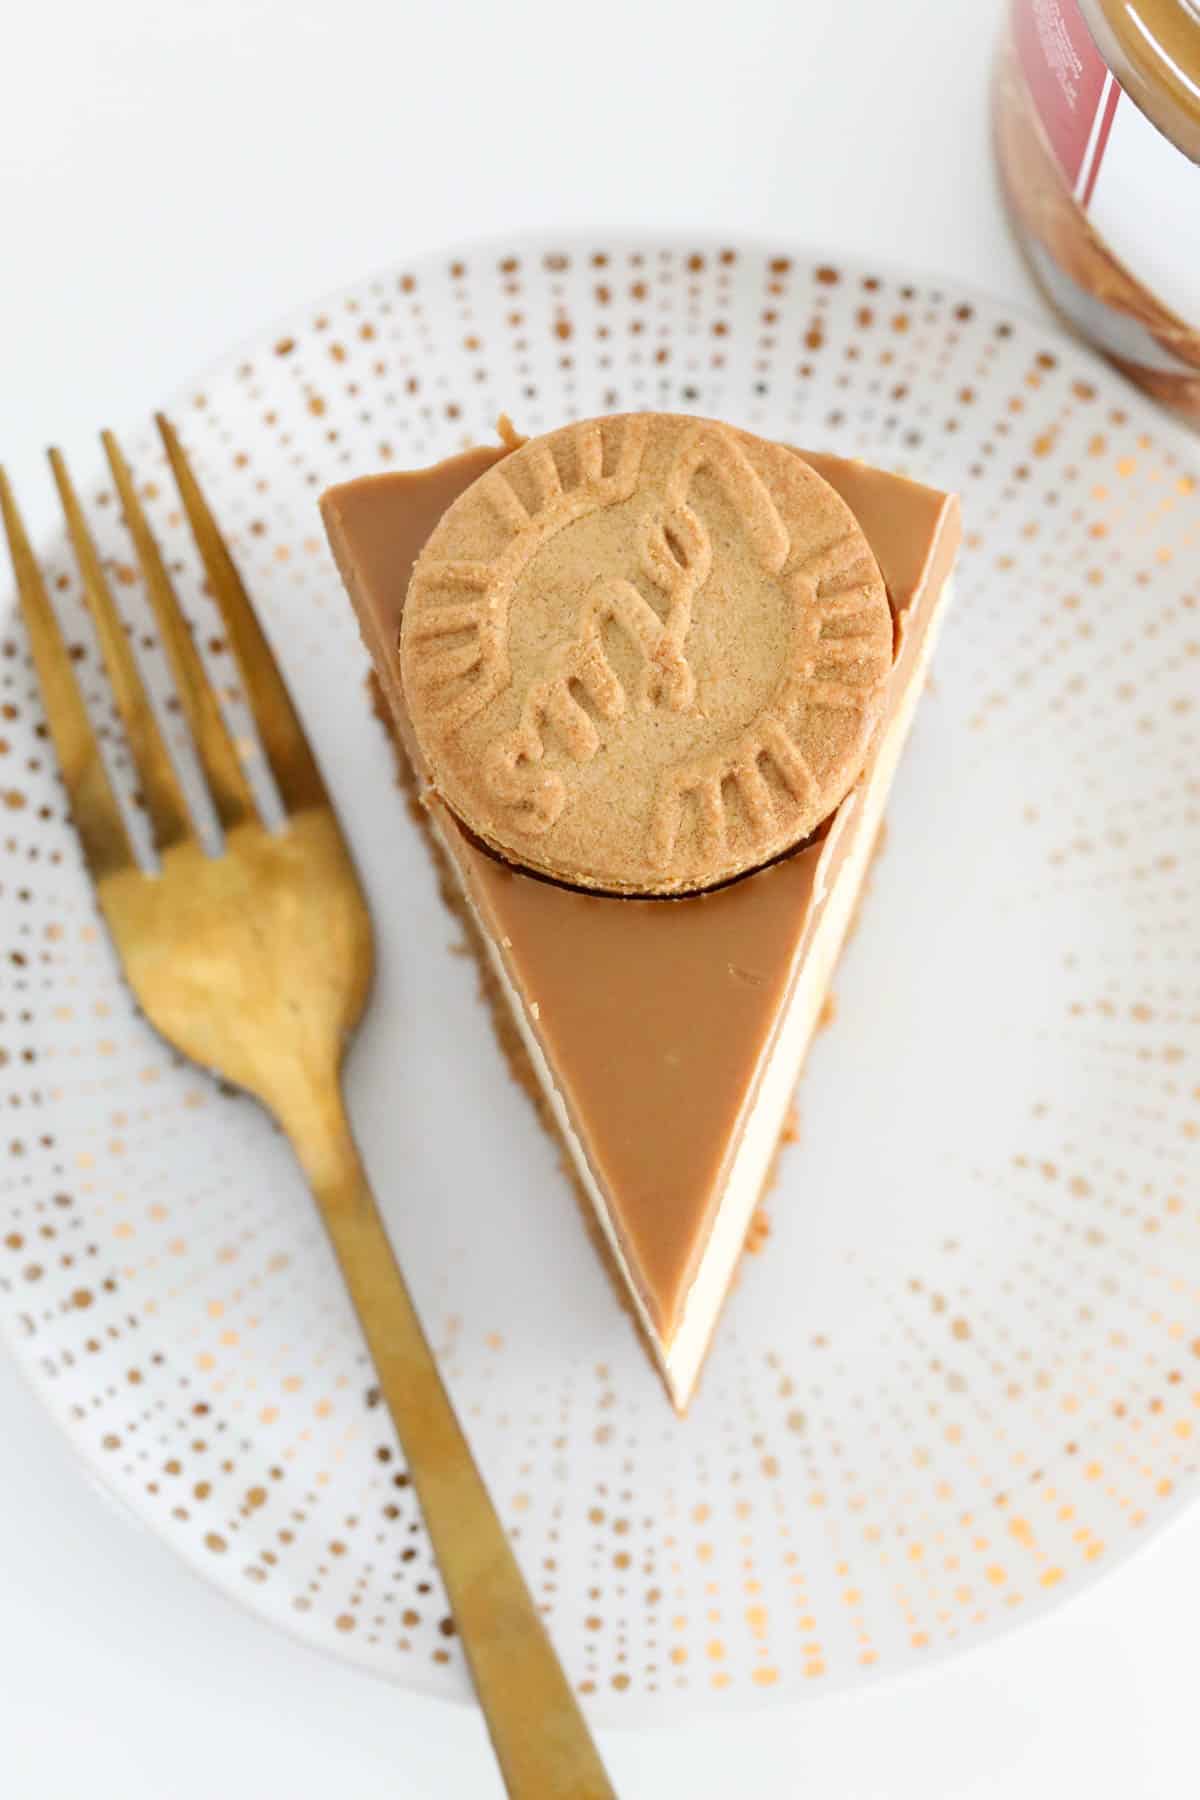
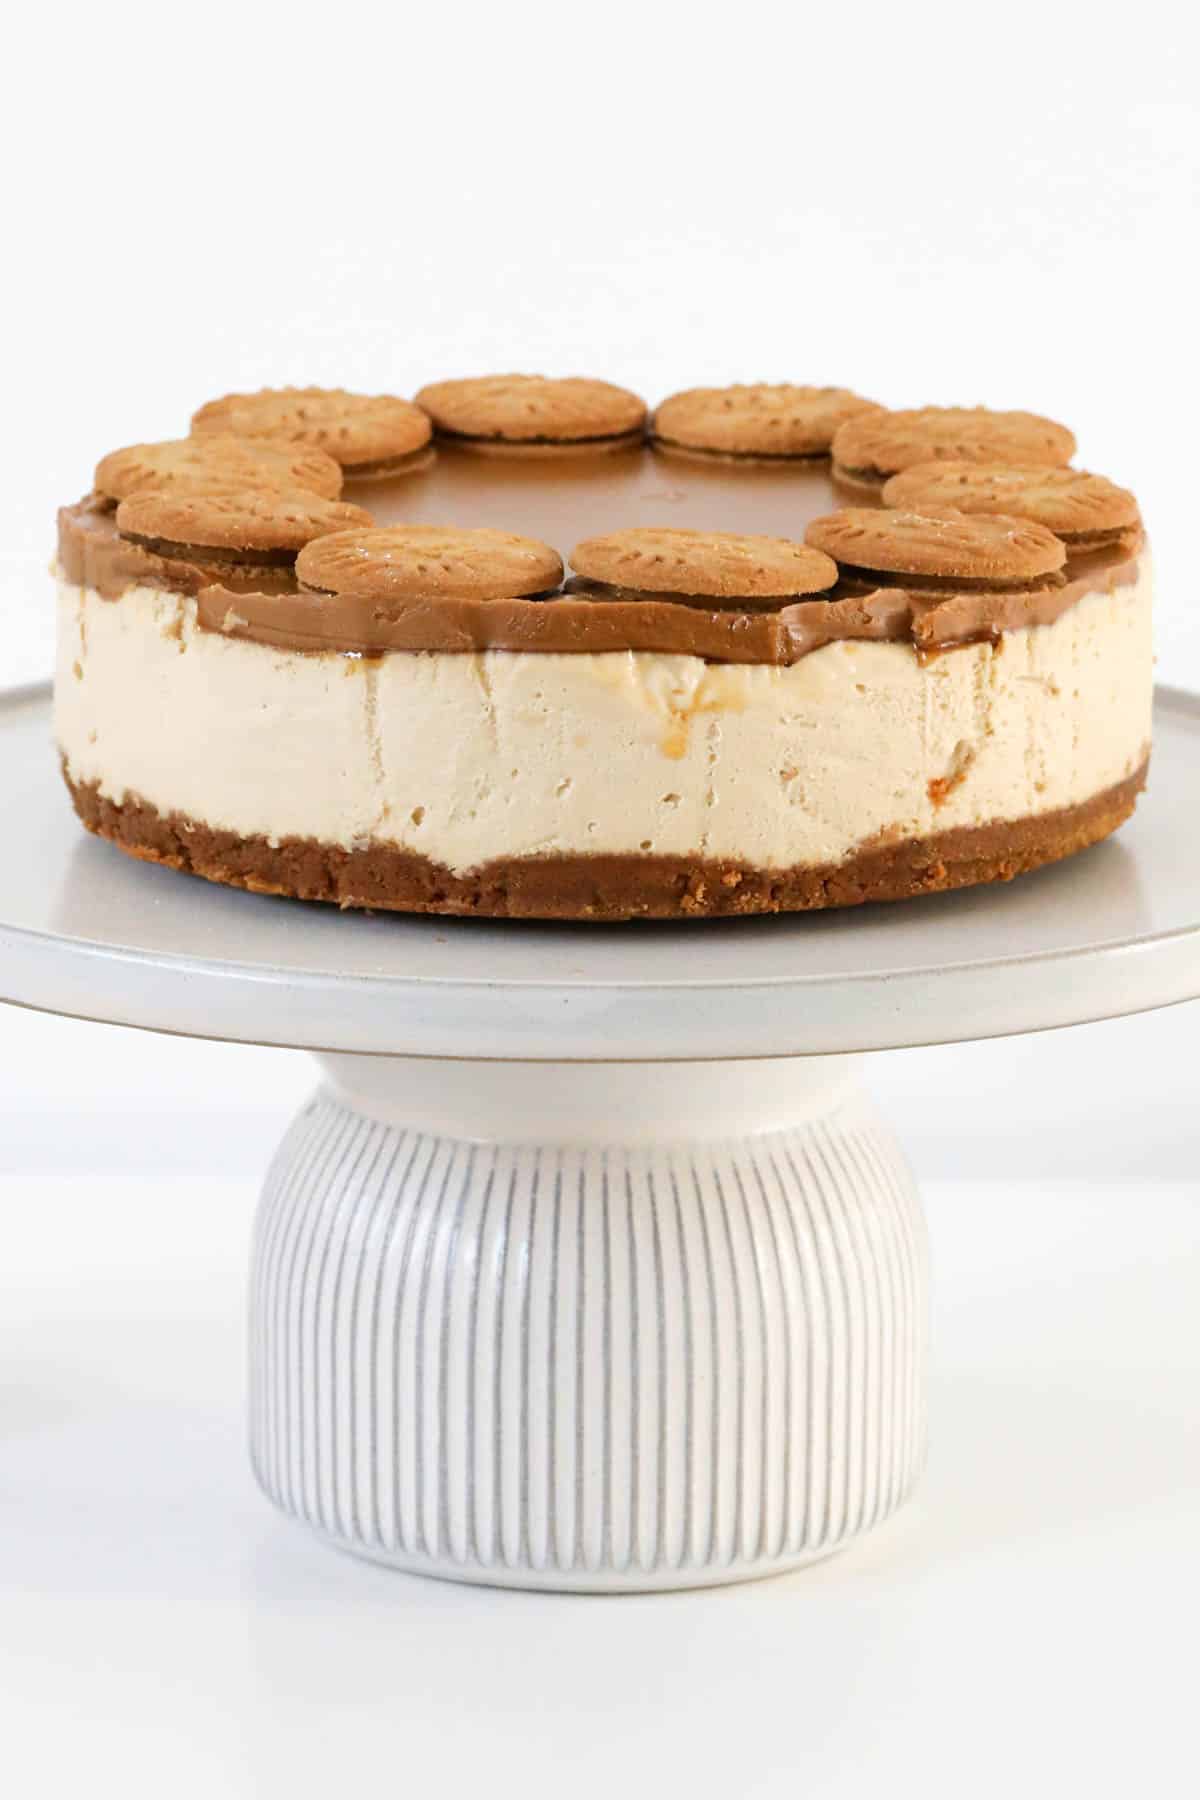
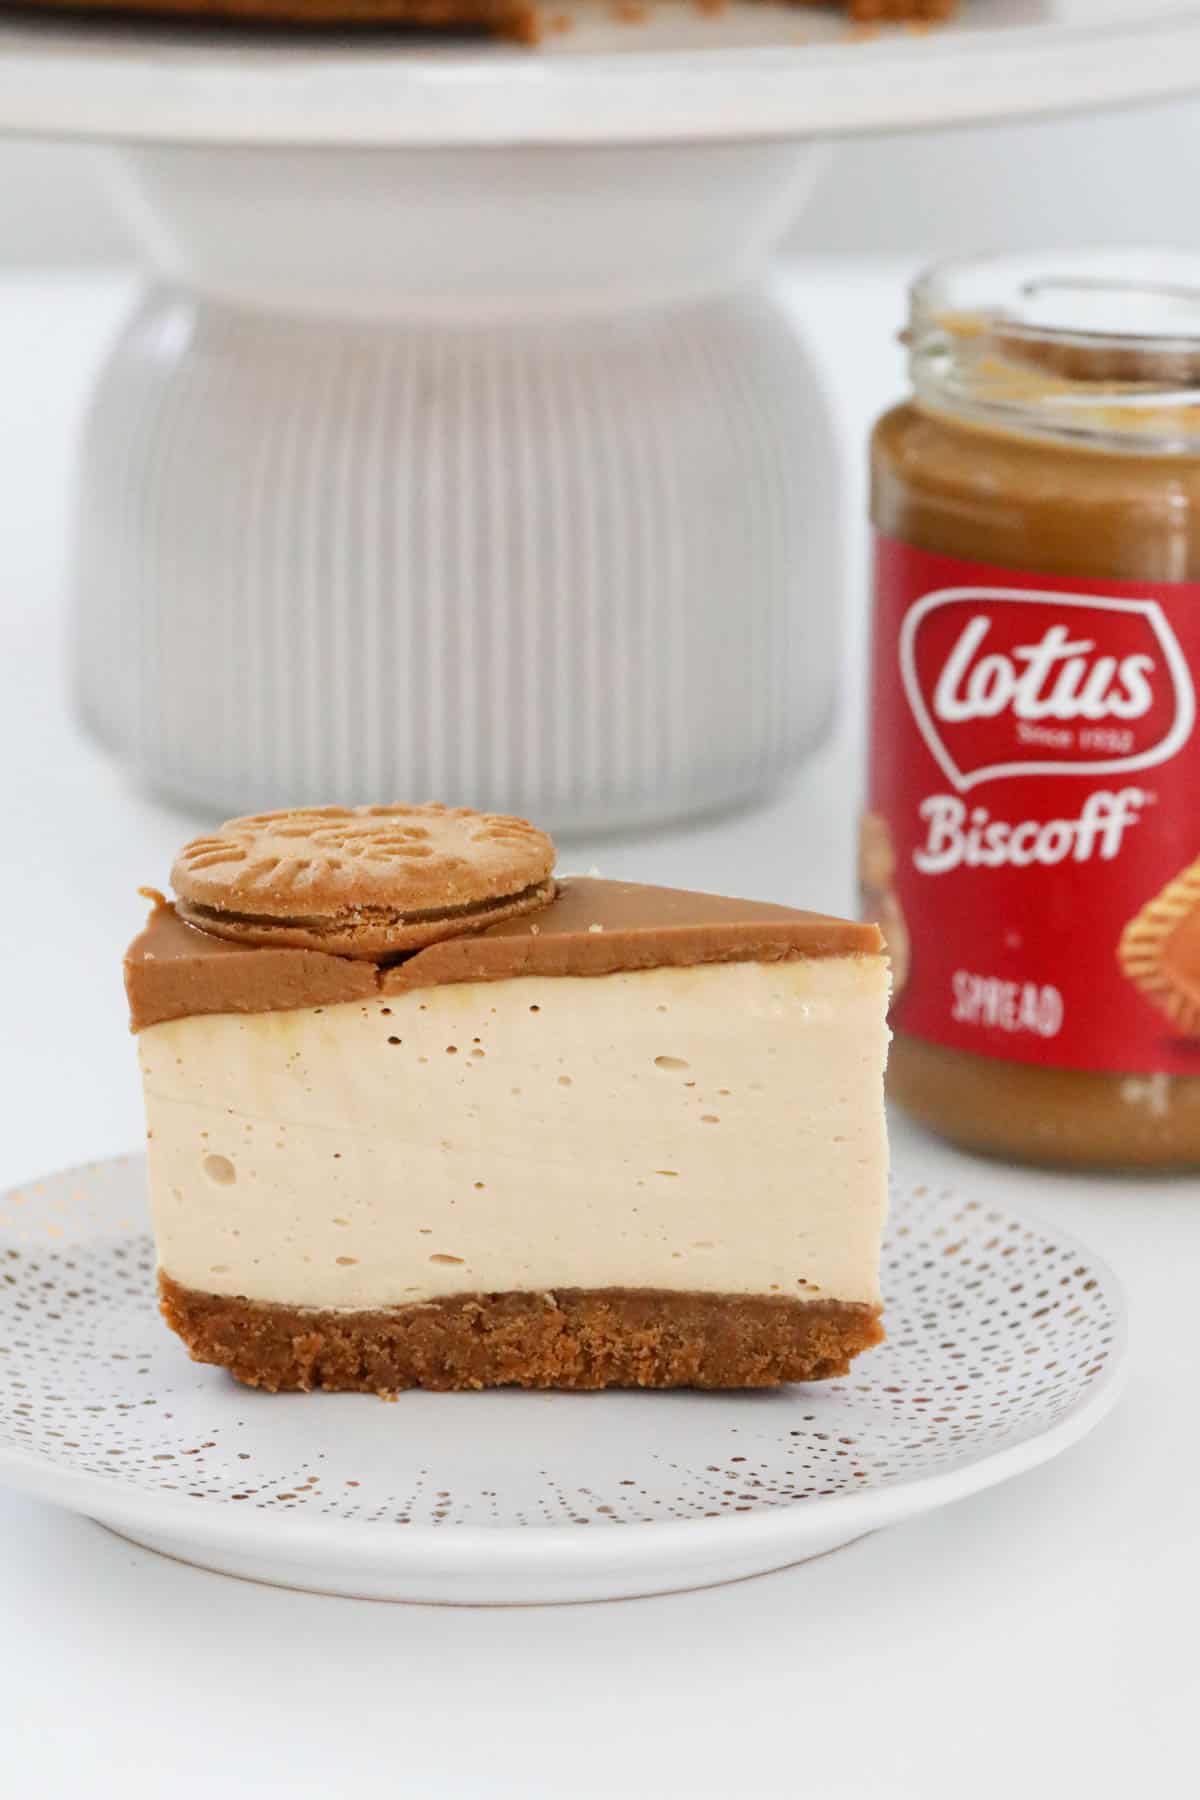
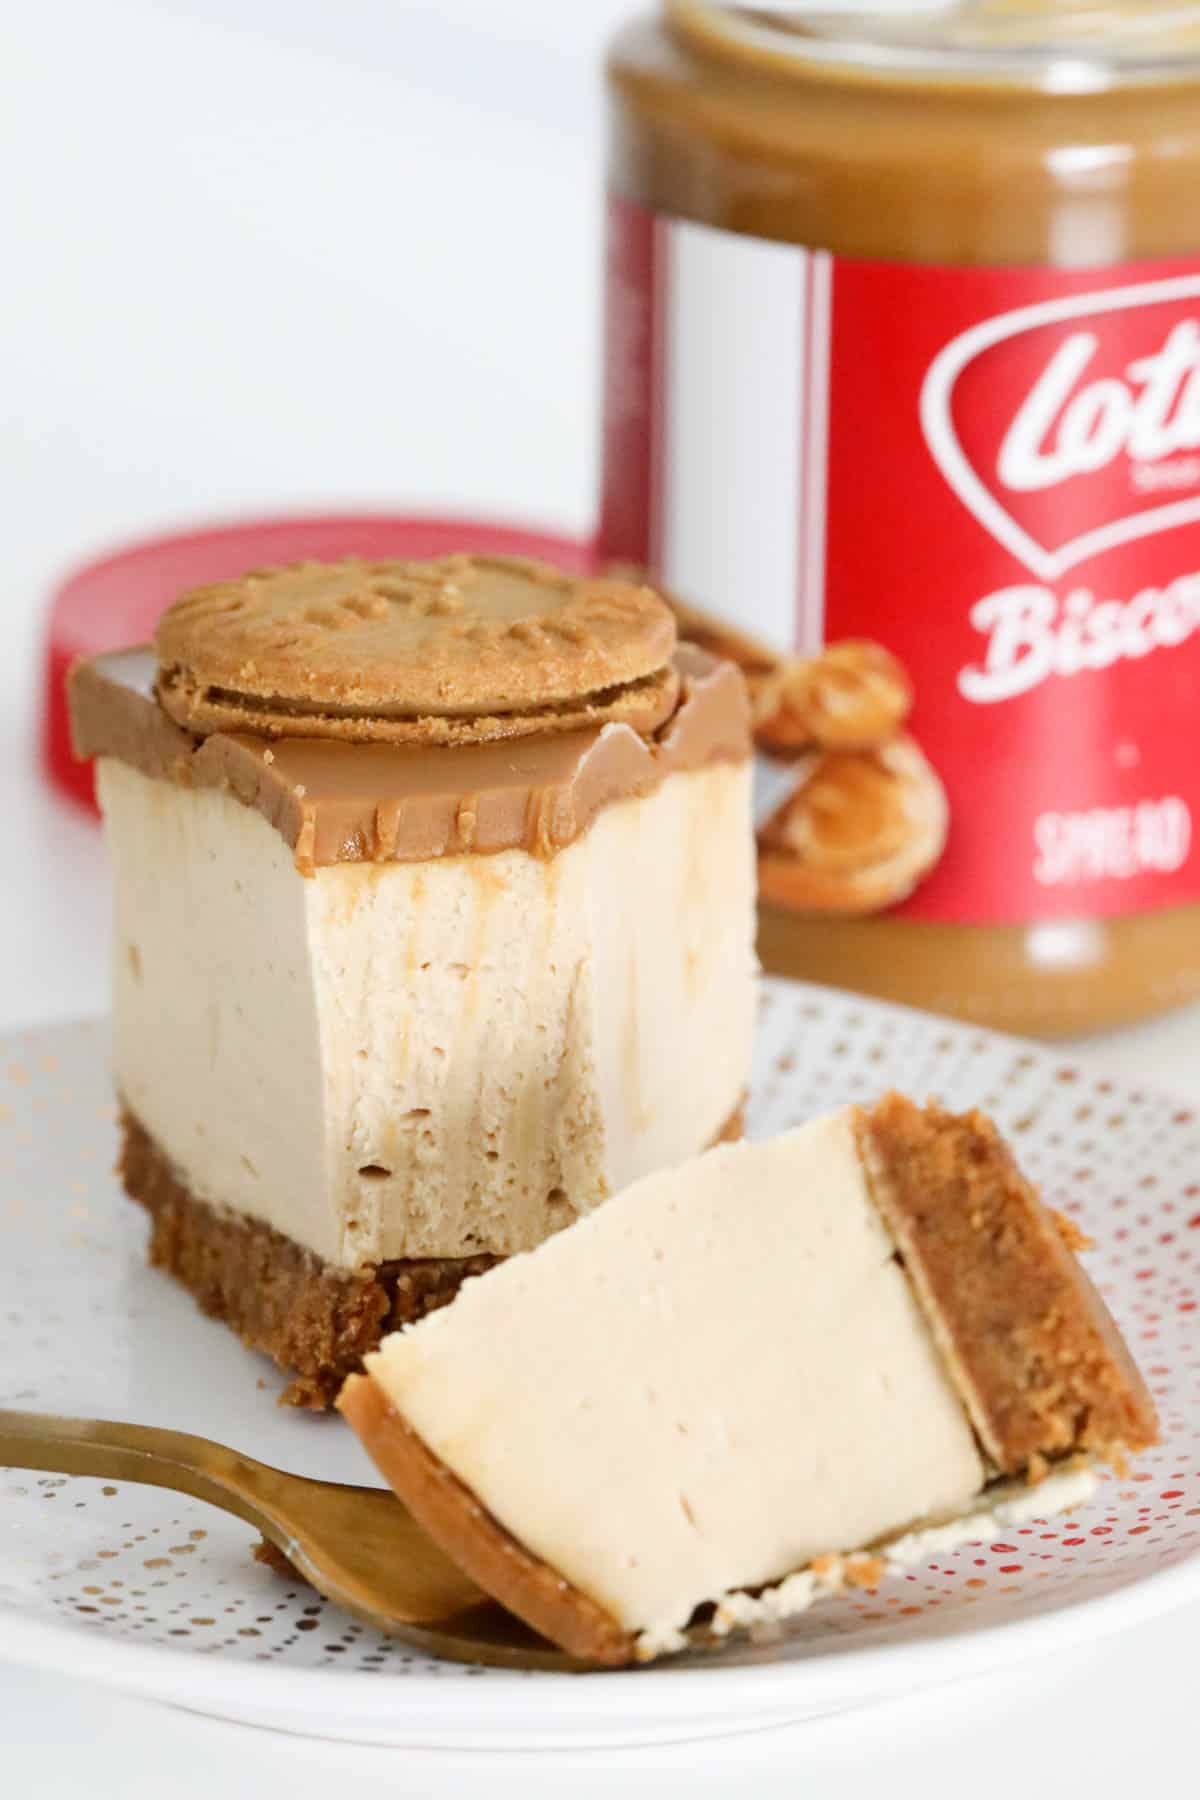
Introducing the perfect dessert for Biscoff lovers.... a RICH, CREAMY & LUSCIOUS no-bake Biscoff Cheesecake made with a crunchy Biscoff biscuit base and a smooth caramelised Biscoff cream cheese filling, decorated with extra biscuits and spread.
Don't be fooled by how impressive it looks... it's SO easy to make (and ZERO cooking required!).
There's no denying the insane popularity of Biscoff right now!
Whether you're enjoy a Biscoff cookie with a cuppa, using the spread on your toast in the morning, or baking your favourite desserts using it as the hero ingredient, Biscoff really is so versatile and delicious.
Just like my 4 Ingredient Biscoff Truffles, this Biscoff Cheesecake is super simple to prepare and tastes AMAZING.
That classic caramelised biscuit flavour is simply out of this world!
Once you try my Biscoff no-bake cheesecake, it will be on high rotation (I promise!).
Jump to:
Why You're Going To Love This Recipe
There's so much to love about sweet and creamy Biscoff cheesecake!
- No-bake - this cheesecake recipe is entirely no-bake... there's absolutely no need to turn the oven on! Simply prepare the base and filling, chill, then decorate.
- Impressive looking, easy to prepare - while this Biscoff cheesecake may look fancy, it couldn't be easier to make. A simple, no-fuss recipe that takes just 20 minutes of active prep time.
- Feeds a crowd - as we all know, cheesecakes are incredibly filling and decadent (meaning you only need a small piece!). This recipe serves 16 people, making it a great option for birthdays, parties and celebrations.
- Perfect for Biscoff lovers - Biscoff is the biggest trend right now and I guarantee once you try it, you will be hooked! Keep those Biscoff fans happy (and introduce others to it's deliciousness!), with this simple cheesecake dessert.
- Conventional and Thermomix - I have included instructions for both methods in the recipe card below.
What You Need
The hero ingredients in this cheesecake are, of course, the Biscoff cookies and spread!
Note: Scroll to the recipe card at the bottom for the ingredients quantities and full detailed method.
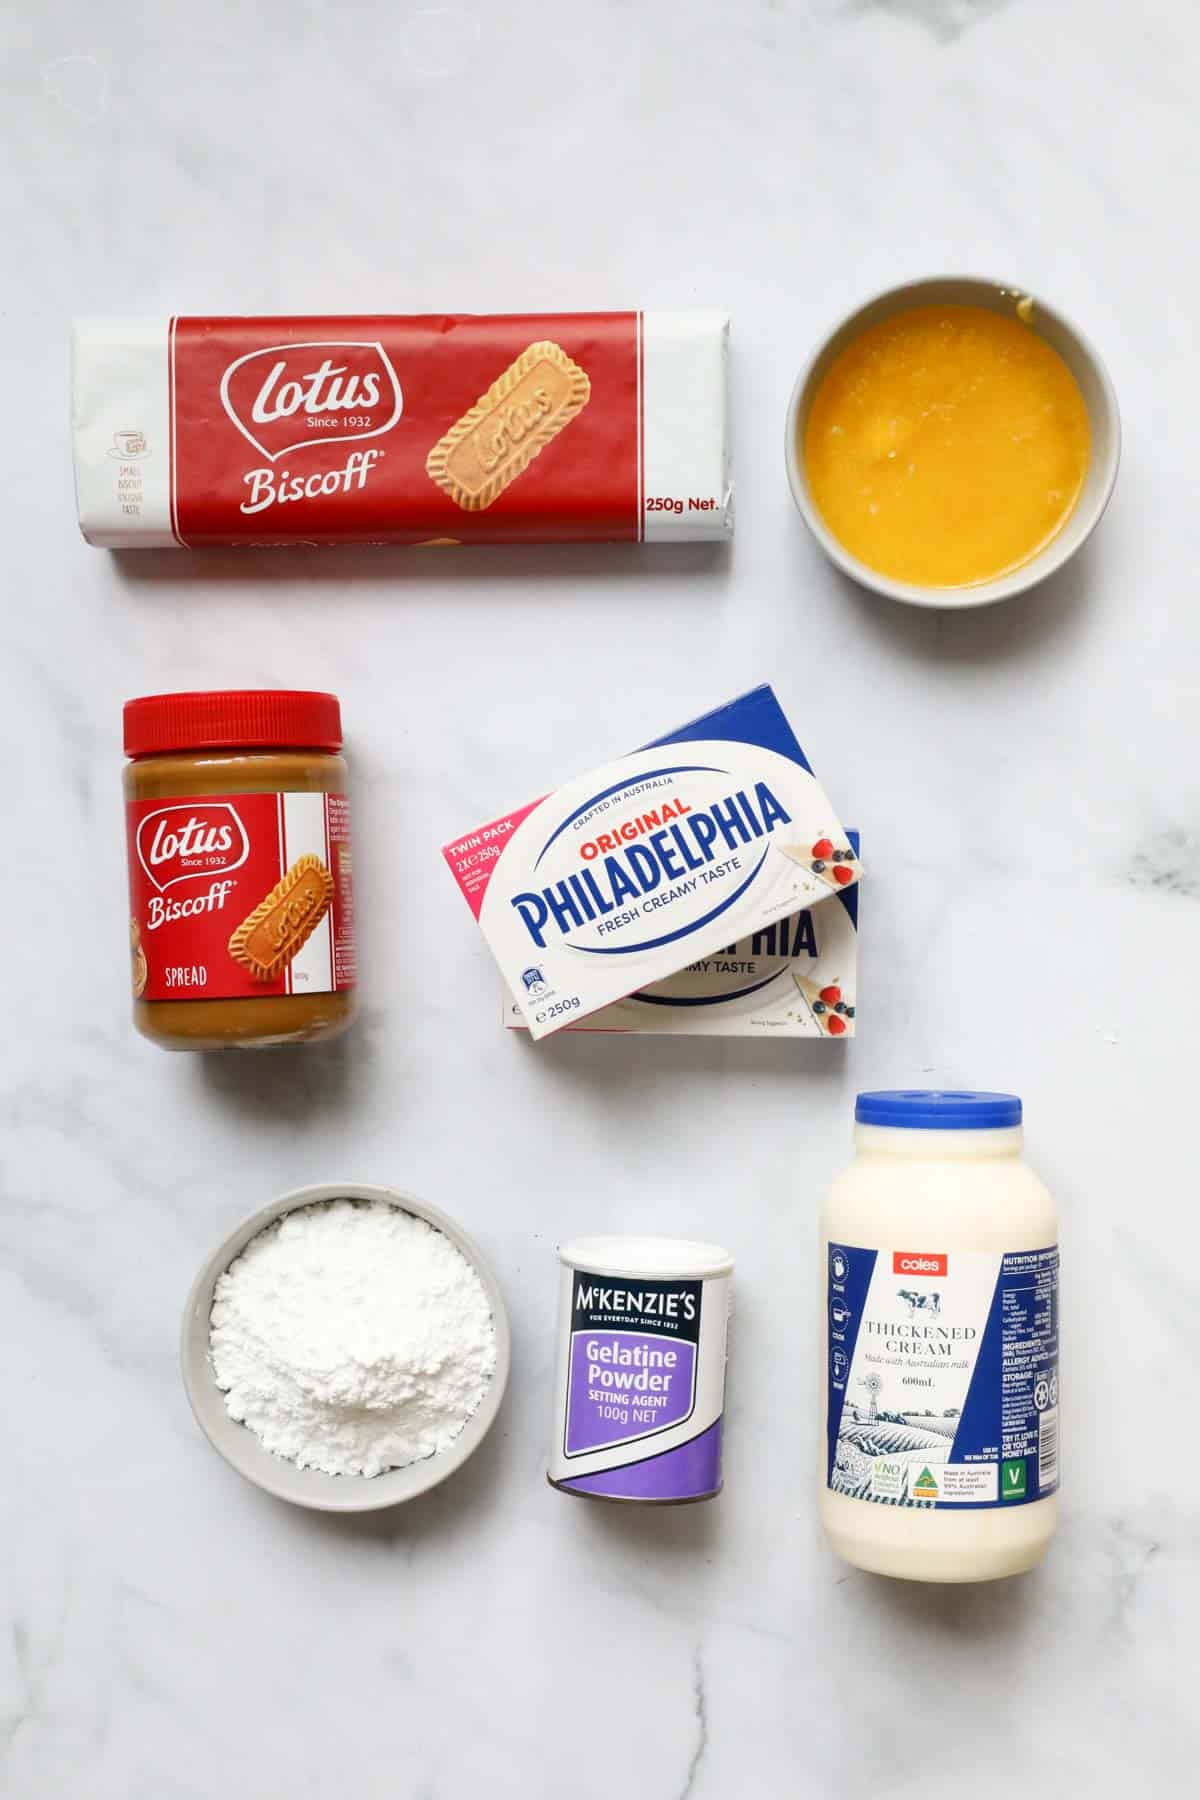
For The Base
- Biscoff cookies - use the regular Biscoff cookies (not the sandwich cookies) for the base.
- Butter - use salted or unsalted butter.
For The Filling
- Thickened cream - use heavy, thickened or whipping cream.
- Gelatine powder - to be dissolved in boiling water. I generally use McKenzies brand which is popular here in Australia. Gelatine helps the cheesecake to set and hold it's shape when served.
- Cream cheese - softened to room temperature. I use blocks of full fat Philly cream cheese as it's perfect for the creamiest cheesecake, but you can swap for the 'light' version too, if you prefer.
- Icing Sugar - you can use either icing sugar mixture or pure icing sugar.
- Biscoff Spread - your choice of smooth or crunchy Biscoff spread.
To Decorate
- Biscoff Spread - your choice of smooth or crunchy Biscoff spread.
- Biscoff Sandwich Cookies - two Biscoff cookies sandwiched with a creamy Biscoff filling.
Note: Biscoff cookies, sandwich cookies and spread are available from all major supermarkets.
Equipment Required
To make no-bake Biscoff cheesecake, you will need:
- 20cm round springform tin (8 inch).
- Hand held beaters, a stand mixer or a Thermomix.
- Jug/Kettle - for boiling water.
- Microwave, stove-top or Thermomix for melting the butter.
- Food processor or rolling pin or Thermomix - for crushing the biscuits.
Step By Step Instructions
Don't be fooled... this dessert may look impressive, but it's actually SO simple to make!
Note: Scroll to the recipe card at the bottom for the ingredients quantities and full detailed method.
Step 1 - Prepare The Base
Crush the Biscoff biscuits and place into a large bowl.
Pour over the melted butter and mix until well combined.
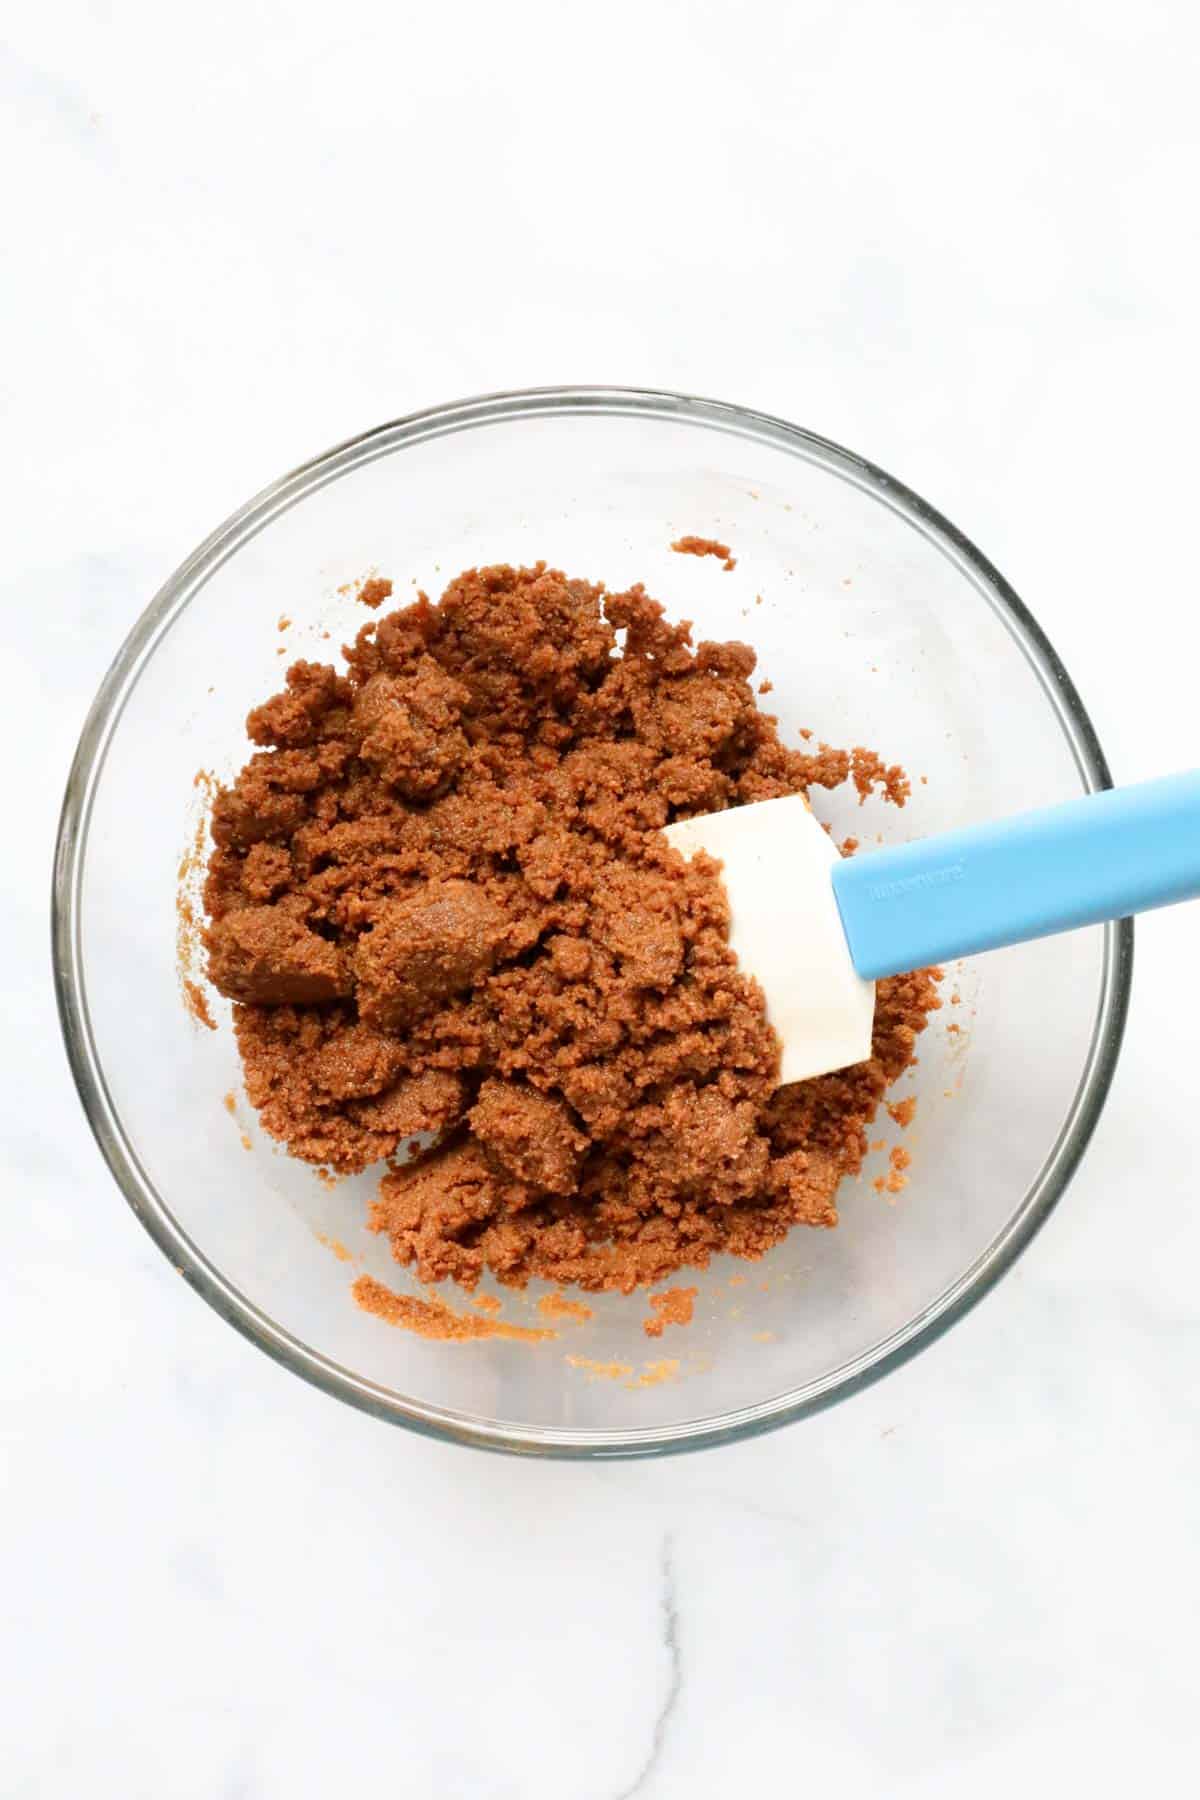
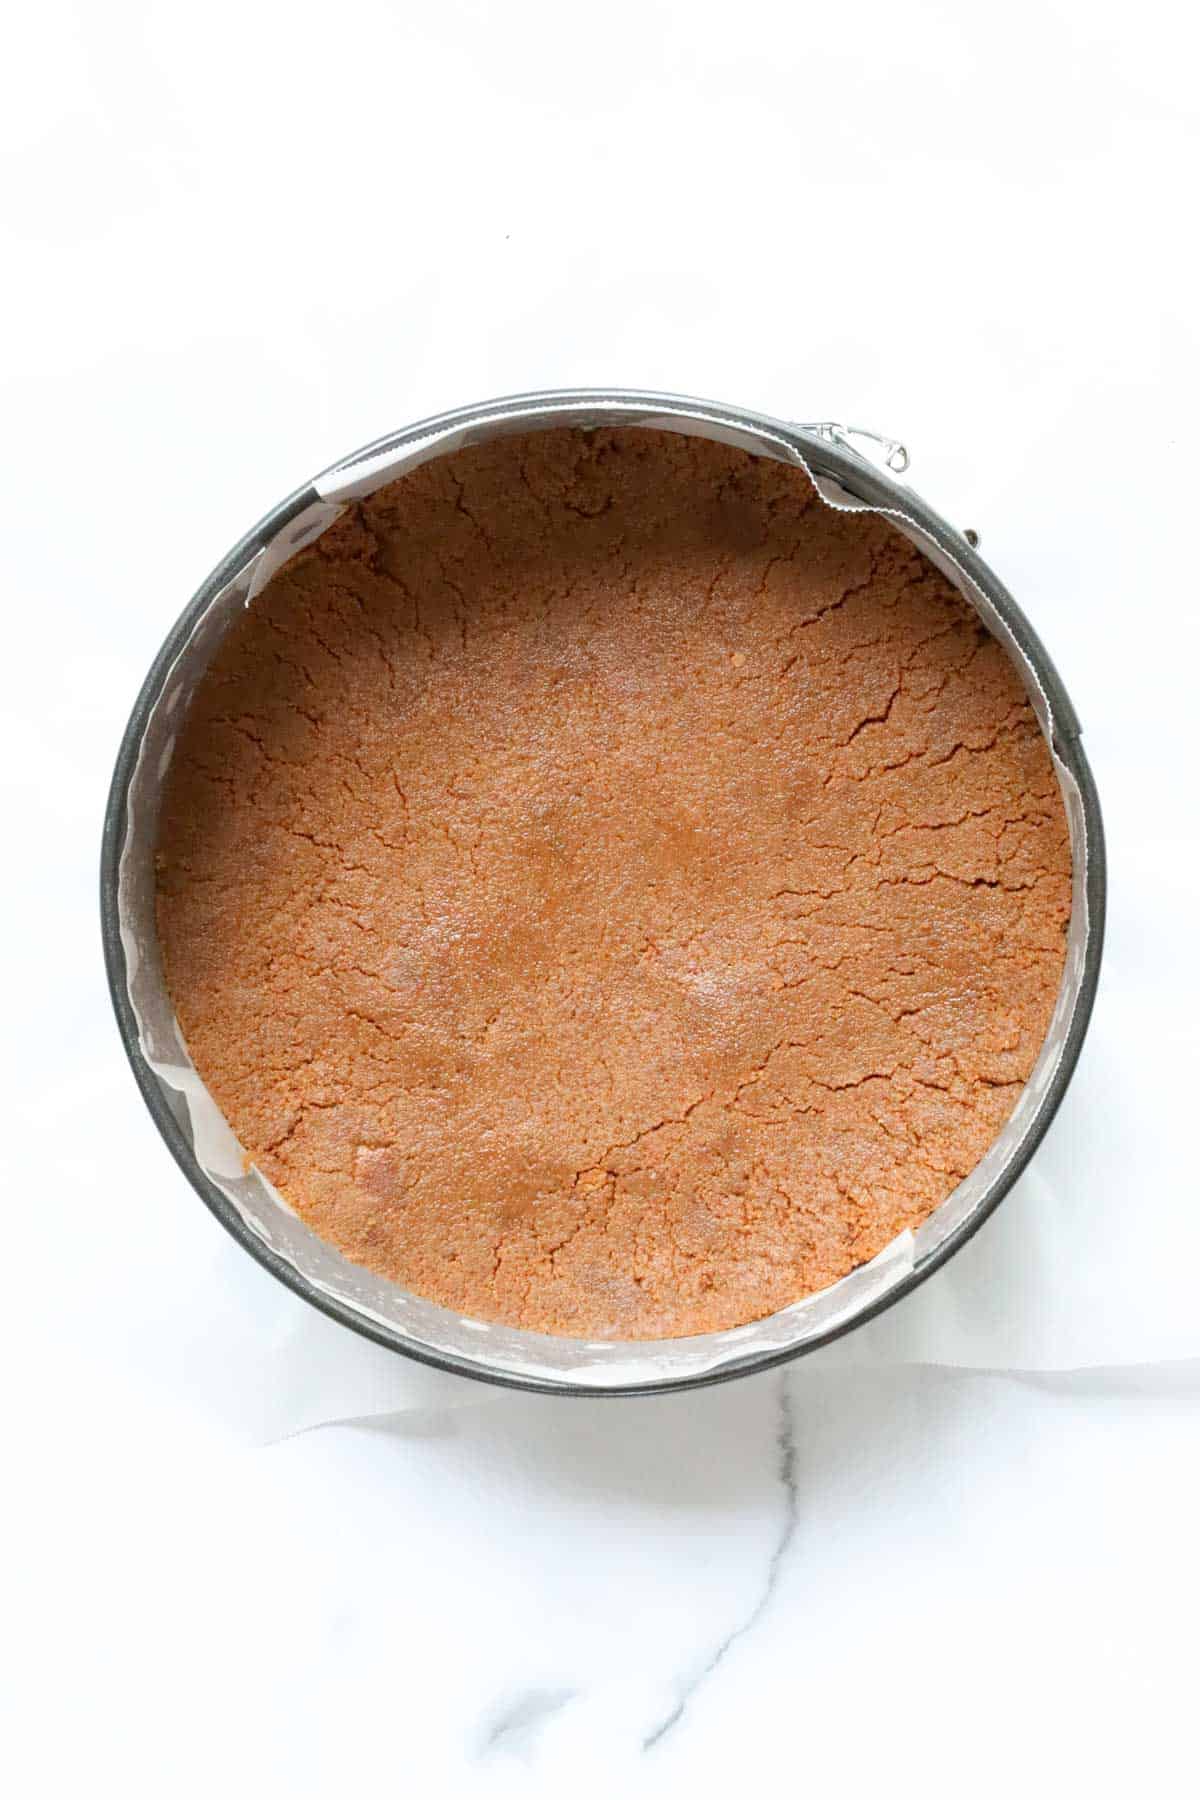
Press the mixture firmly into the base of a greased and lined 20cm (8 inch) springform pan. Pop this in the fridge while you make the filling.
Step 2 - Prepare The Filling
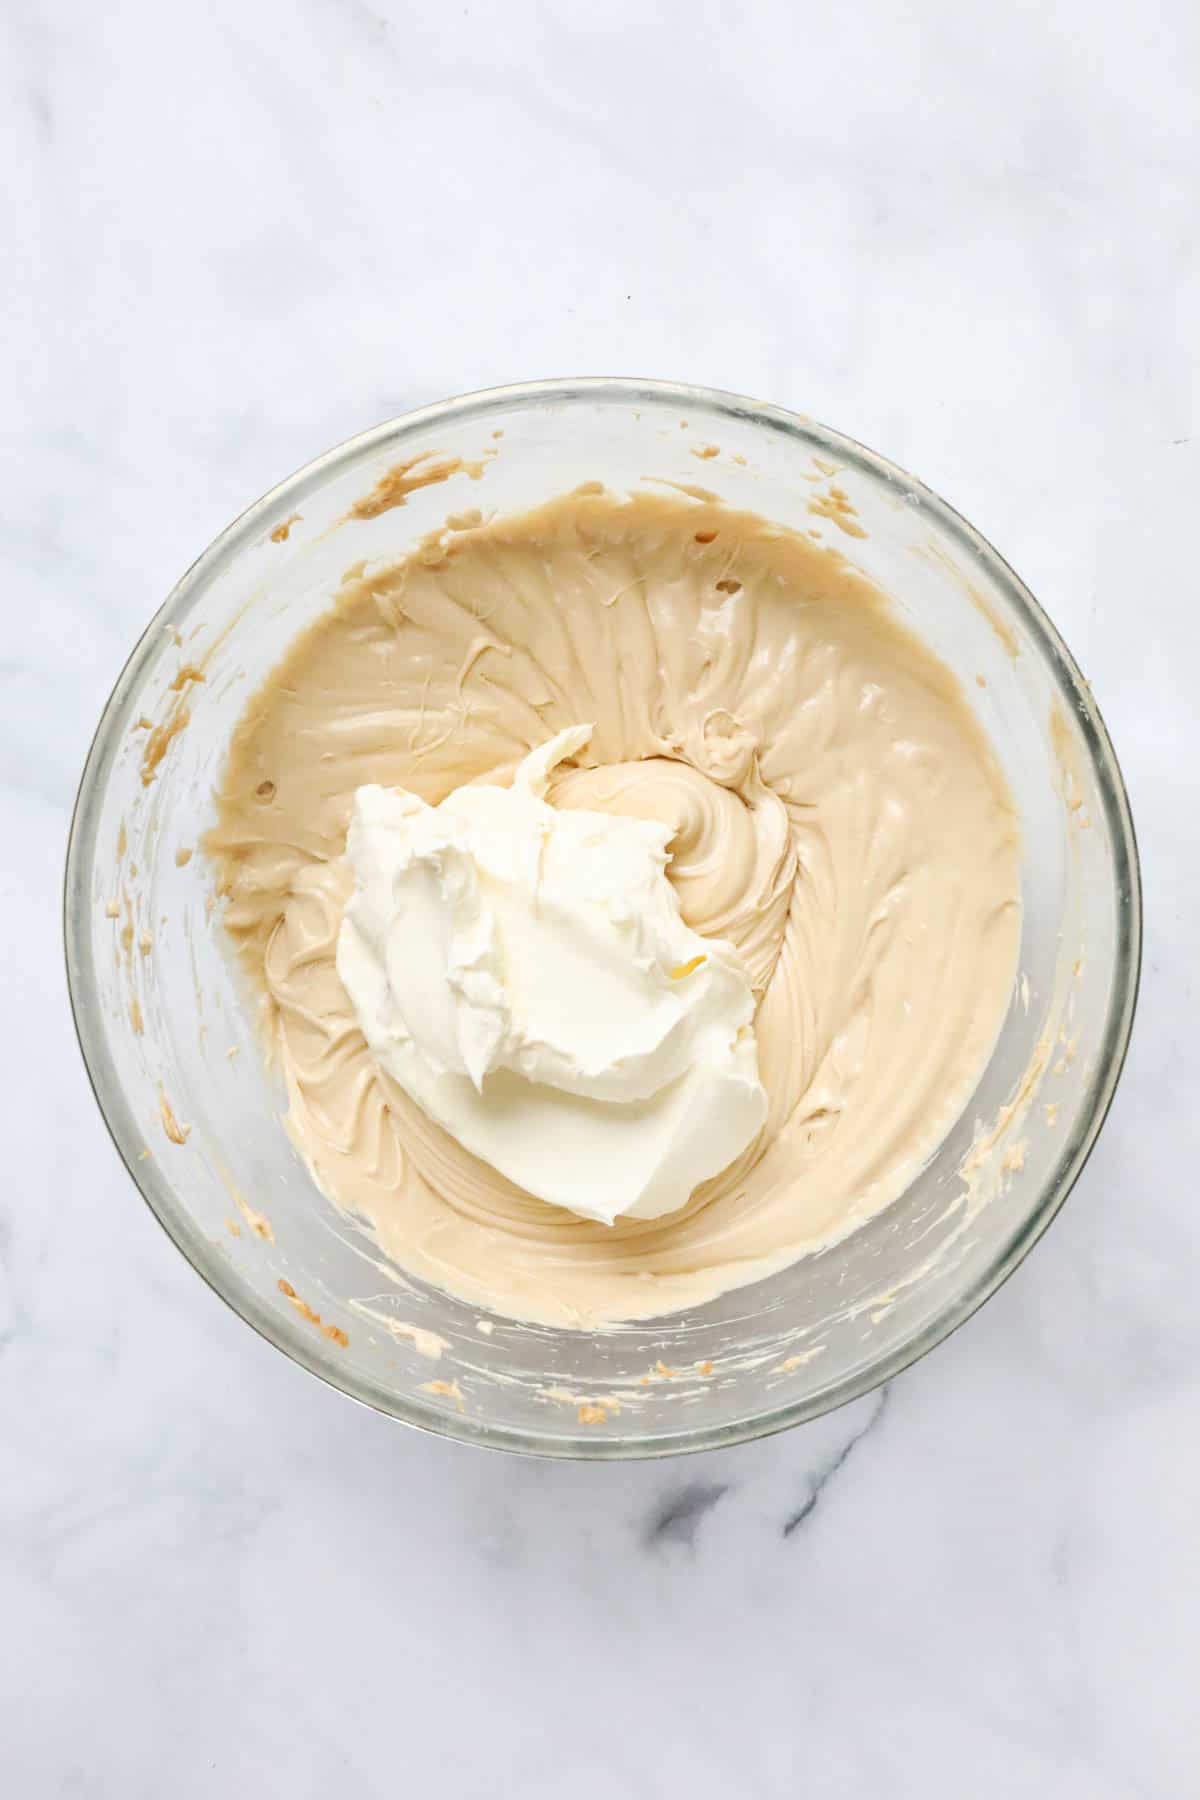
Whip the cream until soft peaks form, set this aside.
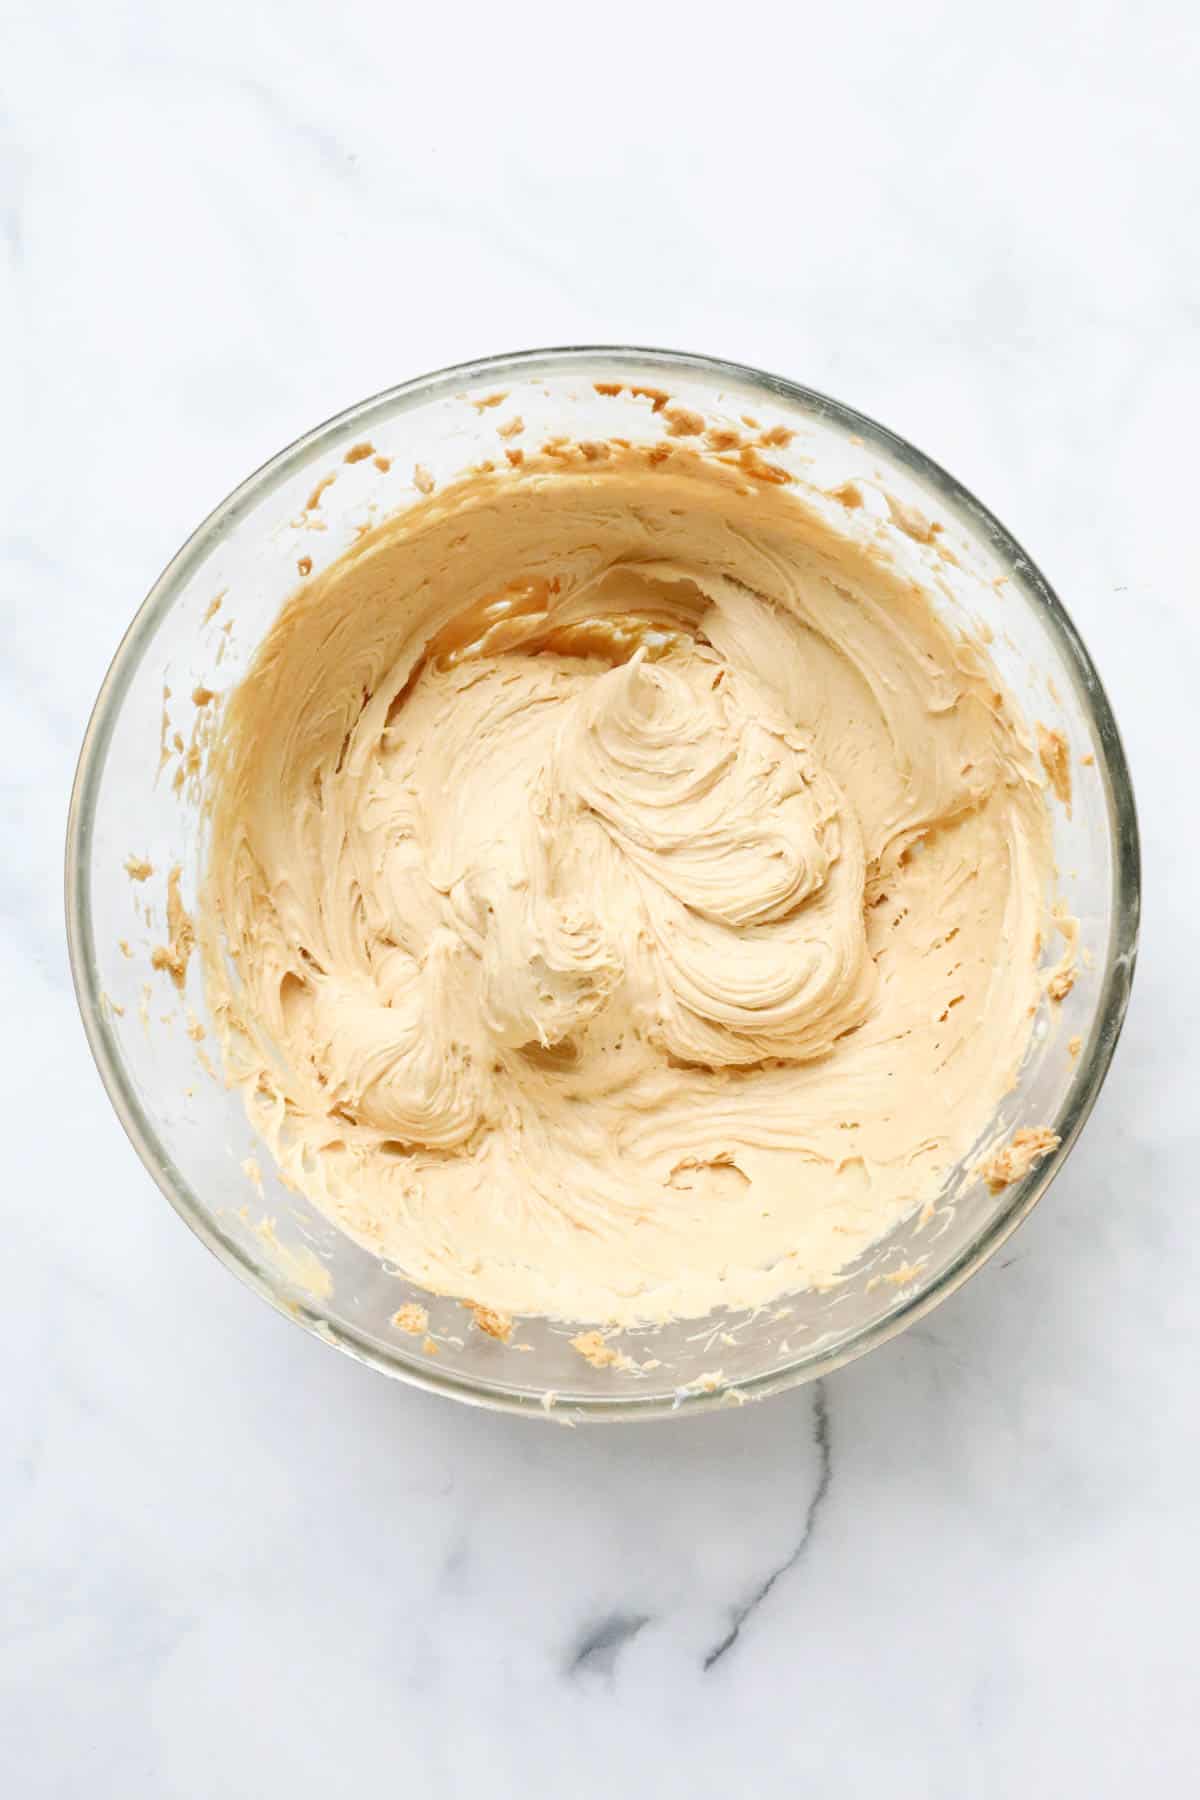
Place the cream cheese, icing sugar and Biscoff spread into a large mixing bowl.
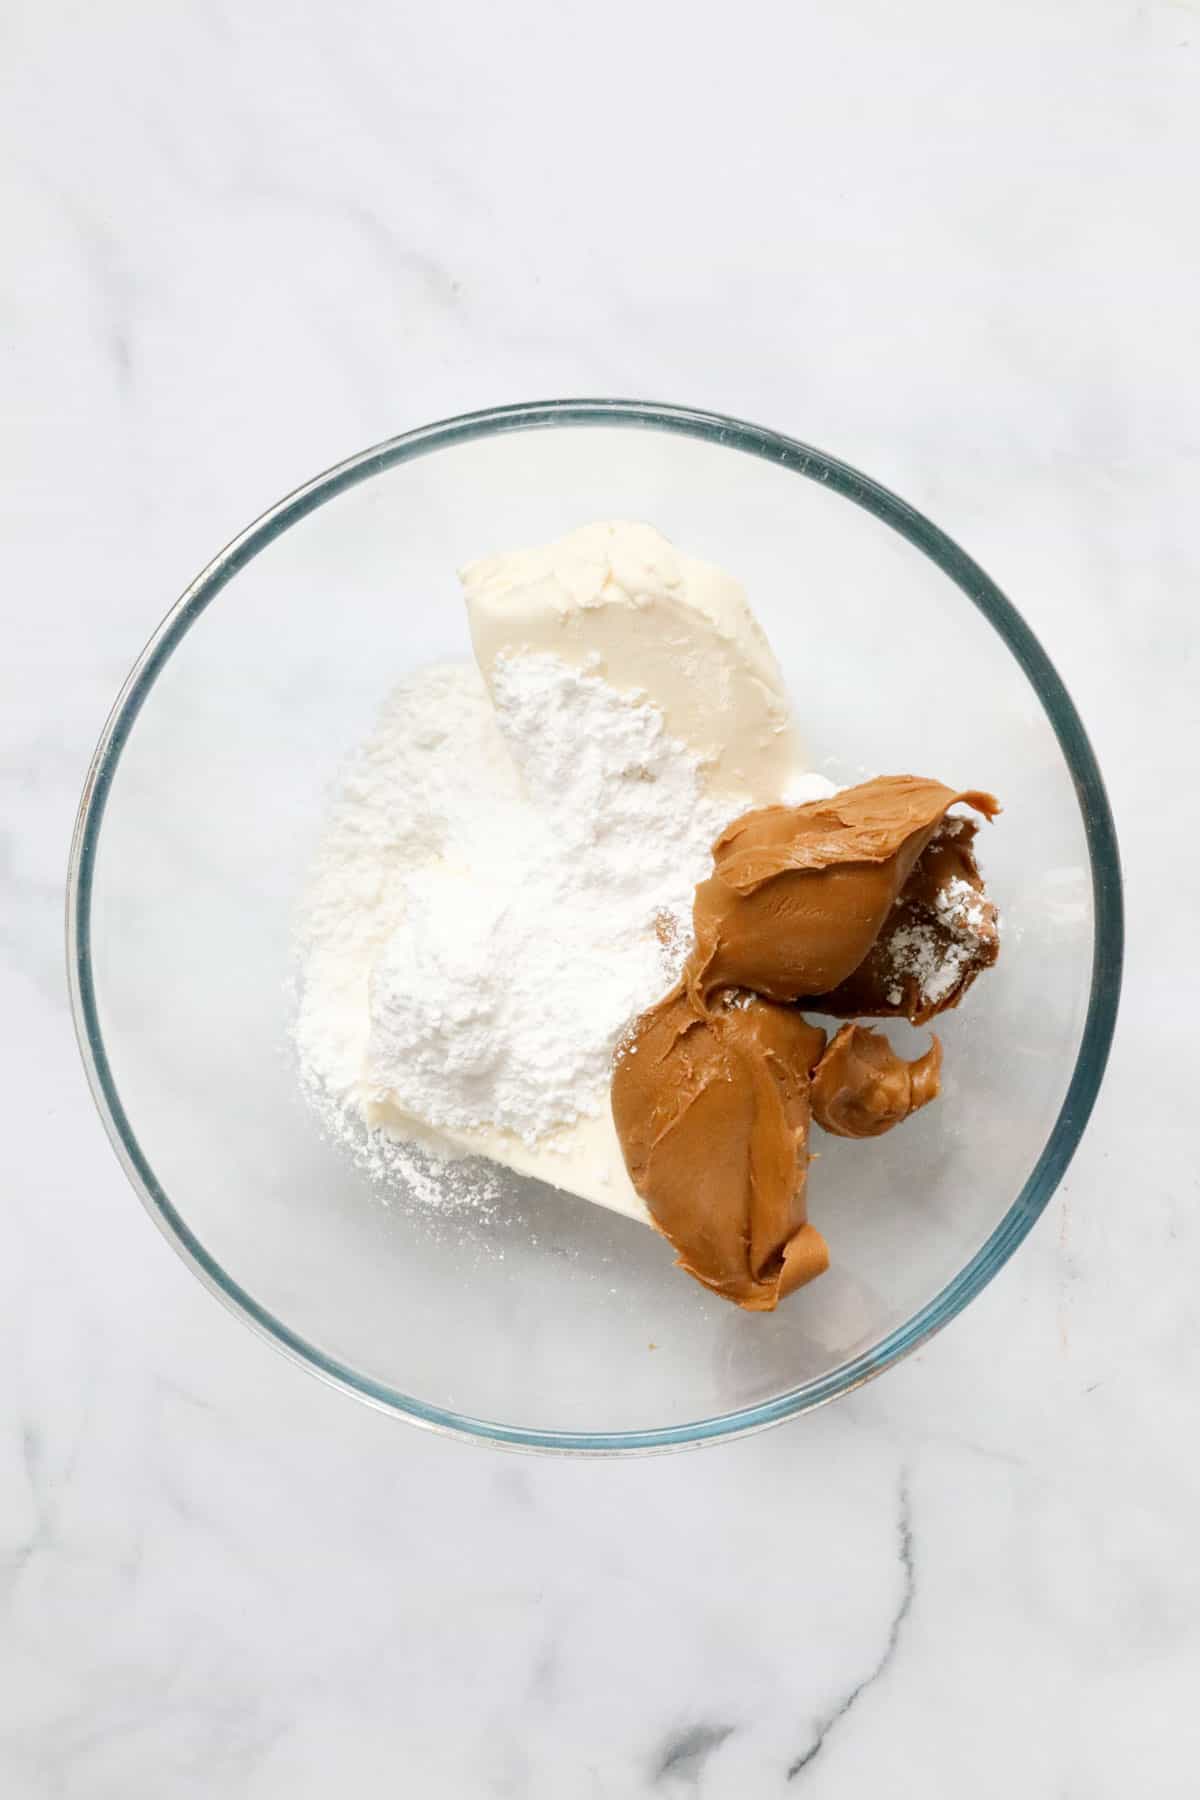
Beat together until smooth and creamy.
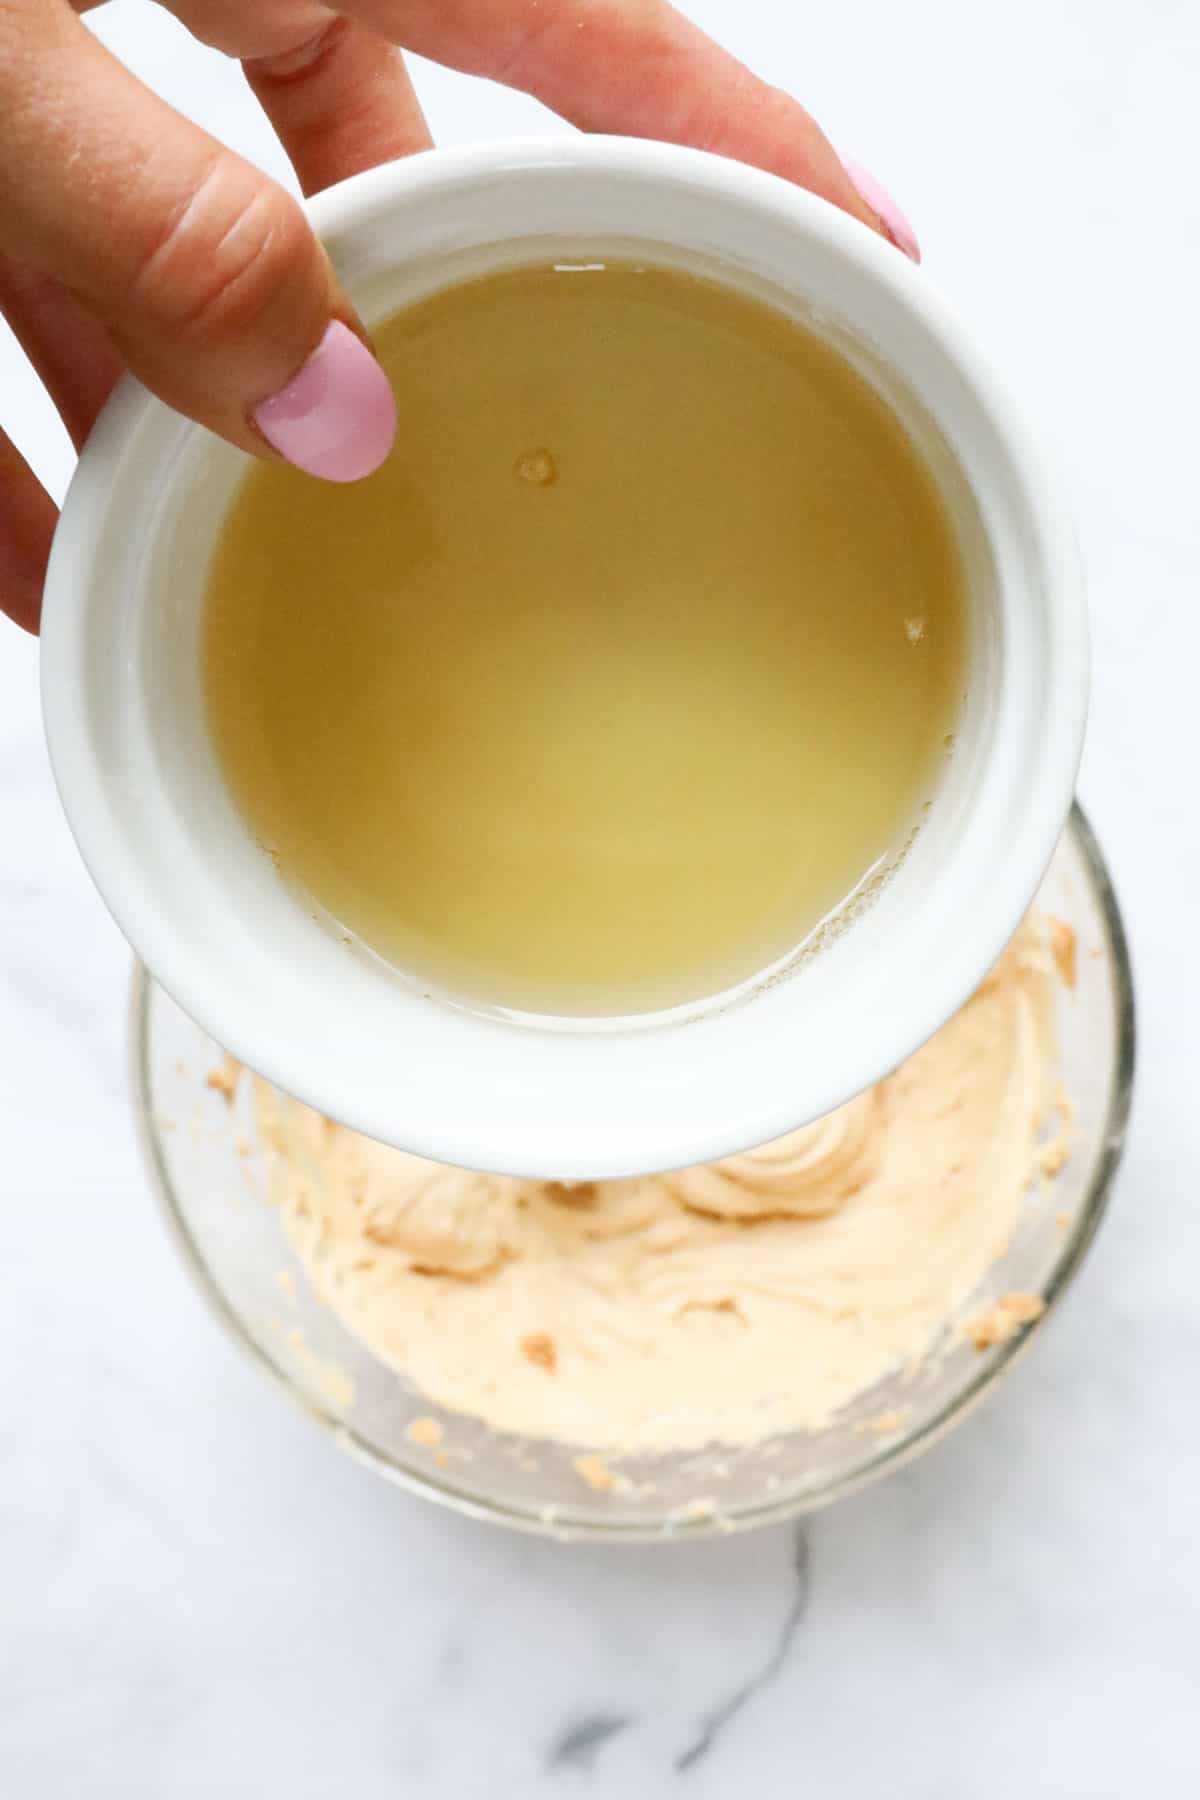
Add the dissolved and slightly cooled gelatine and beat through.
TIP: To dissolve the gelatine, pour ¼ cup of boiling water into a cup, sprinkle over the gelatine and stir until dissolved. Allow to cool.
Fold through the whipped cream.
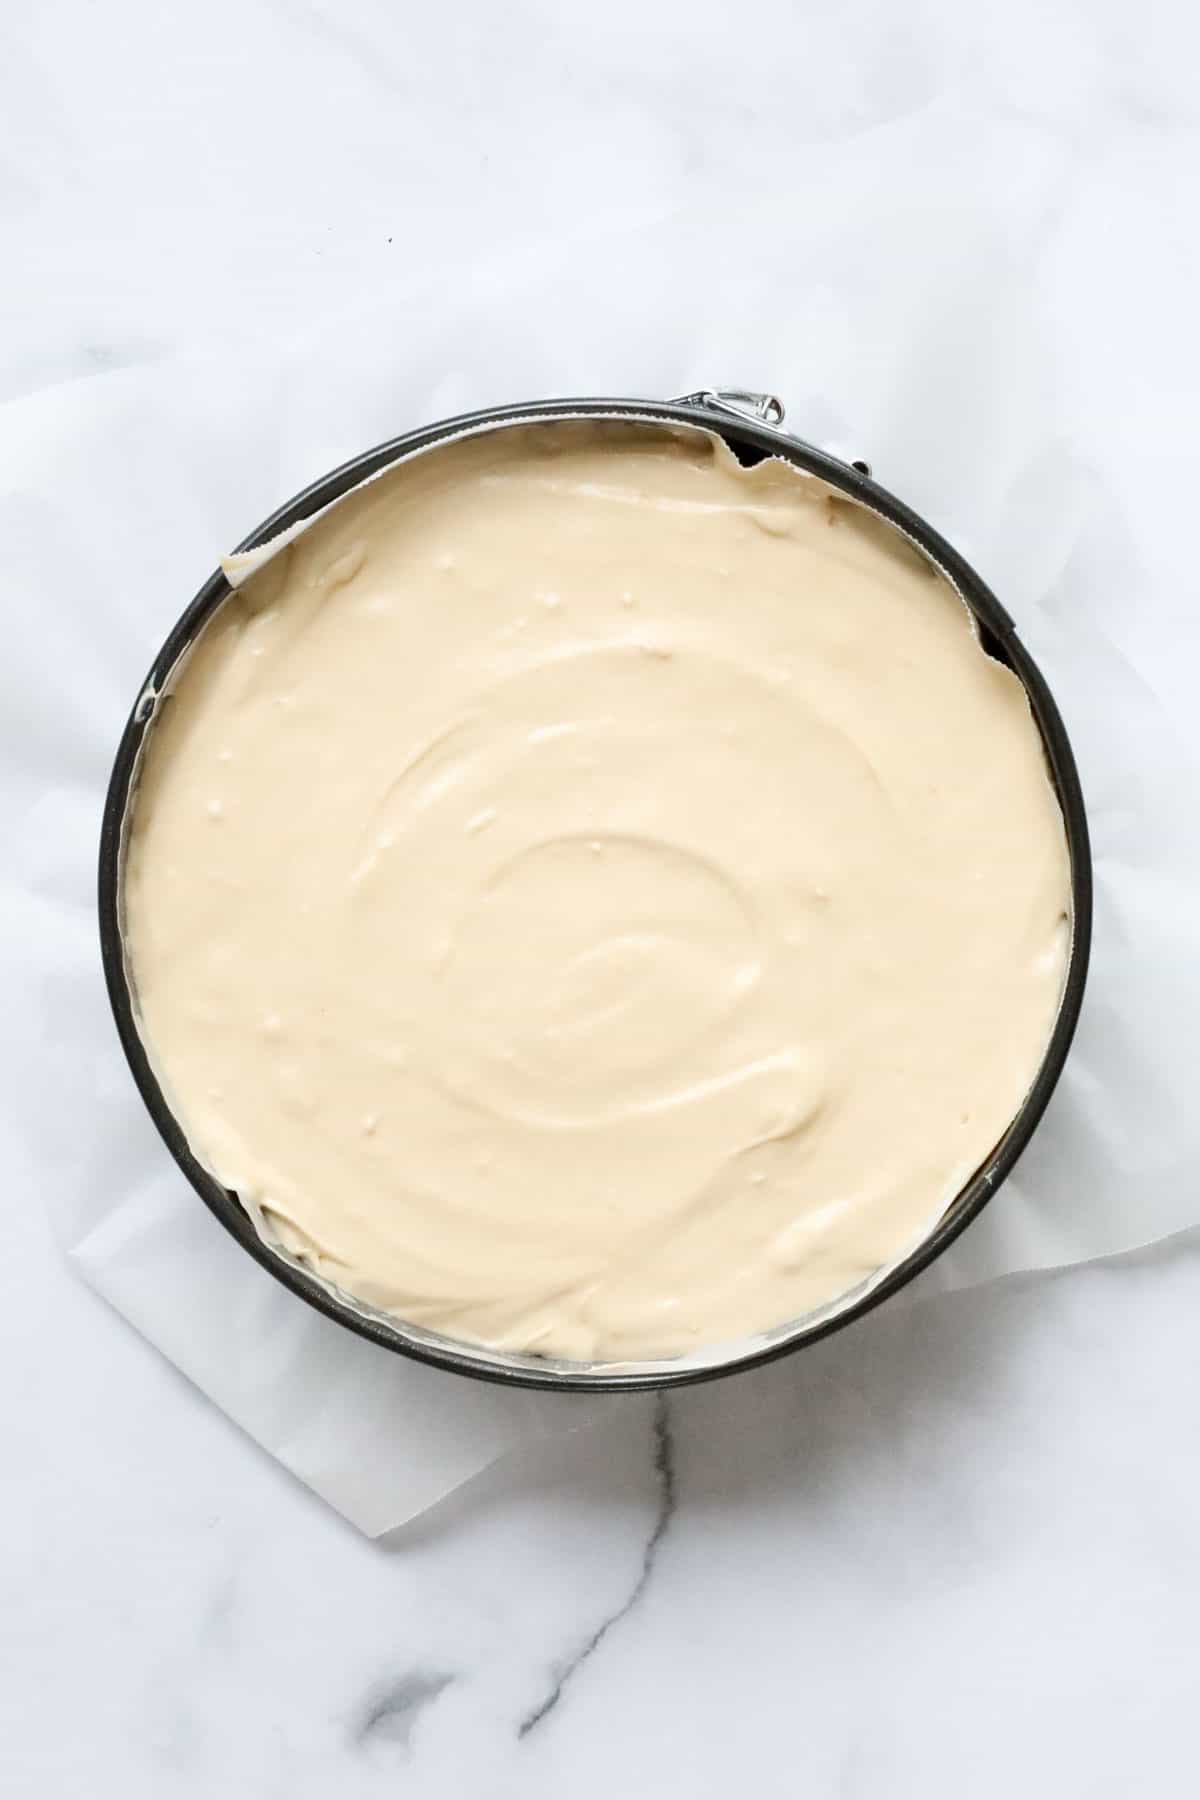
Pour the mixture on top of the prepared base.
Chill in the fridge for 1 hour or until set on top.
Step 3 - To Decorate
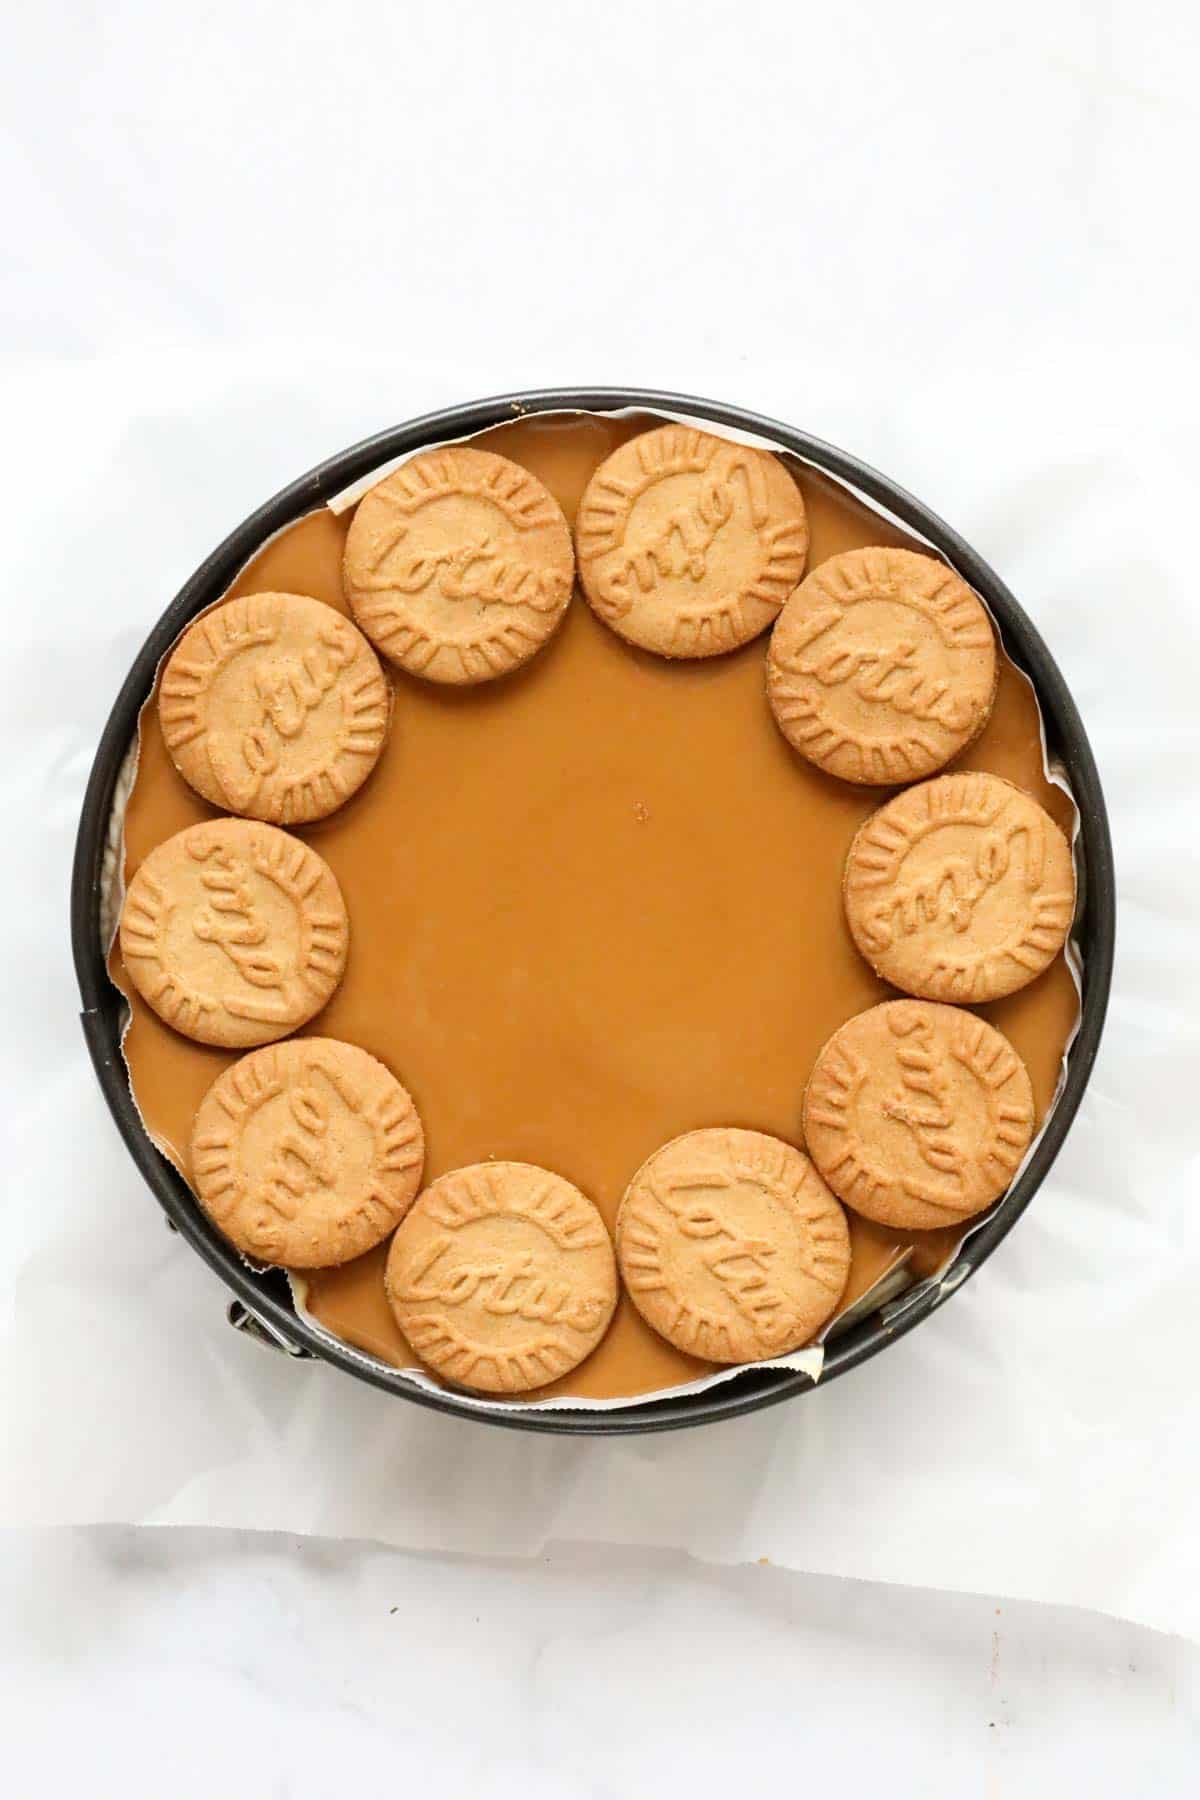
Heat the Biscoff spread in the microwave until soft and pourable.
Pour spread over the top of the chilled cheesecake and spread out evenly.
Decorate with Biscoff sandwich cookies (optional).
Place back into the fridge for 3 hours or until completely set.
Expert Tips
Follow my top tips for the perfect no-bake Biscoff Cheesecake!
- For the smoothest, lump-free cheesecake, ensure all of your ingredients are at room temperature before using.
- If you don't have time to wait for the cream cheese to soften to room temperature, place it in the microwave for 30-60 seconds or until soft.
- Biscoff - you can buy Biscoff spread, Biscoff cookies and Biscoff sandwich cookies from any major supermarket.
- Cream cheese - for best results, use full fat (not light) cream cheese.
- If you don't have a food processor, you can crush the biscuits by placing them in a ziplock bag and crushing them with a rolling pin.
- Use a greased and lined (with baking paper) springform tin with a removable base for easy removal of the cheesecake.
- Chill Biscoff cheesecake overnight (or for a minimum of 4 hours).
- Store cheesecake in the fridge and consume within 3 days.
- Freeze - you can freeze Biscoff cheesecake, either as a whole or in individual portions. Wrap in a layer of plastic wrap and then a layer of foil and freeze for up to 1 month.
FAQs
Biscoff is made by the brand Lotus. Biscoff cookies were originally created by a Belgian baker in 1932. The name itself combines 'biscuit' and 'coffee', which lends itself to the fact that Biscoff cookies are best served with coffee. Biscoff is now available as cookies, a spread and ice-cream bars.
Based on the Belgium biscuits you may know as Speculaas, Biscoff cookies and spread are like spiced shortcrust biscuits with a sweet, spicy flavour that is unique and bold. Using spices such as cinnamon, nutmeg, ginger and all spice, I would describe the flavour of Biscoff biscuits and spread as a combination of spice, caramel and malt flavours. Totally irresistible!
The gelatine helps this cheesecake to hold it's shape. We only use a small amount of gelatine, which results in a smooth and creamy soft cheesecake.
Either option can be used in this recipe! If you like a little bit of crunch, then use the crunchy spread. If you want an entirely smooth cheesecake, use the smooth spread! The choice is yours...
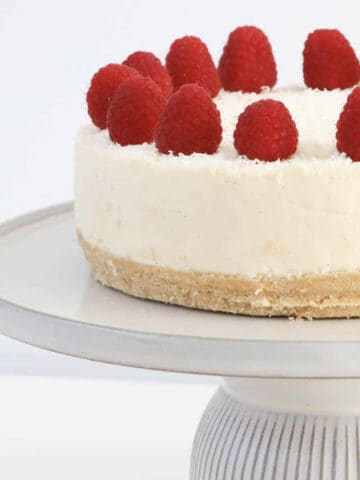
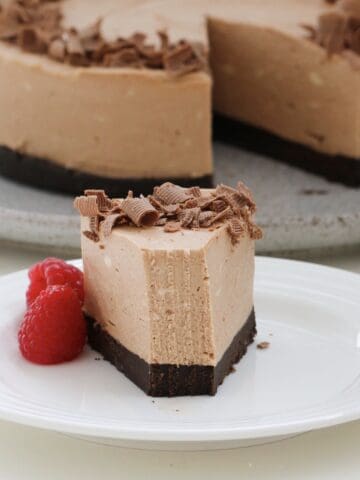
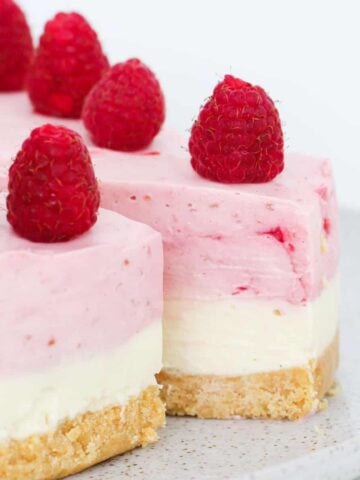
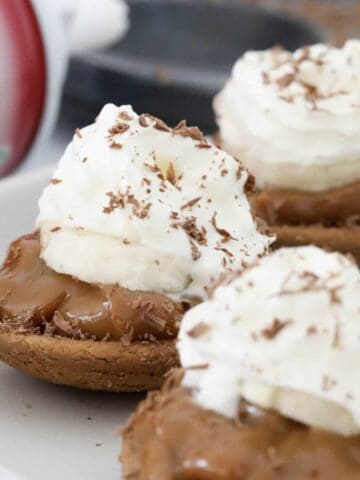
Related Recipes
It's no secret that I absolutely love cheesecakes (my all-time favourite dessert)!
Here's a few of my most popular no-bake cheesecake recipes:

WANT EVEN MORE DELICIOUS RECIPES? Subscribe to my newsletter or follow along on Facebook or Instagram. And if you love baking, then please come and join my Facebook cooking club group or subscribe to my YouTube channel.
Biscoff Cheesecake
Ingredients
For The Base
- 250 g Biscoff biscuits
- 85 g butter melted
For The Filling
- 225 g (1 cup) cream thickened or heavy
- 3 teaspoon gelatine dissolved in ¼ cup boiling water, cooled
- 500 g cream cheese room temperaure
- 50 g (½ cup) icing sugar
- 200 g (1 cup) Biscoff spread
For The Topping
- 100 g (½ cup) Biscoff spread
- Biscoff biscuits to decorate (optional)
Instructions
Conventional Method
- To ensure a smooth cheesecake, ensure all ingredients are at room temperature before starting.
- Grease and line the base and sides of a 20cm spring-form pan with baking paper and set aside.
- Finely crush the Biscoff biscuits in a food processor and place into a bowl.
- Add the melted butter and mix until well combined.
- Press the mixture firmly into the base of the pan and place into the fridge.
- Whip cream and set aside.
- Pour ¼ cup of boiling water into a cup, sprinkle over the gelatine and stir until dissolved. Allow to cool.
- Beat the cream cheese, icing sugar and Biscoff spread until smooth and creamy.
- Add the cooled, dissolved gelatine to the mix and beat until well combined.
- Gently fold through the whipped cream until well combined.
- Spoon the mixture into the prepared tin. Spread out evenly with a spoon.
- Place the cheesecake into the fridge for 1 hour or until set.
- Melt the Biscoff spread and pour over the top of the chilled cheesecake. Spread out with a spoon and decorate with extra Biscoff biscuits (optional). Place back into the fridge for 3 hours or until set.
Thermomix Method
- To ensure a smooth cheesecake, ensure all ingredients are at room temperature before starting.
- Grease and line the base and sides of a 20cm spring-form pan with baking paper and set aside.
- Melt butter in the Thermomix bowl for 2 minutes, 100 degrees, Speed 1. Add the Biscoff biscuits and crush for 10 seconds, Speed 10. Scrape down the sides of the bowl and repeat until well combined.
- Press the mixture firmly into the base of the pan and place into the fridge.
- Whip cream in a clean, dry Thermomix bowl on Speed 3.5 until lightly whipped (the time it takes will depend on the freshness of the cream - it can be anywhere between 10 seconds and 2 minutes!!) Set the cream aside in a separate bowl.
- Pour ¼ cup of boiling water into a cup, sprinkle over the gelatine and stir until dissolved. Allow to cool.
- Beat the cream cheese, icing sugar and Biscoff spread in a clean and dry Thermomix bowl for 30 seconds, Speed 5. Scrape down the sides with a spatula and repeat until smooth and creamy.
- Add the cooled, dissolved gelatine to the mix and mix for 30 seconds on Speed 5.
- Fold through the whipped cream with the spatula.
- Spoon the mixture into the prepared tin. Spread out evenly with a spoon.
- Place the cheesecake into the fridge for 1 hour or until set.
- Melt the Biscoff spread and pour over the top of the chilled cheesecake. Spread out with a spoon and decorate with extra Biscoff biscuits (optional). Place back into the fridge for 3 hours or until set.
Notes
- For the smoothest, lump-free cheesecake, ensure all of your ingredients are at room temperature before using.
- If you don't have time to wait for the cream cheese to soften to room temperature, place it in the microwave for 30-60 seconds or until soft.
- Biscoff - you can buy Biscoff spread, Biscoff cookies and Biscoff sandwich cookies from any major supermarket.
- Cream cheese - for best results, use full fat (not light) cream cheese.
- If you don't have a food processor, you can crush the biscuits by placing them in a ziplock bag and crushing them with a rolling pin.
- Use a greased and lined (with baking paper) springform tin with a removable base for easy removal of the cheesecake.
- Chill Biscoff cheesecake overnight (or for a minimum of 4 hours).
- Store cheesecake in the fridge and consume within 3 days.
- Freeze - you can freeze Biscoff cheesecake, either as a whole or in individual portions. Wrap in a layer of plastic wrap and then a layer of foil and freeze for up to 1 month.


Leave a Reply