

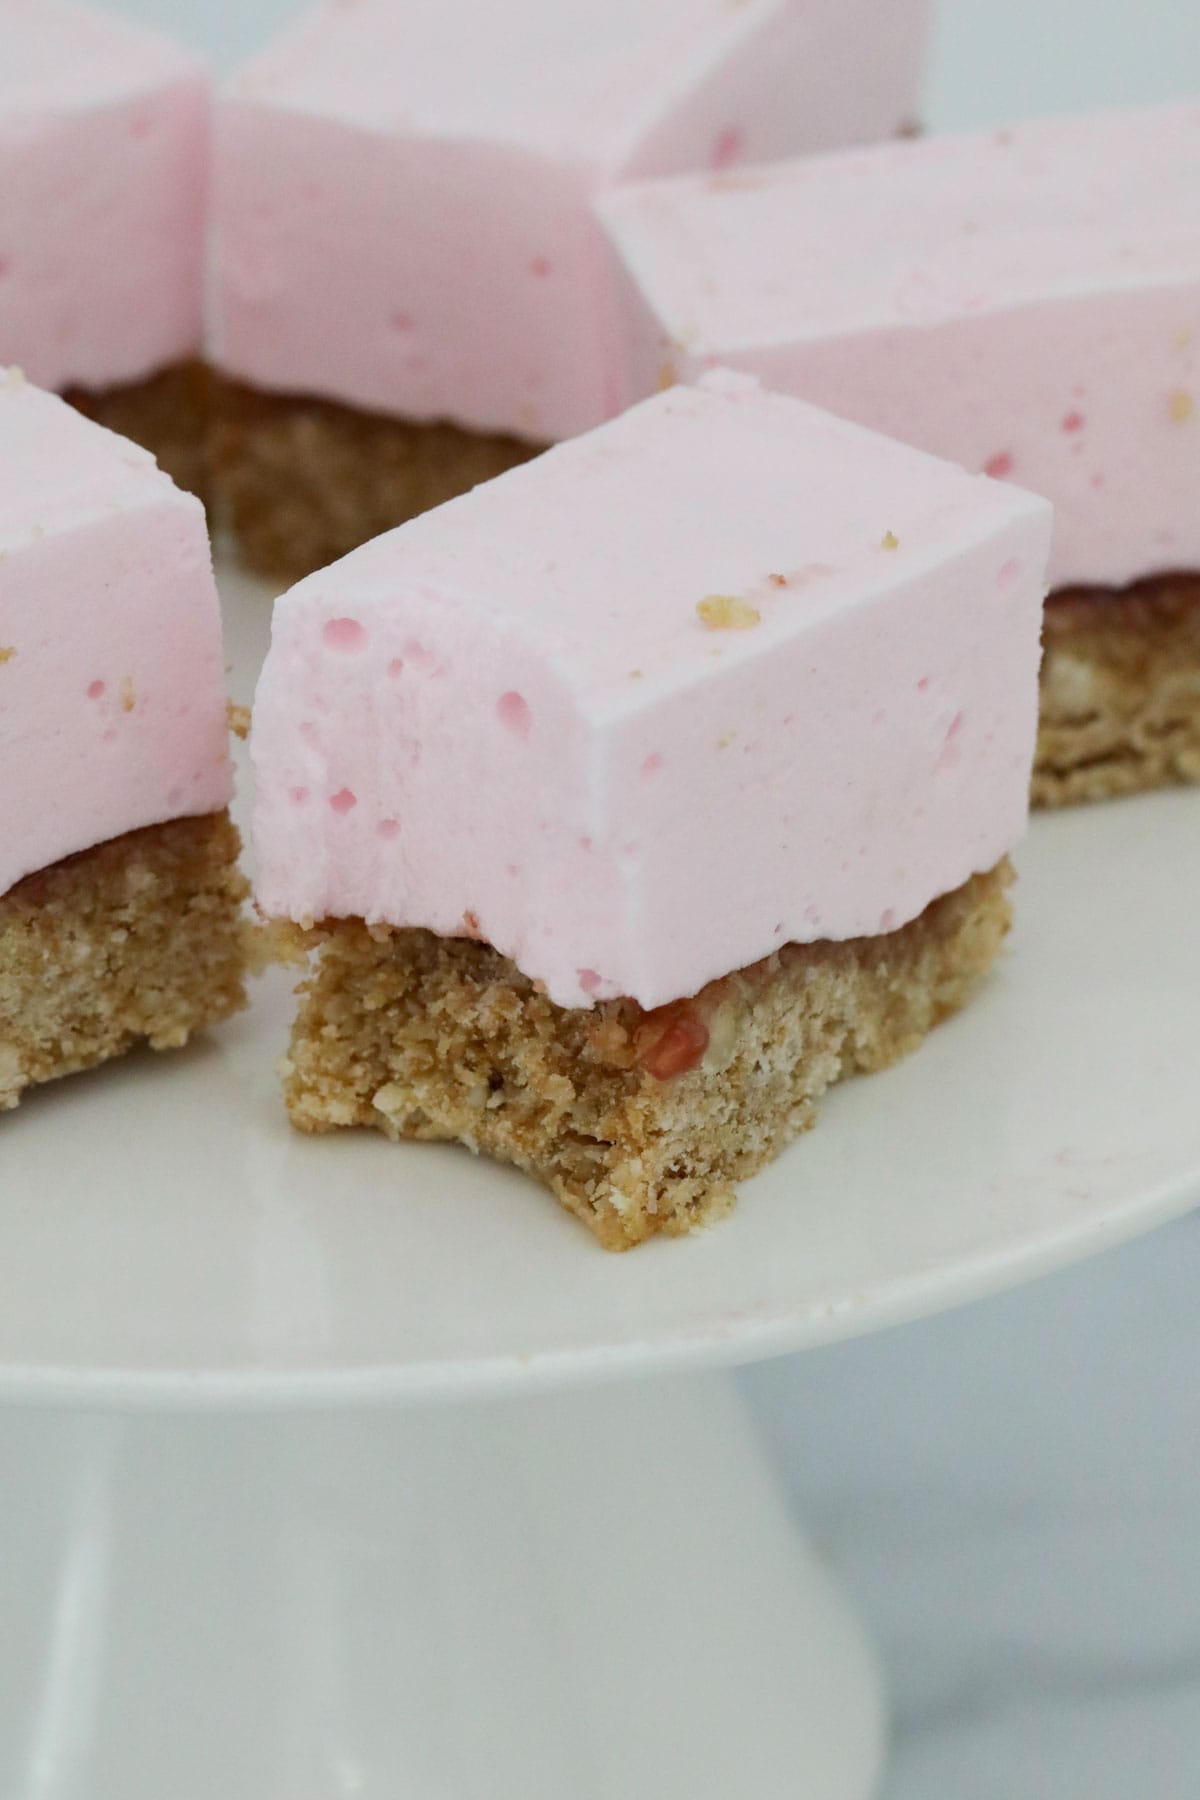
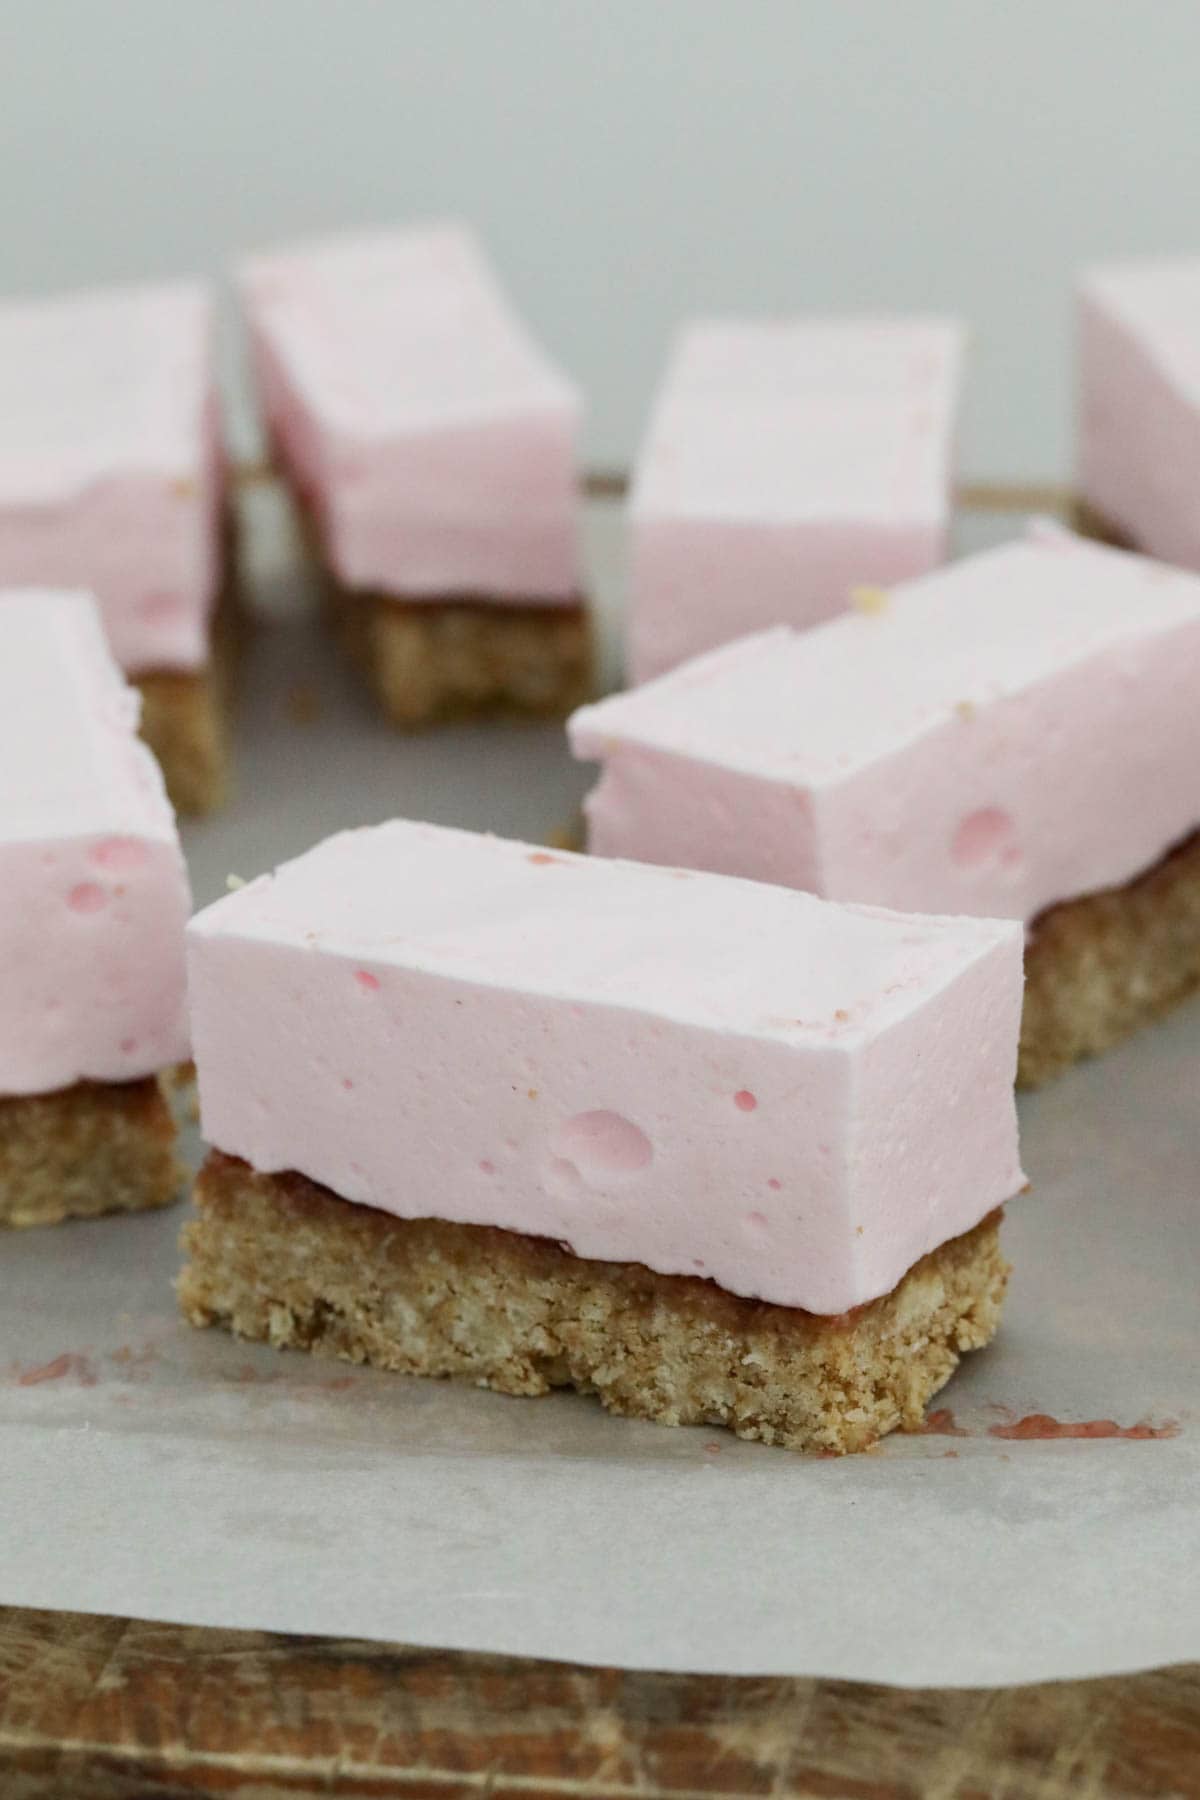
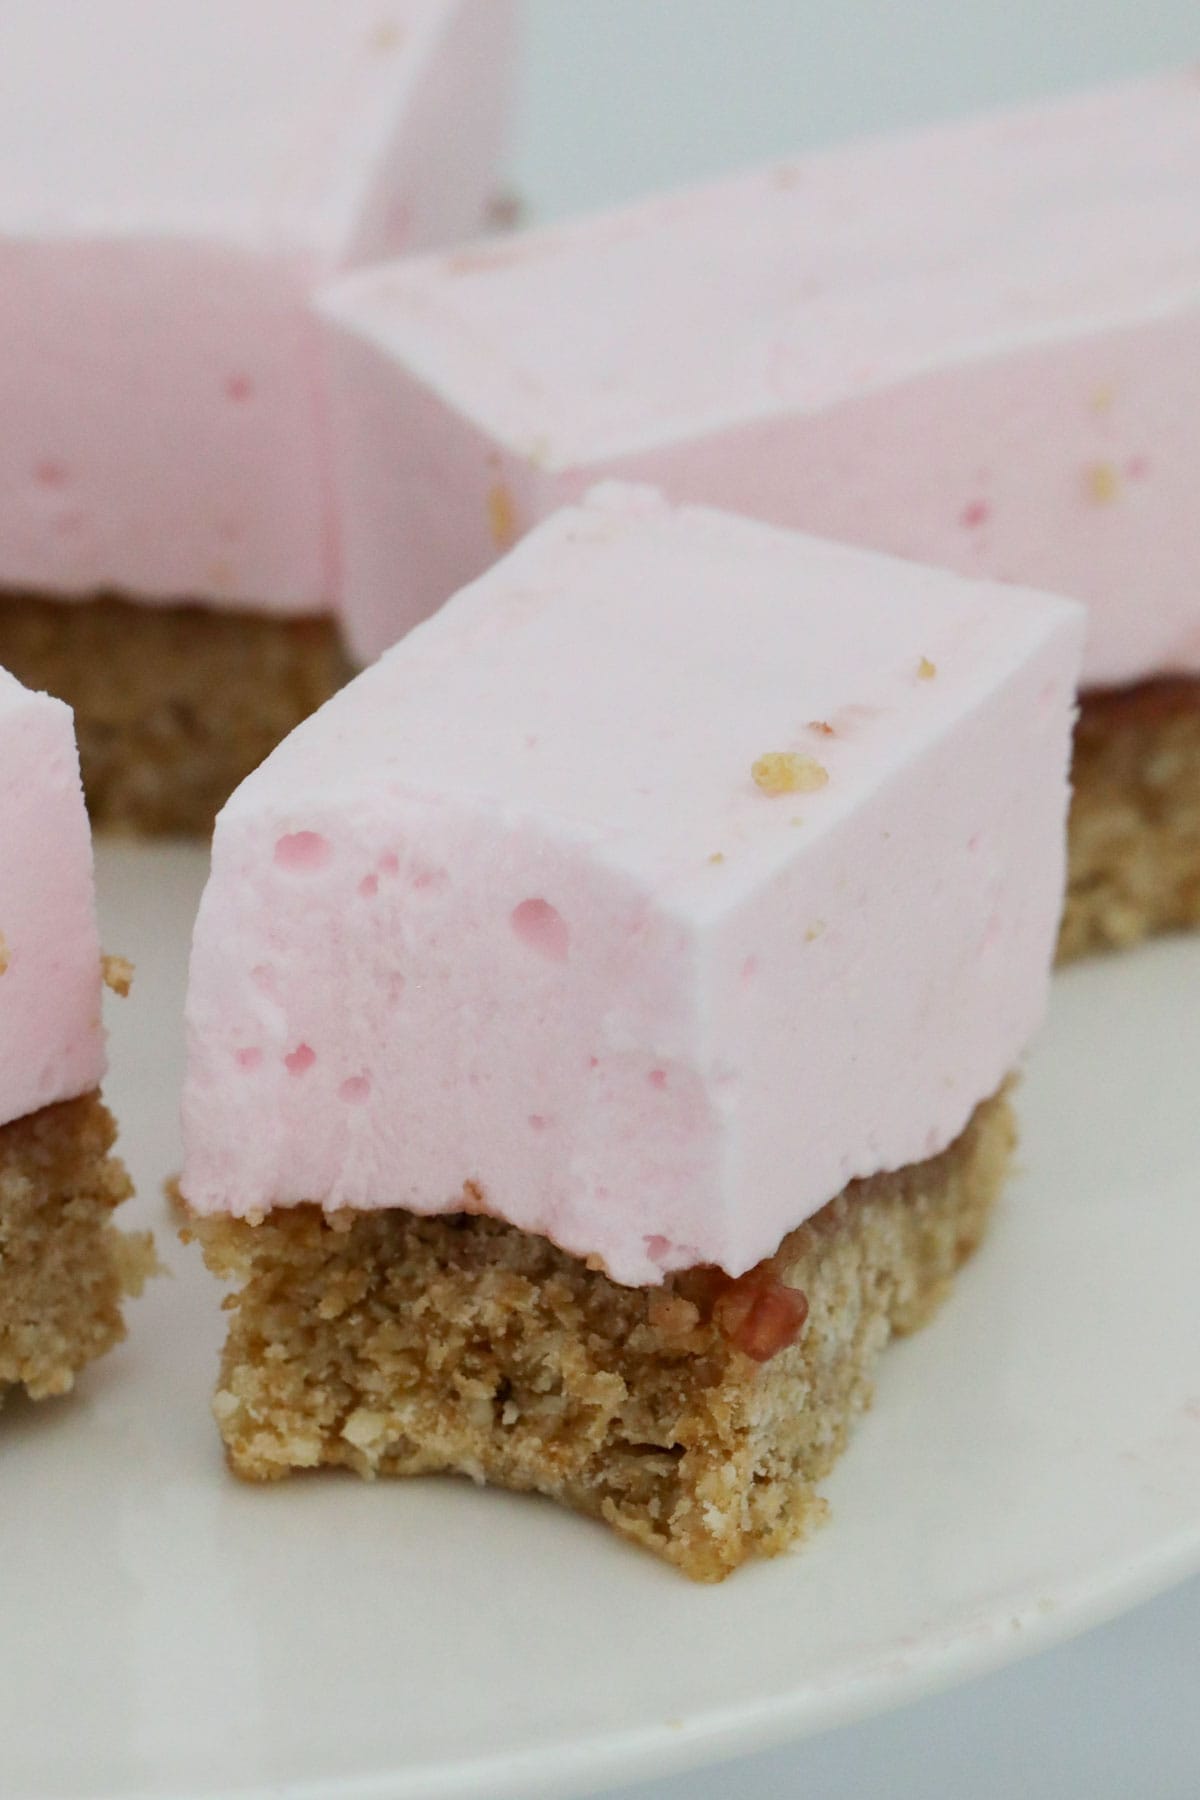
This iconic Australian Marshmallow Weet-Bix Slice recipe with layers of a crunchy baked Weet-Bix and coconut base, raspberry jam and fluffy sweet marshmallow is the perfect sweet treat that looks impressive, but is super easy to make!
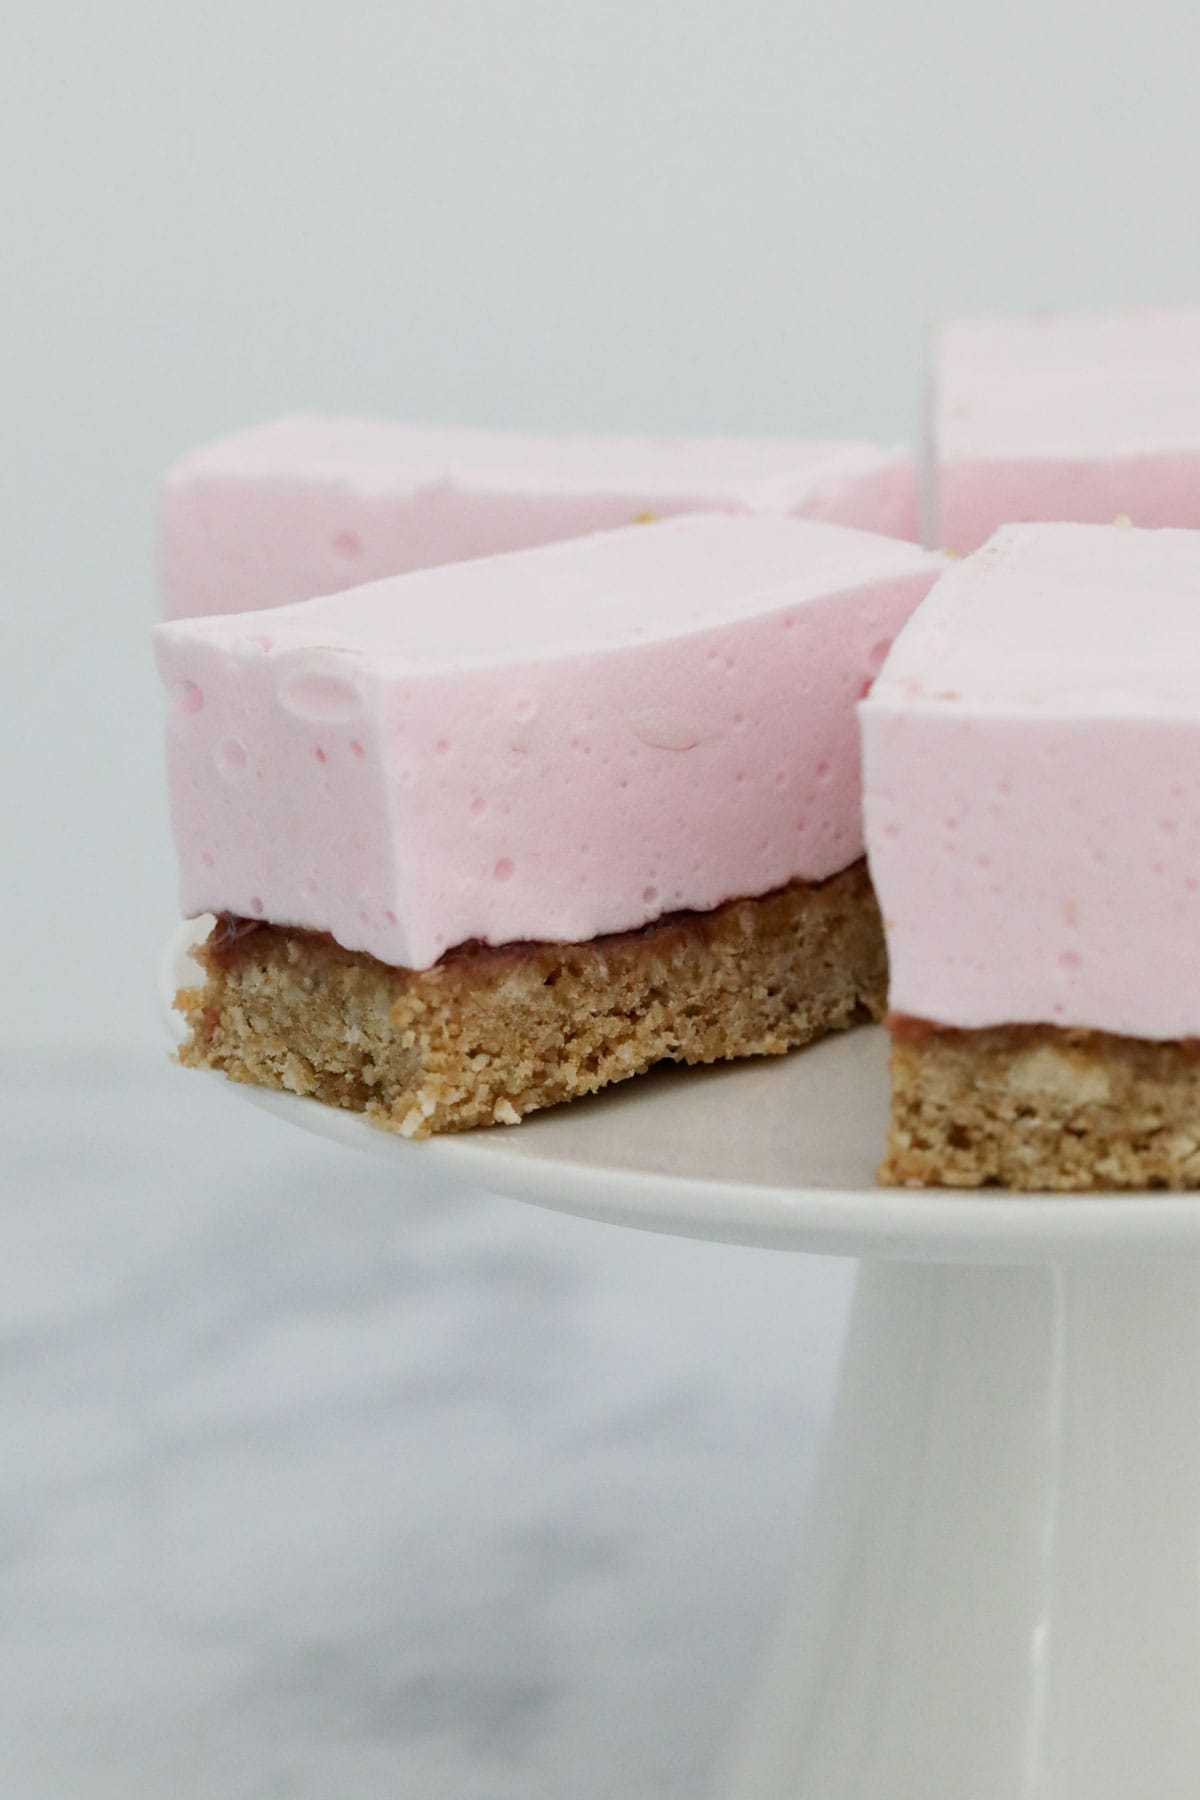
With its coconut and Weet-Bix base, layer of raspberry jam and fluffy marshmallow topping (made without eggs!) this nostalgic weetbix marshmallow slice is the perfect party food, fundraiser bake, or after school snack!
Like other classic bakes jam drops, date slice, white chocolate and macadamia nut brownies, coconut rough slice and apple and sour cream slice, this old-school recipe is as popular as ever!
Have Weet-Bix that nobody wants? Use up the rest of the Weet-bix packet in these other family favourites: Weet-Bix chocolate slice, lemon Weet-Bix slice, Milo Weet-Bix balls.
Why You're Going To Love This Recipe
- Basic ingredients - this marshmallow Weet-Bix slice is made with simple, easy to find ingredients.
- Versatile - whether you want something a little extra special for an after school treat, or an eye-catching bake for birthday parties, fundraisers, fetes, and bake sales, this marshmallow slice is the perfect recipe!
- Old fashioned recipe - when a recipe has stood the test of time, you know it's a good one! And kids just love the squishy marshmallow topping...
- Conventional and Thermomix - both methods are written in the recipe card at the end of the post.
What You Need
You only need a handful of basic pantry ingredients to make this classic marshmallow Weet-Bix slice!
Note: Scroll to the recipe card at the bottom for the ingredients quantities and full detailed method.
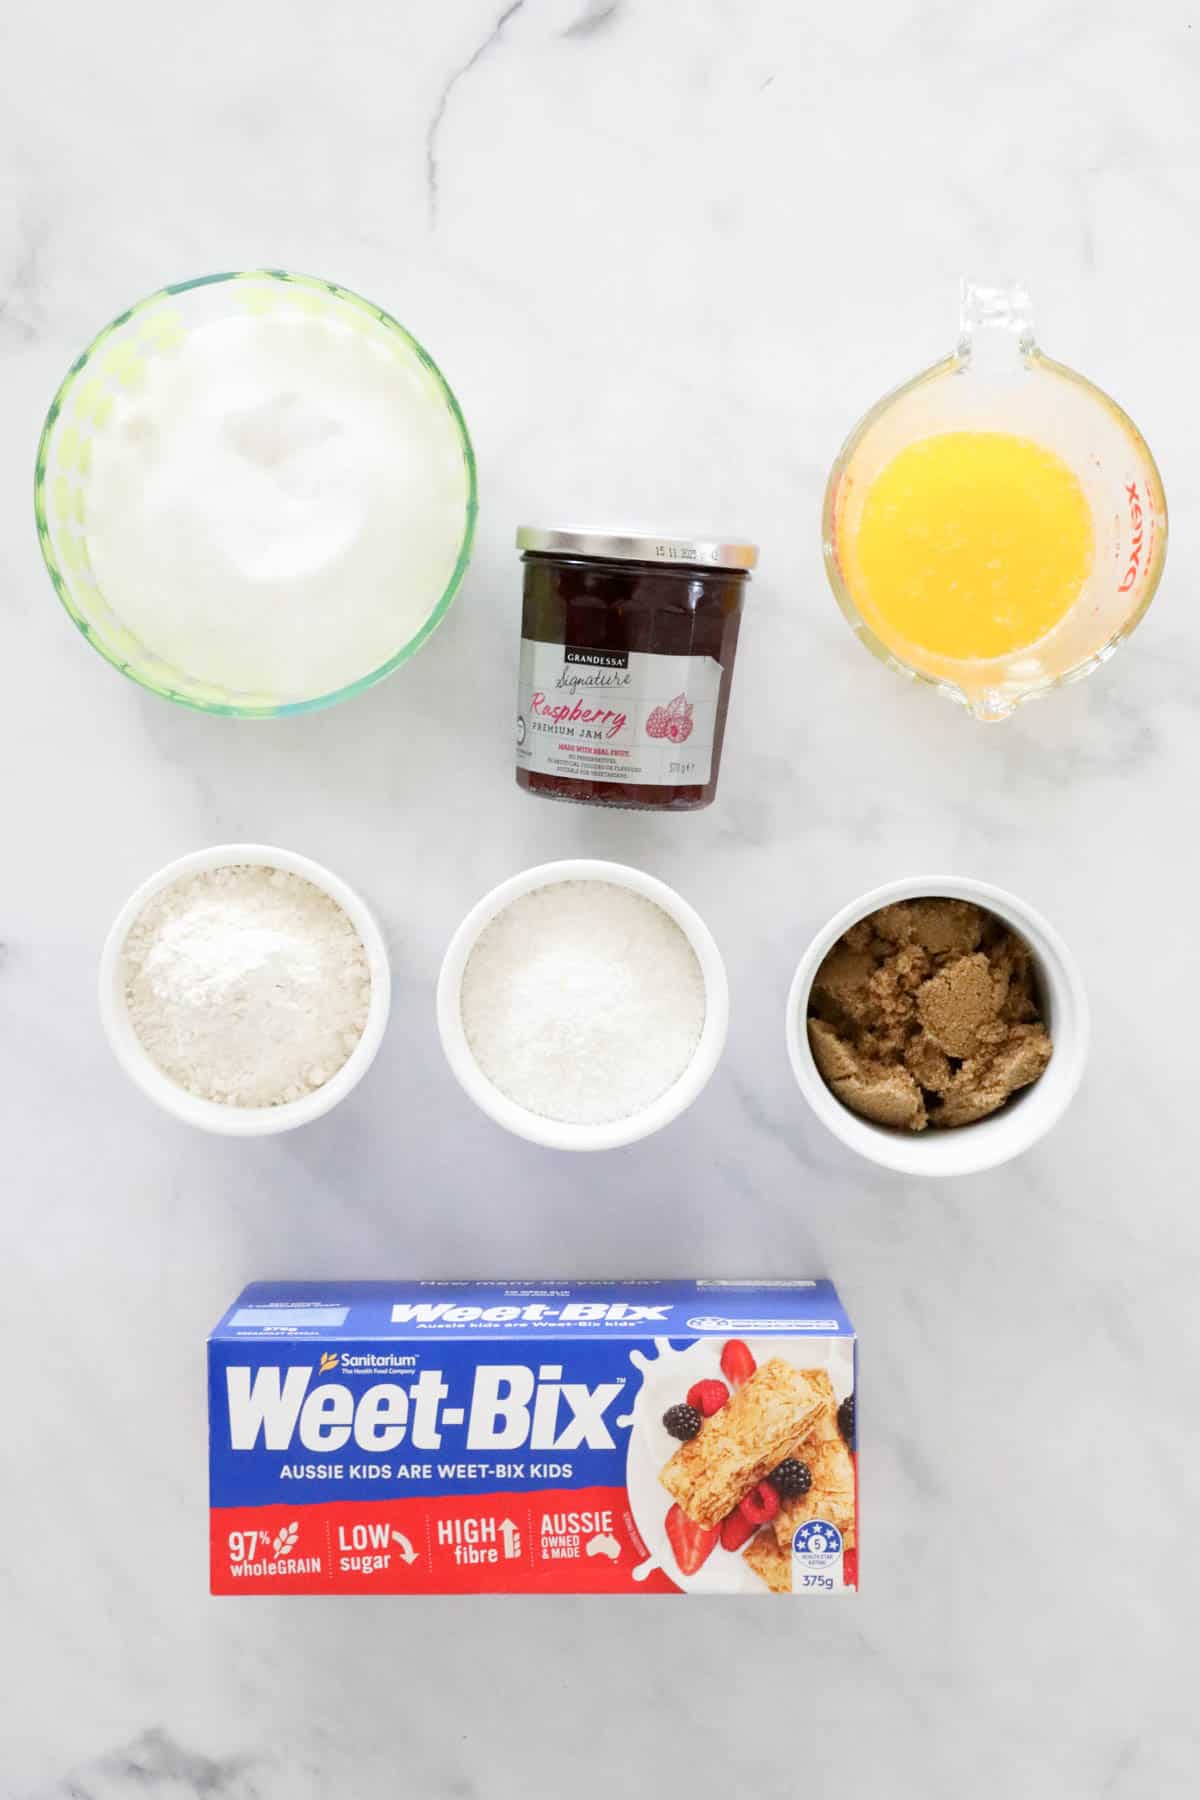
- Weet-Bix - or Weetabix if you are in the UK!
- Self raising flour - use store-bought self raising flour or make your own self raising flour by adding 2 teaspoons baking powder to every cup of plain flour.
- Desiccated coconut - this adds texture and flavour to the base. Use fine desiccated coconut, not shredded coconut.
- Brown sugar - adds a little caramel flavour to the base.
- Butter - you can use salted butter or unsalted butter in this slice recipe.
- Raspberry jam - or strawberry jam!
- Caster sugar - also known as superfine sugar, this fine sugar dissolves quicker than granulated sugar.
- Water.
- Gelatine powder - this setting agent is the key to a fluffy marshmallow!
- Pink food colouring - you only need a drop!
Equipment Required
You don't need any fancy equipment to make this easy slice!
- Bowl or Thermomix - for mixing the base.
- 18cm x 28cm slice tin - greased and lined.
- Large saucepan or pot - to make the marshmallow.
- Hand held beaters or stand mixer - to beat the marshmallow.
- Oven - I use a fan-forced oven. If you use a conventional oven, increase the temperature by 10-20 degrees Celsius.
Step By Step Instructions
This homemade marshmallow Weet-Bix slice is like nothing you can buy in the shops!
Note: Scroll to the recipe card at the bottom for the ingredients quantities and full detailed method.
Step 1 - Make The Weet-Bix Base
Preheat the oven and line your slice tin.
Finely crush the Weet-Bix and place into a bowl.
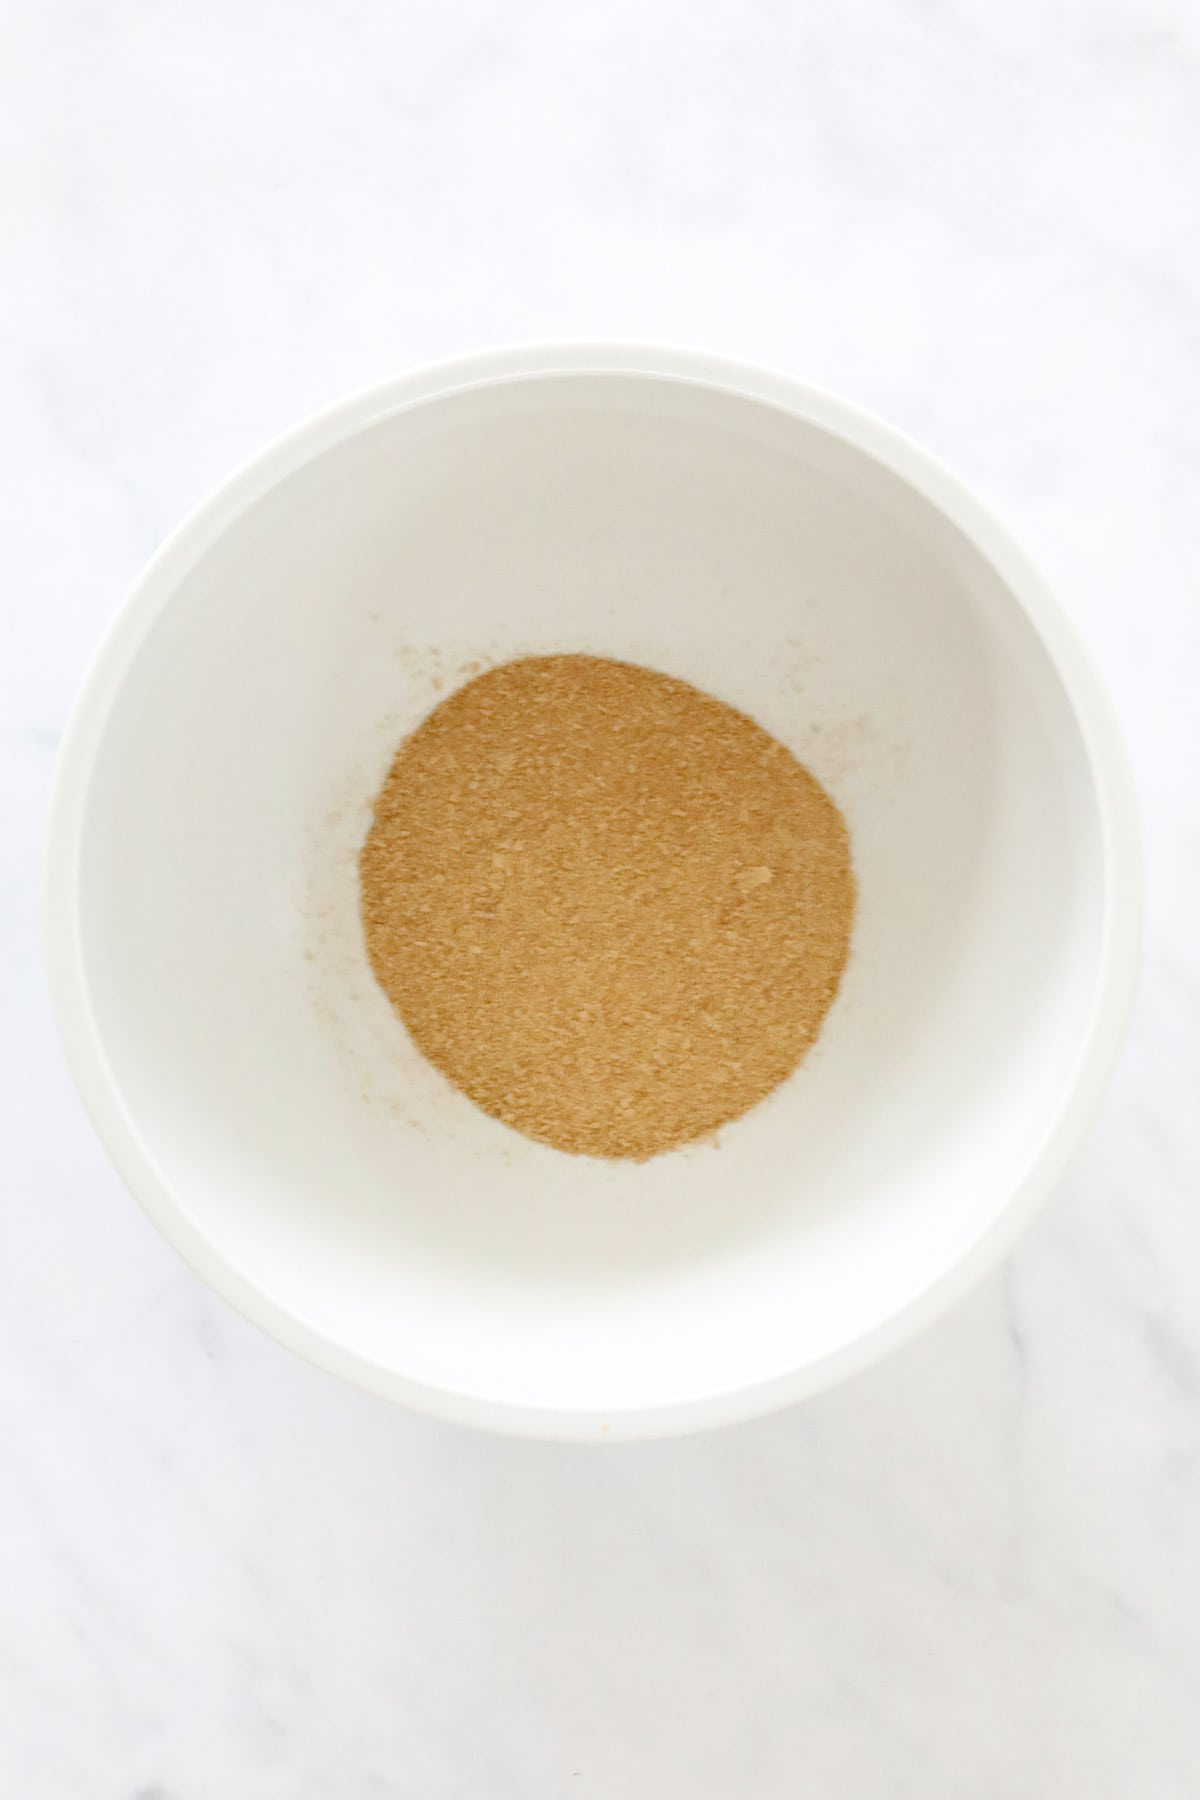
Add the self raising flour, desiccated coconut, brown sugar and melted butter.
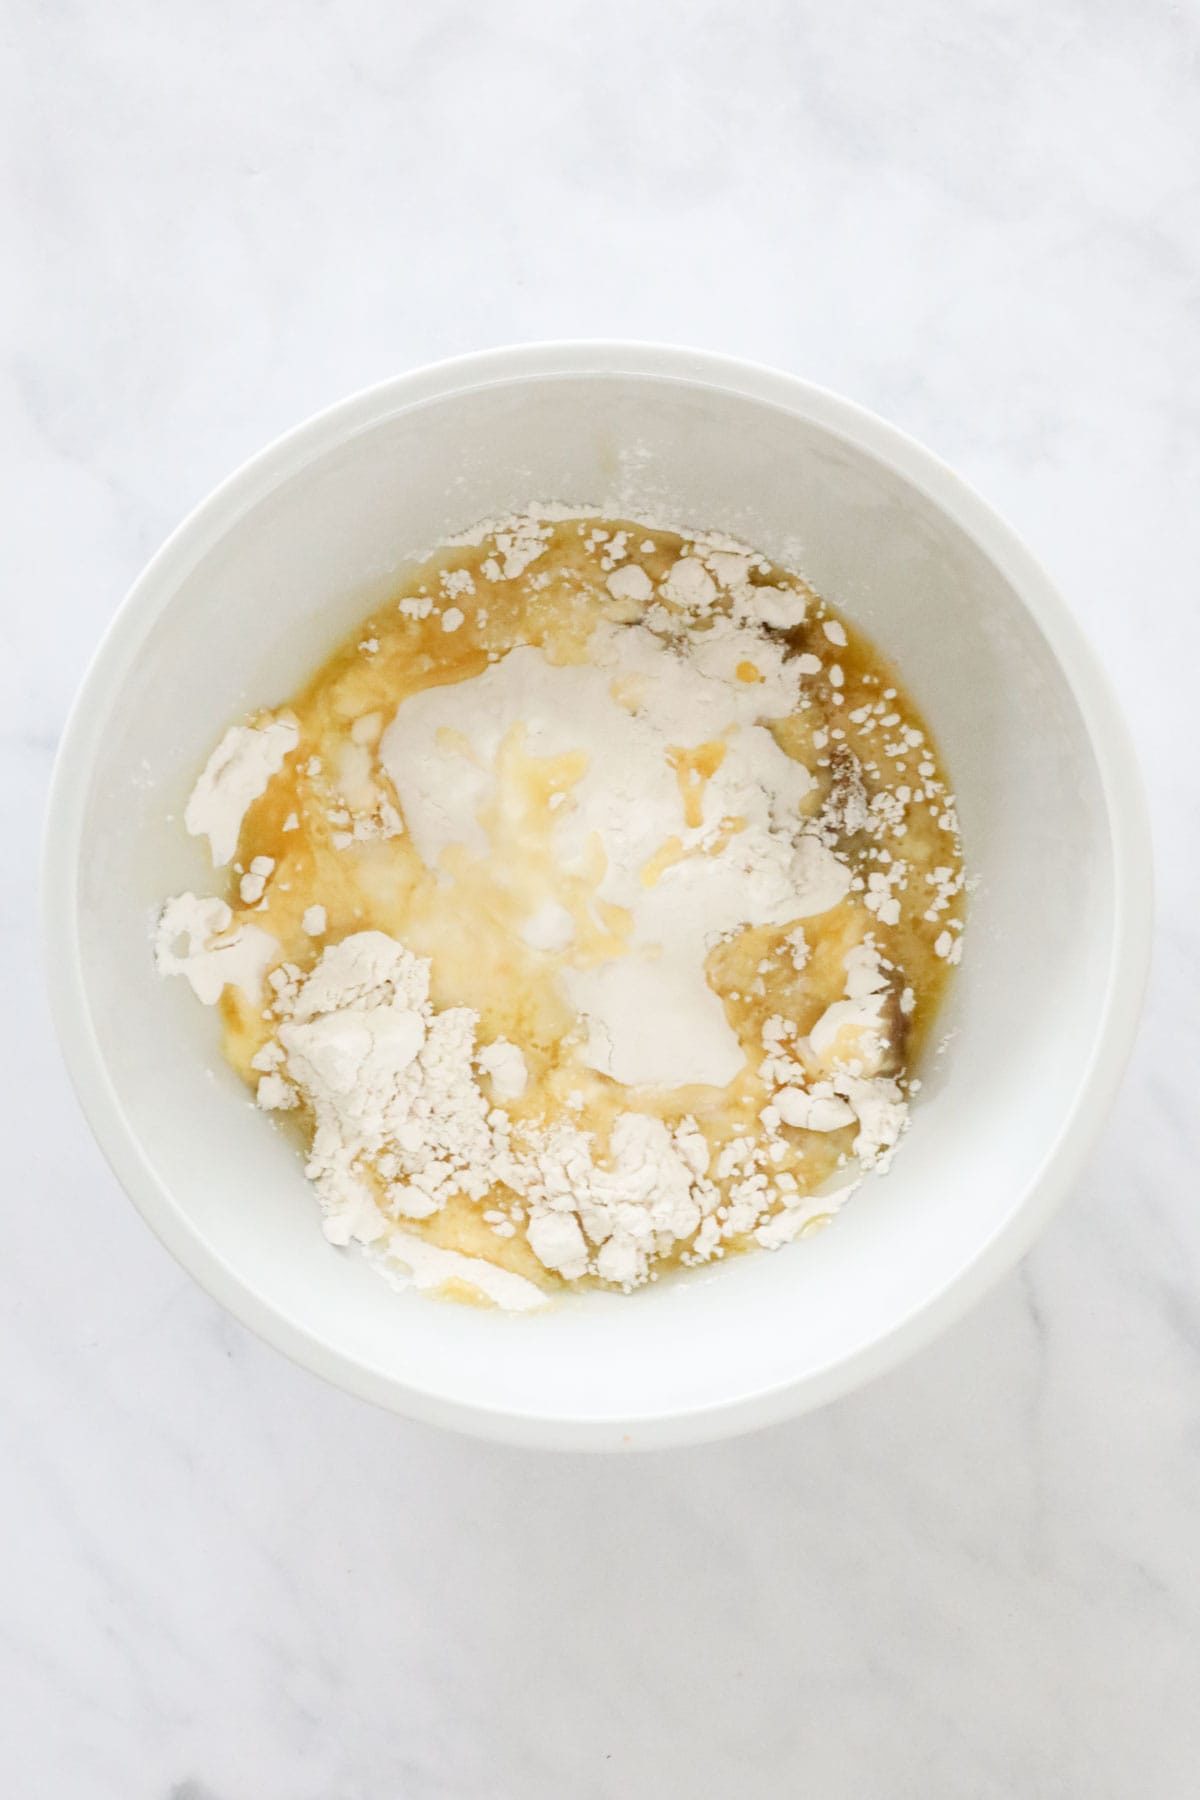
Mix until well combined.
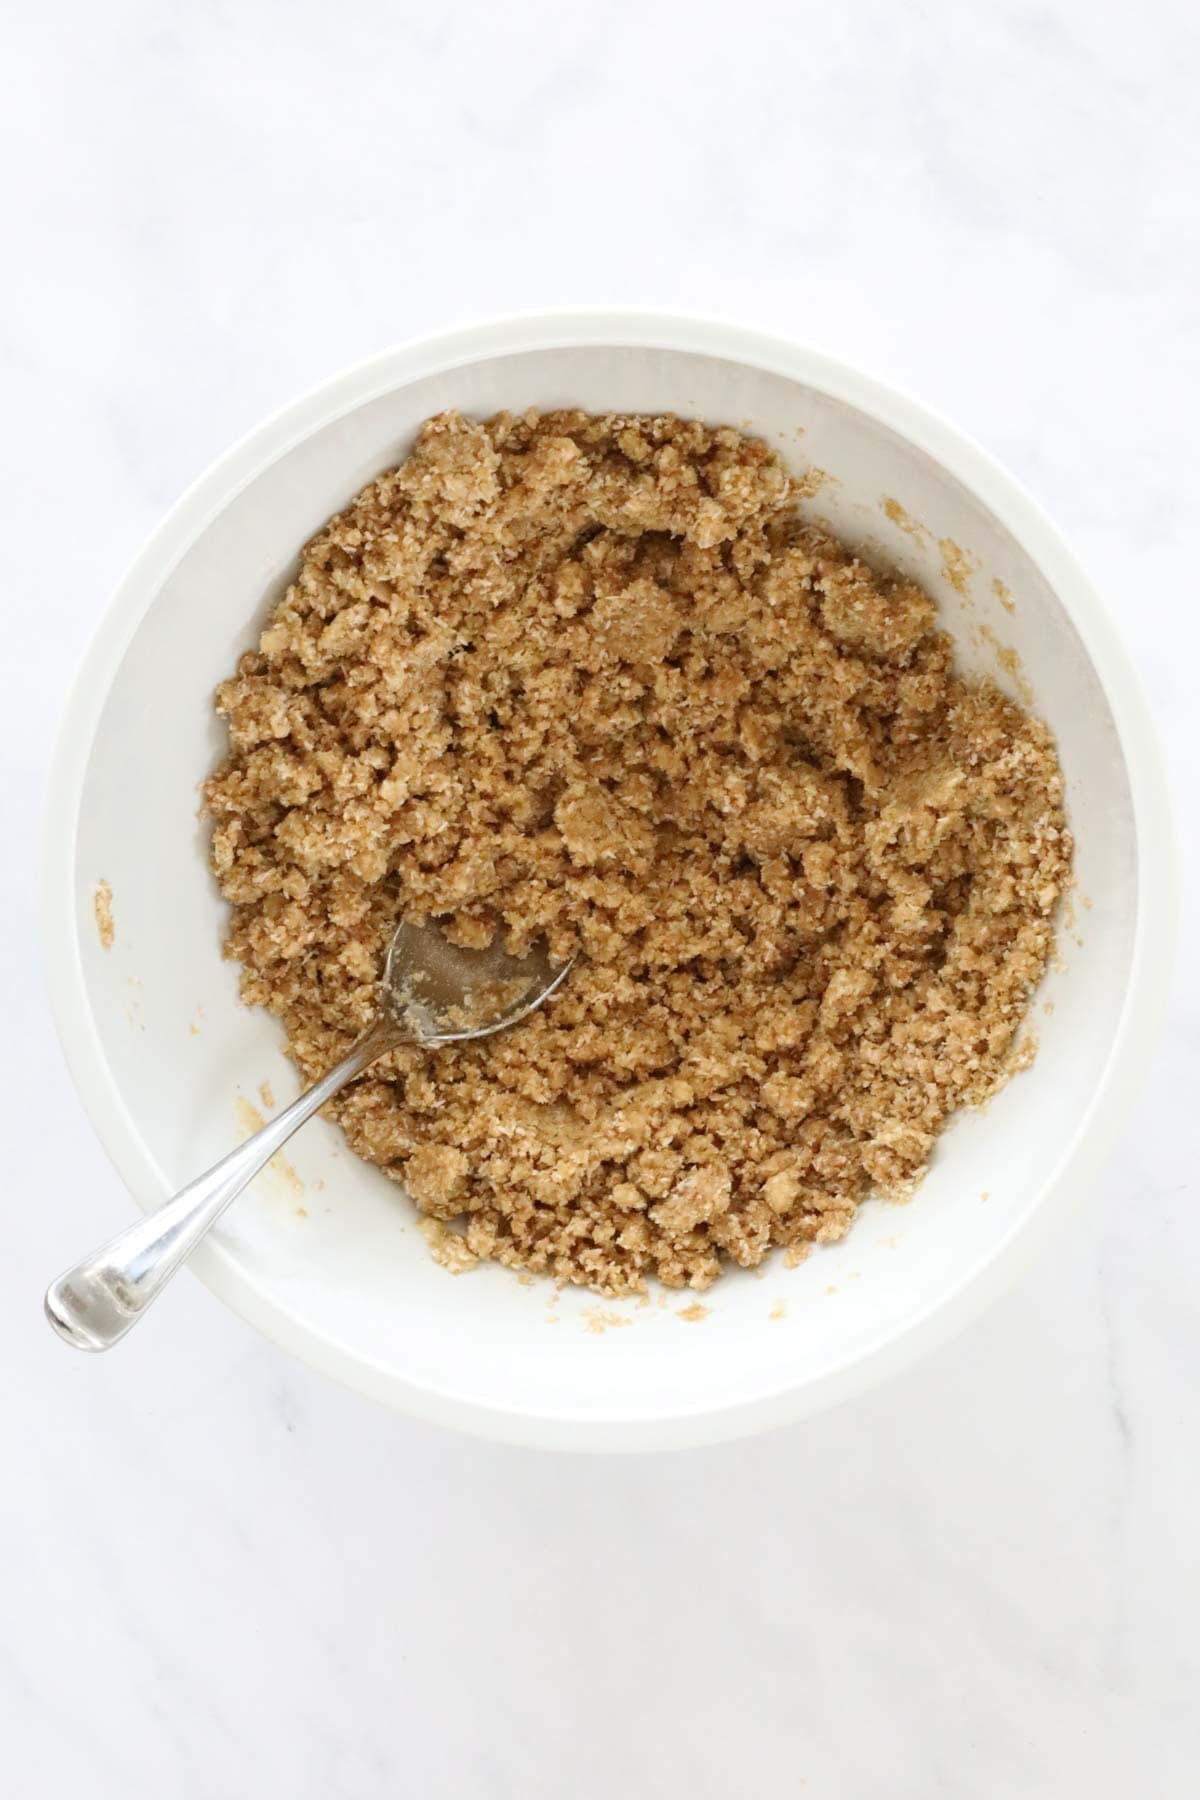
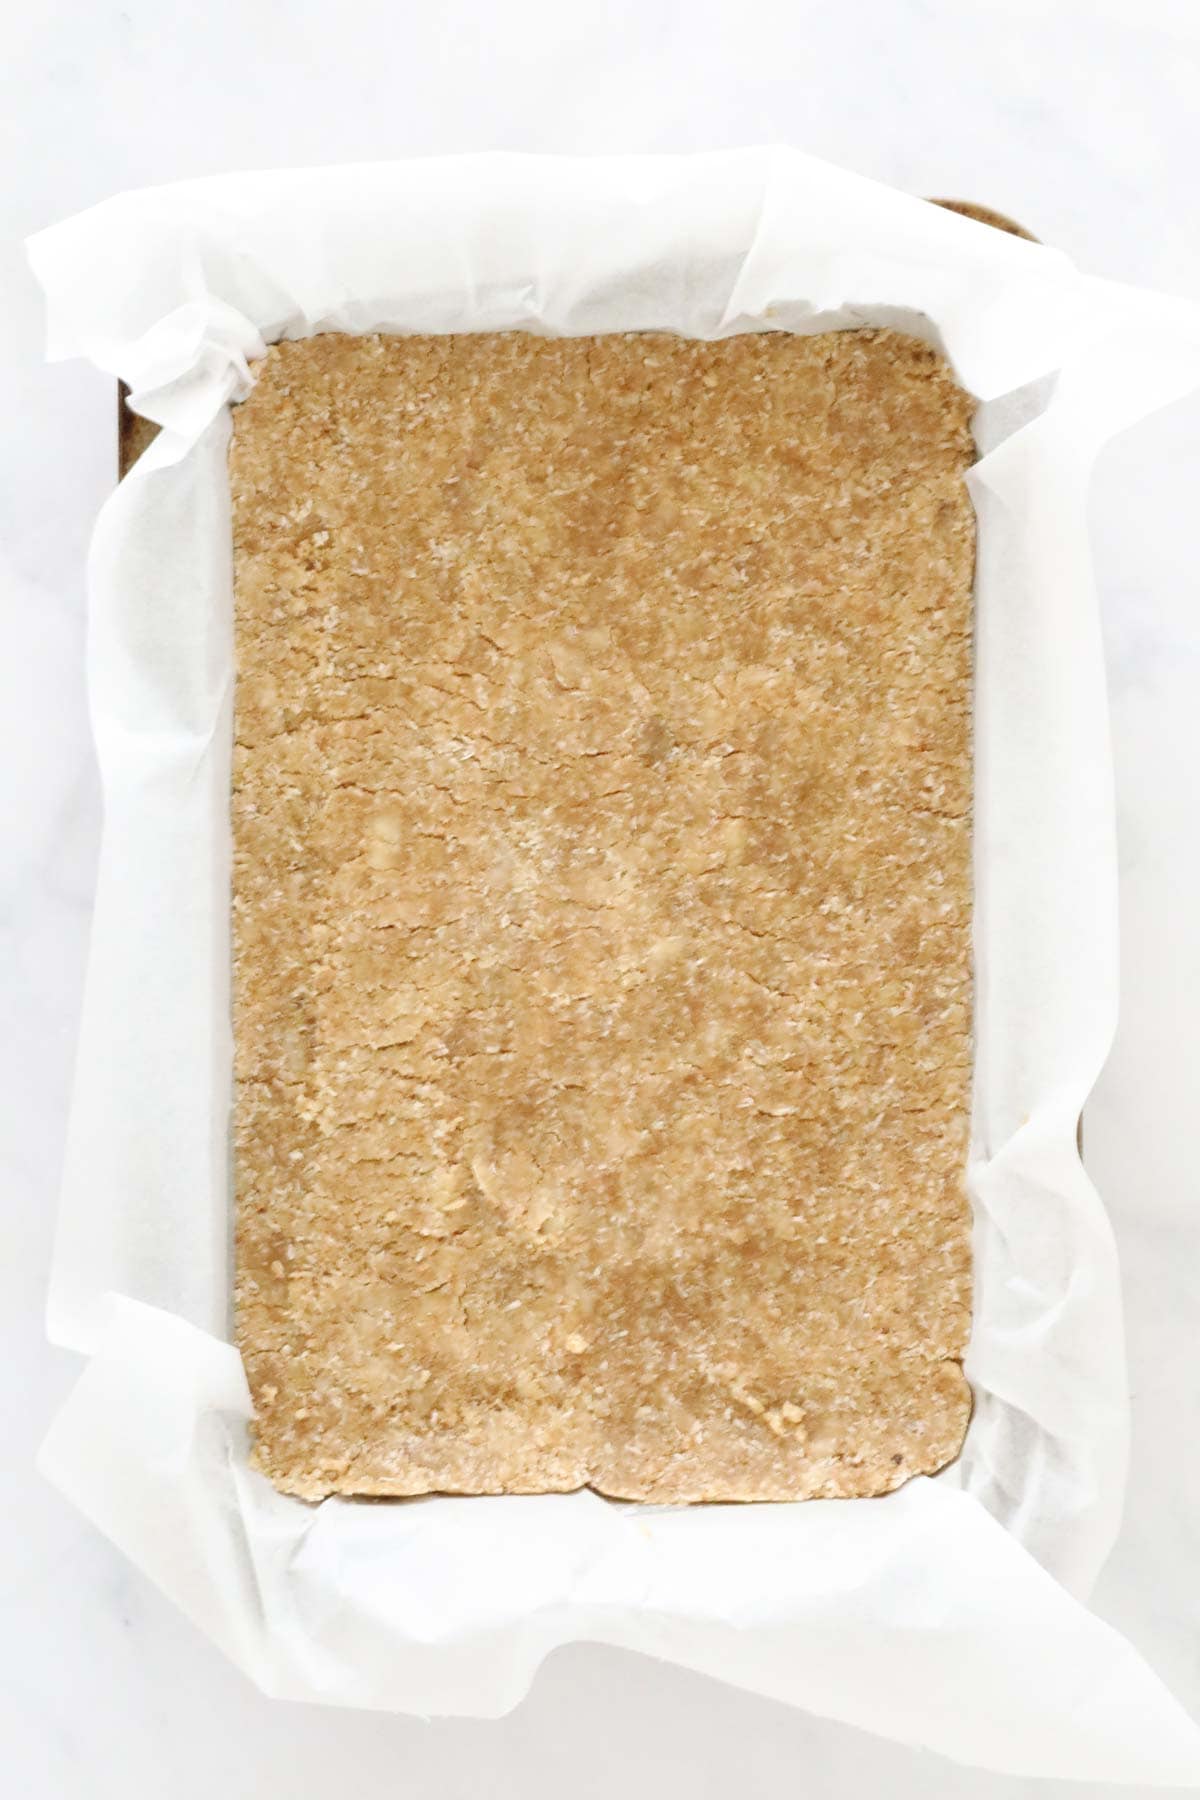
Press the mixture firmly into the base of the prepared tin then bake in the preheated oven. Set aside to cool while you make the marshmallow topping.
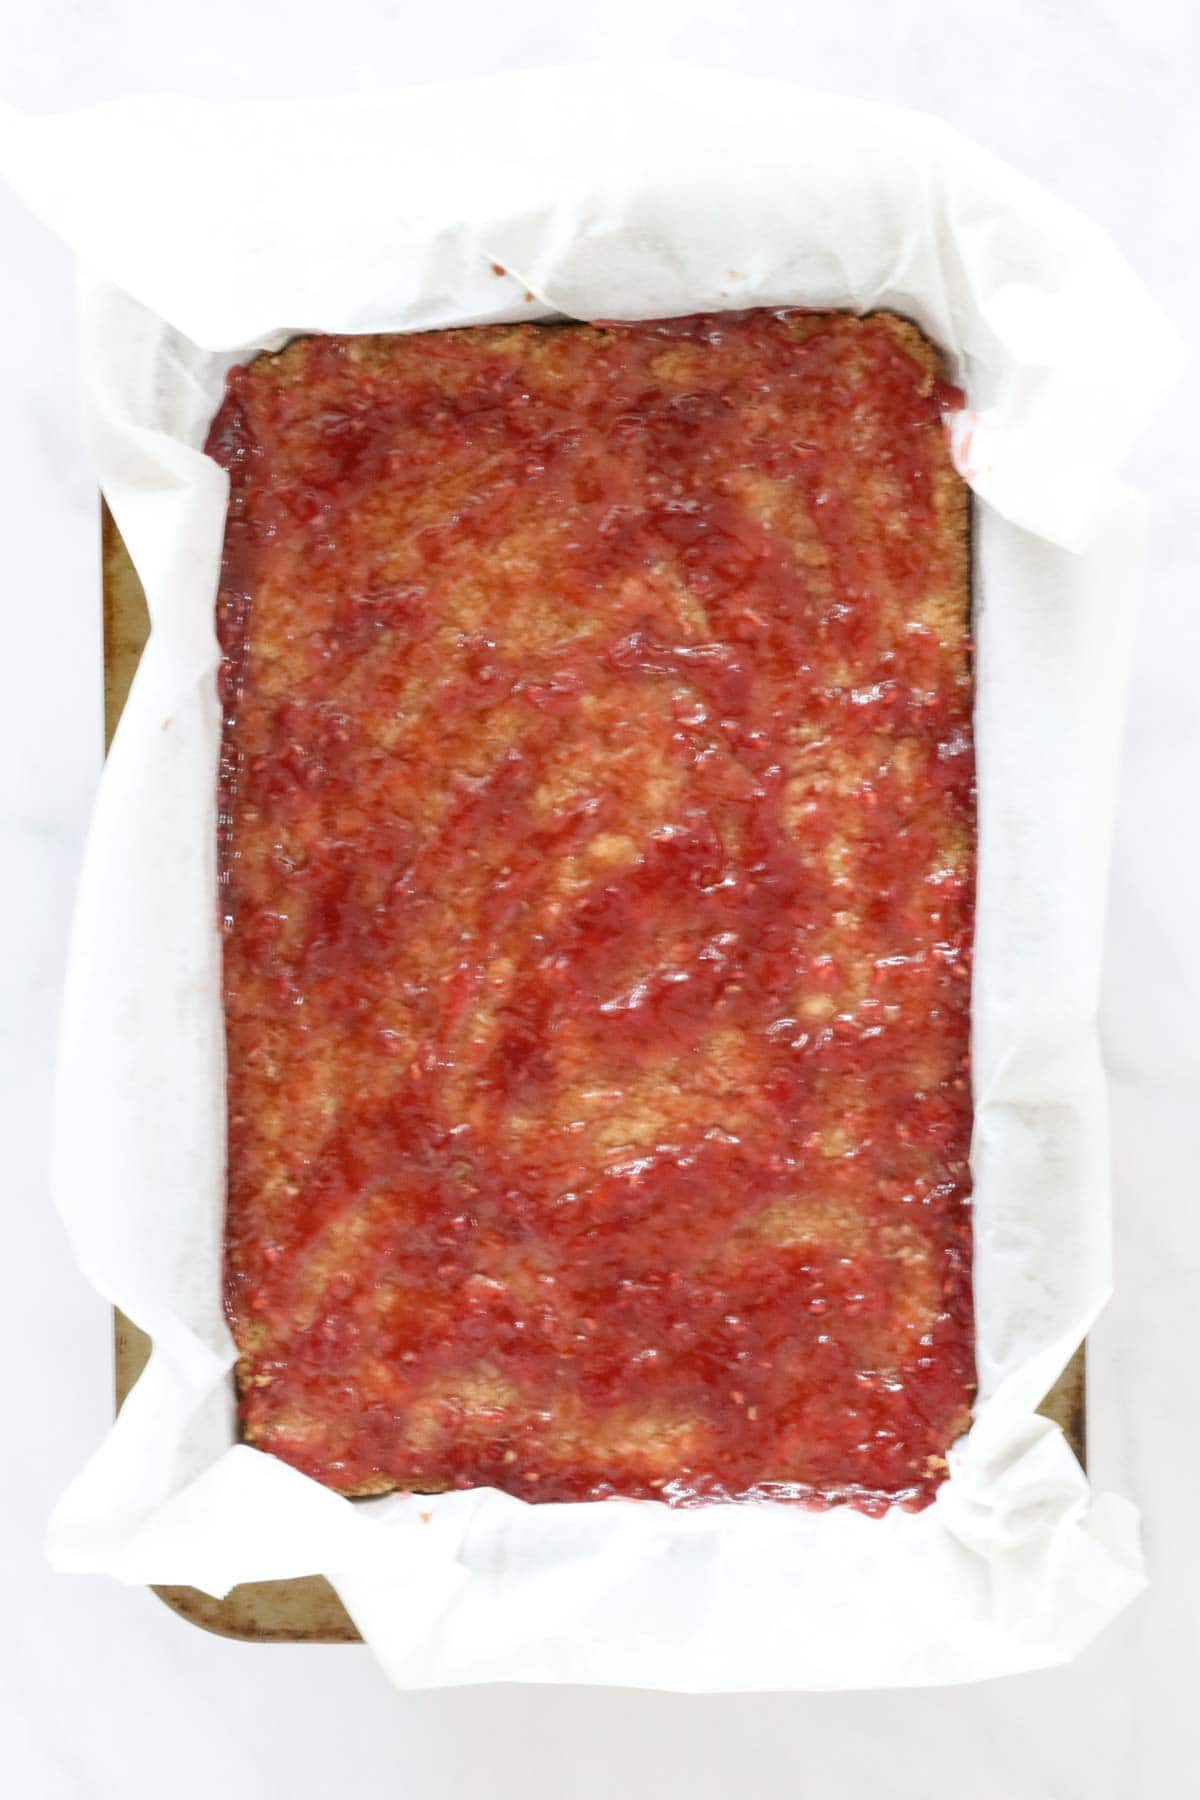
Step 2 - Spread Jam Over The Base
Spread the raspberry jam over the top of the cooled base in an even layer.
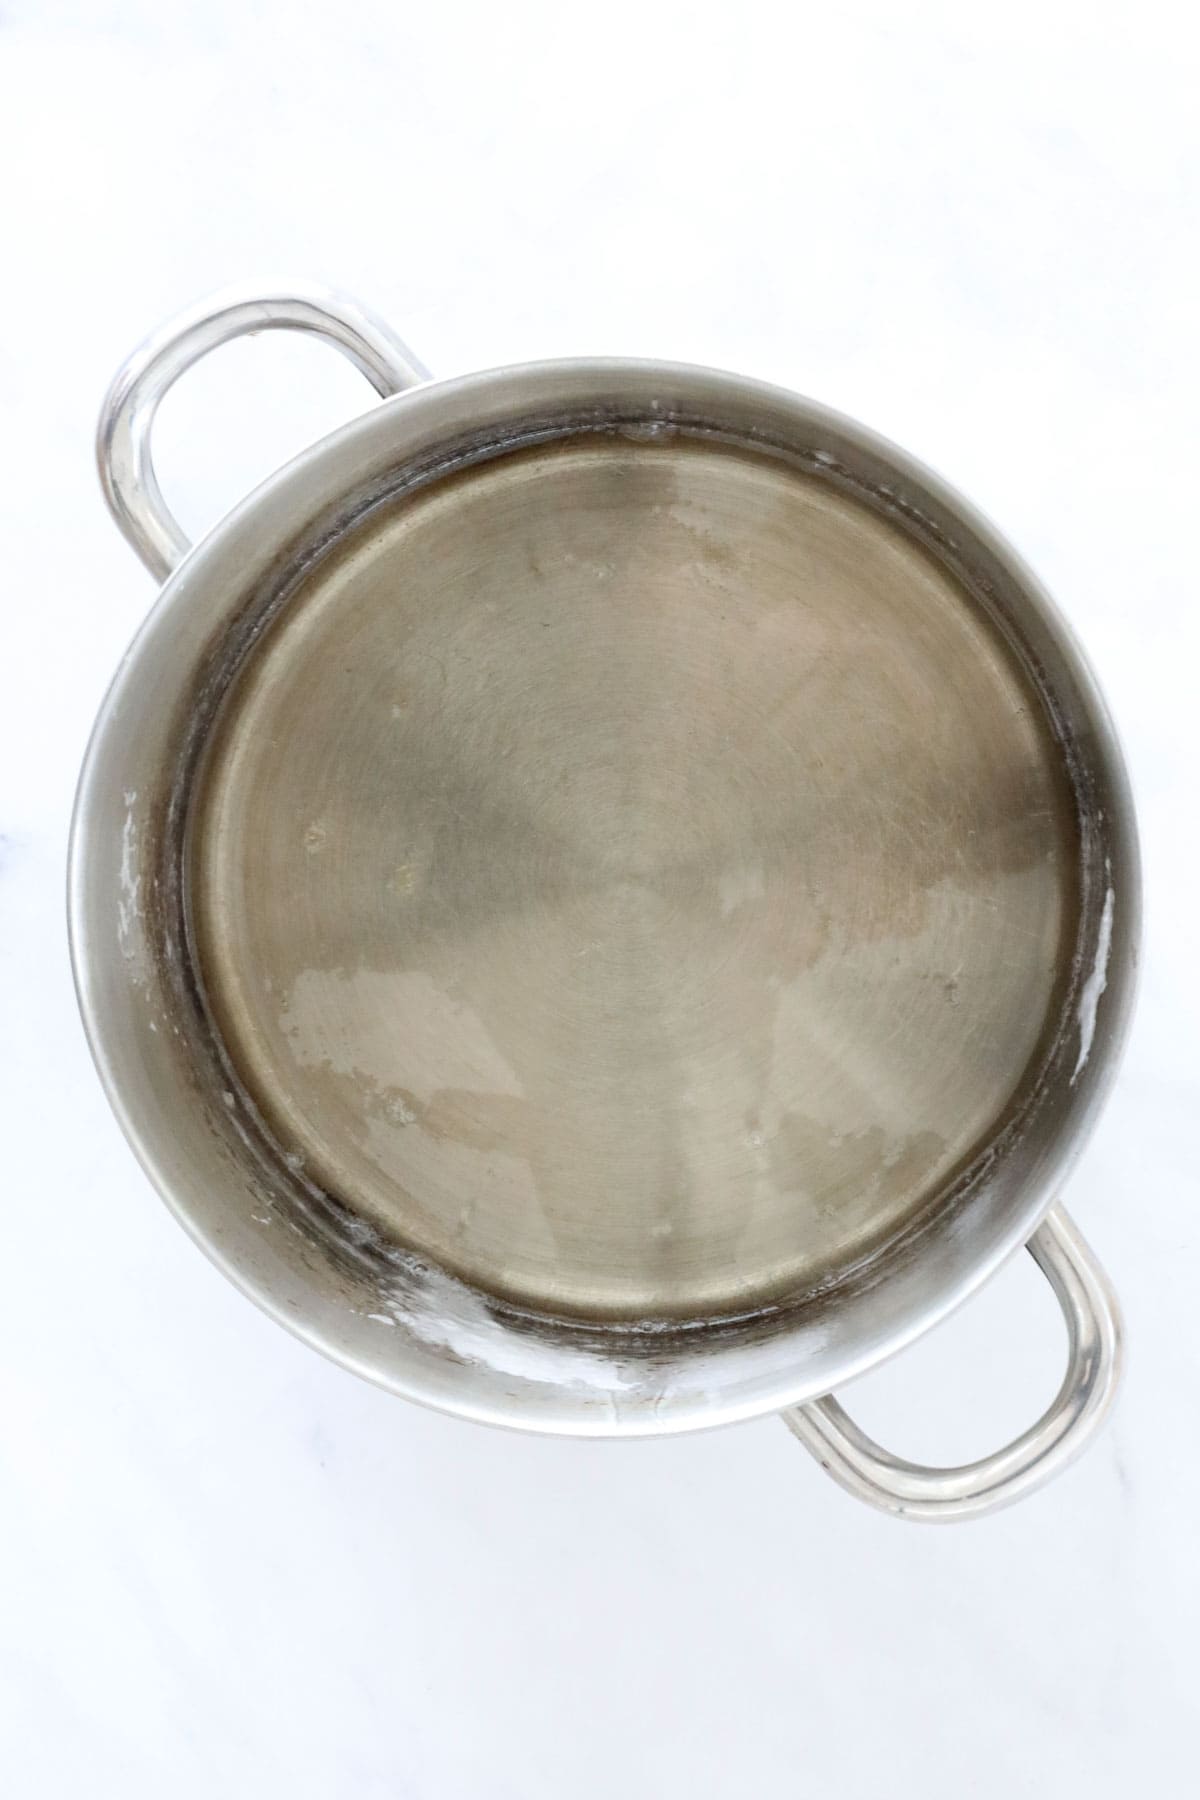
Step 3 - Make The Marshmallow
To make the marshmallow layer, place the caster sugar, water and gelatine powder into a large saucepan. Mix until dissolved.
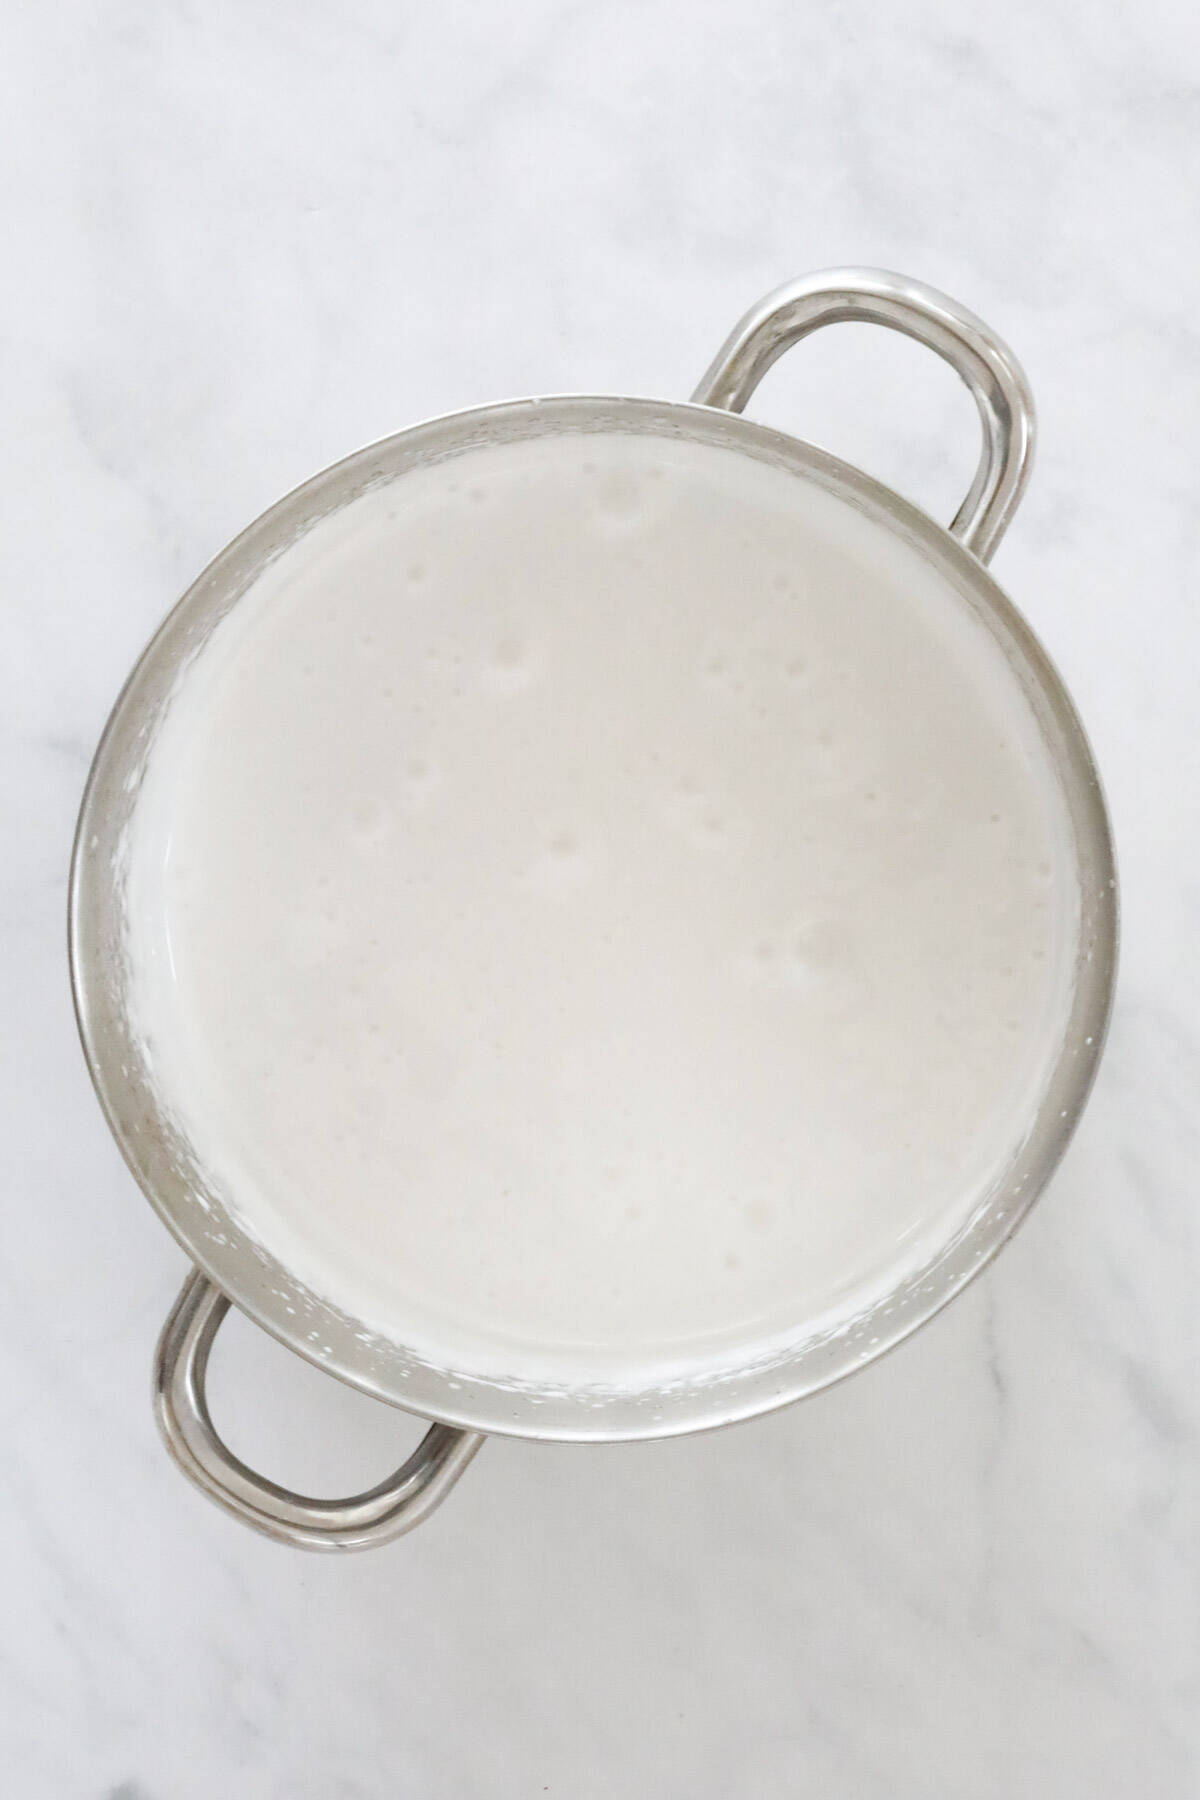
Place the saucepan over medium/high heat and stir continuously until boiling. Turn the heat down to a low simmer and simmer without stirring for 10 minutes.
Remove the saucepan from the heat and cool.
Pour the cooled liquid into a large mixing bowl (or stand-mixer) and beat until very thick and glossy.
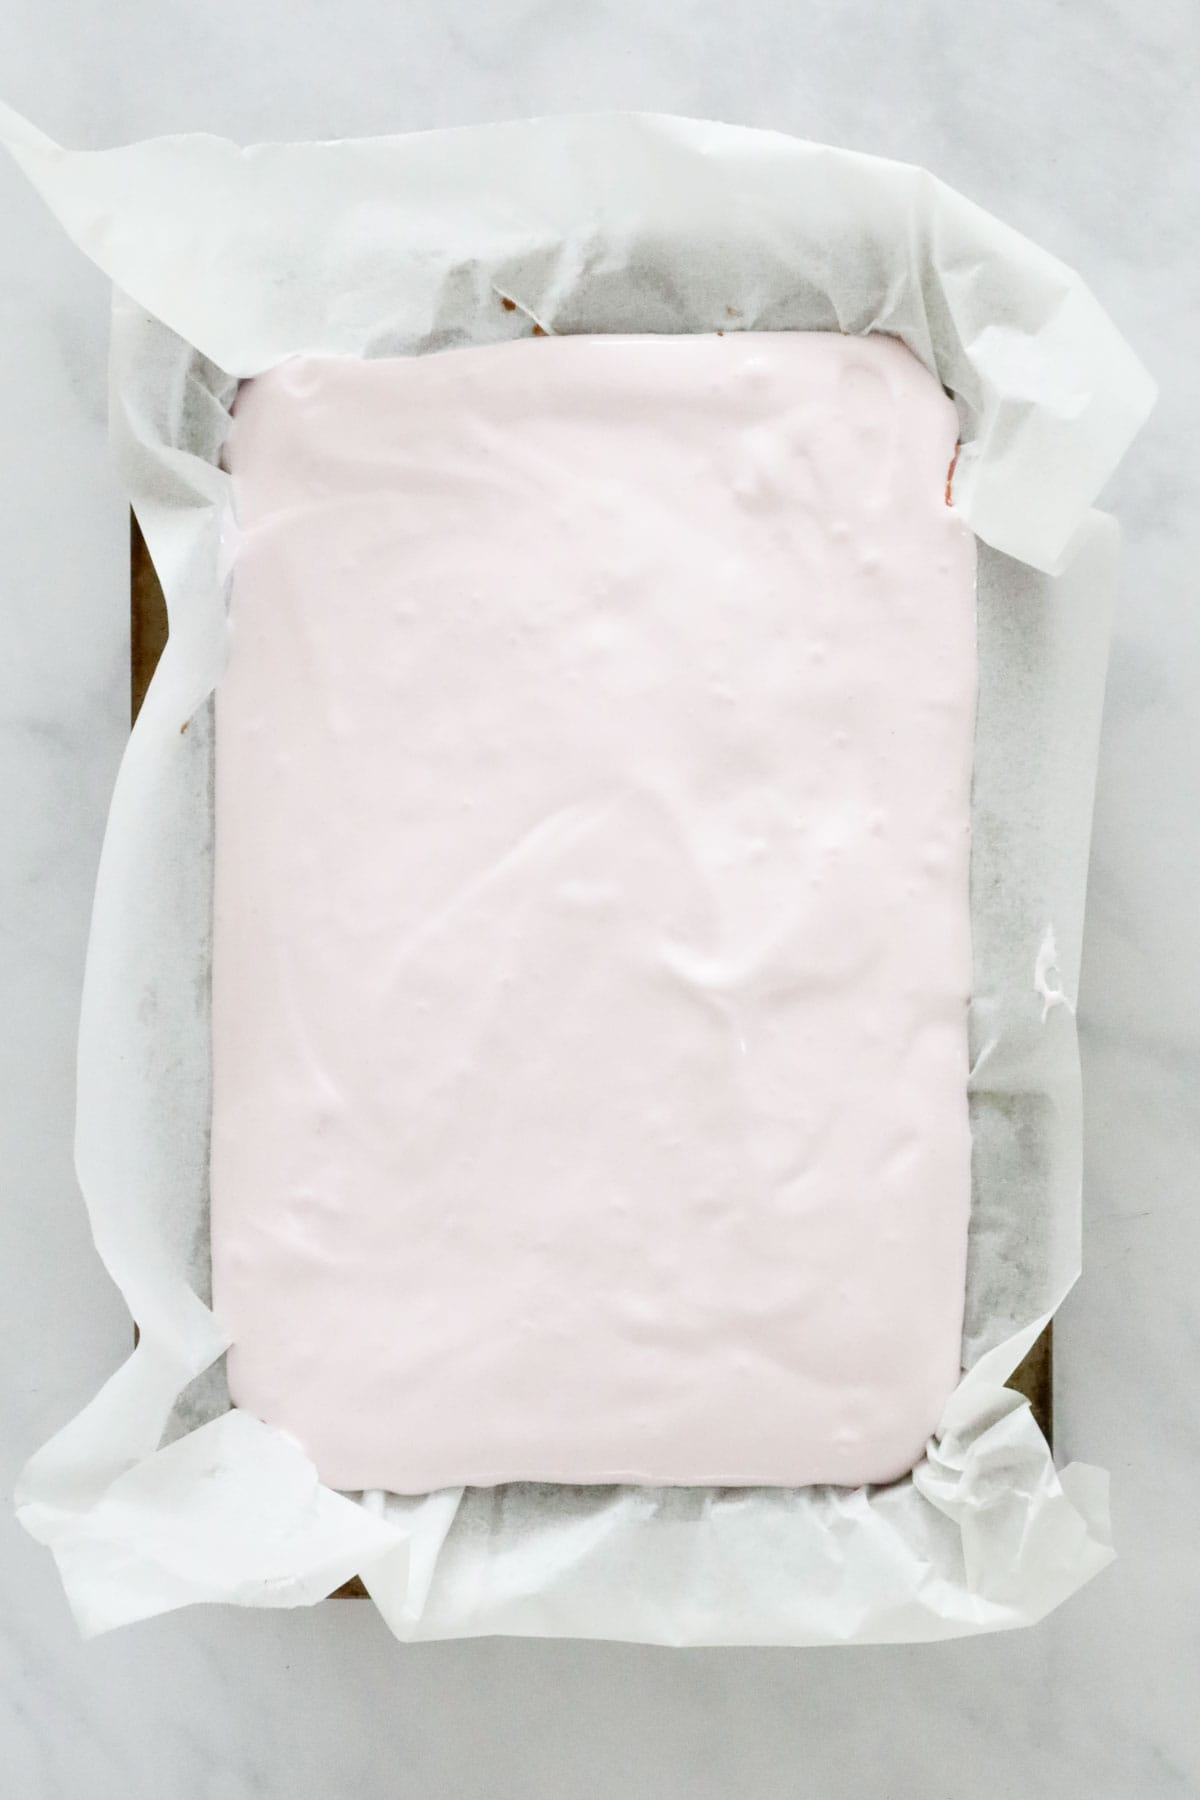
Add a drop of pink food colouring and beat until the colour is evenly dispersed.

Step 4 - Spread Marshmallow Over The Base
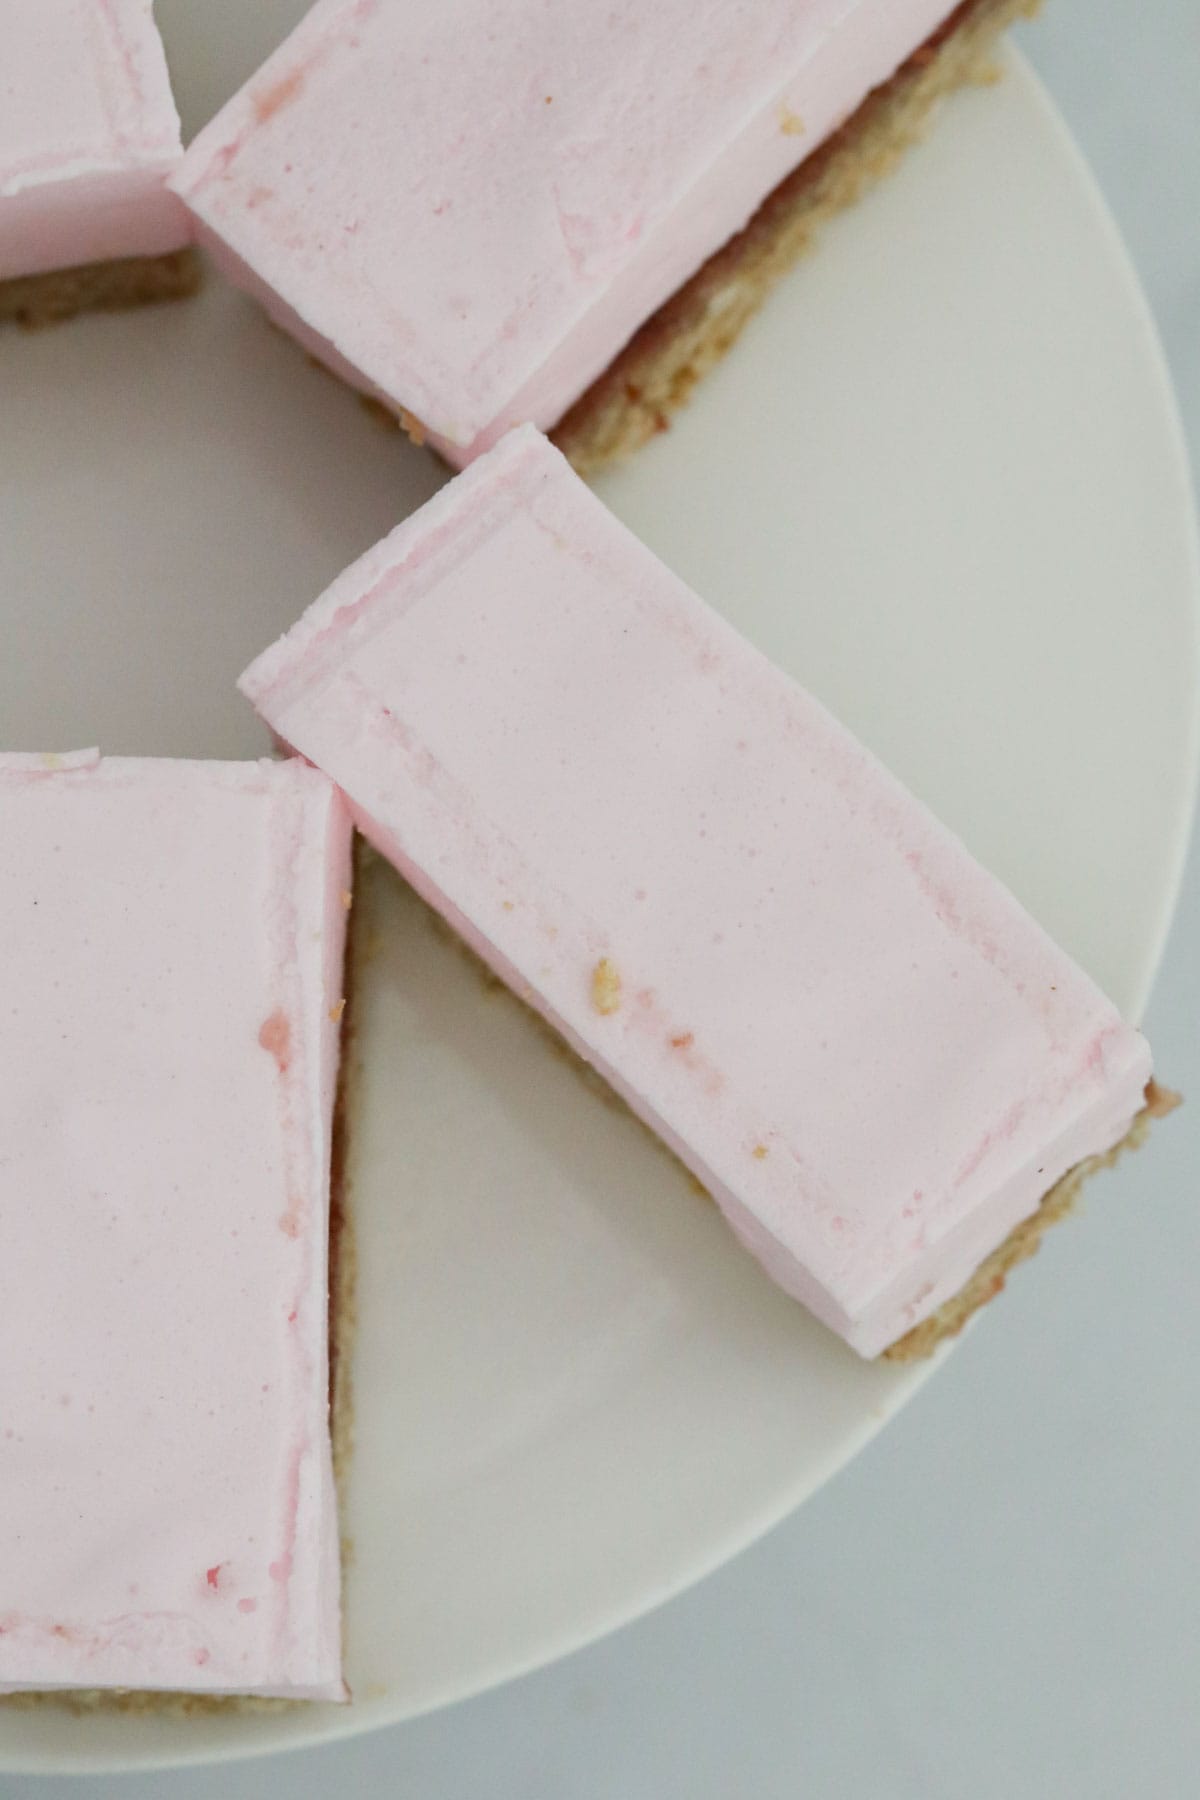
Spread the mixture over the cooled base and chill in the fridge until set.
Once set, cut into pieces.
Expert Tips
- Use a stand-mixer or electric beaters to whisk the marshmallow - using a balloon whisk and whisking by hand is not recommended as you really need to whisk for quite a while!
- Let the mixture cool before beginning to whisk - this will make it easier and quicker to beat the marshmallow until thick and glossy.
- Don't stir the sugar mixture once it has boiled - otherwise the syrup can crystallise.
- The jam layer is optional - but I highly recommend it!
- Use fresh Weet-Bix - for the crunchiest slice!
- Storage - store marshmallow Weet-Bix slice in an airtight container in the fridge for up to 5 days.
FAQs
No, I do not recommend freezing marshmallow Weet-Bix slice.
Yes, you can over mix marshmallow, which can result in it not spreading as easily over the base of the slice. Mix just until it becomes sticky, thick and glossy!
Related Recipes
My family cannot get enough of anything 'marshmallow', so if your family is the same, here are some of our other favourite marshmallow bakes:


WANT EVEN MORE DELICIOUS RECIPES? Subscribe to my newsletter or follow along on Facebook or Instagram. And if you love baking, then please come and join my Facebook cooking club group or subscribe to my YouTube channel.

Marshmallow Weet-Bix Slice
Ingredients
For The Base
- 60 g Weet-Bix approx 4
- 150 g (1 cup) self raising flour
- 80 g (1 cup) desiccated coconut
- 110 g (½ cup) brown sugar
- 150 g butter melted
For The Topping
- 3 tbs raspberry jam
- 330 g (1 ½ cups) caster sugar
- 375 g (1 ¼ cups) water
- 1 tbs gelatine powder
- 1 drop pink food colouring
Instructions
- Preheat the oven to 180 degrees celsius (fan forced). Grease and line an 18cm x 28cm slice tin and set aside.
- Finely crush the Weet-Bix and place into a bowl along with the self raising flour, coconut, brown sugar and melted butter. Mix until well combined. If using a Thermomix: crush the Weet-Bix for 8 seconds, Speed 6. Set aside. Melt the butter for 3 minutes, 80 degrees, Speed 2 (or until melted). Add the crushed Weet-Bix, self raising flour, coconut, brown sugar and mix for 5 seconds, Speed 5. Scrape down the sides of the bowl and repeat until well combined.
- Press the mixture firmly into the base of the prepared slice tin. Bake for 15 minutes and then set aside to cool.
- Spread the raspberry jam over the top of the cooled base.
- To make the marshmallow, place the caster sugar, water and gelatine powder into a large saucepan or pot. Mix until dissolved.
- Place the saucepan over medium/high heat. Stir continuously until boiling.
- Turn the heat down to a low simmer and leave for 10 minutes - do not stir the mixture.
- Remove the saucepan from the heat and let it cool for 10 minutes.
- Pour the liquid into a large mixing bowl (or stand-mixer) and beat for 5-10 minutes or until glossy, very thick and sticky.
- Add 1 drop of pink food colouring and beat until the colour is evenly dispersed.
- Spread the mixture over the cooled base and chill in the fridge for 1 hour or until set. Cut into pieces.
Notes
- Use a stand-mixer or electric beaters to whisk the marshmallow - using a balloon whisk and whisking by hand is not recommended as you need to whisk for quite a while!
- Let the mixture cool before beginning to whisk - this will make it easier and quicker to beat the marshmallow until thick.
- Don't stir the sugar mixture once it has boiled - otherwise the syrup can crystallise.
- The jam layer is optional - but I highly recommend it!
- Use fresh Weet-Bix - for the crunchiest slice!
- Storage - store in an airtight container in the fridge for up to 5 days. This recipe is not suitable to freeze.


Denice says
I have brought at market a chocolate Weet bix slice with no jam in the middle then marshmallow on top. It's so yummy. Could you put that in your recipes
Lucy says
Sure!!