

Melting chocolate in the microwave sounds simple, until you've stood over a bowl of seized, grainy chocolate wondering where it all went wrong.
I've melted more chocolate than I can count for slices like my Caramello Slice and Malteser Slice, and this is the exact method I use every single time, no double boiler, no drama.
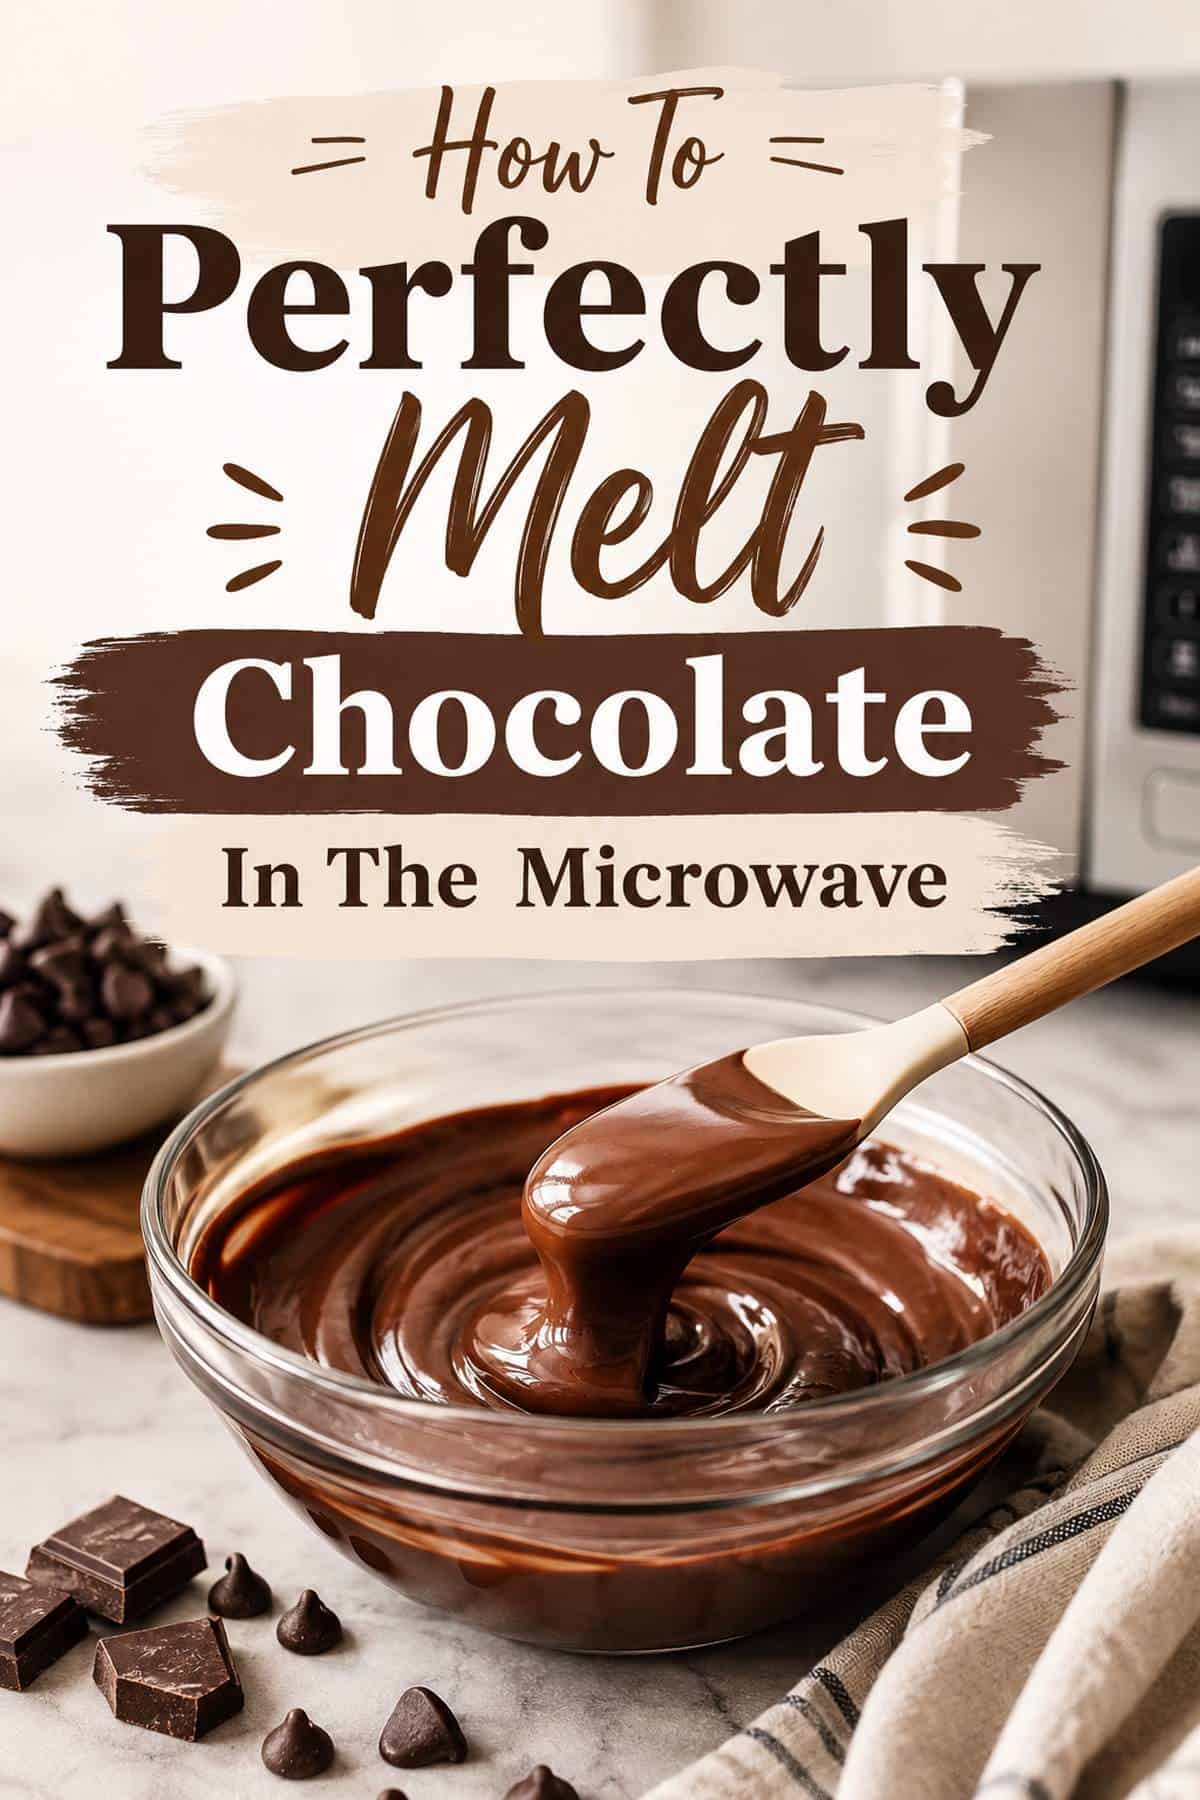
A Quick Look At This Guide
✅ Guide: How To Perfectly Melt Chocolate In The Microwave
🕒 Time Needed: 2-3 minutes
🔥 Difficulty: Beginner, completely foolproof once you know the trick
🍫 Works With: milk, dark, white and compound chocolate
📖 Best For: slice toppings, dipping, drizzling, truffles and ganache
⭐ Why You'll Love It: no double boiler, barely any washing up, and it works every time if you stick to the power setting rule.
SUMMARIZE & SAVE THIS CONTENT ON
This was actually my very first Baking 101 post back in 2015, and a decade (and probably a hundred kilos of chocolate) later, it's still the exact method I use.
If you love easy no-bake treats, check out my Licorice Allsort Slice, Oreo Truffles or Coco Pop Mars Bar Slice next, they all use this exact technique.
Jump to:
Why You're Going To Love This Method
- No double boiler needed - just one bowl, a microwave and a dry spoon.
- Zero risk of water getting into your chocolate, which is the number one way people ruin a batch on the stovetop.
- Faster than a double boiler, most batches are done in under 3 minutes.
- Works with milk, dark, white and compound chocolate, once you know how each one behaves.
What You Need To Melt Chocolate
Nothing fancy, and you probably already have it all sitting in the kitchen.
- A narrow, deep microwave-safe bowl - the chocolate melts more evenly when it's squished together rather than spread out flat in a wide bowl.
- A completely dry spoon - this one matters more than people think. Even a drop of water left over from washing up will make your chocolate seize.
- Chocolate, broken or chopped into small, even pieces so it melts at the same rate.
How To Melt Chocolate In The Microwave
Six easy steps, and about 2-3 minutes total.
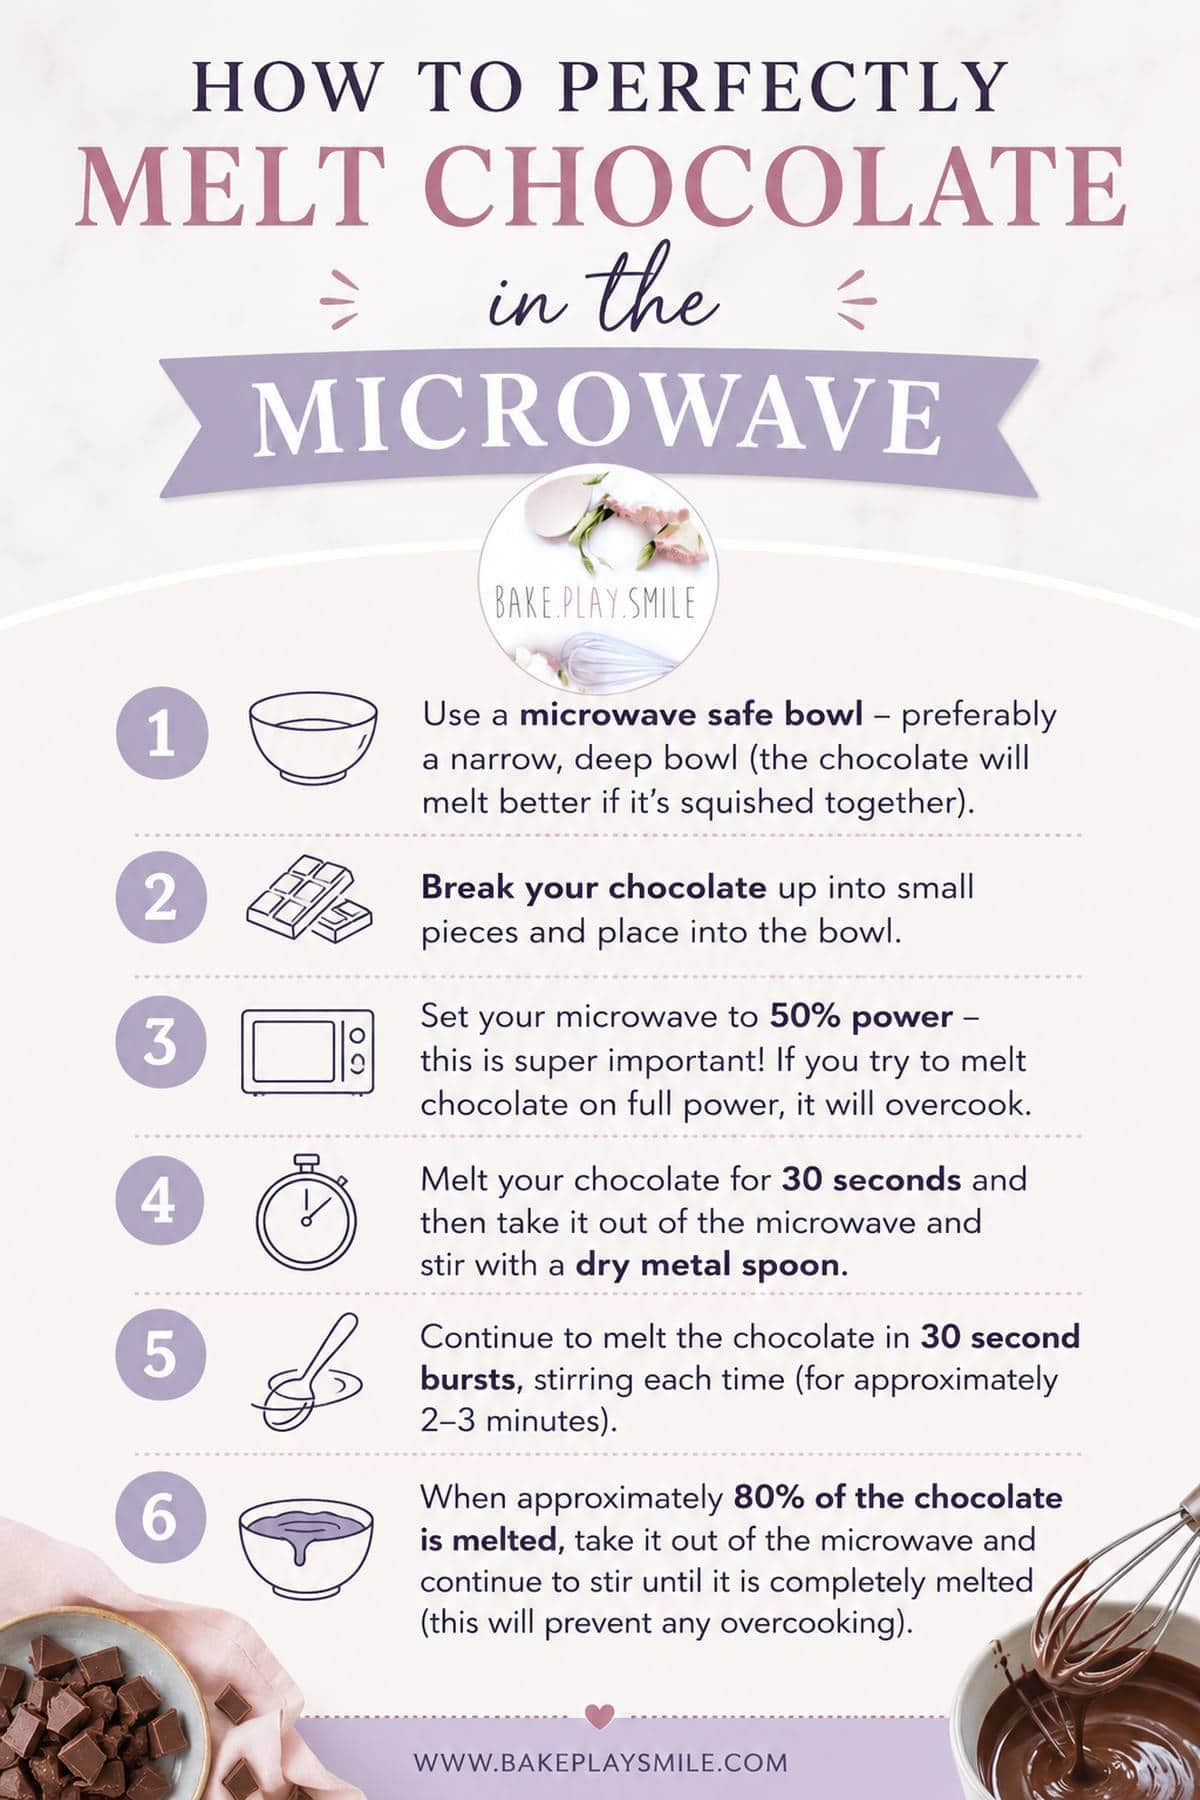
- Step 1: Break it up. Break or chop your chocolate into small, even pieces and place into a narrow, deep microwave-safe bowl.
- Step 2: Set the power to 50%. This is the step everyone skips, and it's the whole reason chocolate overcooks. Full power scorches it before it's even properly melted.
- Step 3: Microwave in 30 second bursts. Heat for 30 seconds, then take it out and stir with your dry spoon. Repeat, stirring every time, this is what melts it evenly instead of burning the edges.
- Step 4: Stop at 80% melted. Once you're down to just a handful of lumps, take it out of the microwave for good. Keep stirring, the residual heat in the bowl and chocolate will finish the job without overcooking it.
Melting Different Types Of Chocolate
Not all chocolate behaves the same in the microwave, so here's what to expect from each:
- Dark chocolate has the highest cocoa content and the most heat tolerance, so it's the most forgiving. Still stick to 50% power, though.
- Milk chocolate melts fastest of the three thanks to the added milk solids, but it also scorches quicker, so check it every burst.
- White chocolate is the trickiest by far. It has no cocoa solids to speak of and is extremely heat sensitive, so drop to 15-20 second bursts once it starts to soften.
- If you're melting chocolate to pour over a slice, stir through 1-2 tablespoons of coconut oil or copha before melting. It spreads more easily and cuts into cleaner pieces once set, I use this trick on almost every slice I make.
Troubleshooting Tips
- Why chocolate seizes: it's almost always water. Even a splash from a damp spoon or a wet bowl causes the sugar and cocoa particles to clump together into a grainy, unworkable paste instead of staying smooth.
- If your chocolate does seize, don't tip it straight in the bin. Stir through a teaspoon of neutral oil, melted butter or copha, it doesn't always save it, but the extra fat can sometimes bring it back into a workable, glossy consistency.
- Every microwave is different. Mine runs hot, so I've learned to pull my bowl out a burst earlier than the timing above if I'm using a smaller amount of chocolate.
- Storage: melted and set chocolate keeps in an airtight container at room temperature for a few weeks, or in the fridge if your kitchen runs warm.
- Once you're done, you must, must, MUST lick the spoon. Non-negotiable.
Melting Chocolate FAQs
It's almost always water. A wet spoon, a damp bowl or even steam from a covered dish is enough to make chocolate go from smooth to grainy in seconds. Always use a completely dry bowl and spoon and never cover the bowl while melting.
You can, but I wouldn't. Full power heats the outside of the chocolate faster than the inside can catch up, so you end up with scorched, seized chocolate before it's properly melted. 50% power takes a little longer but gives a far more reliable result.
Yes, the method is exactly the same. Chocolate chips and melts are actually a little easier since they're already broken into small, even pieces, so they melt more evenly than a block you've had to chop up yourself.
No. This method gives you smooth, pourable melted chocolate that's perfect for slices, drizzling and dipping, but it won't set with that glossy snap you get from properly tempered chocolate. For everyday baking, melted is all you need.
More Recipes That Use Melted Chocolate
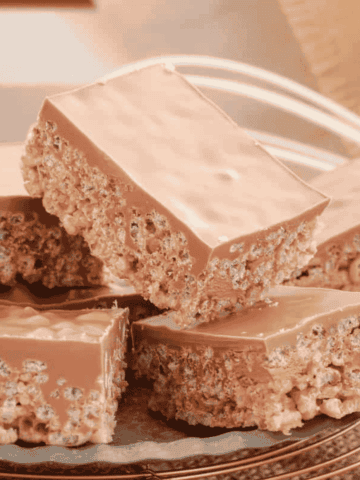
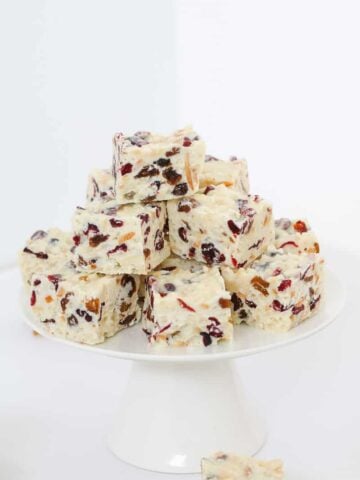
Now that you've mastered the method, here's where to put it to good use:


EssentiallyJess says
Awesome tips! I did mine in the cuisine companion the other day and that was so nice and easy. Didn't know about the copra for spreading though. I added a tablespoon of rice bran oil and it was fine, but set very quickly.
Bake Play Smile says
Ooh cool! I havent used rice bran oil before with chocolate! Yes I'm always a bit funny with copha, but coconut oil is such a great alternative!
Nicole@ The Builders Wife says
You make it sound so easy, will definitely have to try this now, thank you.
Bake Play Smile says
Oh it definitely is.. well with a few little tricks, that is!
Mumma McD says
Ooh those photos have me salivating... it's only 8am!!!
These are great tips, I don't know how many times I've ruined the chocolate I've been trying to melt! I always go too hot and too fast I think.
Bake Play Smile says
Oh absolutely! Me too! We live and learn, right!?
Dannielle@zamamabakes says
Awesome post Luce!
I forget the 50% rule sometimes like last night, my dark chocolate melted perfectly but not the White, I'm thinking maybe high temps and more cocoa work better together, any thoughts?
Have a gorgeous day xx
Bake Play Smile says
Thanks lovely lady xx
Bake Play Smile says
Ooh and yes I usually find that the darker the easier it melts (remembering that white chocolate isn't technically chocolate as it has no cocoa) 🙂
Sammie @ The Annoyed Thyroid says
I never knew about the 50% power or the trick about the coconut oil! That's genius! I always melt my chocolate in the microwave because I'm way too lazy to slave over the stove! Can't wait for the next instalment of Kitchen 101!
Bake Play Smile says
Oh it's great! Yes I don't like using a double boiler - it takes too long!