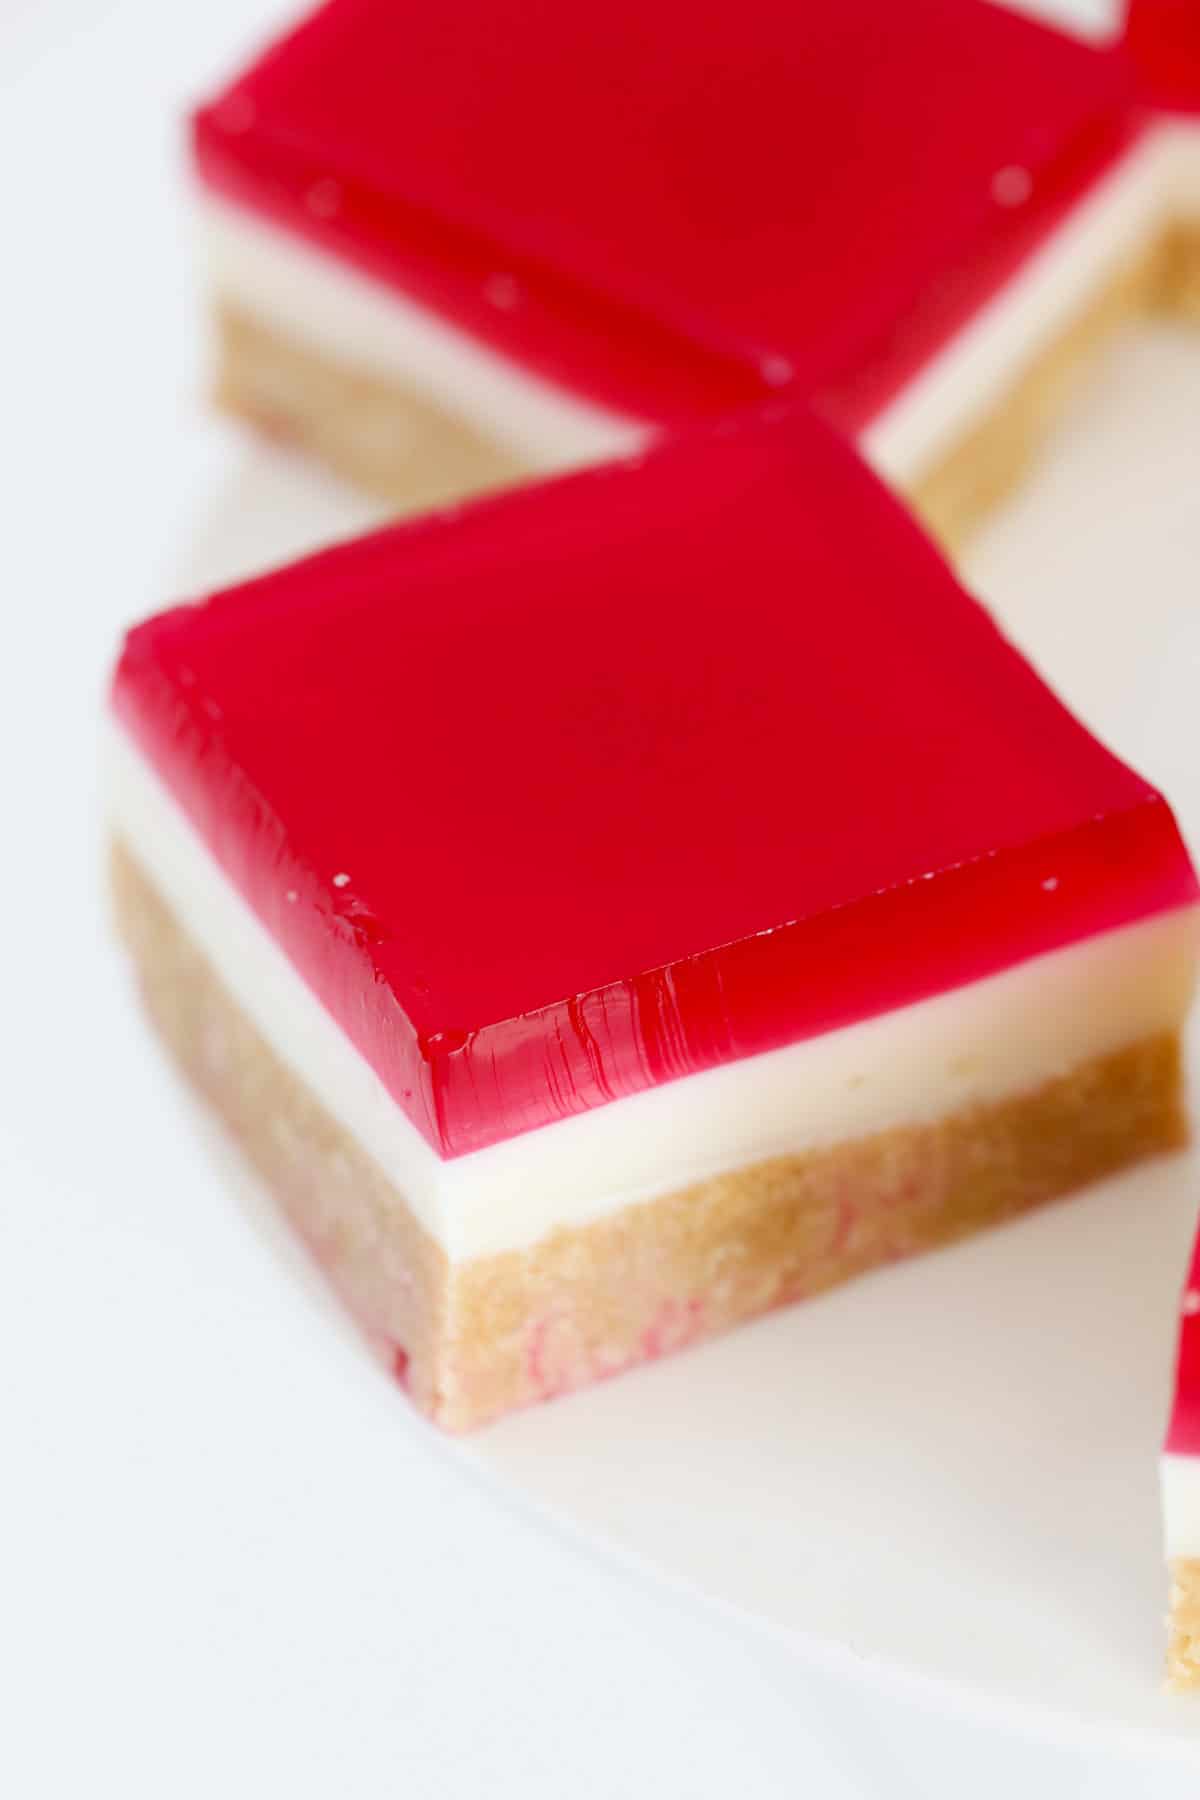
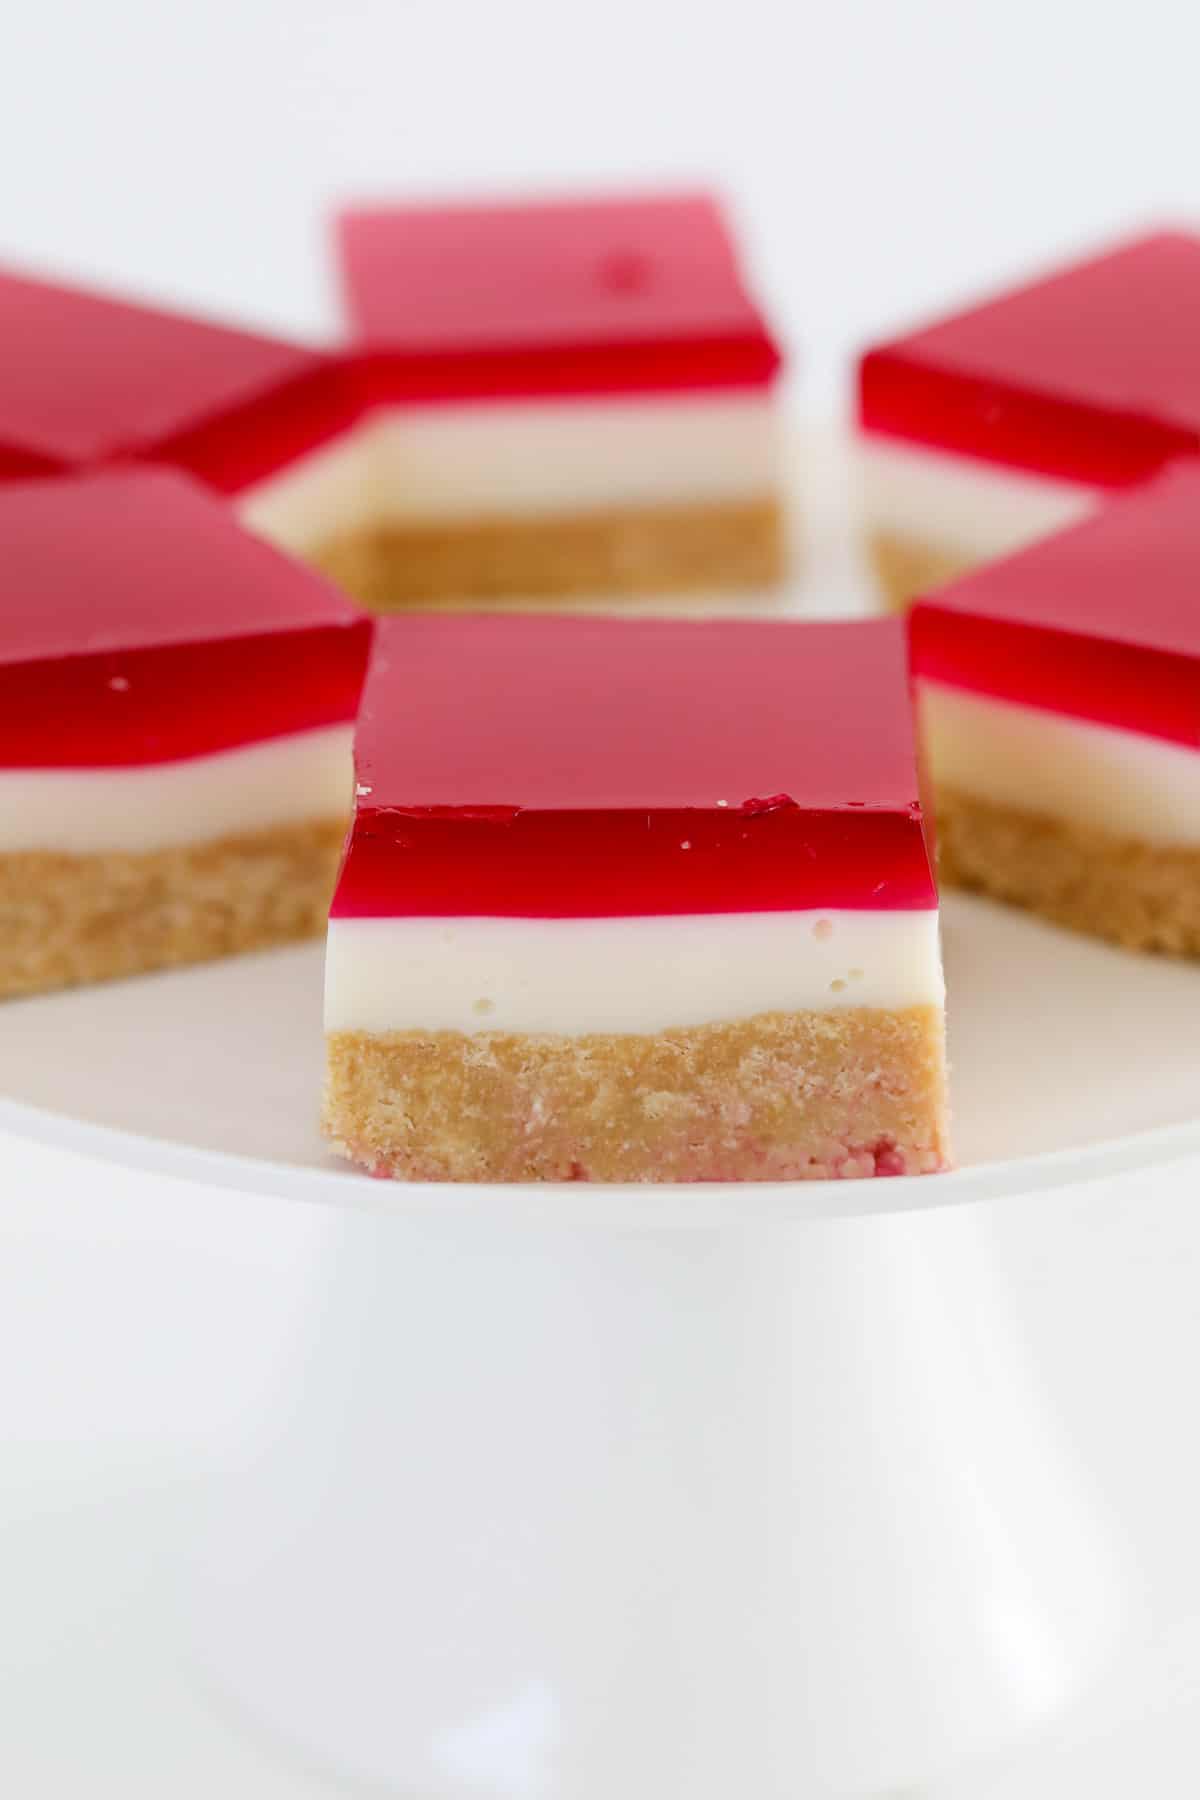
A classic triple layer Jelly Slice recipe made with a crushed biscuits base, a creamy sweetened condensed milk filling and a raspberry jelly topping... the perfect old fashioned slice!
A simple no-bake slice that uses just 7 ingredients and takes 15 minutes to prepare - perfect for birthday parties, morning tea or dessert.
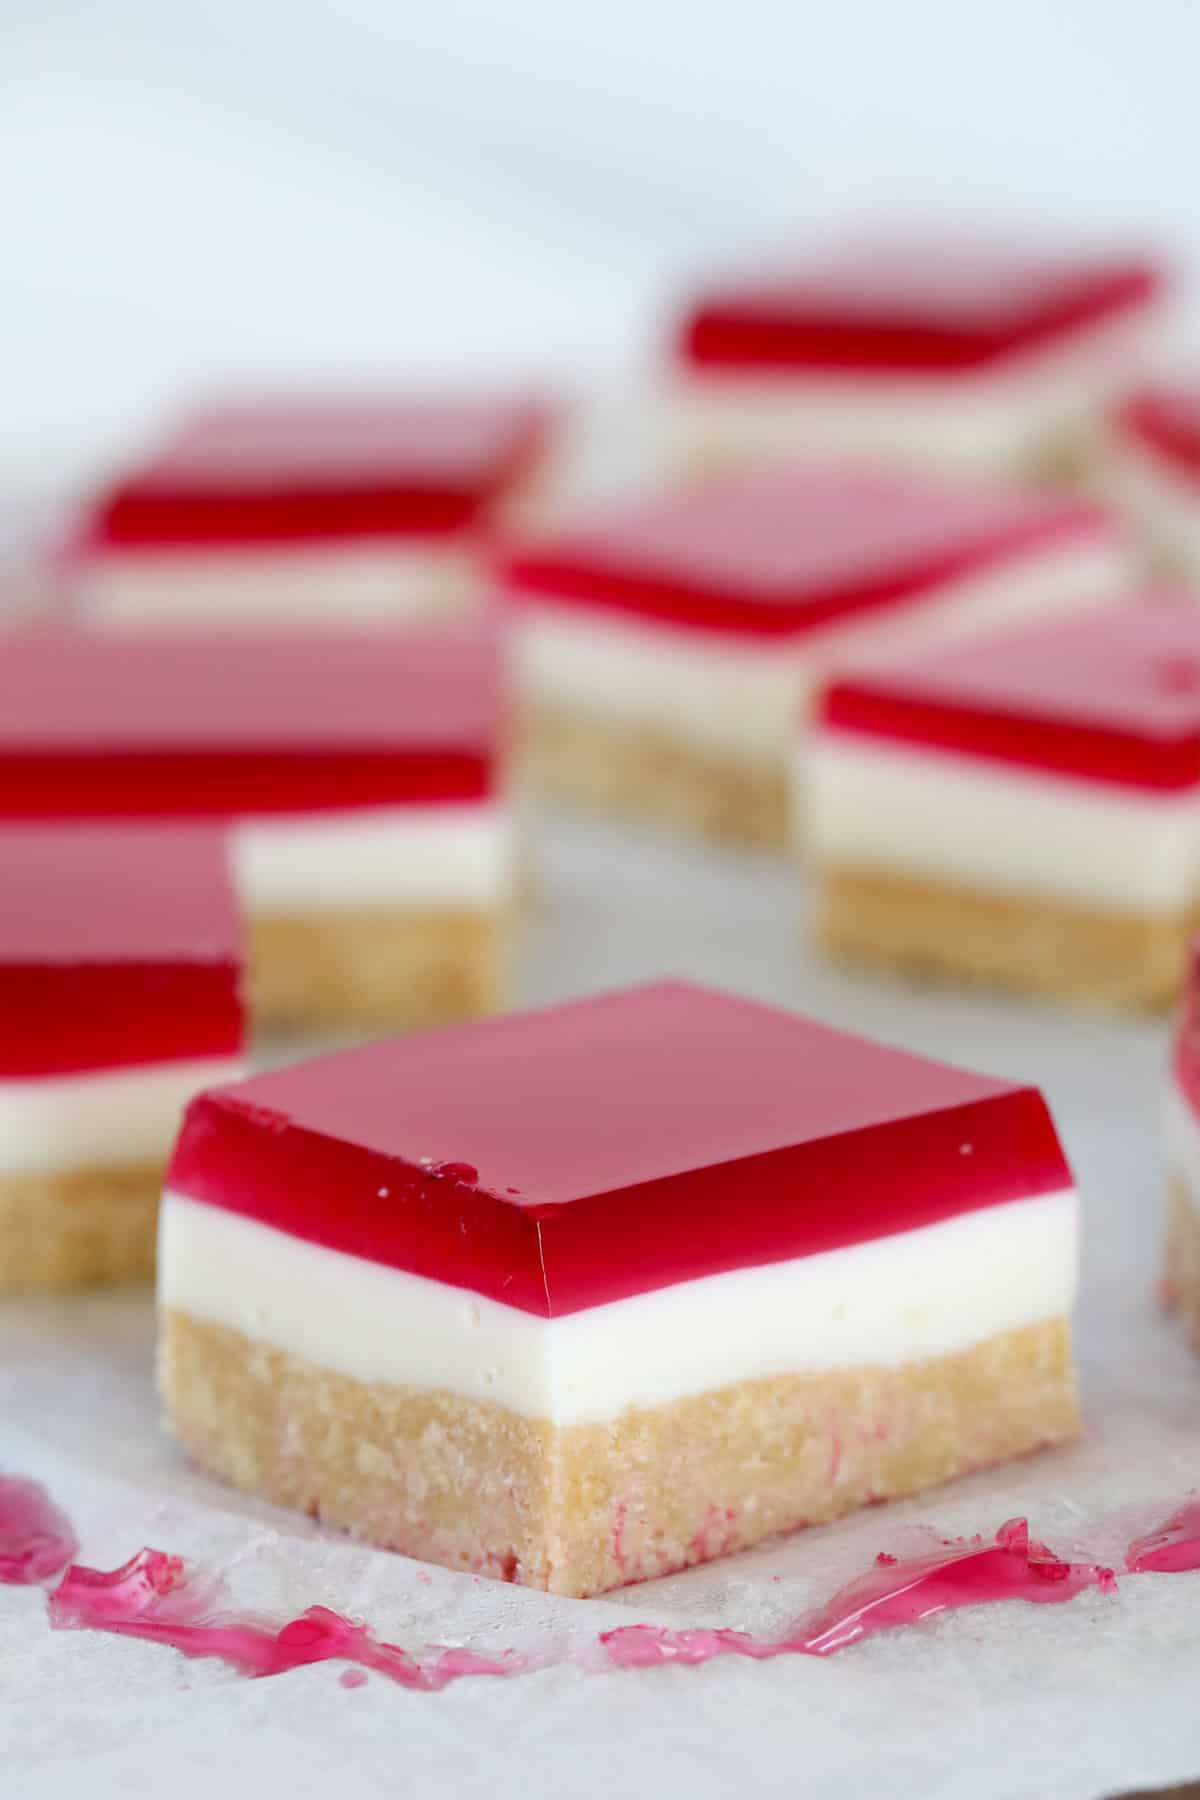
Jelly Slice is a classic all-time favourite Australian recipe.
It is light, sweet, creamy and completely delicious. Unlike rich and decadent slices where you only need a tiny piece, there's no need to limit yourself with this light and luscious slice.
A popular option in bakeries and cafes, this slice is usually served for morning or afternoon tea or at birthday parties!
Just like Chocolate Caramel Slice, Classic Peppermint Slice, Chocolate Coconut Slice and Clinkers Slice, Jelly Slice is easy to make and loved by kids and adults alike.
Table Of Contents
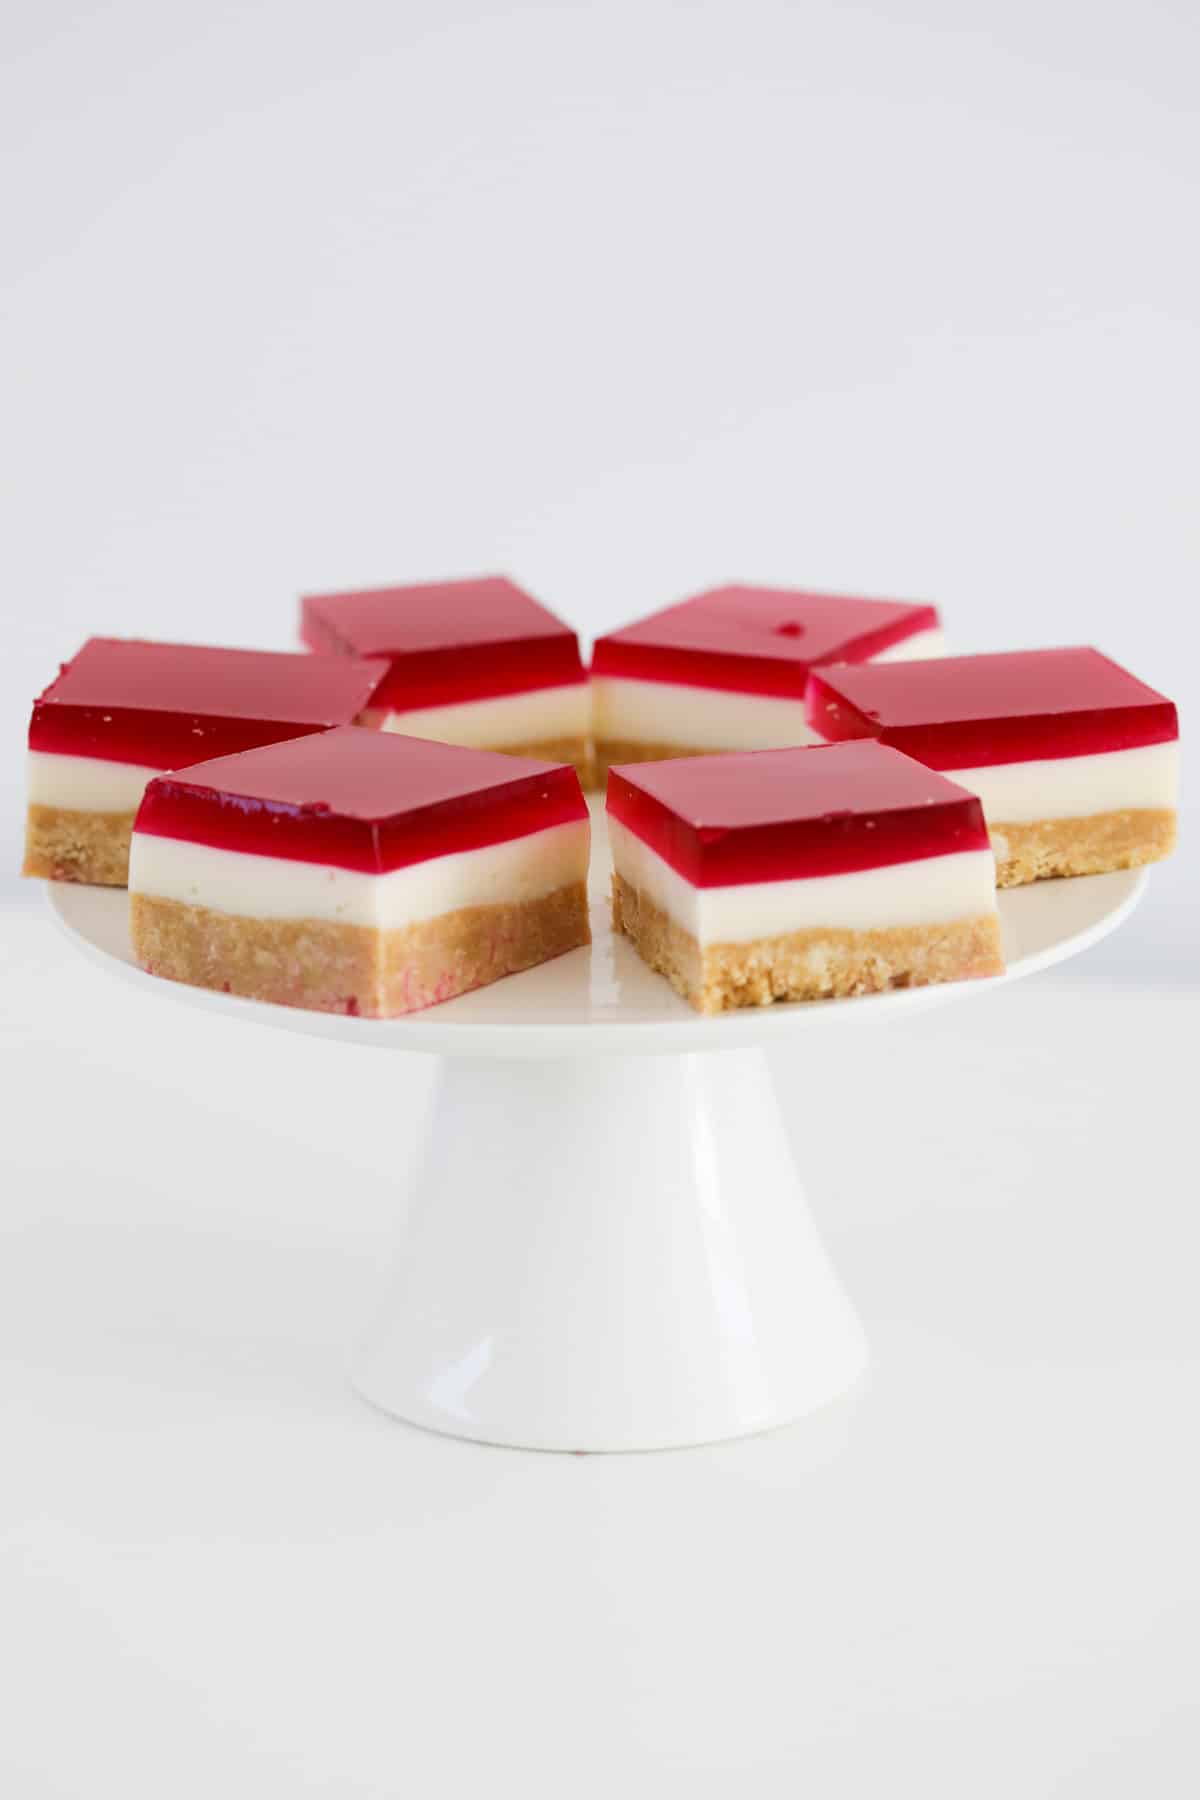
Why You're Going To Love This Recipe
What's not to love about Jelly Slice? It's just as popular today as it was when your grandma used to make it!
- No-bake - forget about turning the oven on! This triple layer slice requires absolutely NO cooking. Simply prepare the layers and chill.
- Impressive looking - while this slice may look fancy, it's actually incredibly easy to make. The hardest part is waiting for it to chill and set in the fridge...
- Quick & easy to prepare - it takes just 15 minutes of active preparation time to make each layer, however ensure you allow enough time for the cheesecake layer to set (approx 1 hr) before pouring over the jelly, and also for the jelly layer to set.
- Perfect for morning tea or parties - whether you're serving Jelly Slice at a high tea, morning tea with friends or a kids birthday party, it's sure to be the first to disappear.
- Thermomix & Conventional Instructions - this recipe can be made using a food processor, a rolling pin or a Thermomix for the biscuit base. You can use either a whisk, beaters or a Thermomix for the creamy filling layer. I've included both Thermomix and conventional instructions in the recipe card at the bottom of the post.
- Light and fresh in flavour - famous for it's light, creamy and sweet flavour, there's no reason not to cut yourself an extra big slice!
What You Need
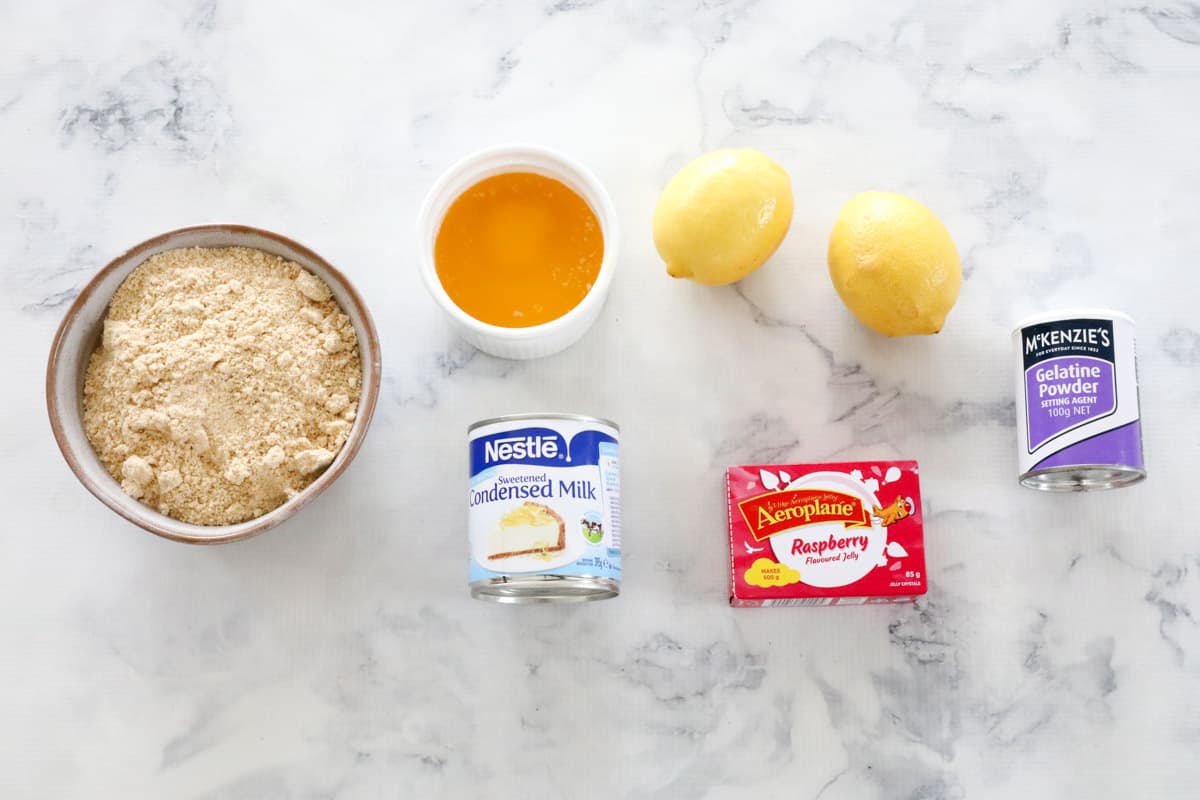
Jelly Slice is made using just 7 ingredients...
Note: Scroll to the recipe card at the bottom for the ingredients quantities and full detailed method.
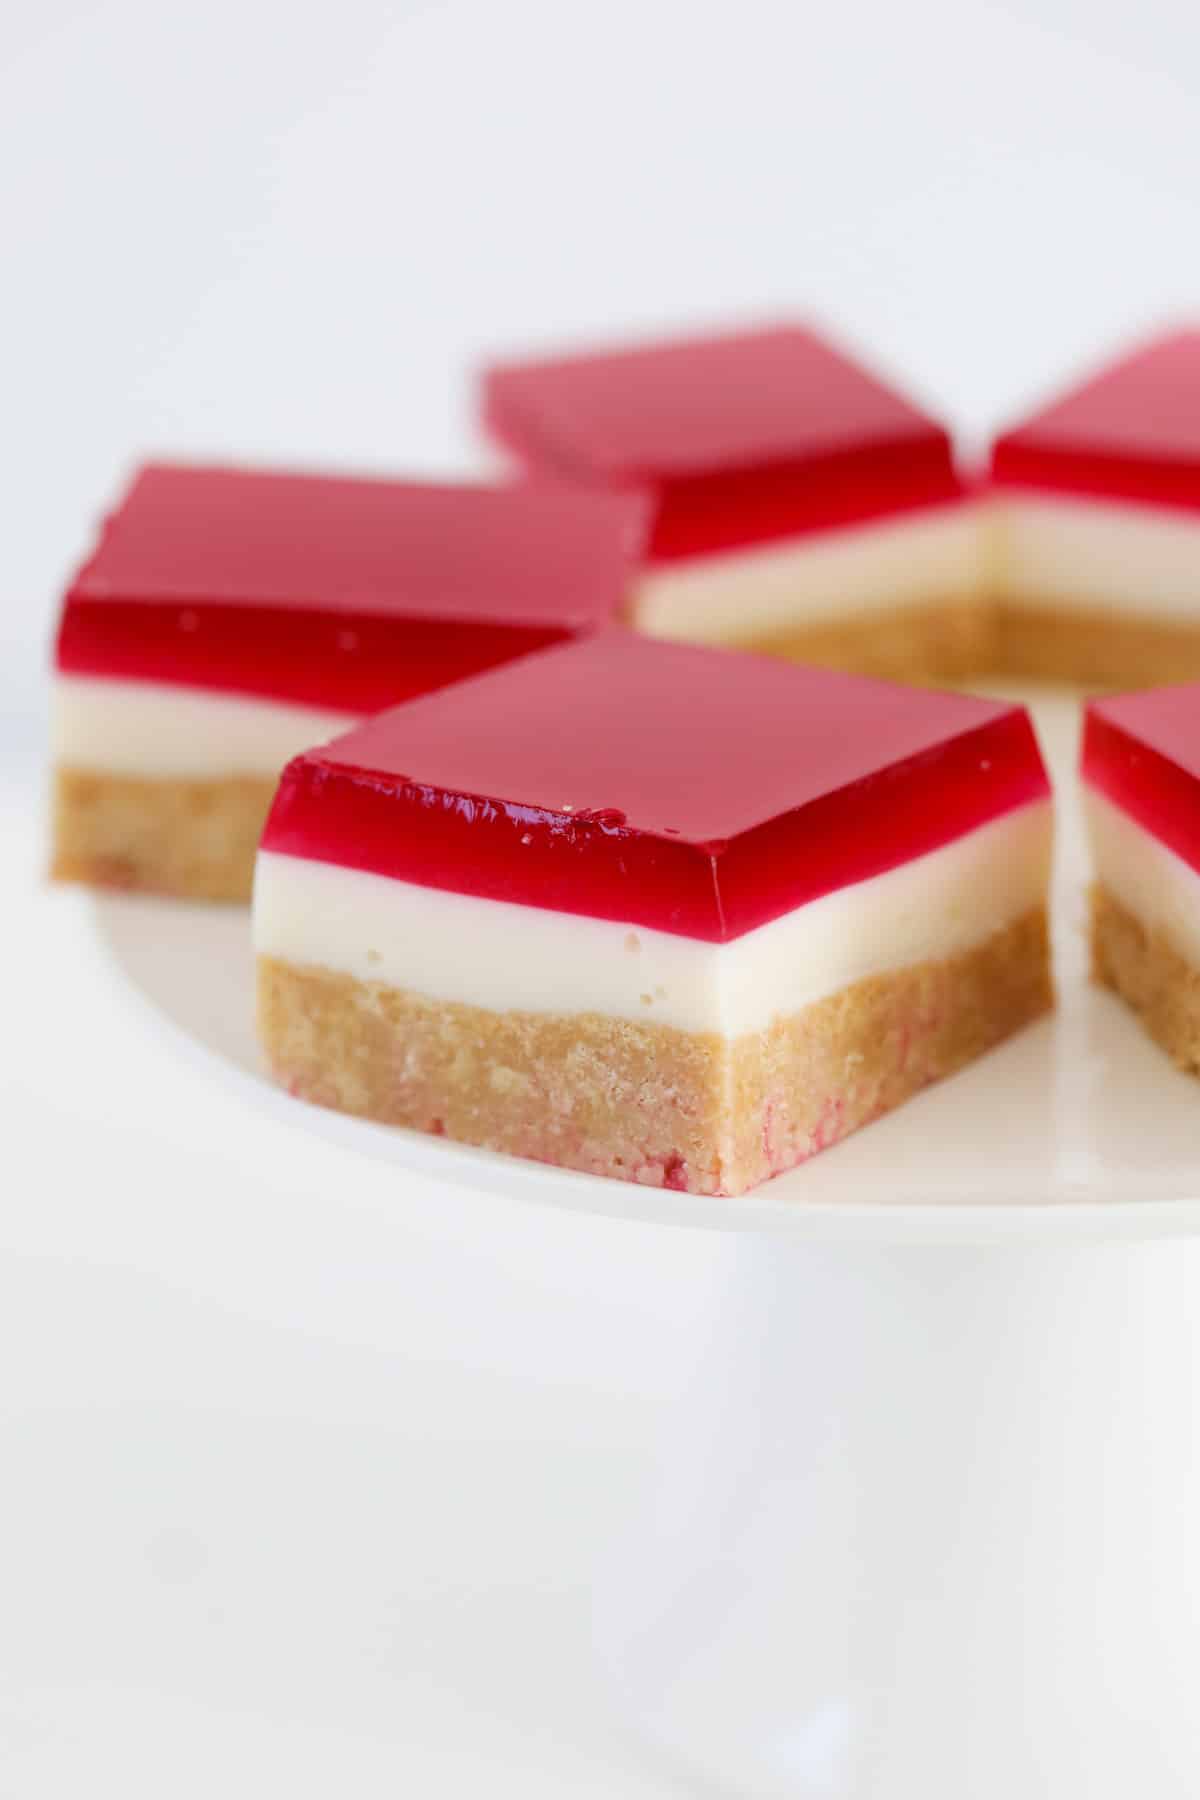
A classic jelly slice is made with 3 layers:
The Base
- Butter - you can use either salted or unsalted butter in this recipe. I generally use unsalted butter, but the choice is yours.
- Crushed biscuits - also known as cookies in the US. Use any plain, sweet biscuits (such as Arnott's Marie biscuits).
The Creamy Filling
- Sweetened condensed milk - I recommend using full fat sweetened condensed milk as it sets firmer and has a slightly richer flavour than skim or light sweetened condensed milk.
- Lemon juice - use either freshly squeezed or store-bought lemon juice. Adding lemon juice to sweetened condensed milk helps to thicken the milk without the need for heating and gives a fresh, creamy flavour.
- Dissolved gelatine powder - use powdered gelatine powder dissolved in boiling water. See my tips below for dissolving gelatine powder.
The Jelly Topping
- Jelly crystals & water - you can use any brand or flavour of jelly you like. Aeroplane jelly is a popular brand of jelly crystals in Australia. When mixed with a combination of boiling water and hot water, the crystals dissolve easily. Once chilled in the fridge, the liquid jelly on top of the slice will set firm.
Step By Step Instructions
Aeroplane Jelly Slice requires a little bit of patience for the layers to set, but it only takes 15 minutes of active preparation time!
Note: Scroll to the recipe card at the bottom for the ingredients quantities and full detailed method.
Step 1 - Make The Jelly
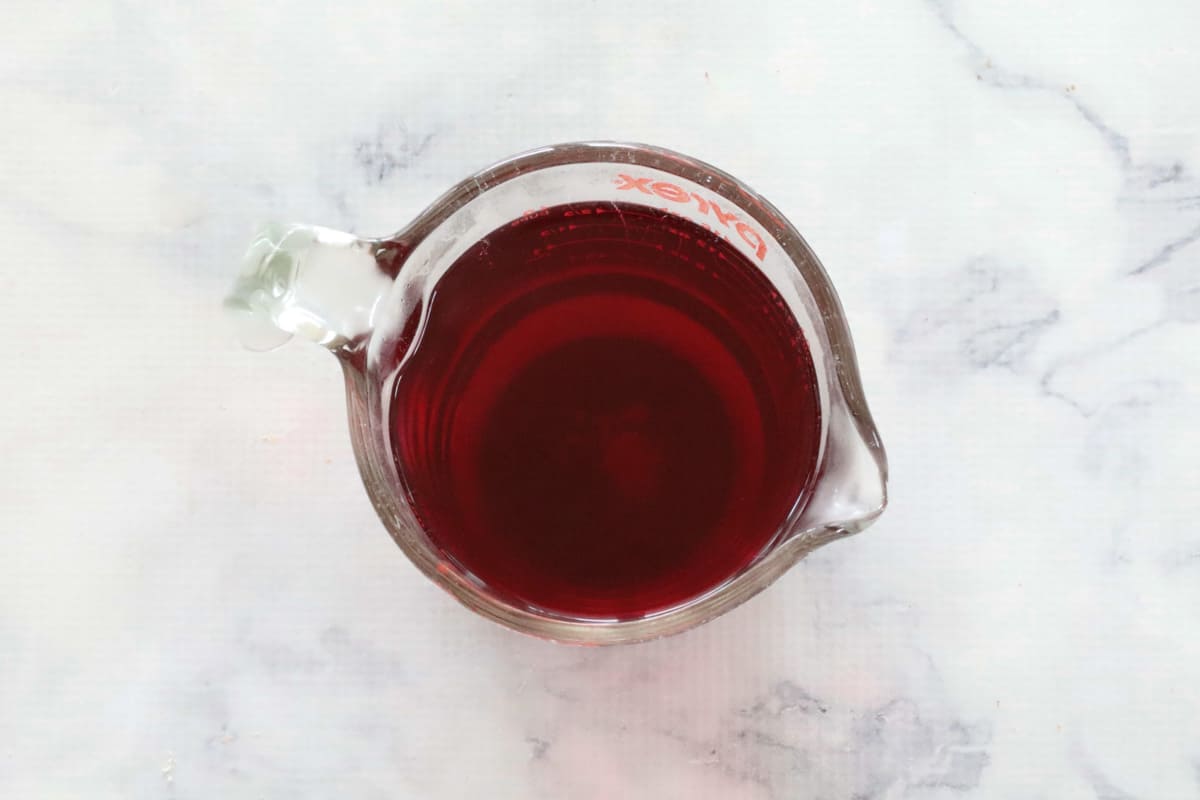
In a bowl or jug, prepare the raspberry jelly as per the packet instructions and leave at room temperature to cool slightly while you prepare the base and filling.
Note: Do not place the jelly into the fridge at this stage as it will set.
Step 2 - Mix The Crushed Biscuits & Melted Butter
Use a food processor, a rolling pin or Thermomix to crush the plain sweet biscuits.
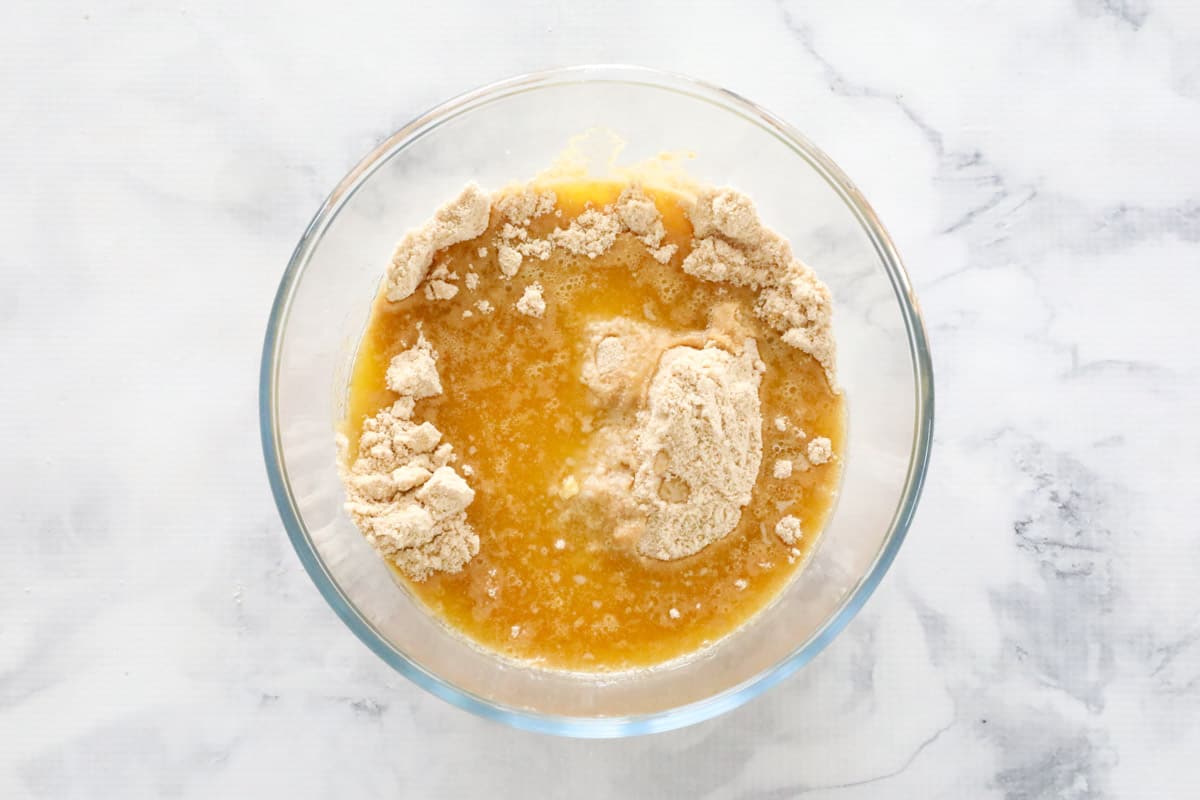
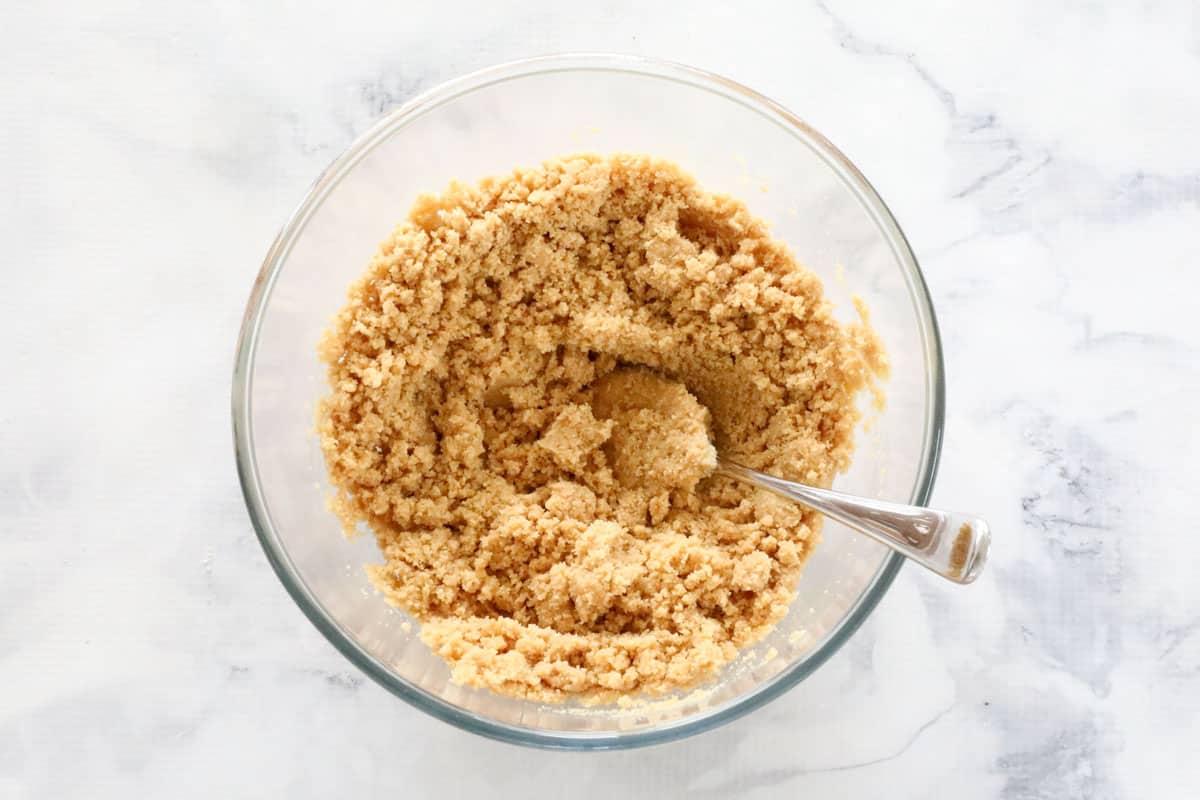
Combine the melted butter with the crushed biscuits and press very firmly into an 18cm x 28cm rectangular baking tray lined with greaseproof paper.
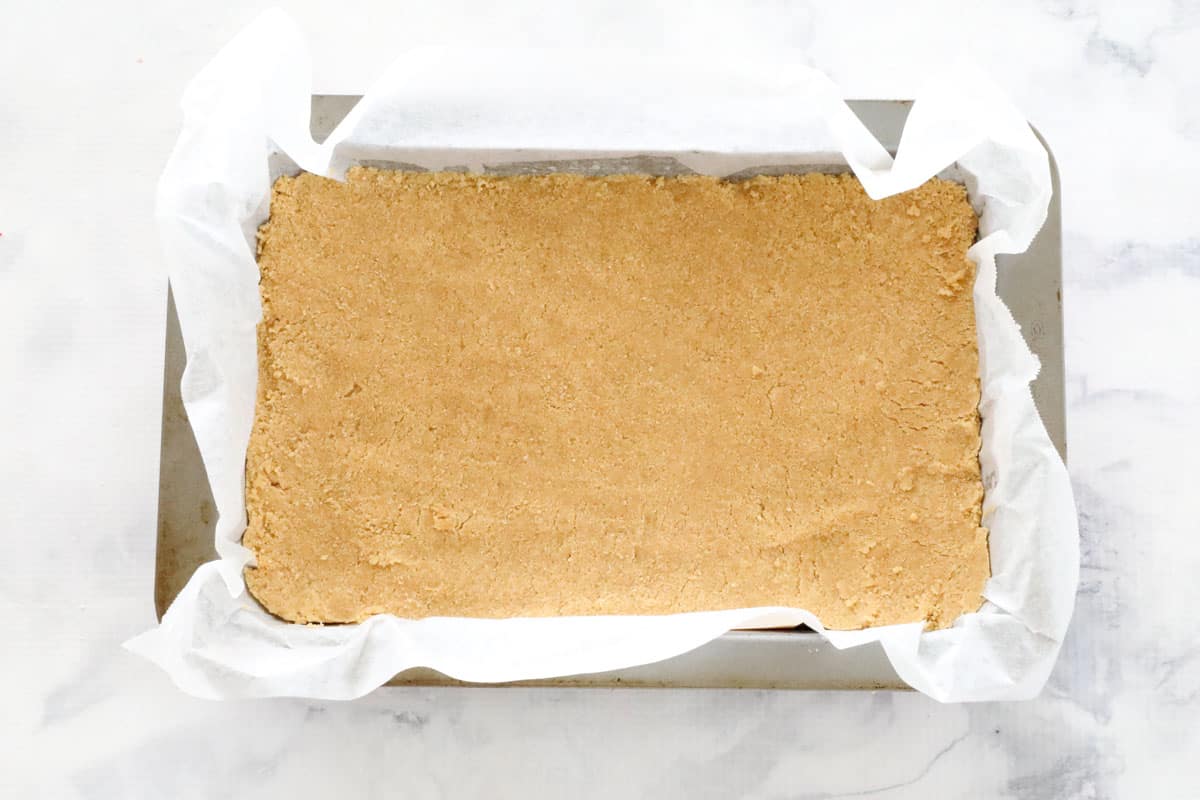
Place into the fridge while you prepare the filling.
Step 3 - Prepare The Creamy Filling
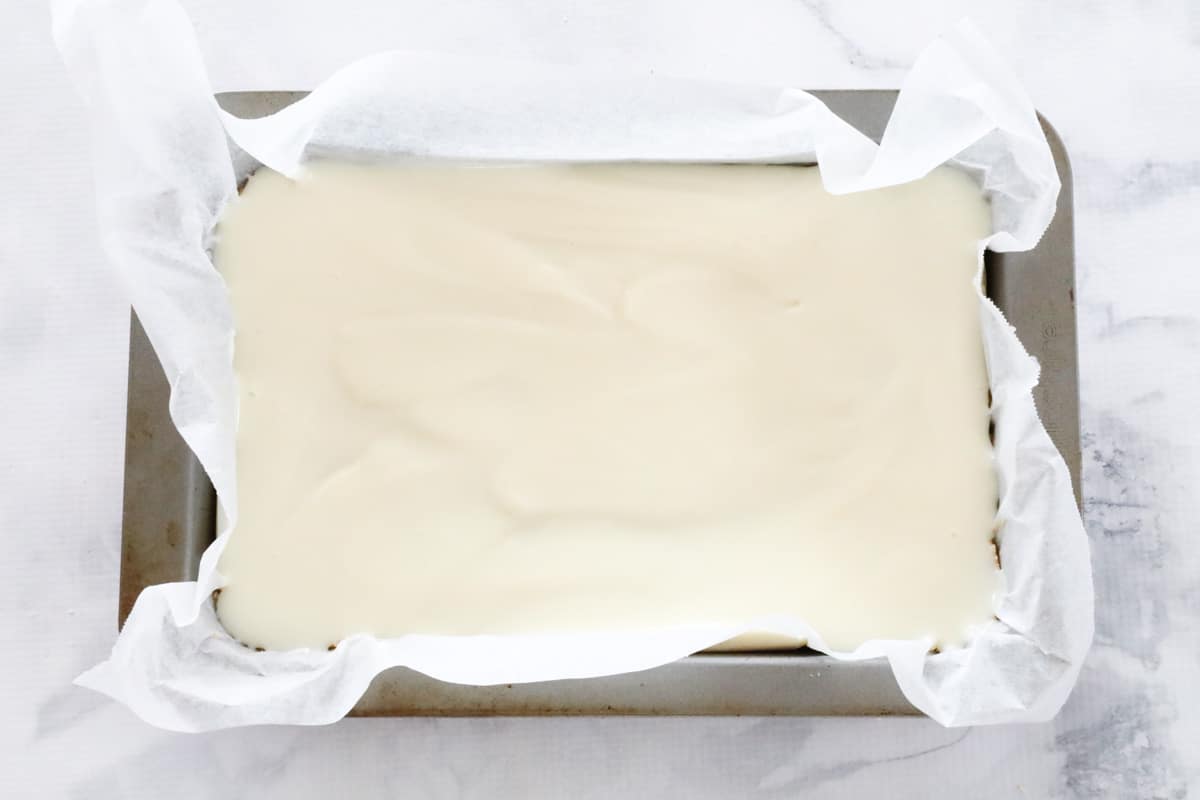
In a large bowl, mix the sweetened condensed milk, lemon juice and dissolved gelatine (see tips below for dissolving gelatine) with a whisk until slightly thickened Alternatively you can do this step in a Thermomix.
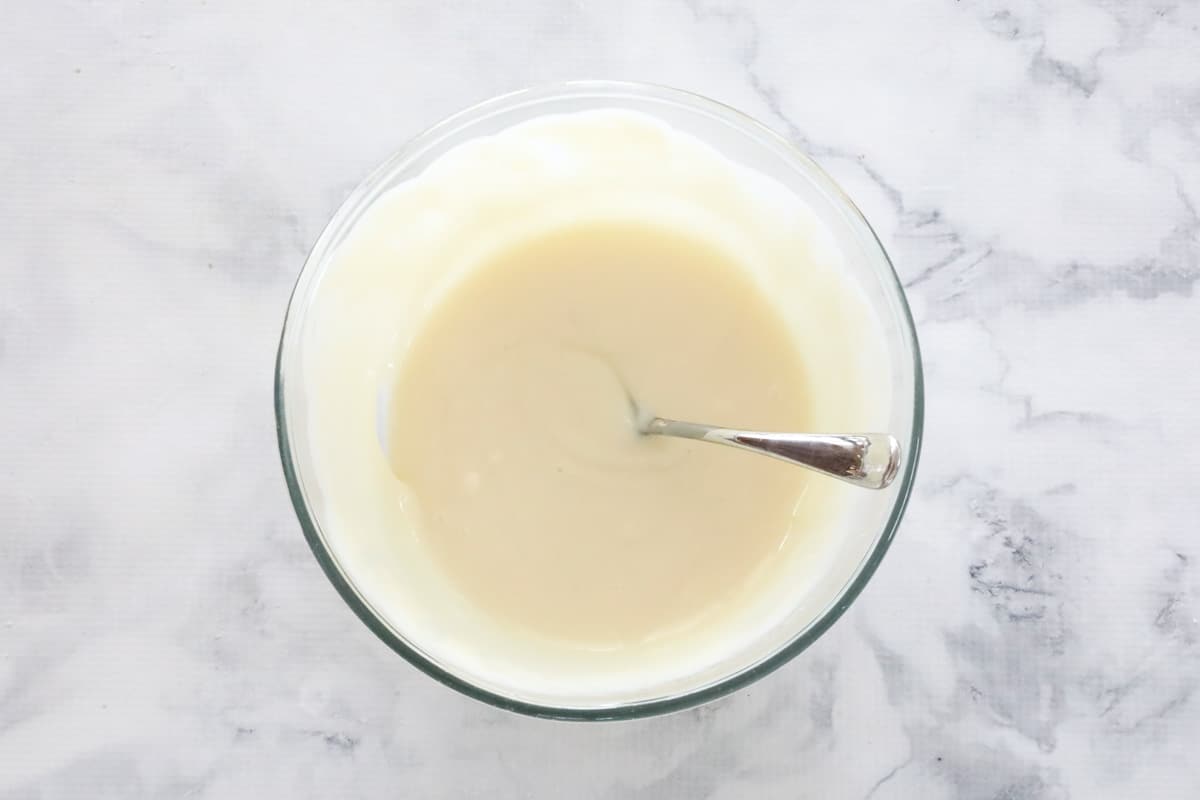
Pour the mixture over the crushed biscuit layer and place back into the refrigerator to set (approximately 1 hour).
Step 3 - The Jelly Layer
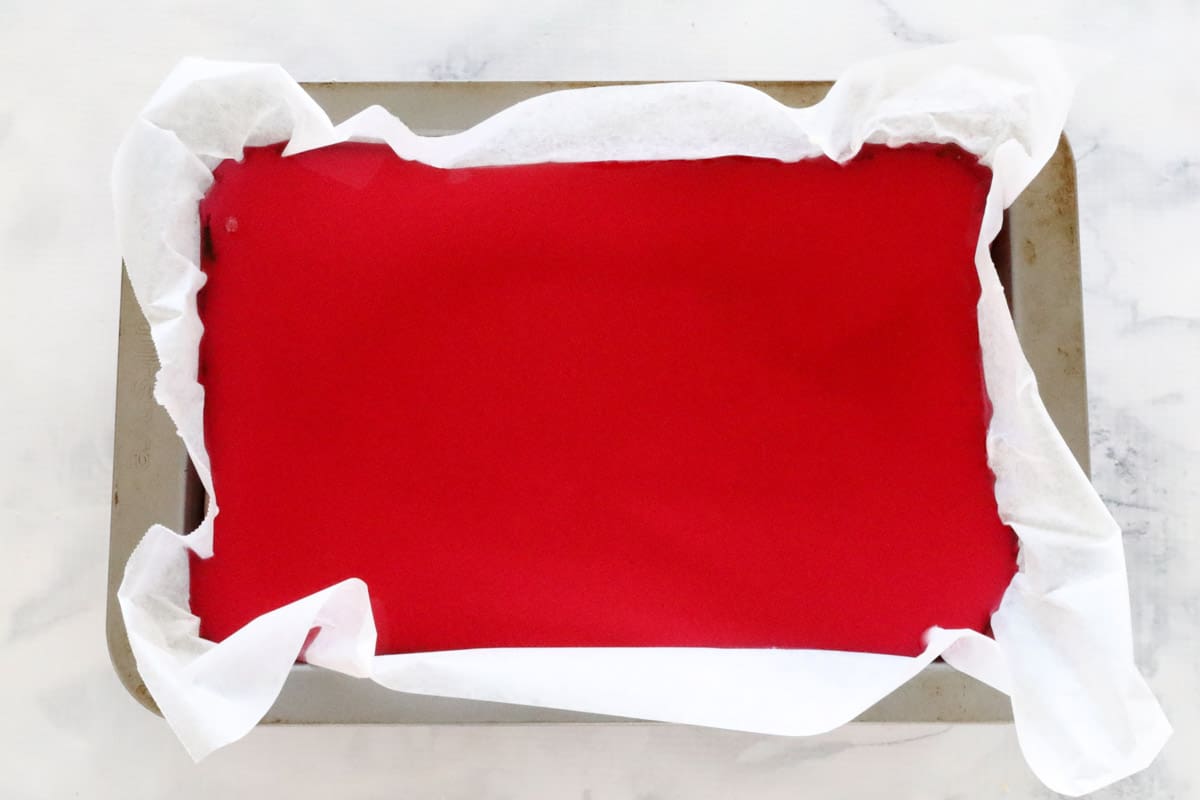
Once the creamy filling has set, very gently pour the cooled jelly over the top.
Carefully place back into the fridge for 5 hours or until set.
Once set, use a flat, sharp knife to carefully cut into pieces.
Storing Instructions:
Jelly Slice is best prepared and eaten within 3 days.
Storing:
Store Jelly Slice in an airtight container in the fridge for up to 3 days (although I can guarantee it will most likely disappear well before then!)
Freezing:
Jelly Slice is not suitable for freezing.
Expert Tips & FAQ
All your Jelly Slice recipe questions answered....
Sprinkle the gelatine powder over a small bowl or ramekin filled with ⅓ cup of boiling water. Quickly use a fork to whisk the gelatine until fully dissolved.
Absolutely! I have included both Conventional and Thermomix instructions for making Jelly Slice in the Recipe Card below.
No. The gelatine powder is required in the filling to ensure the sweetened condensed milk sets. The filling will remain soft and creamy (not rubbery), but will be firm enough to slice into pieces. There is also gelatine powder in packets of jelly crystals as this is needed for the jelly to set when chilled.
It's important to chill the filling layer for 1 hour (or until set) and then the entire slice (including the jelly layer) for 5 hours. In total, jelly slice requires 6 hours chilling time.
A regular-sized piece of jelly slice contains 128 calories.
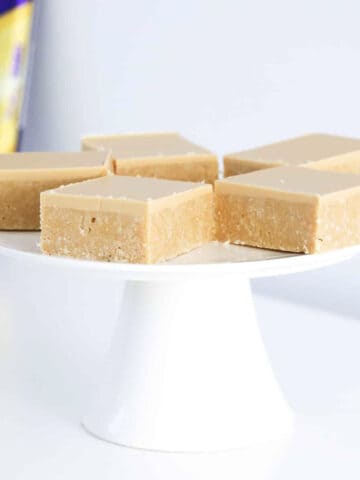
More No Bake Slice Recipes
Simple, no-fuss, no-bake slices that the whole family will love!
WANT EVEN MORE DELICIOUS RECIPES? Subscribe to my newsletter or follow along on Facebook or Instagram. And if you love baking, then please come and join my Facebook cooking club group or subscribe to my YouTube channel.
Jelly Slice
Ingredients
- 85 g packet jelly crystals like Aeroplane jelly
- 250 g plain sweet biscuits/cookies like Arnott's Mare biscuits
- 175 g melted butter
- 85 g (⅓ cup) water see notes
- 3 tsp gelatine powder see notes
- 395 g sweetened condensed milk full fat (not skim or light)
- juice of 2 lemons
Instructions
Conventional Method
- Line a 18cm x 28cm rectangular slice tin with baking paper and set aside.
- Prepare jelly according to the packet instructions and set aside on the bench to cool. Do not place the jelly in the fridge as you don't want it to set just yet.
- Crush the biscuits/cookies in a food processor and place into a separate bowl.
- Add the melted butter and mix until well combined.
- Firmly press the mixture into the bottom of the prepared tin and then place into the fridge while you prepare the filling.
- Place the sweetened condensed milk and lemon juice into a separate bowl. Add the dissolved gelatine mixture (see tips below) and mix using a whisk until completely combined.
- Pour the mixture over the prepared base and place into the fridge until set (approximately 1 hour).
- Gently pour the cooled jelly over the top of the slice and place into the fridge for 5 hours or until set.
- Cut into slices and store in an airtight container in the fridge for up to 3 days.
Thermomix Method
- Line a 18cm x 28cm rectangular slice tin with baking paper and set aside.
- Prepare jelly according to the packet instructions and set aside on the bench to cool. Do not place the jelly in the fridge as you don't want it to set just yet.
- Place the butter into the Thermomix bowl and melt for 2 minutes, 80 degrees, Speed 2. Add the biscuits/cookies and mix for 8 seconds, Speed 8 (you may need to scrape down the sides of the bowl partway through). Firmly press the mixture into the bottom of the prepared tin and then place it into the fridge while you prepare the filling.
- Place the sweetened condensed milk and lemon juice into a clean Thermomix bowl. Add the dissolved gelatine mixture (see tips below) and mix for 15 seconds, Speed 4.
- Pour the mixture over the prepared base and place into the fridge until set (approximately 1 hour).
- Gently pour the cooled jelly over the top of the slice and place into the fridge for 5 hours or until set.
- Cut into slices and store in an airtight container in the fridge for up to 3 days.
Notes
- How to dissolve gelatine - sprinkle the gelatine powder over a small bowl or ramekin filled with the ⅓ cup of boiling water. Quickly use a fork to whisk the gelatine until fully dissolved.
- Type of jelly to use - I generally use a packet of raspberry Aeroplane jelly, however you can use any brand or flavour of packet-mix jelly you like.
- Sweetened condensed milk - I recommend using full fat (not skim) sweetened condensed milk as it sets firmer.
- Crushed biscuits/cookies - I like to use Arnott’s Marie biscuits, however you can use absolutely any brand of plain sweet cookies you like.
- Chilling time - it's important to chill the filling layer for 1 hour (or until set) and then the entire slice (including the jelly layer) for 5 hours. In total, jelly slice requires 6 hours chilling time.
- Equipment - you can make this jelly slice recipe using a food processor, blender or a Thermomix.
- Storing jelly slice - this slice can be stored in an airtight container in the fridge for up to 3 days (it is not suitable for freezing).


Patricia ann Moody
I love making this slice for group lunches I always use 2 pkts of red jellies .it always looks soooo elegant friends don't relize just how easy it is to make
Lucy
Fantastic!
Lynn simcock
Jelly slice is really nice
Kate08
Hi Lucy, my best friend and I made these together, and it turned out amazing ! We actually let the gladwrap rest on top of the jelly while it set in the fridge, which gave it a cool ripple look on top. It was so cool and yummy. Thanks for the awesome recipe !
Lucy
What a great idea! So glad you liked it!
Celeste
Was so easy to make and tasted yummo
Lucy
Thank you so much!
Michael Miller
Can you still make it without lemon juice
Lucy
Hi Michael, you 'could' as the gelatine will thicken the sweetened condensed mill layer but the lemon juice helps to thicken and stabilise it even more.
mystivine
Hi Lucy
My husband is allergic to citrus - what could we use to replace the lemon juice? Apple cider vinegar? White wine vinegar? Something else? Thanks!
Lucy
Oooh good question!! Hmm yes possibly apple cider vinegar or white vinegar.