
A super easy twist on the classic Peppermint Slice, this baked Chocolate Mint Slice is quick, delicious and always a winner with the best flavour combo of chocolate and mint!
With just 10 minutes prep time, no fancy equipment required and ready to eat in just 35 minutes - this is sure to become a family favourite recipe in no time.
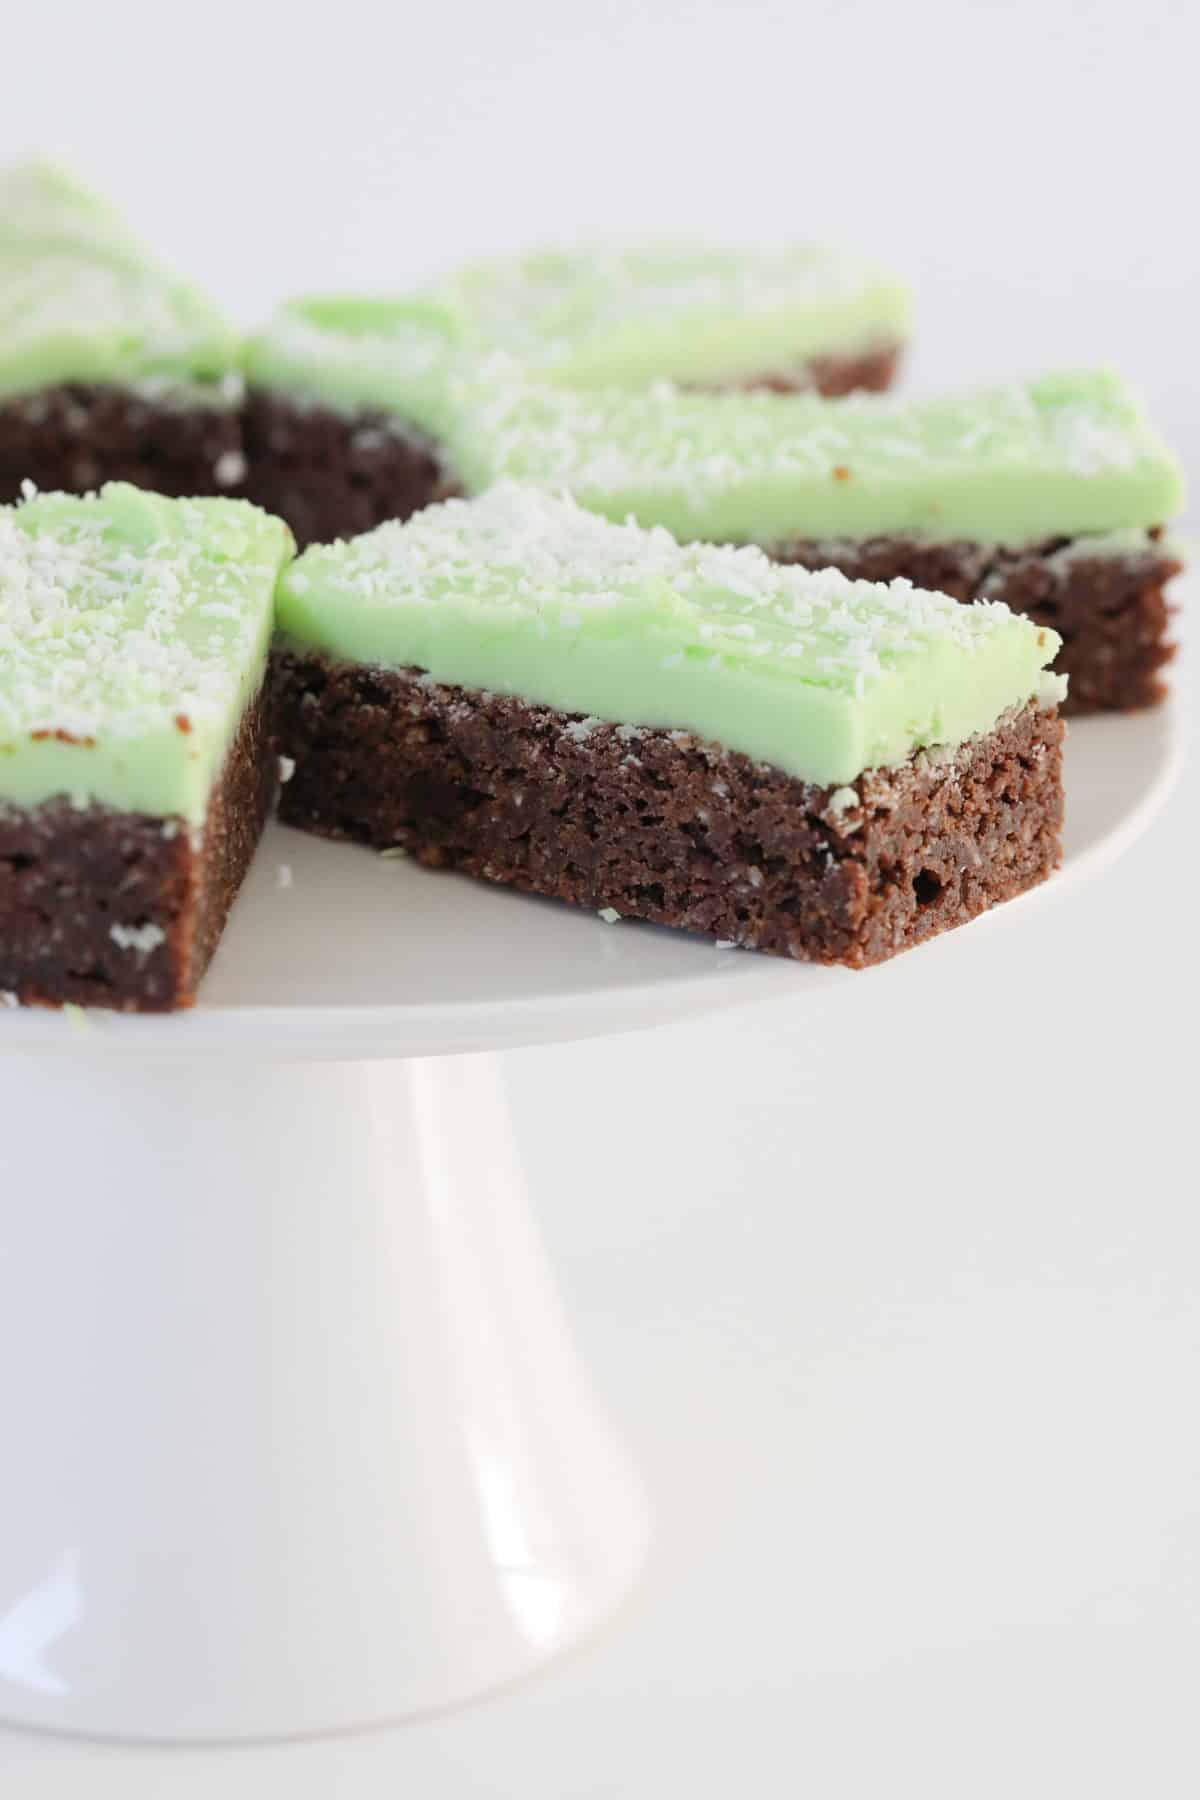
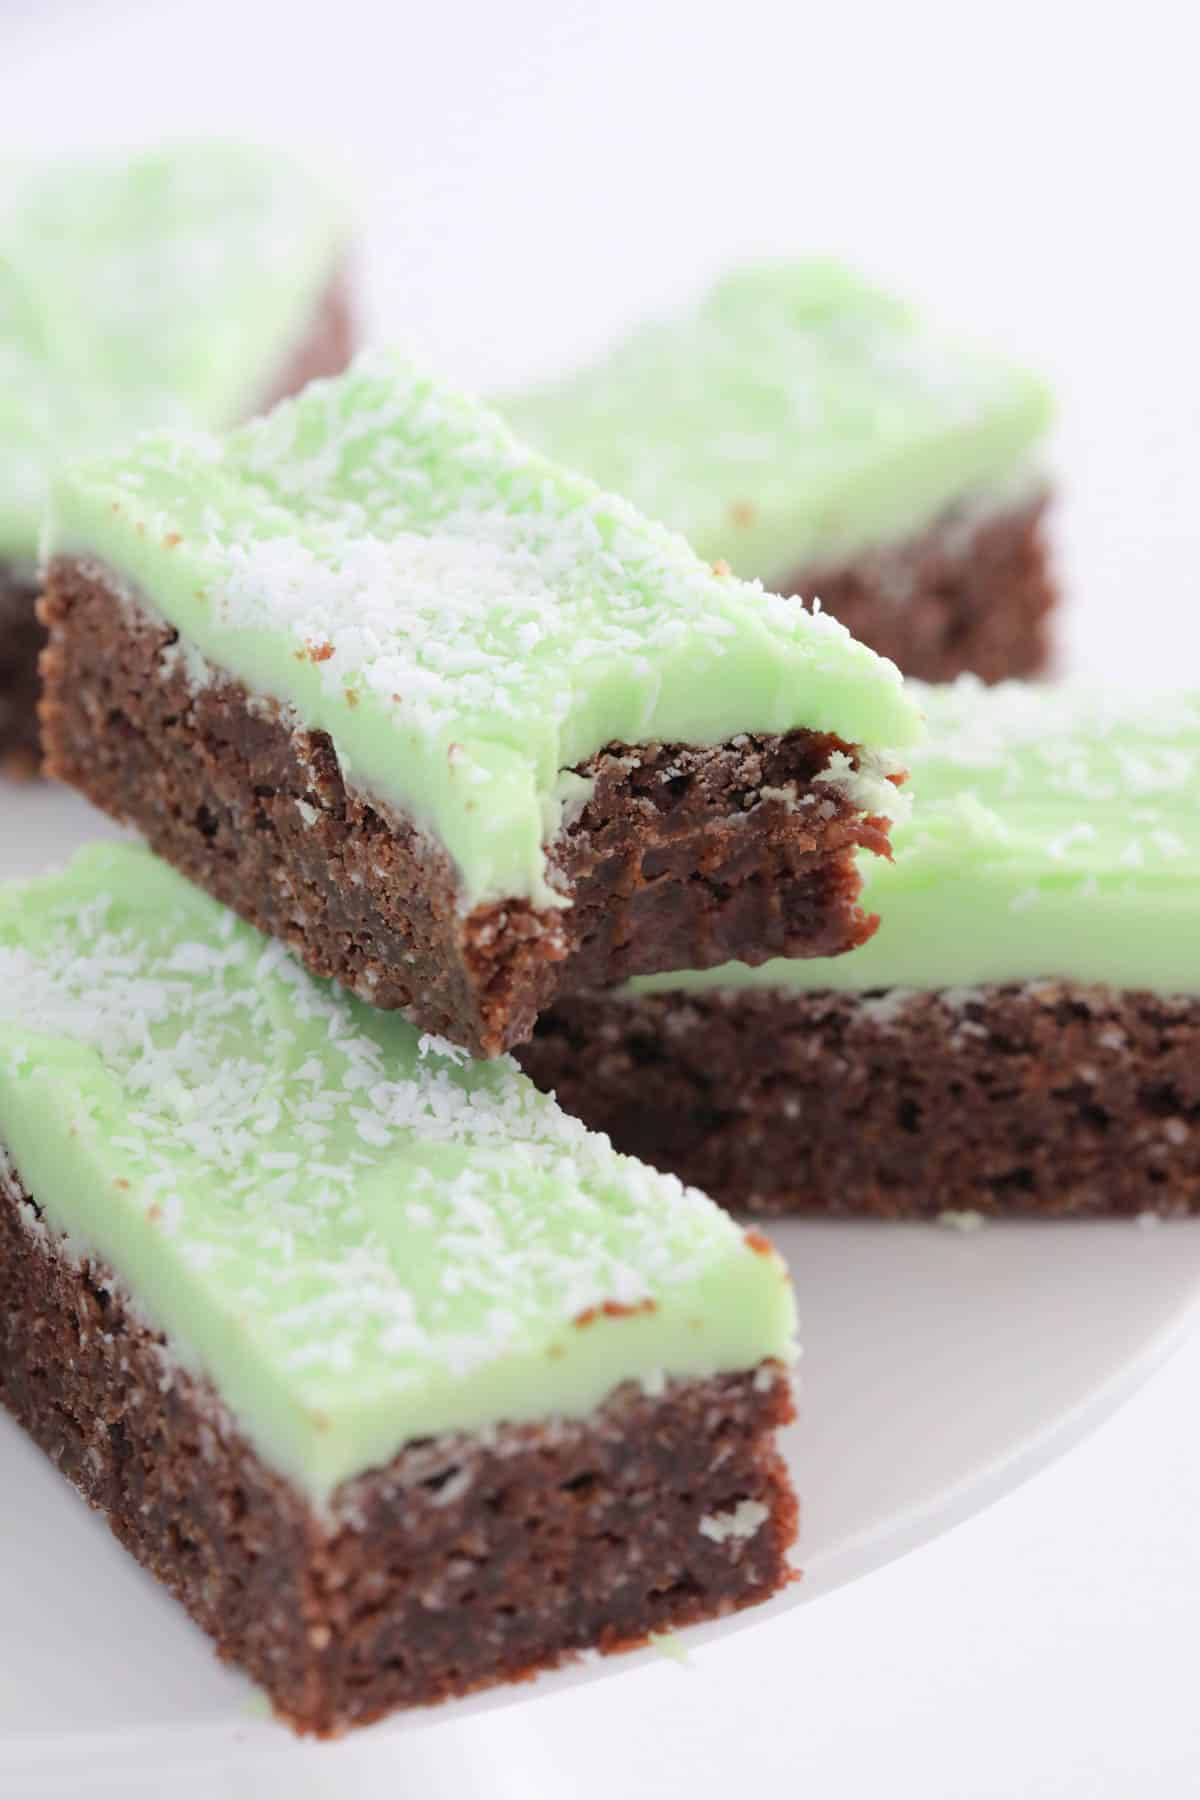
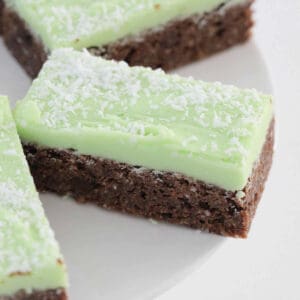
This deliciously sweet slice has a fudgy coconut-chocolate base with a subtle hint of peppermint, topped with a sweet frosted peppermint icing.
Just two layers - and SO easy to bake (perfect for beginners!!).
This simple mint slice is inspired by my favourite Chocolate Coconut Slice (which, by the way, is also by far one of the most popular recipes on this site) and my classic Peppermint Slice.
I took my favourite parts of each slice and combined them to make this delicious baked chocolate mint slice. You're going to LOVE it!
Why You're Going To Love This Recipe
With a delicious fudgy, coconut-chocolate base and a melt-in-your-mouth peppermint icing - this slice is simple irresistible.
- Quick & Easy - prepped and baked in just over half an hour, this peppermint slice traybake can be whipped up in no time at all.
- Kids & Adults Love It - mint and chocolate is such an awesome combo!
- Great For Bake Sales & Cake Stalls - old fashioned mint slice is always popular at a cake stand.
- Basic Ingredients - a bottle of peppermint extract and green food colouring may be all you need to purchase, as all other ingredients may already be in your pantry and fridge. Peppermint extract and food colouring last a long time and you only need to use a tiny amount.
- Conventional and Thermomix- this chocolate mint slice can be made conventionally or in a Thermomix. You will find both the conventional and Thermomix methods in the recipe card at the bottom of the post.
What You Need
This chocolate mint slice recipe requires only basic baking ingredients, making it a truly budget-friendly slice to whip up!
Note: Scroll to the recipe card at the bottom for the ingredients quantities and full detailed method.
For The Base
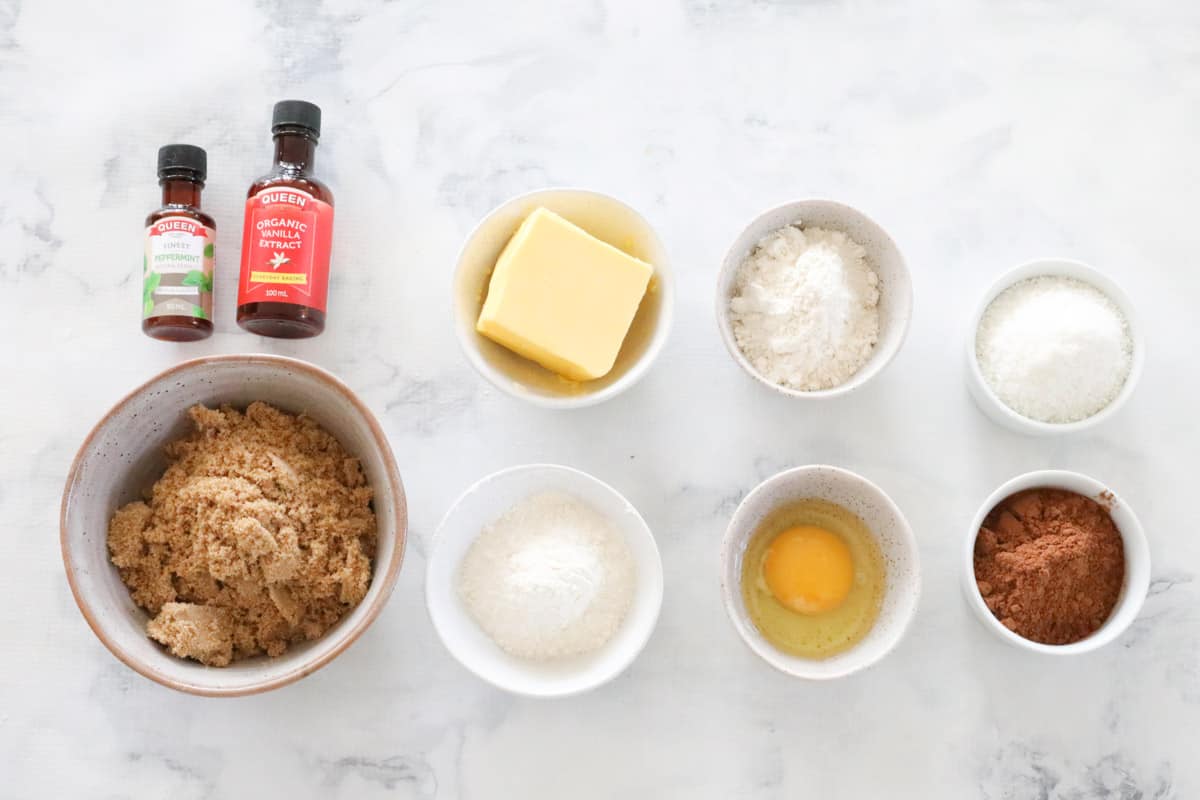
- Butter - melted. Either salted or unsalted are fine to use in this chocolate mint slice recipe.
- Brown sugar - is a mixture of white sugar and molasses, which is a type of sugar-derived syrup. Molasses is responsible for its darker colour.
- Egg - have your egg at room temperature for best results. I recommend using a large egg in most baking recipes, approximately 60 grams.
- Vanilla extract - or vanilla essence.
- Peppermint extract - Queen brand is the preferred brand of essences and colourings in Australia and has been around since 1897!
- Plain flour - also known as all purpose flour.
- Self raising flour - also known as self-rising flour. You can use store-bought self-raising flour or make your own self-raising flour.
- Cocoa powder - use a quality brand of cocoa such as Cadbury or Nestle.
- Dessicated coconut - this is finely grated, un-sweetened and dried flesh from the white part of the coconut. Store your coconut in an airtight container in a cool, dry and dark place.
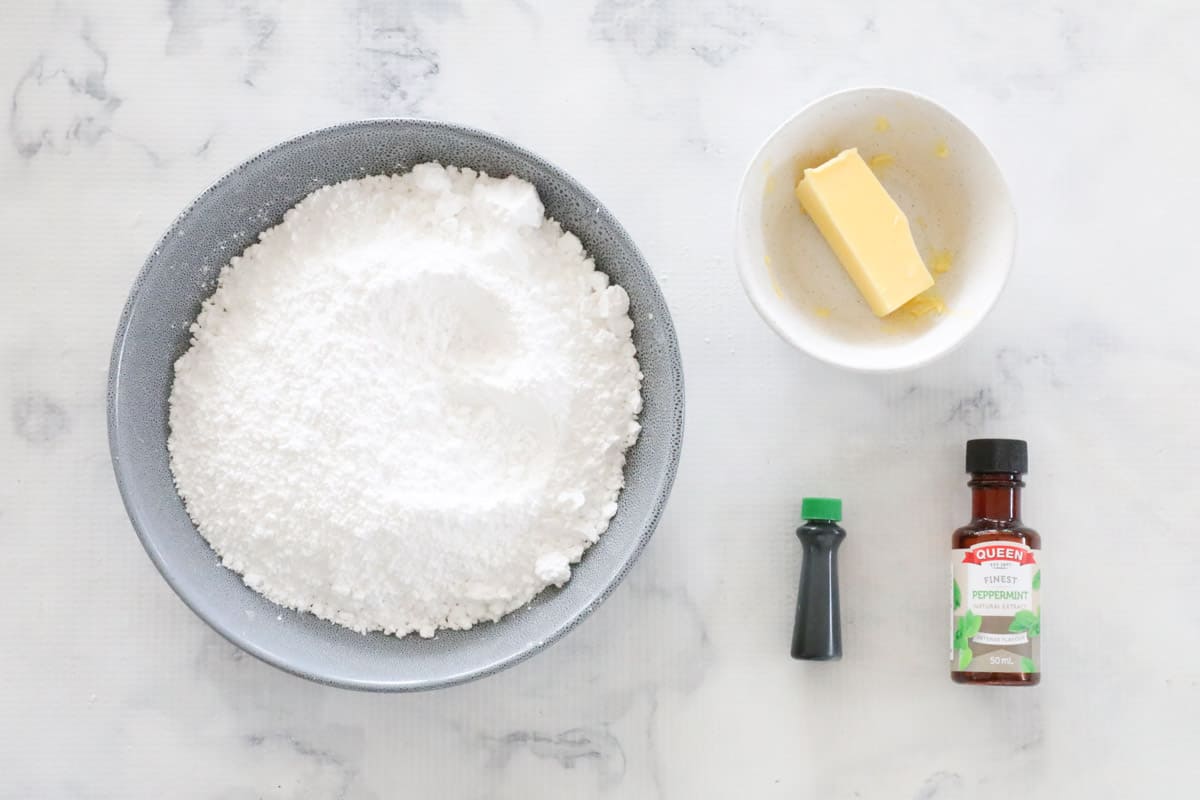
For The Icing
- Pure icing sugar - I prefer using pure icing sugar for this chocolate mint slice as this will give you a firmer icing than using soft icing sugar mixture, making it much more suitable for school lunchboxes!
- Butter - again, salted or unsalted is fine.
- Boiling water.
- Peppermint extract - both peppermint extract and green food colouring can be purchased in 50ml bottles from the baking section in most supermarkets. You only need a small amount and they store for ages.
- Green food colouring.
- Dessicated coconut - extra, for sprinkling on top.
Equipment Required
This is a simple one-bowl mix for both the base and for the icing, great for easy clean-up!
Baking a Thermomix chocolate mint slice is even quicker, but a Thermomix is certainly optional, and instructions for both methods are in the recipe card below.
- Microwave, Thermomix or stove-top - for melting the butter.
- 20cm x 30cm slice tin - grease and line with baking paper.
- Oven - I specify fan-forced oven temperatures in my recipes, so if you have a conventional oven, increase the temperature by between 10 and 20 degrees Celsius.
Step By Step Instructions
I love a recipe that can be made in just one bowl, melt the butter and add the rest to the bowl - you don't even have to get the beaters out.
Note: Scroll to the recipe card at the bottom for the ingredients quantities and full detailed method.
Step 1 - Prepare The Wet Ingredients
Place melted butter, brown sugar, egg, vanilla and peppermint extracts in a bowl.
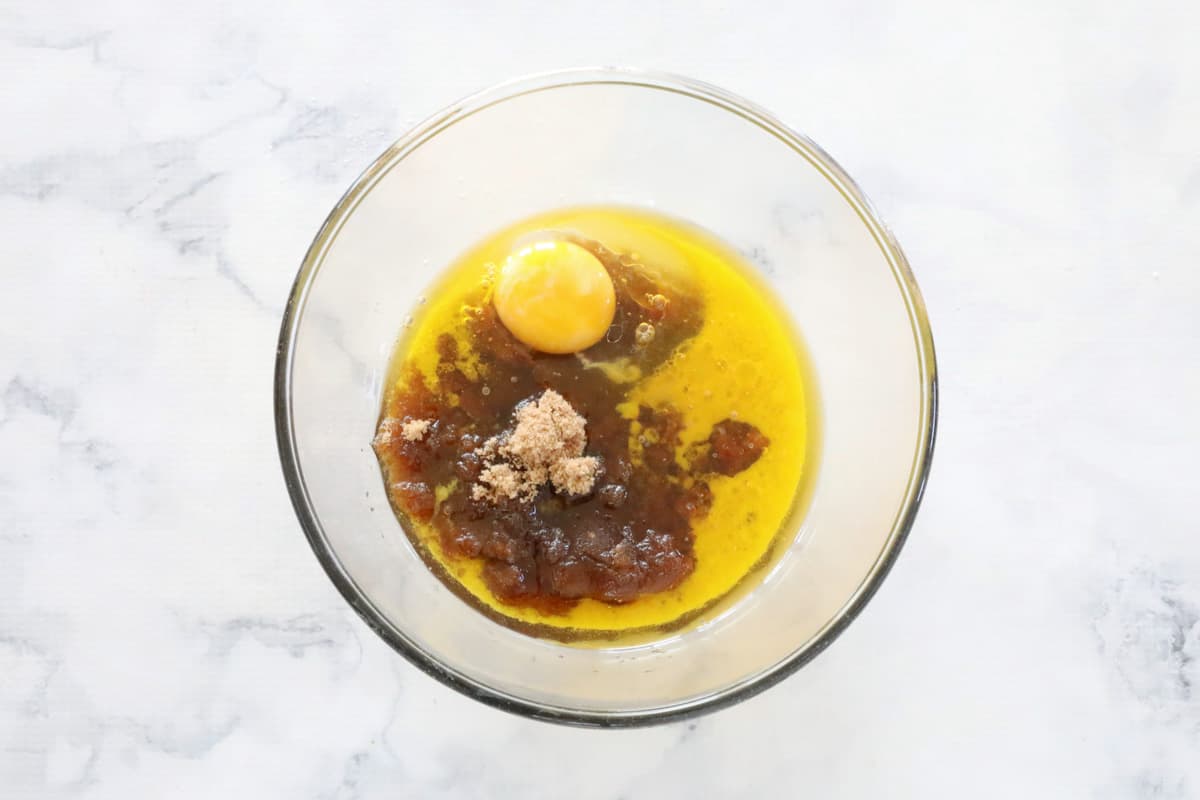
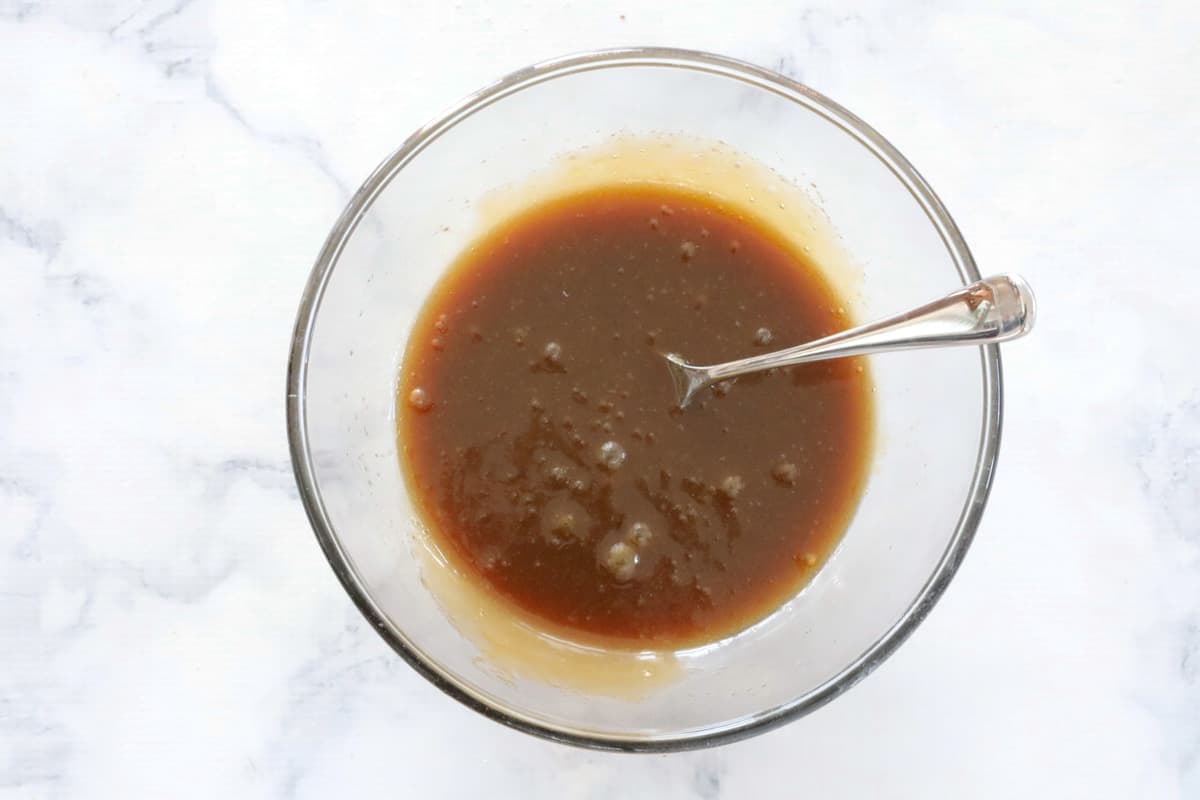
Stir until all ingredients are combined.
Step 2 - Add Dry Ingredients
Sift both the plain flour and the self raising flour, plus the cocoa powder, into the bowl of wet ingredients.
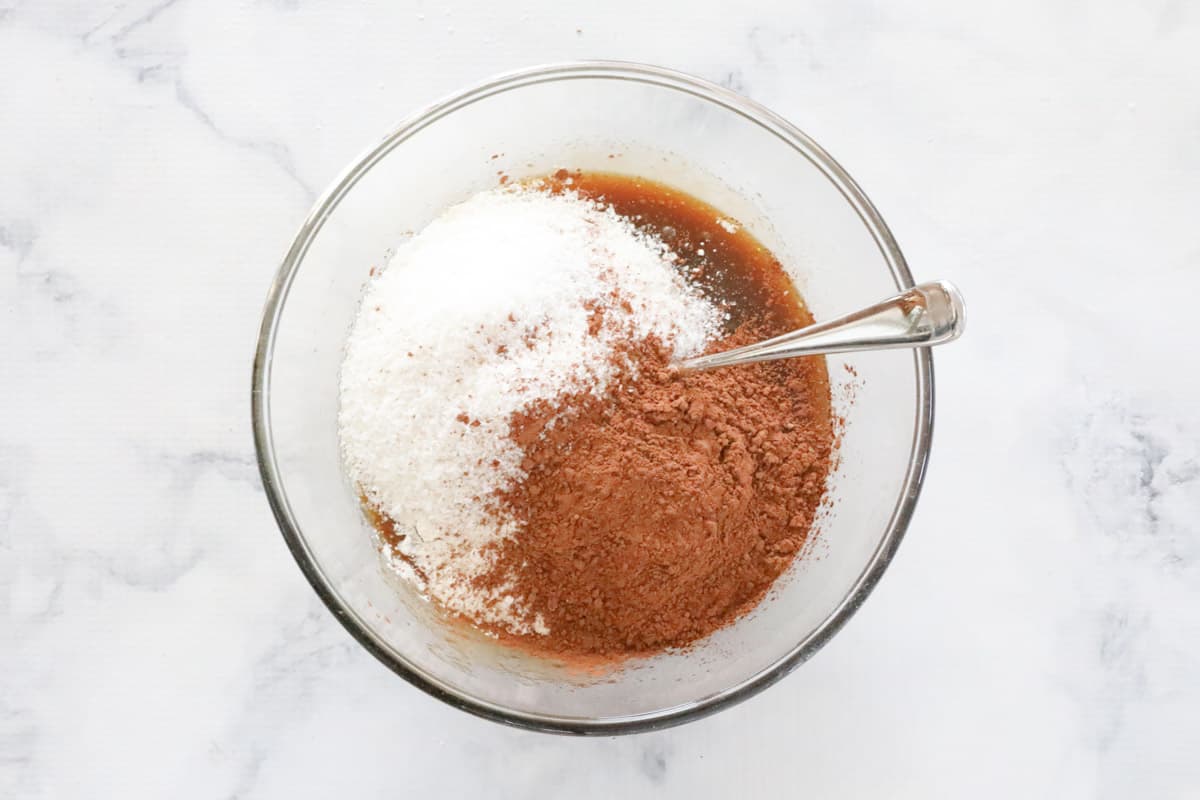
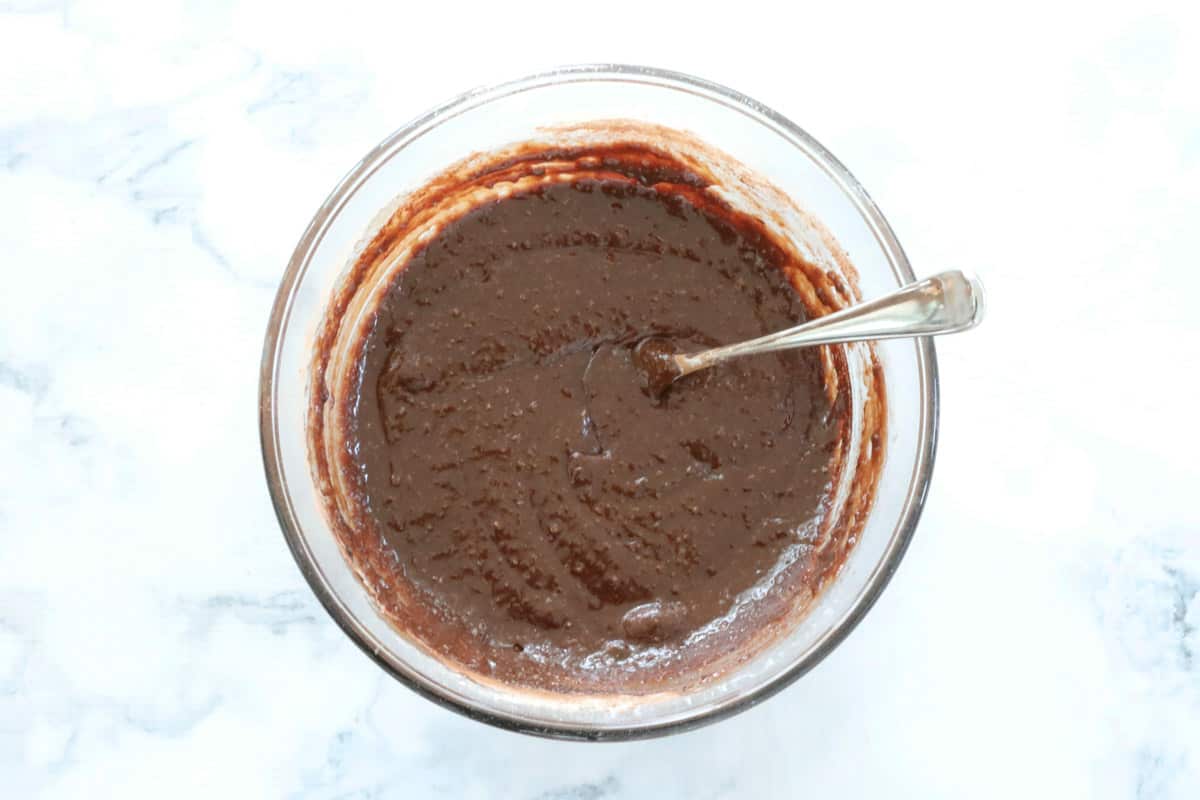
Add the dessicated coconut and stir until the mixture is combined.
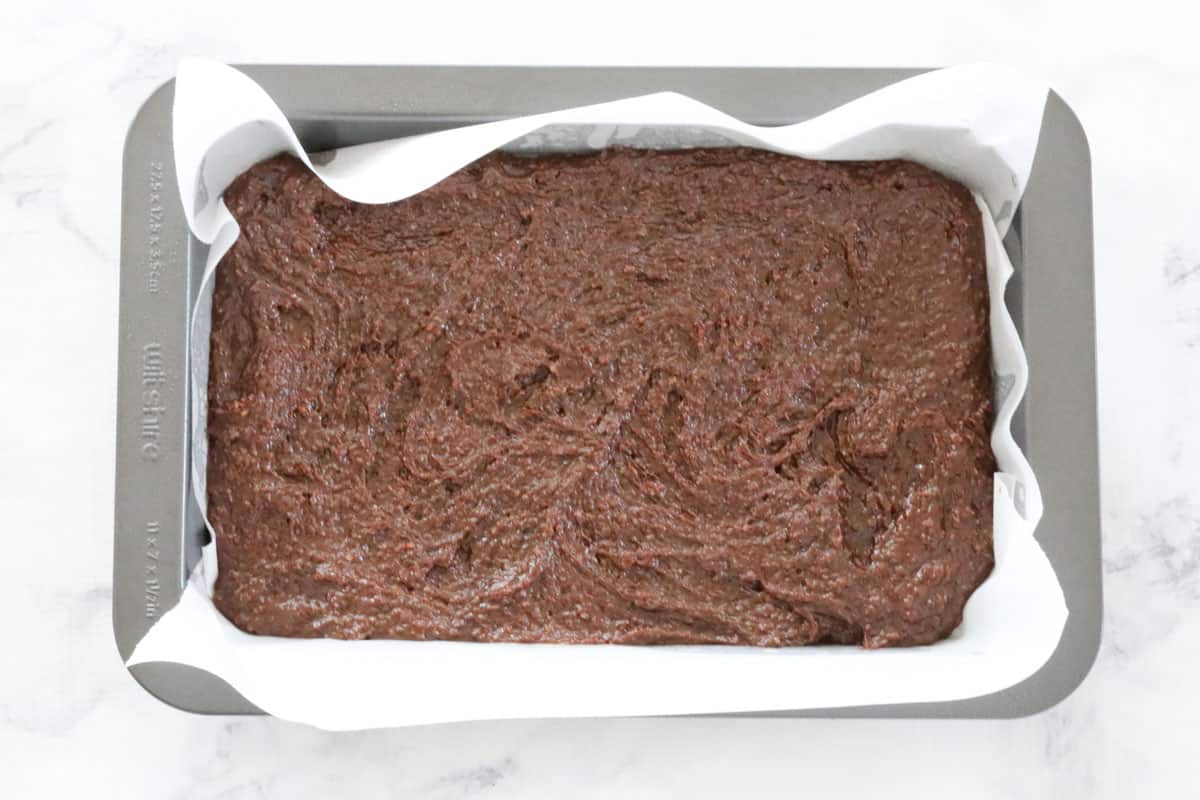
Step 3 - Bake
Spread the mixture into the prepared slice tin, and then bake for 25-30 minutes.
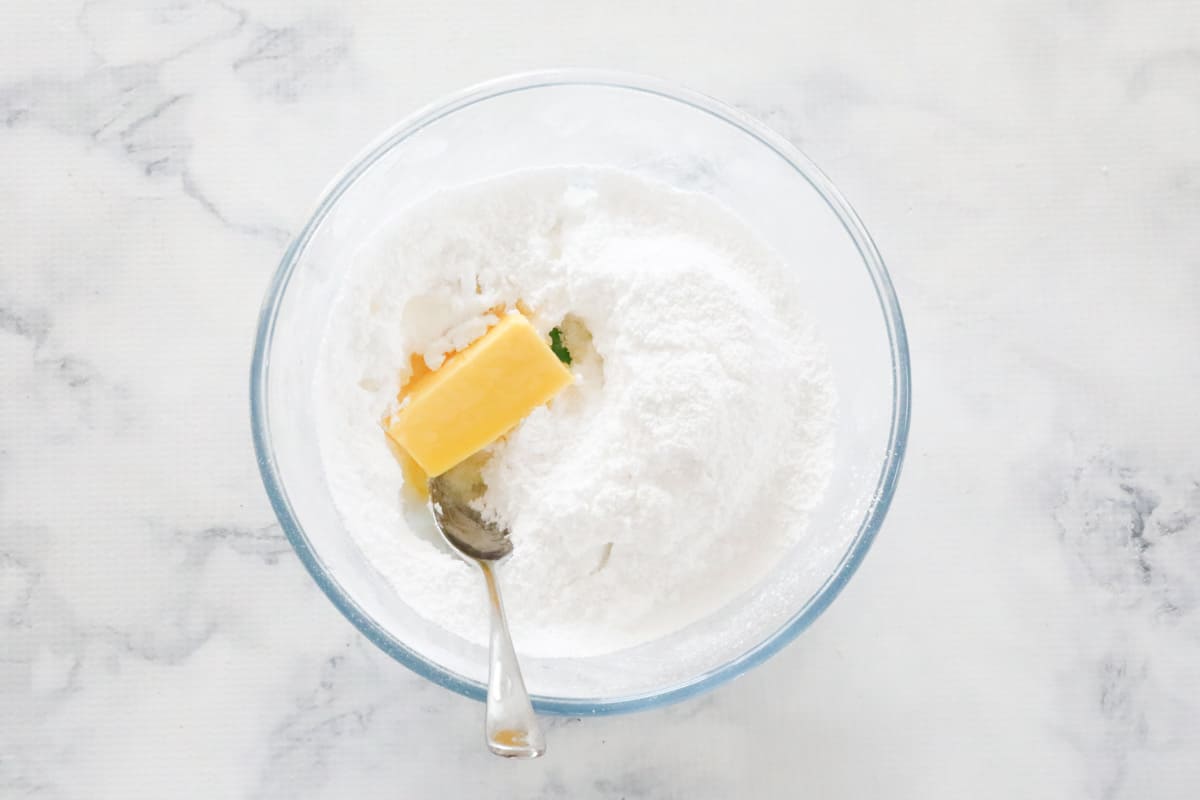
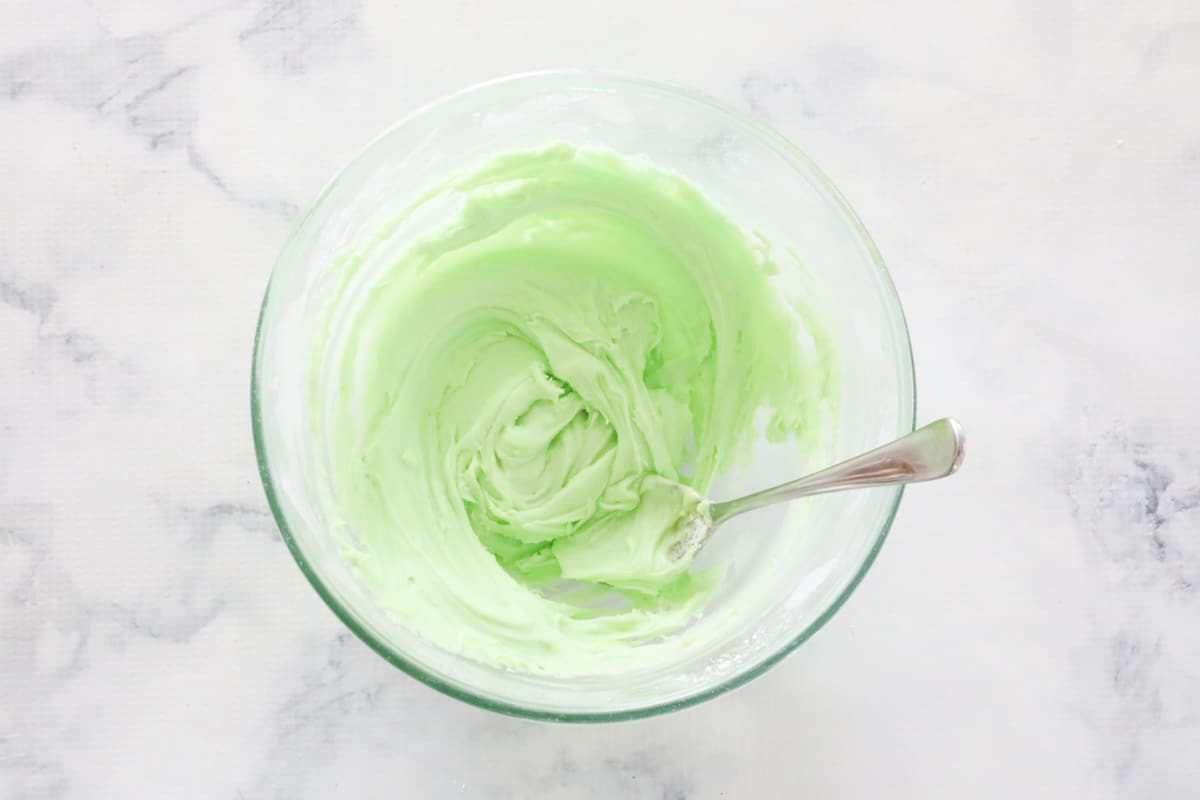
Step 4 - Make The Icing
Sift the icing sugar into a clean bowl, and add the butter, boiling water, peppermint extract and 1-2 drops green food colouring to the bowl. Thats right, only 1-2 drops!
Mix well to distribute the colour evenly.
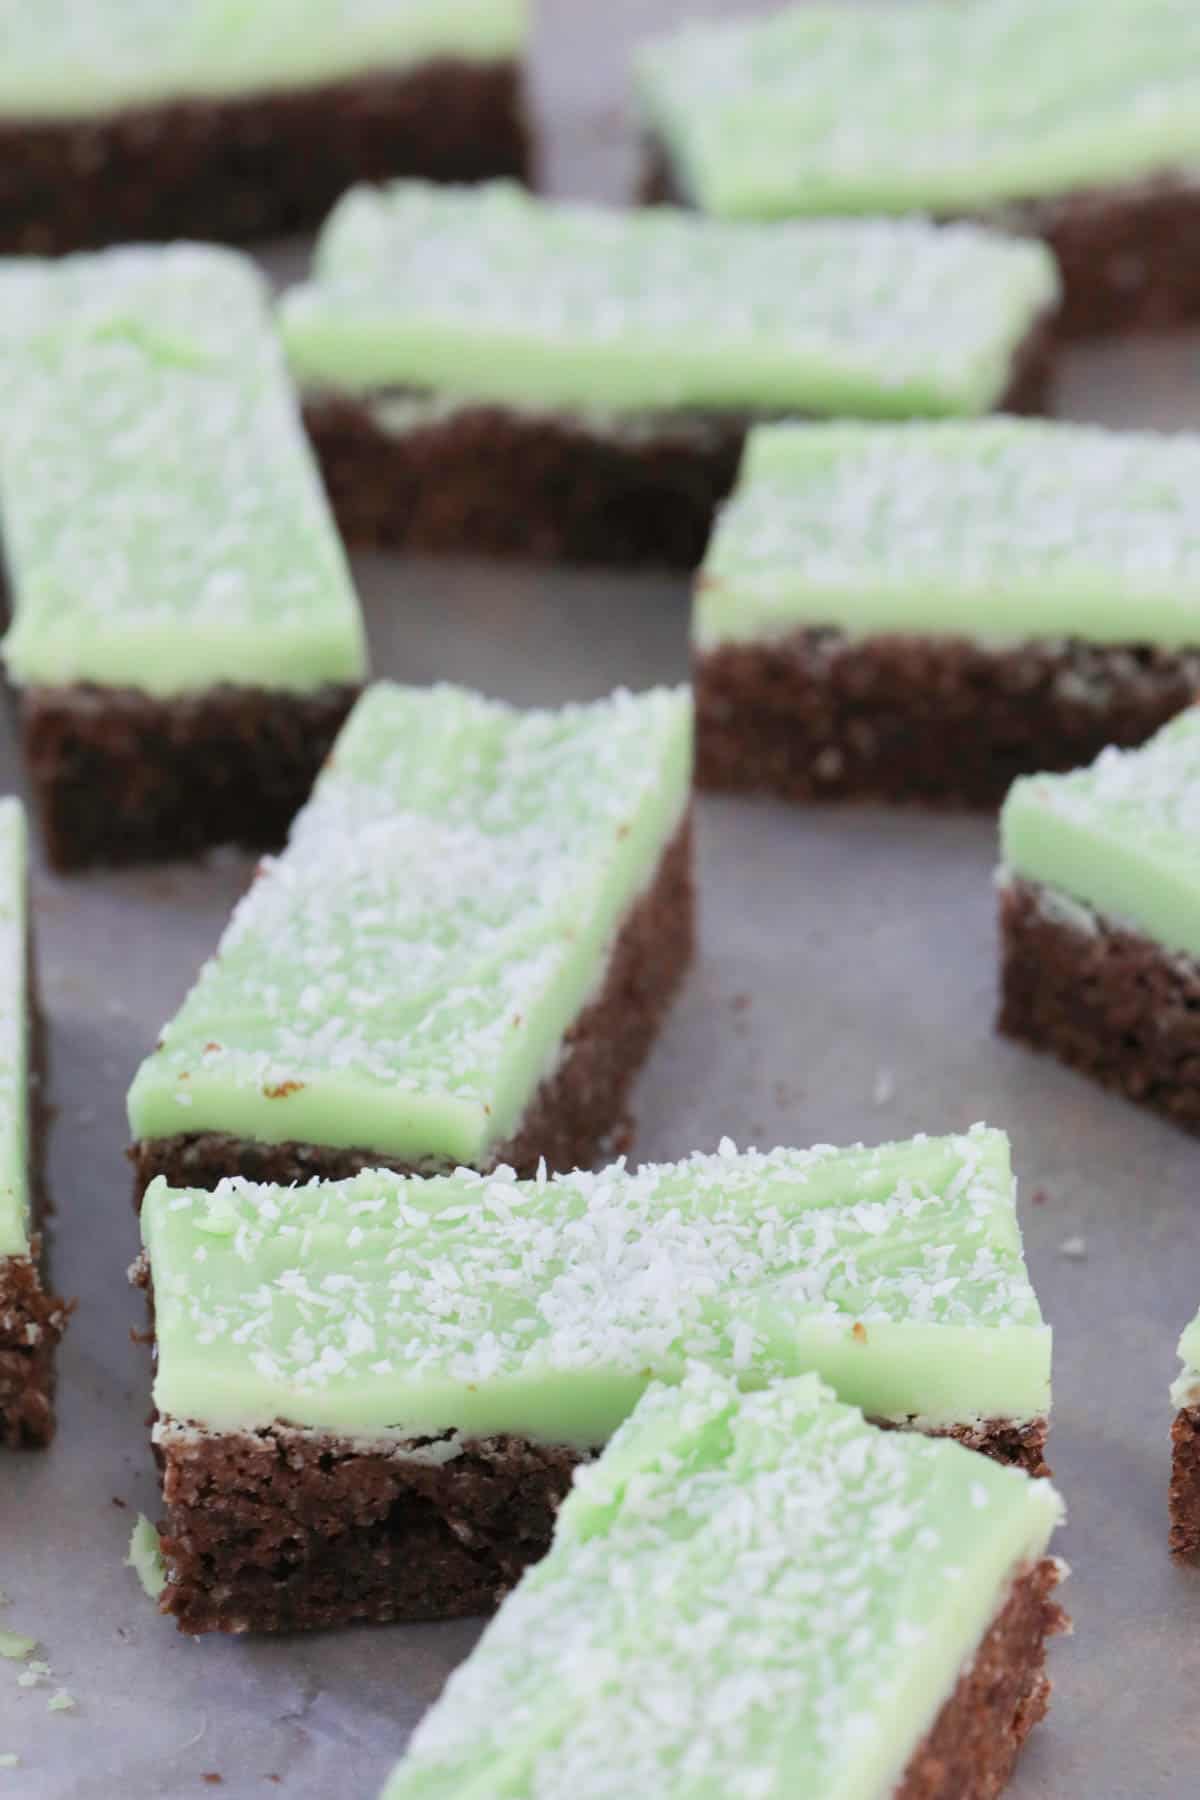
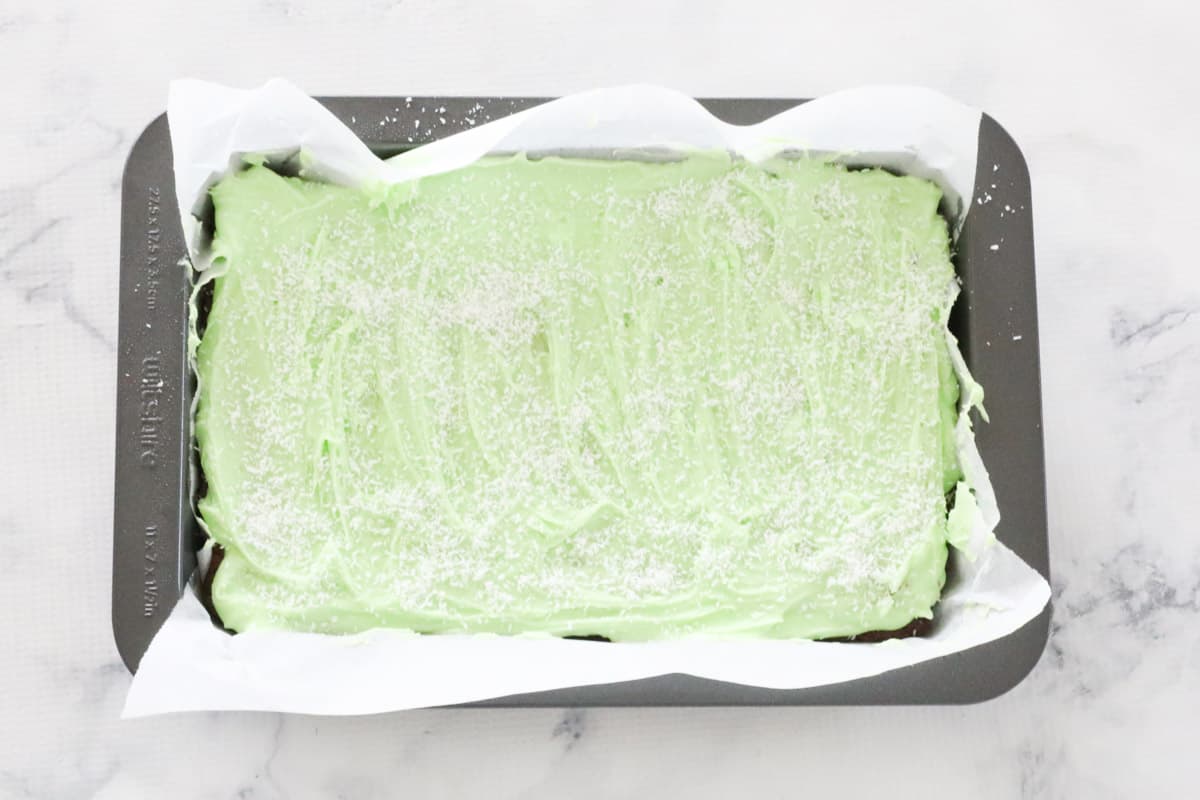
Spread icing over the slice whilst still warm from the oven, and sprinkle with extra dessicated coconut.
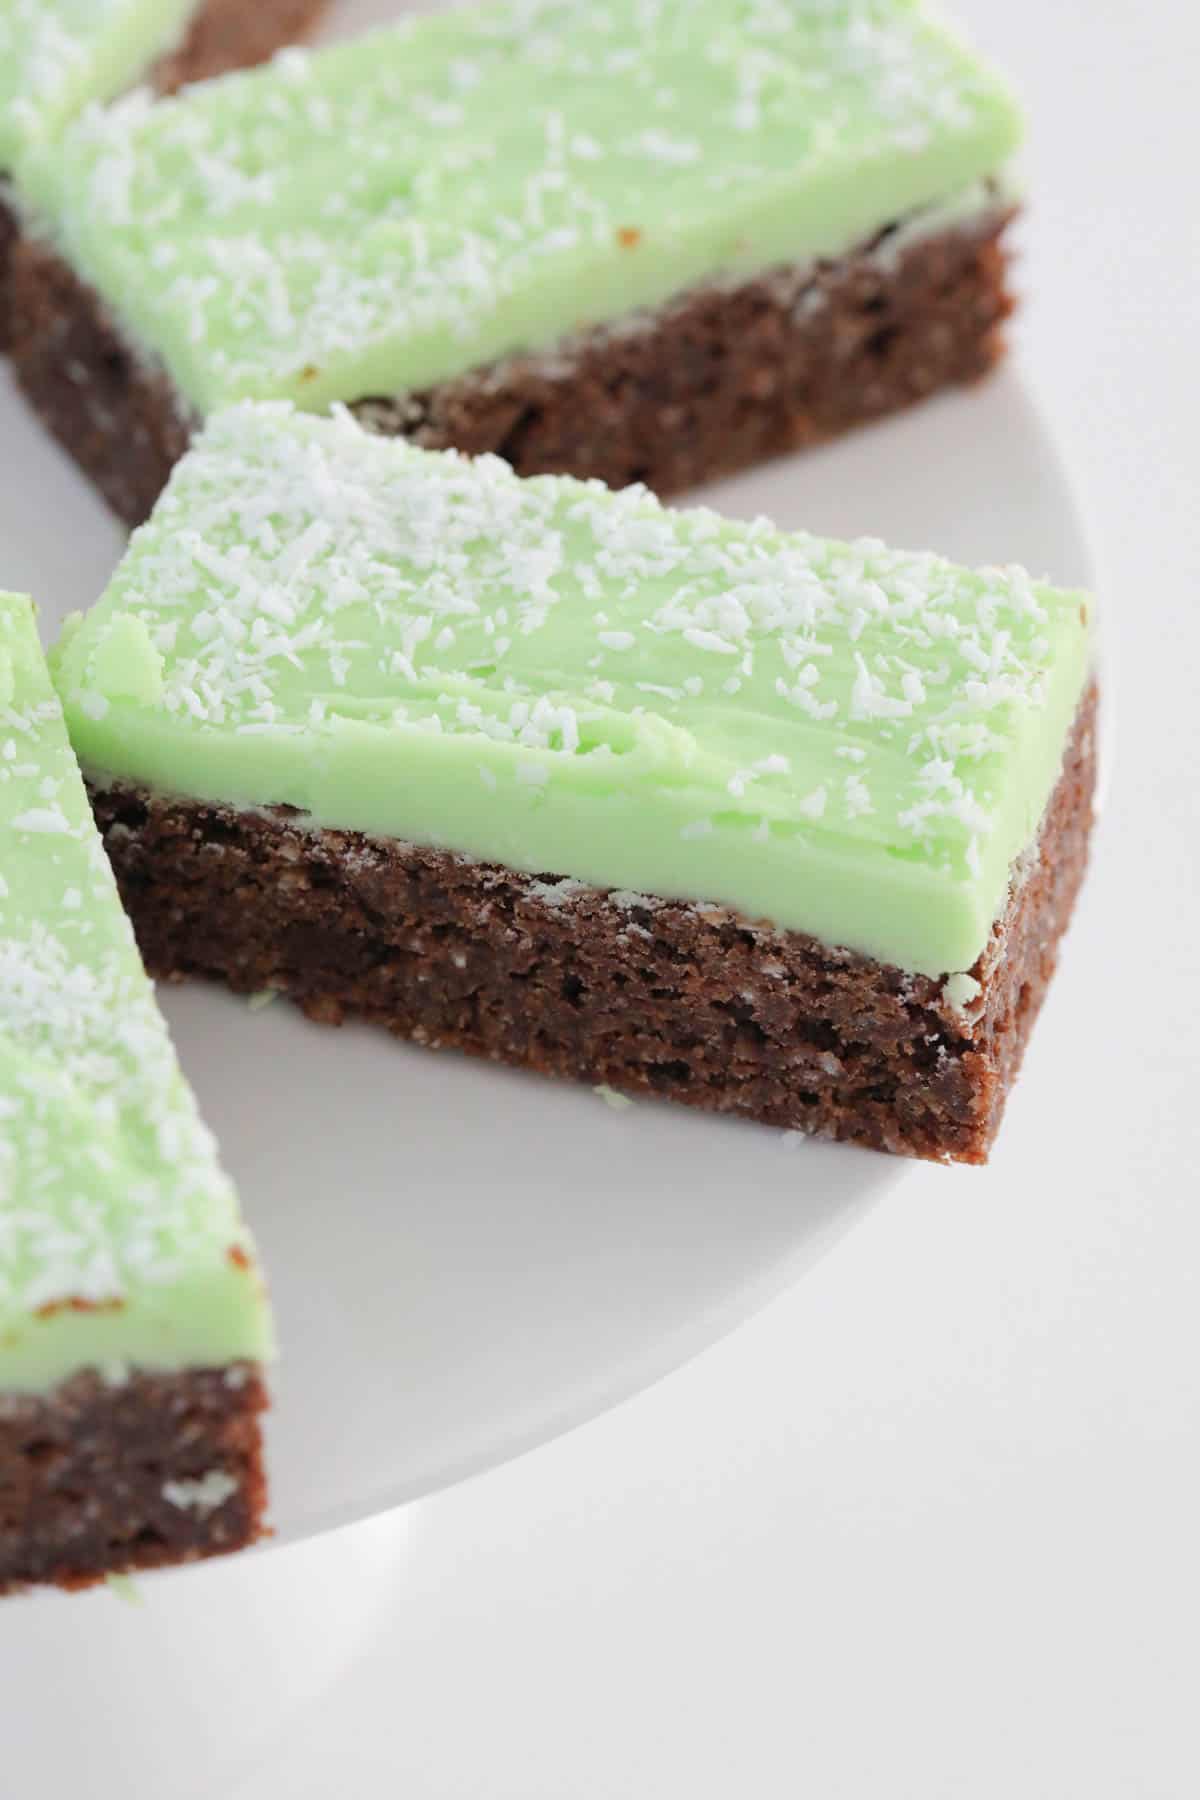
Tips For Cutting Slices Perfectly
Follow my step by step guide for how to cut perfect slices when baking...including how to cut a chocolate topped slices without cracking.
- Line the tin with baking paper - when making slices, ensure that you always use a baking tin that has been lightly greased and then lined with baking paper. Greasing the tin will help the baking paper to stay put in the tin.
- Leave your slice overnight before cutting - this isn't always possible, but if you can leave your slice overnight before cutting it, you'll find that its SO much easier to cut into neat little pieces. Always leave your slice for at least a few hours (minimum) before cutting to avoid breaking and crumbling.
- Choose the right knife - firstly, make sure your knives are sharp! It's impossible to cut a slice neatly with a blunt knife... so sharpen those babies up!!! The type of knife you use will be determined by the type of slice you're cutting. I have two main knives I like to use.
- Small serrated knife: I cut about 80% of the slices I make with a teeny tiny Victorinox serrated knife. It's my 'go-to knife'. It's tiny and yet powerful! The serrated edge means that it cuts through chocolate topped slices easily without any cracking.
- Large flat edged knife: this knife works well on slices where you want a very sharp edge (like fudge). The slice needs to be quite firm and without a hard chocolate topping. Something like a lemon coconut slice or ANZAC slice works well with this kind of knife.
- Wipe your knife clean - in between cuts, wipe your knife on a clean, damp cloth. This will keep your pieces free of extra crumbles or mixture.
FAQs
Pure icing sugar has nothing added to it, whereas soft icing sugar mixture is blended with cornflour to stop it forming lumps. Pure icing sugar needs to be sifted to break up the lumps, and is used in cake decorating, or when you want a firm 'set' icing, rather than a softer icing such as a frosting. I like to use pure icing sugar as it sets firmer, stores well, and makes it much better for school lunchboxes.
Not at all, you can omit the green food colouring if you like, and in fact many old fashioned peppermint slice recipes don't colour the icing. I like to colour the icing a pale green as it makes it distinctive as a peppermint flavoured slice.
Yes, start with one drop, you can always add another to get to the desired colour. Food colourings are VERY concentrated so go lightly!
Expert Tips
- Use pure icing sugar rather than soft icing mixture - this will give you a much firmer icing which holds together well - and also makes it a lot easier if packing in school lunch boxes! However if you only have soft icing mixture, you can certainly use this, it will just be a softer icing.
- Follow my tips to cut perfect slices here.
- Store slice - chocolate mint slice can be stored in an airtight container at room temperature for up to 5 days.
- Freeze - by wrapping well, placing in an airtight container and freeze for up to 3 months.
Related Recipes
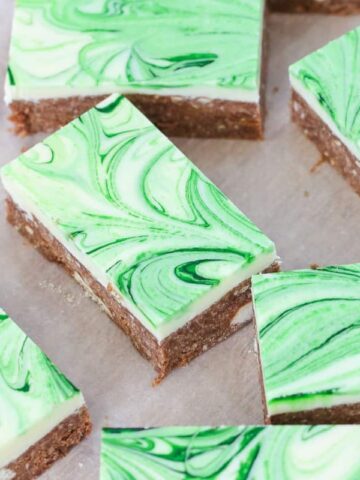
Love peppermint and chocolate together too? Try my Classic Peppermint Slice, super easy Chocolate Peppermint Slice, Mint Slice Balls, or Peppermint Crisp Tim Tam Balls.


WANT EVEN MORE DELICIOUS RECIPES? Subscribe to my newsletter or follow along on Facebook or Instagram. And if you love baking, then please come and join my Facebook cooking club group or subscribe to my YouTube channel.
Chocolate Mint Slice
Ingredients
- 150 g butter melted
- 200 g (1 cup) brown sugar
- 1 egg room temperature
- 1 teaspoon vanilla extract
- 1-2 teaspoon peppermint extract more or less depending on taste preference
- 60 g (½ cup) plain flour
- 45 g (⅓ cup) self raising flour
- 30 g (¼ cup) cocoa powder
- 40 g (½ cup) desiccated coconut
For the icing
- 265 g (2 cups) pure icing sugar
- 30 g butter
- 2-3 tbs boiling water
- 1-2 teaspoon peppermint extract more or less depending on taste preference
- 1-2 drops green food colouring
- extra dessicated coconut for sprinkling
Instructions
Conventional Method
- Preheat oven to 160 degrees celsius (fan-forced). Grease and line with baking paper a 20cm x 30cm slice tin.
- Place butter, sugar, egg, vanilla and peppermint extract in a bowl, stir until combined.
- Sift plain flour, self-raising flour and cocoa into bowl. Add the coconut. Stir until mixture has combined.
- Spread mixture evenly into tray.
- Bake for 25-30 minutes or until just firm.
- To make the icing, sift icing sugar into a bowl. Add butter, boiling water peppermint extract and food colouring, stir together.
- Spread warm slice with icing.
- Sprinkle remaining coconut over slice.
Thermomix Method
- Preheat oven to 160 degrees celsius (fan-forced). Grease and line with baking paper a 20cm x 30cm slice tray.
- Place butter into the TM bowl and melt for 3 minutes, 100 degrees, Speed 1. Leave to cool.
- Add the sugar, egg, vanilla and peppermint extract to the TM bowl and mix for 20 seconds on Speed 5. Scrape down the sides of the bowl.
- Sift plain flour, self-raising flour and cocoa into the bowl and add the coconut. Mix for 20 seconds on Speed 3, or until mixture has combined (use the spatula to assist with mixing).
- Spread mixture evenly into tray .Bake for 25-30 minutes or until just firm.
- To make the icing, place the icing sugar into the TM bowl and press Turbo 5 times to sift.
- Add butter, boiling water, peppermint extract and food colouring. Mix together for 15 seconds on Speed 5, or until smooth (add a little more water if the icing is too thick).
- Spread warm slice with icing.
- Sprinkle remaining coconut over slice.
Notes
- Use pure icing sugar - I like to use pure icing sugar on this chocolate mint slice as it sets firmer than soft icing mixture - and certainly makes it much better for school lunchboxes!
- Green food colouring - you can omit the green food colouring if you like, and in fact many old fashioned peppermint slice recipes don't colour the icing, however I like to colour the icing a pale green as it makes it distinctive as a peppermint flavoured slice. Food colourings are very concentrated - so go lightly!
- Follow my tips to cut perfect slices
- Store slice - in an airtight container at room temperature for up to 5 days.
- Freeze - by wrapping well, placing in an airtight container and freeze for up to 3 months.


Jean says
This was wonderfully easy to make and it was delicious, made it exactly as recipe stated and have been asked for the recipe from friends. Thank you for sharing