
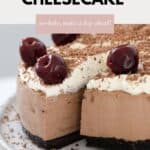
There's something truly special about a Black Forest Cheesecake - that classic mix of rich chocolate, silky cheesecake, and sweet cherries is pure dessert magic! This version is completely no-bake, gorgeously creamy, and makes the perfect show-stopping centrepiece for any celebration.
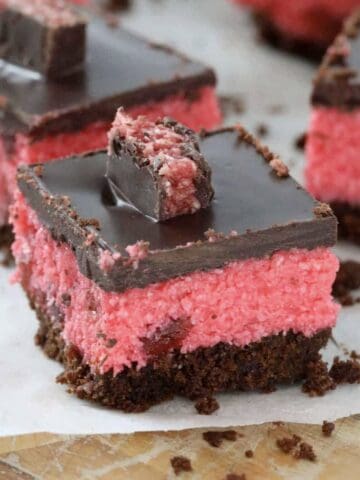
If you love this combo of chocolate and fruit, you'll also adore my White Chocolate and Raspberry Cheesecake and my Strawberry Cheesecake Slice - both no-bake recipes too!
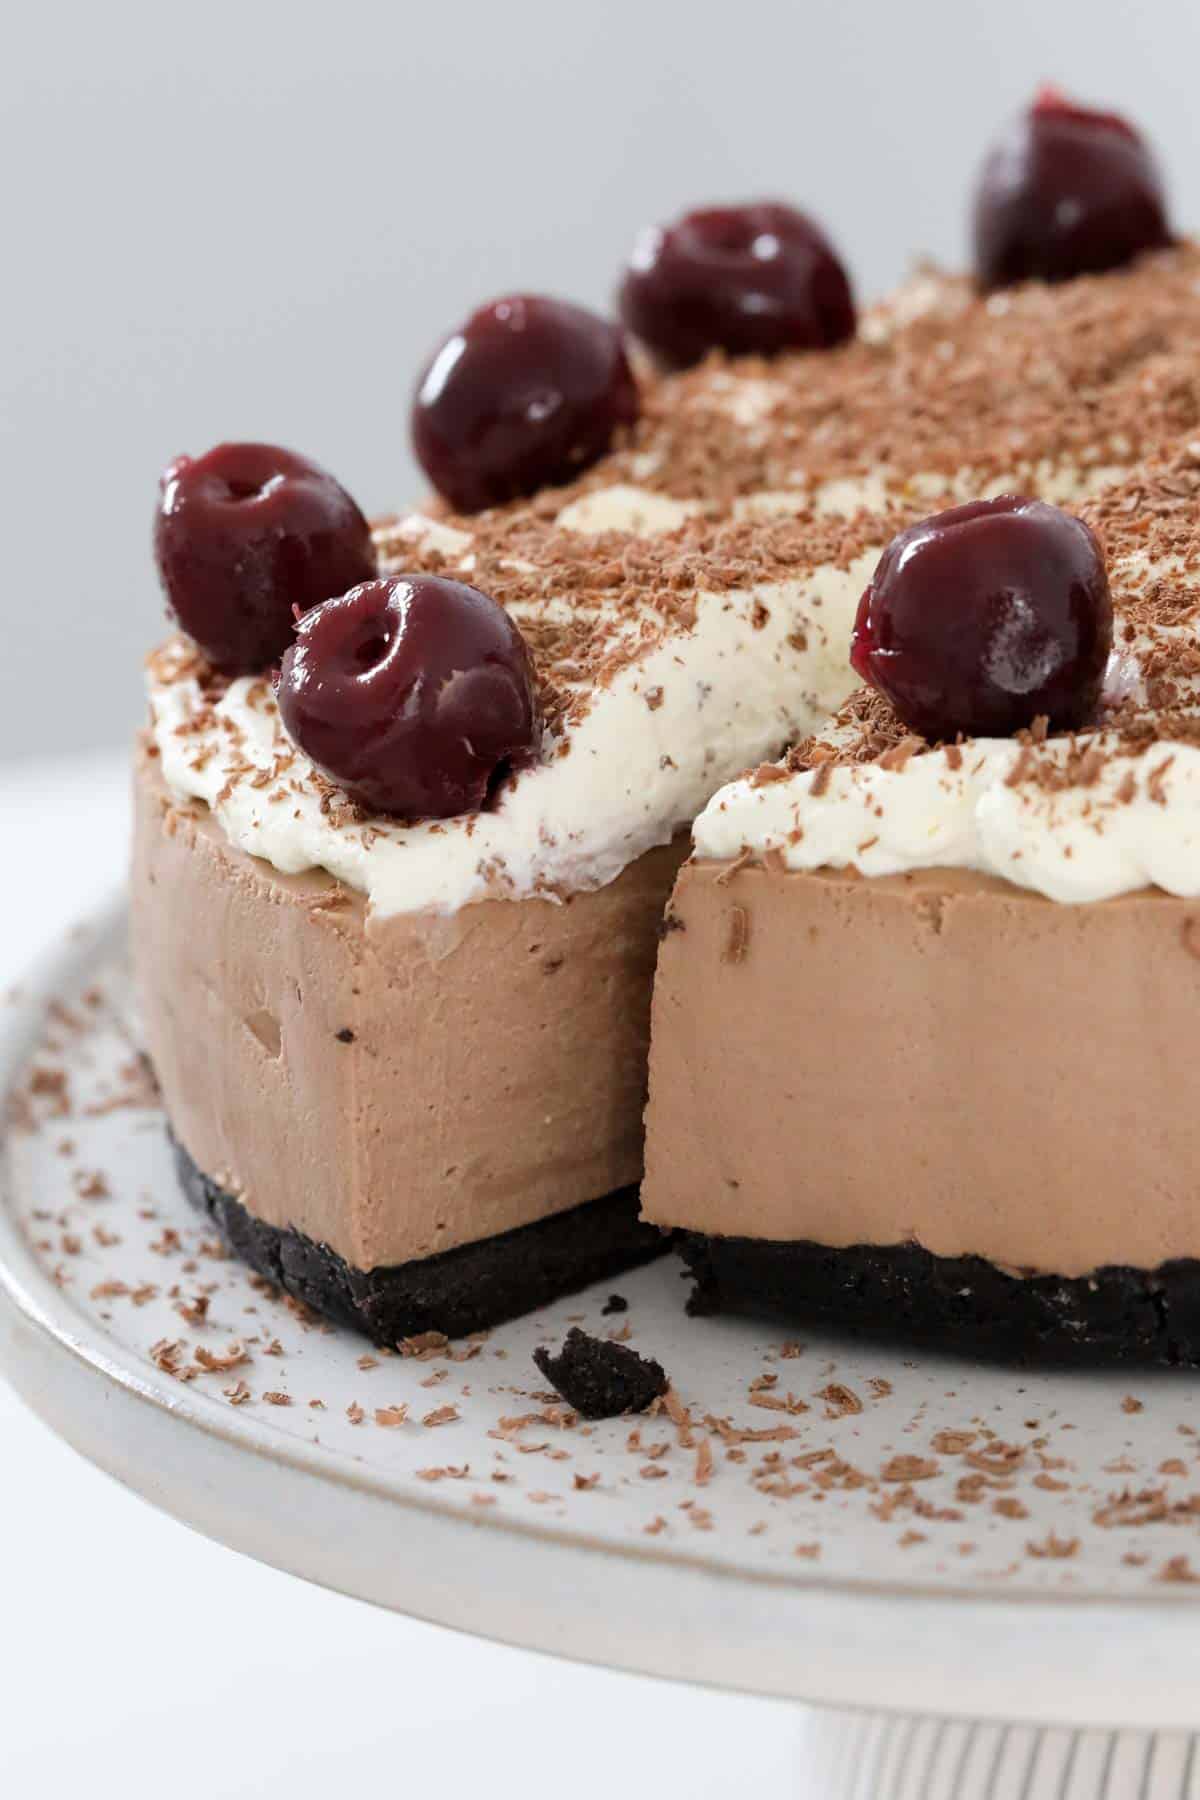
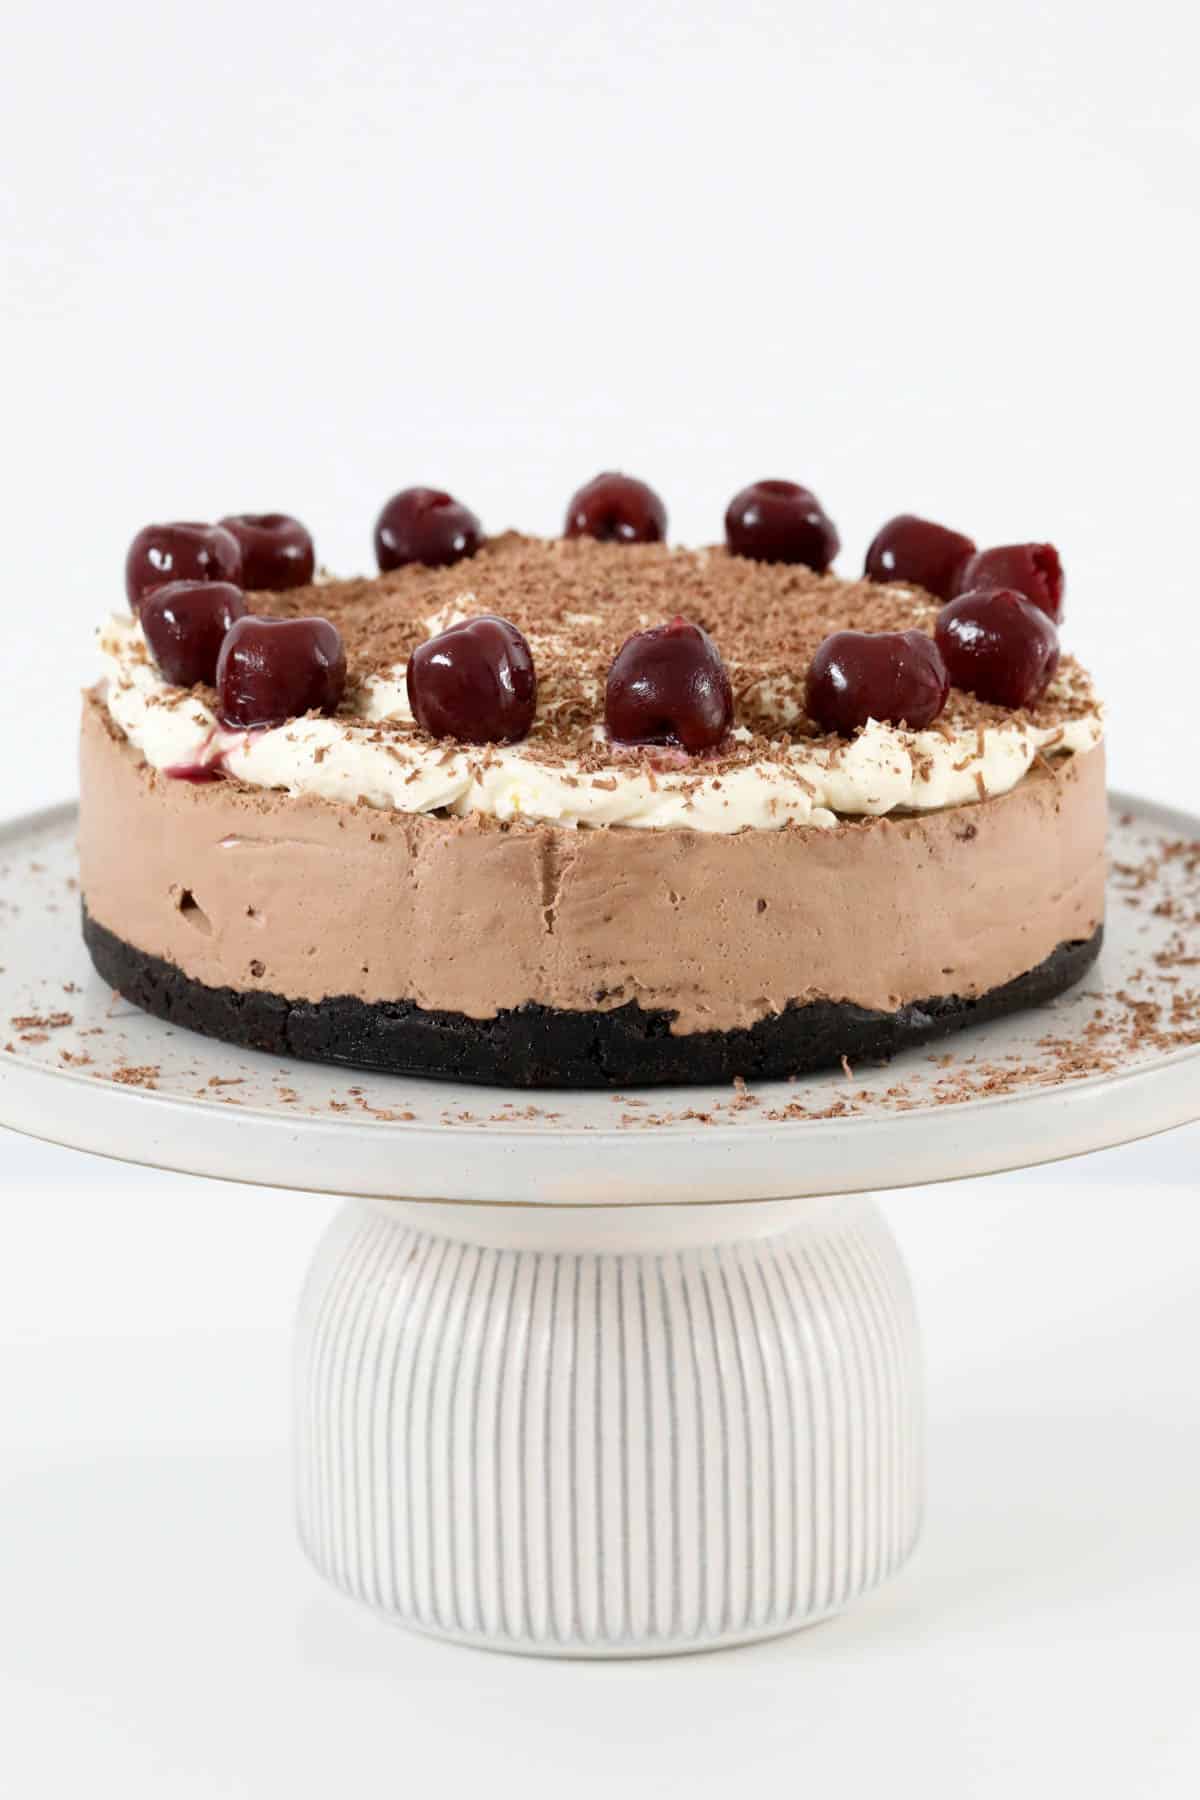
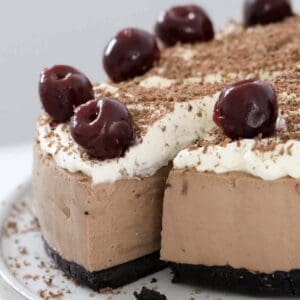
This no-bake Black Forest Cheesecake has all the classic flavours of the famous cake - chocolate, cherries, and whipped cream - turned into a luscious, melt-in-your-mouth cheesecake that sets perfectly in the fridge.
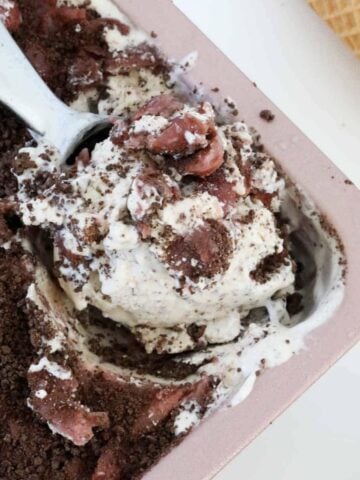
With a crunchy Oreo base, a smooth chocolate cheesecake layer, and a topping of whipped cream, grated chocolate, and cherries, it's pure retro charm made easy - no baking, no cracks, no stress.
If you're a cheesecake lover, you'll also enjoy my no-bake Lemon Cheesecake or White Chocolate and Blueberry Cheesecake for more creamy indulgence.
Why You're Going To Love This Recipe
- No-Bake Perfection: Forget the oven! This cheesecake sets beautifully in the fridge.
- Classic Flavour Combo: Chocolate, cream, and cherries - a dessert match made in heaven.
- Perfect Make-Ahead Dessert: Ideal for entertaining, Christmas, birthdays or any special celebration.
- Velvety Texture: Creamy, light, and smooth with a hint of chocolate decadence.
- Conventional and Thermomix: Instructions for both methods are included in the recipe card below.
- Impresses Every Time: It looks like it came straight from a bakery, but it's secretly so easy!
Jump to:
Cheesecake Ingredients
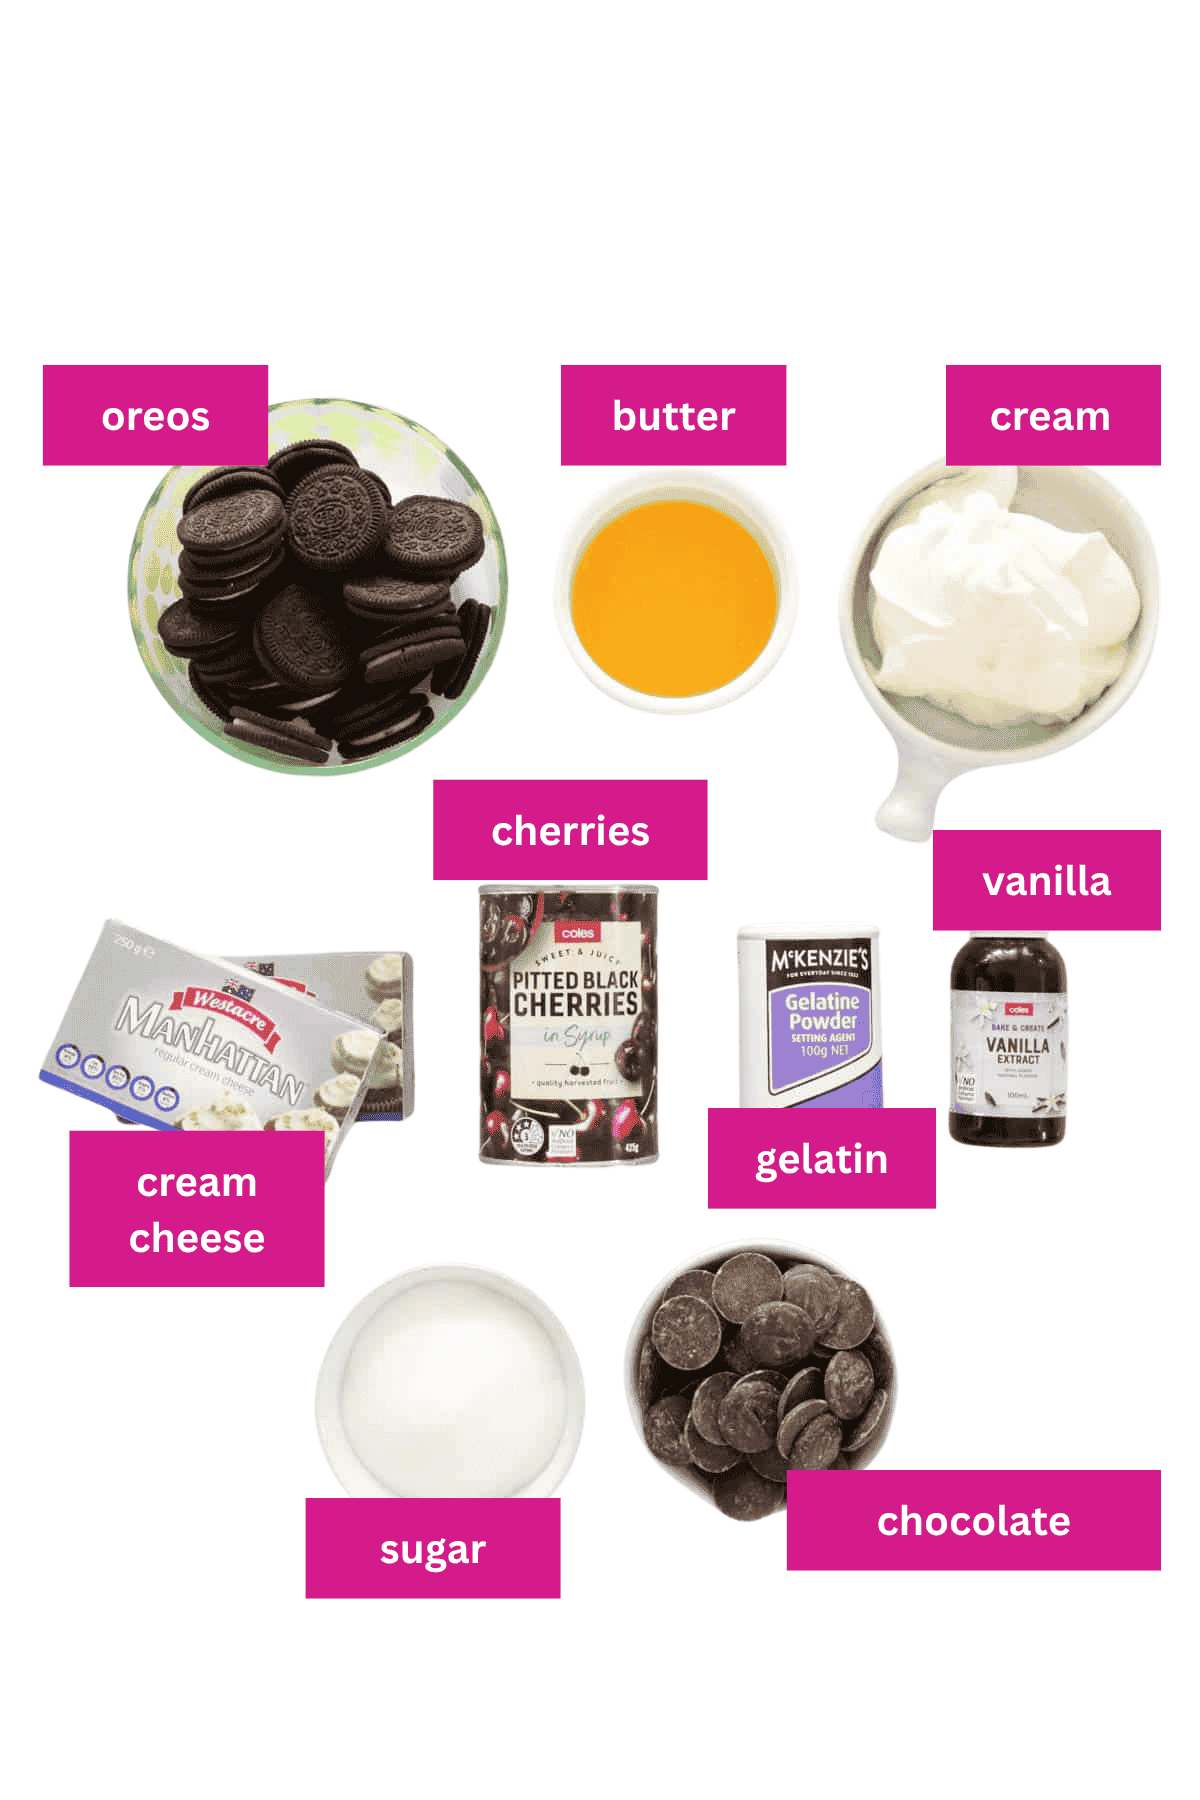
- Oreo Cookies: The full cookie (filling and all!) adds the best chocolatey flavour for the base.
- Chocolate: Use good quality milk (or dark) chocolate for a rich flavour.
- Gelatine: Helps the cheesecake set - dissolve it fully in hot water and cool it before adding.
Variations
- Gluten-Free Option: Swap Oreos for a gluten-free chocolate biscuit base.
- Boozy Twist: Add a splash of kirsch or cherry liqueur to the filling for a grown-up version.
- Dark Chocolate Lovers: Use dark chocolate instead of milk chocolate for a deeper flavour.
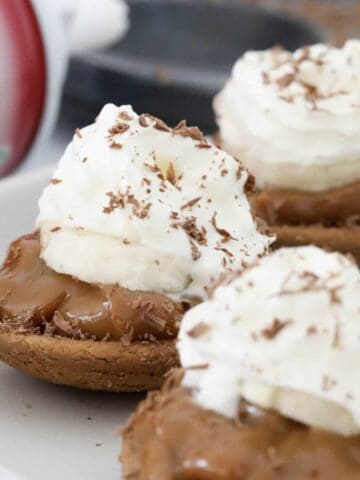
- Mini Cheesecakes: Make individual serves using muffin tins lined with cupcake cases.
Need To Substitute An Ingredient?
Ask ChatGPT for suggestions on how to substitute the particular ingredient:
How To Make Black Forest Cheesecake
Make this decadent cheesecake a day ahead, then just add whipped cream, cherries and grated chocolate on the day, prior to serving!
Note: Scroll to the recipe card at the bottom for the ingredients quantities and full detailed method.
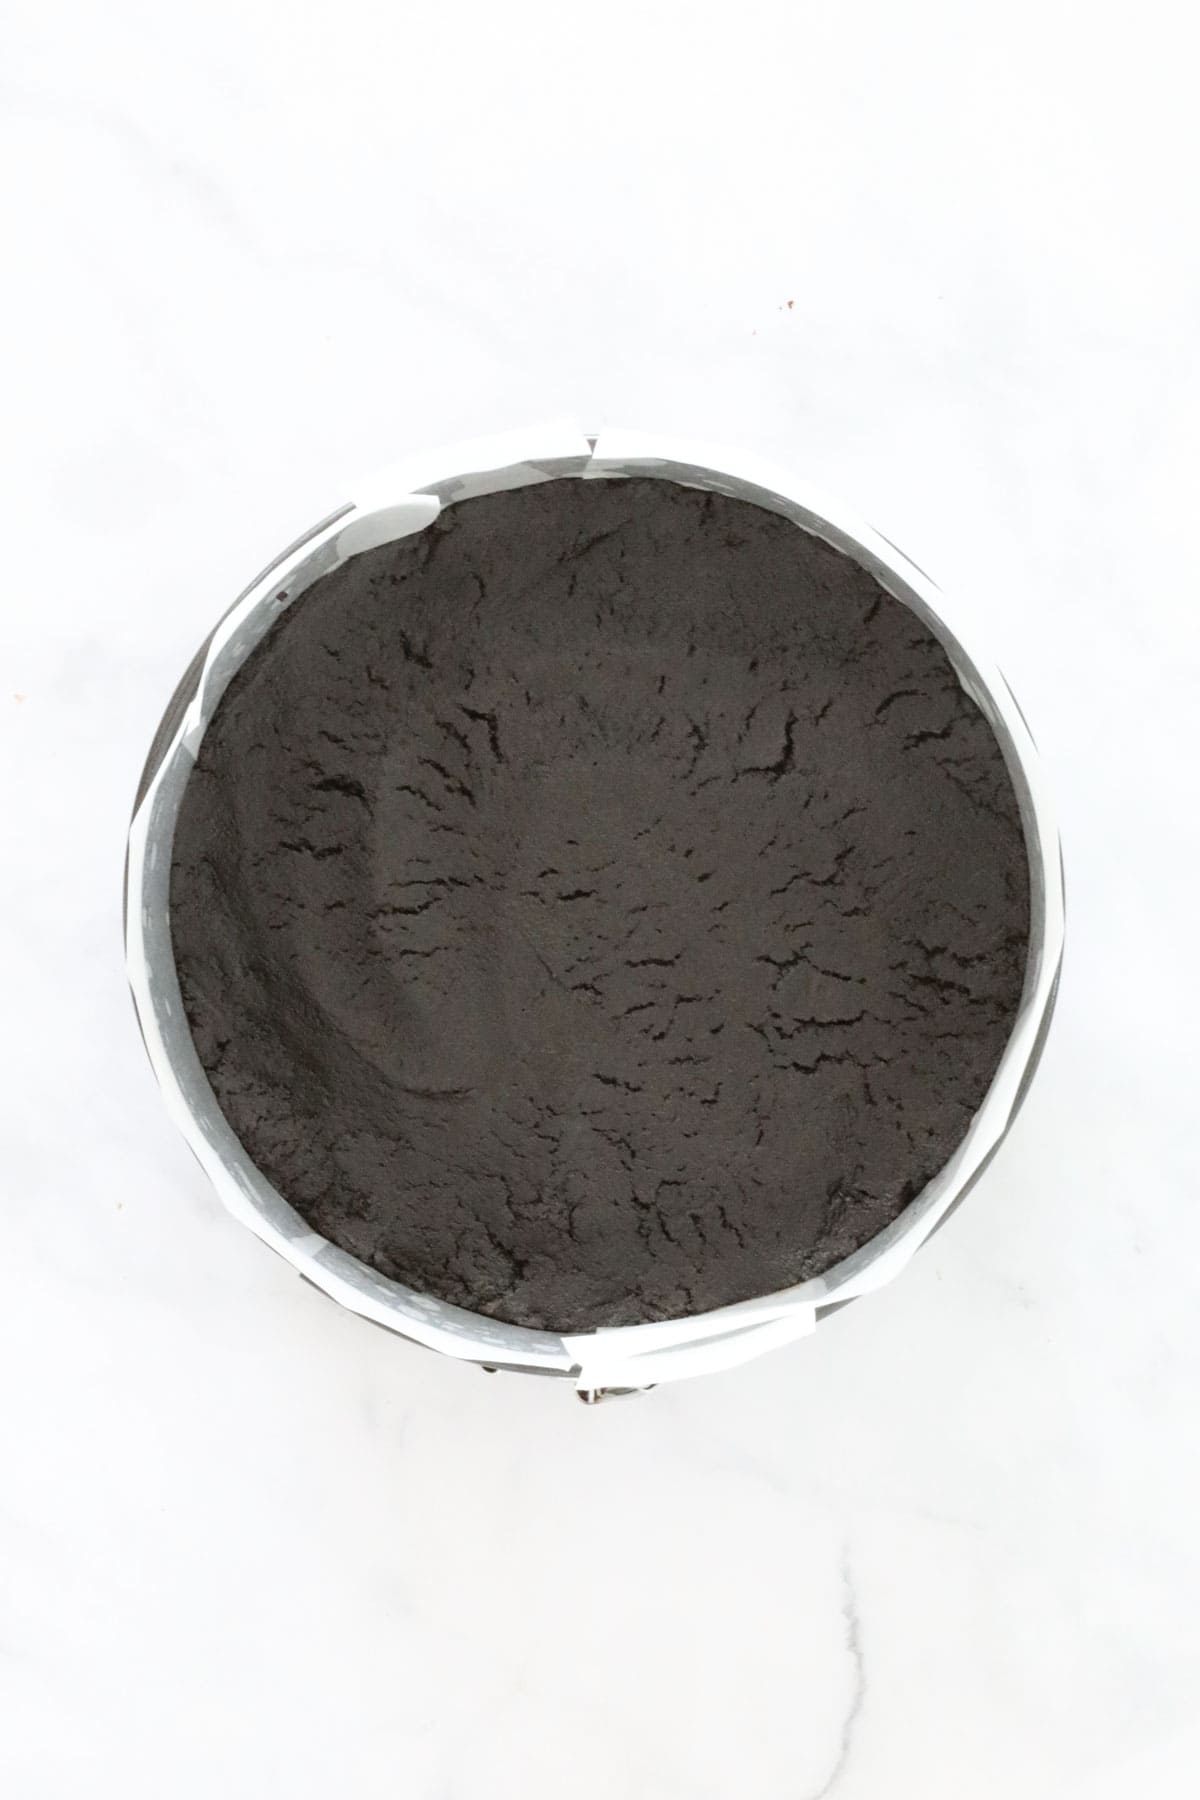
- Prepare The Base:
Crush Oreos (including filling) into fine crumbs and stir through melted butter. Press firmly into the base of a 23cm springform pan greased and lined with baking paper. Chill the crust while you make the filling.
- Make The Cheesecake Filling:
Whip the cream until soft peaks form and set aside.
Melt the chocolate and allow to cool slightly. Sprinkle gelatine over boiling water, stir until dissolved, then set aside to cool slightly.
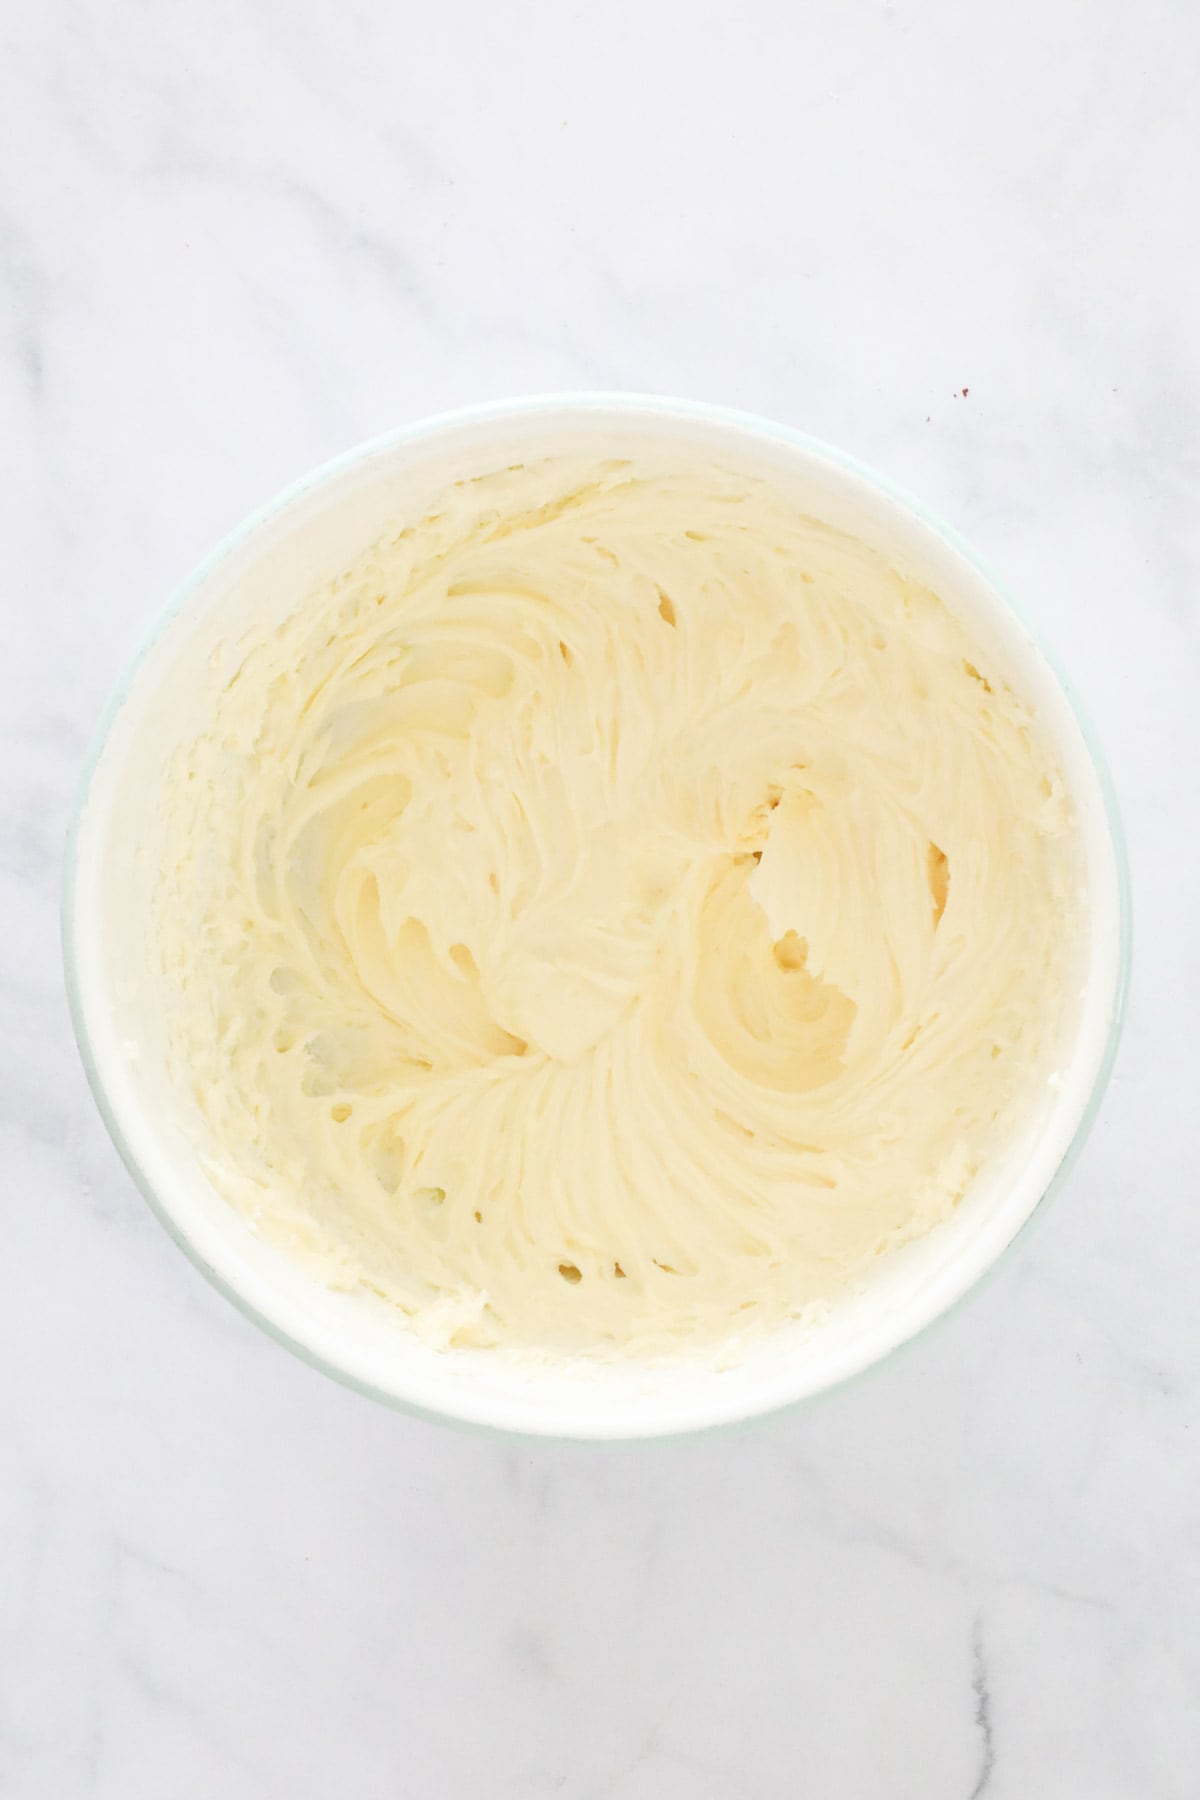
In a large bowl, beat cream cheese, vanilla, and sugar until smooth and creamy.
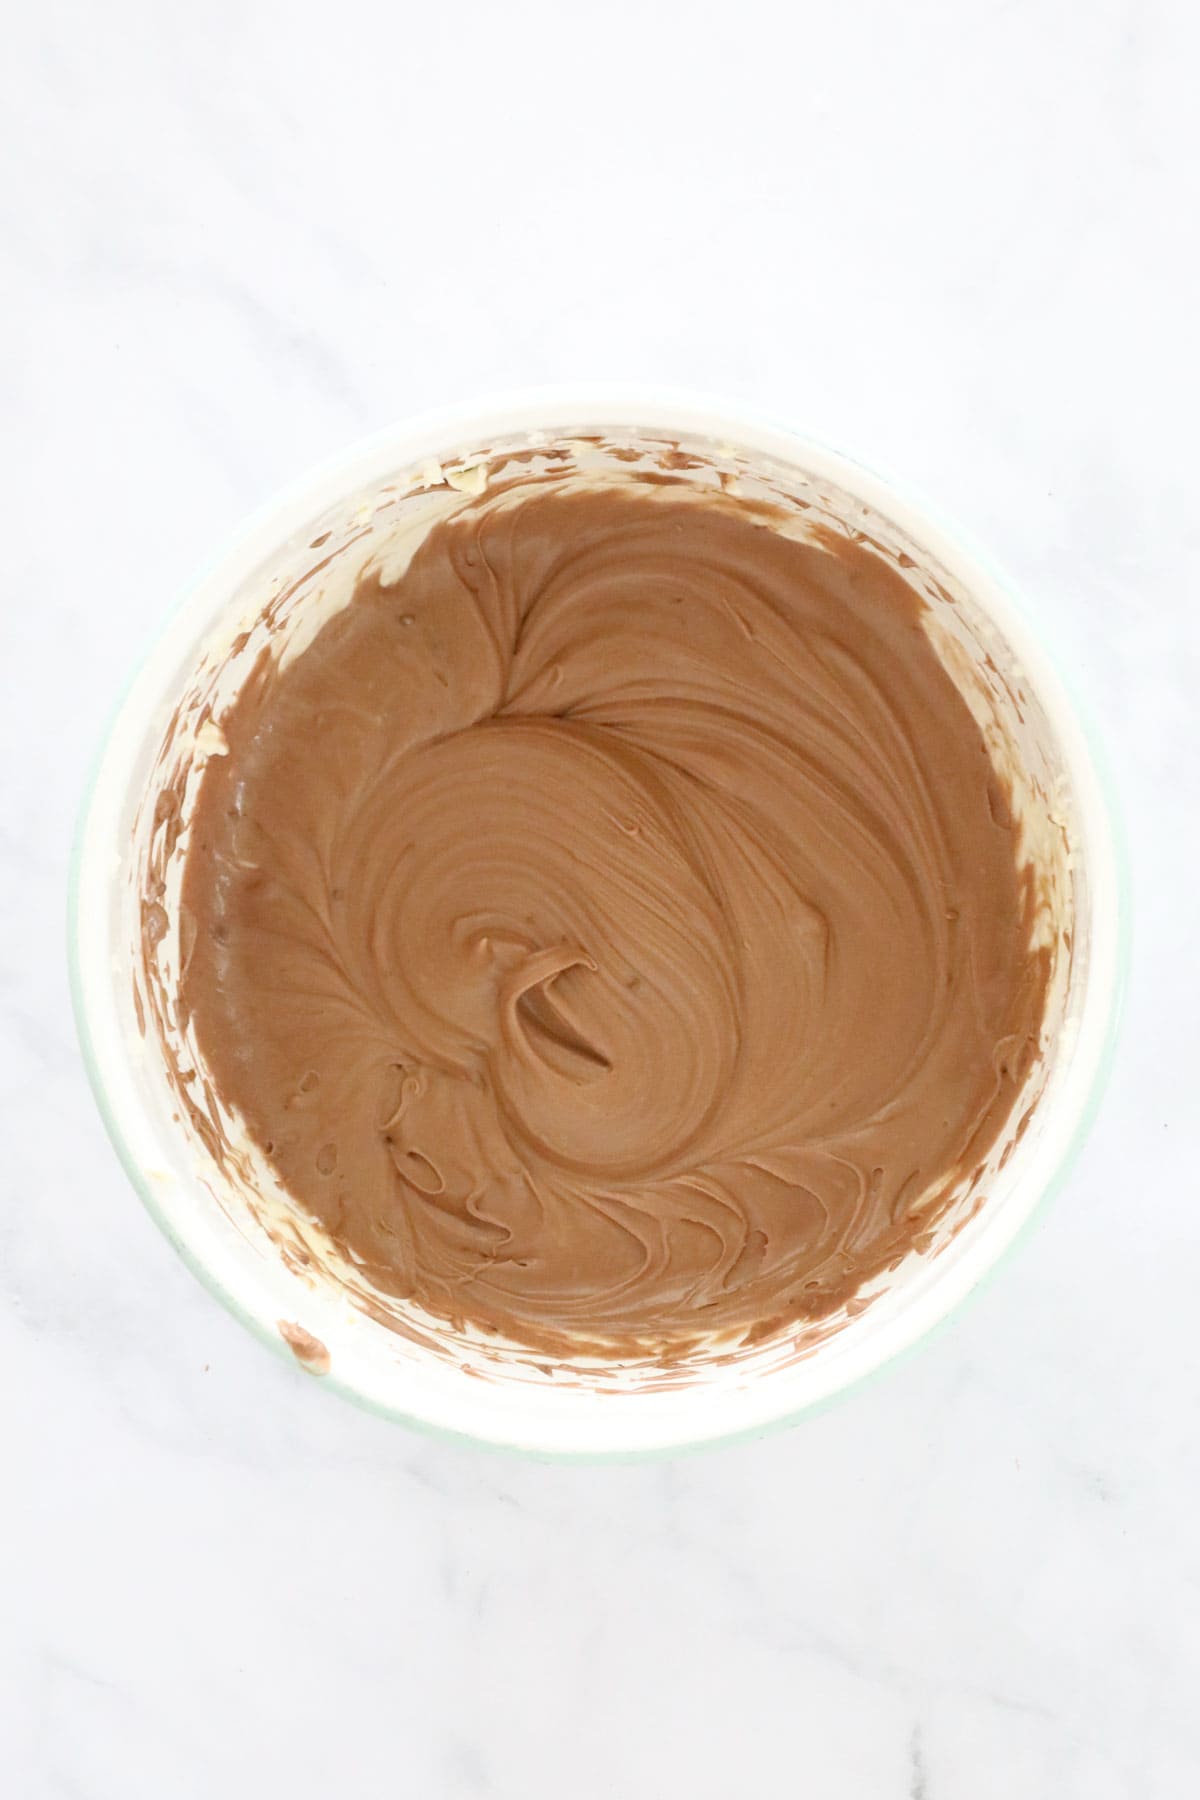
- Add Chocolate & Gelatine:
Add the cooled melted chocolate and dissolved gelatine, and beat until well combined.
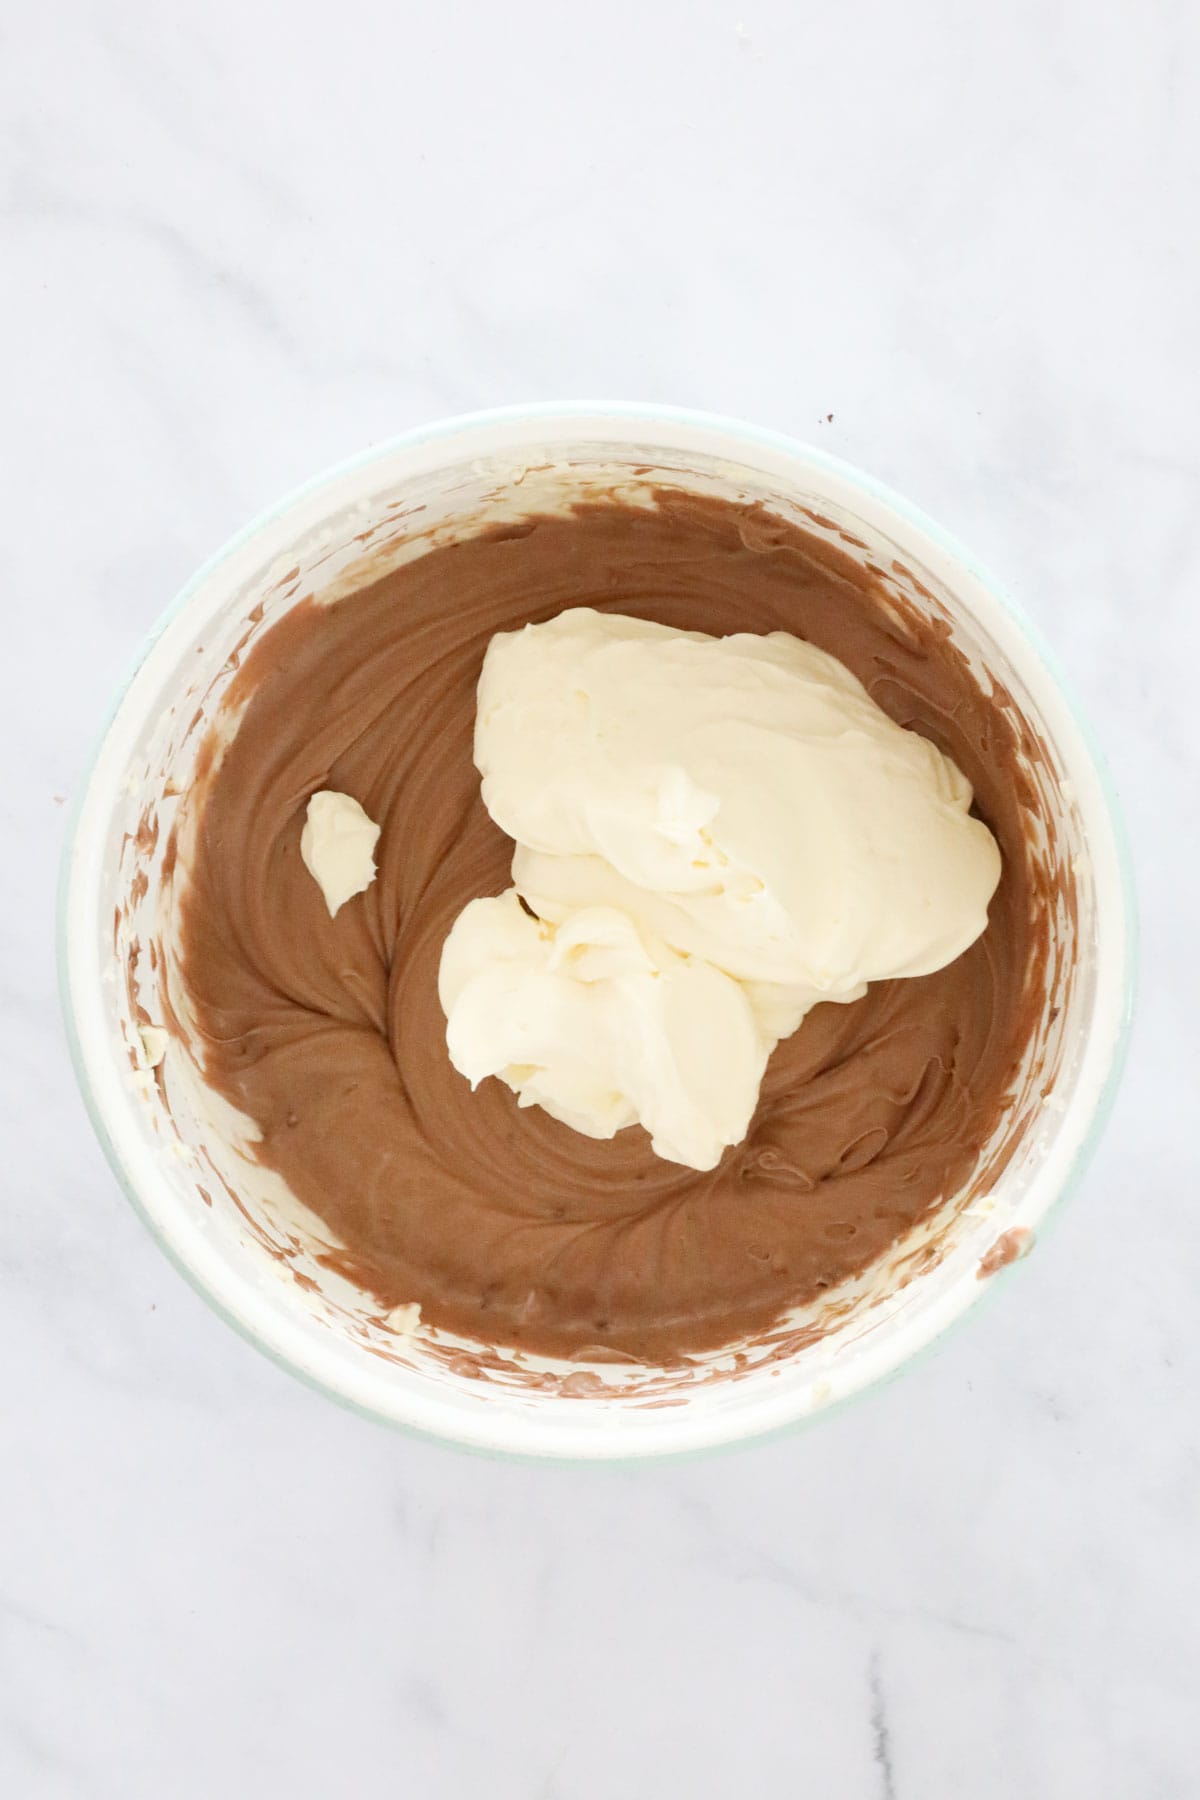
- Add Cream:
Gently fold in the whipped cream.
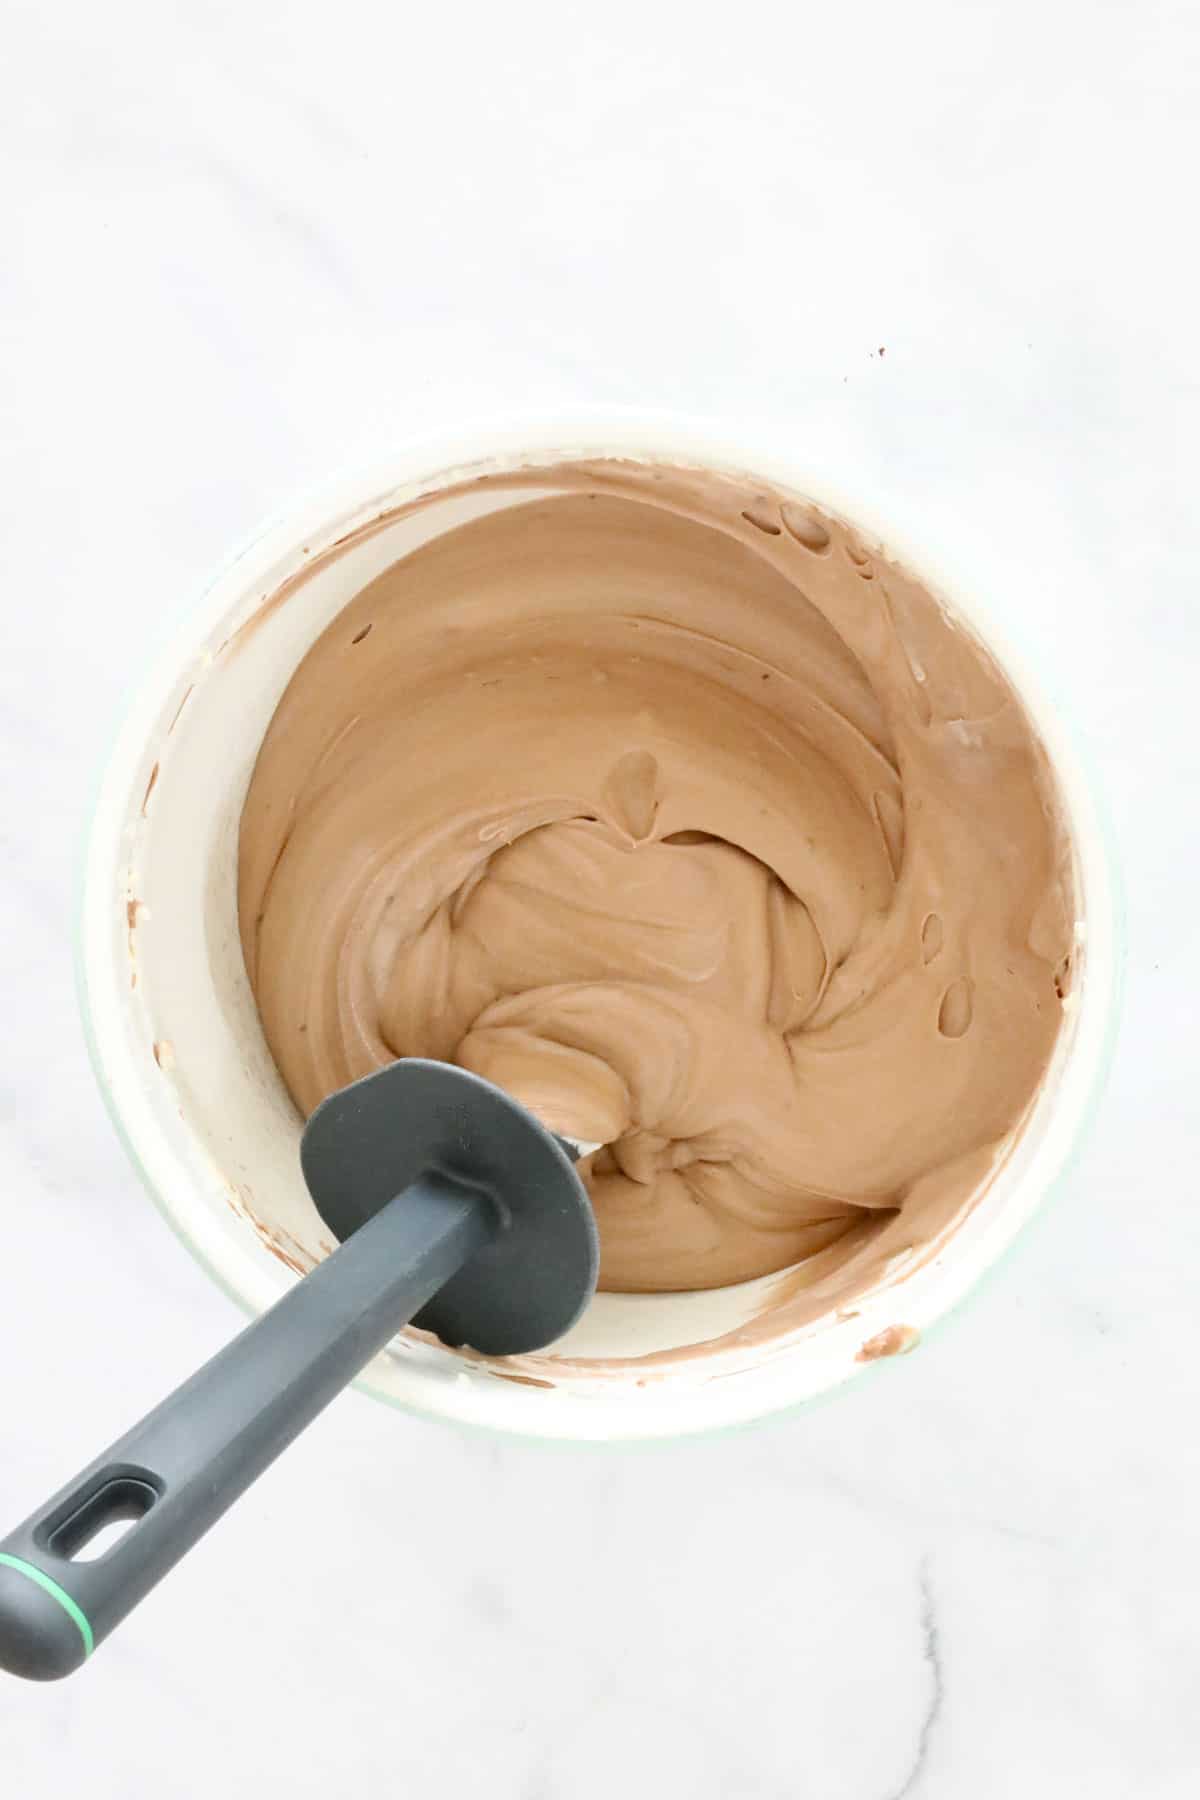
- Gently Combine:
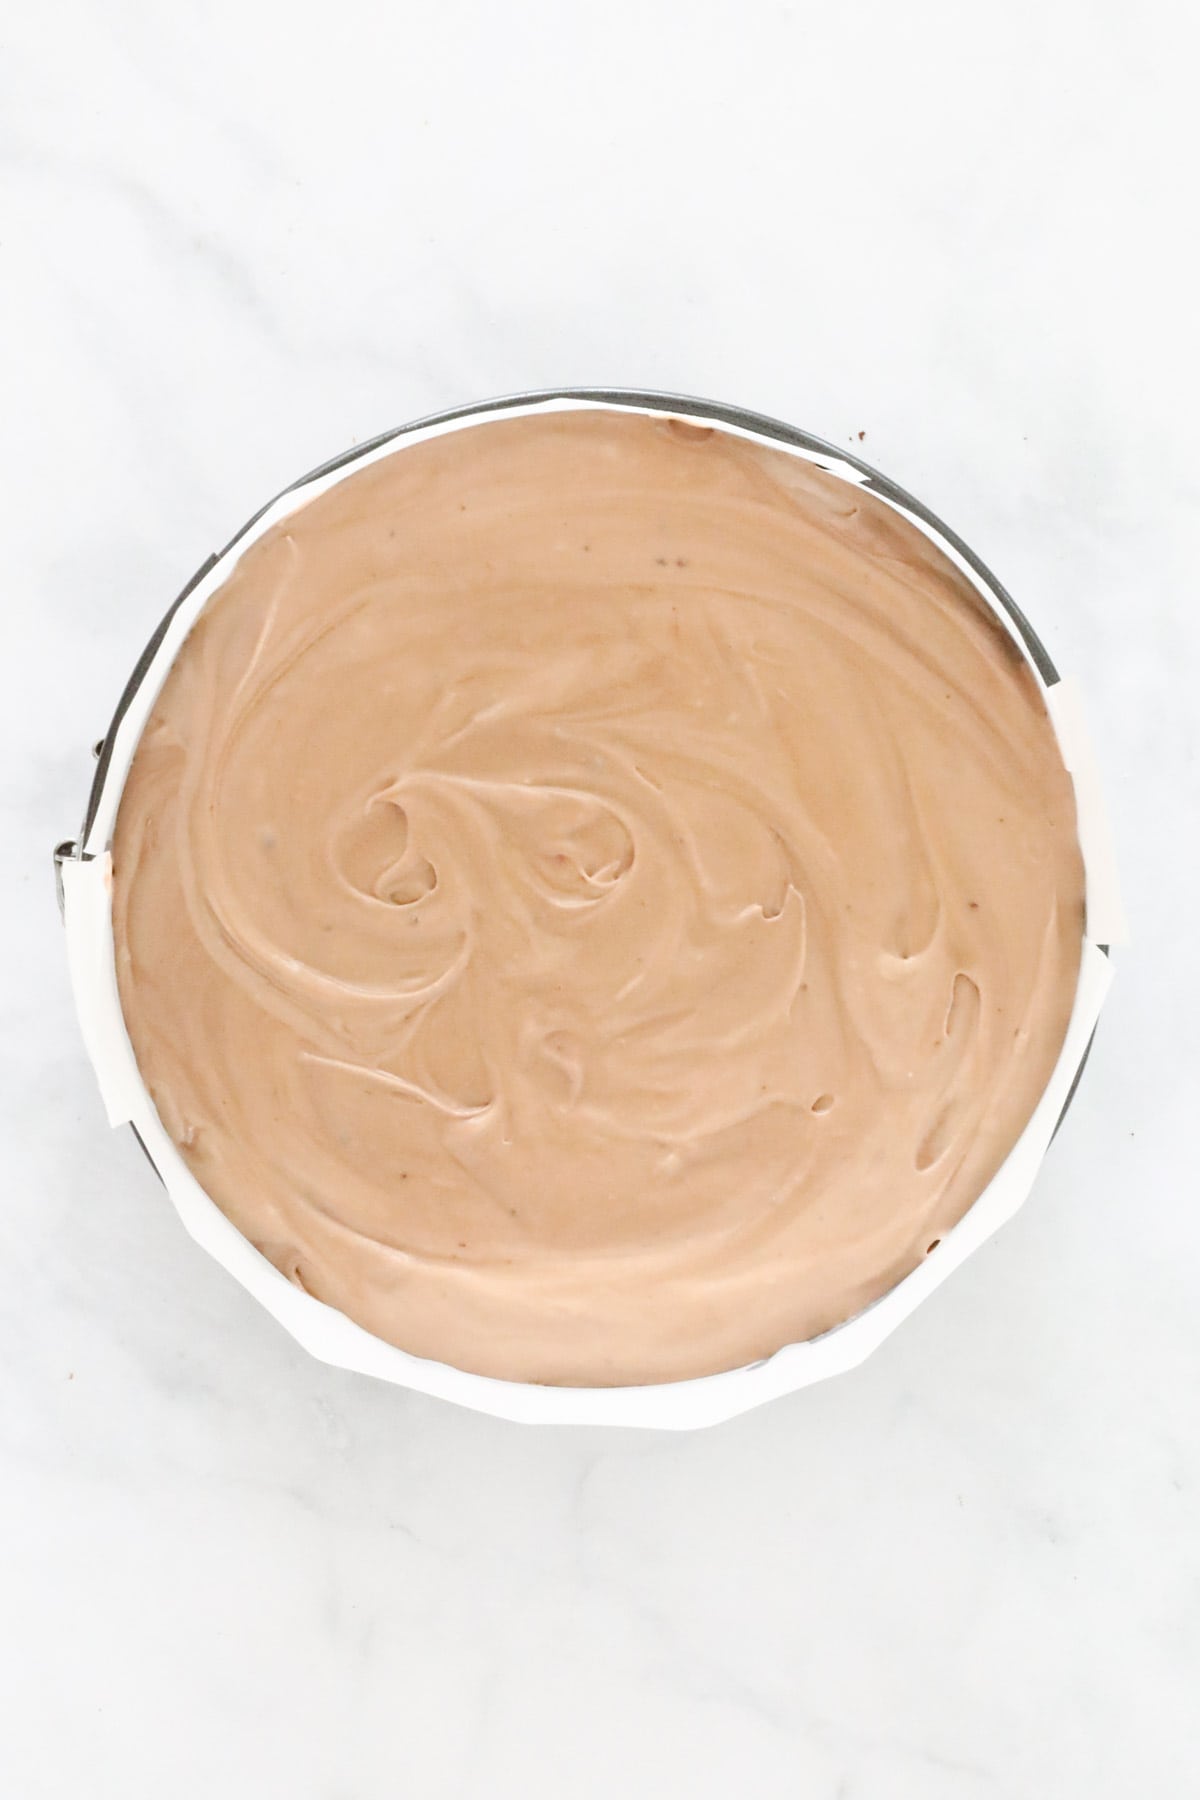
Using a spatula, gently combine all filling ingredients until just mixed. Spoon the batter into your prepared tin, smoothing the top with a spatula.
- Chill and Decorate:
Refrigerate for at least 4 hours, or overnight, until set. - Whip the thickened cream until firm peaks form and spread over the cheesecake. Top with chocolate shavings and cherries - fresh or canned (drained).
Recipe Tips
- Room Temperature Ingredients: Always bring your cream cheese to room temperature for a smooth texture.
- Cooling The Gelatine: Let it cool before mixing - otherwise it can seize the filling.
- Use A Springform Pan: It makes it so much easier to remove the cheesecake cleanly.
- Overnight Is Best: Let it chill overnight for the perfect set and flavor.
- Storage: Keep cheesecake in the fridge for up to 3 days in an airtight container.
- Freezing (Undecorated): Wrap whole, or slices individually, in cling wrap and foil, then freeze for up to 1 month. Thaw overnight in the fridge, then decorate.
- Fresh vs Canned Cherries: Fresh are beautiful for presentation, but canned cherries work perfectly too.
- Add Extra Chocolate: Grate or shave a little extra chocolate for that stunning café-style finish.
Black Forest Cheesecake FAQs
Always sprinkle the gelatine powder lightly over the hot water, rather than pour water over the gelatine, and stir vigorously with a fork or whisk until it has dissolved.
You can, but it won't set as firmly. Try adding a little extra melted chocolate to help the structure if you skip it.
Absolutely! Dark chocolate gives it a more intense, less sweet flavour.
You can use canned, jarred, or fresh cherries - whatever's available. Fresh tart cherries are lovely to use when in season, whereas canned sweet black cherries are available anytime and add an extra flavour from being soaked in a sweet syrup. Drain canned cherries well before decorating.
Yes - this cheesecake is perfect for making a day ahead. Just add the whipped cream, grated chocolate and cherries just before serving.
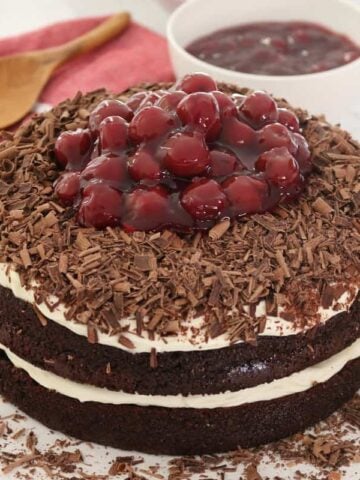
More Black Forest Desserts
If you love the classic combo of chocolate and sweet cherries, you'll also want to try more of these absolutely irresistible recipes!

WANT EVEN MORE DELICIOUS RECIPES? Subscribe to my newsletter or follow along on Facebook or Instagram. And if you love baking, then please come and join my Facebook cooking club group or subscribe to my YouTube channel.
Black Forest Cheesecake
Ingredients
For The Cheesecake
- 266 g Oreos or any chocolate cookies
- 100 g butter melted
- 240 g (1 cup) cream lightly whipped
- 200 g milk chocolate
- 2 ½ teaspoon gelatine dissolved in ¼ cup boiling water, cooled
- 500 g cream cheese softened to room temperature
- 1 teaspoon vanilla bean paste or vanilla extract
- 150 g (¾ cup) caster sugar superfine
For Decorating
- 300 ml thickened cream
- 50 g dark chocolate grated
- 425 g pitted cherries see notes
Instructions
- Grease and line the base and sides of a 23cm spring-form pan with baking paper and set aside.
- Finely crush Oreos in a food processor and place into a bowl. Add the melted butter and mix until well combined.If using a Thermomix: Melt butter in the TM bowl for 2 minutes, 100 degrees, Speed 1. Add the Oreos and crush for 10 seconds, Speed 10. Scrape down the sides of the bowl and repeat until well combined.
- Press the mixture firmly into the base of the pan and place into the fridge.
- Whip the cream and set aside.If using a Thermomix: Whip cream in a clean, dry TM bowl on Speed 3.5 until lightly whipped (the time it takes will depend on the freshness of the cream - it can be anywhere between 10 seconds and 2 minutes!!) Set the cream aside in a separate bowl.
- Melt the milk chocolate and set aside to cool slightly.If using a Thermomix: Place the milk chocolate into the TM bowl and melt for 3 minutes on 50 degrees, Speed 2. Set aside in a bowl to cool slightly.
- Pour ¼ cup of boiling water into a cup, sprinkle over the gelatine and stir until dissolved. Allow to cool.
- Beat the cream cheese, vanilla bean paste and caster sugar until smooth and creamy.If using a Thermomix: Beat the cream cheese, vanilla bean paste and caster sugar in a clean and dry TM bowl for 30 seconds on Speed 5. Scrape down the sides with a spatula and repeat until smooth and creamy.
- Add the cooled, dissolved gelatine and the cooled melted chocolate to the mix and beat until well combined.If using a Thermomix: Add the cooled, dissolved gelatine and the cooled melted chocolate to the mix and mix for 30 seconds on Speed 5.
- Fold through the whipped cream.
- Spoon the mixture into the prepared tin. Spread out evenly with a spoon.
- Place the cheesecake into the fridge to set for a minimum of 4 hours (for best results, leave in the fridge overnight).
- Whip the thickened cream using hand-held beaters or a stand mixer until firm peaks form. If using a Thermomix: Whip cream in a clean, dry TM bowl on Speed 3.5 until lightly whipped (the time it takes will depend on the freshness of the cream - it can be anywhere between 10 seconds and 2 minutes!!).
- Spread the whipped cream over the top of the cheesecake.
- Grate the dark chocolate over the top of the whipped cream.
- Drain the liquid from the pitted cherries. Decorate the top of the cheesecake with the cherries.
- Cut into slices and serve.
Notes
- Room Temperature Ingredients: Always bring your cream cheese to room temperature for a smooth texture.
- Gelatine: Sprinkle gelatine powder lightly over the hot water, rather than pour water over the gelatine, and stir vigorously with a fork or whisk until it has dissolved. Let it cool before mixing, otherwise it can seize the filling.
- Use A Springform Pan: Makes it so much easier to remove the cheesecake cleanly.
- Overnight Is Best: Minimum is 4 hours chilling time, but ideally chill overnight for the perfect set and flavour.
- Storage: Keep cheesecake in the fridge for up to 3 days in an airtight container.
- Freezing (Undecorated): Wrap whole, or slices individually, in cling wrap and foil, then freeze for up to 1 month. Thaw overnight in the fridge, then decorate.
- Fresh vs Canned Cherries: Fresh are beautiful for presentation, but canned cherries work perfectly too. Drain canned cherries well.
- Add Extra Chocolate: Grate or shave a little extra chocolate for that stunning café-style finish.


Leave a Reply